Summer Kids Crafts Ideas with Everyday Things
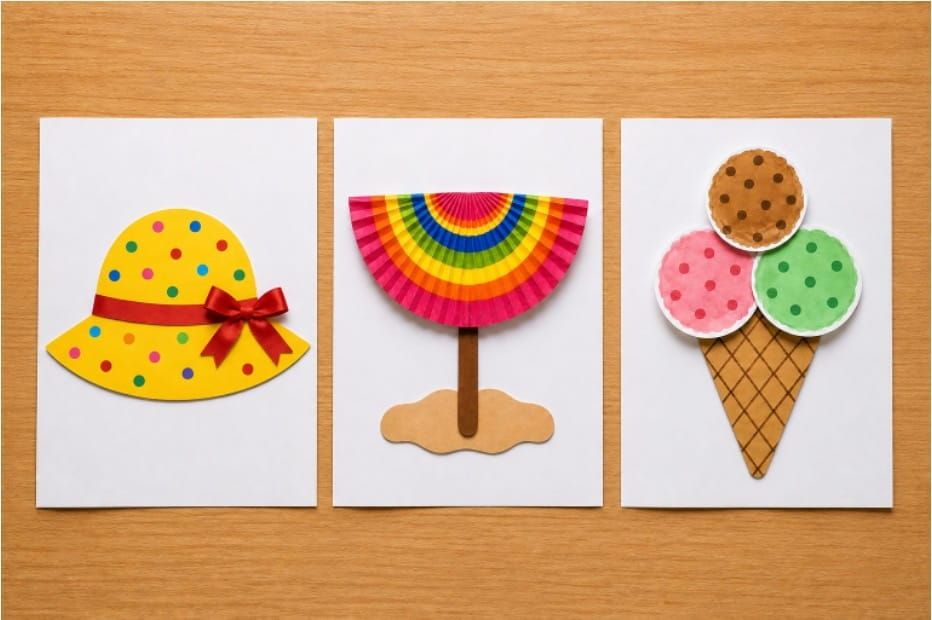
Summer is the best time for kids to play, laugh, and get creative! With just a few simple items you already have at home, children can make colorful crafts that bring joy and fun. These easy projects are perfect for sunny afternoons, family time, or even classroom activities.
01. Paper Ice Cream Cone Craft
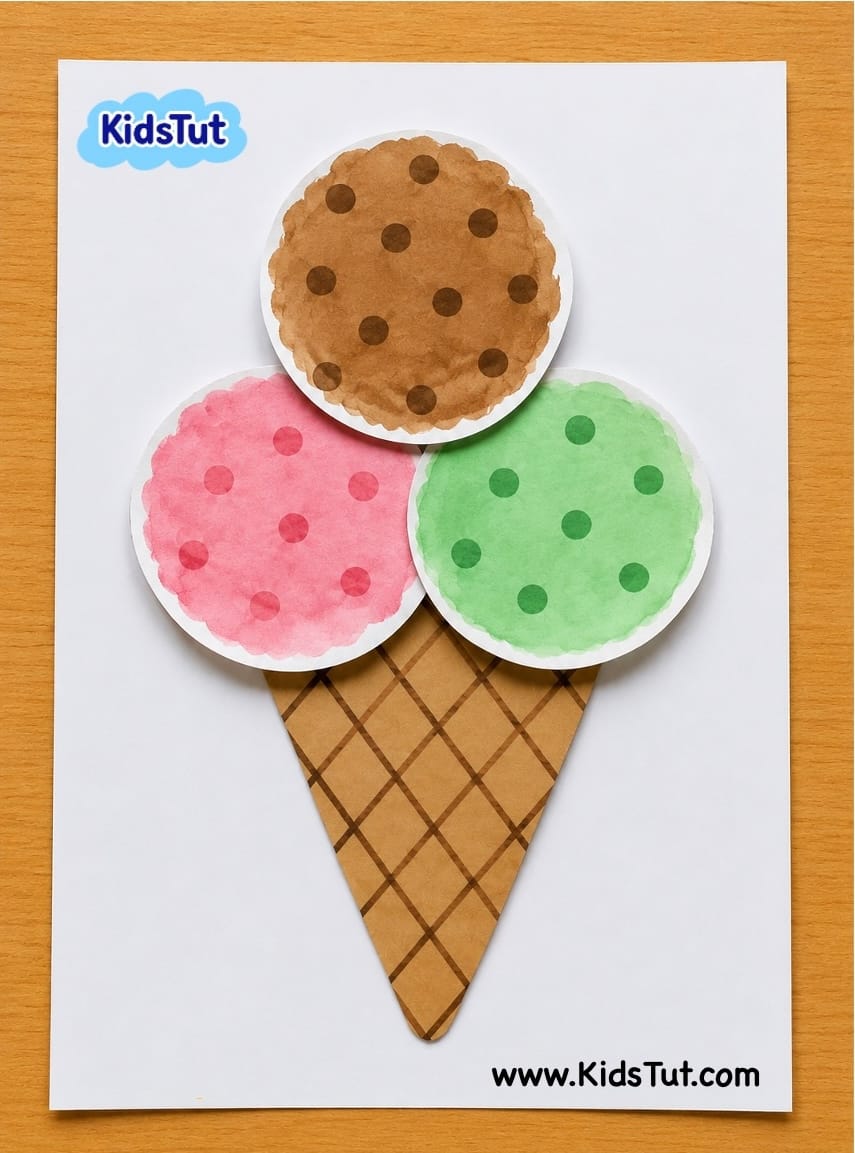
What You Need
- 1 brown sheet and 2 white sheets
- Colorful paints
- Brown or black marker
- Scissors
- Glue stick
How to Make
- Make the Cone
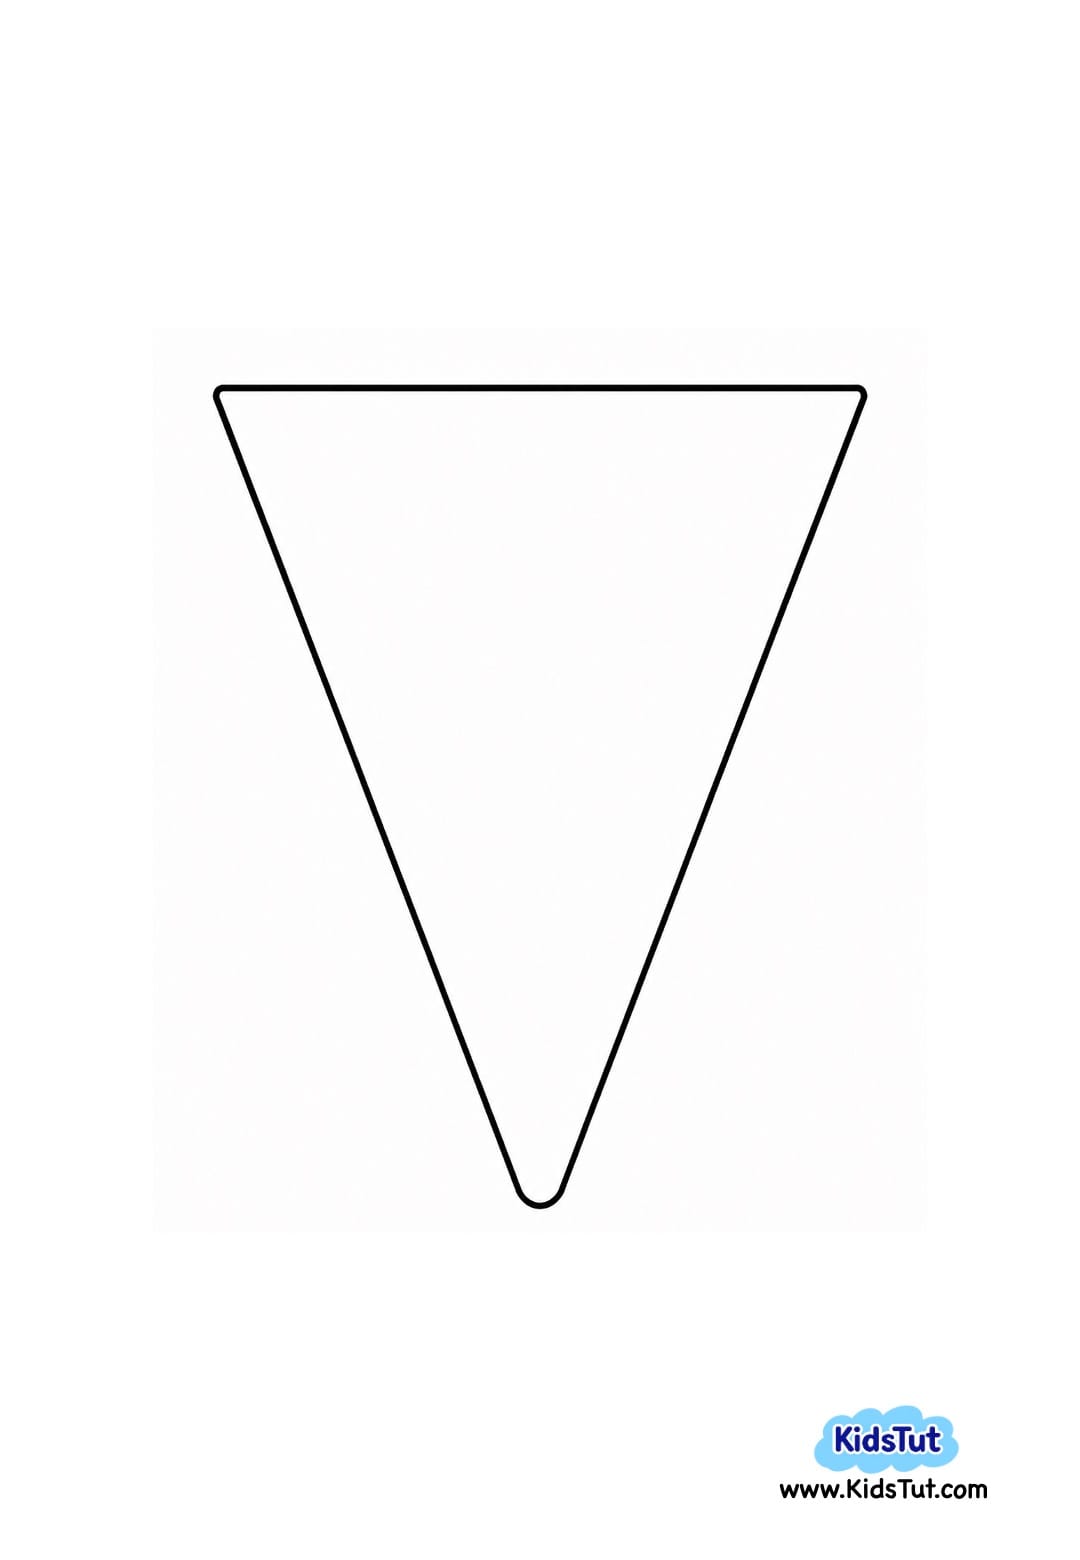
- Print the cone shape on the brown sheet
- Cut it out neatly along the outline
- Use a brown or black marker to draw waffle cone patterns
- Prepare the Scoops
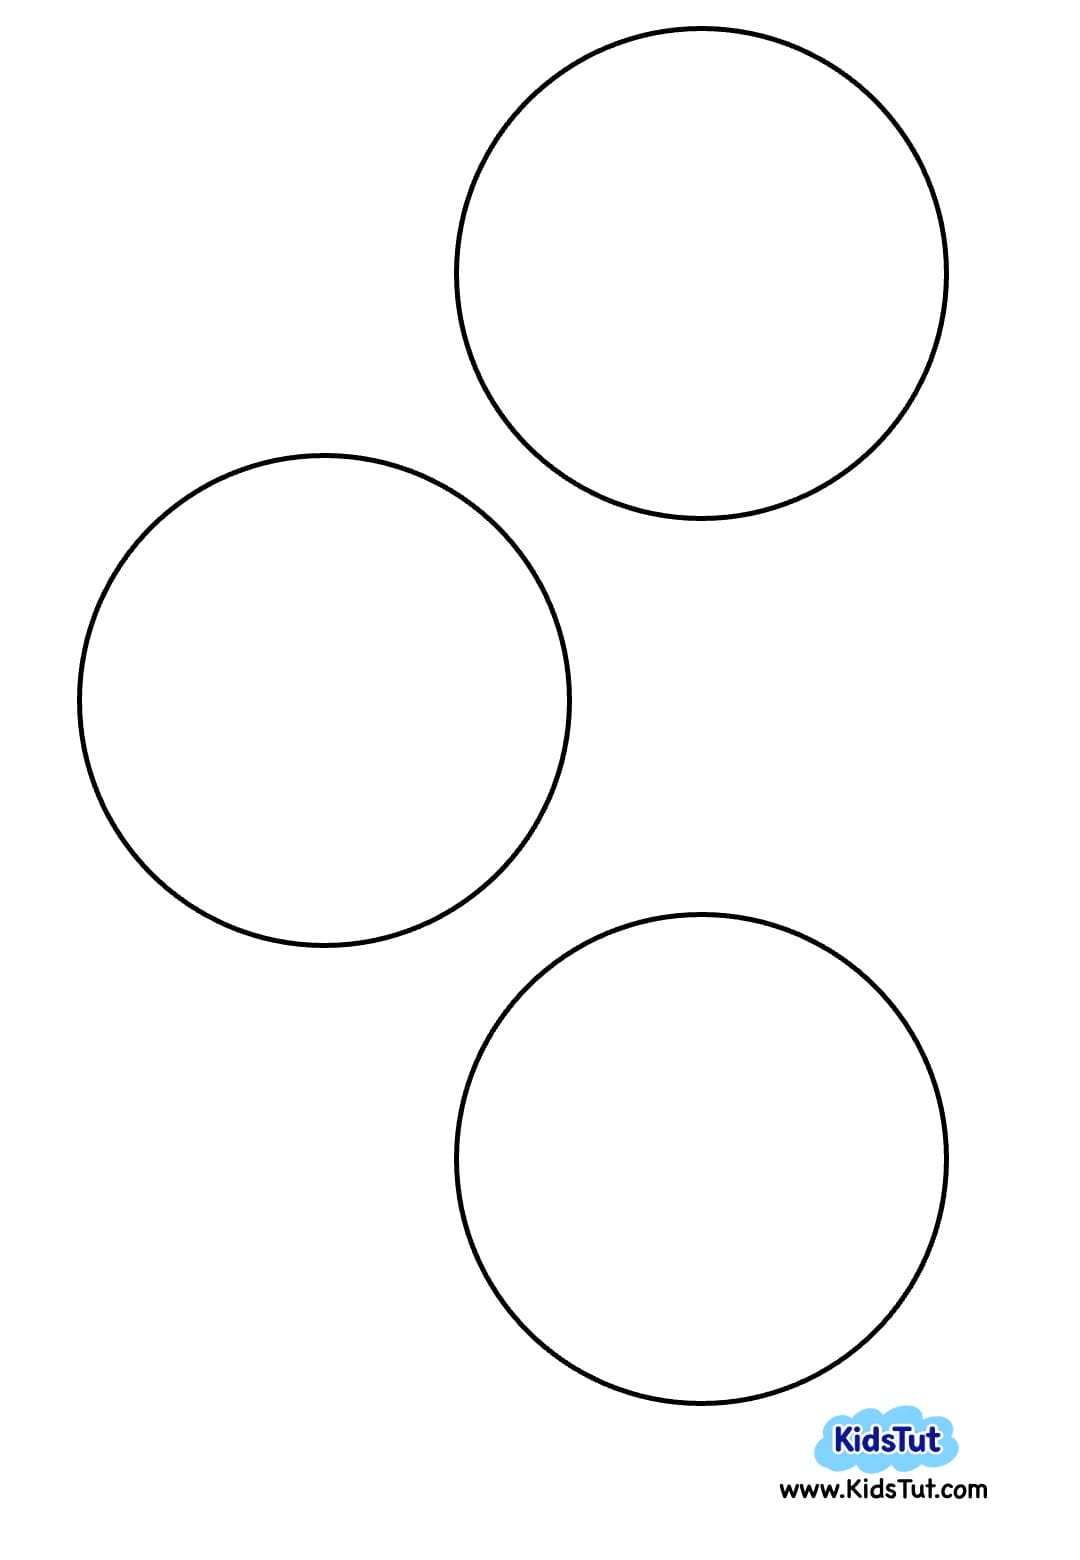
- Print 3 circle templates on the white sheet.
- Cut out the circles separately.
- “Or you can use cotton pads instead of circle templates.
- Paint each circle with bright colors (pink, green, brown, etc.)
- Let them dry completely.
- Use a cotton swab or pencil end to add small dots on the painted circles.
- Let them dry again before pasting.
- Assemble the Craft
- Take another white sheet as the background.
- Paste the cone shape at the bottom of the sheet.
- Paste the three colorful circles on top of the cone as scoops.
- Allow everything to dry before displaying.
Templates:
02. Pipe Cleaner Jellyfish Craft:
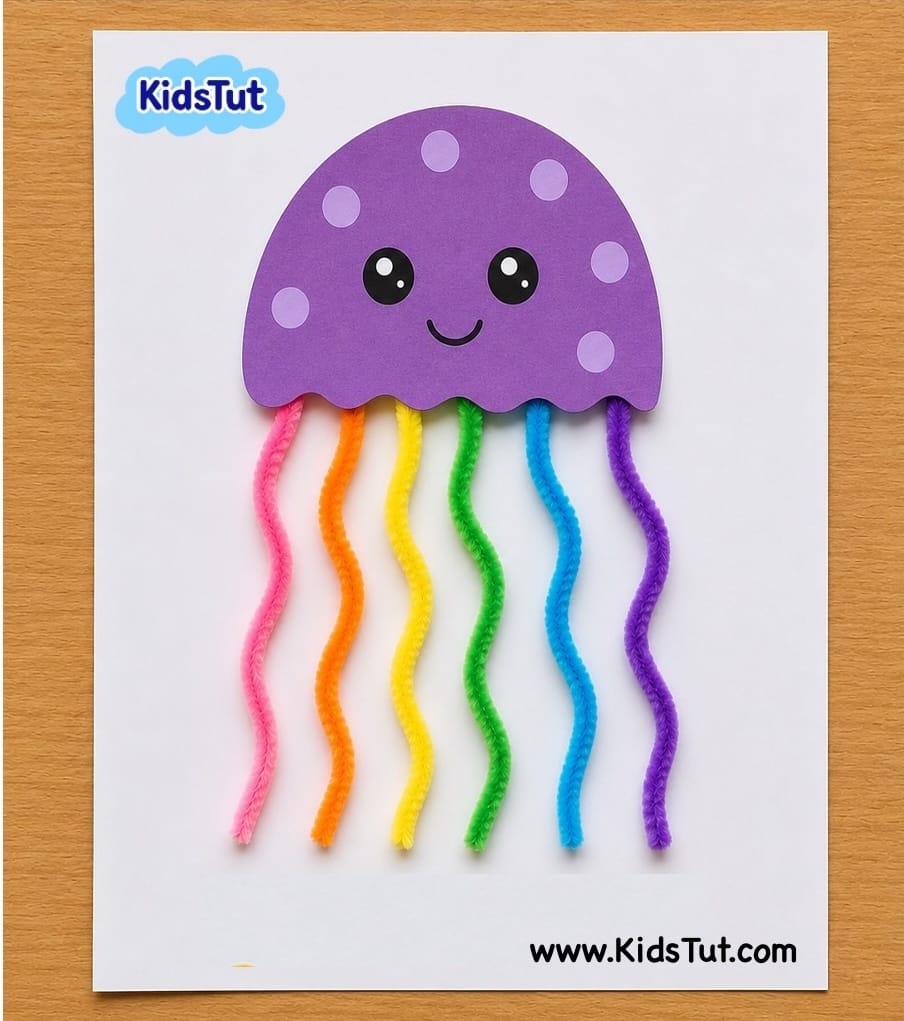
What You Need
- Colored paper
- White paper for background
- Pipe cleaners, yarn, strings, or ribbons
- Scissors
- Glue stick
How to Make
- Prepare the Jellyfish Head
- Print the jellyfish head shape on colored paper
- Cut out along the outline neatly
- Set the Background
- Use a white sheet as the background
- Apply glue to the top area of the jellyfish head cutout
- Paste it at the top of the background sheet
- Leave the bottom area without glue
- Attach Tentacles
- Use pipe cleaners, yarn, strings, or ribbons
- Shape them wavy for a realistic look
- Paste them under the jellyfish head
- Finish the Jellyfish
- Apply glue to the bottom area of the jellyfish head to cover the tentacle ends
- Press gently to secure
- Let it dry before displaying.
Templates:
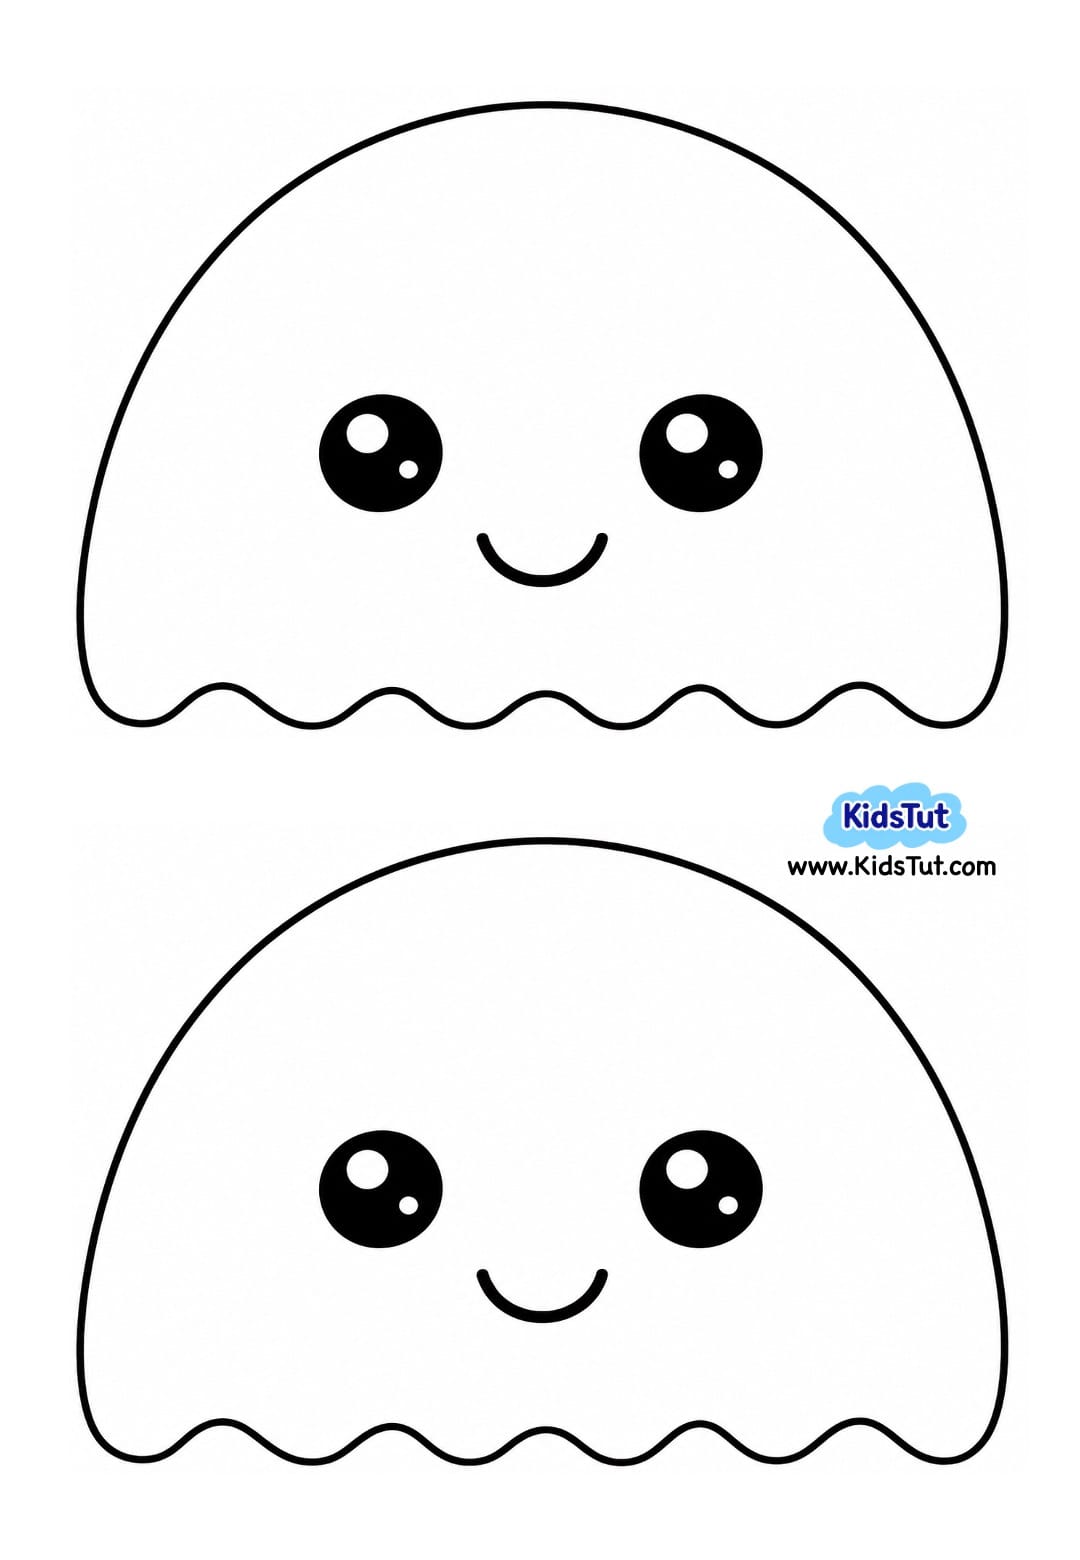
03. Summer Hat Craft:
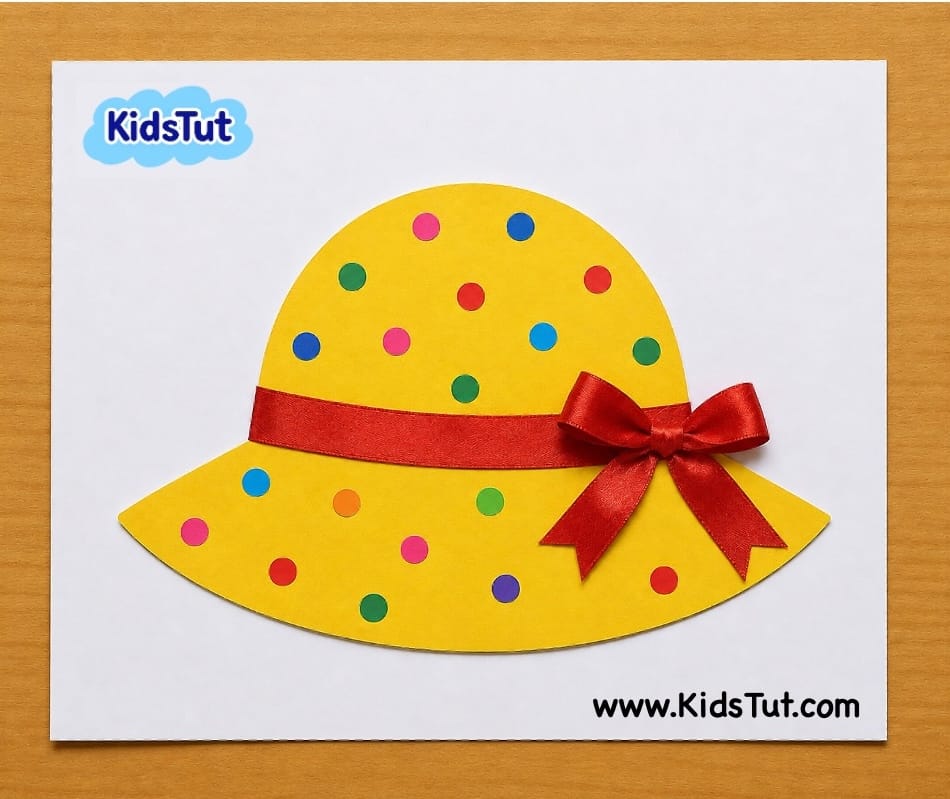
What You Need:
- Colored sheet
- White sheet
- Ribbon
- Dot stickers
- Scissors
- Glue stick
How to Make
- Print and Decorate the Hat
- Print the hat template on the colored sheet
- Use dot stickers to decorate the hat
- Cut out the hat neatly along the outline
- Paste it onto the white background sheet
- Add the Ribbon
- Paste the ribbon strip across the hat
- Make a ribbon bow and paste it at the end of the strip.
Templates:
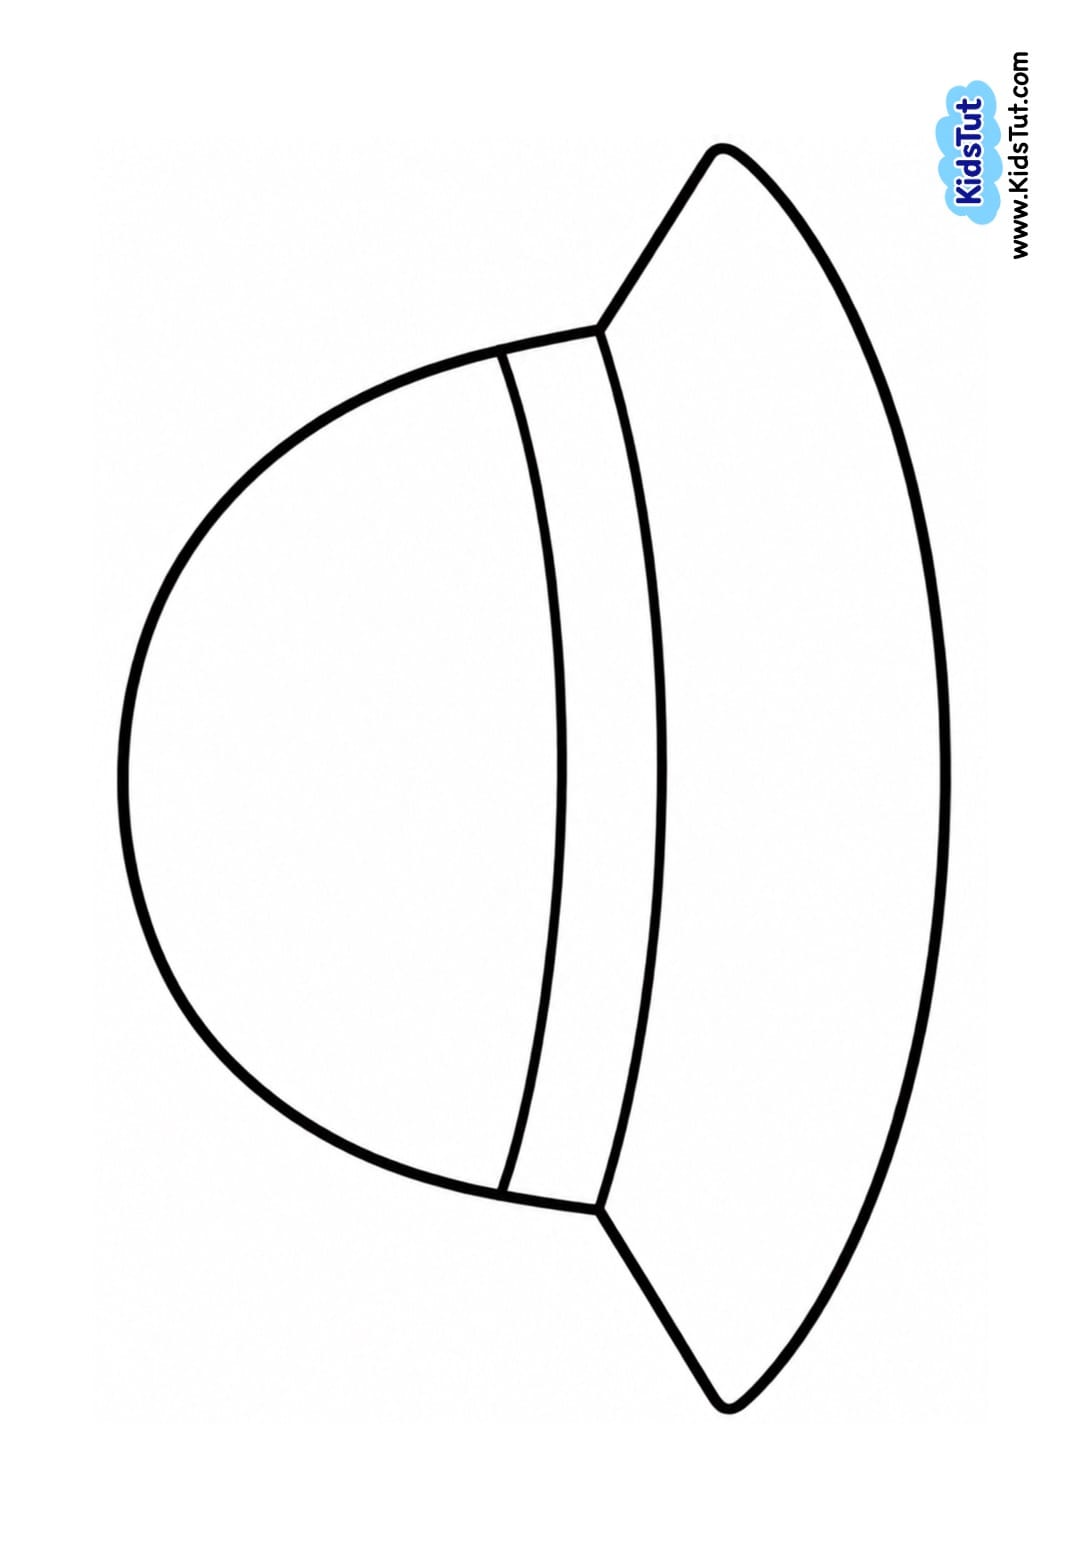
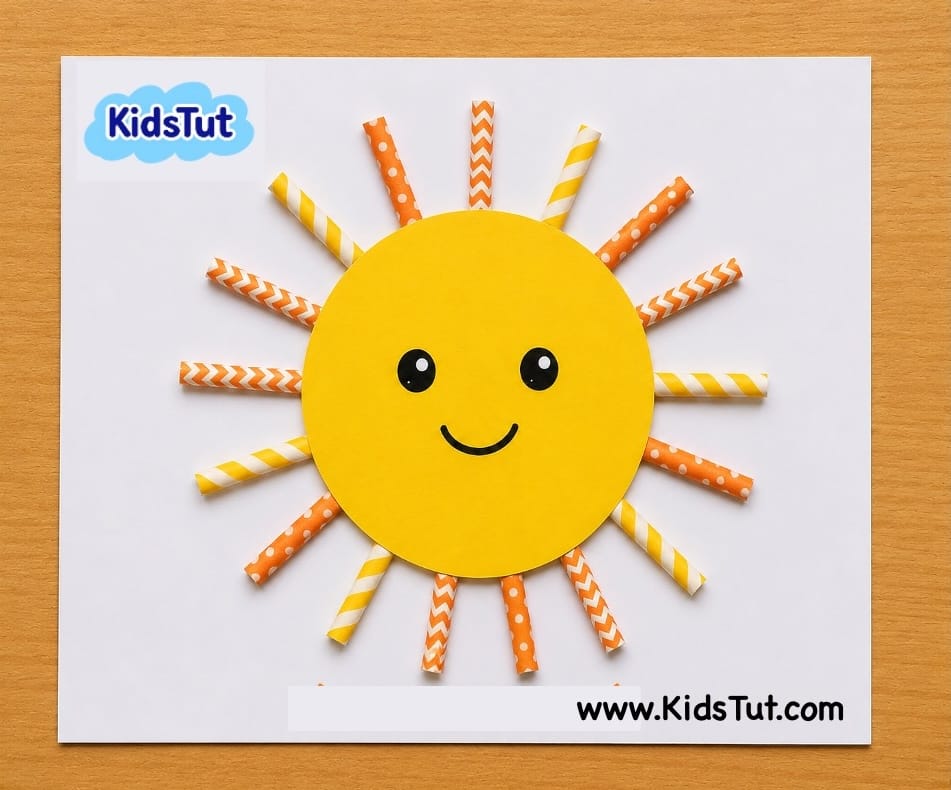
04. Smiling Straw Sun Craft:
What You Need
- Colored paper
- White paper for background
- colorful Straws
- Pen/Marker/ Pencil
- Scissors
- Glue stick
How to Make
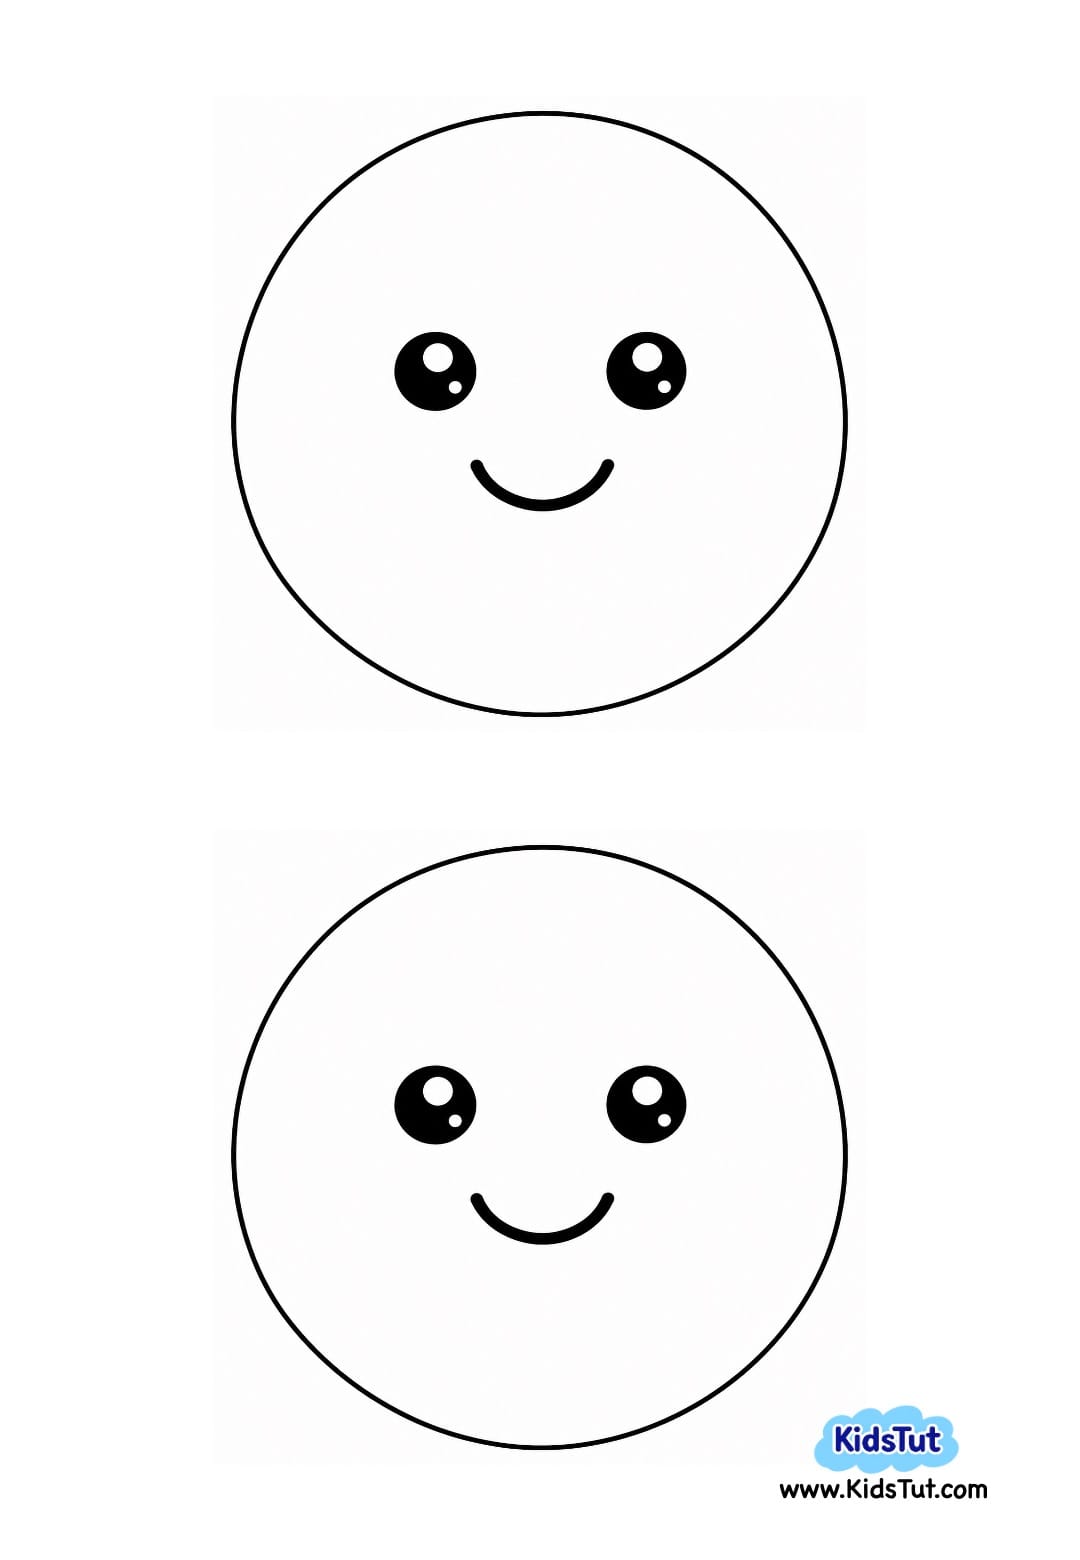
- Prepare the Circle (sun face)
- Print the circle shape on a colored sheet
- Cut it out neatly along the outline
- Cut the Straws (sun rays)
- Use colorful straws
- Cut them into pieces (not too short)
- Keep them ready for pasting
- Mark the Background
- Take a white sheet for the background
- Place the circle on it to mark the size
- Only draw the circle outline; don’t paste yet
- Paste the Rays
- Paste straw pieces around the drawn circle.
- Arrange them evenly to look like sun rays
- Attach the Sun Face
- Paste the smiling circle on top of the straw rays
- Press gently to fix
- Let it dry completely
Templates:
05. Paper Plate Sailboat Craft:
What You Need
- Colored paper
- White paper for background
- Paper plates
- Paints/markers/crayons
- Scissors
- Glue stick
How to Make
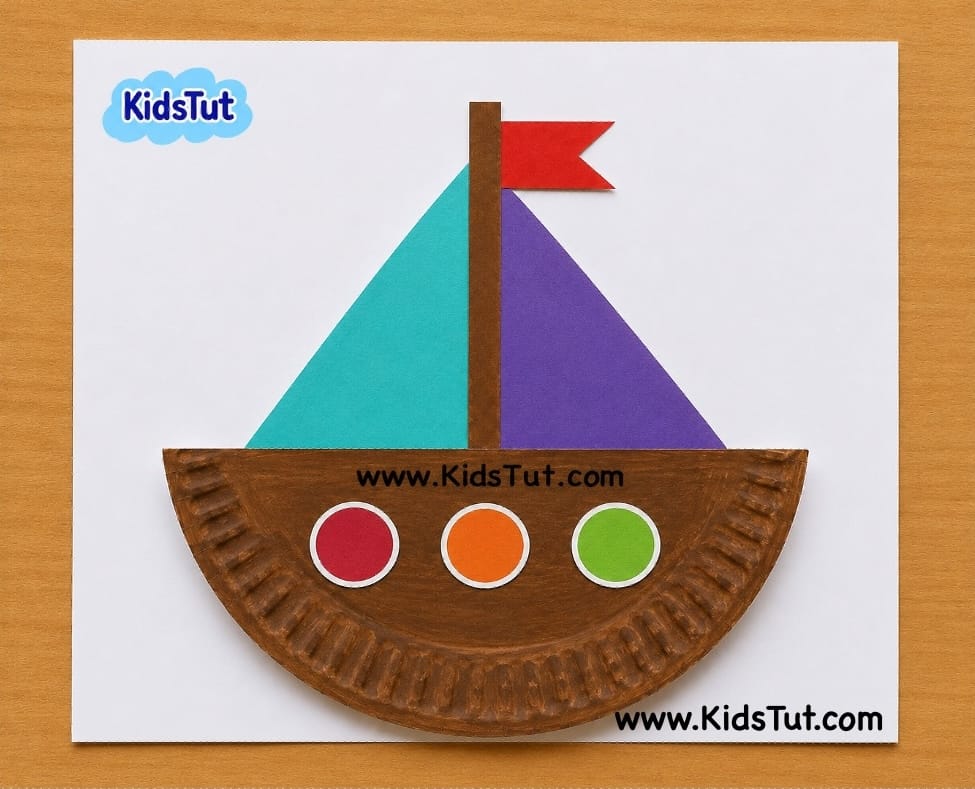
- Prepare the Boat Base
- Cut a paper plate in half to make the boat hull
- Or print the boat body shape on a colored sheet and cut it out neatly
- Create the Boat Parts
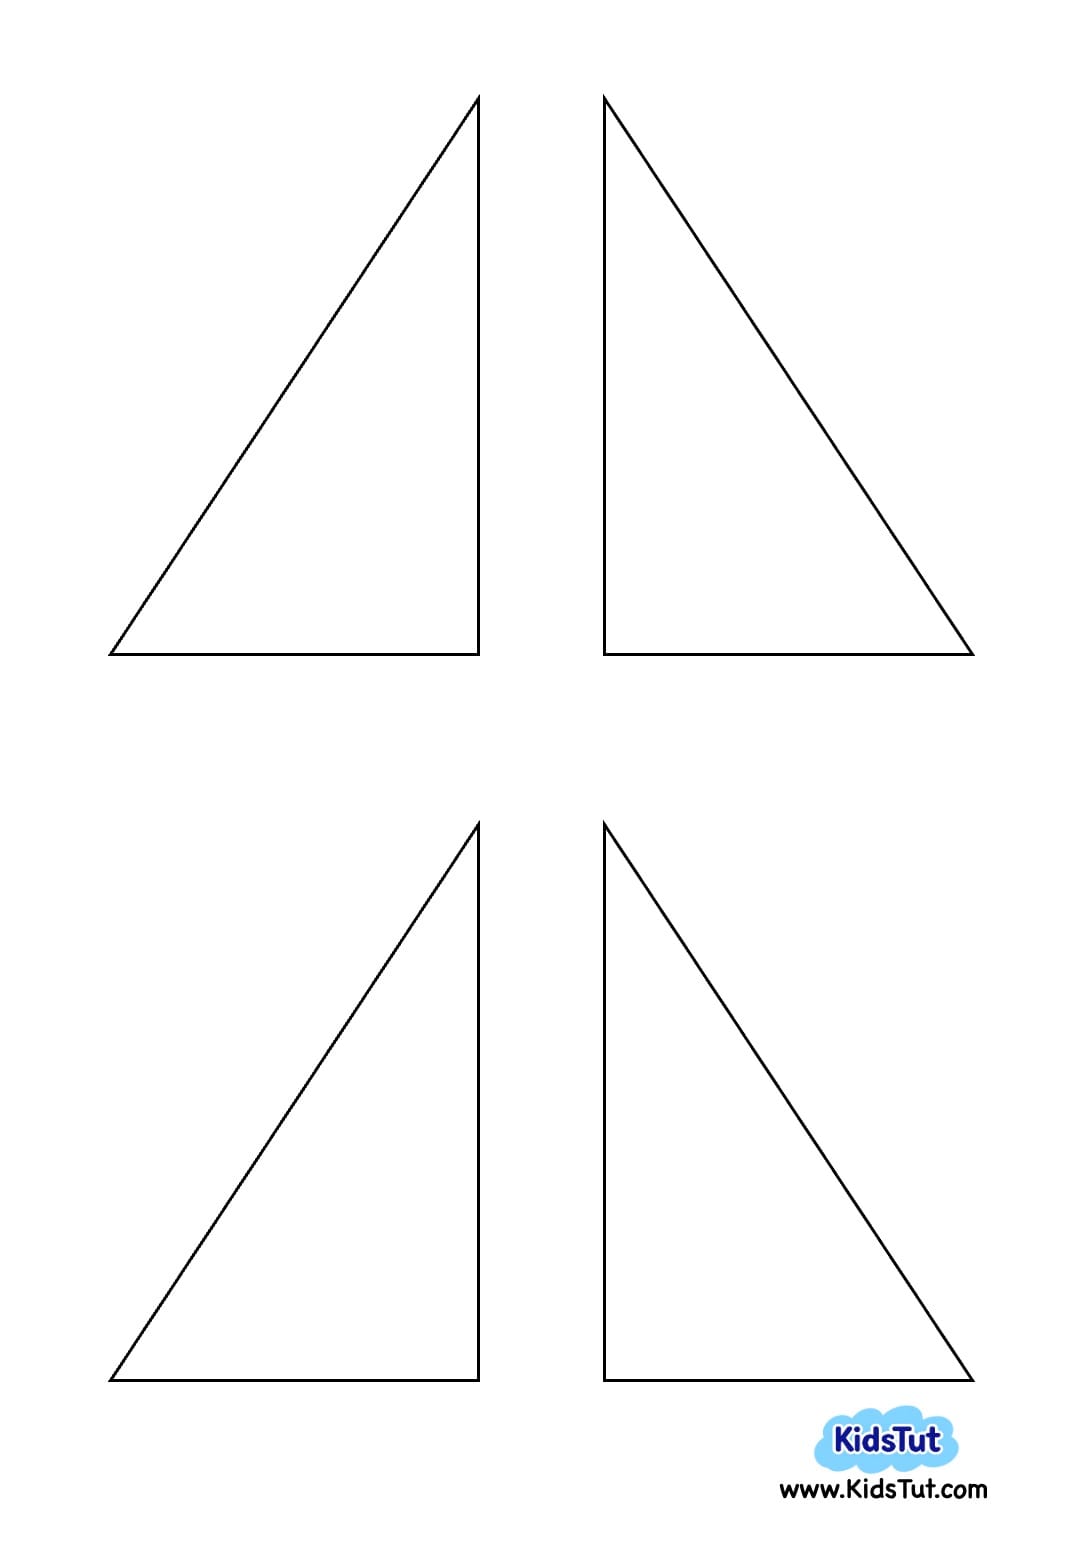
- Print the boat parts on colored sheets
- If using white sheets, color them with crayons, markers, or paints
- Cut out each part carefully
- Assemble the Sailboat
- Take a white sheet for the background
- Paste the boat hull at the bottom
- Attach the sails, mast, and flag above the hull
- Arrange neatly to form a complete sailboat.
Templates:
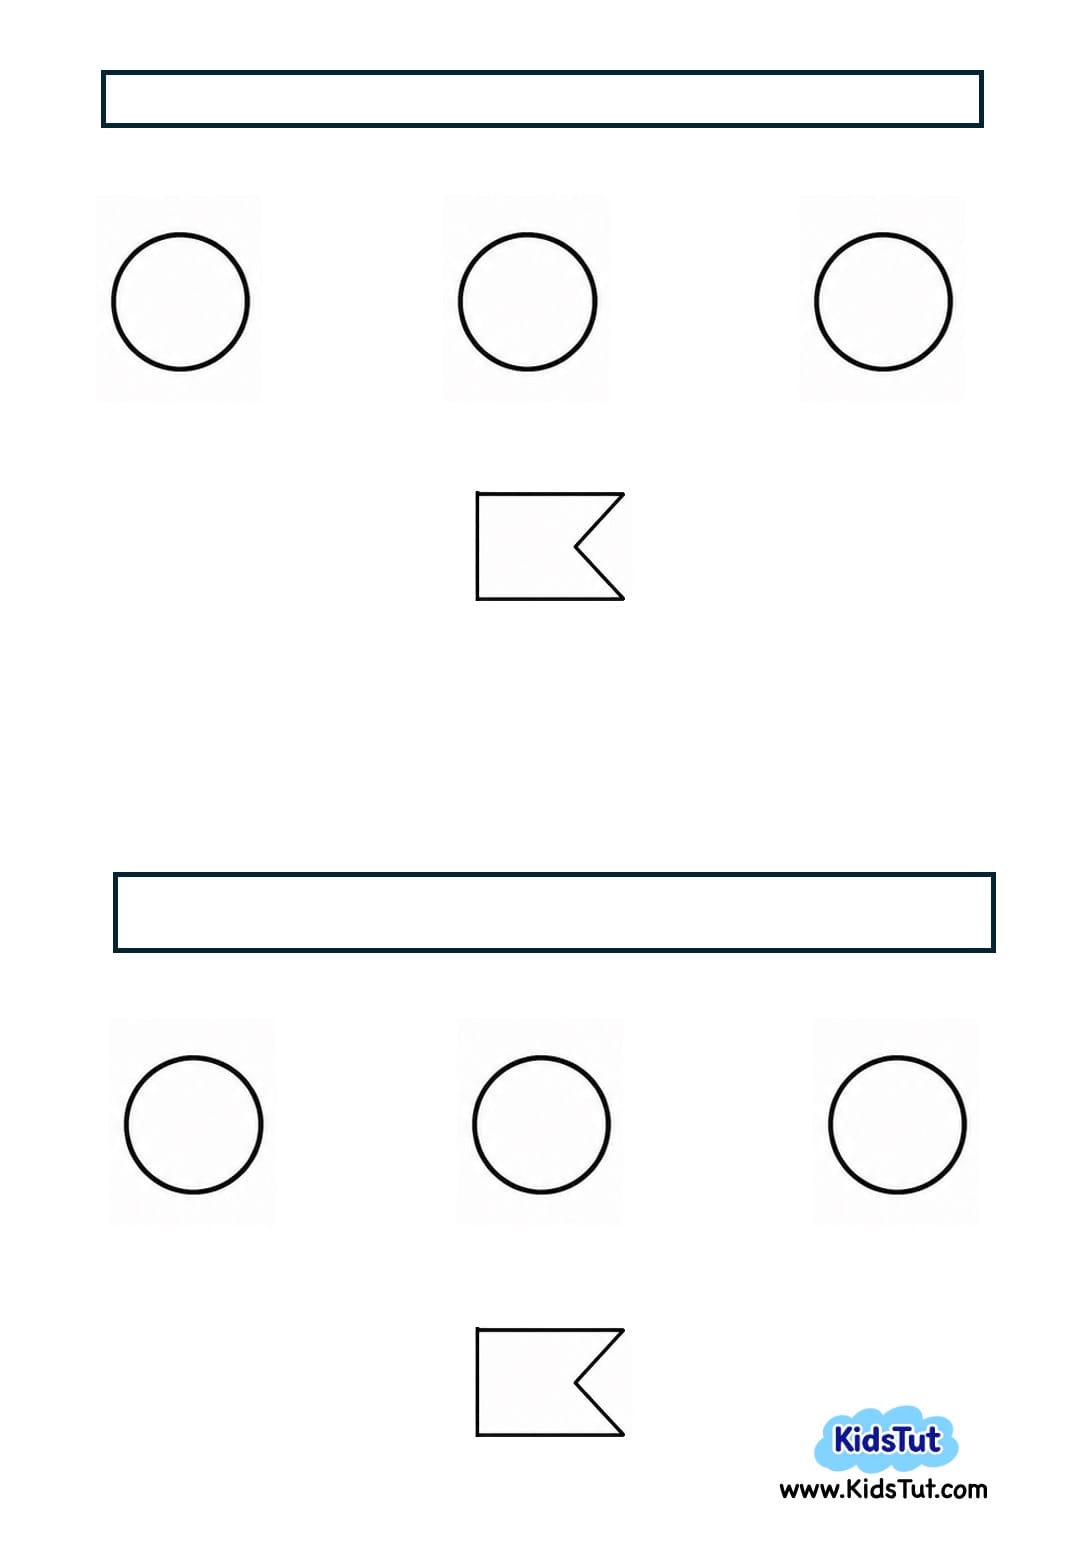
05. Cupcake Liner Beach Umbrella craft:
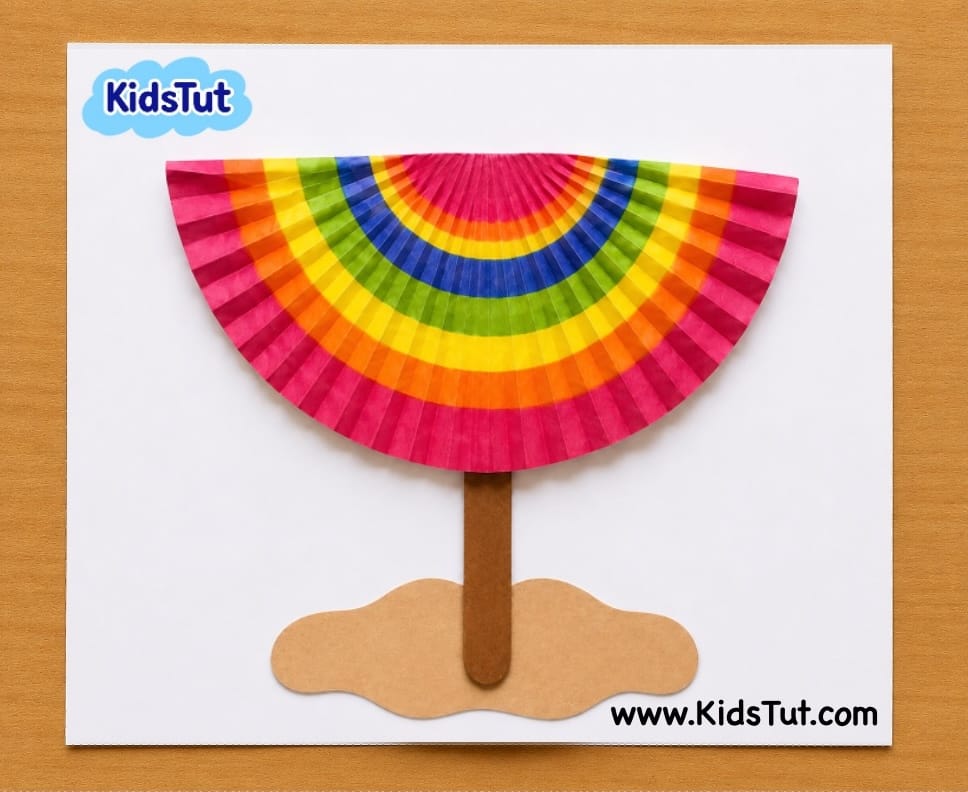
What You Need
- Colored paper
- White paper for background
- cupcake liner
- popsicle stick
- Scissors
- Glue stick
How to Make
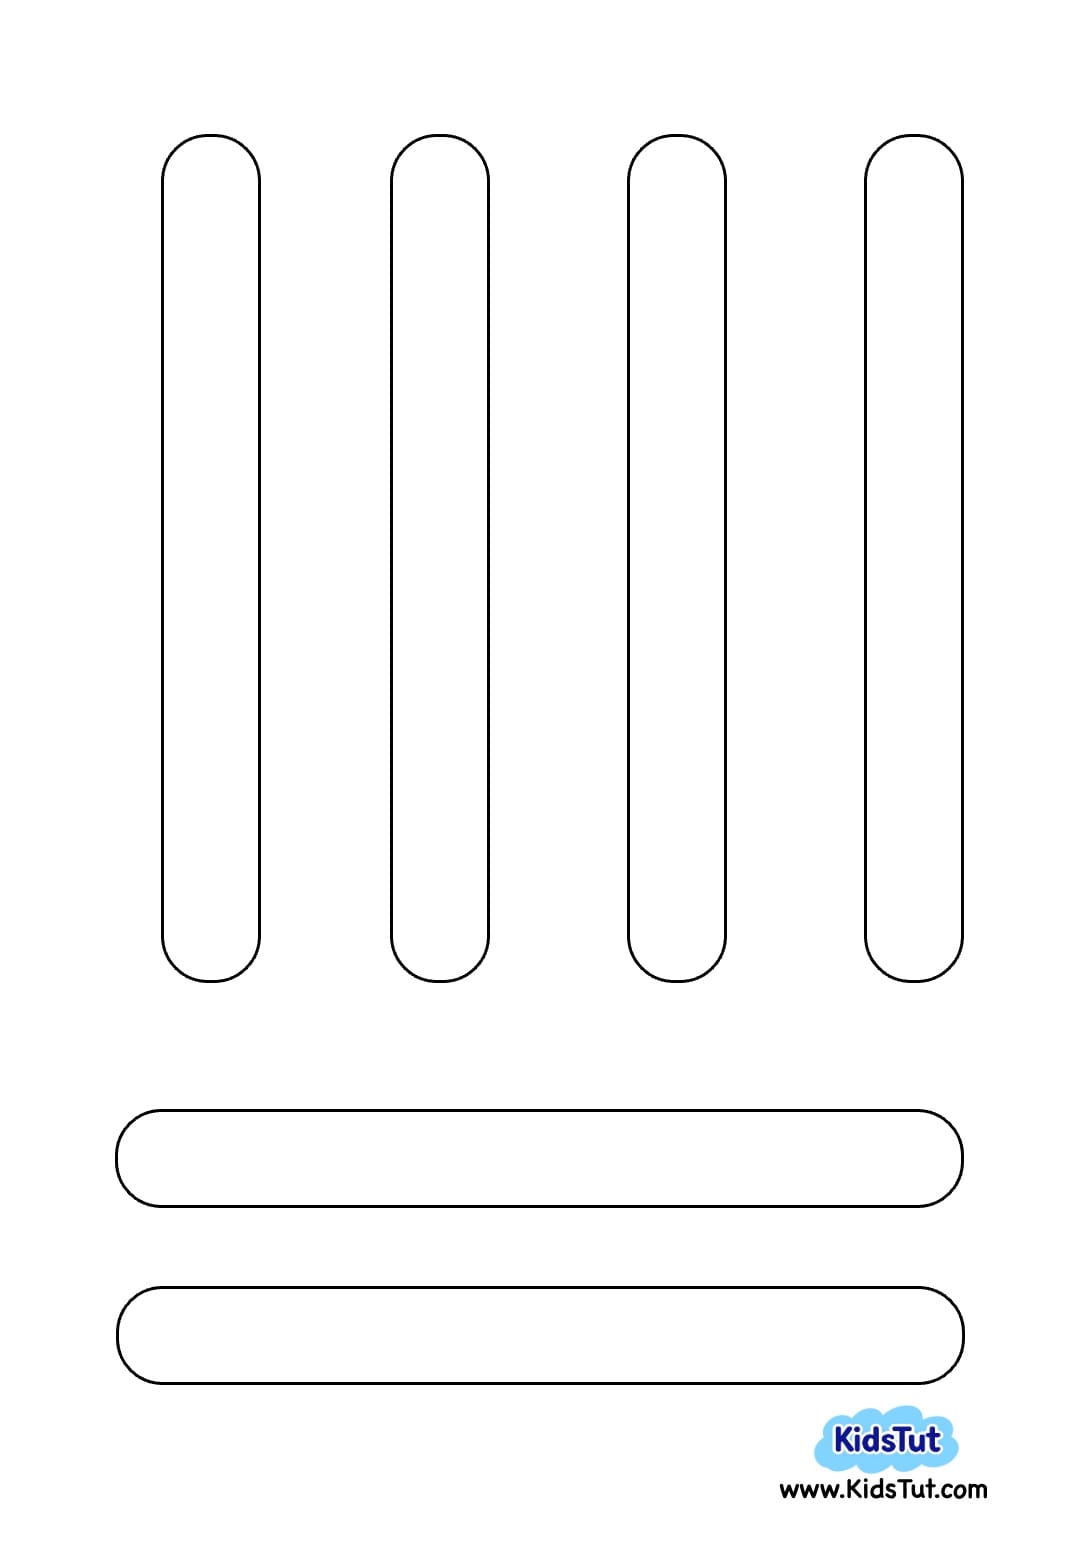
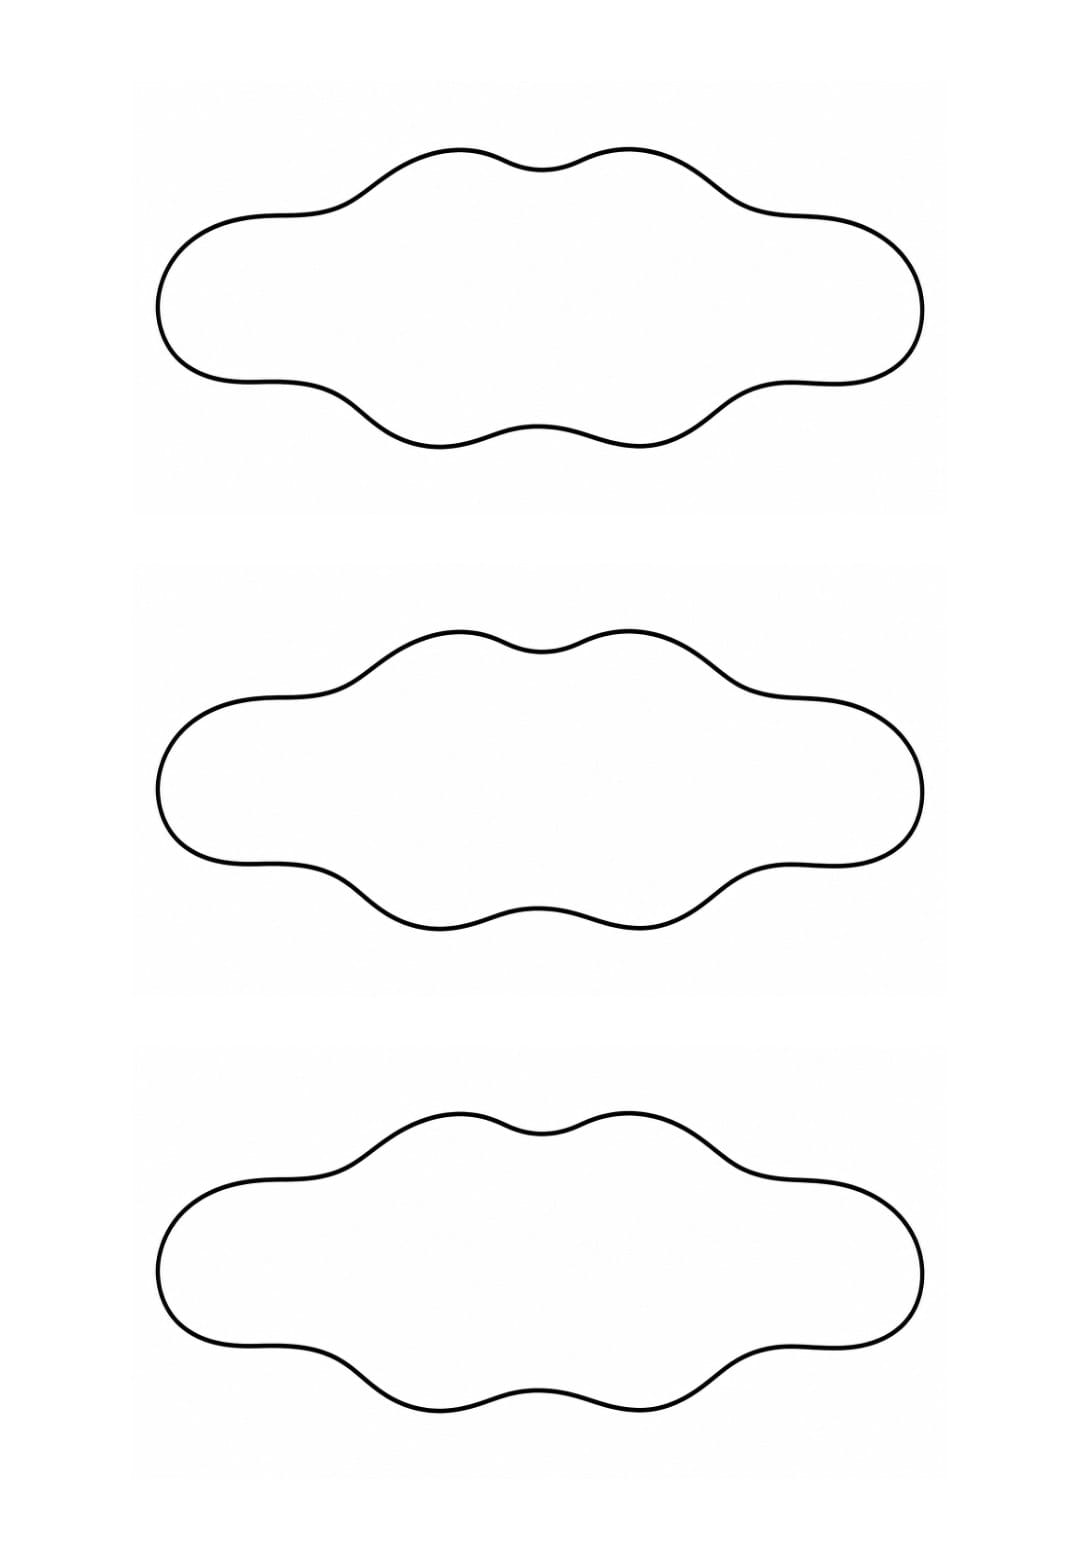
- Prepare Sand and Stick Templates
- Print the sand and stick shapes on a colored sheet
- Cut out both shapes neatly along the outlines
- Set Up Background
- Place the white sheet flat
- Paste the sand cutout at the bottom of the sheet
- Position the stick vertically on the sand and paste it
- Add Umbrella Fabric
- Flatten or slightly fold the cupcake liner to resemble umbrella fabric
- Paste it at the top of the stick
- Ensure it covers the stick end neatly
- Optional Popsicle Stick Alternative
- Use a popsicle stick instead of the printed stick
- Paste it vertically on the sand cutout
- Attach the cupcake liner umbrella fabric on top
Templates:
🌟 Benefits
- Fun learning – Kids learn shapes, colors, and patterns while making crafts.
- Creativity boost – Using ribbons, papers, and stickers helps children imagine and design their own creations.
- Fine motor skills – Cutting, pasting, and decorating improve hand control and coordination.
- Family bonding – Parents and kids enjoy working together and sharing happy moments.
- Simple supplies – No need for fancy materials; everyday items turn into amazing art.

Click here to get the FREE PDF template: Download (Printable)