Easy Christmas Mitten Coloring Garland Craft for Kids
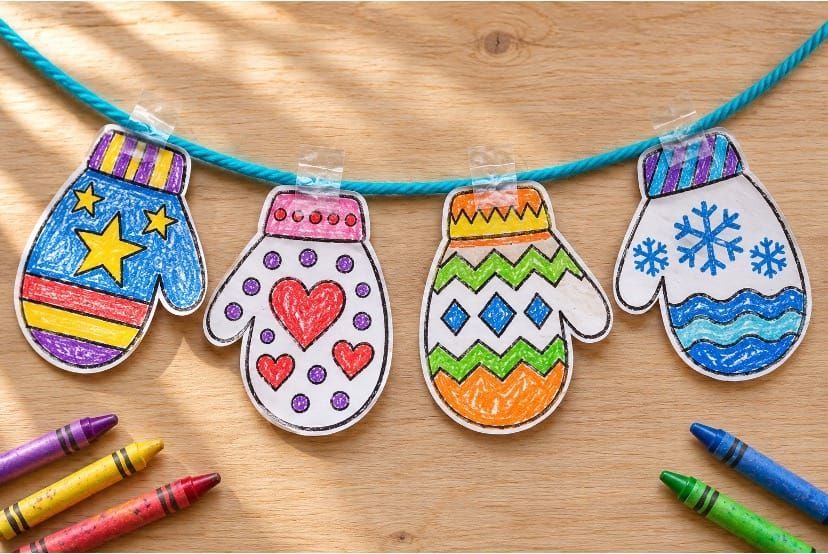
Looking for a fun and easy Christmas craft for kids? This Easy Christmas Mitten Coloring Garland Craft for Kids is a wonderful way to make colorful holiday decorations using printable mitten coloring pages, crayons, and yarn.
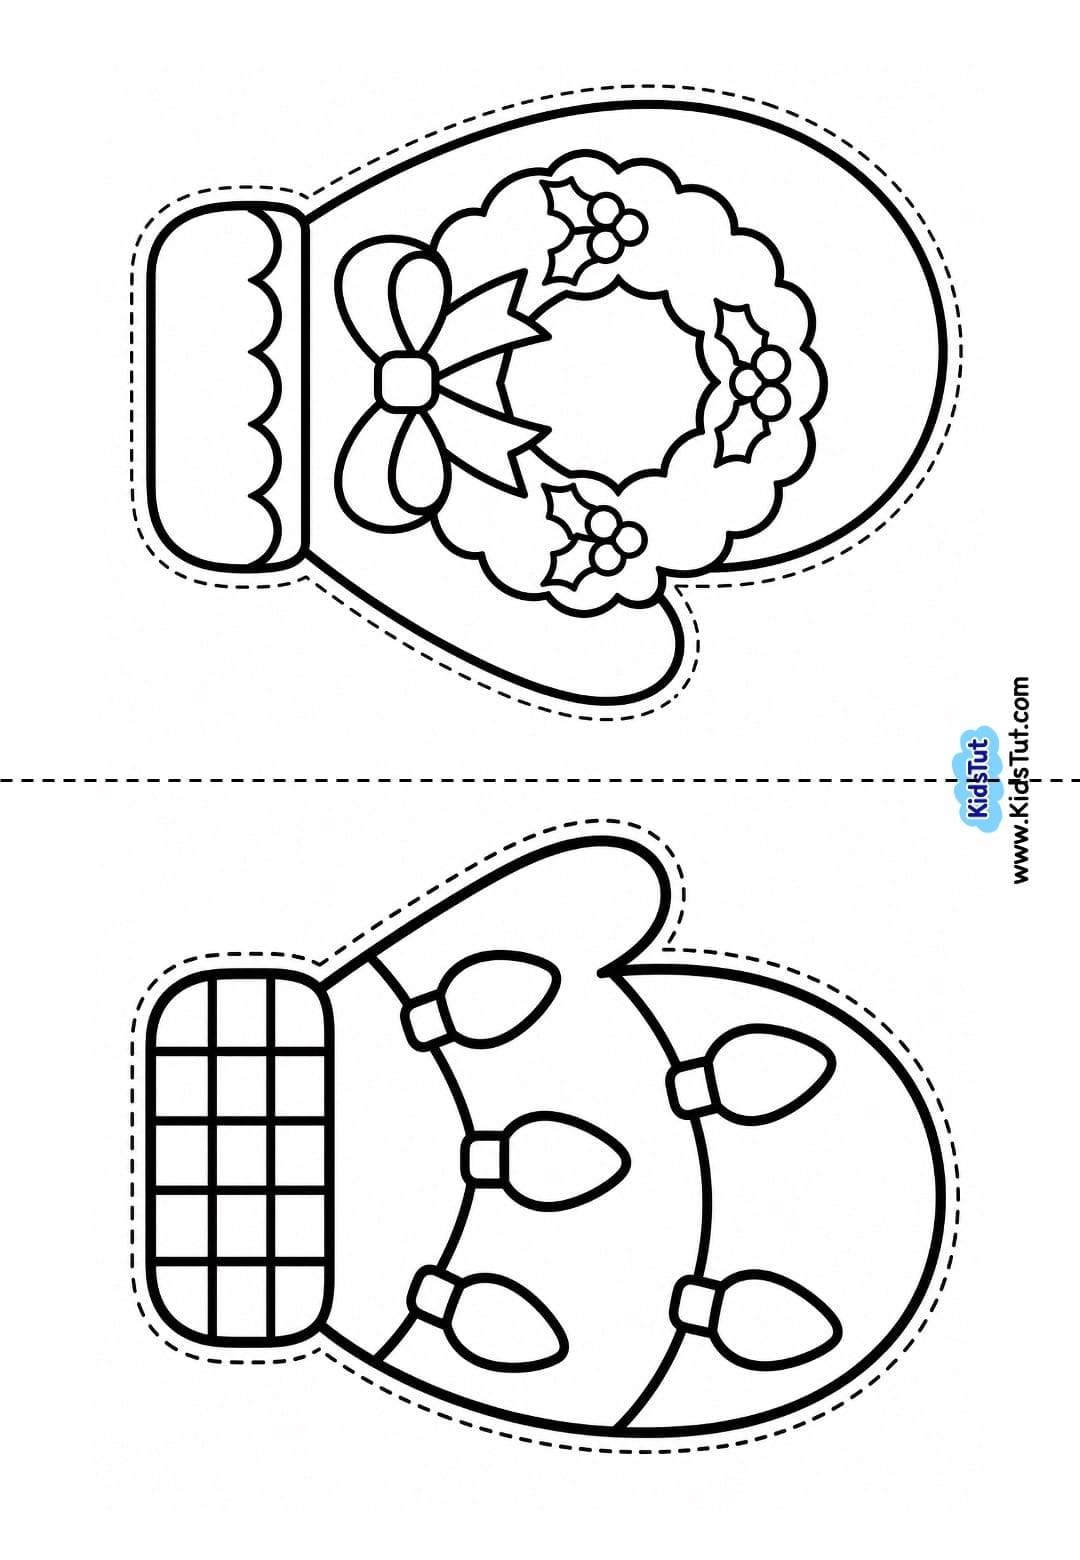
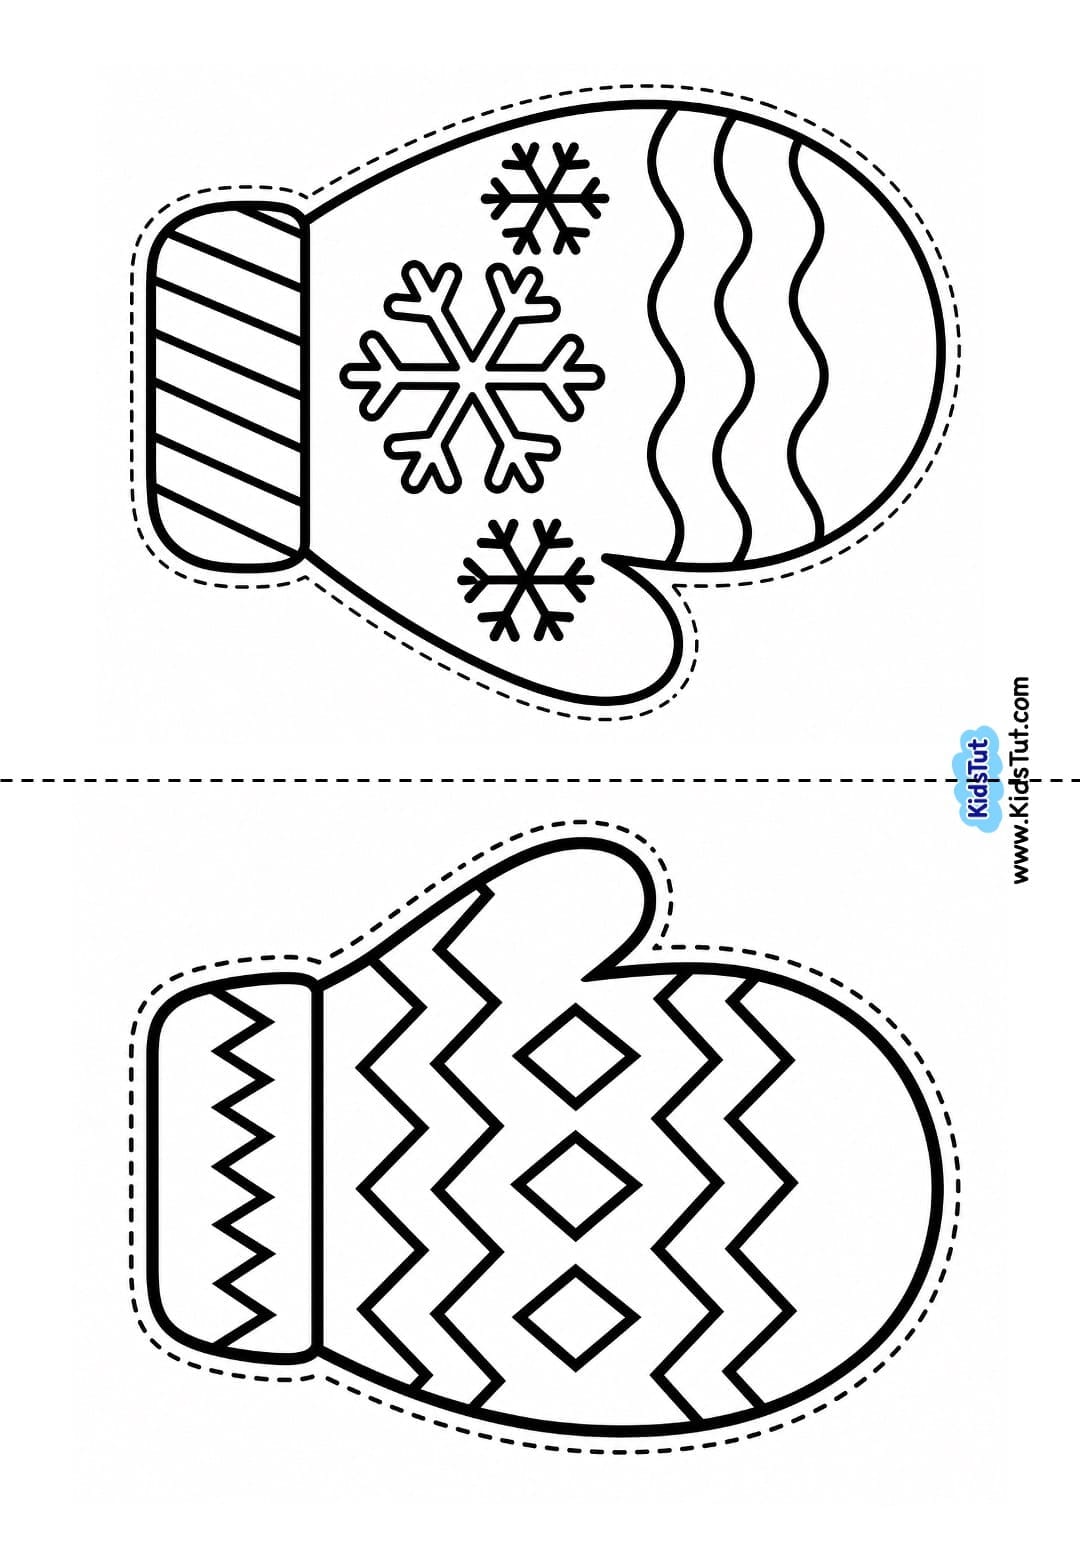
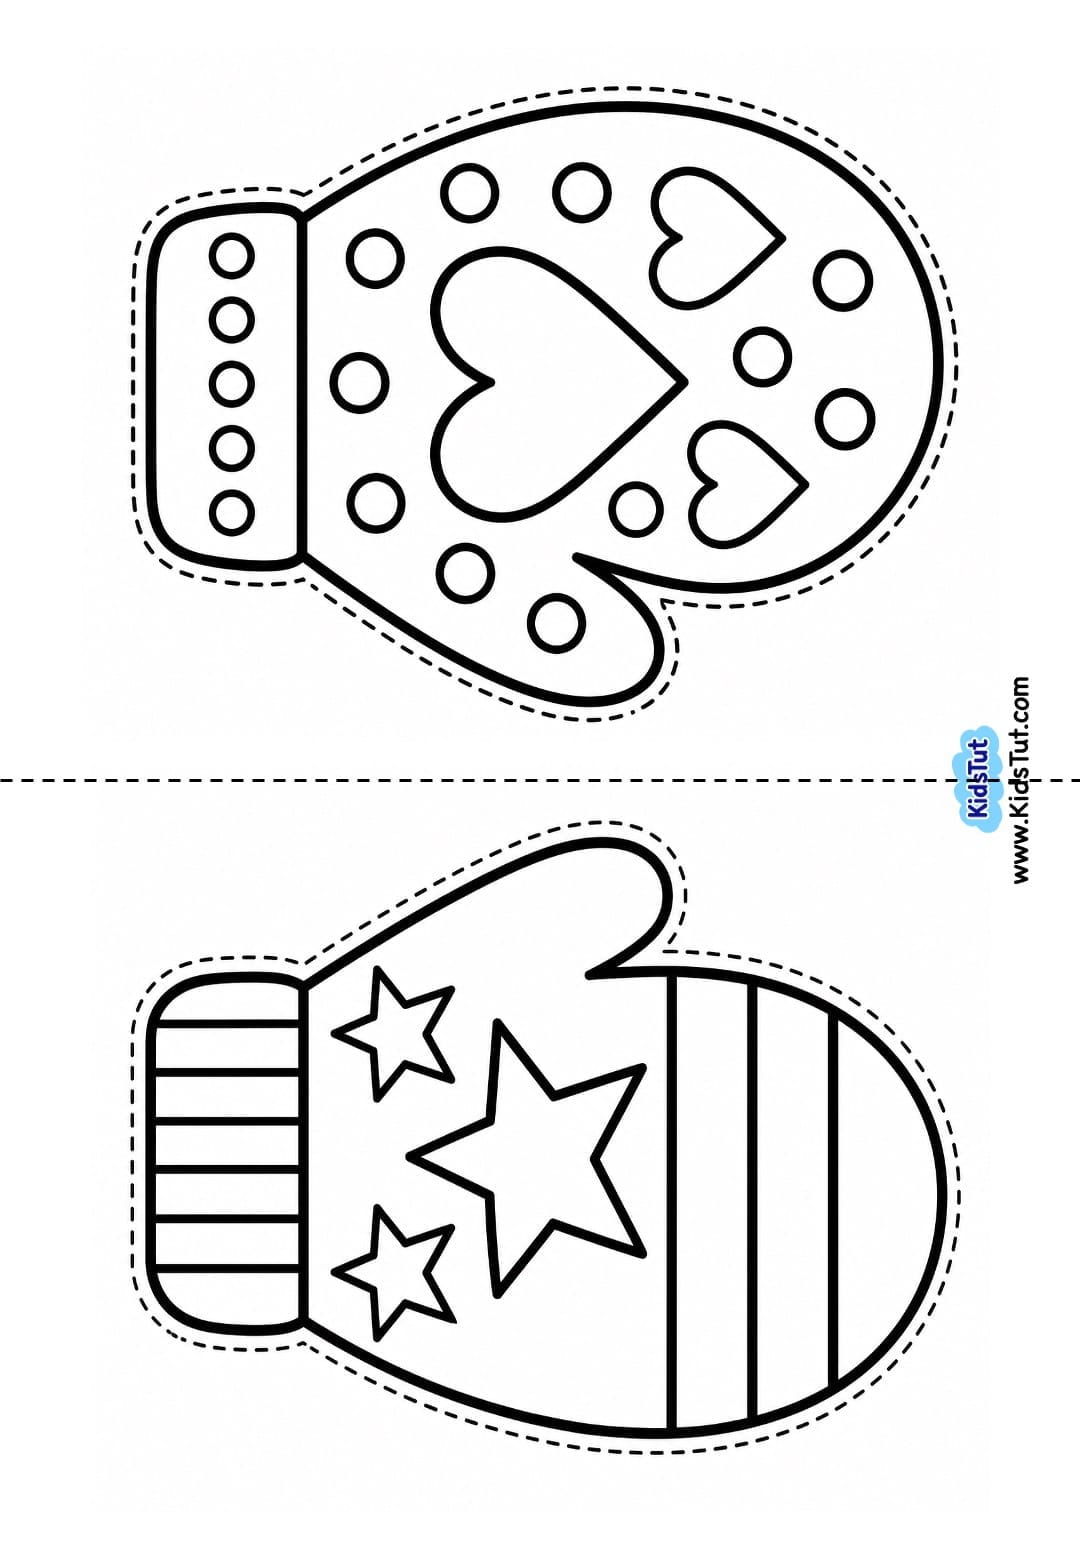
In this activity, children can color Christmas mittens with beautiful patterns, stars, hearts, snowflakes, and other festive designs. After coloring, they can cut out the mittens and attach them to a piece of yarn to create a lovely Christmas mitten garland.
This easy Christmas paper craft is perfect for preschool, kindergarten, elementary school, homeschool, and classroom Christmas activities. Children can enjoy coloring, cutting, and decorating while making their own handmade Christmas decorations.
What You Need
- Printable Christmas mitten coloring pages
- White A4 paper
- Crayons, markers, or colored pencils
- Child-safe scissors
- Yarn, string, or ribbon
- Clear tape or double-sided tape
- Hole punch (optional)
- Glue or glue sticks (optional)
- Craft board or cardstock for extra strength (optional)
How to Make a Christmas Mitten Coloring Garland
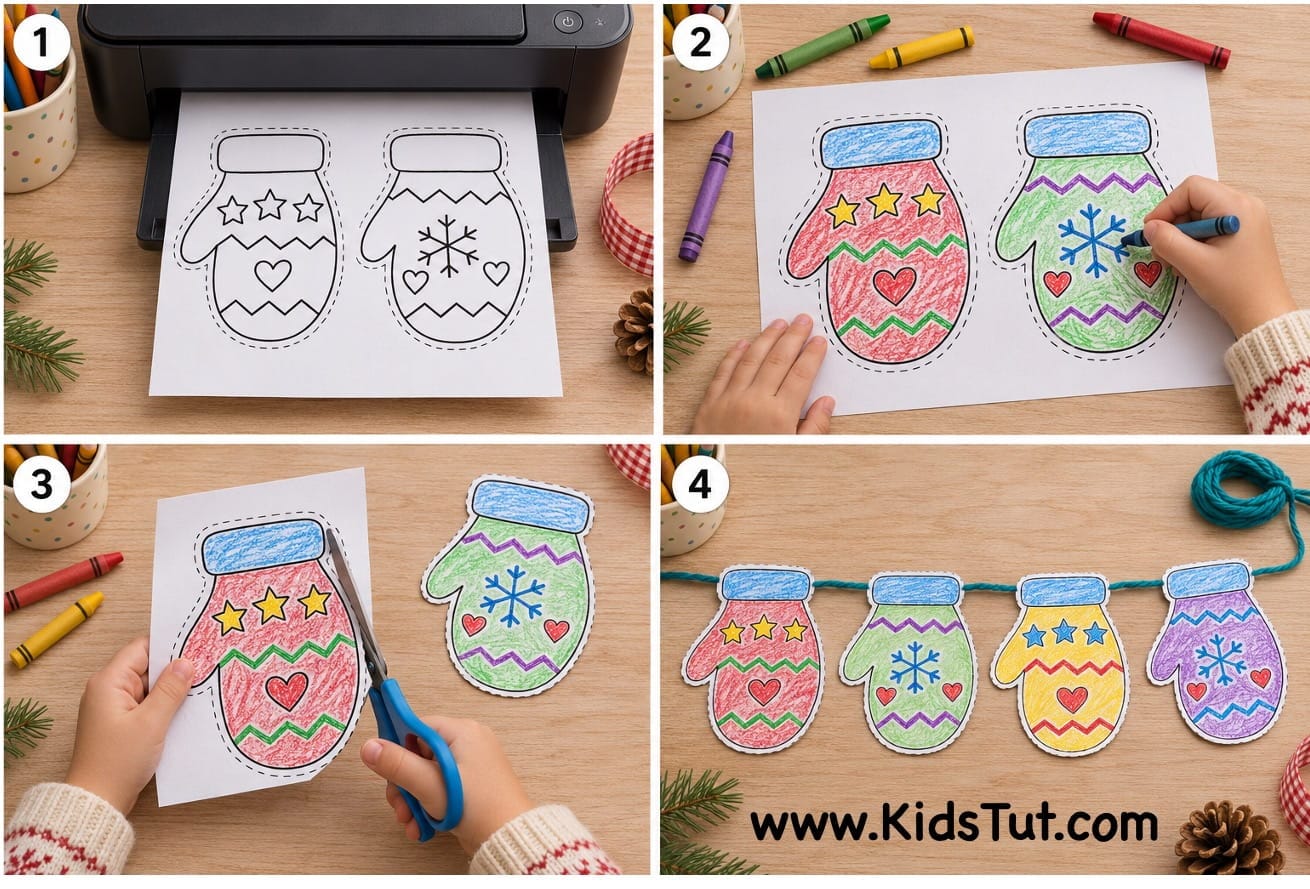
Step 1: Print the Christmas Mitten Coloring Pages
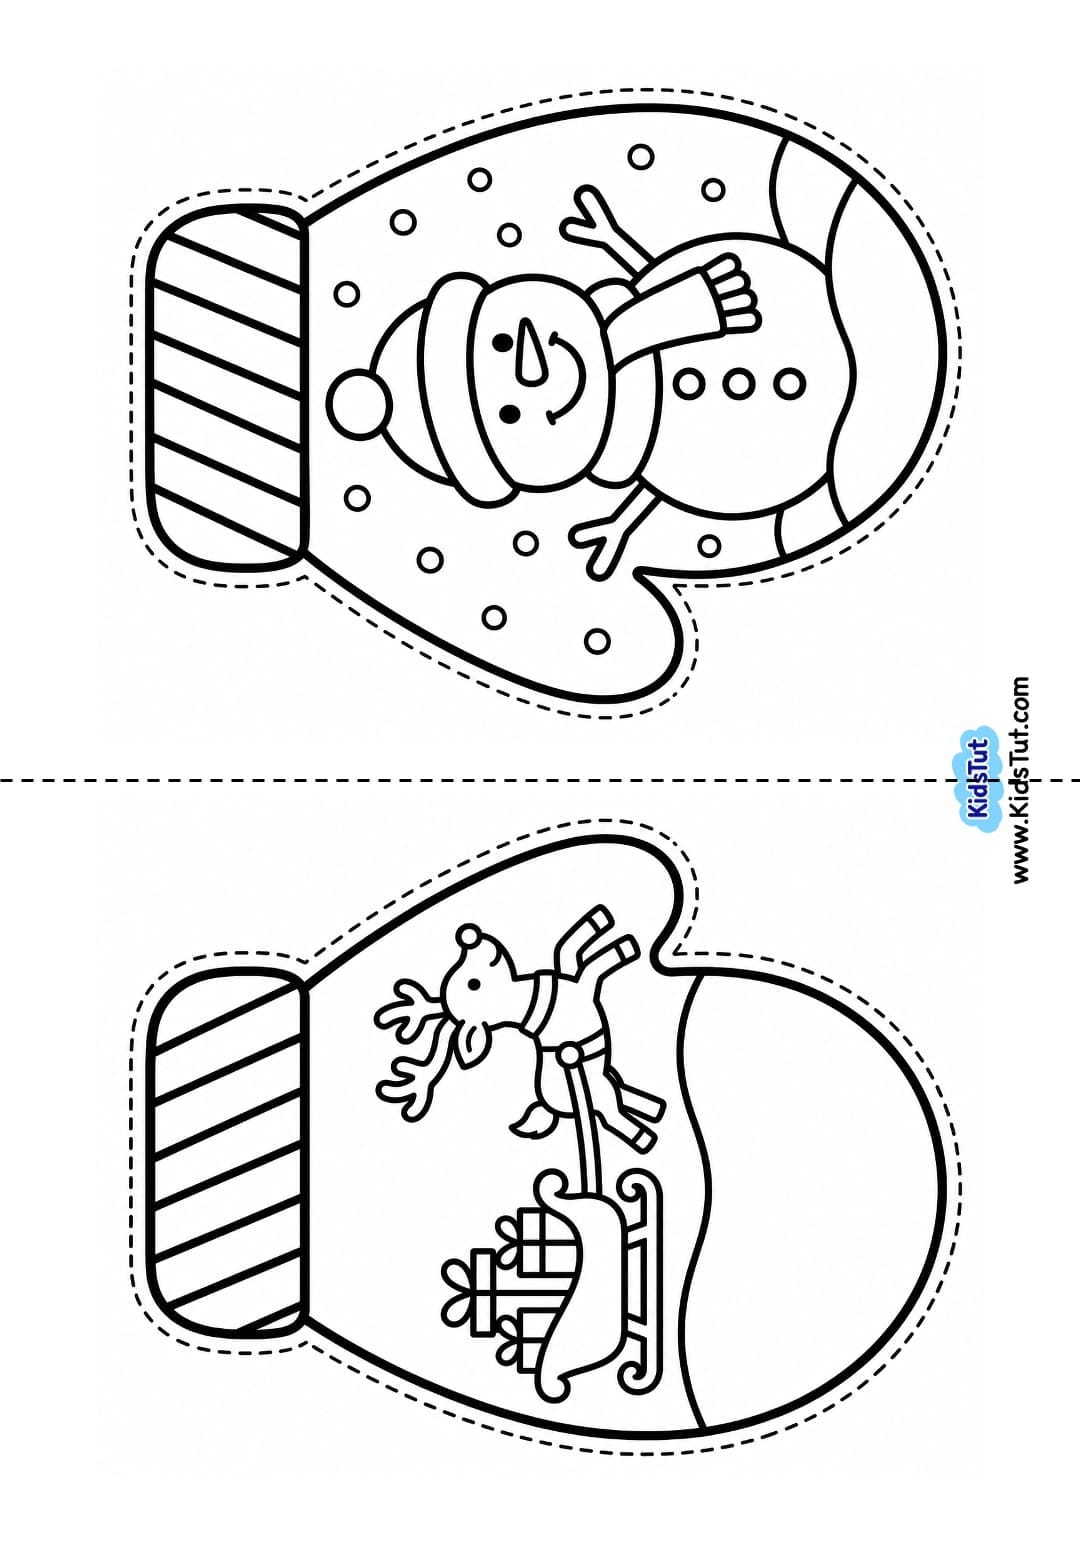
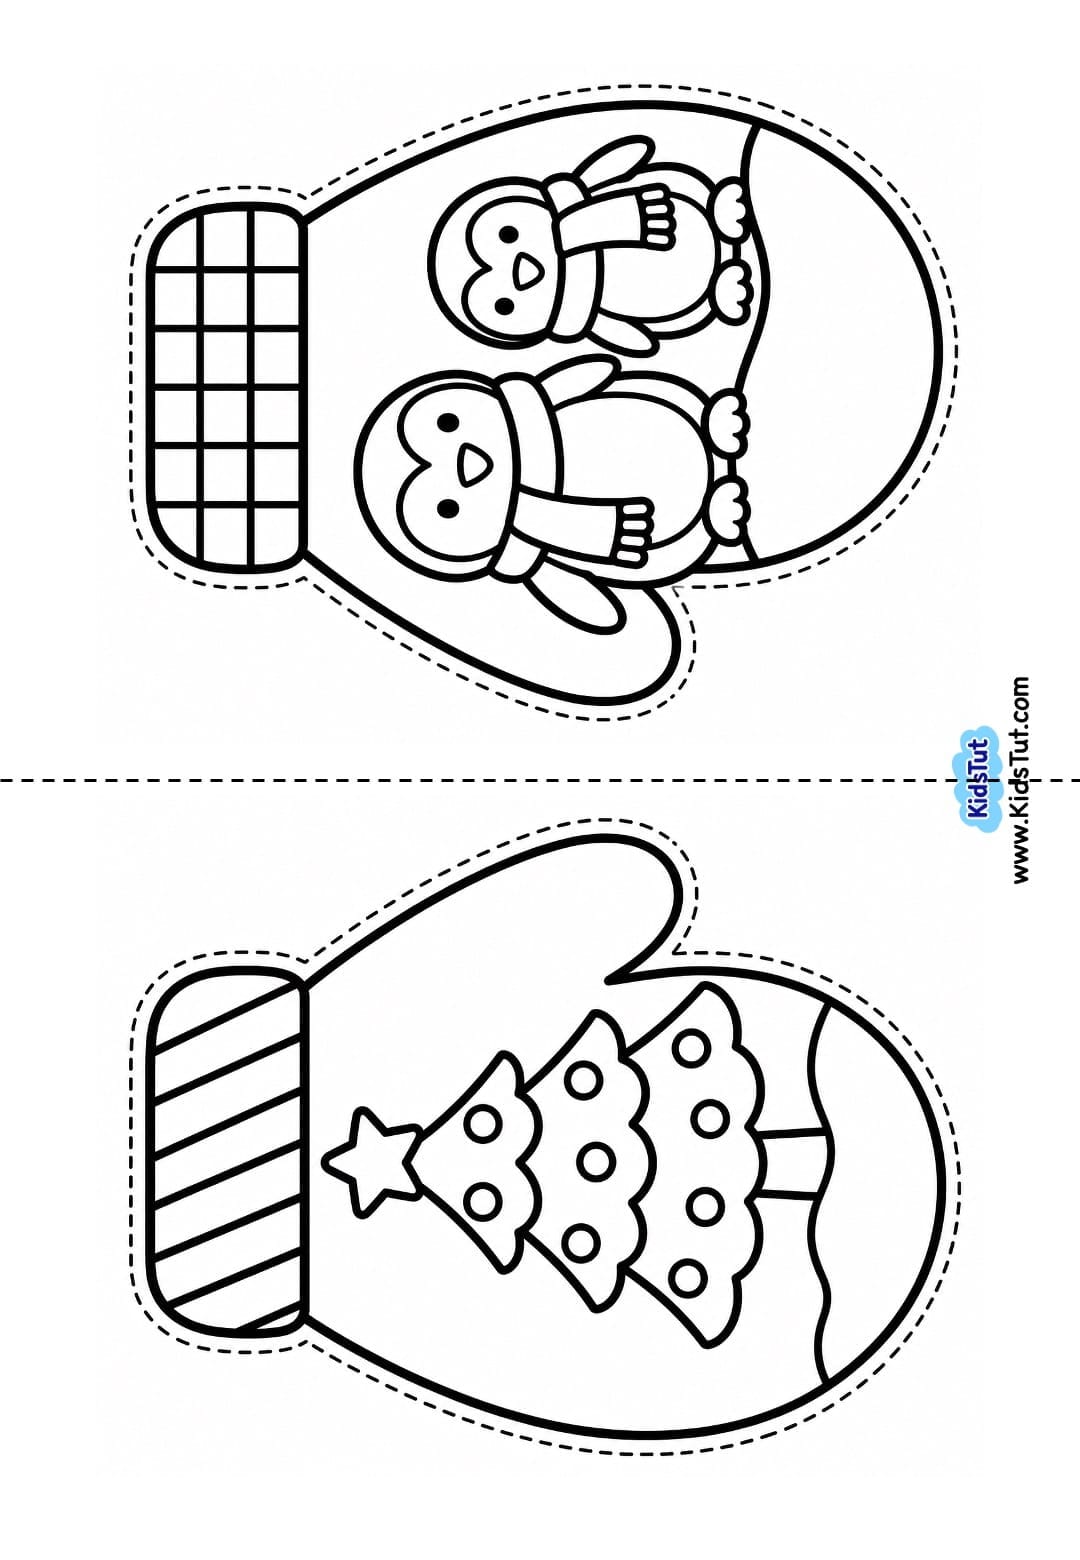
- First, choose your favorite Christmas mitten designs from the printable coloring pages provided below.
- Print the selected mitten templates on white paper.
Note: I have designed the templates with two mittens on each A4-sized page. If you need a different size, you can adjust the paper size or scaling in your printer settings before printing.
- You can print several pages to make a long and colorful Christmas garland.
Step 2: Color the Christmas Mittens
- Next, take your printed Christmas mitten coloring pages.
- Use crayons, markers, or colored pencils to color the mittens.
- Choose bright Christmas colors such as red, green, yellow, blue, pink, purple, and orange.
- Children can use different colors for each mitten and decorate the patterns in their own creative way.
- Encourage children to make each mitten colorful and unique.
Step 3: Cut Out the Christmas Mittens
- Once the coloring is finished, take a pair of child-safe scissors.
- Carefully cut along the outside outline of each mitten.
- Separate the colored mittens from the printed sheets.
- Continue cutting until all your Christmas mitten cutouts are ready.
- For stronger decorations, you can glue the colored mittens onto craft board or cardstock before cutting them out.
Step 4: Prepare the Yarn for Your Garland
- Take a long piece of yarn, string, or ribbon.
- Choose a color that matches your Christmas decorations.
- You can use red, green, blue, white, or any other color you like.
- Cut the yarn to your preferred garland length.
- Place it on your table and arrange the colored mittens along the yarn.
- Try to leave a small, even space between each mitten.
Step 5: Attach the Mittens to the Yarn
Now it's time to attach your colorful Christmas mittens to the yarn.
You can use any of these three simple methods.
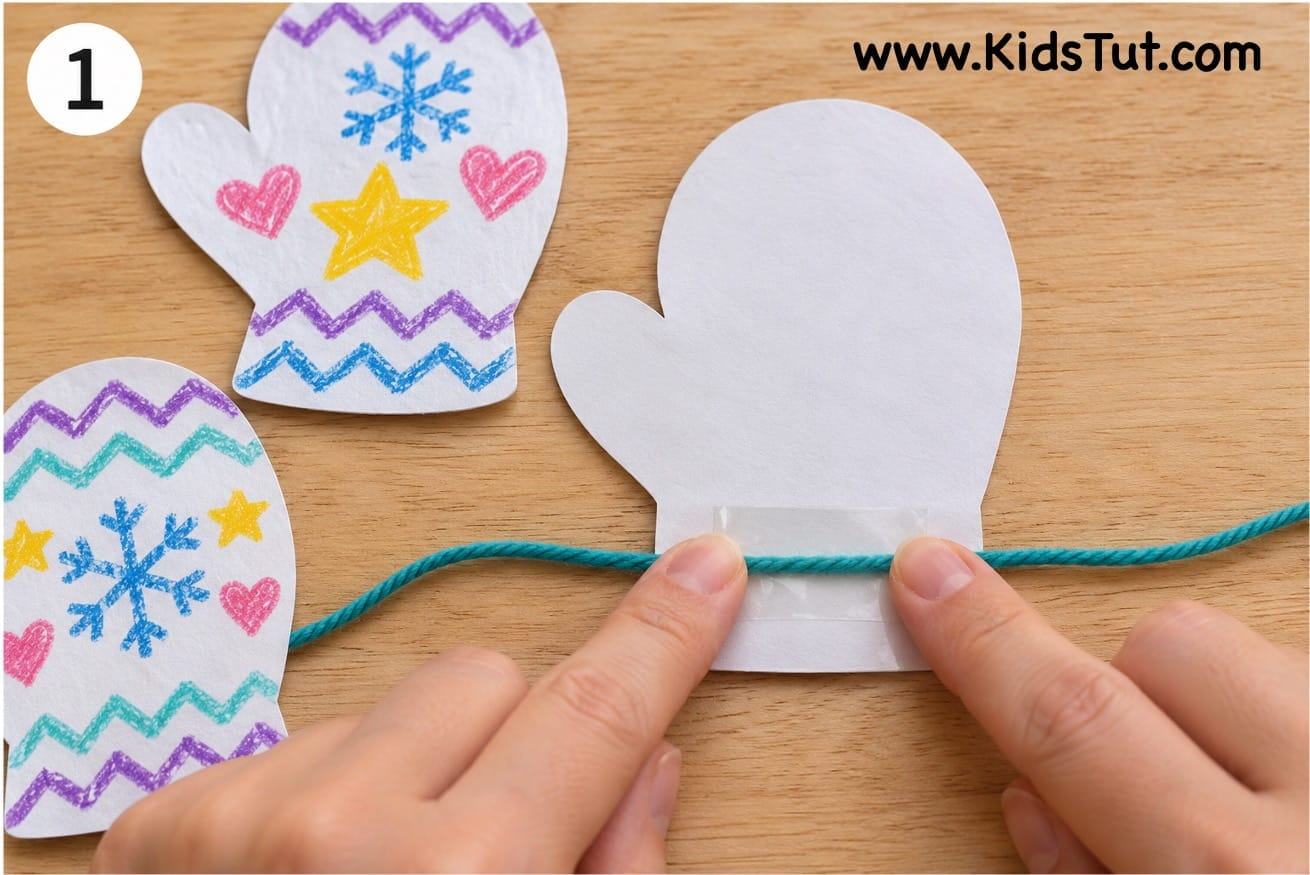
Method 1: Attach with Tape
- Place the yarn on your table.
- Arrange the colored mittens along the yarn.
- Turn each mitten over and attach the yarn to the back of the mitten using clear tape or double-sided tape.
- Make sure each mitten is securely attached.
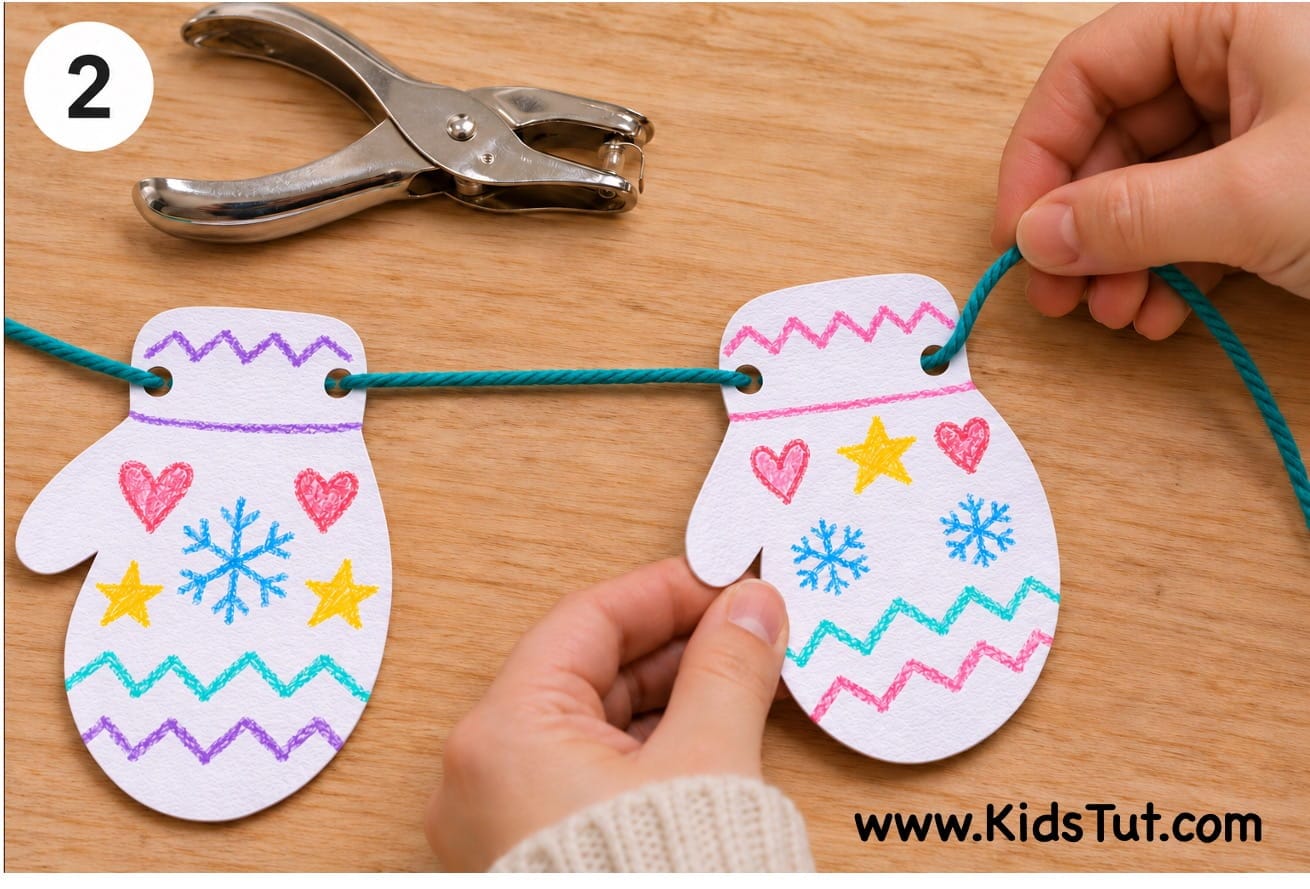
Method 2: Use a Hole Punch
- Punch a small hole near the top of each mitten.
- Carefully thread the long piece of yarn through the holes.
- Arrange the mittens along the yarn, leaving spaces between them.
- If needed, use small pieces of tape to keep the mittens in place.
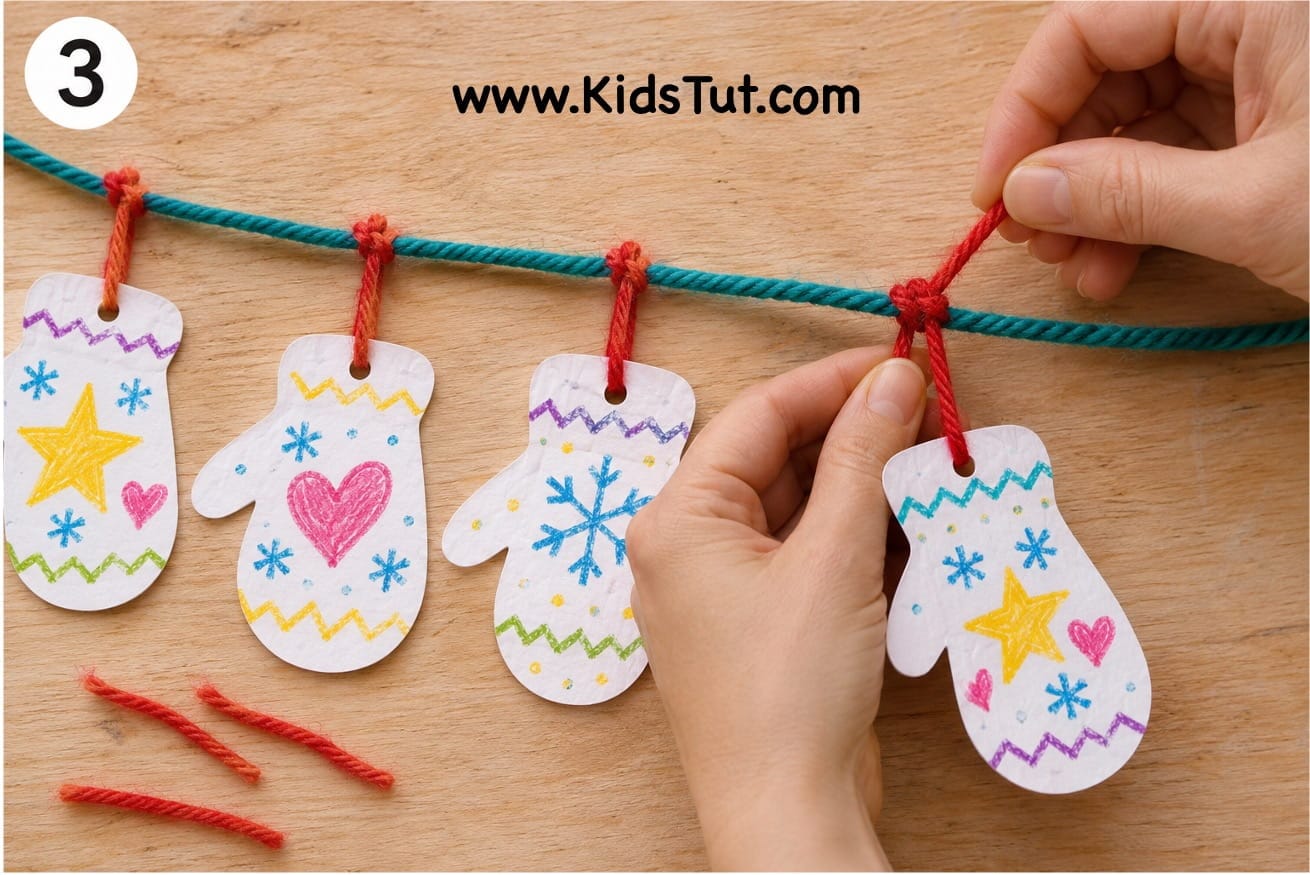
Method 3: Tie the Mittens with Small Yarn Pieces
- Punch a small hole near the top of each mitten.
- Cut several short pieces of yarn.
- Thread a short piece of yarn through each mitten hole.
- Tie each mitten to the long garland yarn.
- Adjust the spacing between the mittens to create a beautiful hanging garland.
Choose the method that is easiest for your children.
Step 6: Make Your Christmas Mitten Garland
- Once all the mittens are attached, gently lift the yarn and check your garland.
- Make sure the mittens are hanging neatly and facing forward.
- Adjust the spacing if needed.
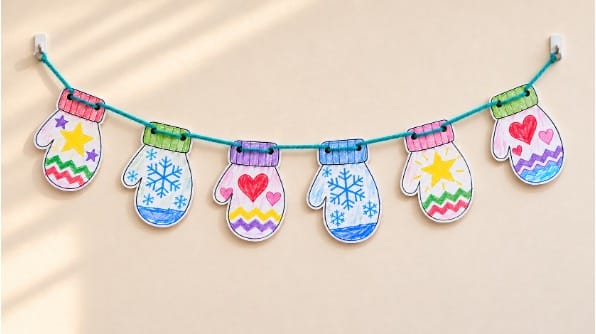
- Now your beautiful Christmas mitten coloring garland is ready!
Step 7: Hang and Display Your Garland
- Choose a suitable place to display your handmade Christmas garland.
- You can hang it across a classroom wall, window, bulletin board, or doorway.
- Secure both ends of the yarn using tape or suitable hooks.
- Your colorful Christmas mitten garland will make a lovely handmade decoration for the holiday season!
Christmas Mitten Coloring Pages:
Create Your Own Christmas Mitten Designs
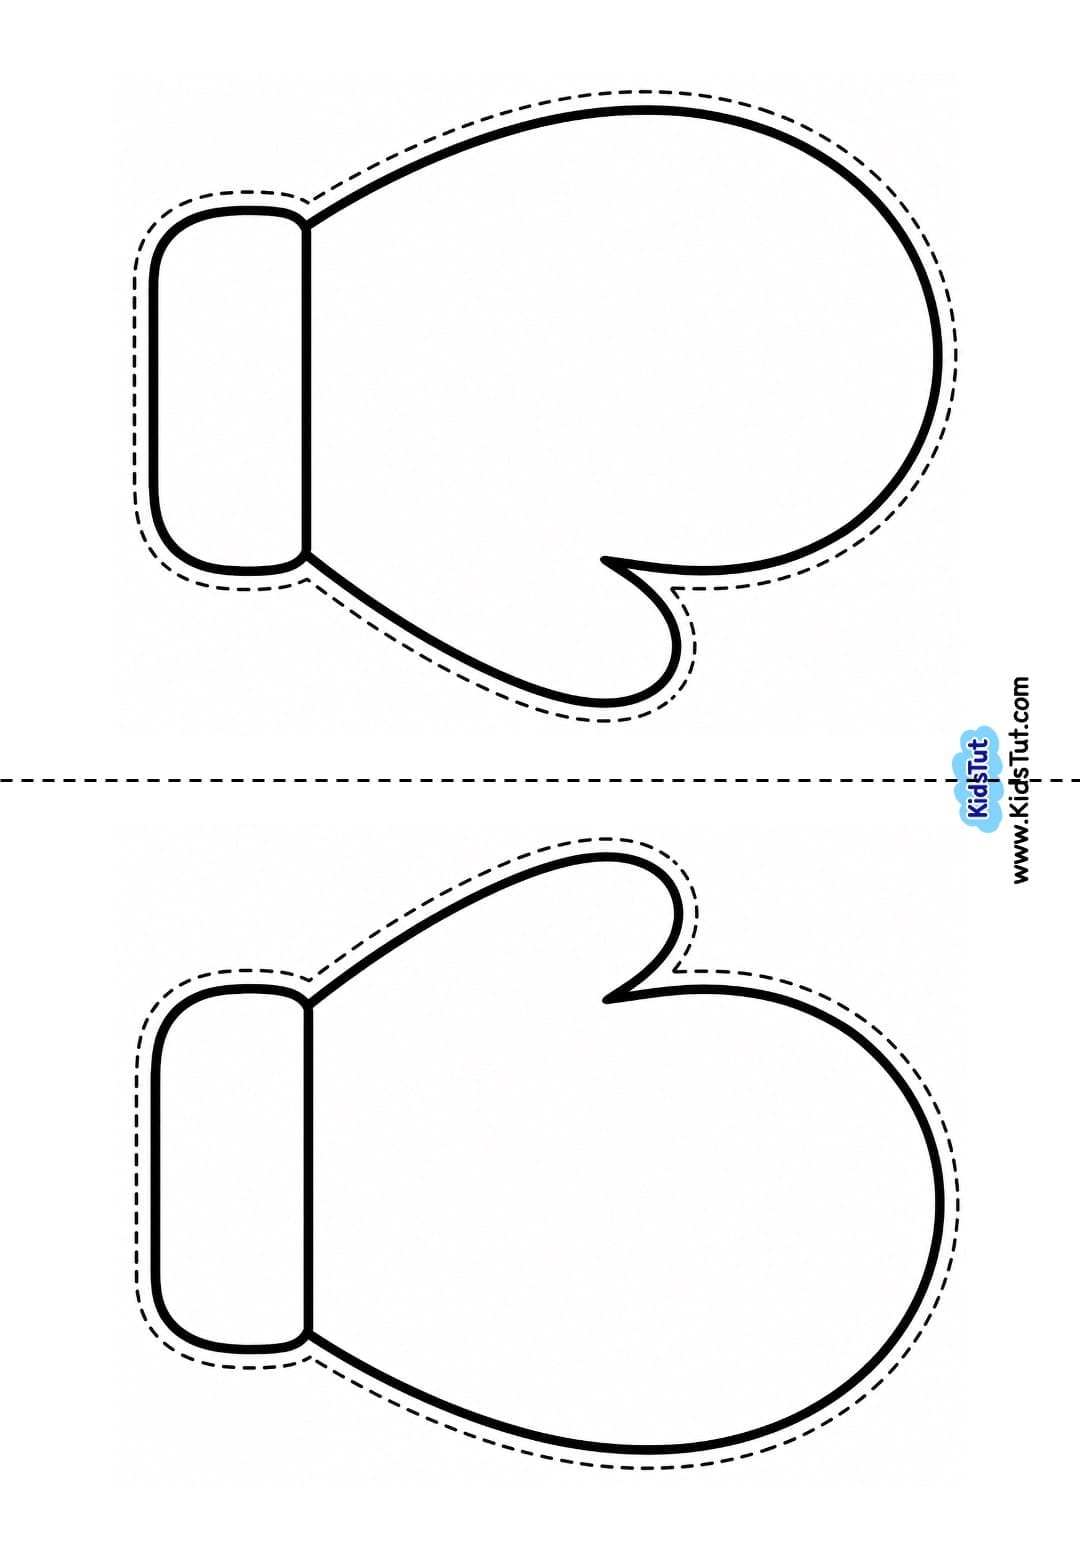
- Print the blank Christmas mitten templates on white paper.
- Let children draw their own patterns, shapes, or Christmas pictures inside the mittens.
- Then, color the designs using crayons, markers, or colored pencils.
- Carefully cut out the mittens along their outside outlines.
- Finally, attach the colorful mittens to a long piece of yarn using tape or a hole punch to create a unique Christmas mitten garland with your own designs!
Blank Christmas mitten template:
Benefits of Christmas Mitten Coloring Garland Crafts for Kids
This easy Christmas coloring craft is not only fun but also helps children develop important early learning skills.
- Encourages creativity – Children can choose their favorite colors and decorate each mitten with different patterns.
- Develops fine motor skills – Coloring, cutting, and attaching mittens to yarn help strengthen small hand and finger muscles.
- Improves hand-eye coordination – Kids practice coloring inside outlines and carefully attaching the mittens to the garland.
- Supports pre-writing skills – Coloring small patterns helps children develop pencil control and hand movements needed for writing.
- Builds cutting skills – Cutting around mitten outlines helps children practice using scissors.
- Teaches color recognition – Children explore different colors while decorating their Christmas mittens.
- Introduces shapes and patterns – Kids learn about stars, hearts, circles, stripes, snowflakes, and zigzag patterns.
- Builds concentration – Children practice focusing while coloring, cutting, and arranging the mittens.
- Develops spacing skills – Arranging mittens along the yarn helps children understand simple spacing and order.
- Encourages teamwork – Children can work together to make a long Christmas garland for their classroom.
- Builds confidence – Kids feel proud when they finish and display their handmade Christmas decorations.
Fun Ways to Display Your Christmas Mitten Garland
Once your Christmas mitten garland is ready, you can use it in different ways.
- Classroom Wall Decoration: Hang the colorful mitten garland across a classroom wall.
- Christmas Bulletin Board: Use the garland to decorate a Christmas-themed bulletin board.
- Window Decoration: Hang the mittens across a classroom or home window.
- Christmas Door Decoration: Attach the garland around a classroom doorway.
- Christmas Tree Decoration: Make a smaller mitten garland and wrap it around your Christmas tree.
- Holiday Party Decoration: Use several handmade mitten garlands to decorate a Christmas classroom party.

Click here to get the FREE PDF template: Download ( Printable )