Easy Christmas Shape Coloring Crafts for Kids
Looking for a fun and creative Christmas coloring activity for kids? These Easy Christmas Shape Coloring Crafts are a wonderful way to enjoy holiday crafting using printable coloring pages, crayons, markers, and colorful paper.
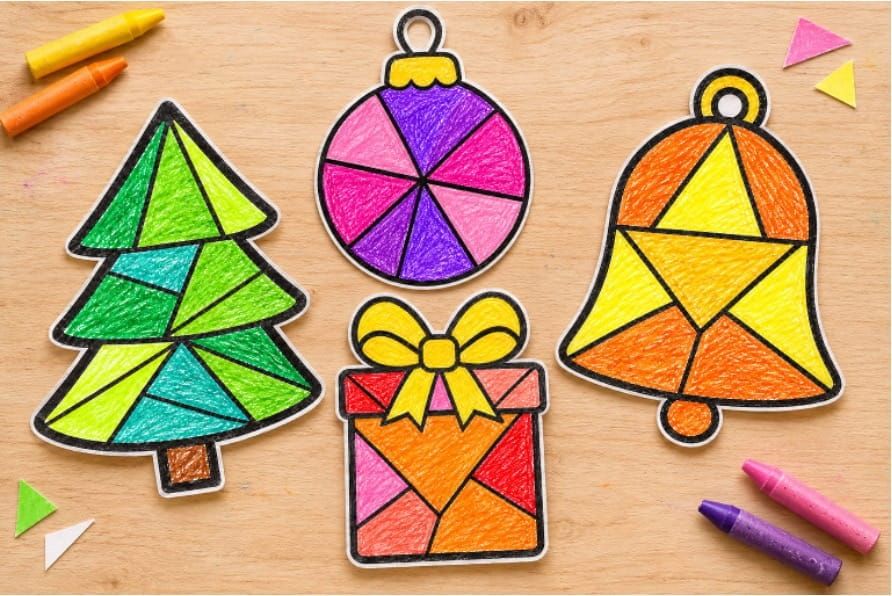
In this activity, children can color beautiful Christmas pictures made with different shapes and divided sections. Instead of coloring the whole picture in one color, kids can use several bright colors to fill each section and create their own colorful Christmas designs.
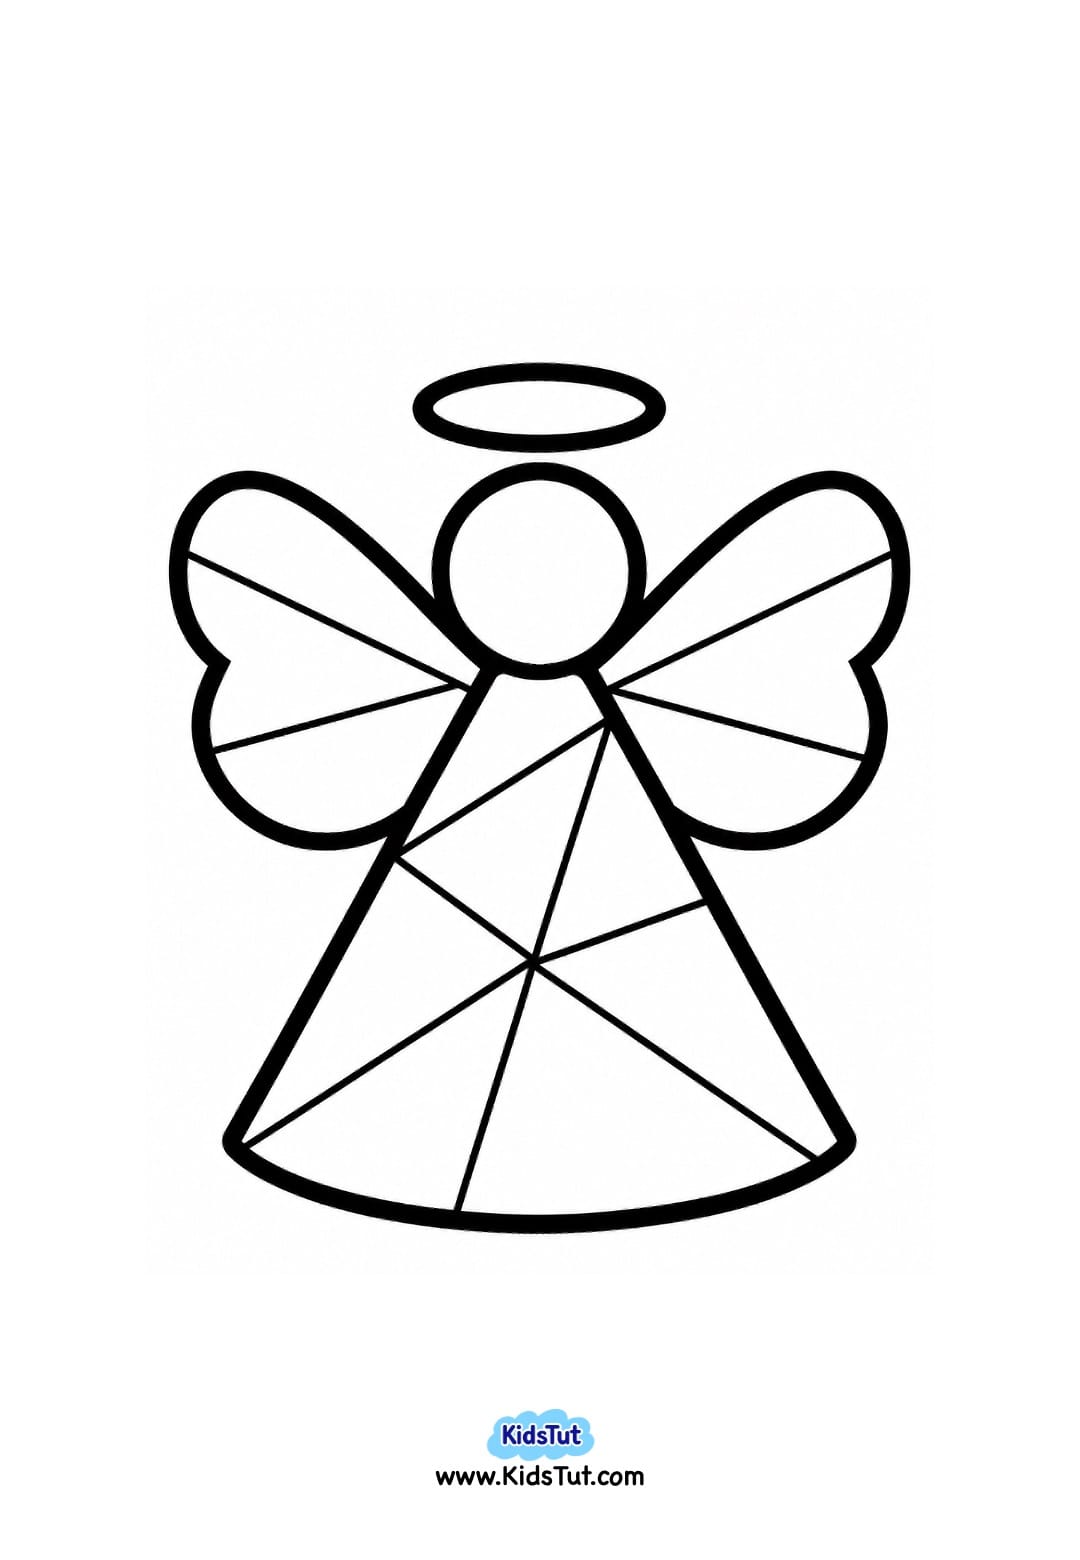
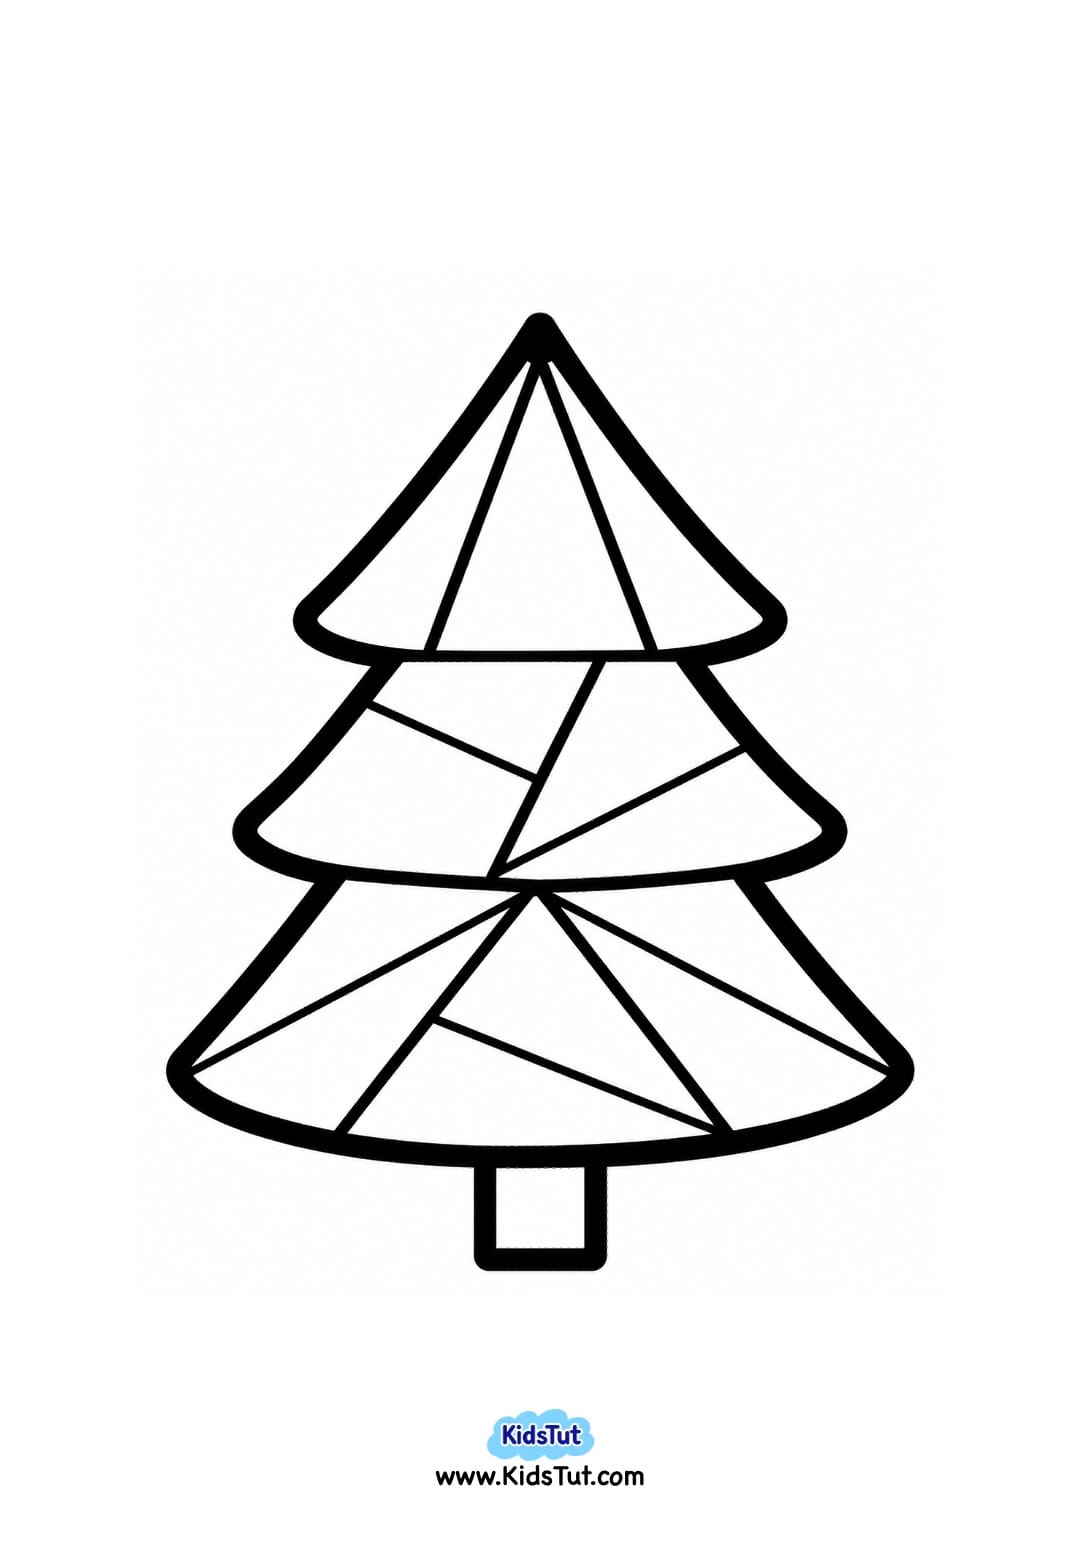
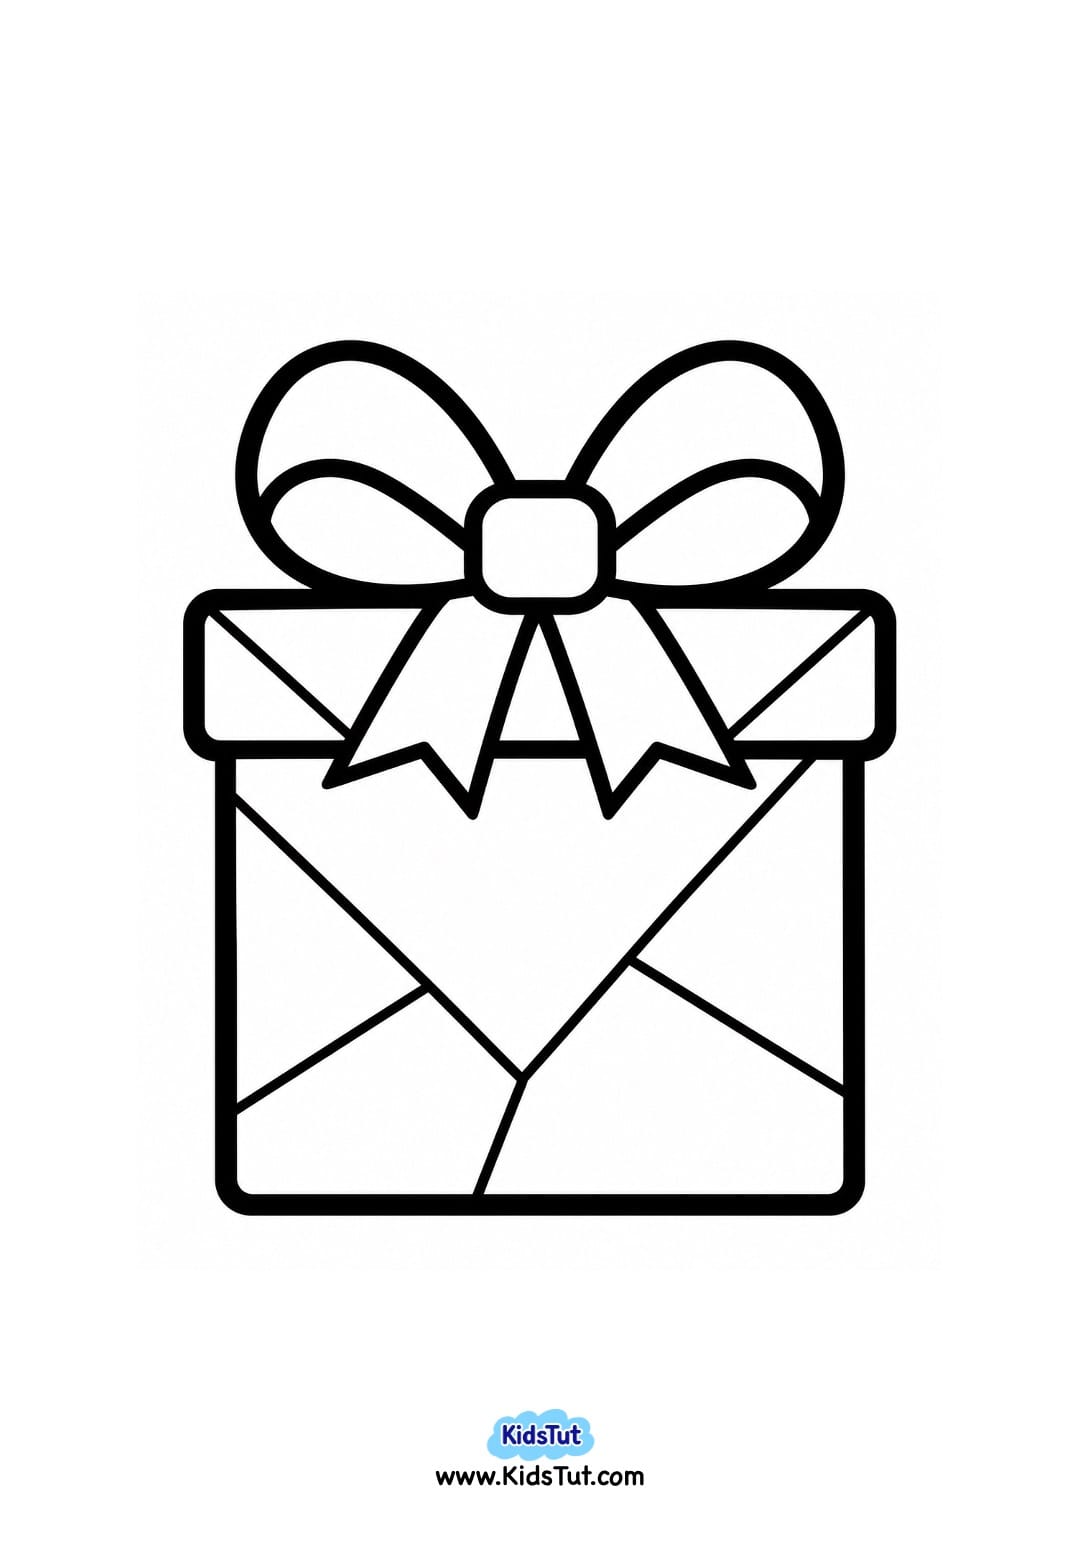
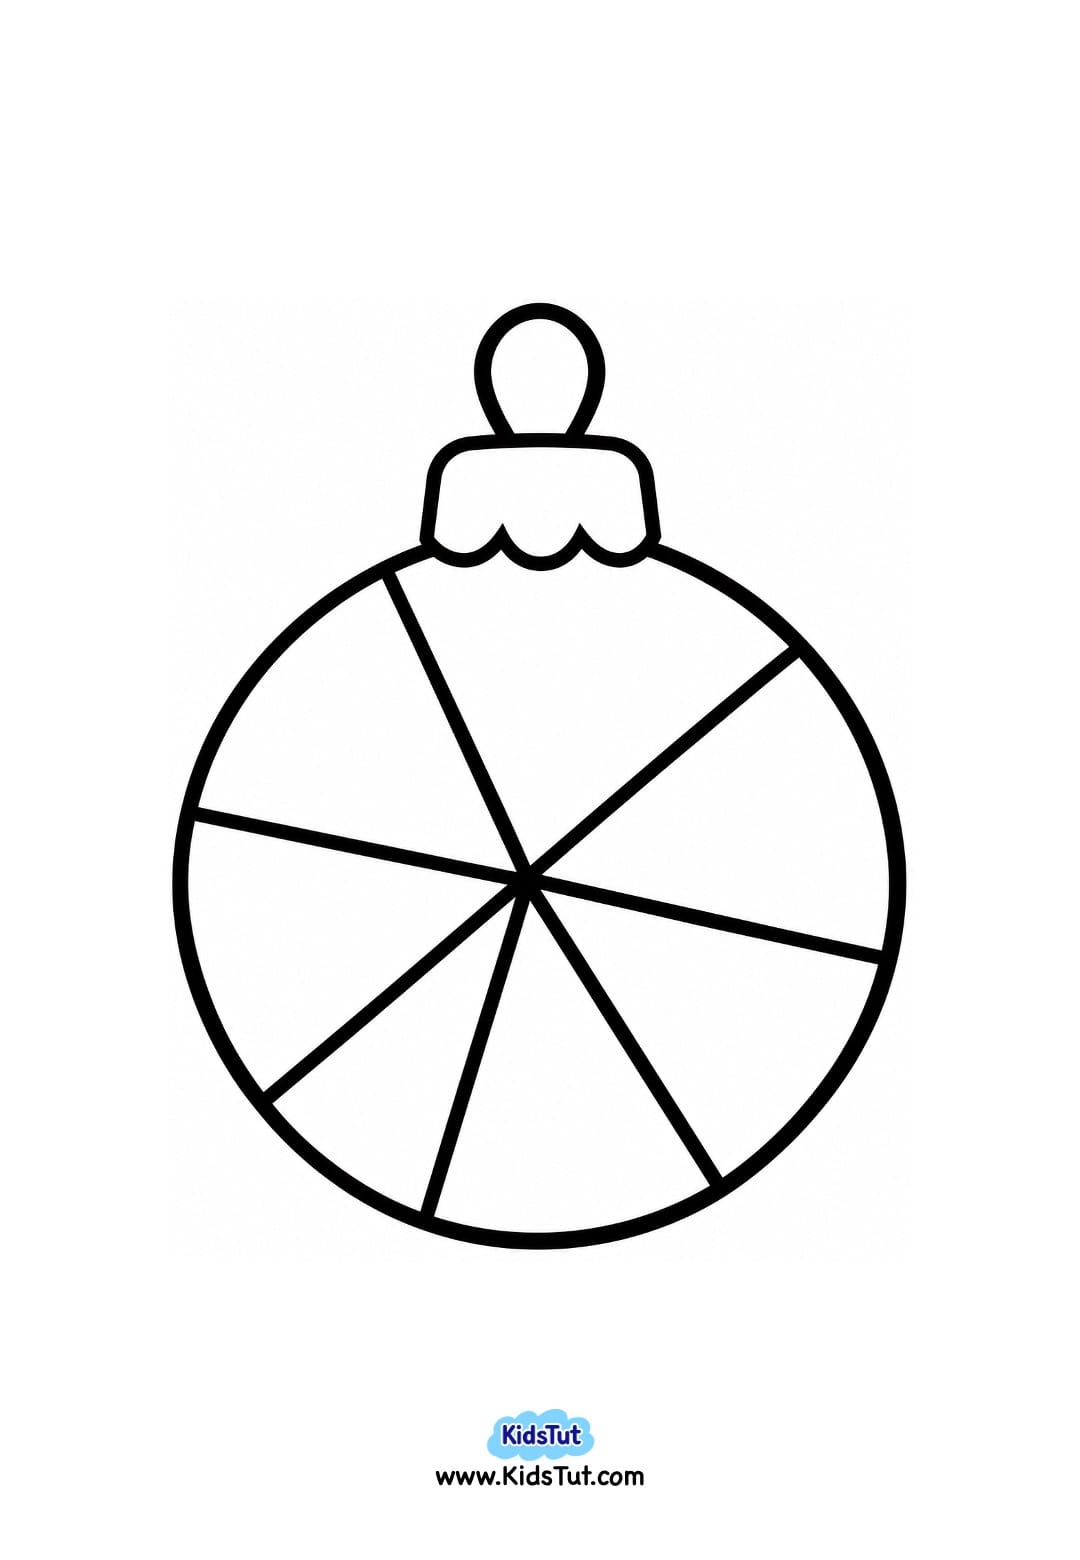
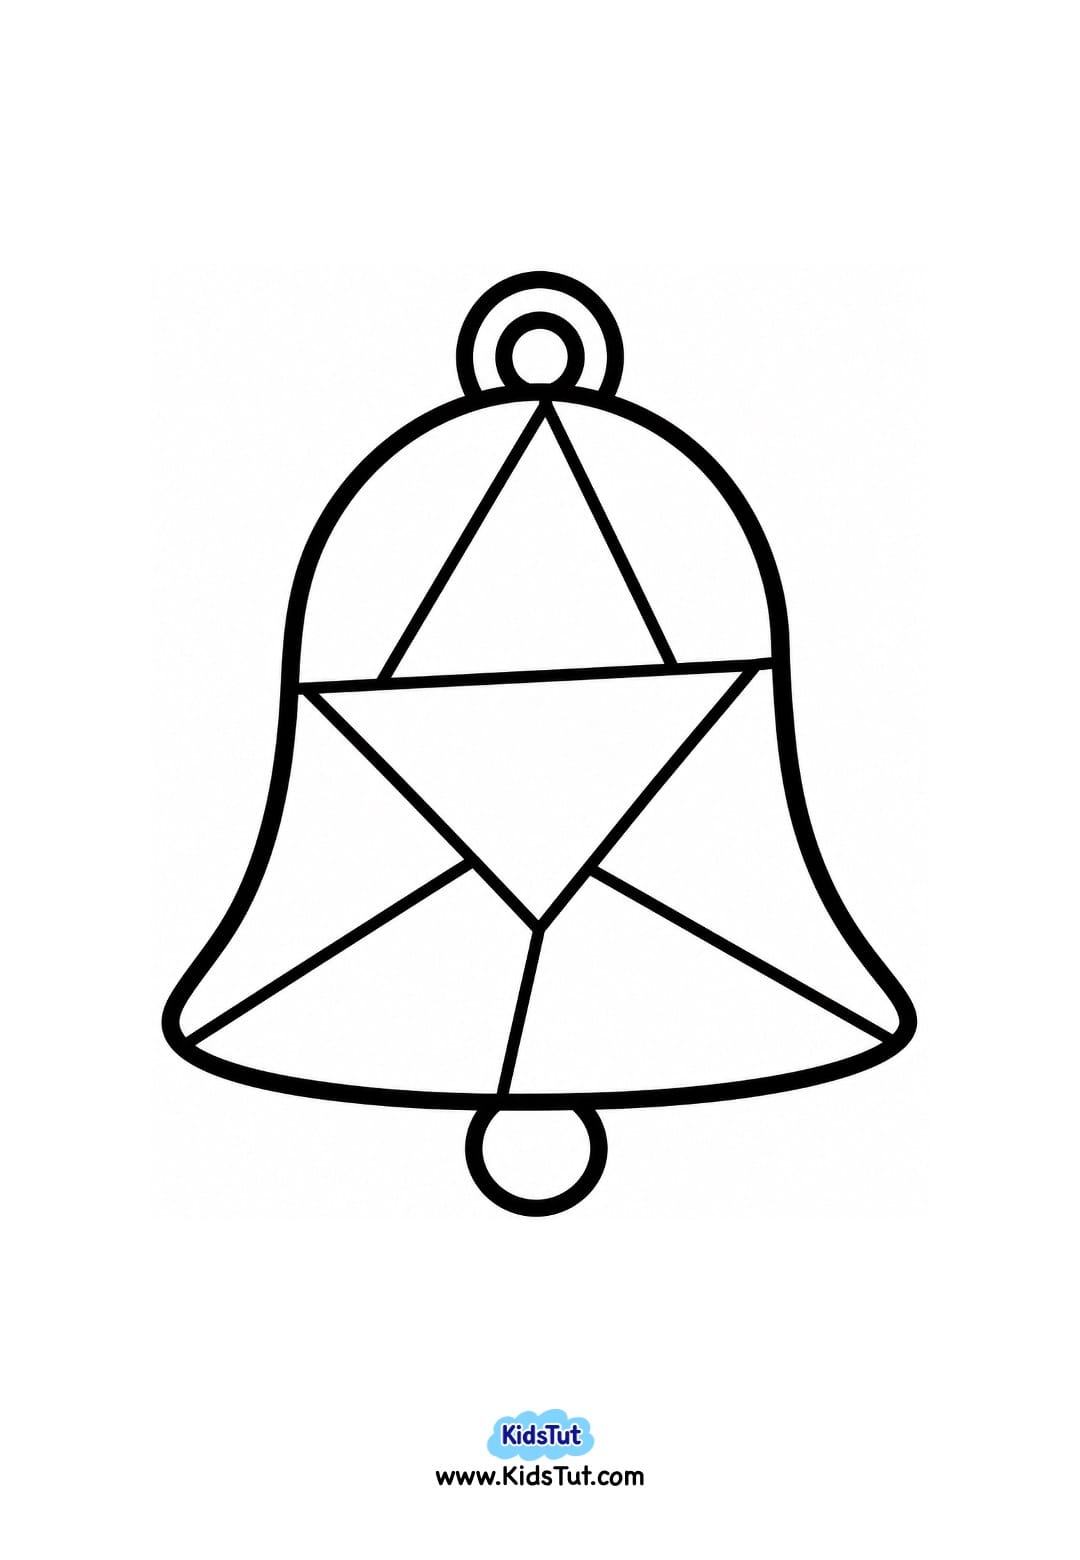
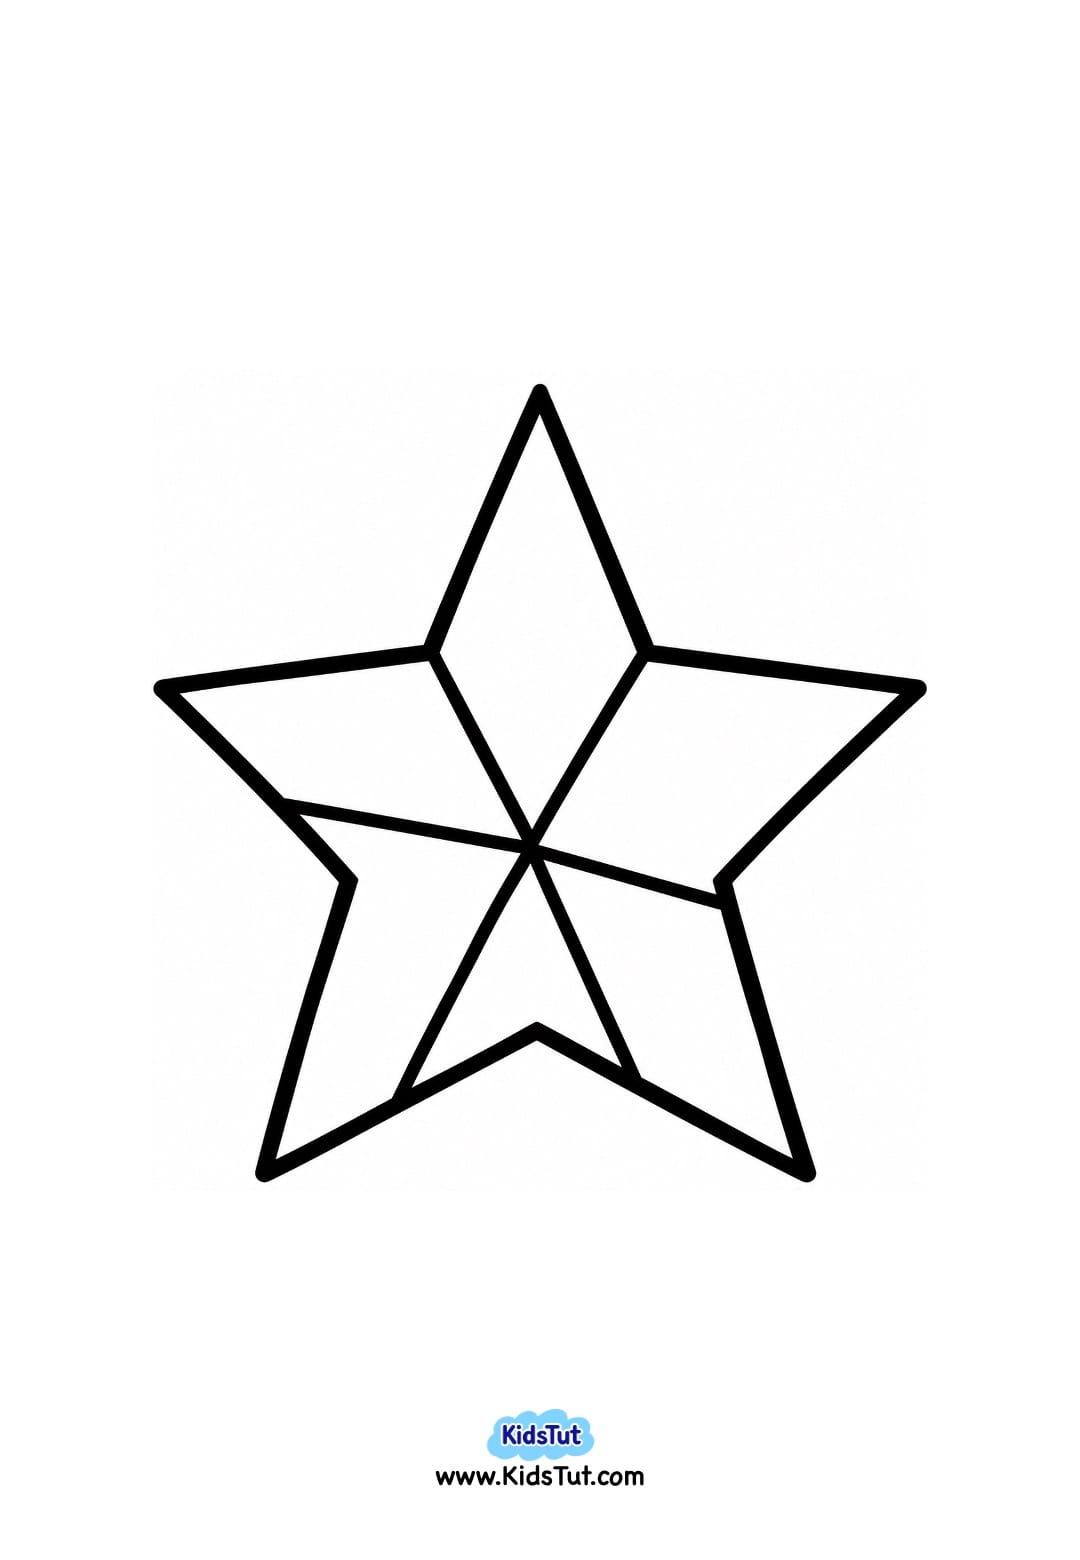
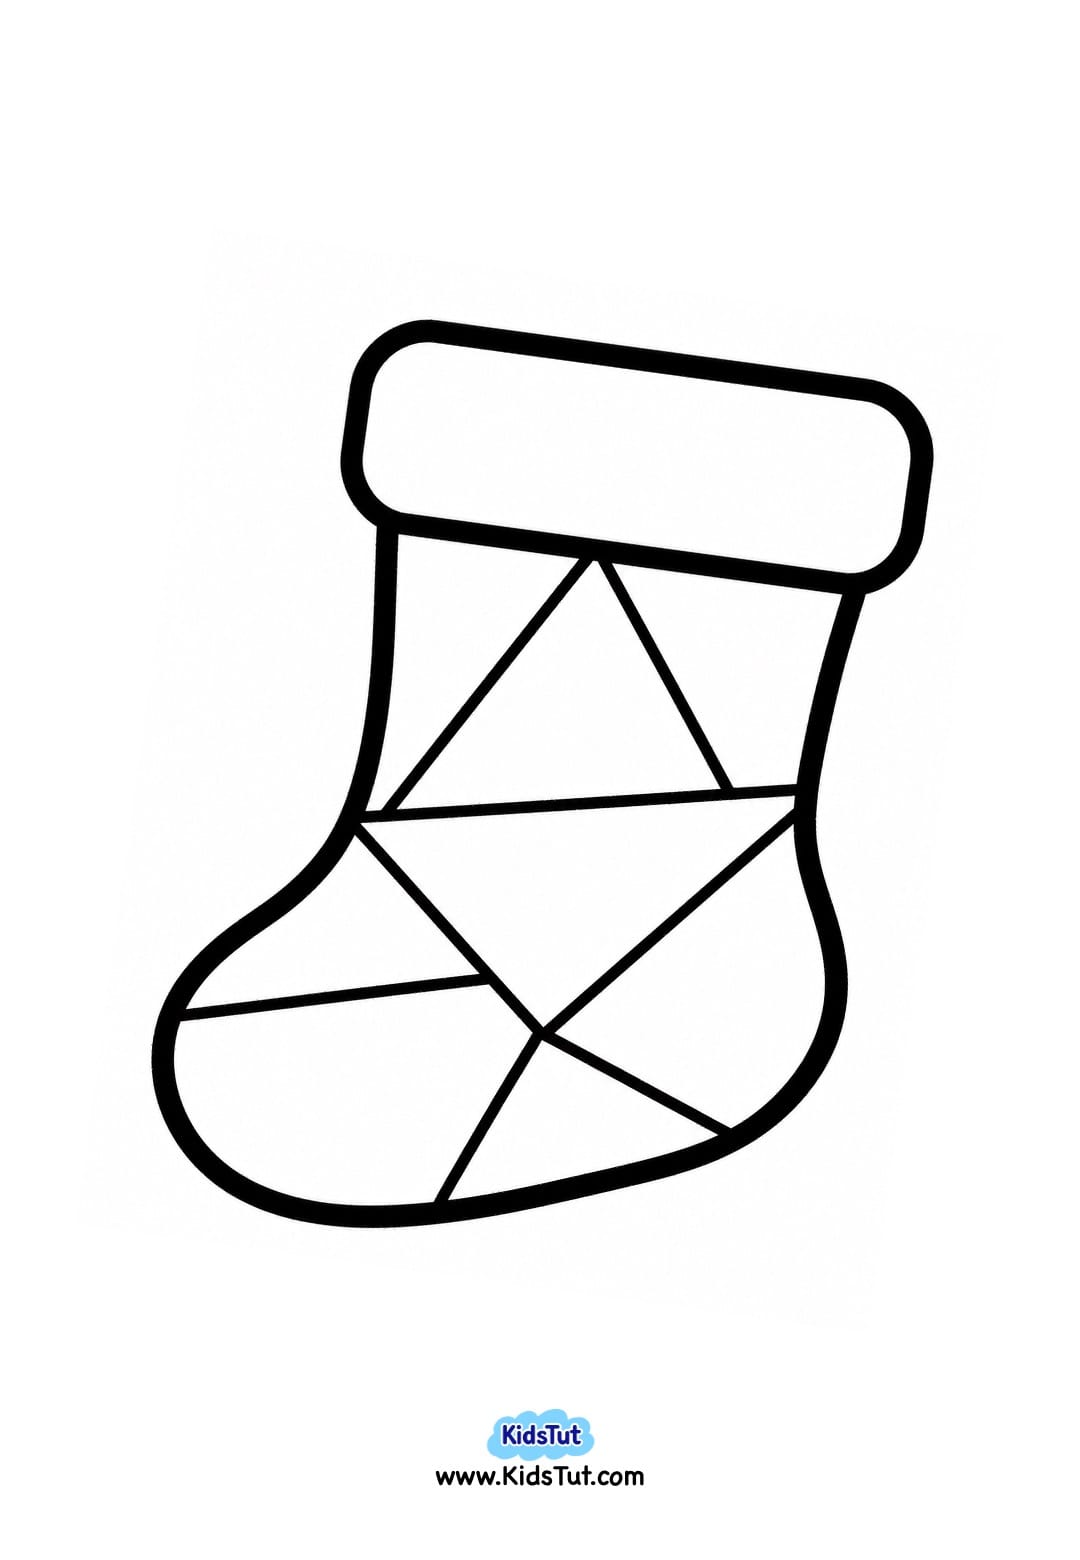
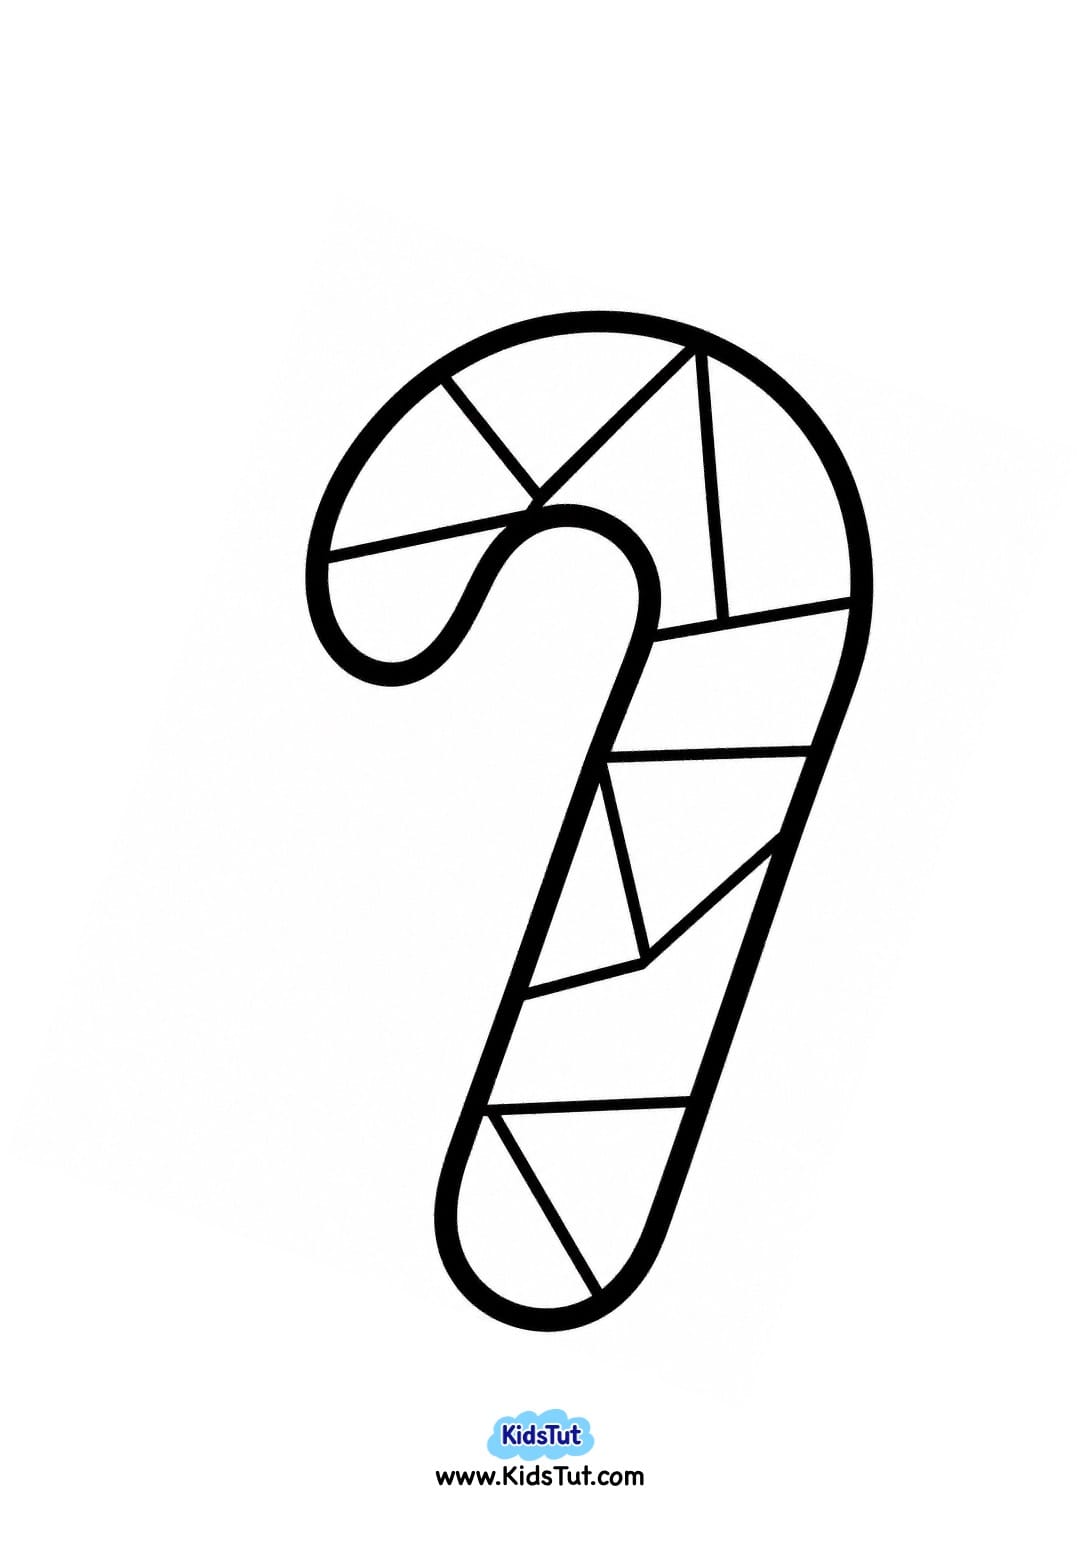
These Christmas shape coloring pages include fun holiday pictures such as Christmas trees, Christmas baubles, bells, gift boxes, and other Christmas decorations. Children can color the pictures, cut them out, and use them to make handmade Christmas cards, wreaths, ornaments, and classroom decorations.
This easy Christmas coloring craft is perfect for preschool, kindergarten, elementary school, homeschool, and classroom Christmas activities. It helps children explore colors, shapes, patterns, and creativity while enjoying a simple holiday art project.
What You Need
- Printable Christmas shape coloring pages
- White A4 paper
- Crayons, oil pastels, markers, or colored pencils
- Child-safe scissors
- Glue or glue sticks
- Colored construction paper or craft board
- Colorful tissue paper or construction paper (optional)
- Cotton swabs (Q-tips) (optional)
- Colorful paints (optional)
- Yarn, string, or ribbon for hanging (optional)
- Hole punch (optional)
How to Make Christmas Shape Coloring Crafts
Method 1: Christmas Shape Coloring and Cutout Craft
This is the easiest way to use the printable Christmas shape coloring pages.
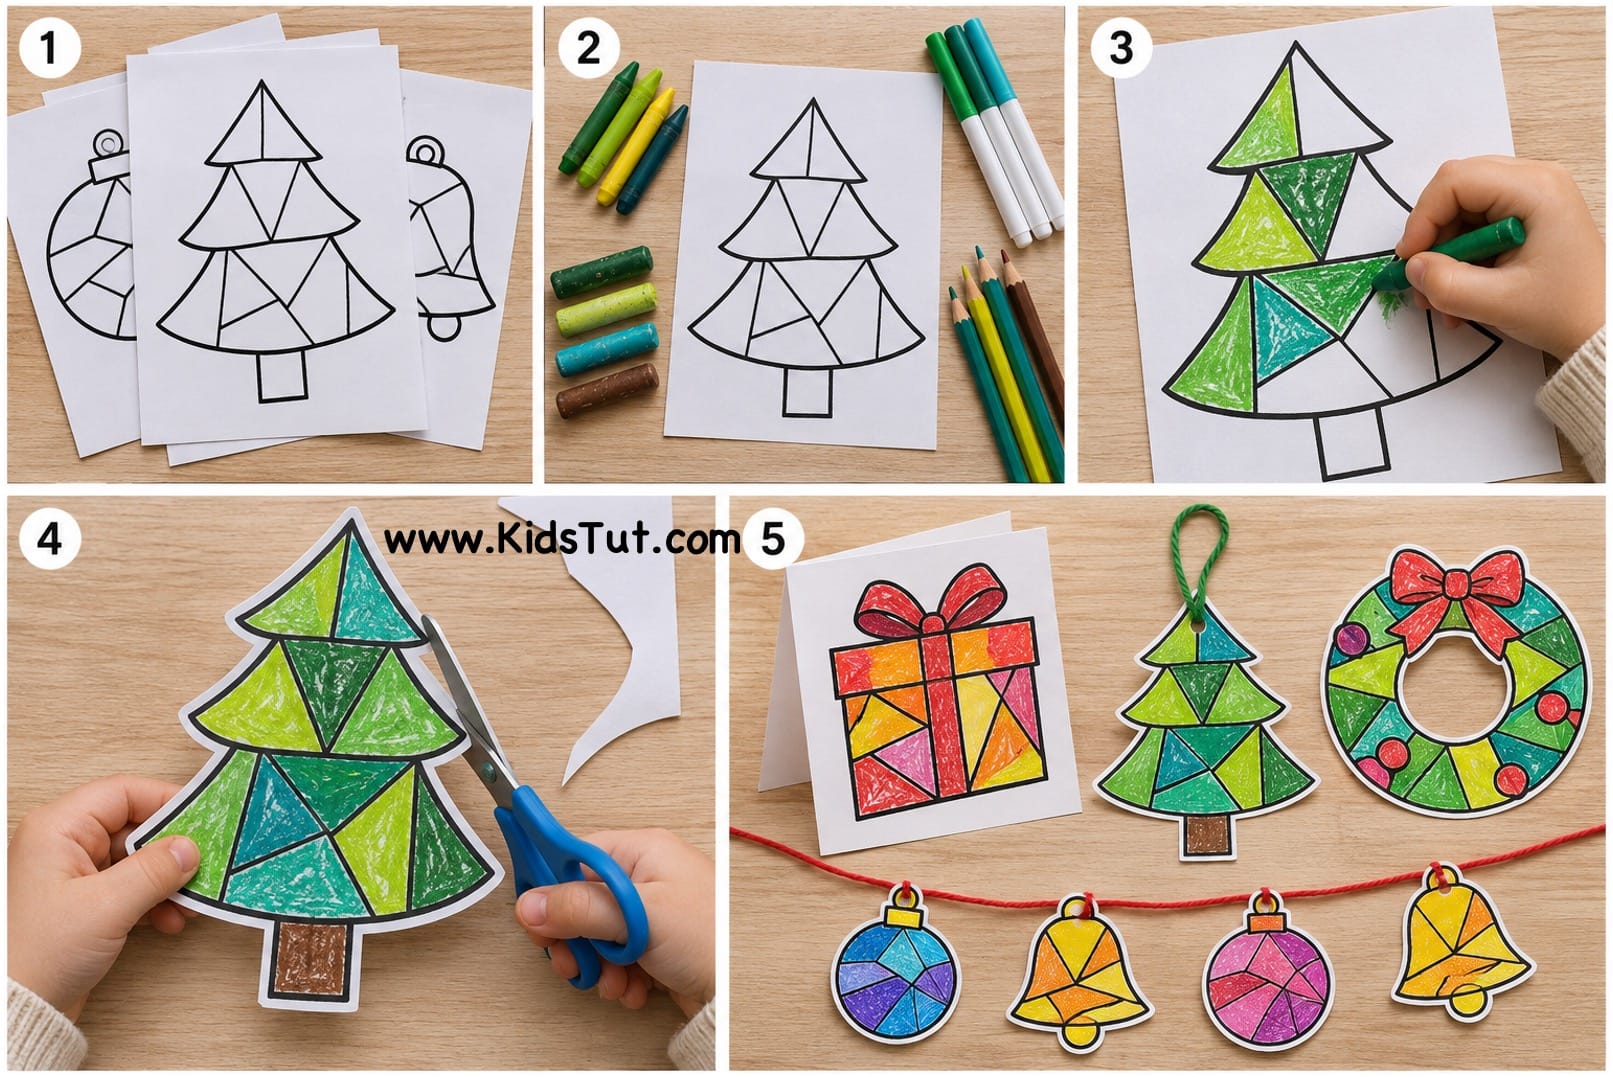
Step 1: Choose and Print Your Christmas Picture
- First, choose your favorite Christmas coloring page from the printable templates provided below.
- Print your selected Christmas coloring page on a white A4 sheet.
- Each Christmas picture is divided into several smaller sections, making it easy for children to color each part separately.
Step 2: Prepare Your Coloring Materials
- Next, choose your favorite coloring materials.
- You can use: Crayons, Oil pastels, Markers, Colored pencils
- Children can choose their own color combinations to make each Christmas picture unique.
Step 3: Color the Different Sections
- Now take your printed Christmas coloring page.
- Look at the different shapes and sections inside the picture.
- Choose one color and carefully fill a section.
- Then, select another color for the next section.
- Continue coloring the different parts using several bright colors.
- Try to use multiple colors in one Christmas picture to create a beautiful and colorful design.
- Encourage children to color carefully inside the black outlines.
Step 4: Cut Out the Christmas Picture
- Once the coloring is finished, take a pair of child-safe scissors.
- Carefully cut along the outside outline of the Christmas picture.
- Separate the colored picture from the printed sheet.
- Now your colorful Christmas shape cutout is ready!
Step 5: Use Your Christmas Cutouts for Crafts
You can use these colorful Christmas cutouts to make different holiday decorations.
Here are a few simple ideas:
- Christmas Cards: Glue the colored cutouts onto folded cardstock to make handmade Christmas greeting cards.
- Christmas Tree Ornaments: Punch a small hole near the top, attach a yarn loop, and hang the cutouts on your Christmas tree.
- Christmas Wreaths: Arrange several colored Christmas cutouts around a paper wreath base.
- Classroom Decorations: Display the colorful cutouts on classroom walls, windows, or bulletin boards.
- Christmas Garland: Attach several cutouts along a long piece of yarn or ribbon to make a festive garland.
You can also glue the cutouts onto a craft board before displaying them to make them stronger.
Method 2: Christmas Torn Paper Shape Craft
This is another creative way to use the same Christmas coloring pages.
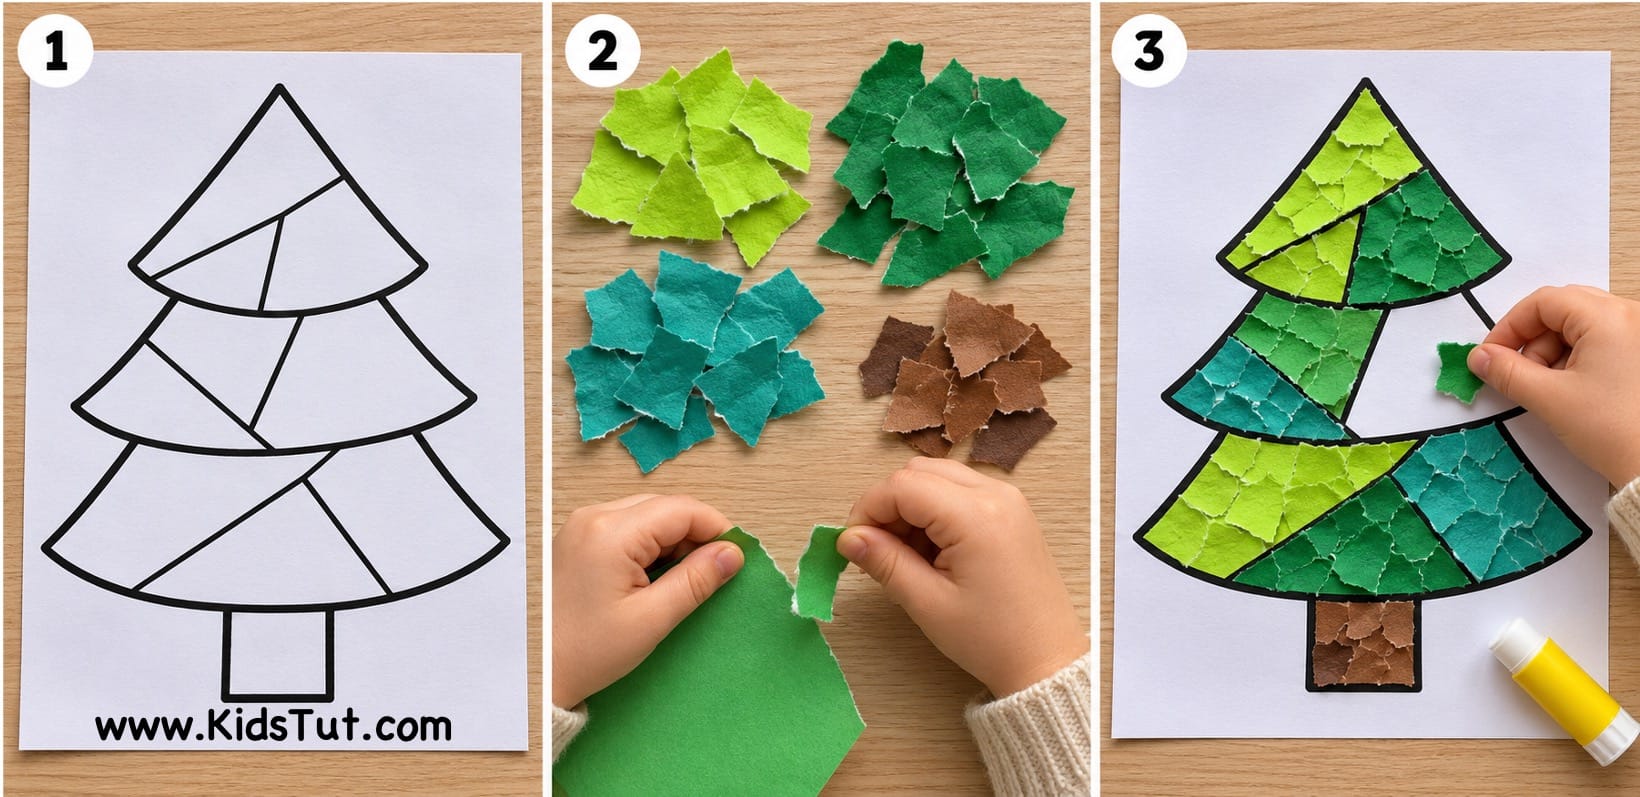
Instead of coloring the sections with crayons, children can fill them with colorful torn paper pieces.
Step 1: Print the Christmas Coloring Page
- Choose your favorite Christmas shape coloring page and print it on a white sheet.
Step 2: Prepare the Colorful Paper
- Take several sheets of colorful tissue paper or construction paper.
- Tear or cut the paper into small pieces.
- Choose different colors to make your Christmas picture bright and colorful.
Step 3: Paste the Paper Pieces
- Apply a small amount of glue inside one section of the printed Christmas picture.
- Take your colorful paper pieces and gently press them onto the glued area.
- Continue adding paper pieces until the section is filled.
- Then, choose another color for the next section.
- Try to keep the paper pieces inside the black outlines so the different shapes remain visible.
- Continue until all the sections are covered with colorful paper.
Step 4: Let It Dry and Cut Out
- Once you finish pasting the paper pieces, keep the craft aside and let the glue dry completely.
- Then, carefully cut along the outside outline of the Christmas picture.
- Now your colorful Christmas torn paper craft is ready!
- You can use it to make Christmas cards, wreaths, or classroom decorations.
Method 3: Christmas Dot Painting Shape Craft
Children can also use colorful paints and cotton swabs to decorate these Christmas shape coloring pages.
Step 1: Print Your Christmas Picture
- Choose your favorite Christmas coloring page and print it on a white sheet.
Step 2: Prepare the Paints
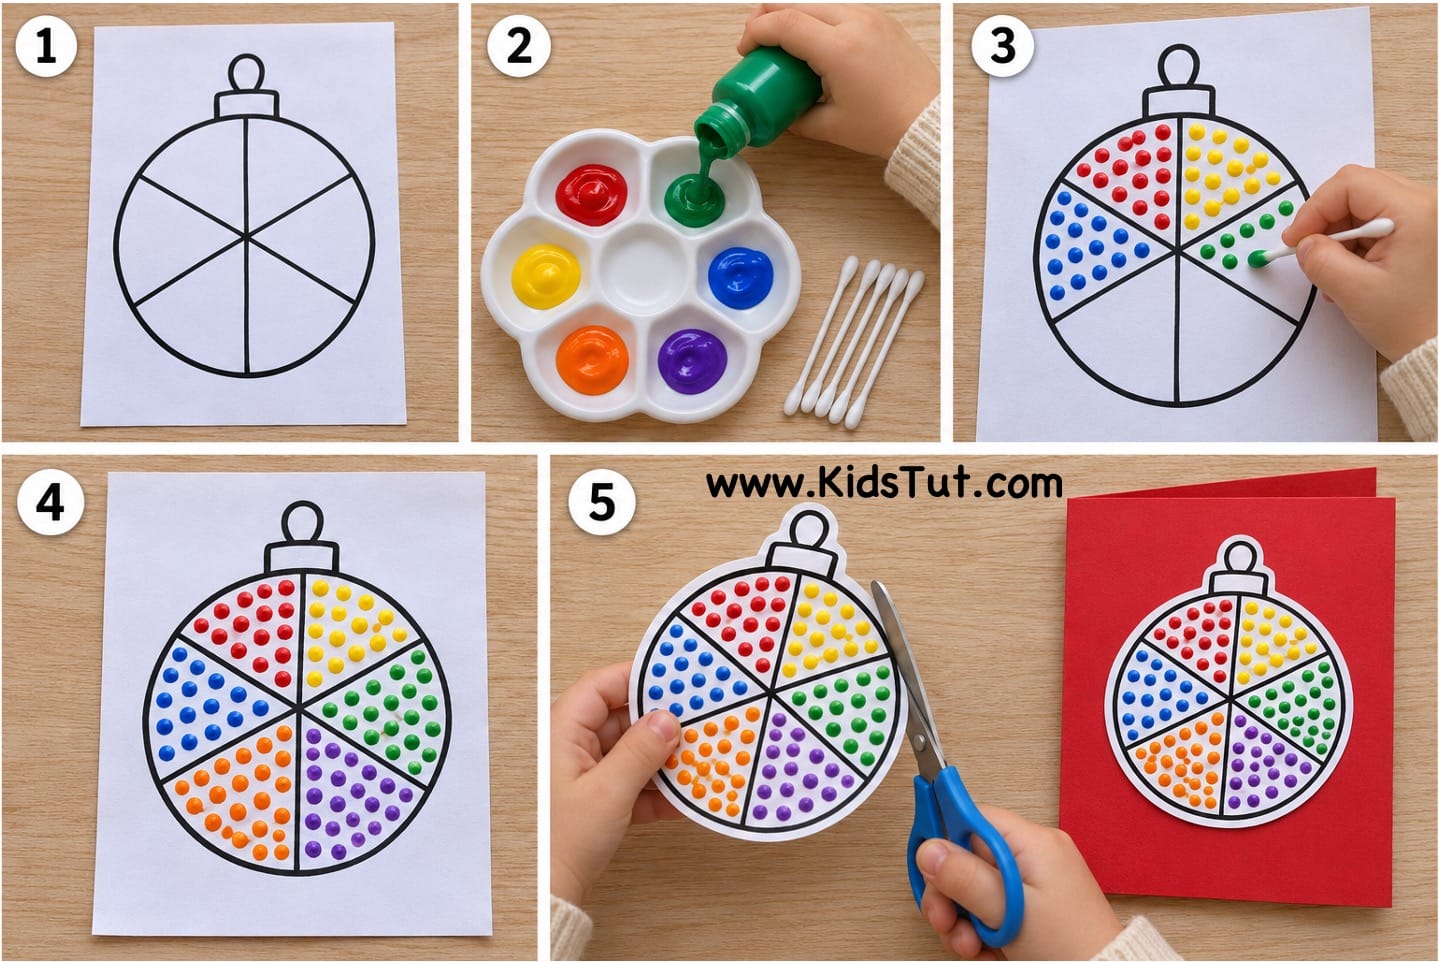
- Pour small amounts of different paint colors into a paint palette.
- Choose bright Christmas colors such as red, green, yellow, blue, orange, and purple.
Step 3: Make Colorful Paint Dots
- Take a cotton swab (Q-tip) and dip one end into the paint.
- Gently press the cotton swab onto one section of the Christmas picture to make small colorful dots.
- Continue making dots until the section is filled.
- Choose another paint color for the next section.
- You can use different colors for each section to create a beautiful dot painting design.
Step 4: Let the Painting Dry
- Once all the sections are decorated, keep the painting aside and let it dry completely.
Step 5: Cut Out and Display
- Carefully cut along the outside outline of your Christmas picture.
- Now your colorful Christmas dot painting craft is ready to display!
- You can glue it onto a colored sheet, make a Christmas card, or use it as a holiday decoration.
Christmas Shape Coloring Pages:
Benefits of Christmas Shape Coloring Crafts for Kids
These easy Christmas coloring activities are not only fun but also help children develop important early learning skills.
- Encourages creativity – Children can choose different colors, patterns, and decorating methods to create their own Christmas artwork.
- Develops fine motor skills – Coloring, tearing paper, cutting, and gluing help strengthen little hands and fingers.
- Improves hand-eye coordination – Kids practice coloring and placing decorations carefully inside the printed outlines.
- Supports pre-writing skills – Coloring small sections helps children develop pencil control and hand movements needed for writing.
- Teaches color recognition – Children explore different colors and learn to combine them in creative ways.
- Introduces shapes – Kids become familiar with triangles, circles, and other simple shapes while coloring Christmas pictures.
- Develops pattern-making skills – Using different colors in each section helps children create and recognize simple patterns.
- Builds concentration – Children practice focusing on one section at a time until the picture is complete.
- Improves cutting skills – Cutting around Christmas picture outlines helps children practice using scissors.
- Introduces Christmas themes – Kids become familiar with Christmas trees, baubles, bells, gift boxes, and other festive decorations.
- Builds confidence – Children feel proud when they complete and display their colorful Christmas crafts.
Fun Ways to Display Your Christmas Shape Coloring Crafts
Once the Christmas pictures are finished, children can use them in different ways.
- Christmas Tree Ornaments: Attach yarn loops to the cutouts and hang them on your Christmas tree.
- Christmas Greeting Cards: Glue the colored Christmas pictures onto folded cardstock to make handmade cards.
- Christmas Paper Wreaths: Arrange different Christmas cutouts around a paper wreath base.
- Classroom Wall Decorations: Display the colorful pictures together on a classroom wall.
- Christmas Bulletin Board: Create a festive bulletin board using the finished Christmas crafts.
- Christmas Garland: Attach several colorful cutouts along a long piece of yarn or ribbon.

Click here to get the FREE PDF template: Download ( Printable )