Easy Halloween Witch Wreath Craft for Kids to Make
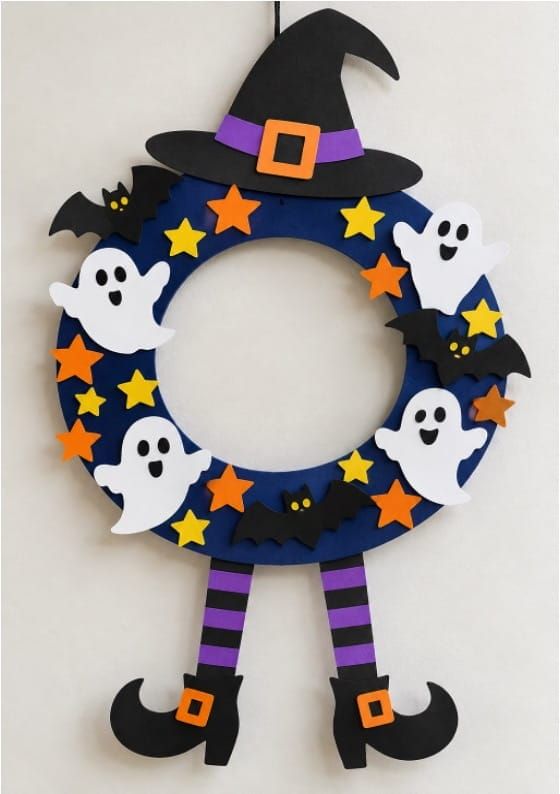
Get ready for some spooky crafting fun with this Easy Halloween Witch Wreath Craft for Kids to Make. This colorful Halloween wreath combines cute ghosts, bats, stars, a witch hat, and funny striped witch legs to create a decoration kids will love.
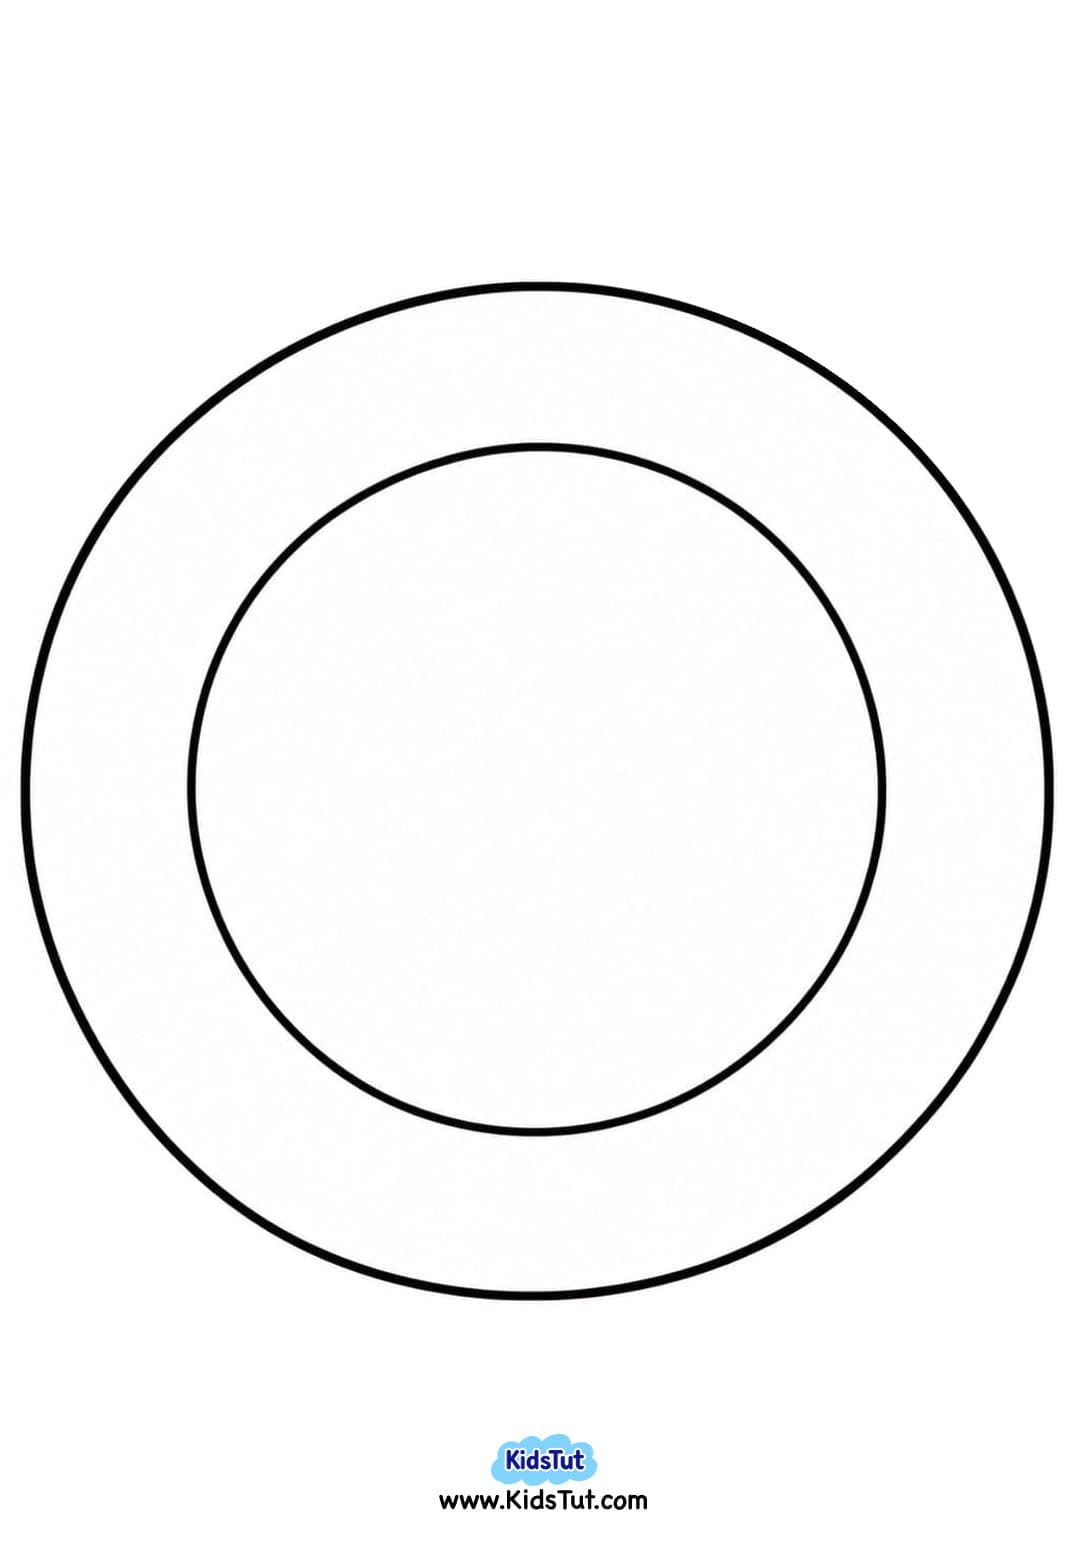
The wreath base can be made from cardboard, a paper plate, or the provided printable ring template. Children can print the Halloween decorations on colored paper or print them on white paper and color each piece themselves.
This Halloween witch wreath craft for kids is perfect for preschool, kindergarten, elementary school, homeschool, Halloween parties, or a classroom craft activity. Once finished, it makes a fun handmade decoration for a wall, door, or classroom display.
What You Need
- Printable Halloween witch wreath templates
- Printable wreath base template
- Cardboard or craft board
- Paper plate – optional
- White or colored A4 paper
- Crayons or markers
- Paint and paintbrush – optional
- Colored craft paper – optional
- Scissors
- Glue
- Tape – optional
- Yarn or ribbon for hanging
Halloween colors such as black, purple, orange, yellow, dark blue, and white work especially well for this craft.
How to Make a Halloween Witch Wreath
1. Make the Wreath Base
- Start by making a simple ring-shaped wreath base. There are three easy options.
- You can cut a large circle from cardboard and then carefully cut out the middle to create a ring.
- You can also use a paper plate. Simply cut out the middle section of the plate to make a wreath shape.
- For an easier option, print the provided wreath base template and use it as your guide.
Wreath Base Template:
2. Choose the Template Size
- The provided templates are designed for A4-size paper.
- If you want to make a larger Halloween wreath, change your printer settings and enlarge the template to fit A3-size paper before printing.
3. Decorate the Wreath Base
- Color or paint the wreath base in your favorite Halloween color.
- Dark blue, purple, black, or orange are great choices.
- Another option is to wrap or cover the wreath base with colored paper. Make sure the whole ring is covered neatly before adding the decorations.
- Keep it aside and let it dry completely.
4. Print the Halloween Templates
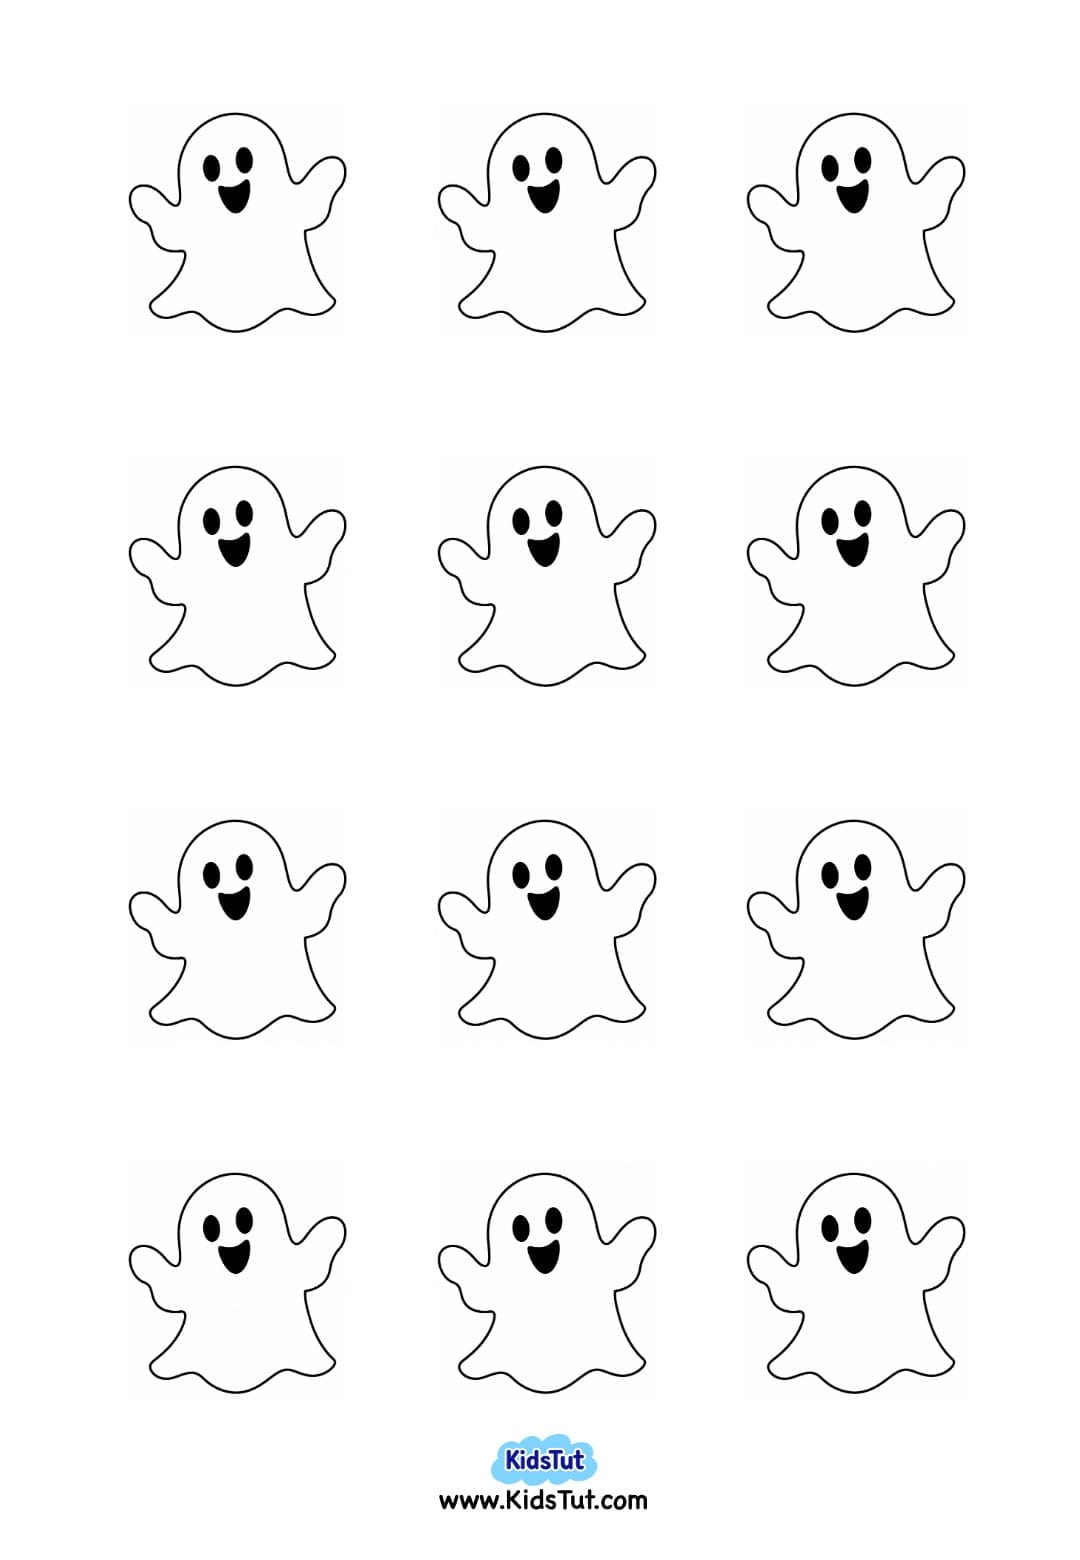
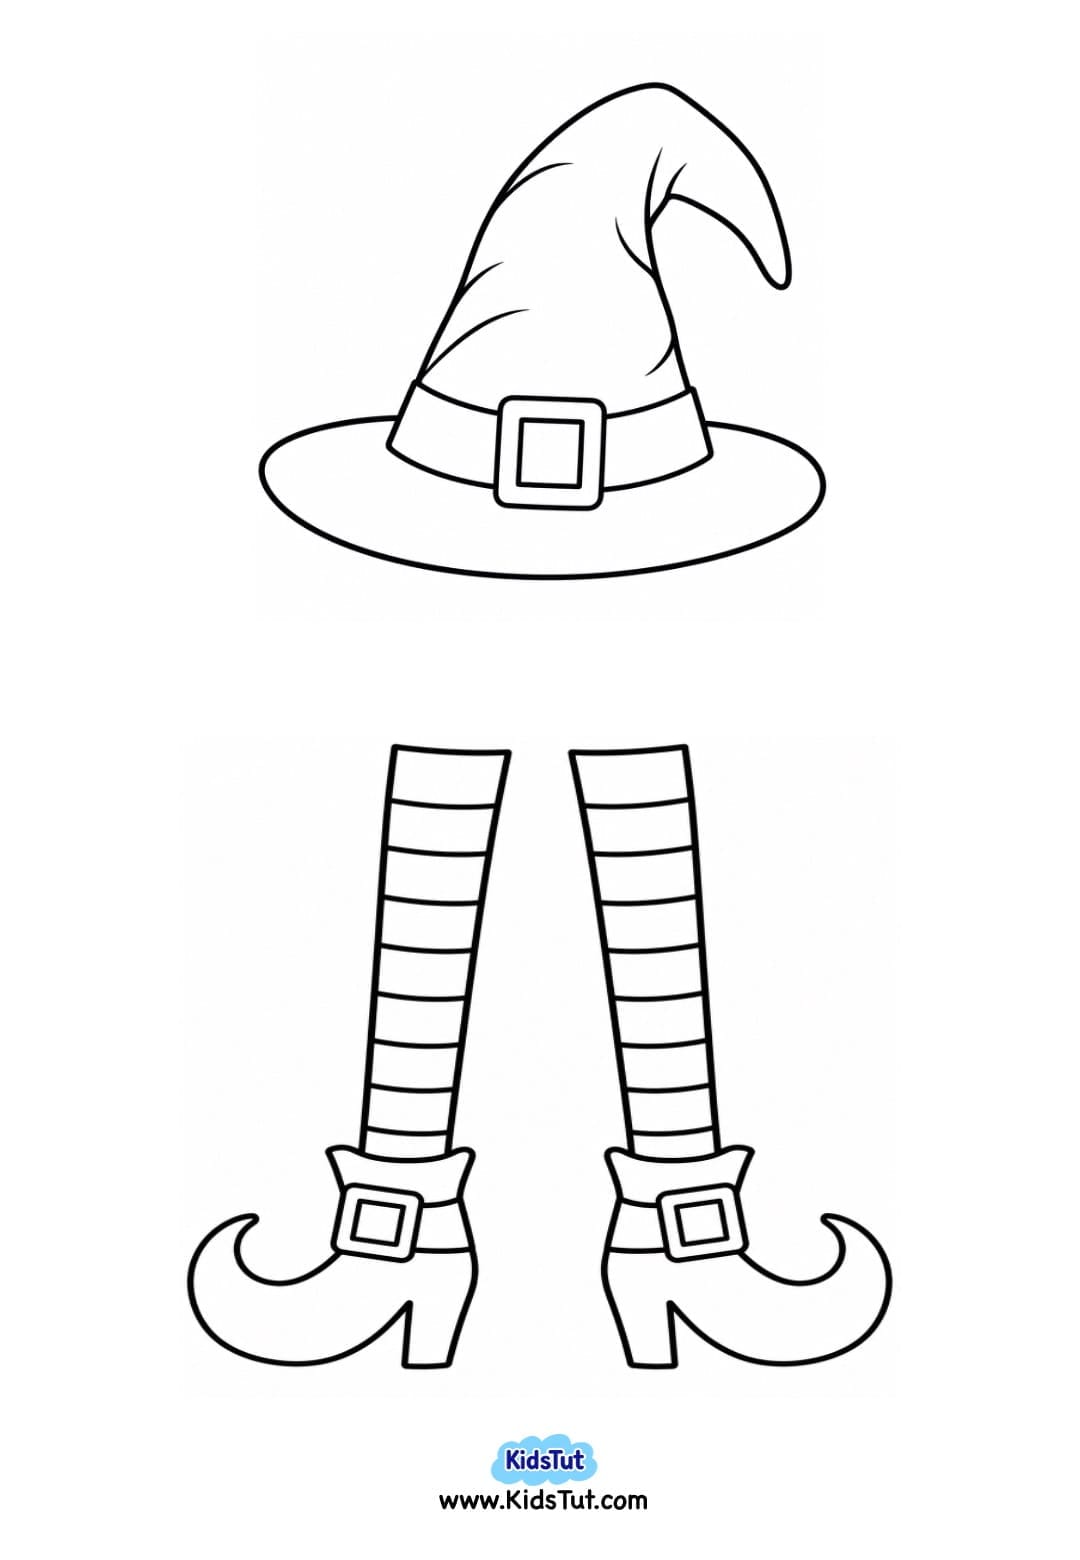
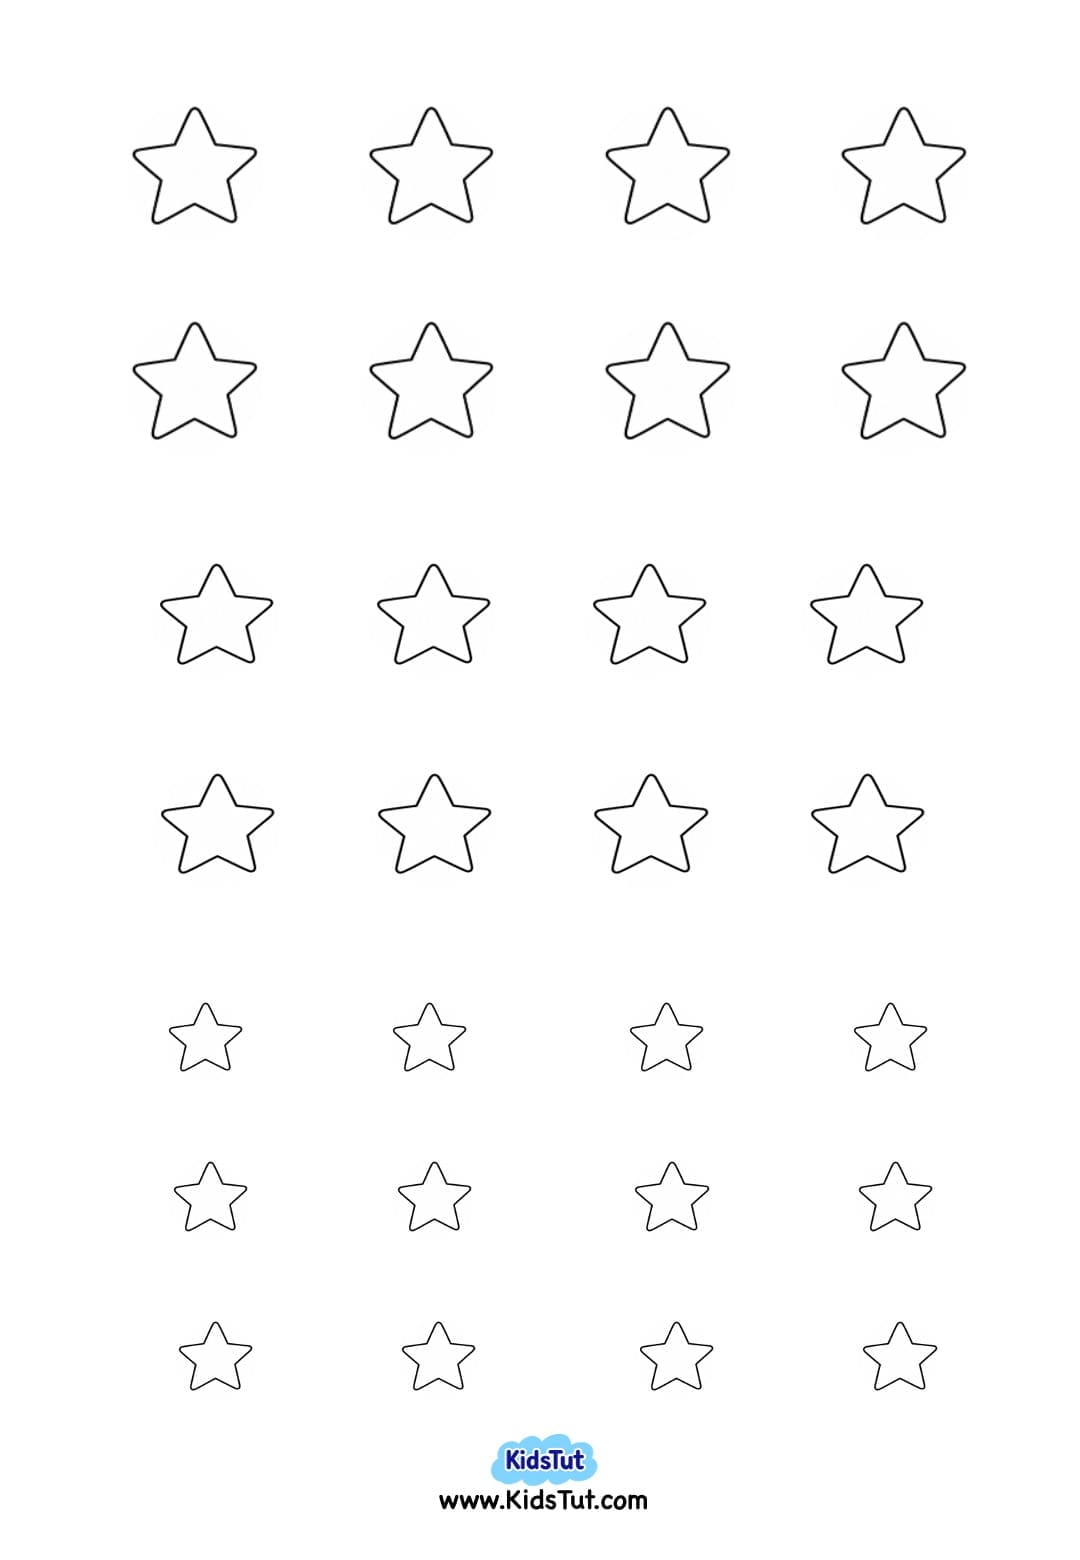
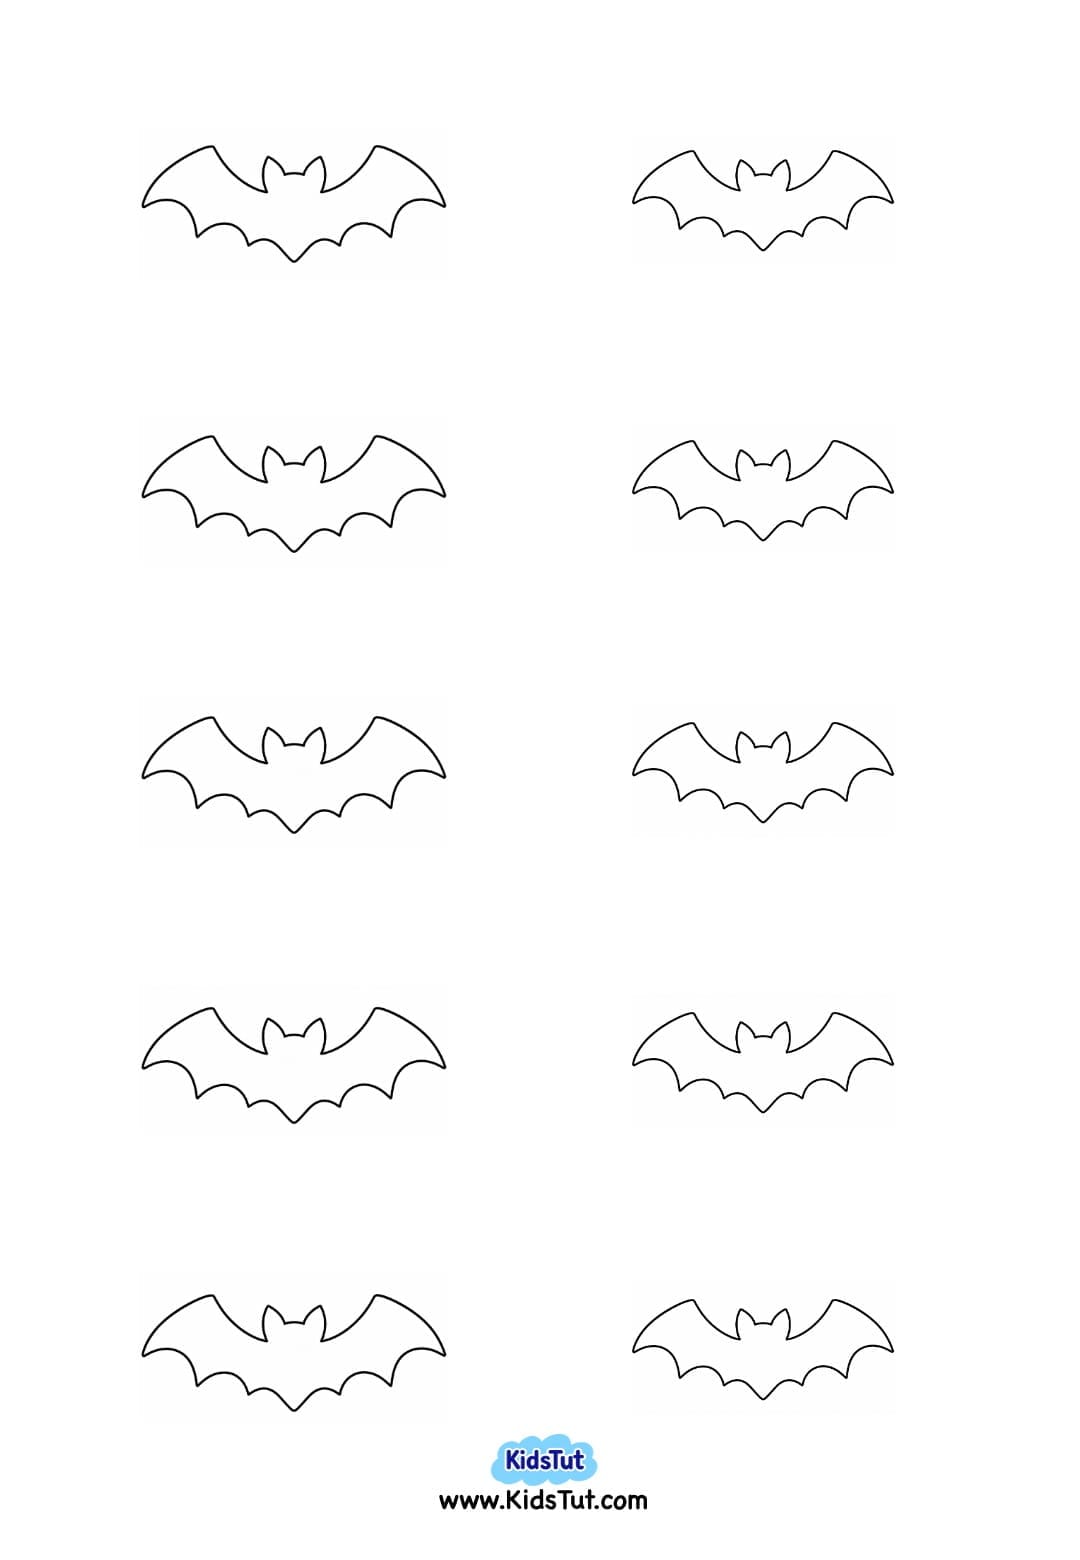
- Print the witch hat, witch legs, ghosts, bats, stars, and other Halloween decorations.
- There are two easy ways to prepare the pieces.
- You can print the templates on white paper and let children color them with crayons or markers.
- Or, print the simple shapes directly onto matching colored paper. For example, use black for the bats and witch hat, white for the ghosts, yellow or orange for the stars, and purple for some of the witch details.
Ghost Template:
Witch Hat and Legs Templates:
Star Templates:
Bat Template:
5. Cut Out the Halloween Pieces
- Carefully cut around the outside outline of each printed piece.
- Keep the witch hat, witch legs, ghosts, bats, stars, and other decorations separate, so they are easy to arrange.
6. Arrange the Witch Wreath
- Place the finished wreath base on a flat surface.
- Start by placing the witch hat at the top of the wreath.
- Next, position the two striped witch legs at the bottom so they hang down from the wreath.
- Arrange the ghosts, bats, stars, and other Halloween pieces around the remaining spaces on the ring.
- Move the pieces around until you are happy with the design.
7. Glue Everything in Place
- Once you like the arrangement, glue each piece onto the wreath base.
- Press the decorations gently so they stick securely. Make sure the witch hat and hanging legs are firmly attached.
- Keep the wreath aside and let the glue dry completely.
8. Add a Hanging Loop and Display
- Attach a piece of yarn or ribbon to the back of the top of the wreath to create a hanging loop.
- Your Halloween witch wreath craft is now ready to display! Hang it on a wall, classroom door, bulletin board, or another suitable place for a fun Halloween decoration.
Benefits of This Halloween Witch Wreath Craft
- Practices cutting skills – Children cut around simple Halloween shapes and outlines.
- Develops fine motor skills – Coloring, cutting, arranging, and gluing strengthen small hand movements.
- Improves hand-eye coordination – Kids carefully position each decoration around the wreath.
- Builds coloring skills – Printable templates give children plenty of space to practice coloring.
- Encourages creativity – Children can choose their own colors and decide where to place the decorations.
- Supports shape and color recognition – Stars, circles, hats, and other shapes make learning part of the activity.
- Introduces Halloween themes – Kids can explore friendly ghosts, bats, witches, and other Halloween characters.
- Practices arranging and planning – Children decide how to fill the spaces around the wreath before gluing.
- Creates a handmade decoration – Kids can proudly display their finished Halloween artwork.

Click here to get the FREE PDF template: Download ( Printable )