Simple Christmas Hanging Mobile Craft for Kids
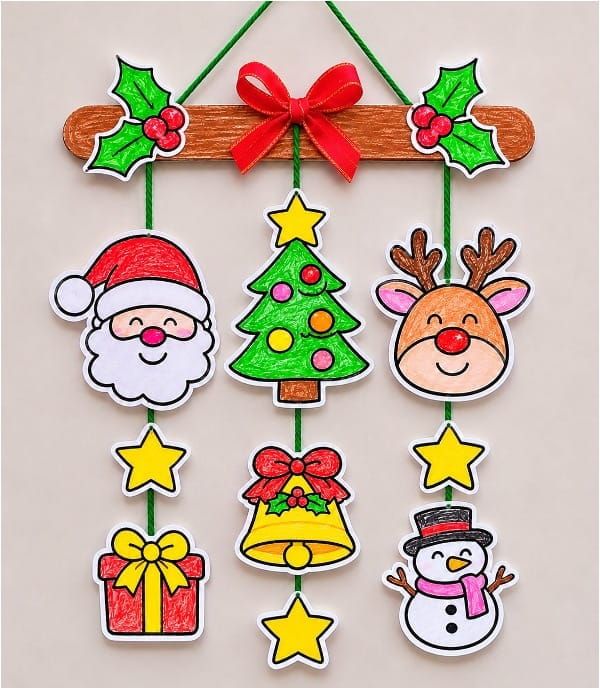
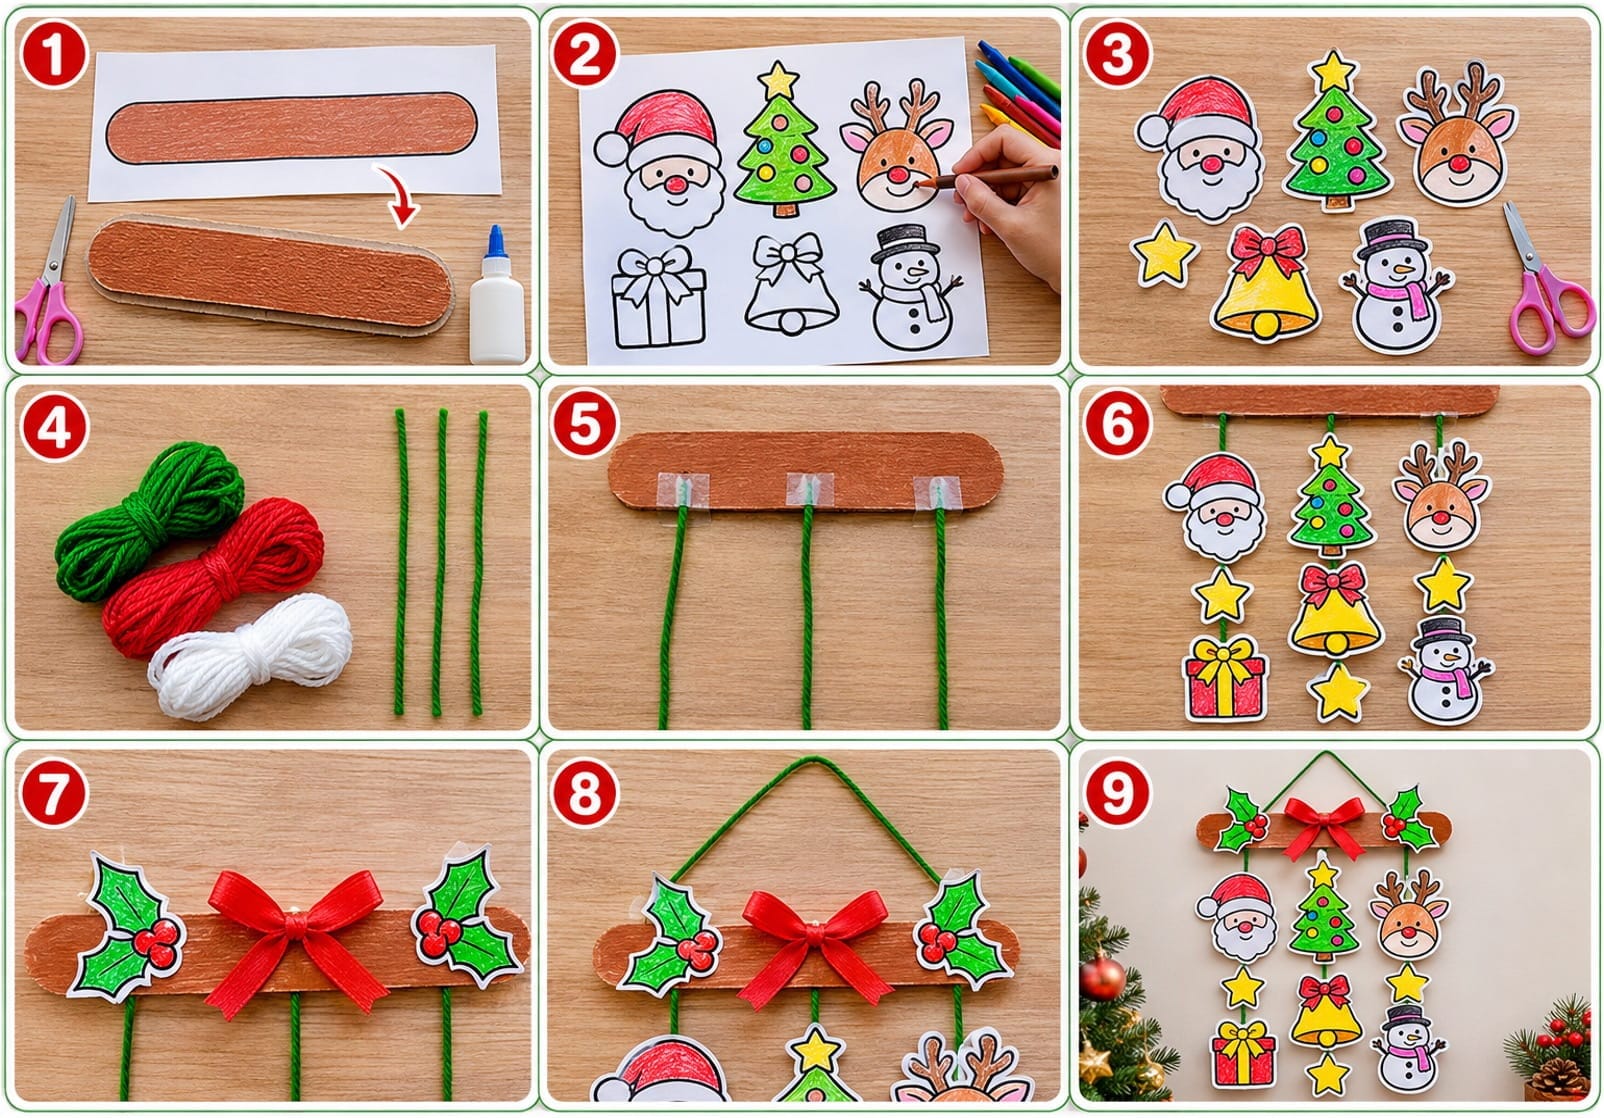
Looking for a fun and simple Christmas craft for kids? This Christmas hanging mobile craft is a lovely way to bring some holiday cheer into your home or classroom. With colorful paper Christmas decorations, a simple hanging base, and a few pieces of yarn, children can create their own beautiful Christmas mobile.
This craft features cute Christmas characters and decorations, including Santa Claus, a reindeer, a snowman, a Christmas tree, stars, bells, and a gift box. Kids will love coloring their favorite Christmas pictures and turning them into a festive hanging decoration.
It's an easy Christmas craft for preschoolers, kindergarten kids, and young children. It's also a wonderful way to practice coloring, cutting, and creative skills while enjoying the holiday season.
What You Need
- Printable Christmas hanging mobile templates
- White paper
- Colored paper
- Craft board, Bristol board, or thick cardboard
- Wooden craft stick (optional)
- Crayons, markers, or colored pencils
- Paint (optional)
- Scissors
- Glue
- Yarn, string, or twine
- Tape
- Hole punch (optional)
- Decorative ribbon bow (optional)
How to Make a Christmas Hanging Mobile Craft
Step 1: Make the Hanging Base
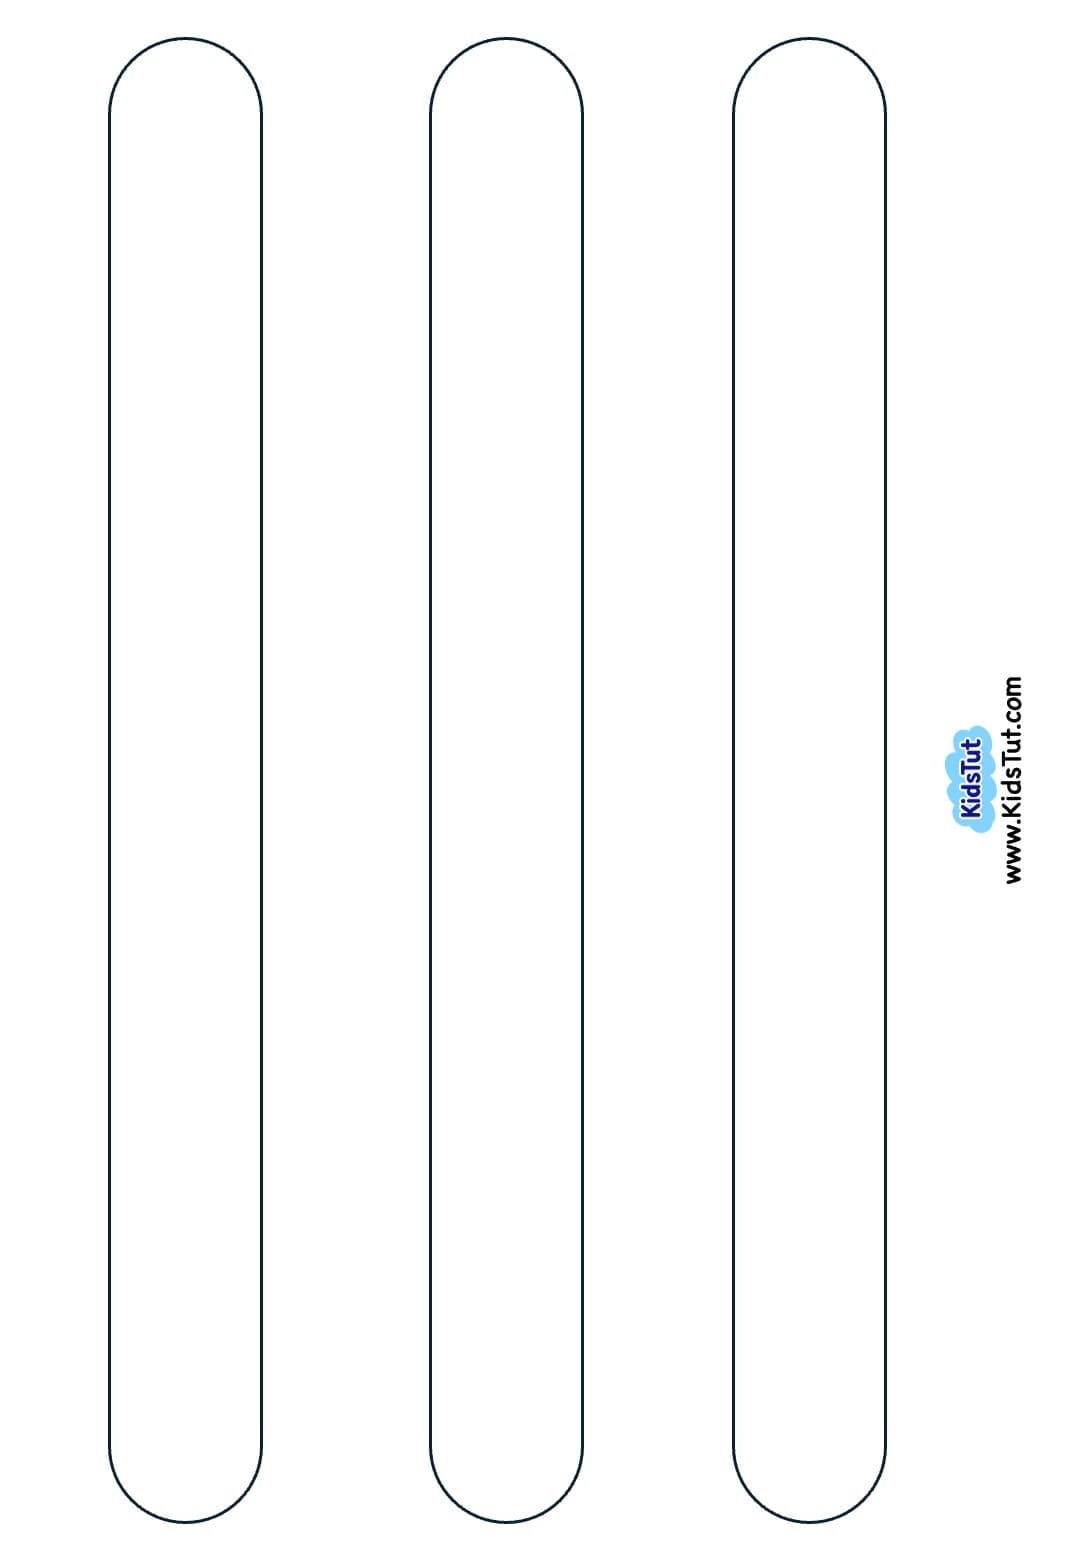
First, prepare the base for your Christmas hanging mobile. You can make it in two simple ways.
Method 1: Using the Printable Base Template
- Print the hanging base template on colored paper. Brown paper is a great choice for creating a wooden look, but you can use any color you like.
- Carefully cut out the base shape along its outline.
- Glue the paper shape onto a piece of craft board, Bristol board, or thick cardboard to make it stronger.
- Cut away the extra board around the shape.
- Set the base aside and allow the glue to dry.
Hanging base template:
Method 2: Using a Cardboard or Wooden Piece
- Choose a piece of thick cardboard or a flat wooden craft stick with your desired length and width.
- Make sure the base is long enough to hold three hanging yarn pieces with enough space between them.
- You can use a colored base or paint it in your favorite Christmas color.
- If you use paint, allow it to dry completely before moving to the next step.
Step 2: Print and Color the Christmas Pictures
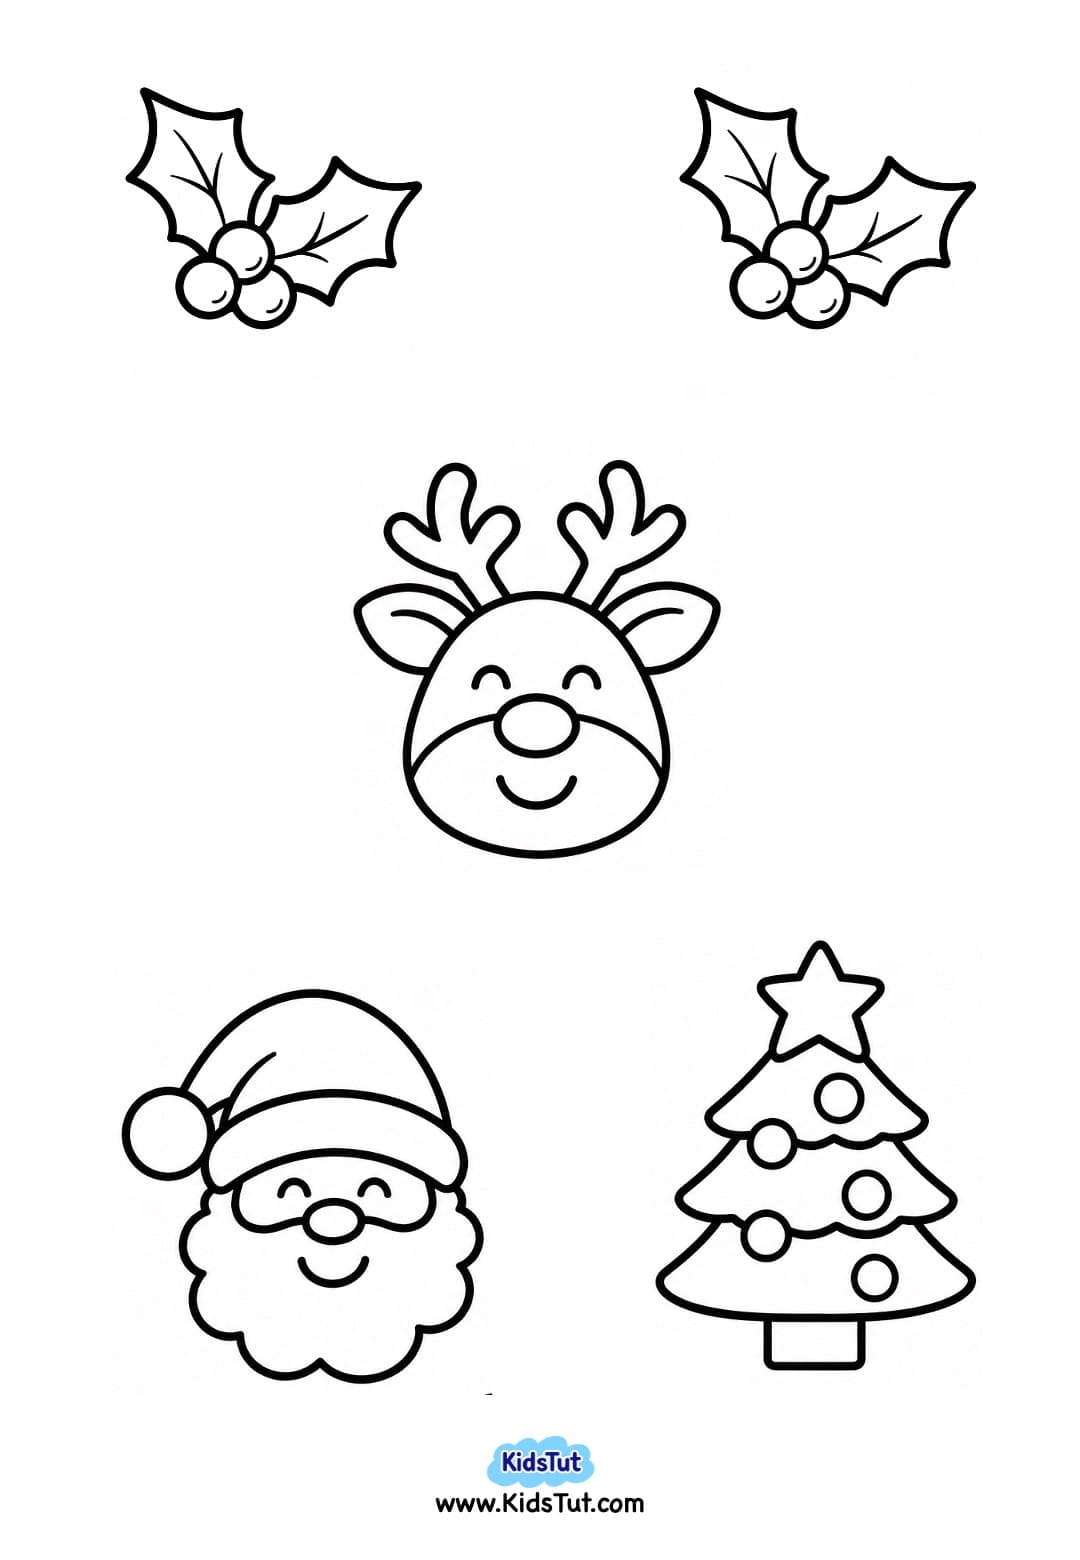
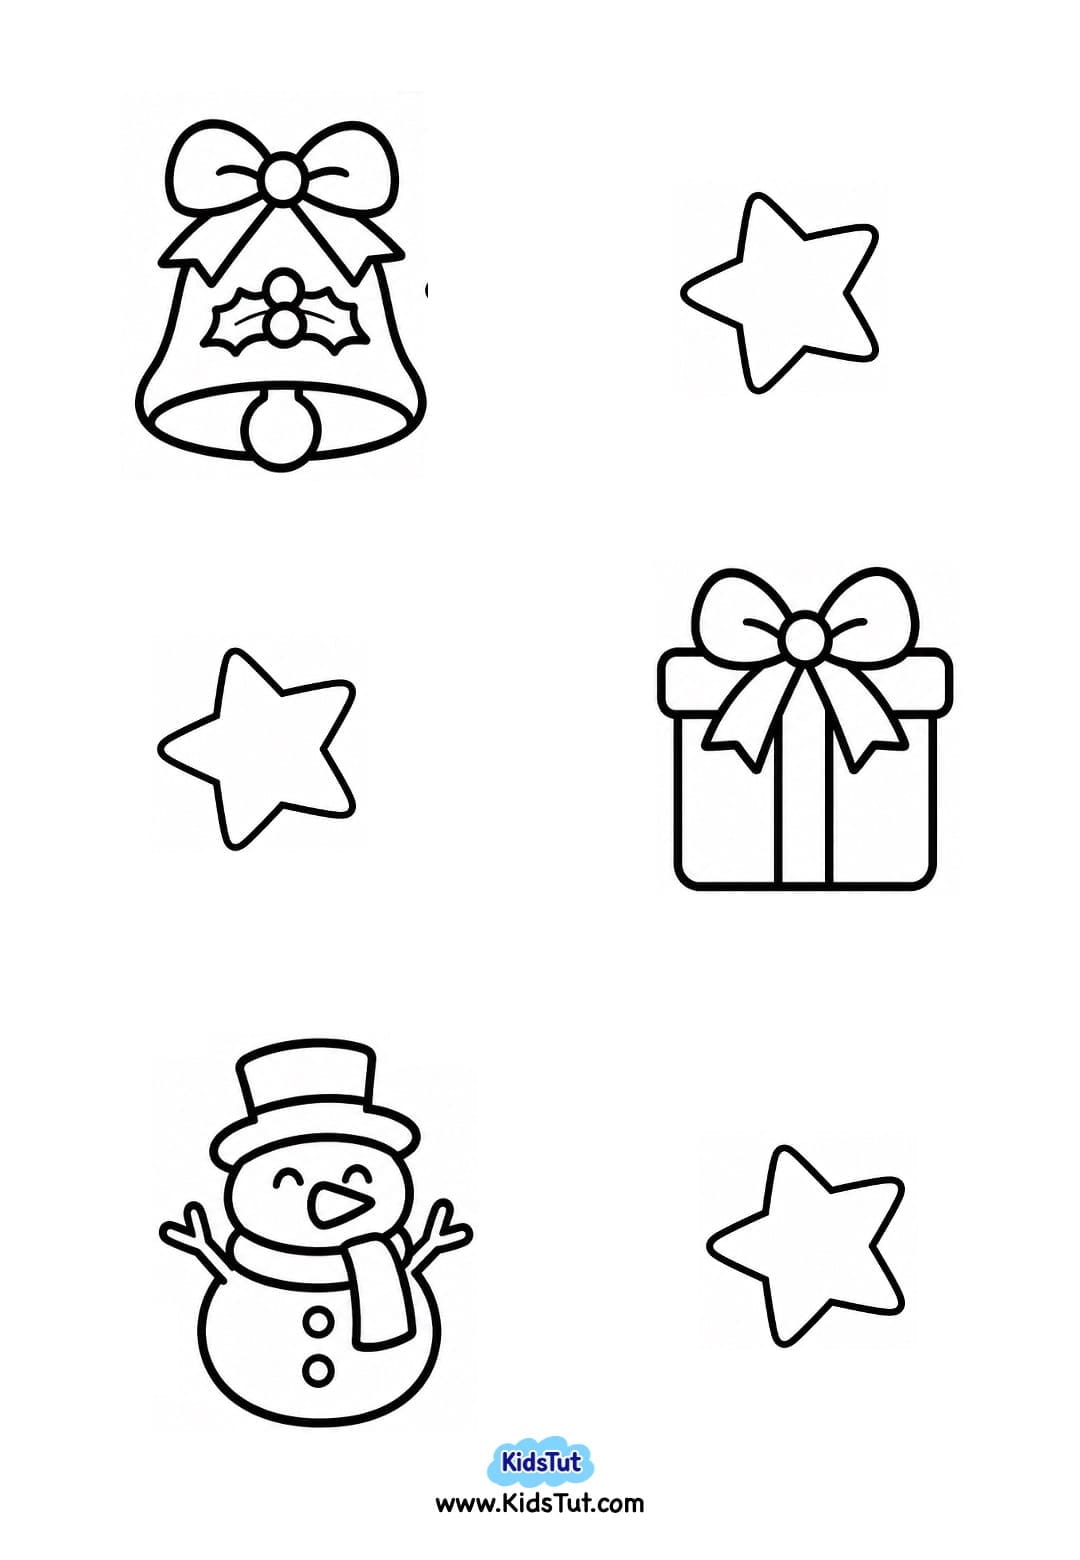
- Print the Christmas decoration templates on white sheets of paper.
- Let kids color the cute Christmas pictures using crayons, markers, or colored pencils.
- Encourage children to use their favorite colors to make the decorations bright and cheerful.
Christmas decoration templates:
Step 3: Cut Out the Christmas Decorations
- Once the coloring is finished, carefully cut out all the Christmas pictures along their outside cutting lines.
- Keep each Christmas decoration separate so you can easily arrange them later.
- Younger children may need a little help from an adult when cutting around smaller or more detailed shapes.
Step 4: Prepare the Yarn for Hanging
- Now it's time to prepare the hanging strings for your Christmas mobile.
- You can use any of the following materials:
- Medium-thickness cotton yarn
- Acrylic yarn
- Baker's twine
- Choose a yarn that is strong enough to hold the paper decorations. Green, red, or white yarn works beautifully for this Christmas craft.
- Cut three pieces of yarn of the same length. Make sure they are long enough to hold several Christmas decorations with small gaps between them.
Step 5: Attach the Yarn to the Hanging Base
- Take the hanging base you prepared earlier and attach the three pieces of yarn vertically.
- Attach one yarn piece near the left side of the base.
- Attach another yarn piece in the middle.
- Attach the third yarn piece near the right side.
- Keep equal spaces between the three yarn pieces to create a neat and balanced hanging mobile.
- You can attach the yarn to the back of the base using tape.
- Alternatively, if you are using a cardboard base, punch three small holes along the bottom of the base and tie the yarn pieces through the holes.
Step 6: Attach the Christmas Decorations
- Now take the colored Christmas cutouts and arrange them along the three hanging yarn pieces.
- You can follow the example shown in this craft: Left yarn: Santa Claus, a star, and a Christmas gift box. Middle yarn: Christmas tree, a Christmas bell, and a star. Right yarn: Reindeer, a star, and a snowman.
- Leave a little space between each decoration so that every picture can be seen clearly.
- Once you are happy with the arrangement, use tape to attach the yarn to the back of each paper decoration.
- Make sure the pictures are facing forward and are firmly attached to the yarn.
- Kids can also mix and match different Christmas pictures to create their own unique hanging mobile.
Step 7: Decorate the Hanging Base
- Take the colored holly berry and leaf cutouts.
- Glue one holly decoration onto each side of the hanging base to give it a beautiful Christmas look.
- You can also attach a small red ribbon bow to the center of the base for an extra festive touch.
- Allow the glue to dry before moving on to the final step.
Step 8: Add a Hanging Loop
- Cut another piece of yarn or string to hang your Christmas mobile.
- Attach the two ends of the yarn to the back of the left and right sides of the hanging base using tape or by tying them through small holes.
- This will create a hanging loop above the base.
- Make sure both ends are attached securely so the mobile hangs straight.
Step 9: Hang and Display Your Christmas Mobile
- Your colorful Christmas hanging mobile craft is ready!
- Hang it on a wall, door, window, or classroom bulletin board to create a cheerful Christmas display.
- Children will enjoy seeing their colorful Christmas pictures hanging together as a beautiful handmade decoration.
- Display the finished craft out of reach of babies and toddlers, as it contains hanging strings and small paper pieces.
Benefits of Christmas Hanging Mobile Crafts for Kids
This simple Christmas paper craft is more than just a fun holiday activity. It helps children develop important skills while enjoying hands-on creative learning.
- Fine Motor Skills: Coloring, cutting, gluing, and attaching yarn help strengthen the small muscles in children's hands and fingers.
- Hand-Eye Coordination: Cutting out Christmas shapes and placing them along the yarn helps children practice careful hand movements.
- Creativity and Imagination: Kids can choose their own colors, Christmas pictures, and decoration arrangements.
- Color and Shape Recognition: Working with colorful Christmas decorations helps younger children practice identifying different colors and shapes.
- Spatial Awareness: Arranging pictures along the yarn with equal spaces helps children understand position, spacing, and balance.
- Focus and Concentration: Following the craft instructions step by step encourages children to pay attention and complete their work.
- Planning and Decision-Making: Choosing which decorations to use and where to place them helps kids practice simple planning skills.
- Confidence and Independence: Completing their own Christmas hanging decoration gives children a sense of pride and achievement.

Click here to get the FREE PDF template: Download ( Printable )