Easy Christmas Tree Q-Tip Painting Craft for Kids
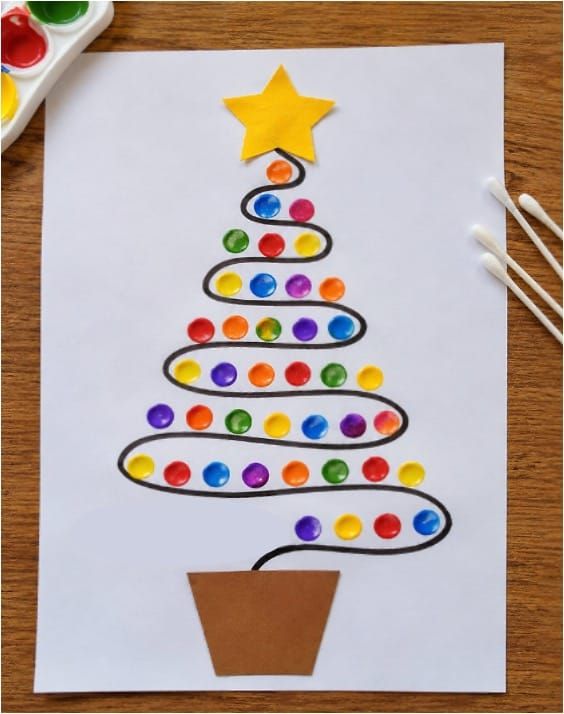
Looking for a fun and easy Christmas painting activity for kids? This Christmas Tree Q-Tip Painting Craft is a simple and colorful holiday art project that preschoolers and kindergarten kids will love!
Instead of using paintbrushes, children can use cotton swabs (Q-tips) to make colorful paint dots along a Christmas tree line pattern. With bright paints, a paper star, and a little brown paper pot, kids can create their own beautiful Christmas tree artwork.
This easy Christmas craft is perfect for classroom art activities, preschool holiday lessons, or creative fun at home. It also helps little hands practice fine motor skills while exploring colors and painting techniques.
What You Need
- Printable Christmas tree line pattern templates
- White paper
- Yellow colored paper for the star
- Brown colored paper for the tree pot
- Acrylic paint or non-toxic washable tempera paint
- Cotton swabs (Q-tips)
- Paint palette or small containers
- Water
- Scissors
- Glue
How to Make a Christmas Tree Q-Tip Painting Craft
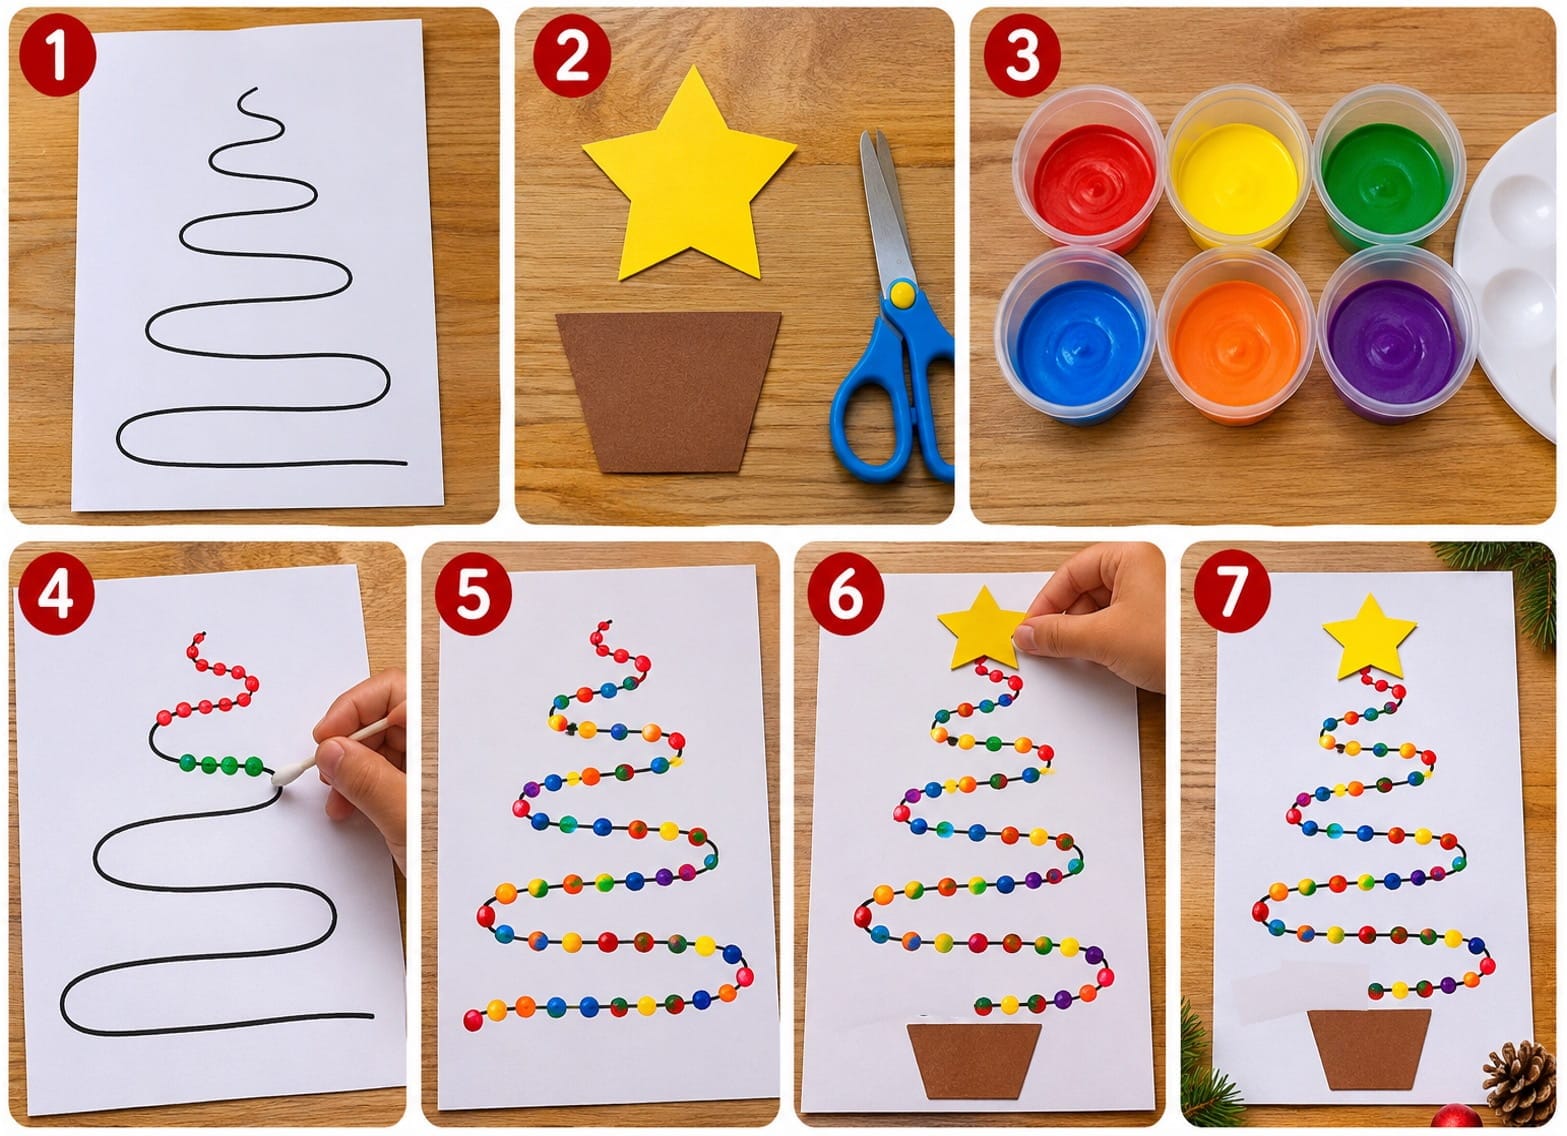
Step 1: Print the Christmas Tree Line Pattern
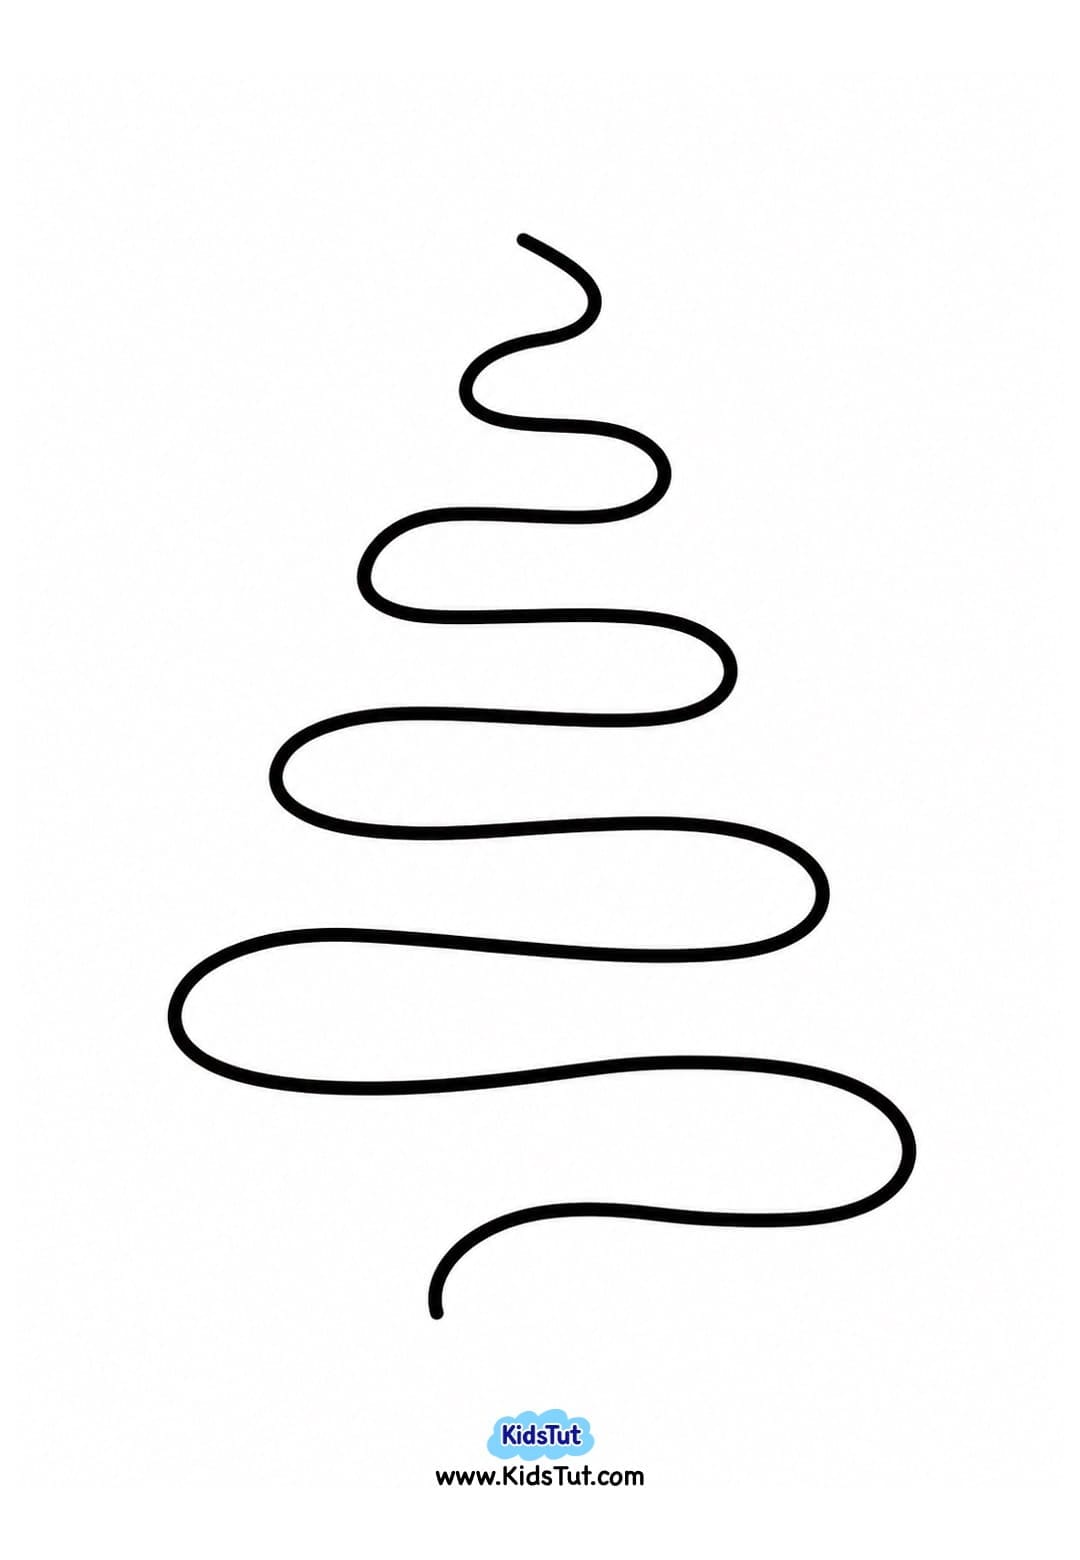
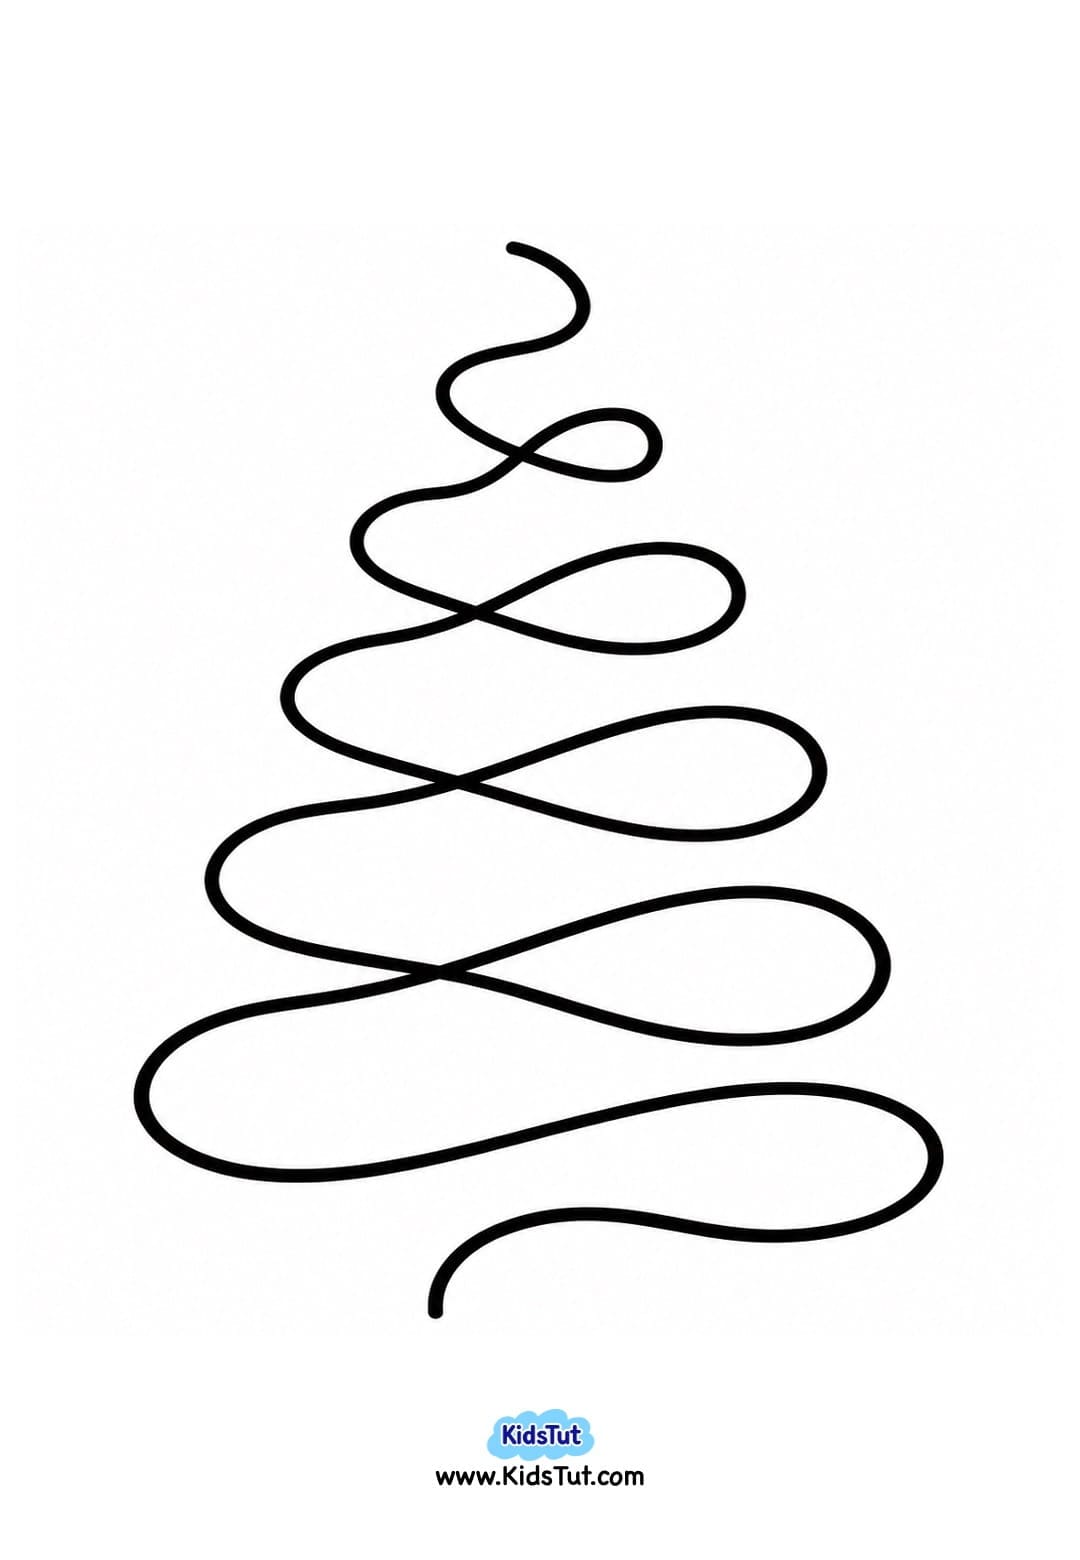
- Start by choosing your favorite Christmas tree line pattern from the printable templates. There are different Christmas tree light wire patterns to choose from, so kids can pick the design they like best.
- Print the selected Christmas tree line pattern on a white sheet of paper.
Step 2: Prepare the Paper Star and Tree Pot
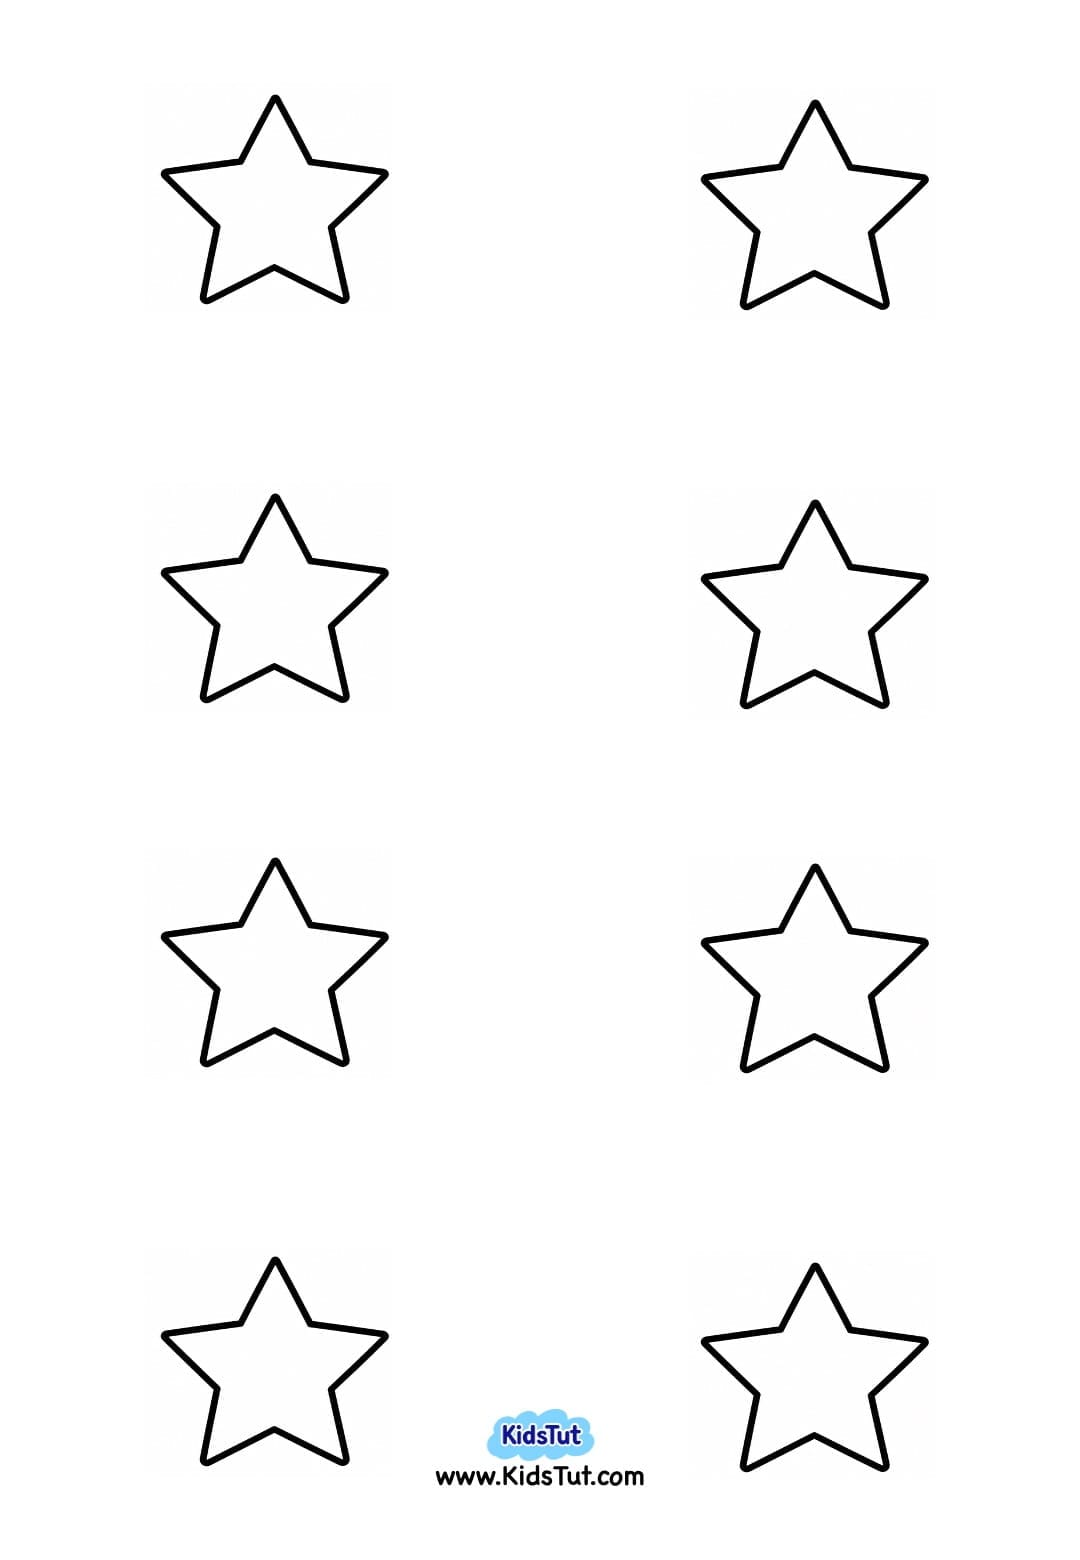
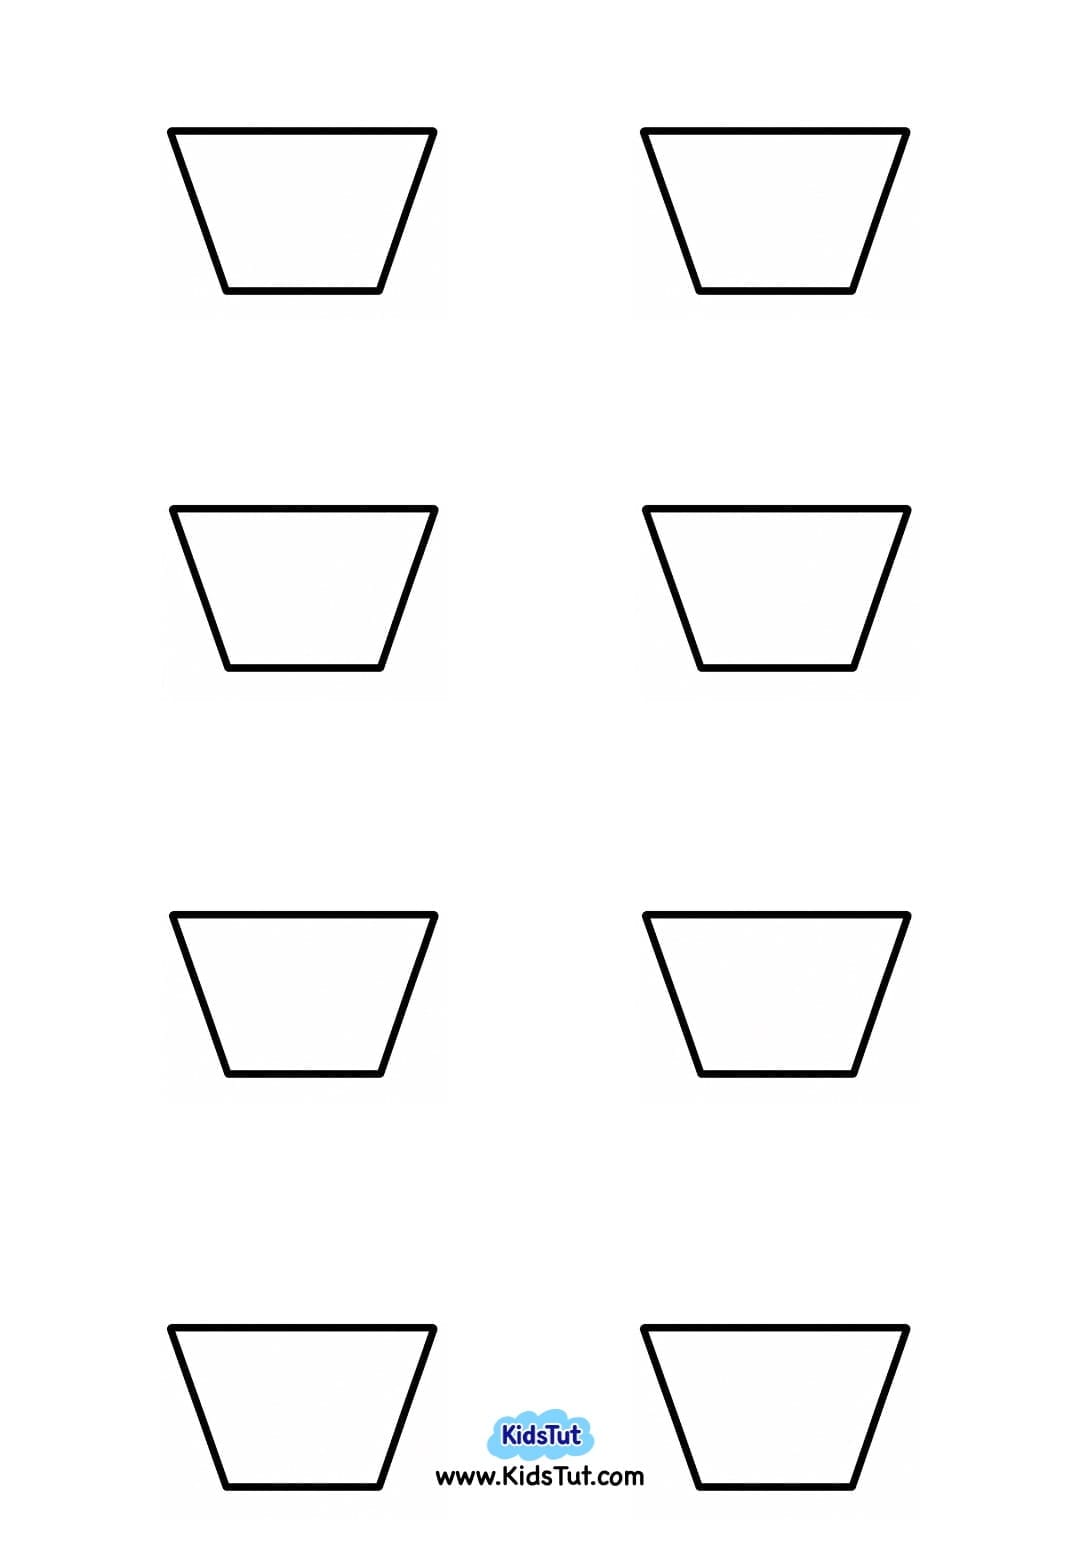
- Next, print the Christmas tree topper star template on yellow colored paper and the tree pot template on brown colored paper.
- Carefully cut out the star and pot shapes along their outlines.
- Keep these paper pieces aside. You will use them to decorate the Christmas tree after the painting is finished.
Step 3: Prepare the Colorful Paints
- Now it's time to get the paints ready!
- Choose a few bright colors, such as red, yellow, green, blue, orange, and purple.
- You can use acrylic paint or non-toxic washable tempera paint for this activity. Washable tempera paint is especially suitable for younger children because it is easier to clean up.
- Pour a small amount of each paint color into a paint palette or separate containers.
- If the paint is too thick, add a few drops of water and mix well. Make sure the paint is smooth and thick enough to create clear dots without spreading or becoming too runny.
Step 4: Start Q-Tip Dot Painting
- Take a cotton swab (Q-tip) and dip one end into your chosen paint color.
- Gently press the painted tip onto the Christmas tree line pattern to make a small, colorful dot.
- Start at one end of the Christmas tree wire line and slowly follow the pattern toward the other end.
- Continue making colorful dots along the black line, following its curves to create a beautiful string of Christmas lights.
- Use a separate Q-tip for each paint color to keep the colors bright and clean without mixing them.
- Kids can change colors as they move along the line to make their Christmas trees look cheerful and festive!
Step 5: Finish the Colorful Christmas Light Dots
- Keep adding paint dots until you reach the end of the Christmas tree line pattern.
- Try to place the dots neatly along the line, leaving a little space between them.
- Remind children to be careful not to place their hands on the wet paint while working.
- Once all the colorful dots are finished, set the paper aside and allow the paint to dry completely.
Step 6: Add the Star and Tree Pot
- After the paint has dried, it's time to finish decorating the Christmas tree!
- Take the yellow paper star you cut out earlier and glue it at the top of the Christmas tree.
- Next, glue the brown paper pot at the bottom of the tree, just below the line pattern.
- Gently press the paper pieces into place and let the glue dry.
Step 7: Display Your Christmas Tree Artwork
- Your colorful Christmas Tree Q-Tip Painting Craft is ready!
- Kids can proudly display their finished Christmas tree paintings on a classroom bulletin board, wall, or at home.
- You can also try different Christmas tree line patterns and paint colors to create a lovely collection of Christmas artwork!
Templates:
Christmas tree line patterns:
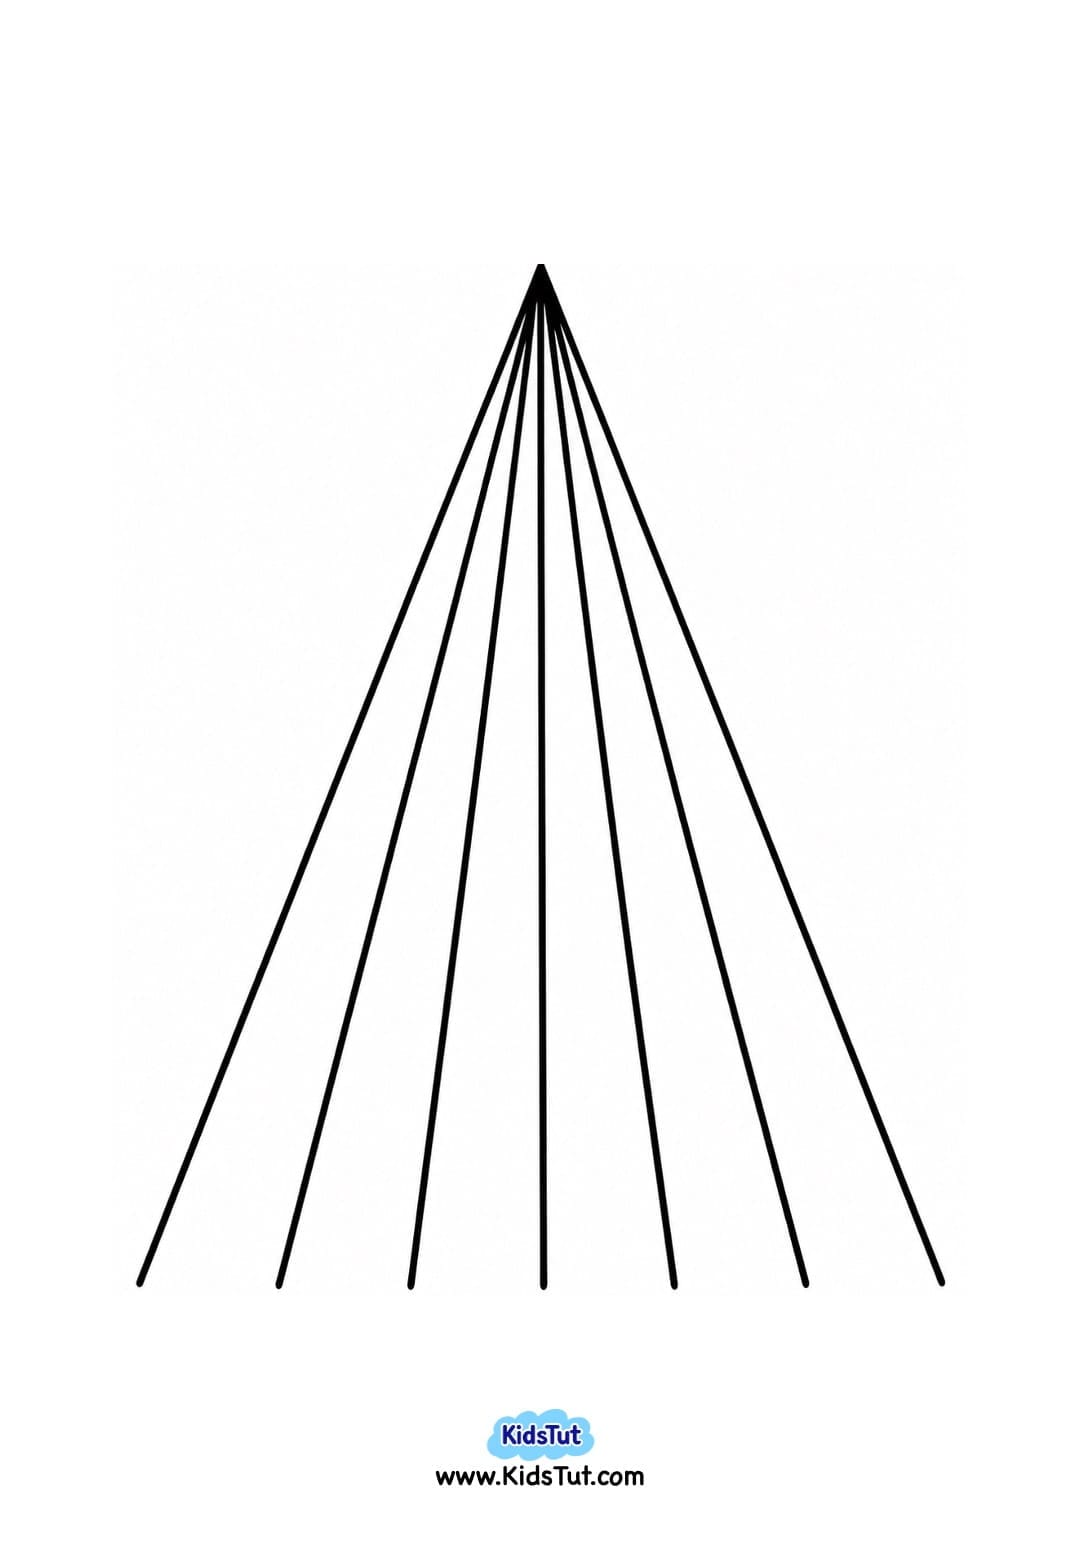
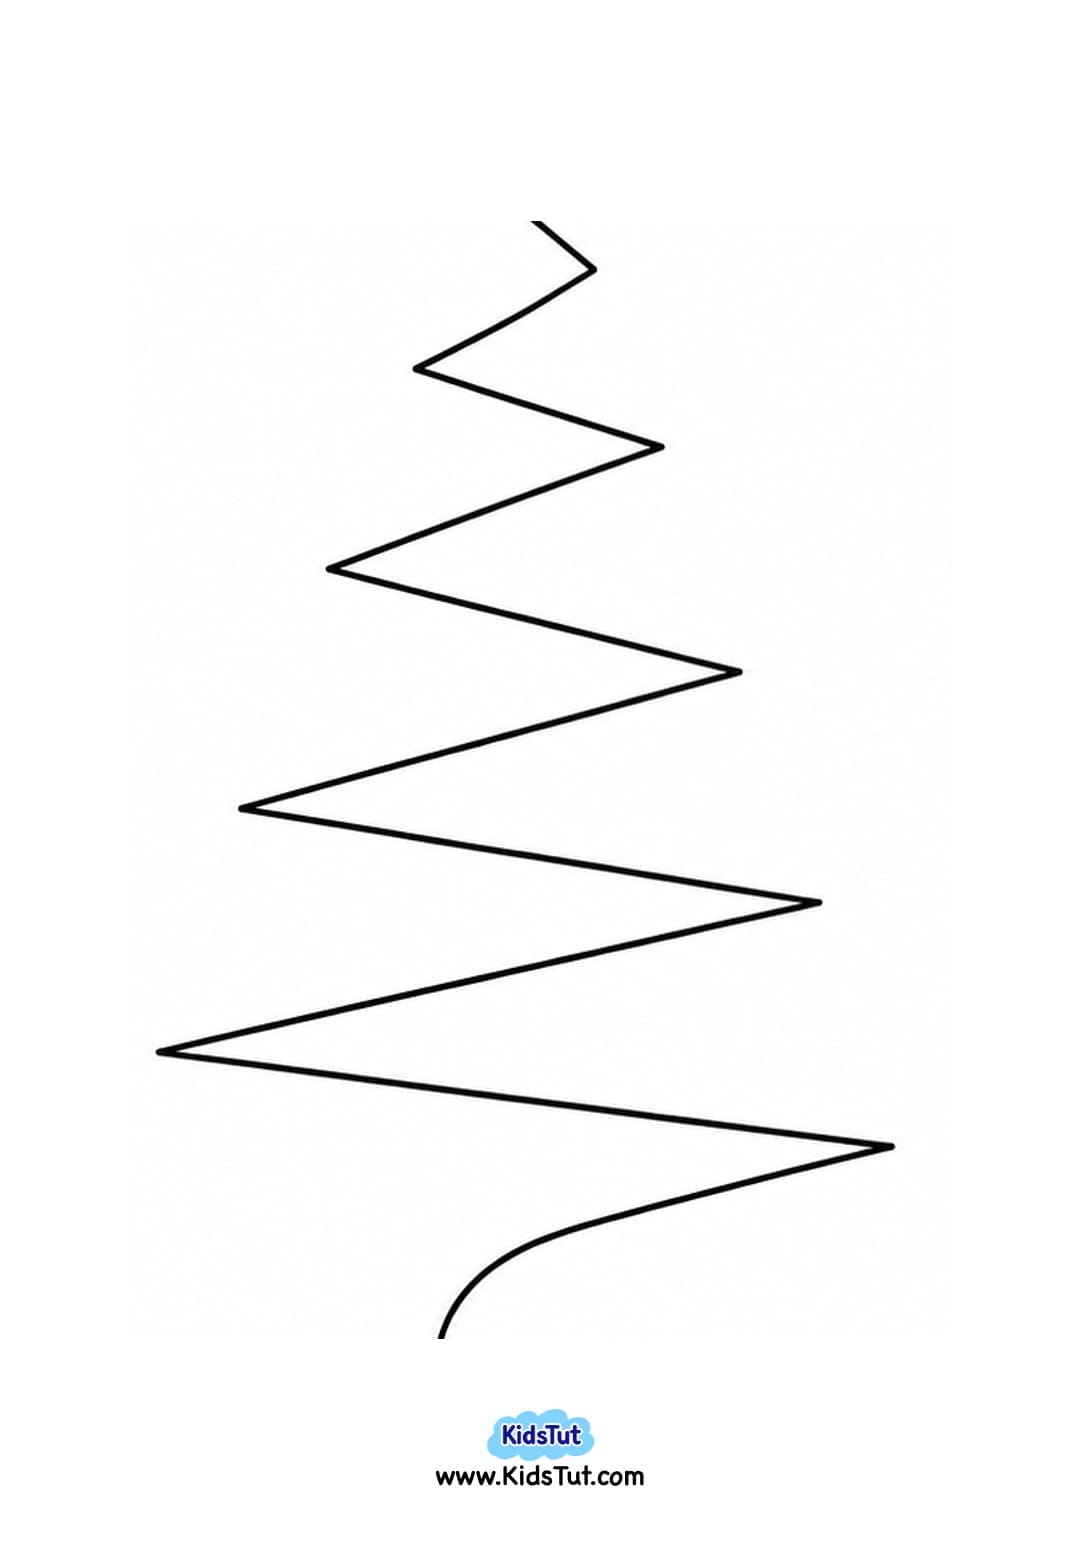
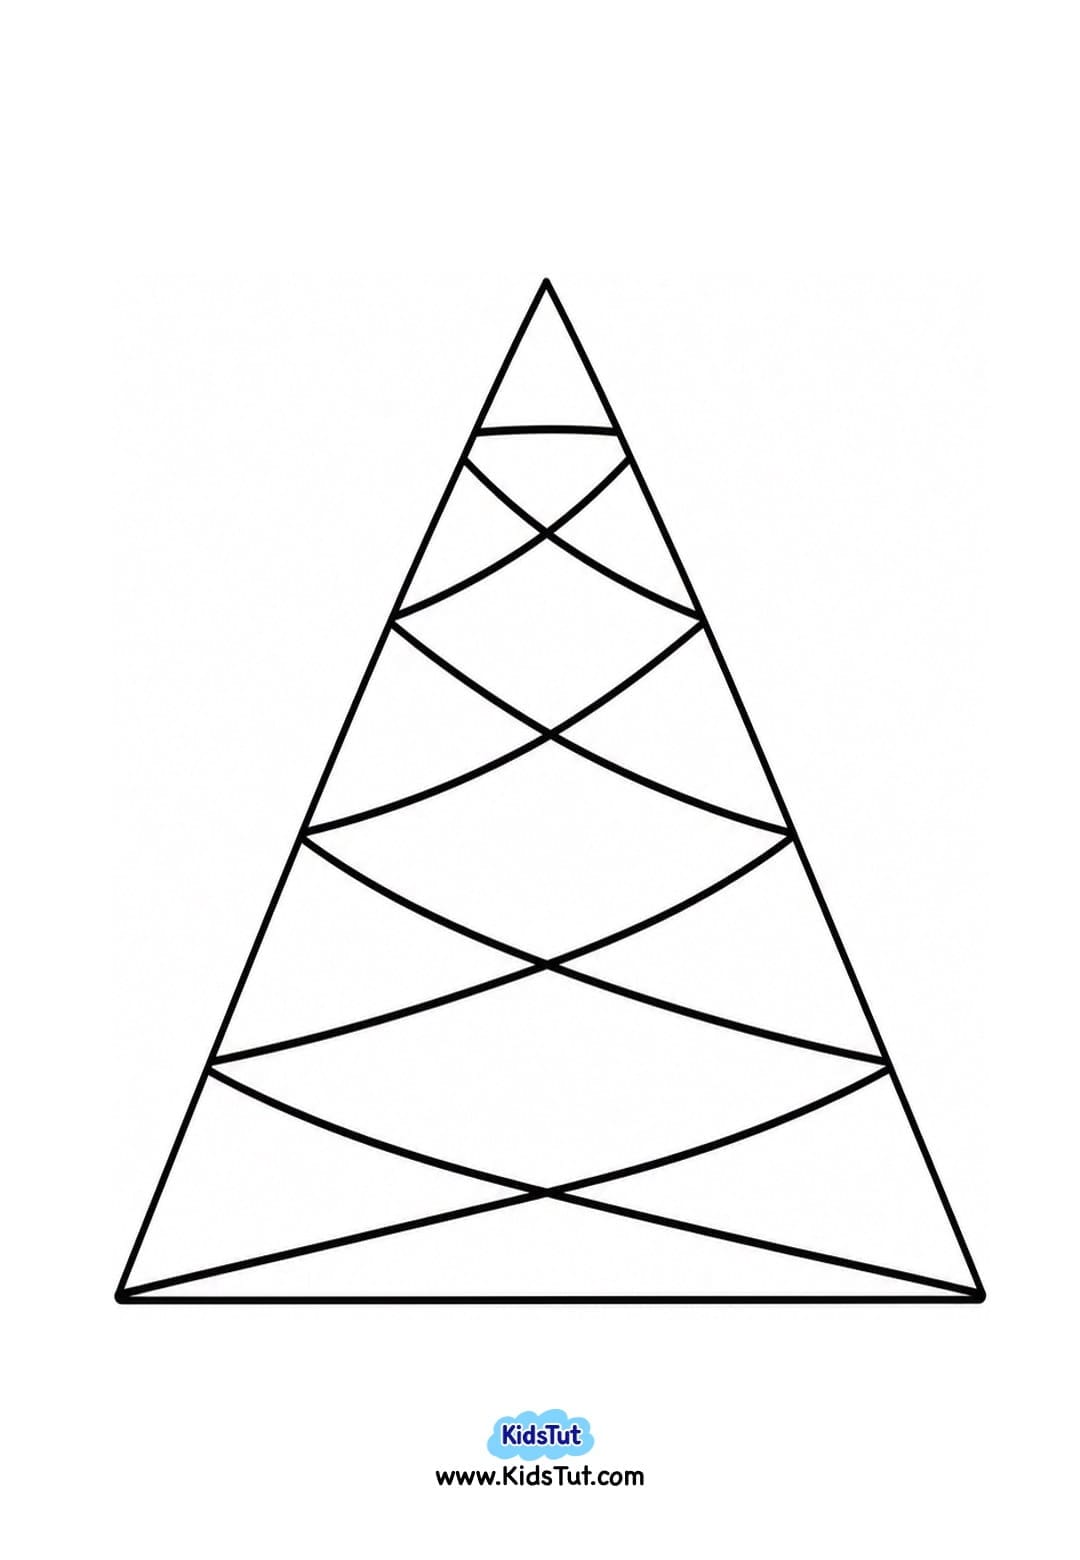
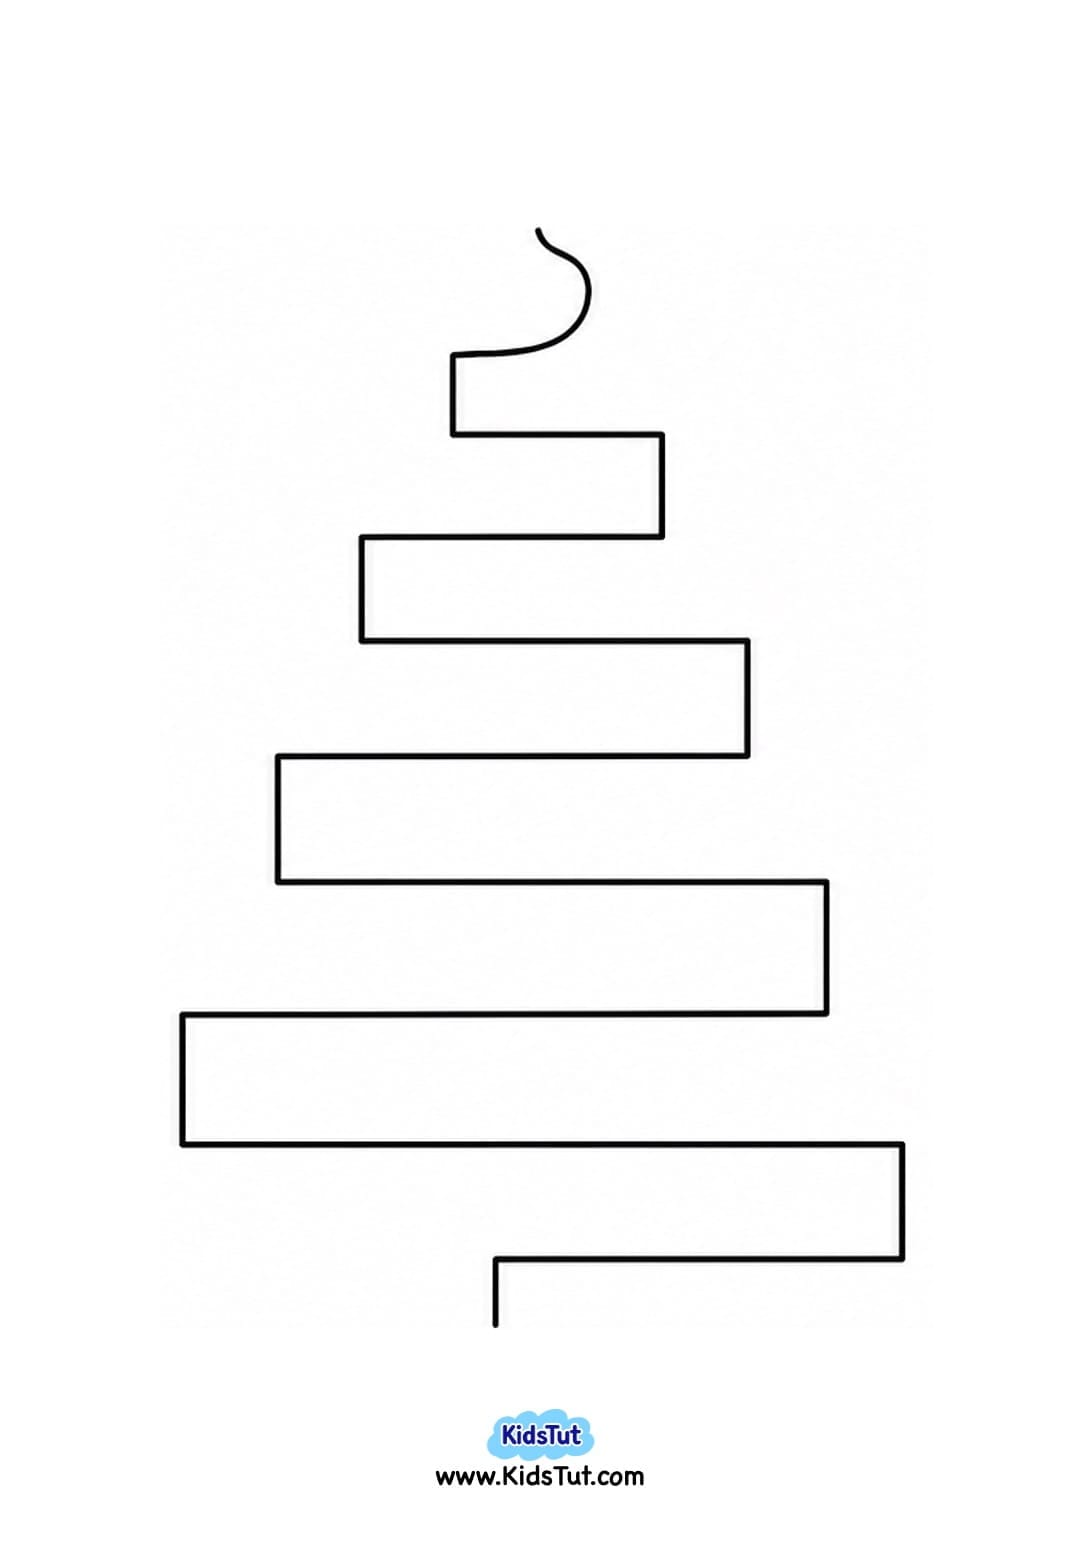
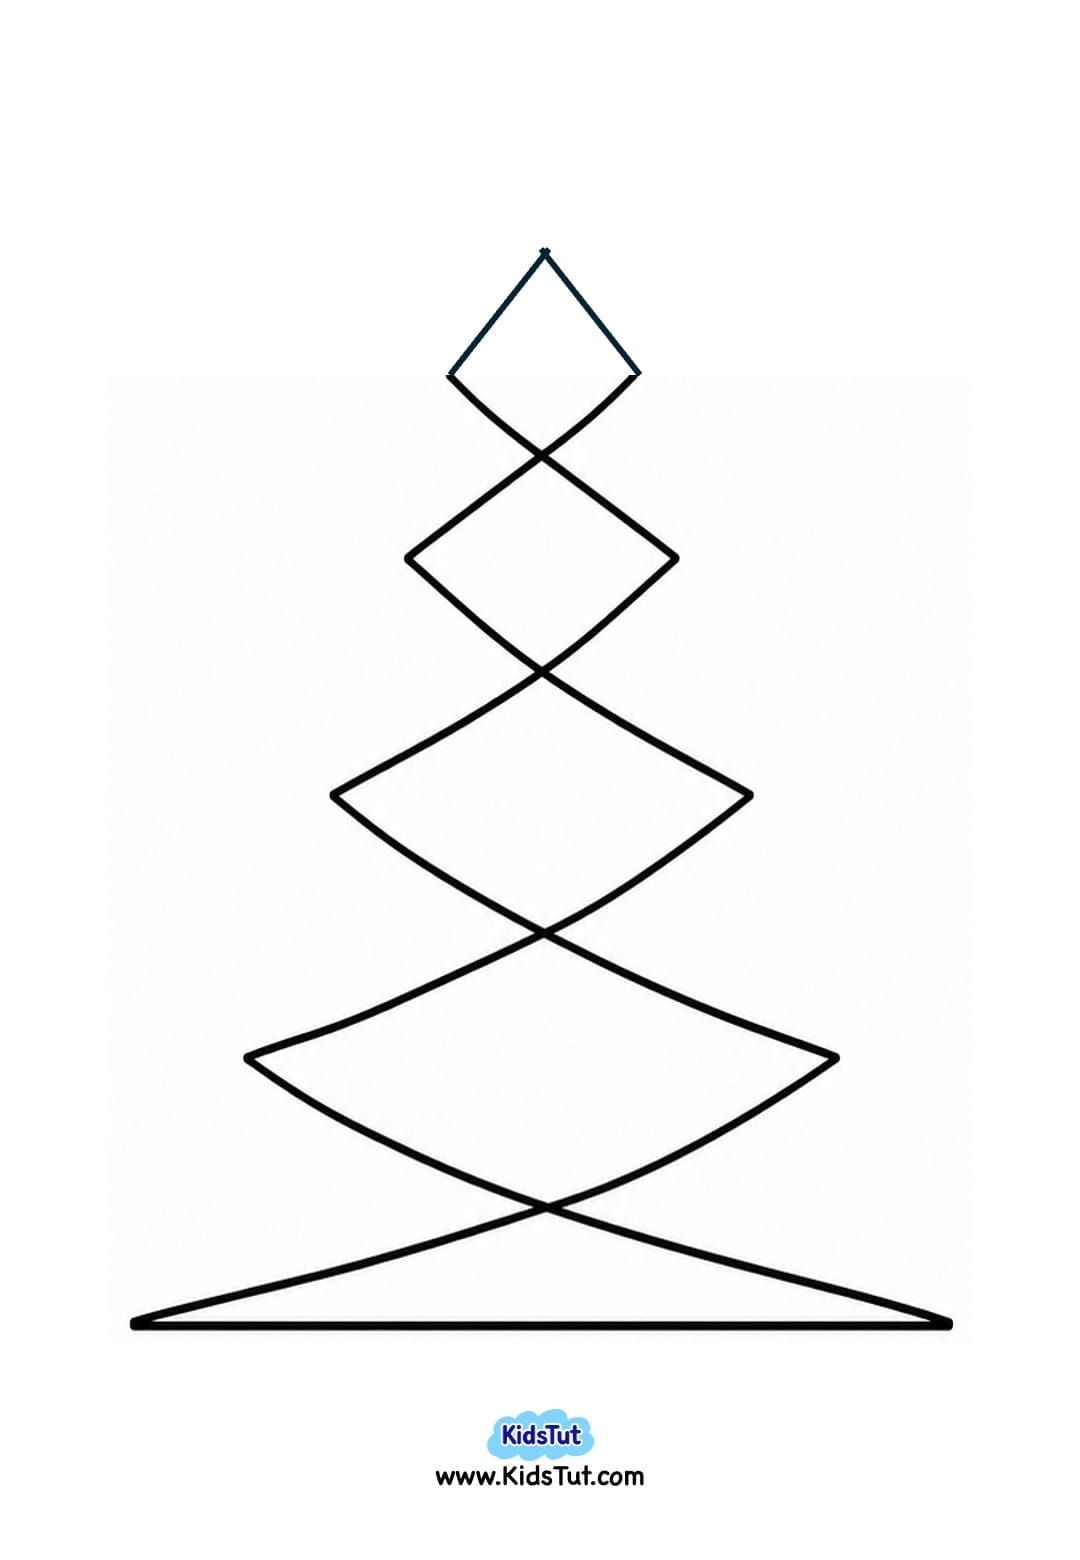
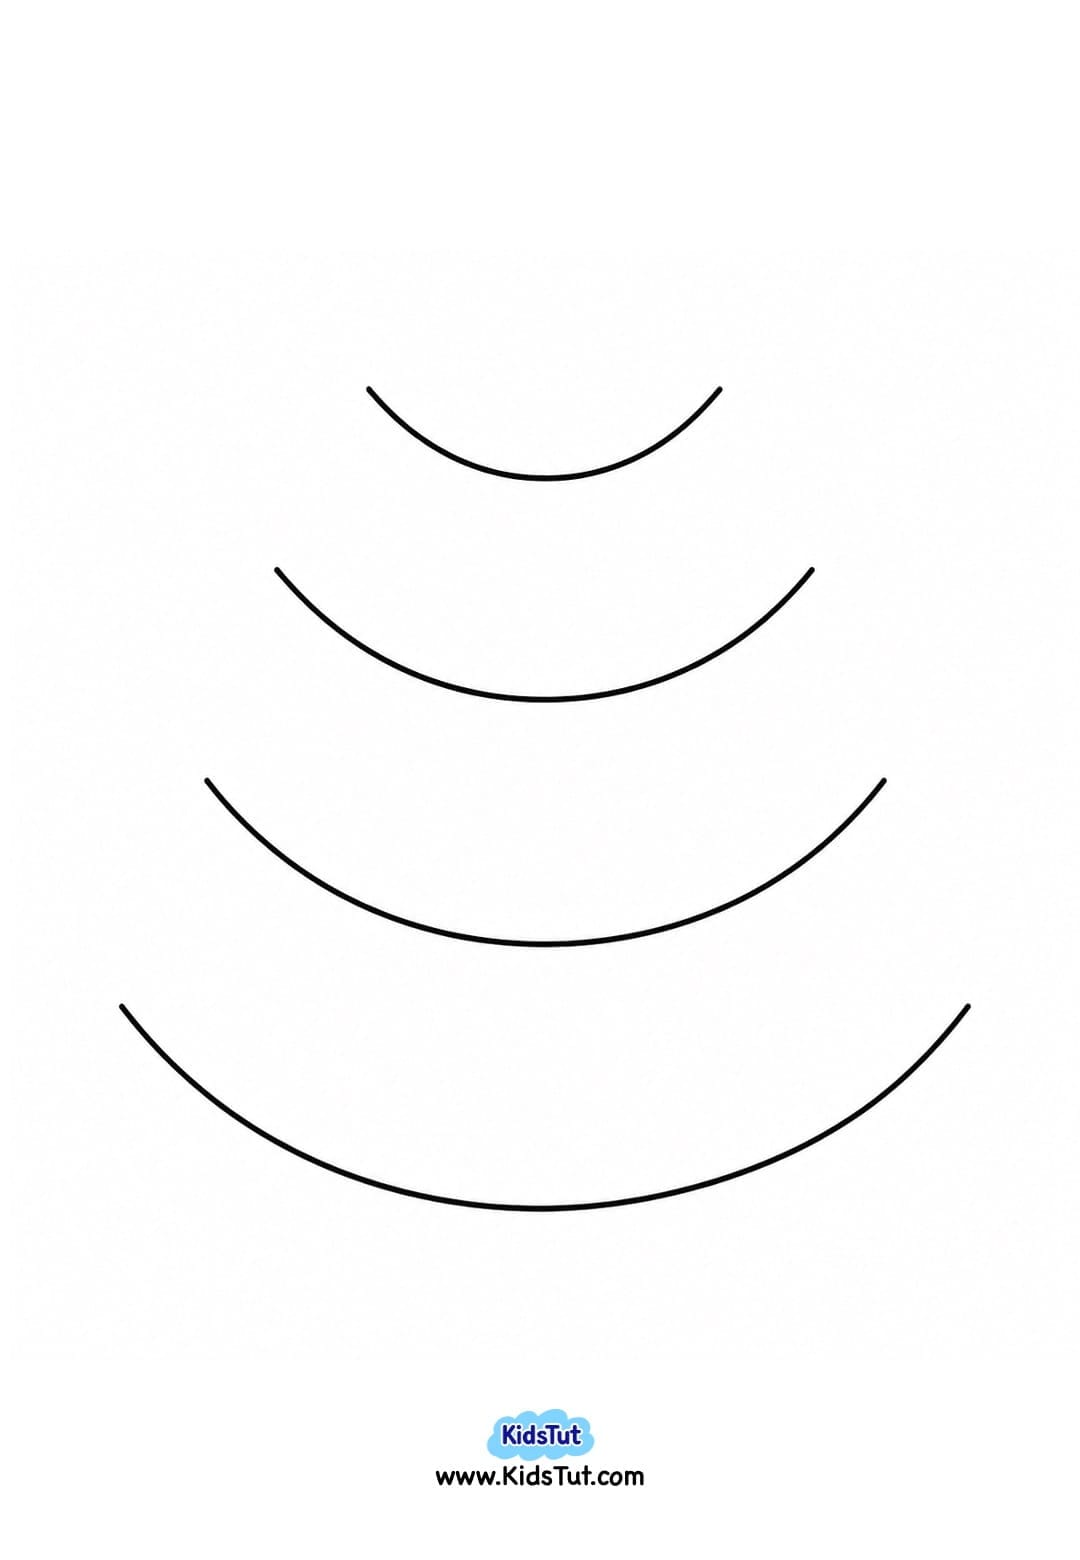
Christmas tree topper star template:
Christmas tree Pot template:
Benefits of Christmas Tree Q-Tip Painting for Kids
This easy Christmas painting activity is not only fun but also helps children develop important early learning skills through hands-on play.
- Fine Motor Skills: Holding and pressing Q-tips onto paper helps children practice small finger and hand movements.
- Hand-Eye Coordination: Following the Christmas tree line pattern with paint dots helps kids improve their hand-eye coordination.
- Color Recognition: Using different paint colors gives children a fun way to practice recognizing and naming colors.
- Focus and Concentration: Carefully placing paint dots along the line encourages children to pay attention and follow a simple pattern.
- Creativity: Kids can choose their favorite colors and create their own colorful Christmas light designs.
- Pre-Writing Skills: Following curved lines and controlling small hand movements can help children build skills useful for early writing.
- Patience and Confidence: Completing the painting and adding the paper decorations gives children a sense of achievement.

Click here to get the FREE PDF template: Download (Printable)