Easy Paper Snowman Wreath Craft for Kids This Christmas
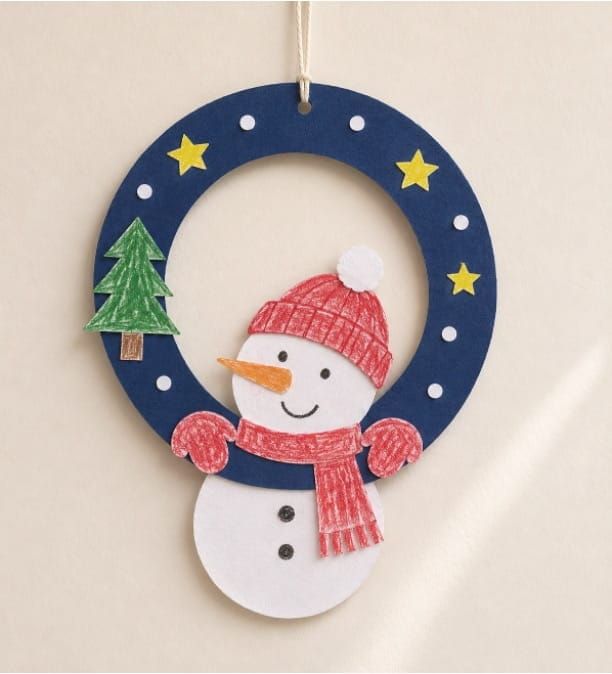
This paper snowman wreath looks like a little snowman peeking through a window on a snowy night. Kids can color his hat, scarf, and mittens, then decorate the wreath with a Christmas tree, yellow stars, and white paper snow.
The printable templates make this an easy Christmas craft for kids to try at home or in the classroom. Once the glue dries, hang the wreath on a door or wall with a yarn loop.
What You Need
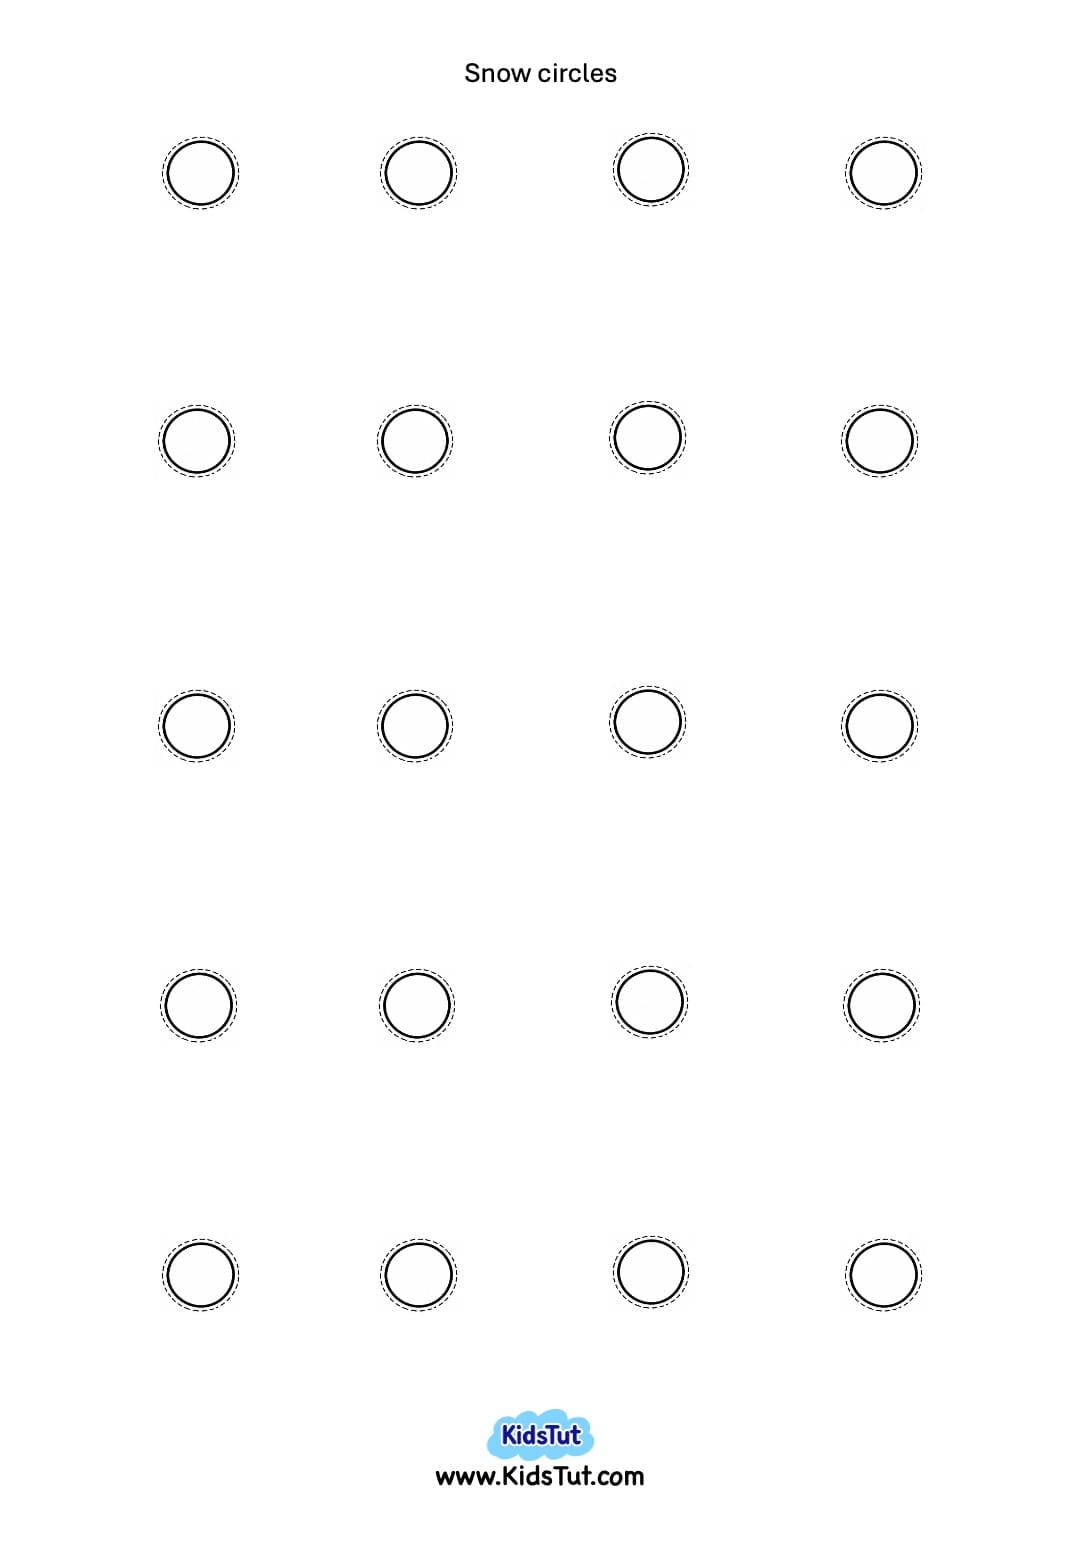
- Printable wreath base, snowman pieces, Christmas tree, stars, and snow circles
- A4 colored paper for the wreath base
- A4 white paper for the snowman, Christmas tree, and snow circles
- A4 yellow paper for the stars
- Thin cardboard for backing the wreath
- Crayons, colored pencils, or markers
- Child-safe scissors and glue
- Yarn for hanging
How to Make a Paper Snowman Wreath
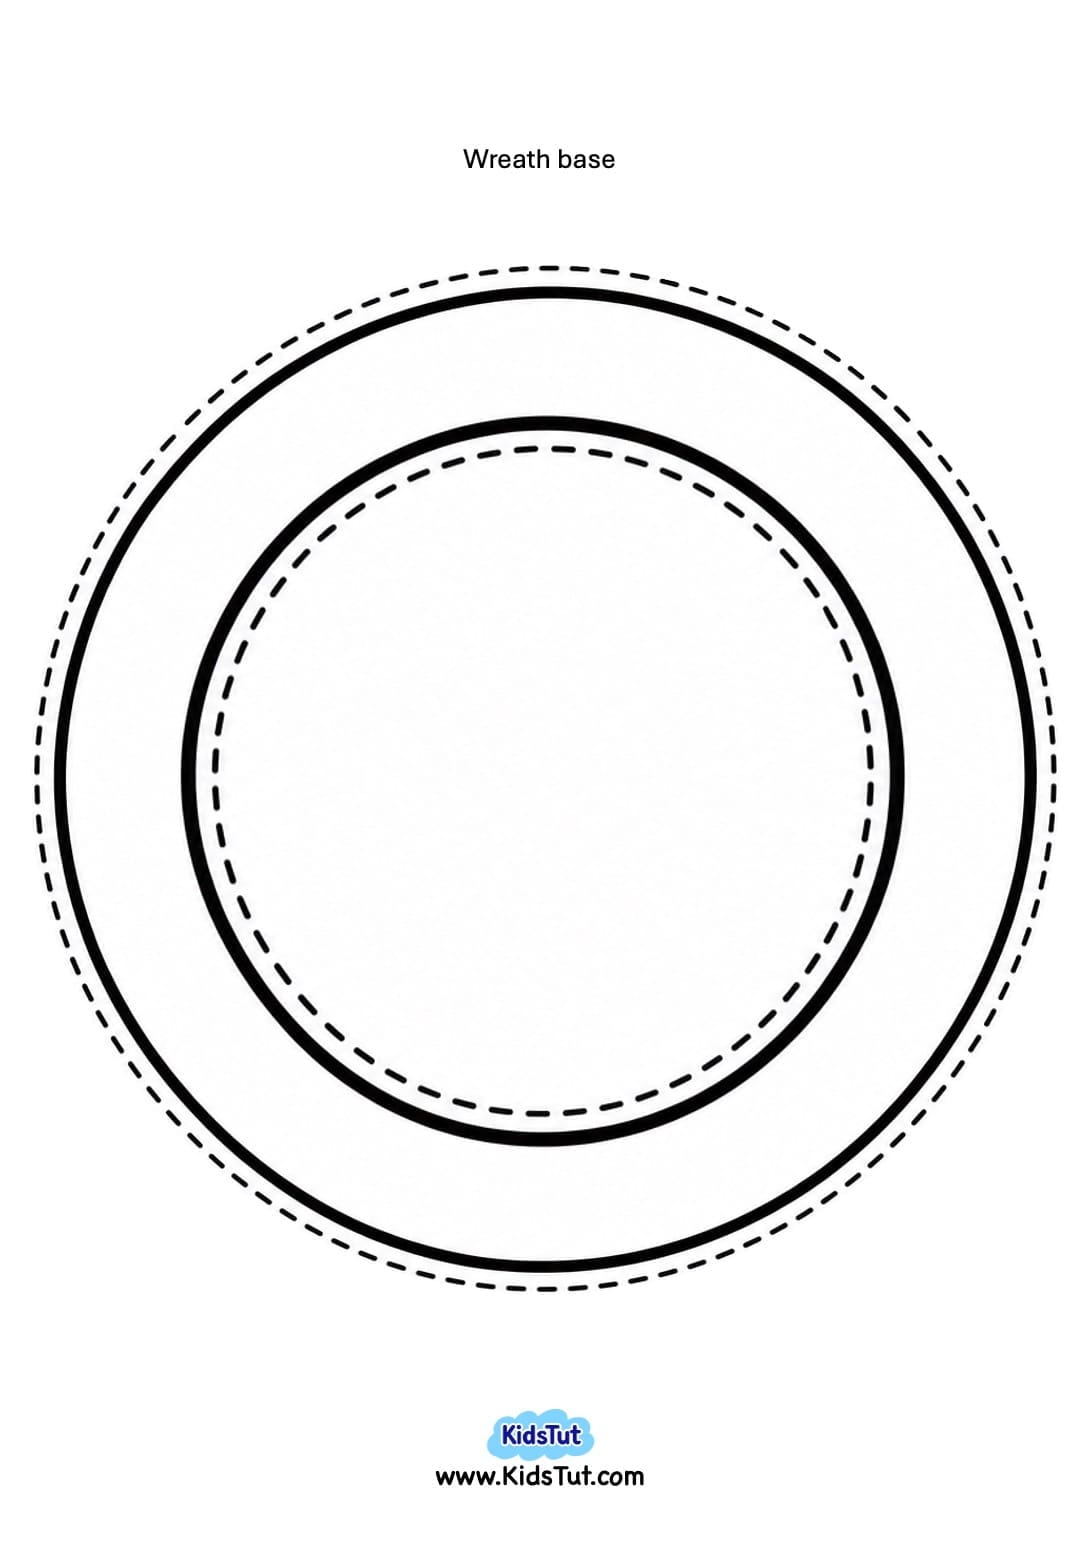
1. Print and cut out the wreath base
- The templates are made for A4 paper. To make a smaller wreath, adjust the scale in your printer settings before printing. Use the same scale for all the pieces so they fit together.
- Print the wreath base on colored paper.
- Glue it onto thin cardboard to make it sturdy.
- Cut around the outside edge, then cut out the center to make a ring. A grown-up can help younger kids start the cut in the middle.
2. Color and cut out the pieces
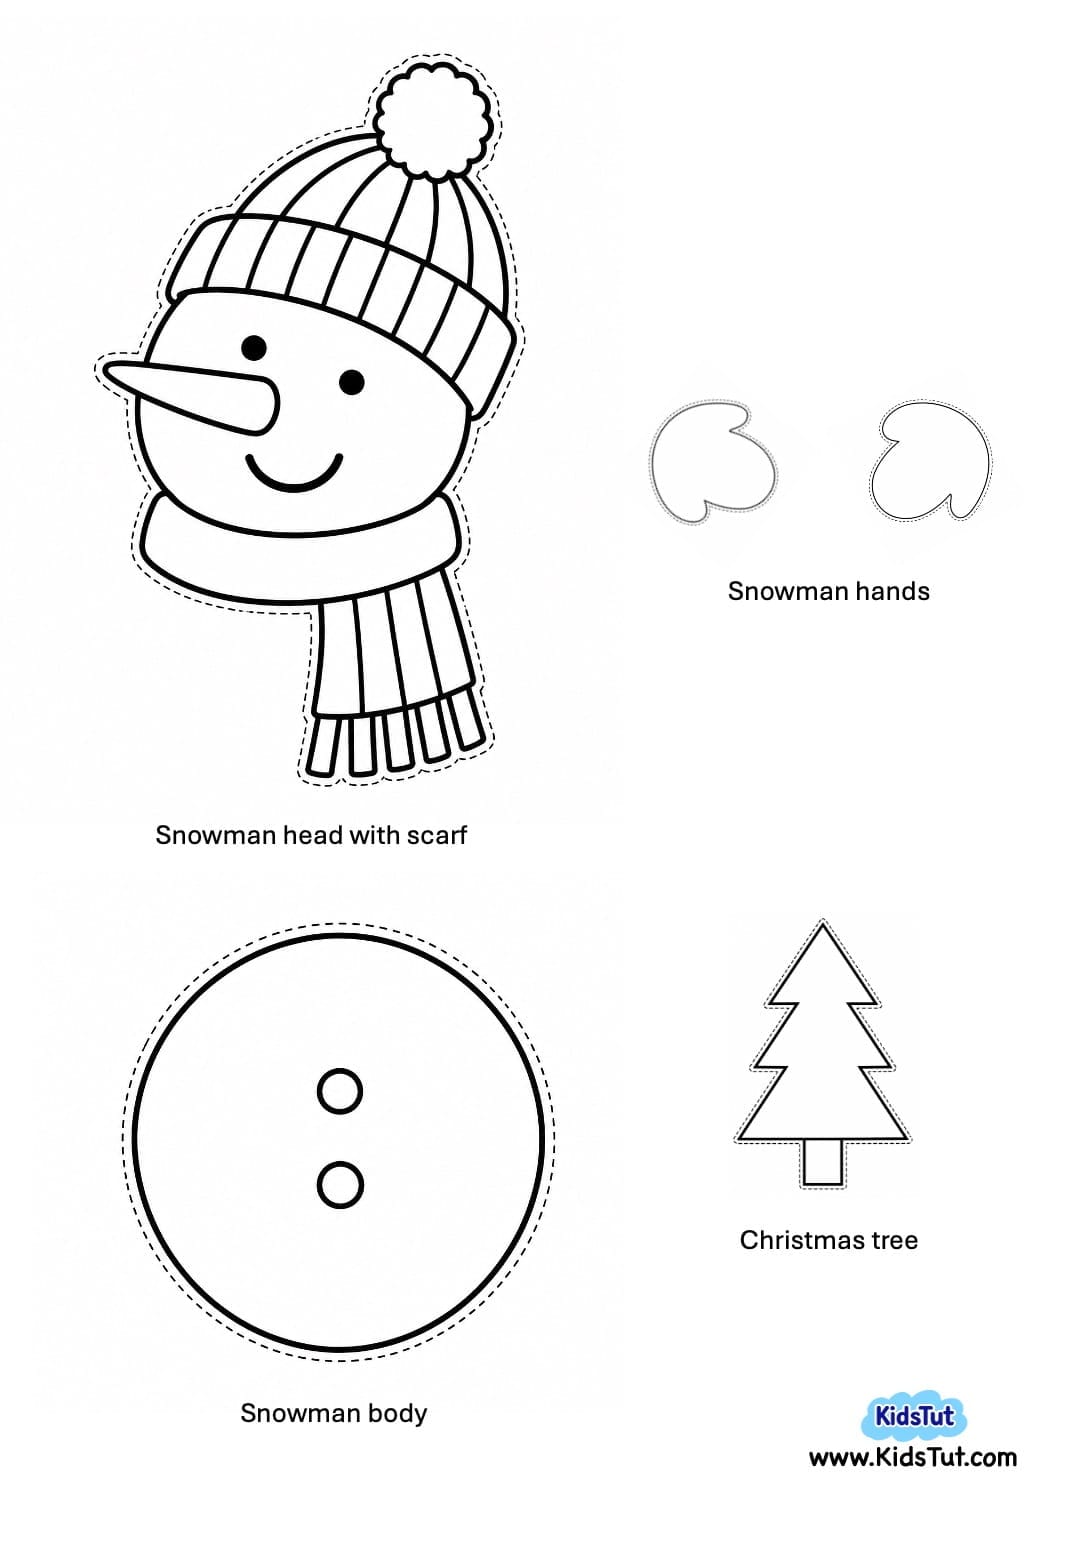
- Print the snowman pieces and Christmas tree on white paper.
- Color the snowman’s hat, scarf, and mittens, then color the tree.
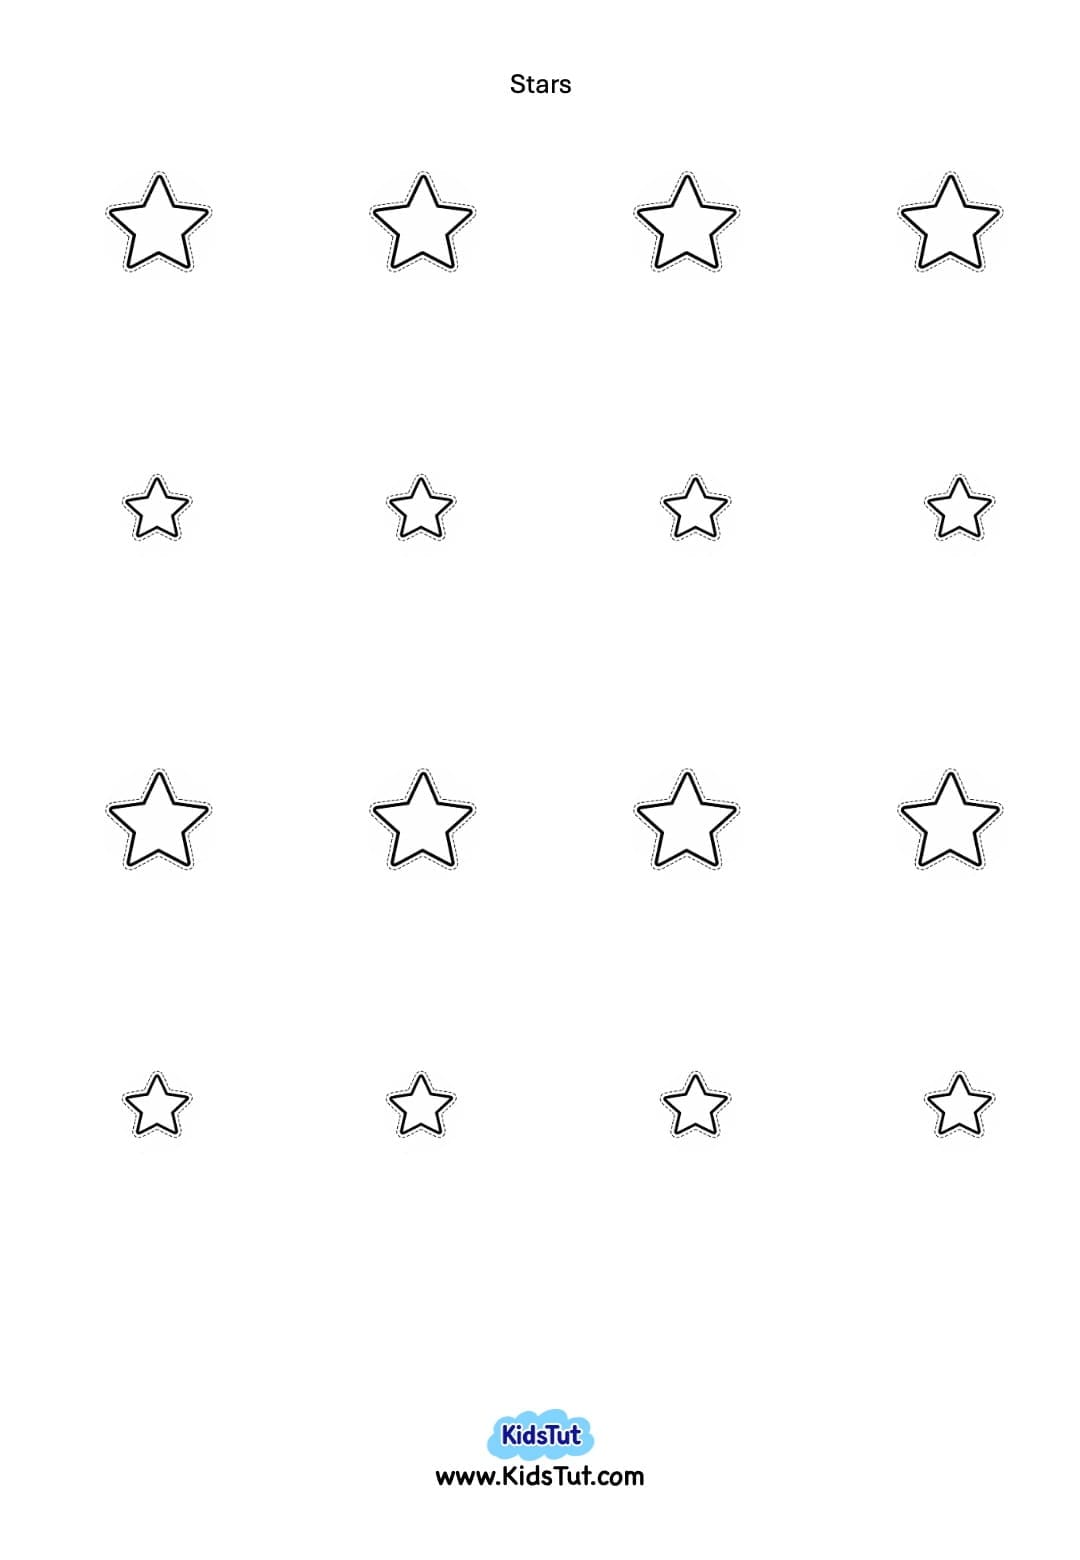
- Print the stars on yellow paper and the snow circles on white paper.
- Cut out all the pieces separately.
3. Plan your wreath design
- Lay the cutouts on the wreath before gluing.
- Place the snowman at the bottom center and try the tree on one side. Space out the stars and snow circles around the ring until you like how they look.
4. Glue the snowman in place
- Put a little glue on the back of the snowman’s head piece, just under the scarf. Stick it to the front of the wreath at the bottom center.
- Leave the top of the head free so it sits inside the opening.
- Glue the snowman’s body to the back of the wreath so it hangs below the ring.
- Then glue one mitten on each side of the snowman’s face to make it look like he’s holding on to the wreath.
5. Add the decorations and hang your wreath
- Glue the Christmas tree, stars, and snow circles in the spots you picked.
- Lay the wreath flat until the glue dries.
- Thread a piece of yarn through a small hole at the top, tie it into a loop, and hang your snowman wreath on a door or wall.
Templates:
Benefits of This Snowman Wreath Craft
- Fine motor practice. Coloring, cutting, and picking up small paper stars help kids practice controlling their fingers.
- Hand-eye coordination. Lining up the snowman’s body and mittens gives kids practice placing pieces where they want them.
- Planning skills. Arranging the cutouts before gluing lets kids move things around and decide where each piece fits.
- Creative choices. Kids can pick their own scarf colors, make a starry sky, or group the white circles to look like falling snow.

Click here to get the FREE PDF template: Download (Printable)