Easy DIY Christmas Lights Fine Motor Activity for Kids!
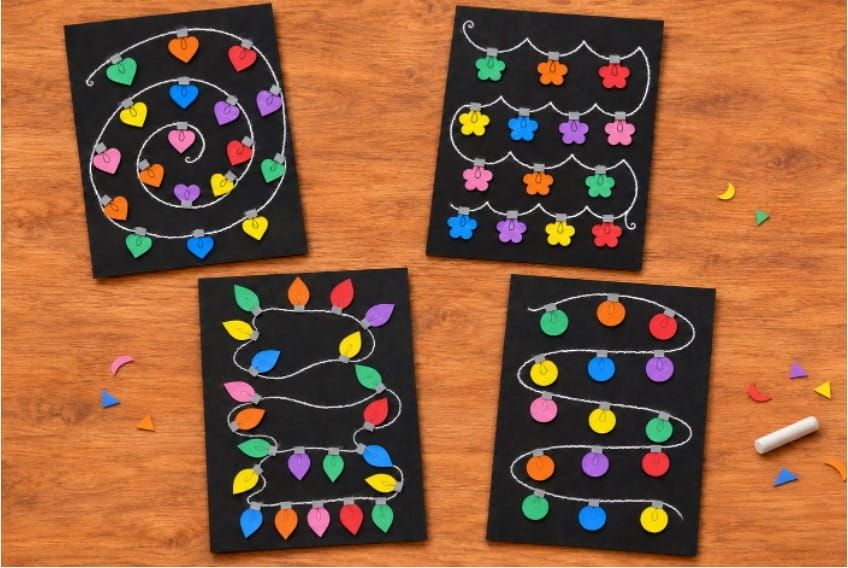
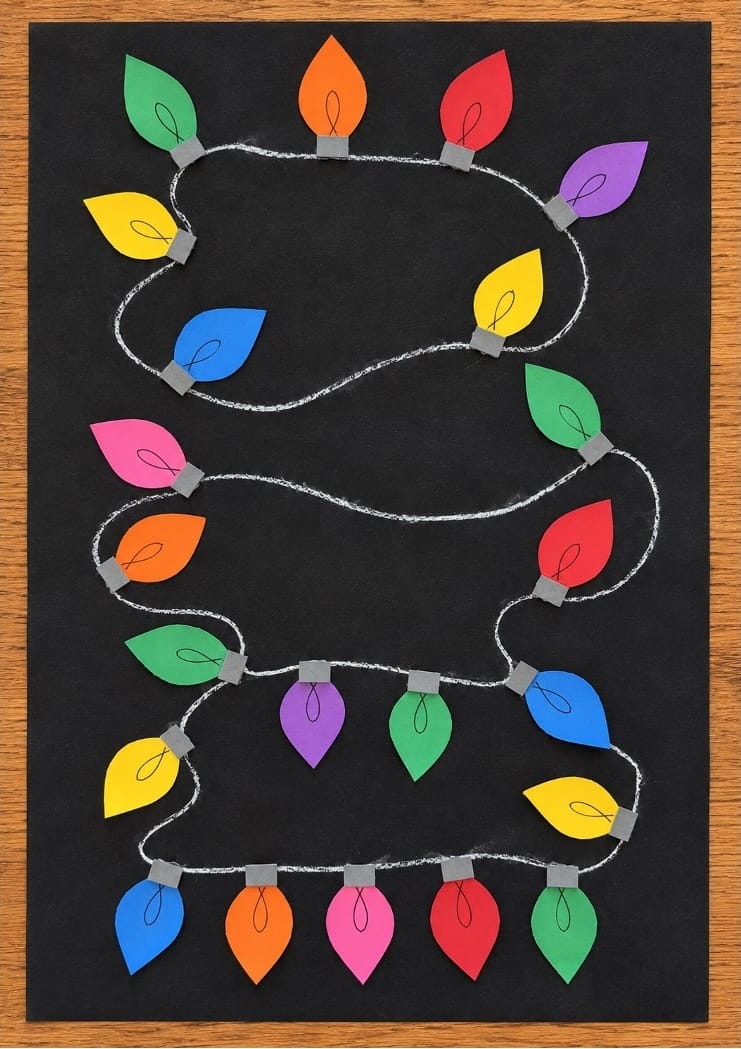
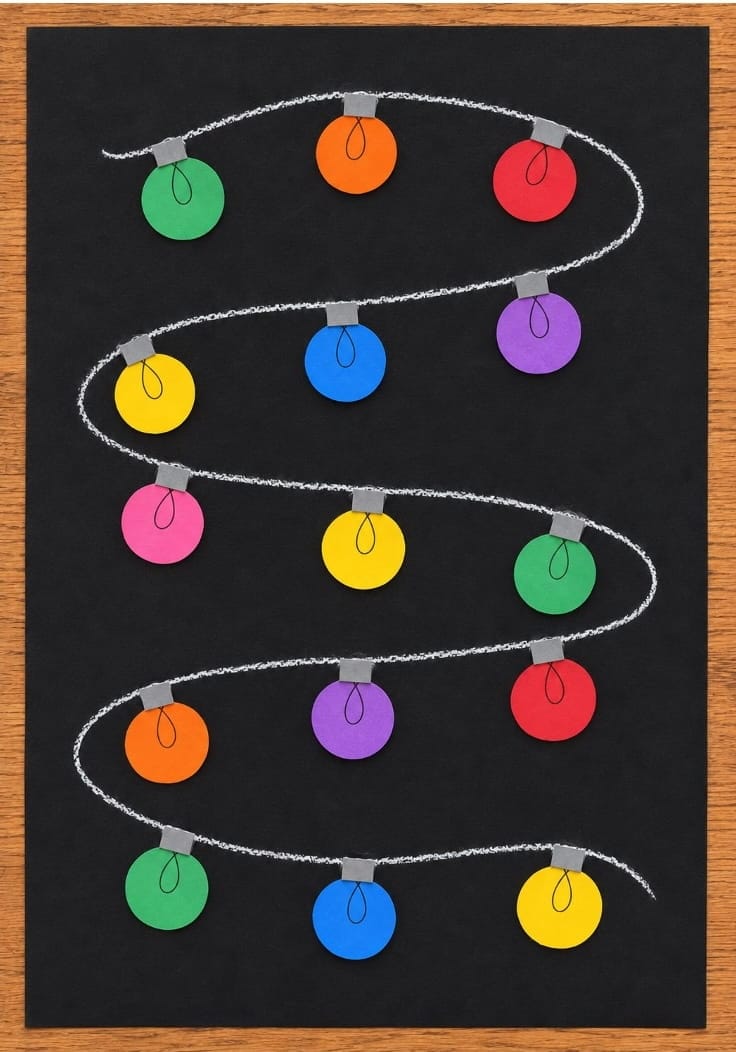
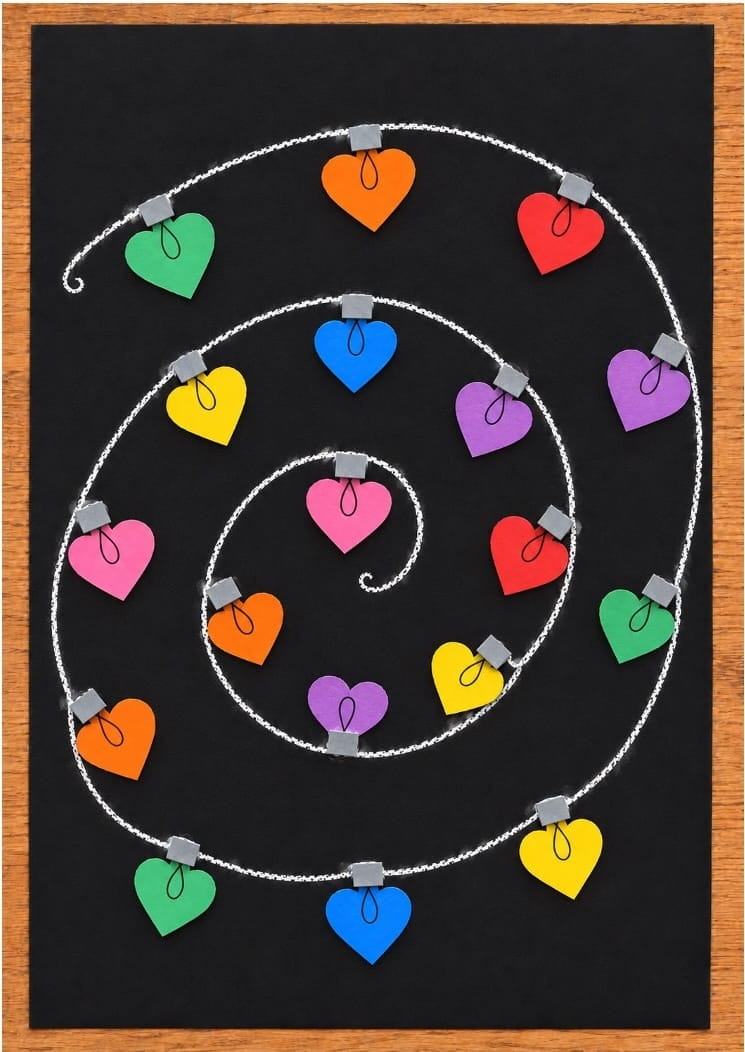
Turn colorful paper and a little chalk into a string of Christmas lights! In this easy Christmas craft for kids, children cut out paper bulbs, add little caps, and glue the lights along a drawn or printed wire.
Try a spiral, a wavy line, or a row of loops. Kids can pick their favorite bulb shapes and mix the colors to make their own design. It’s a simple Christmas fine motor activity for the classroom or at home.
What You Need
- A4 black paper for the chalk background or A4 white paper for the printed background
- White chalk or a white crayon if you’re drawing the wire
- Printable wire, bulb, and bulb cap templates
- Colored paper for the bulbs, or white paper and crayons or markers
- Gray, brown, or black paper for the bulb caps
- Child-safe scissors
- A glue stick or school glue
How to Make the Christmas Lights Craft
1. Make the background
Method 1: Draw your own wire
- Take a sheet of A4 black paper and draw one long line with white chalk or a white crayon.
- Make it wavy, curl it into a spiral, or add a few loops. For younger children, a teacher or grown-up can draw the wire ahead of time.
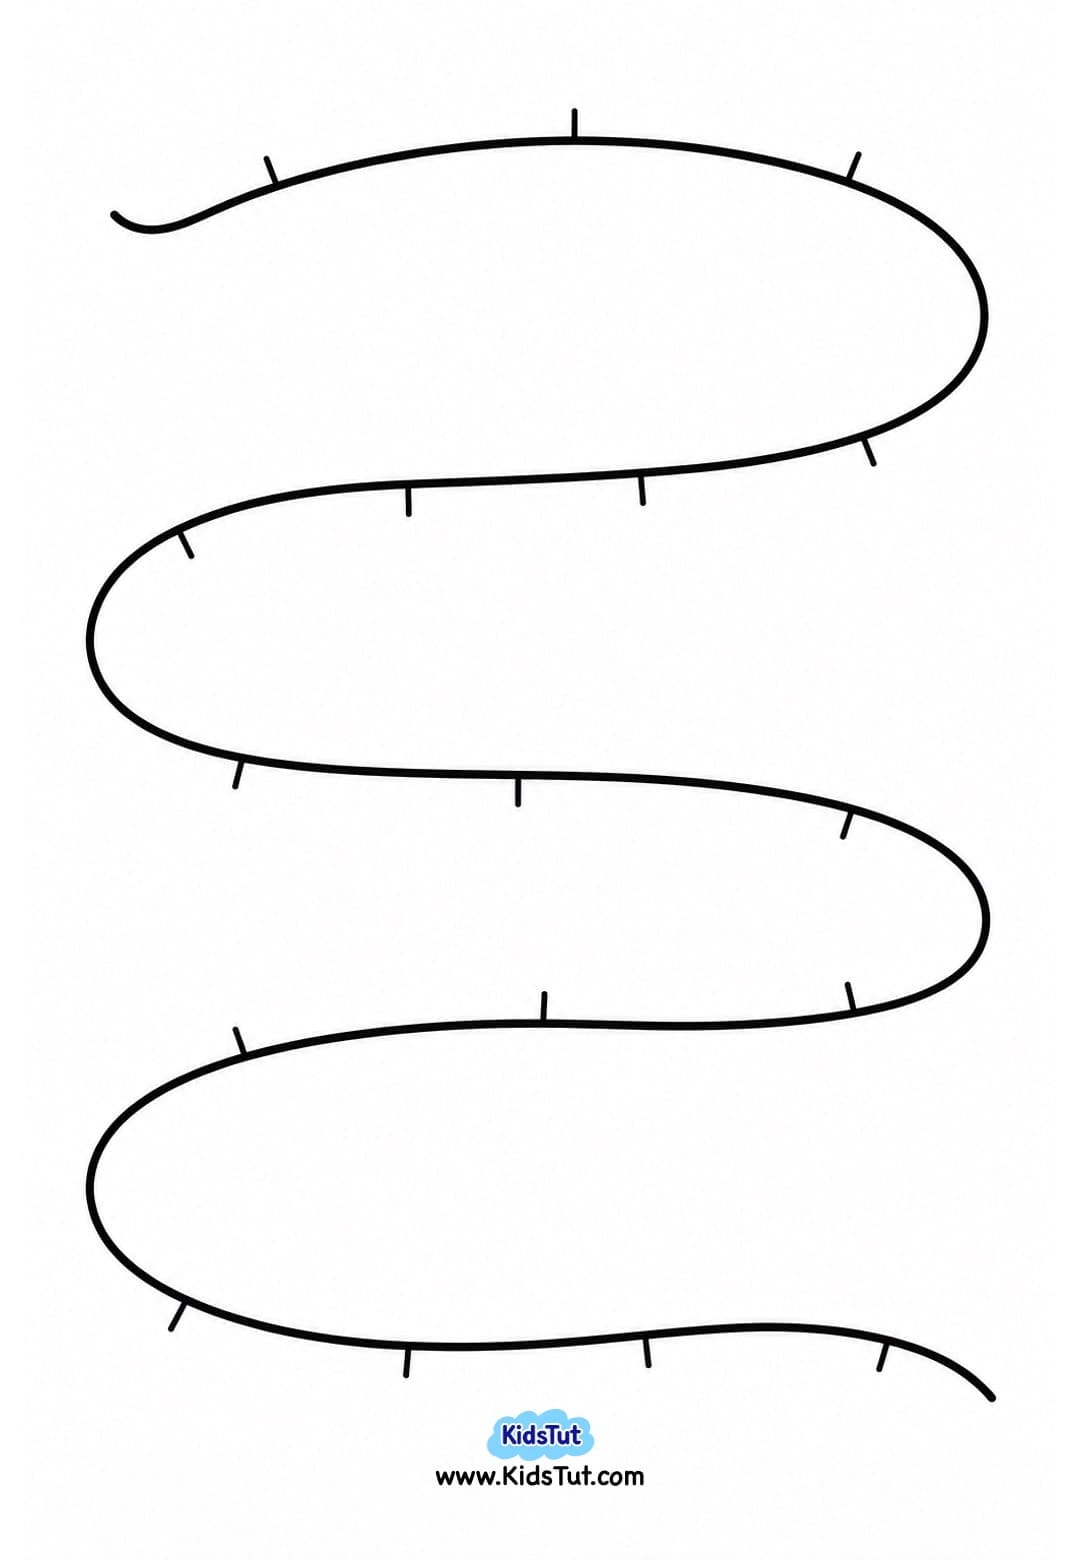
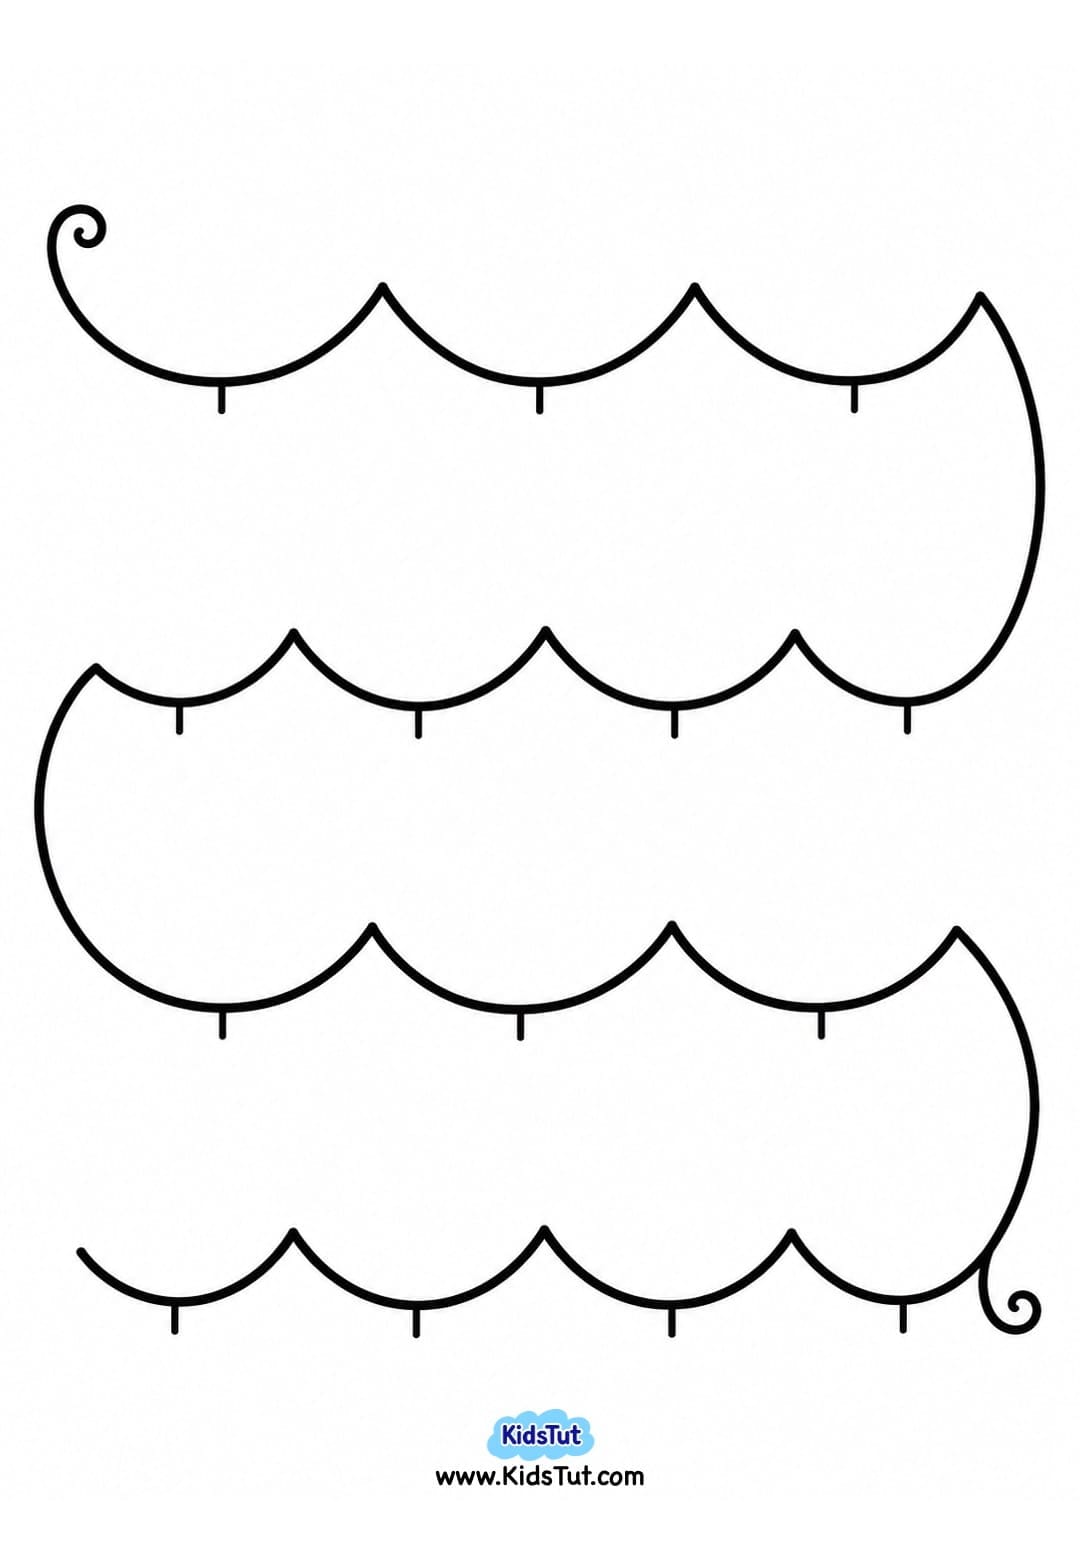
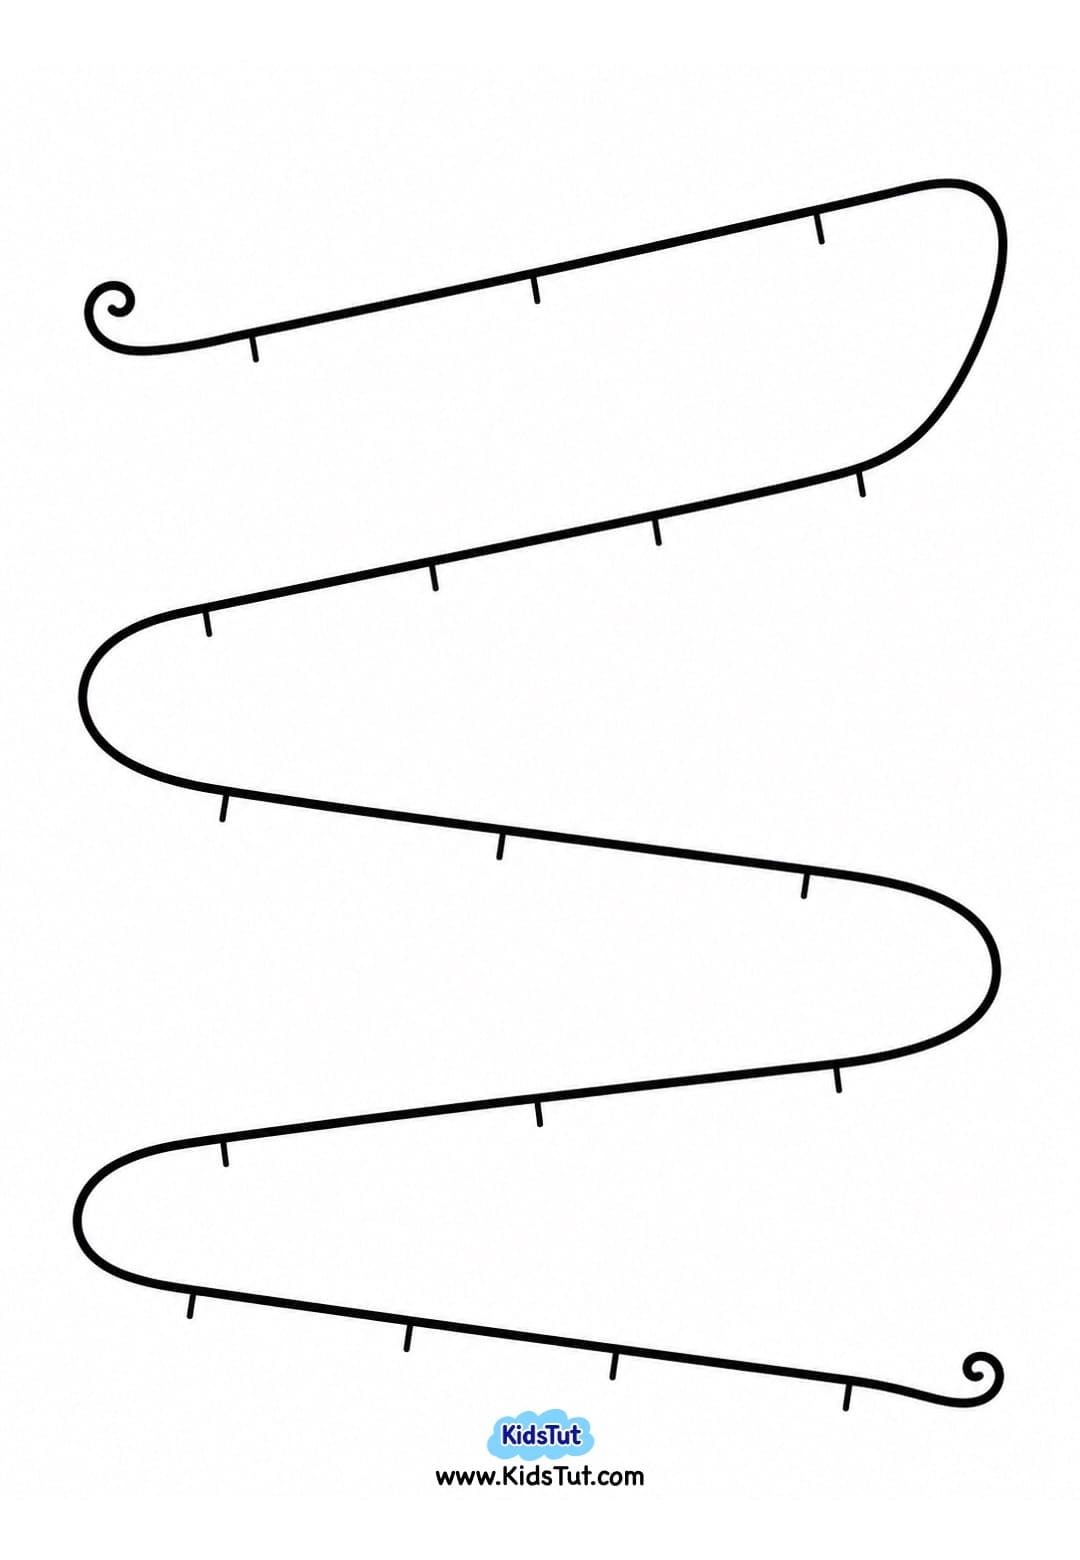
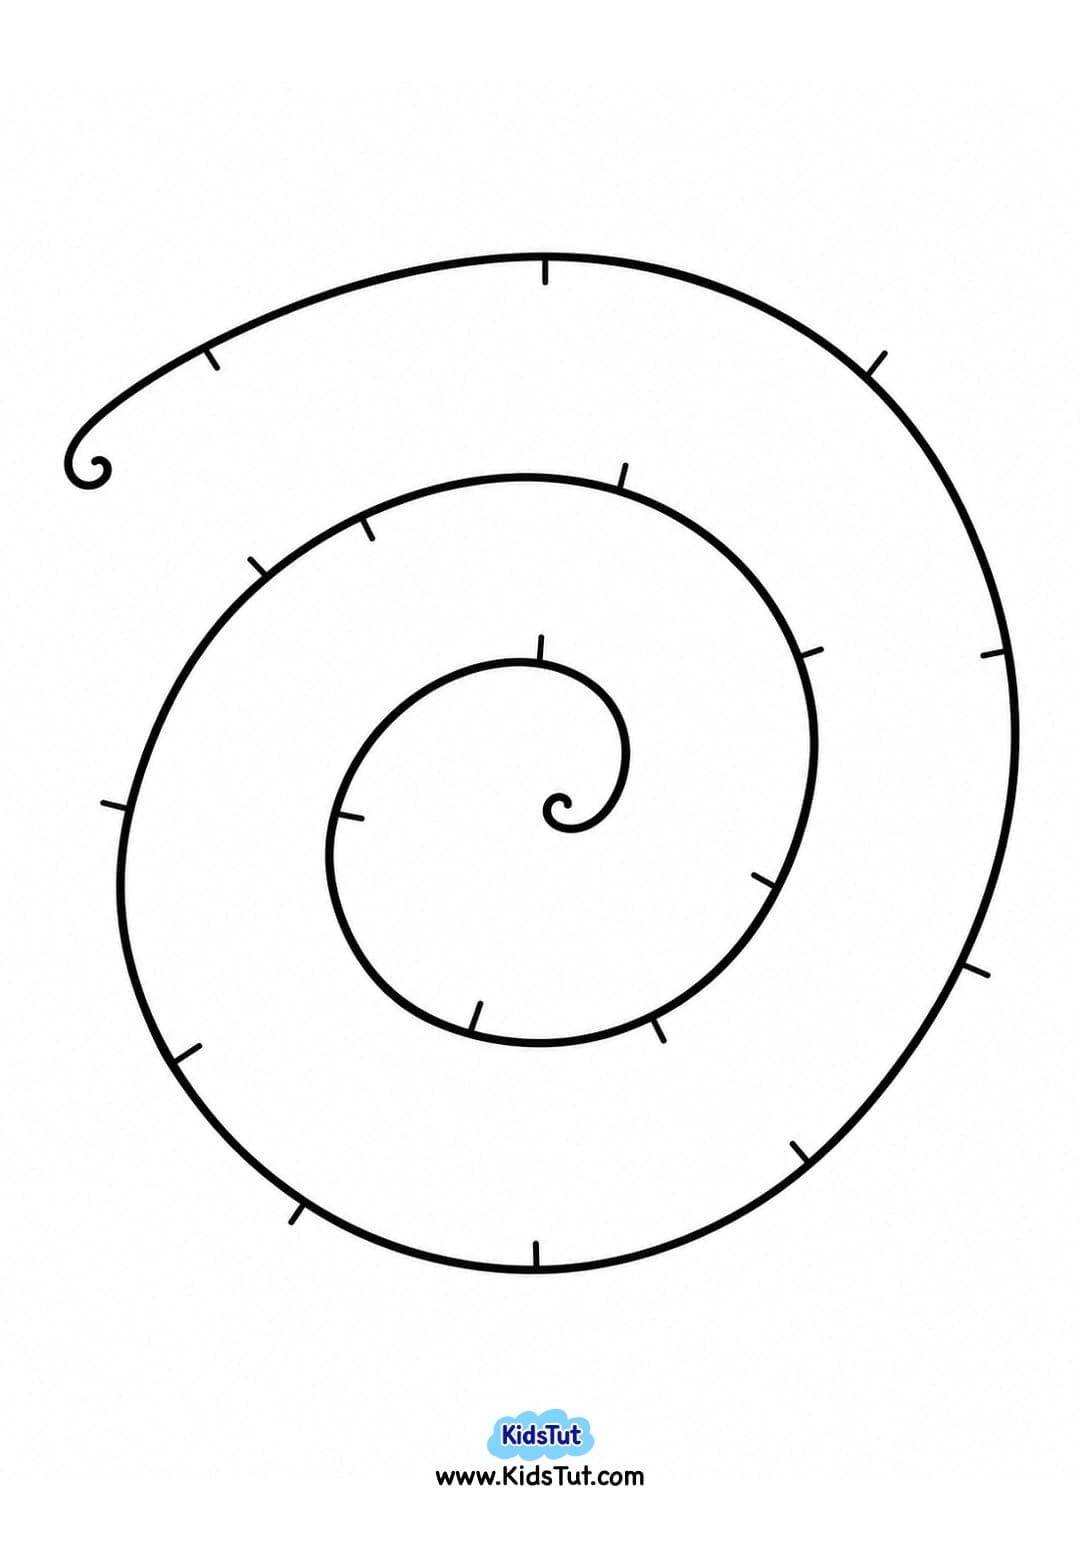
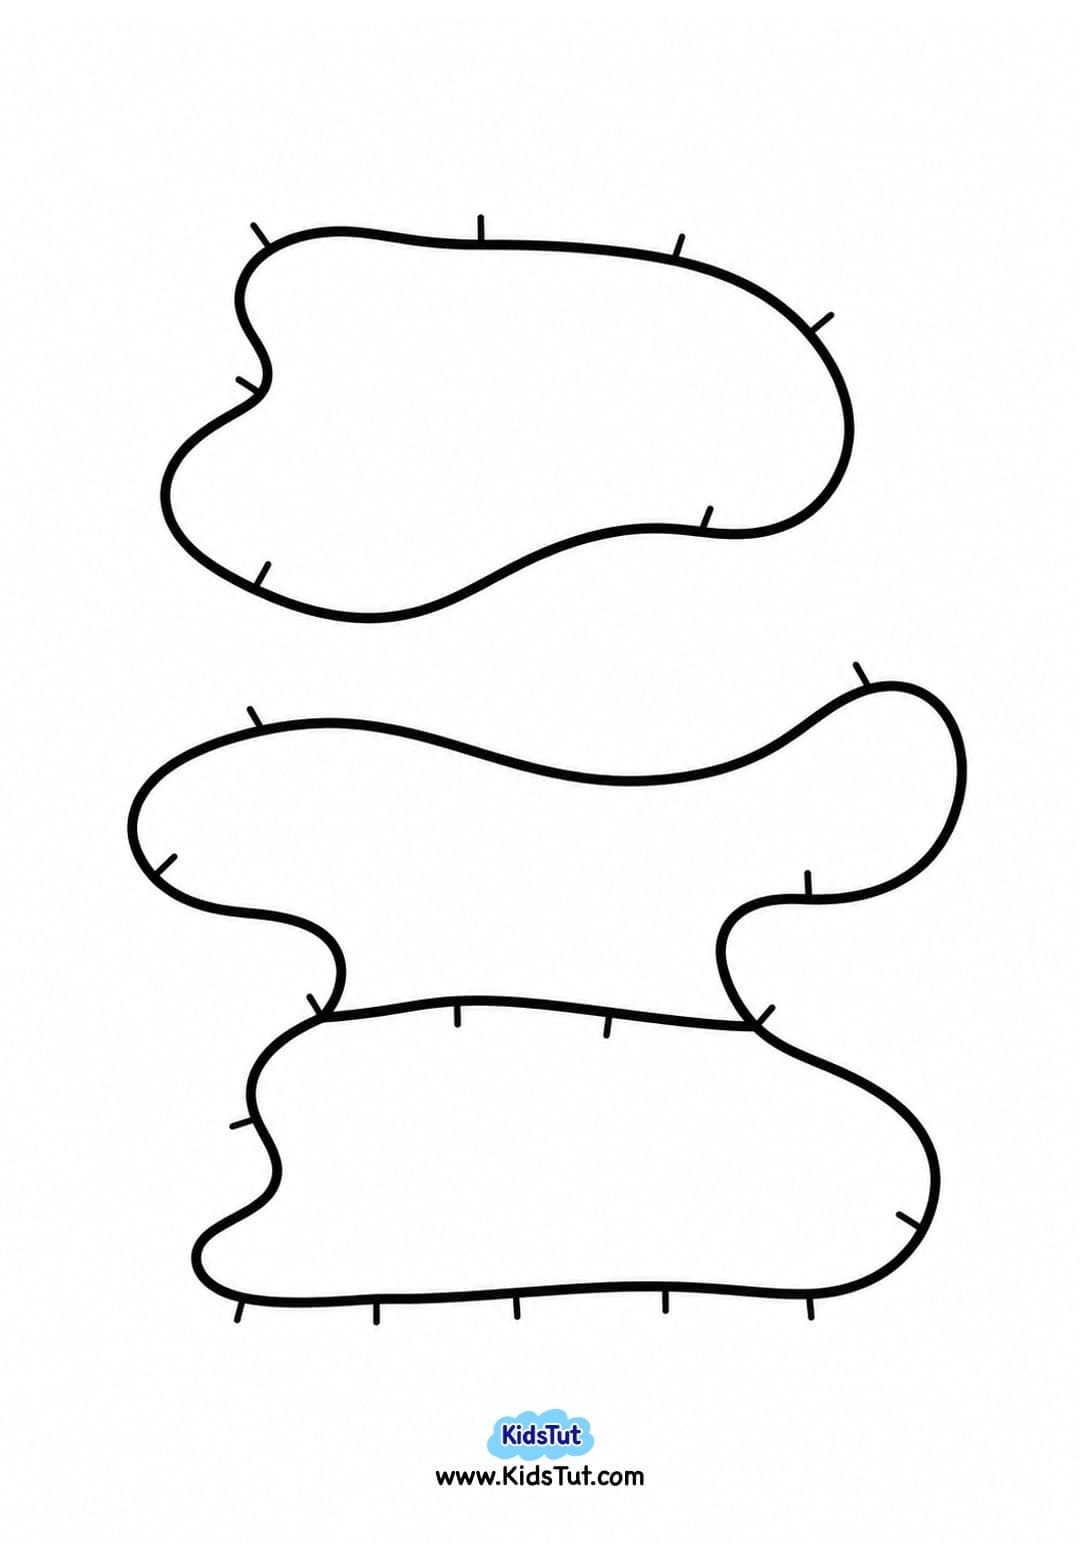
Method 2: Use a printable wire pattern.
- Pick a wire pattern and print it on a sheet of A4 white paper.
- Use the printed White sheet as the background for your Christmas lights.
Wire pattern Templates:
2. Print and cut out the bulbs and caps
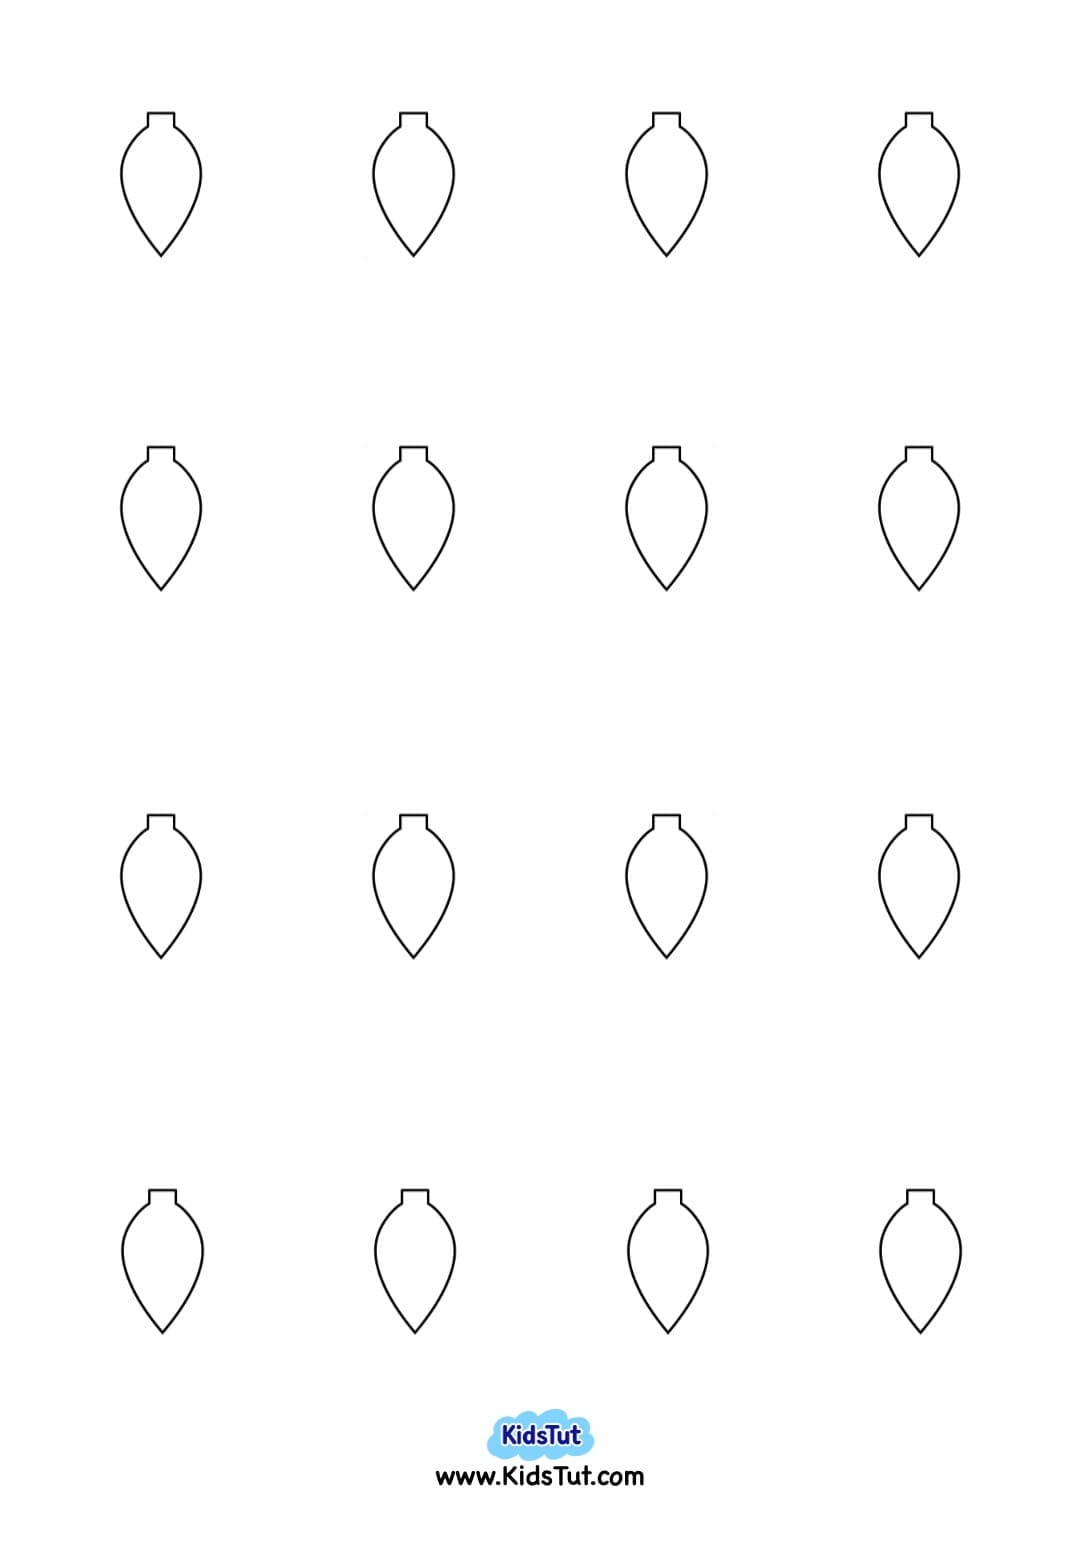
- Choose a bulb shape you like.
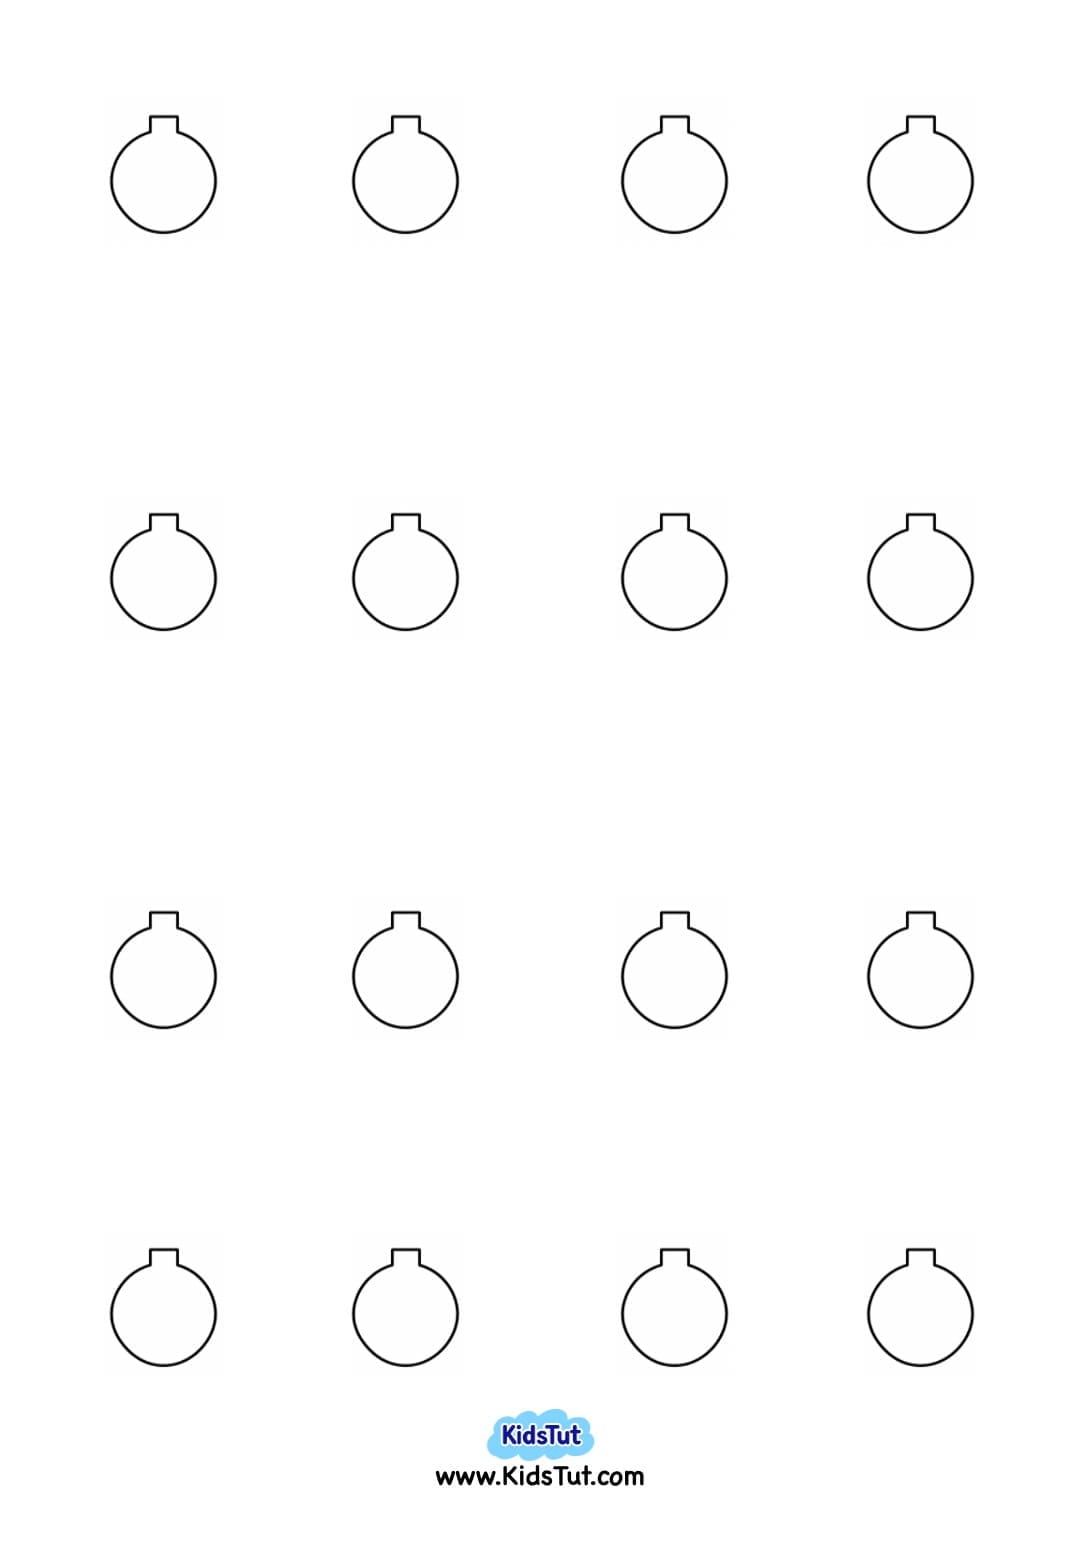
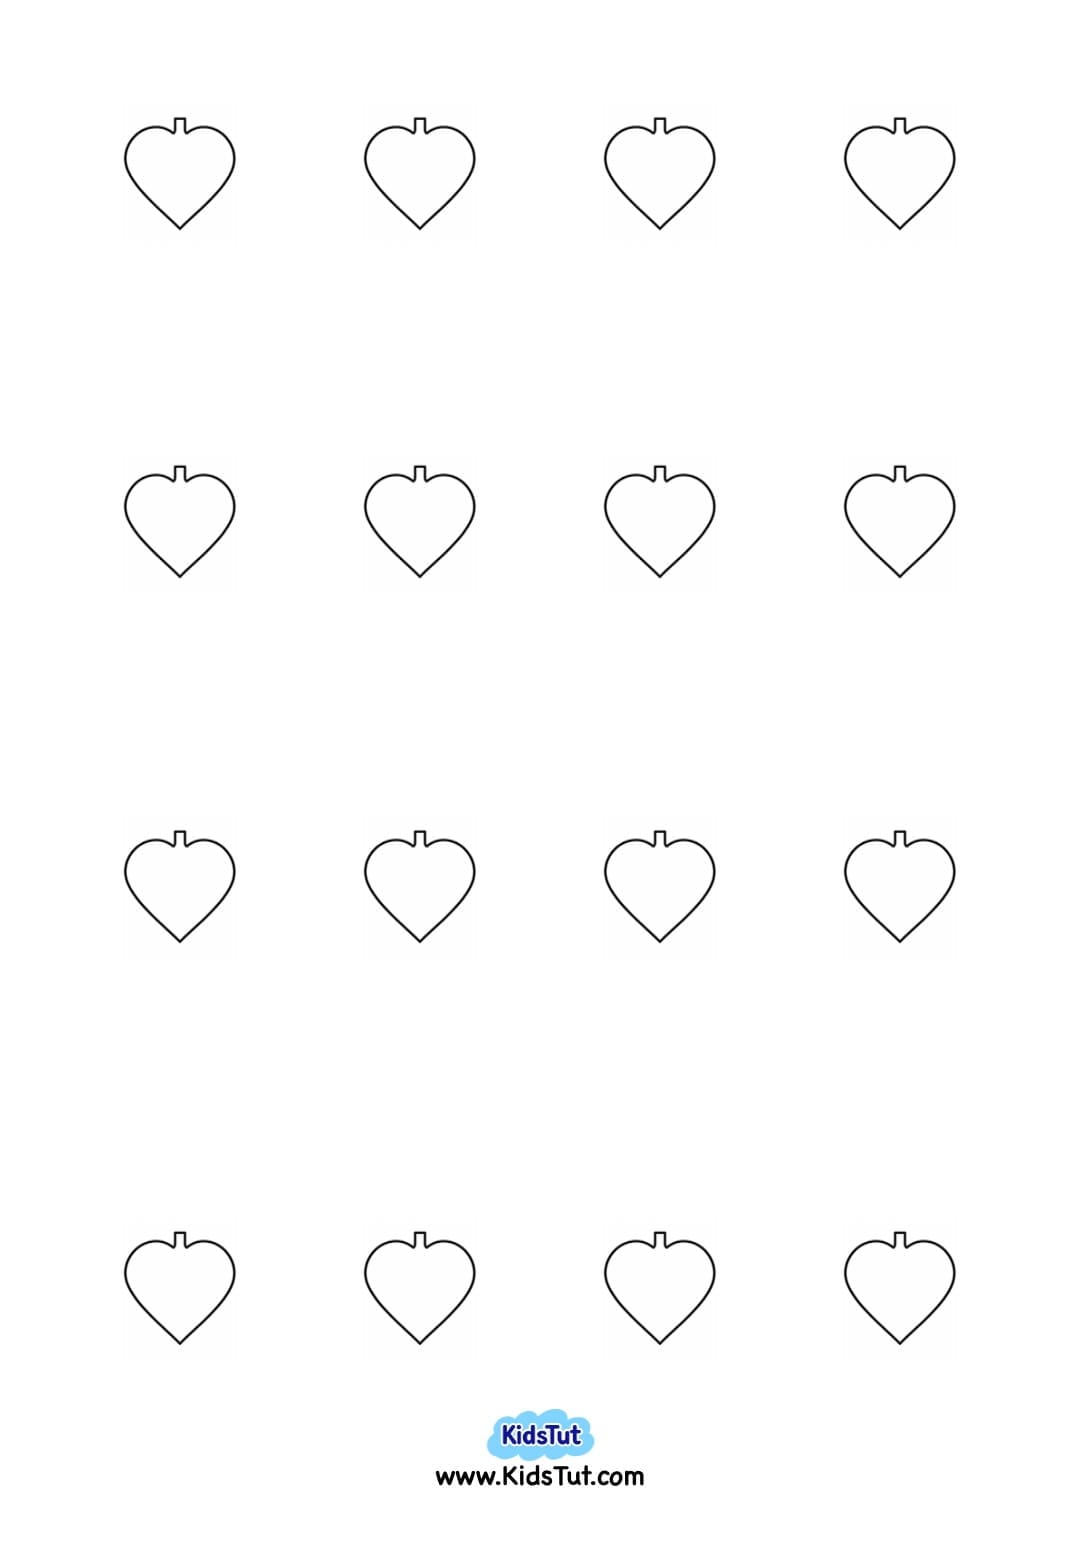
- Print the bulbs on colored paper, or print them on white paper and color them before cutting.
- Print the small bulb caps on gray, brown, or black paper. Cut out the bulbs and caps separately.
3. Plan your string of lights
- Lay the paper bulbs along the wire before you glue them down.
- Leave a little space between each bulb so you can still see the wire.
- Mix the colors or try a simple repeating pattern, such as red, yellow, blue, then red, yellow, blue again.
4. Glue the lights in place
- Glue one cap to the top of each bulb.
- Then glue each finished light where you planned it, with the cap touching the wire.
- Gently press the pieces down and set the craft aside to dry.
Fun Ways to Display Your Paper Christmas Lights
- Make a classroom light wall. Hang the finished crafts side by side on a bulletin board. Place the sheets with wavy wires next to each other so they look like one long string of Christmas lights.
- Frame a favorite design. Slip a finished sheet into an A4 frame and set it on a shelf or mantel. The bright paper bulbs stand out against the black background.
- Decorate a classroom door. Arrange the crafts around a holiday sign. Let each child add their name to the bottom of their sheet.
- Turn it into a Christmas card. Make a smaller version and glue it to the front of a folded card. Kids can write a holiday message inside for a friend or family member.
Pointed Bulb Craft:
Templates:

Round Bulb Craft:
Templates:

Heart Bulb Craft:
Templates:

Star Bulb Craft:
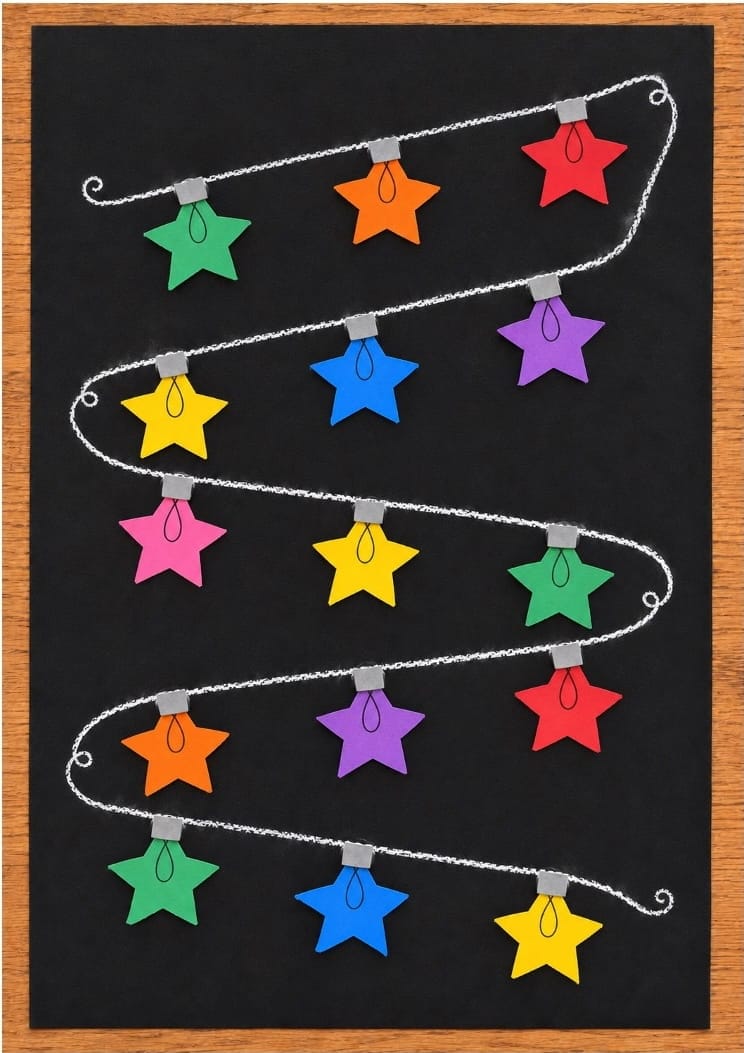
Templates:


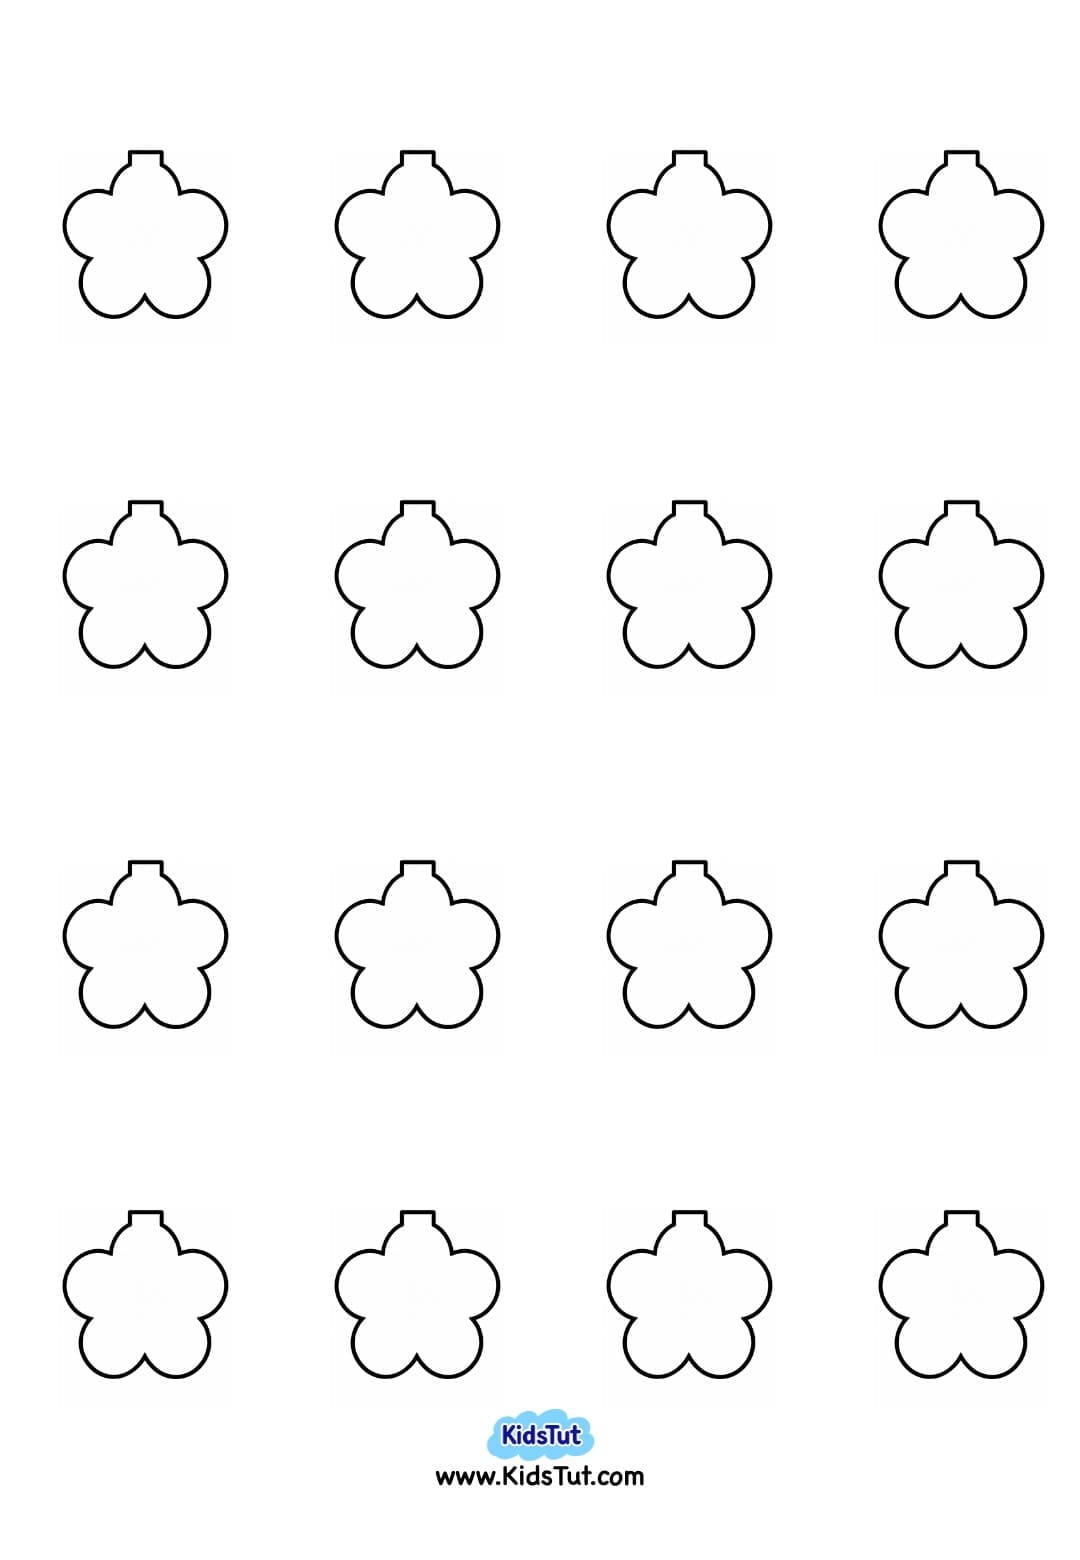
Flower Bulb Craft:
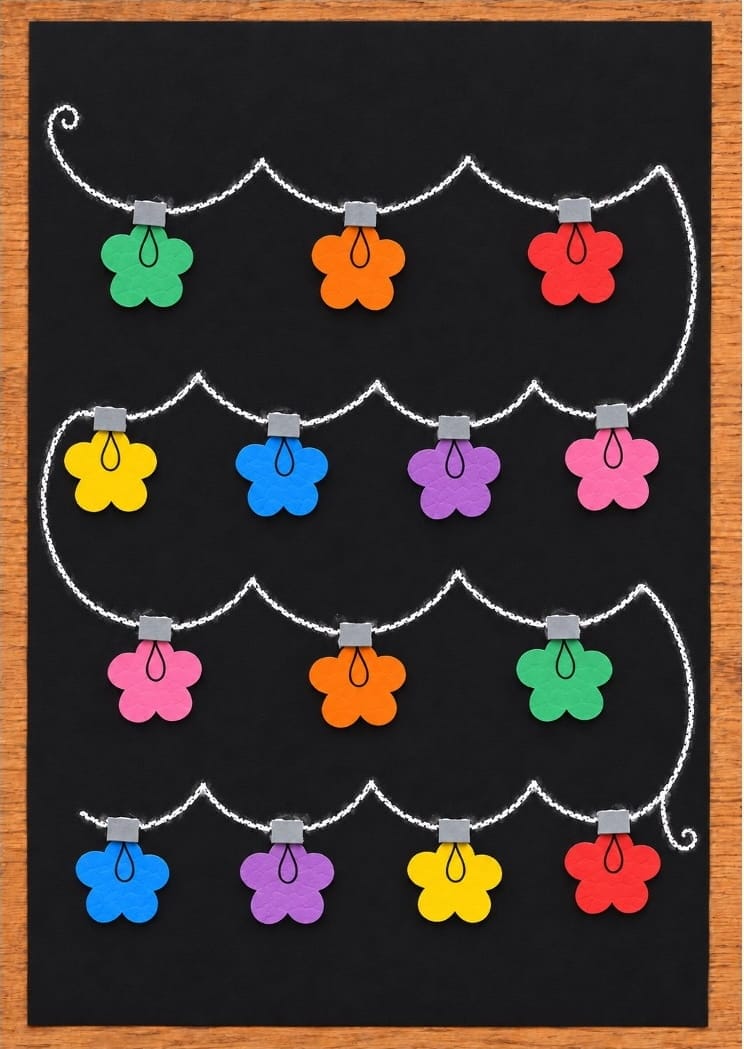
Templates:

Benefits of This Christmas Fine Motor Activity
- Scissor practice. Cutting around round, pointed, or curved bulbs gives kids practice turning the paper as they cut.
- Finger control. Picking up the little caps and lining them up with the bulbs gives kids practice using their thumb and index finger together.
- Hand-eye coordination. Placing each bulb so its cap touches the wire helps kids guide their hands as they work.
- Early pattern skills. Repeating a set of bulb colors helps kids see what comes next in a pattern.
- Creative choices. Kids get to choose the wire shape, bulb colors, and spacing, so every string of lights can look different.

Click here to get the FREE PDF template: Download (Printable)