Easy Christmas Paper Crafts for Kids with Cotton Snow
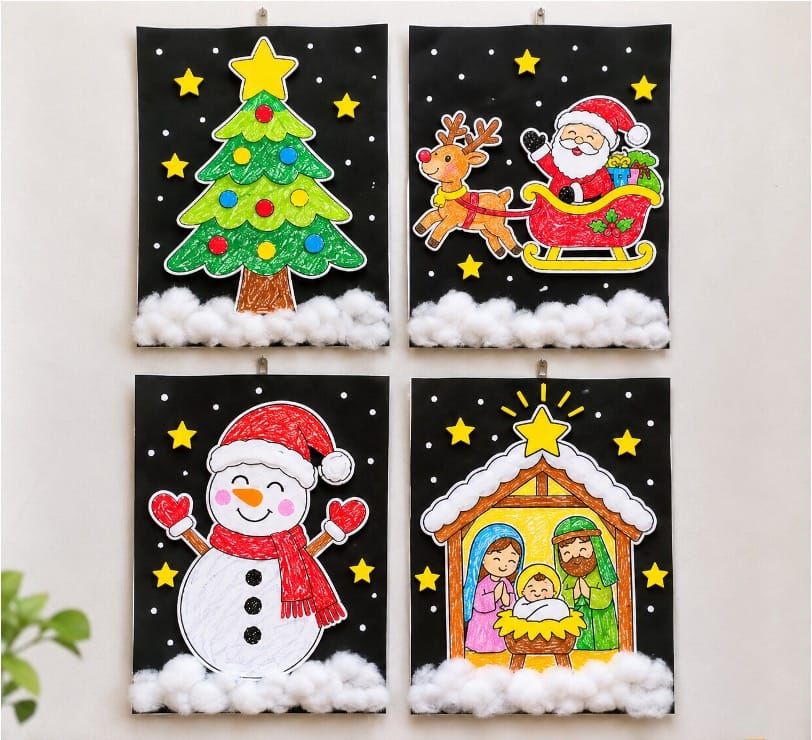
Looking for fun and easy Christmas paper crafts for kids? These cute Christmas crafts with cotton snow are a wonderful way to enjoy holiday art with preschoolers and kindergarten kids. Using black paper, colorful Christmas pictures, yellow paper stars, and soft cotton, children can create beautiful snowy Christmas scenes.
This craft includes four lovely Christmas designs: a colorful Christmas tree, Santa Claus riding in his sleigh, a cheerful snowman, and a cute Nativity scene. Kids can choose their favorite picture, color it with crayons or markers, and decorate the background with fluffy cotton snow and little white snowflakes.
These easy Christmas paper crafts for kids are perfect for preschool Christmas activities, kindergarten art lessons, and fun holiday crafting at home. Children will love making their own winter scenes while practicing coloring, cutting, and gluing skills.
What You Need
- Printable Christmas picture templates
- Printable star templates
- Black construction paper or cardstock
- White paper
- Yellow colored paper
- Crayons, markers, or colored pencils
- Cotton balls or cotton wool
- White paint, white crayons, or white chalk
- Cotton swabs (Q-tips)
- Scissors
- Glue
How to Make Christmas Paper Crafts with Cotton Snow
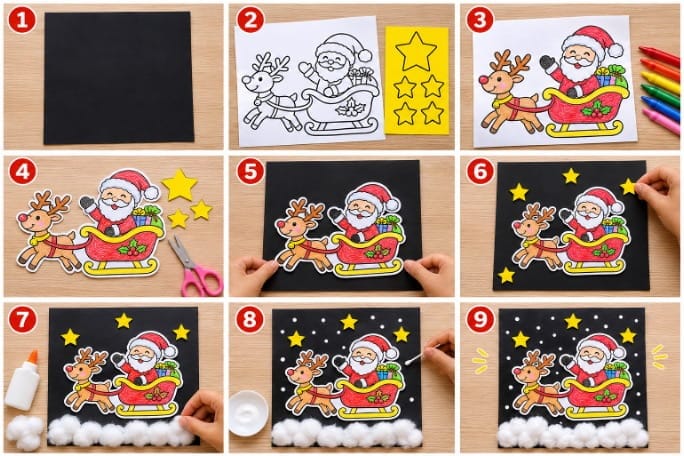
Step 1: Prepare the Black Paper Background
- Start by choosing a black sheet of construction paper or cardstock for the background.
- Black paper is perfect for this Christmas craft because it makes the colorful Christmas pictures, yellow stars, and white cotton snow stand out beautifully.
- Place the black paper on your work surface and keep it ready for decorating.
Step 2: Print the Christmas Pictures and Stars
- Next, choose your favorite Christmas picture from the printable templates.
- You can select a Christmas tree, Santa Claus with his reindeer and sleigh, a cute snowman, or a Nativity scene.
- Print the selected Christmas picture on a white sheet of paper.
- Then print the star templates on yellow colored paper. You can use different star sizes to decorate the background.
Step 3: Color the Christmas Picture
- Now it's time to add some beautiful Christmas colors!
- Let kids color the printed Christmas picture using crayons, markers, or colored pencils.
- Encourage children to choose their favorite colors and enjoy decorating their Christmas pictures.
Step 4: Cut Out the Pictures and Stars
- Once the coloring is finished, carefully cut out the Christmas picture along its outside outline.
- Next, cut out the yellow paper stars along their outlines.
- Keep all the cutout pieces separate and ready for the next step.
- Younger children may need a little help from an adult when cutting around smaller or detailed shapes.
Step 5: Paste the Christmas Picture onto the Black Paper
- Take your black paper background and place the colored Christmas picture in the center.
- Before gluing, check that there is enough space around the picture for the yellow stars, falling snow dots, and cotton snow at the bottom.
- Once you are happy with the position, apply glue to the back of the Christmas picture and carefully paste it onto the black paper.
- Gently press the picture down to make sure it sticks properly.
Step 6: Decorate the Background with Yellow Stars
- Now take the yellow paper stars you cut out earlier.
- Arrange them around the Christmas picture on the black paper background.
- You can place a few stars near the top and along both sides of the picture to create a beautiful Christmas night sky.
- Apply a little glue to the back of each star and paste it onto the black paper.
- Kids can use different star sizes and arrange them however they like.
Step 7: Add the Fluffy Cotton Snow
- It's time to make the Christmas scene look snowy!
- Take a few cotton balls or some cotton wool and gently pull them apart into small, fluffy pieces.
- Apply glue along the bottom of the Christmas picture and the lower part of the black background.
- Carefully paste the cotton pieces onto the glued area to create a soft, snow-covered ground.
- You can arrange the cotton in a thick, fluffy layer to make it look like real snow.
- For the Christmas tree, Santa, snowman, and Nativity designs, the cotton snow will create a lovely winter scene.
- Once finished, set the paper aside and allow the glue to dry.
Step 8: Add Falling Snow Dots
Now let's make the Christmas background even more beautiful by adding little white snow dots!
You can create the falling snow in two easy ways.
Method 1: Using White Paint and Q-Tips
- Pour a small amount of white paint into a paint palette.
- Take a cotton swab (Q-tip) and dip one end into the white paint.
- Gently press the Q-tip onto the black paper to make small white dots.
- Continue adding dots around the Christmas picture and between the yellow stars.
- Spread the dots across the background to make them look like falling snow.
Try to keep the dots small and leave some space between them for a neat snowy effect.
Method 2: Using White Crayons or Chalk
- If you don't want to use paint, white crayons or white chalk work well too!
- Simply draw small white dots around the Christmas picture on the black paper.
- You can make dots of different sizes to create a fun falling snow effect.
Both methods are simple and enjoyable for young children.
If you use paint, allow the snow dots to dry completely before displaying the craft.
Step 9: Display Your Christmas Paper Craft
- Your colorful Christmas paper craft with cotton snow is ready!
- Kids can proudly display their finished Christmas artwork on a wall, classroom bulletin board, or door.
- You can also make all four Christmas designs and display them together to create a beautiful Christmas art collection.
- These cute snowy Christmas scenes are perfect for decorating classrooms and homes during the holiday season!
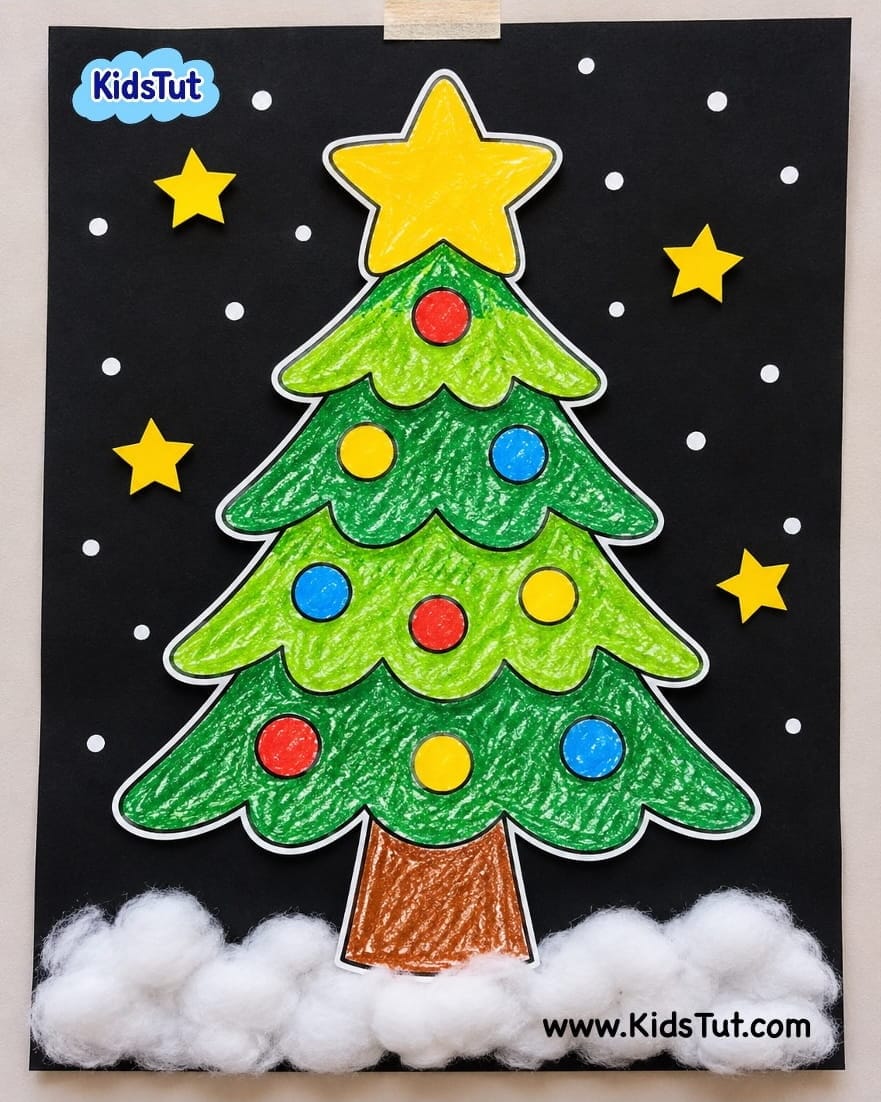
1. Christmas Tree Paper Craft with Cotton Snow
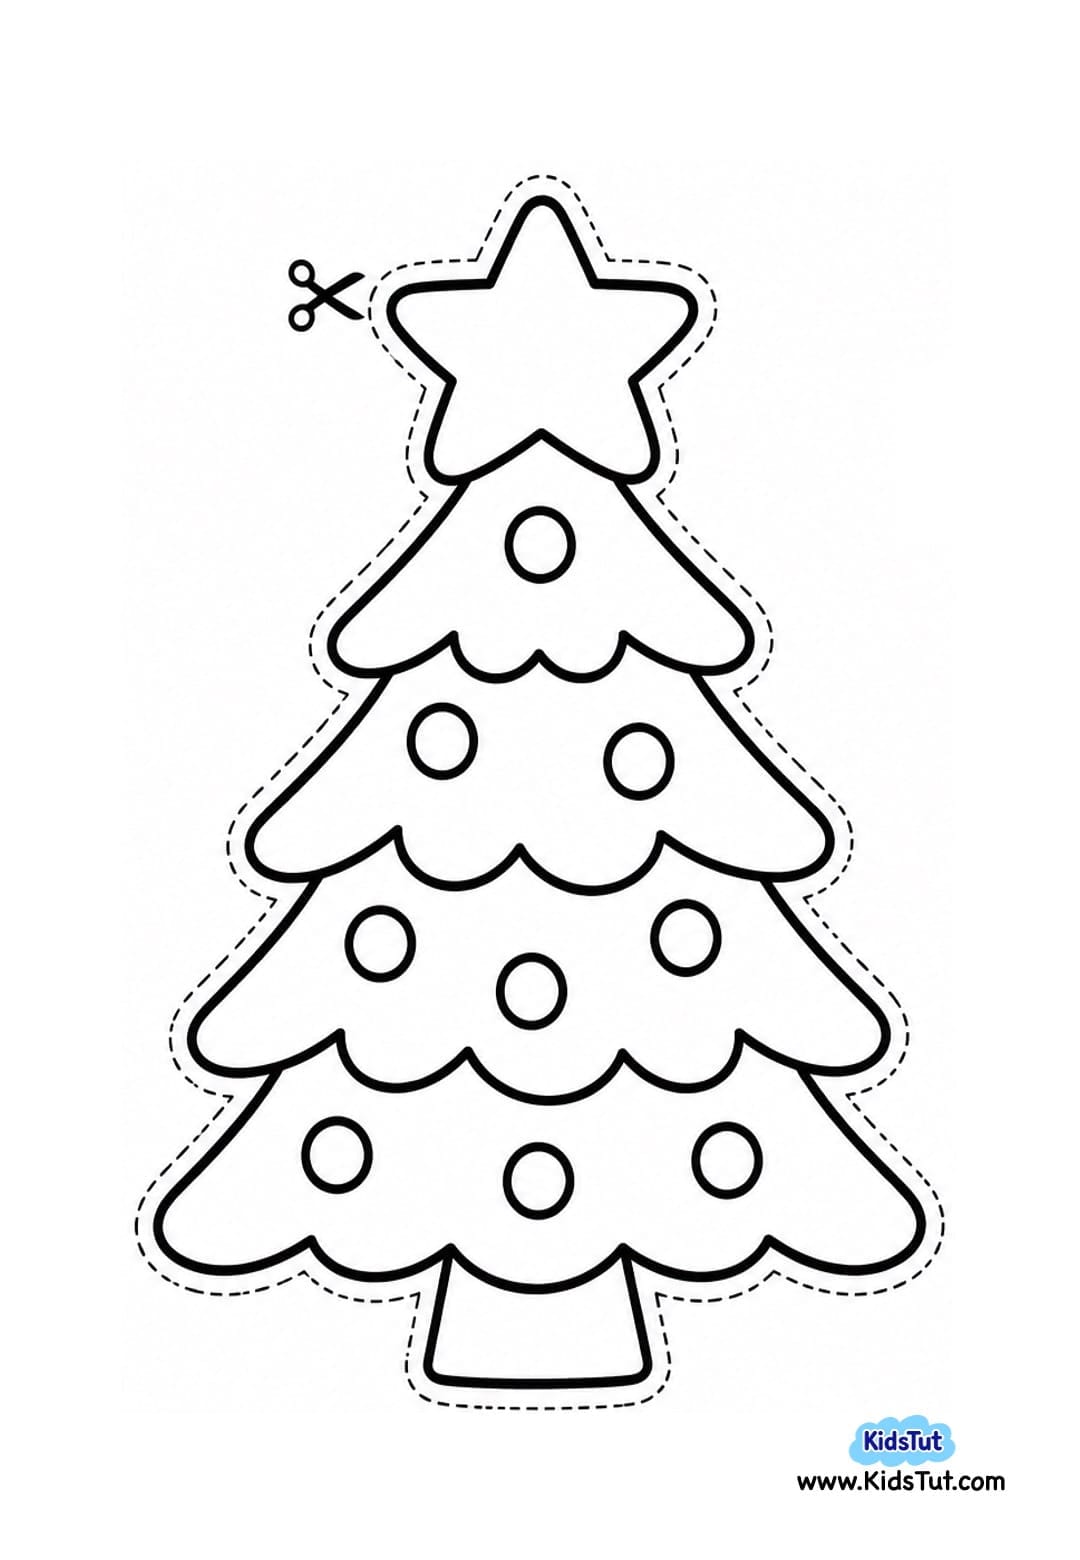
Christmas Tree Template:
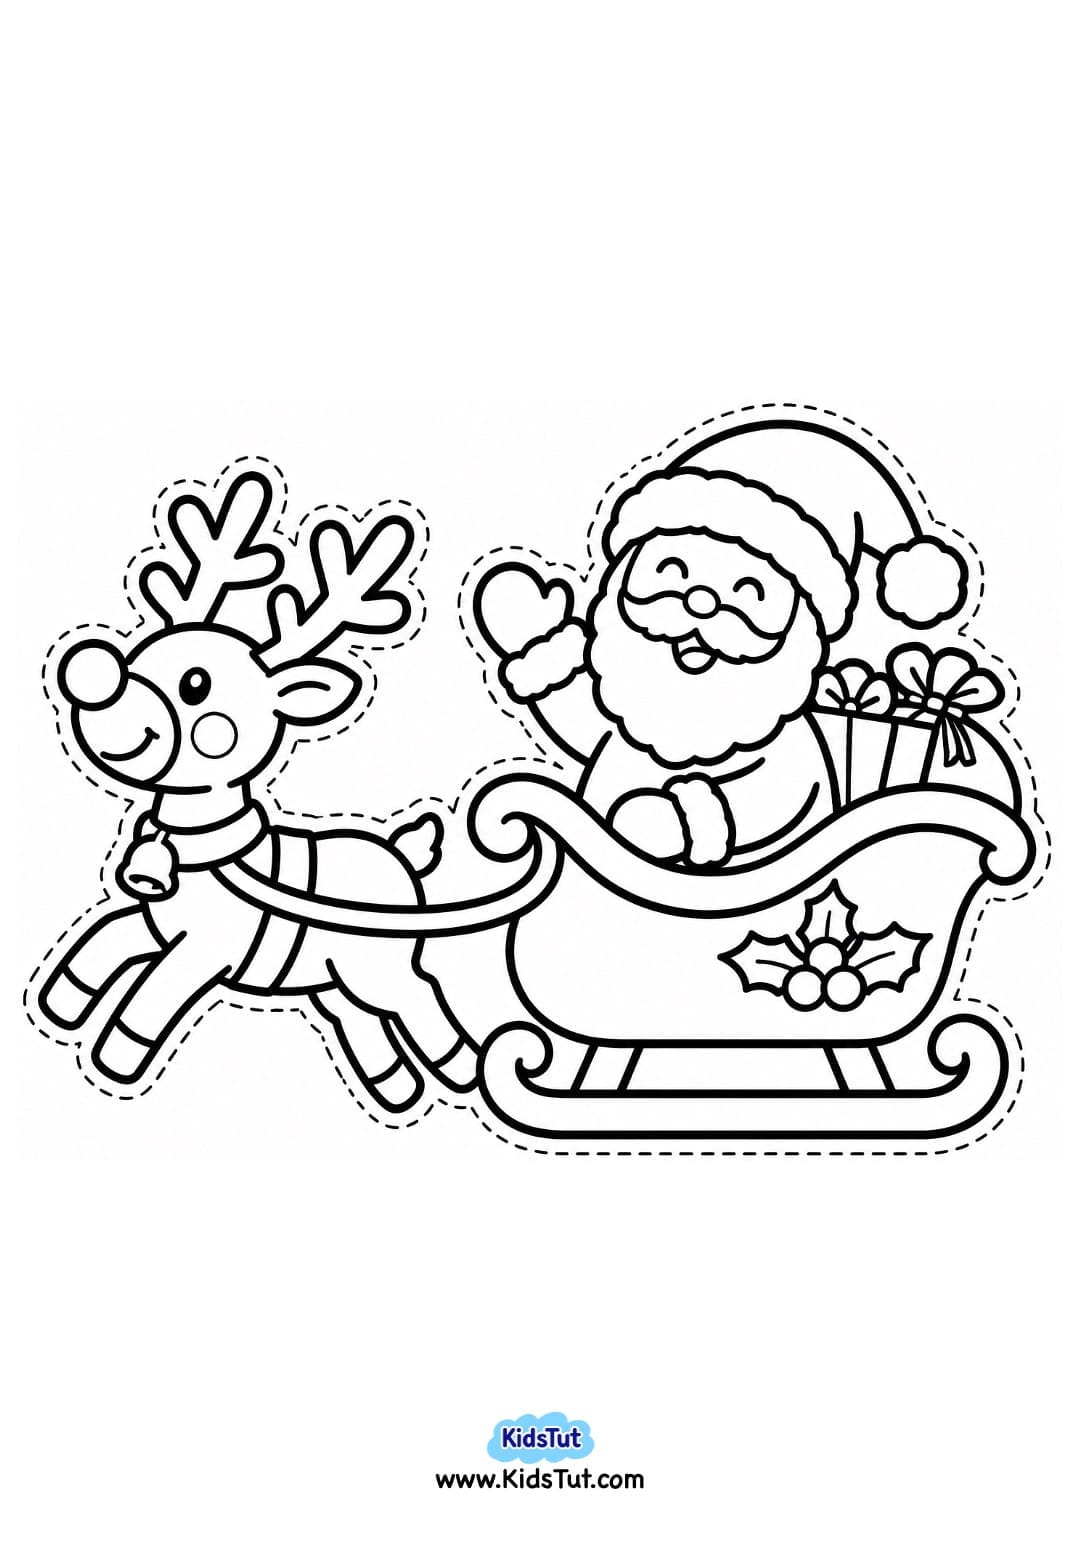
2. Santa and Reindeer Sleigh Paper Craft with Cotton Snow
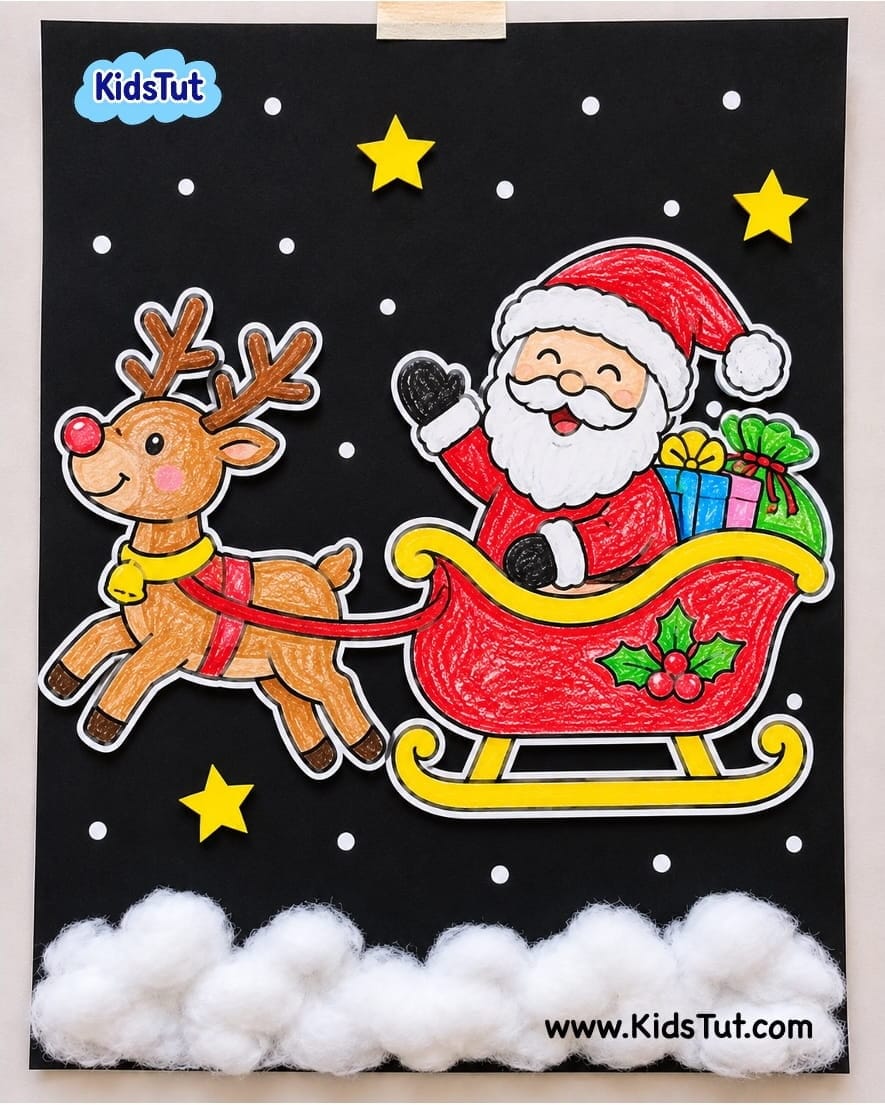
Santa and Reindeer Sleigh Template:
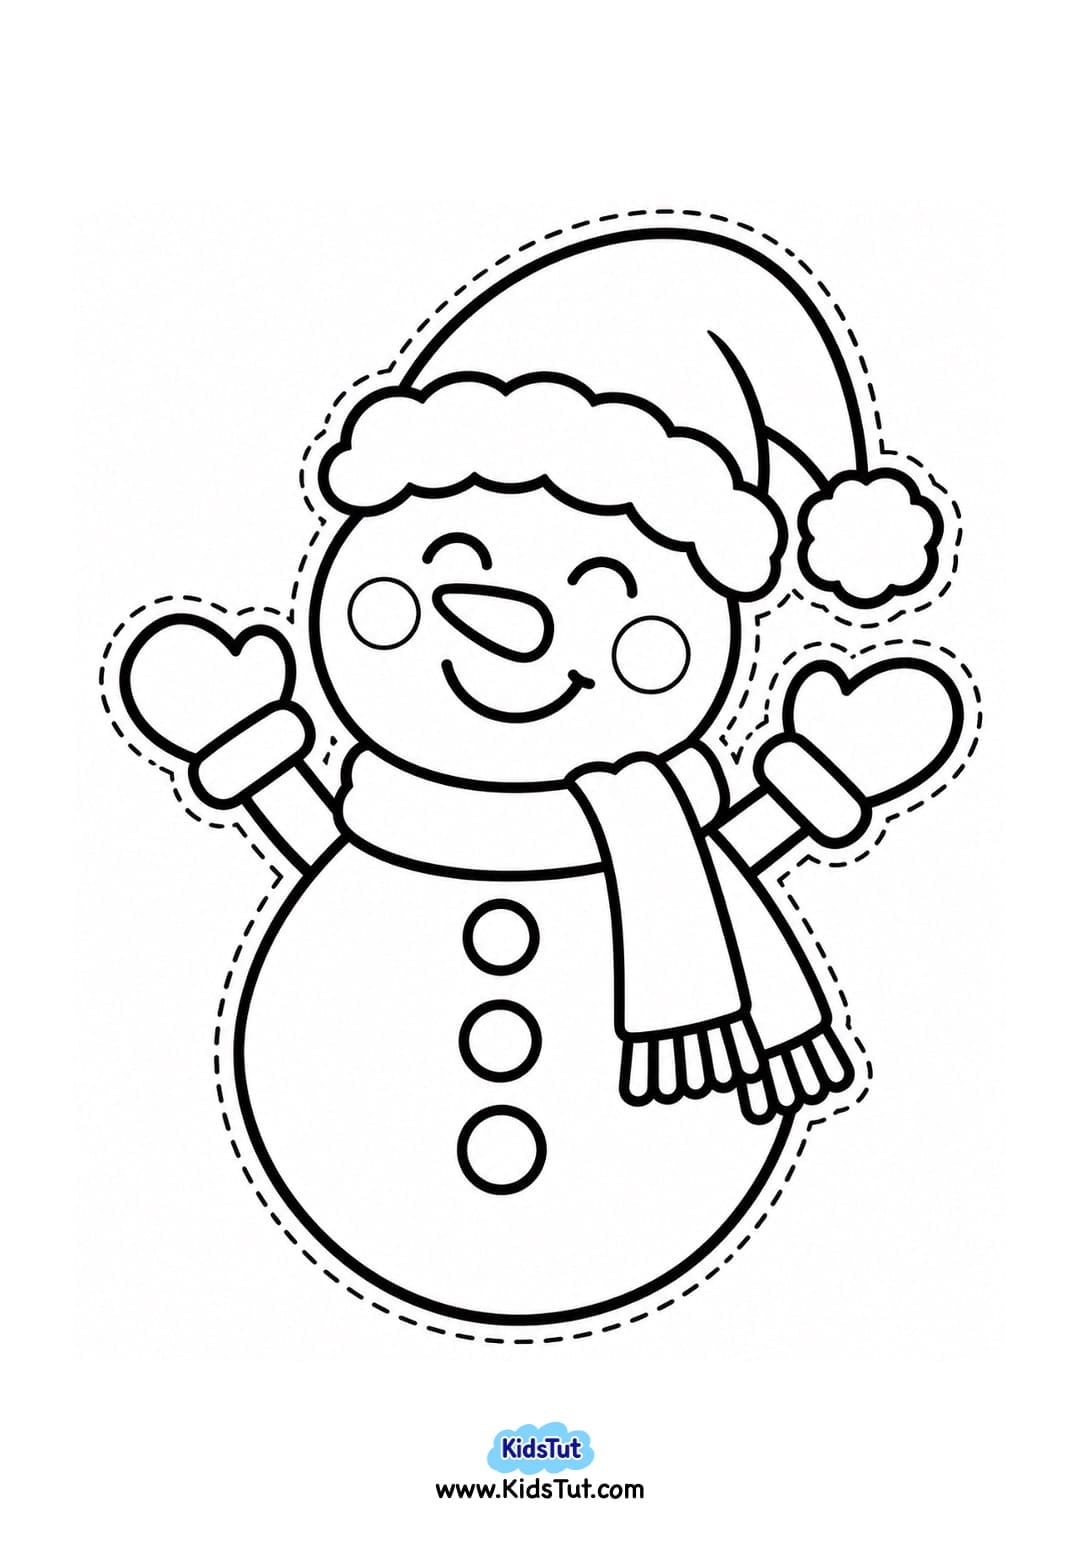
3. Christmas Snowman Paper Craft with Cotton Snow
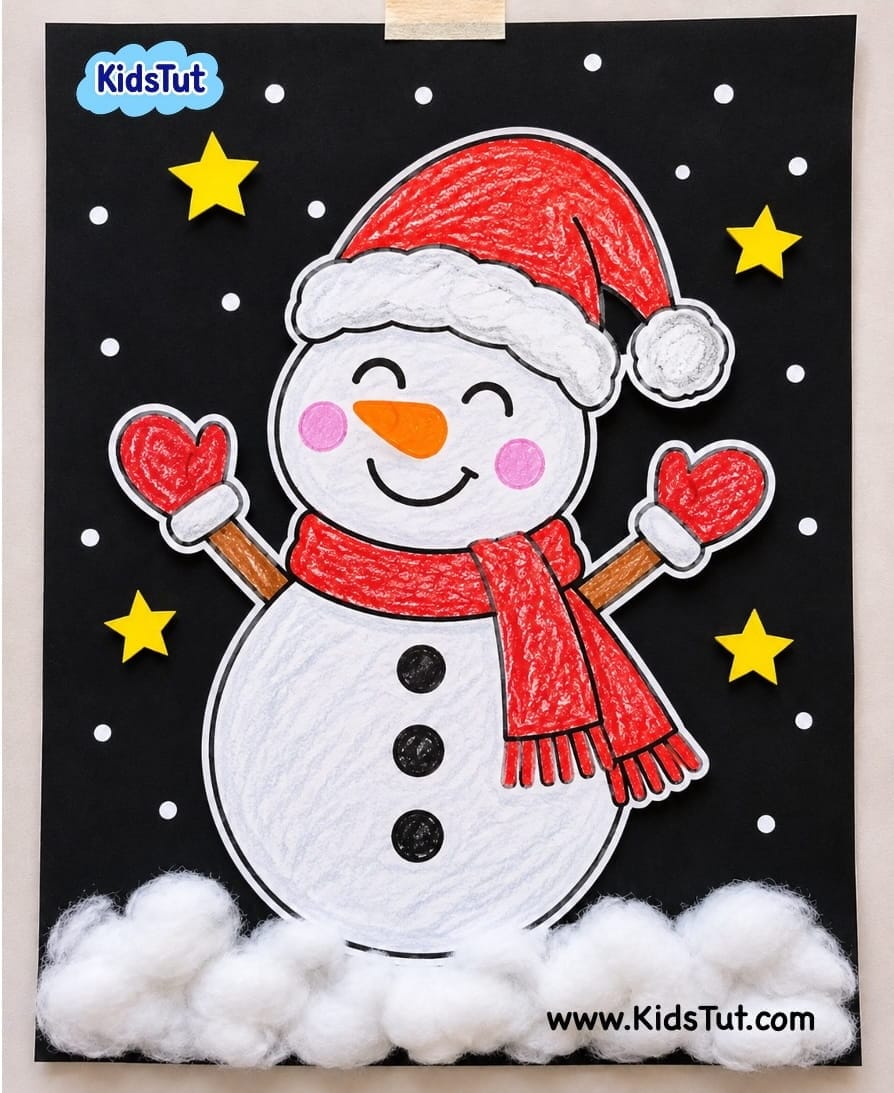
Snowman Template:
4. Christmas Nativity Scene Paper Craft with Cotton Snow
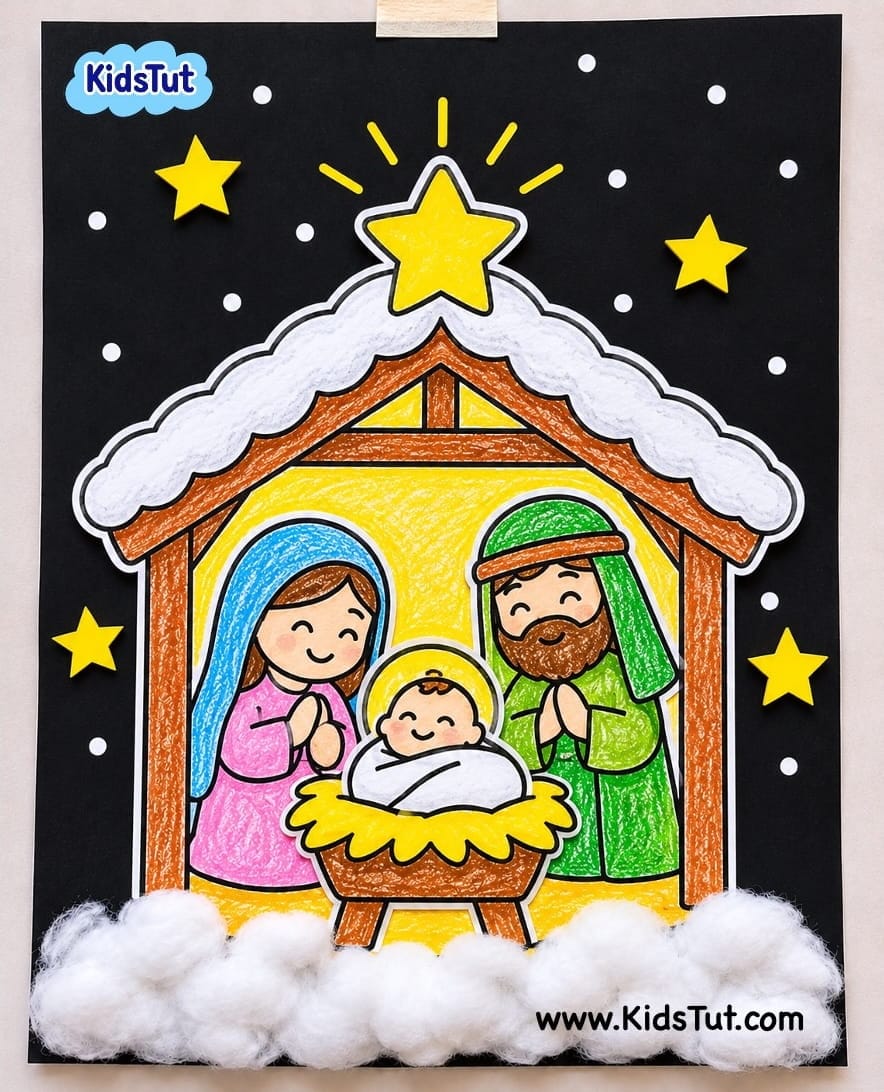
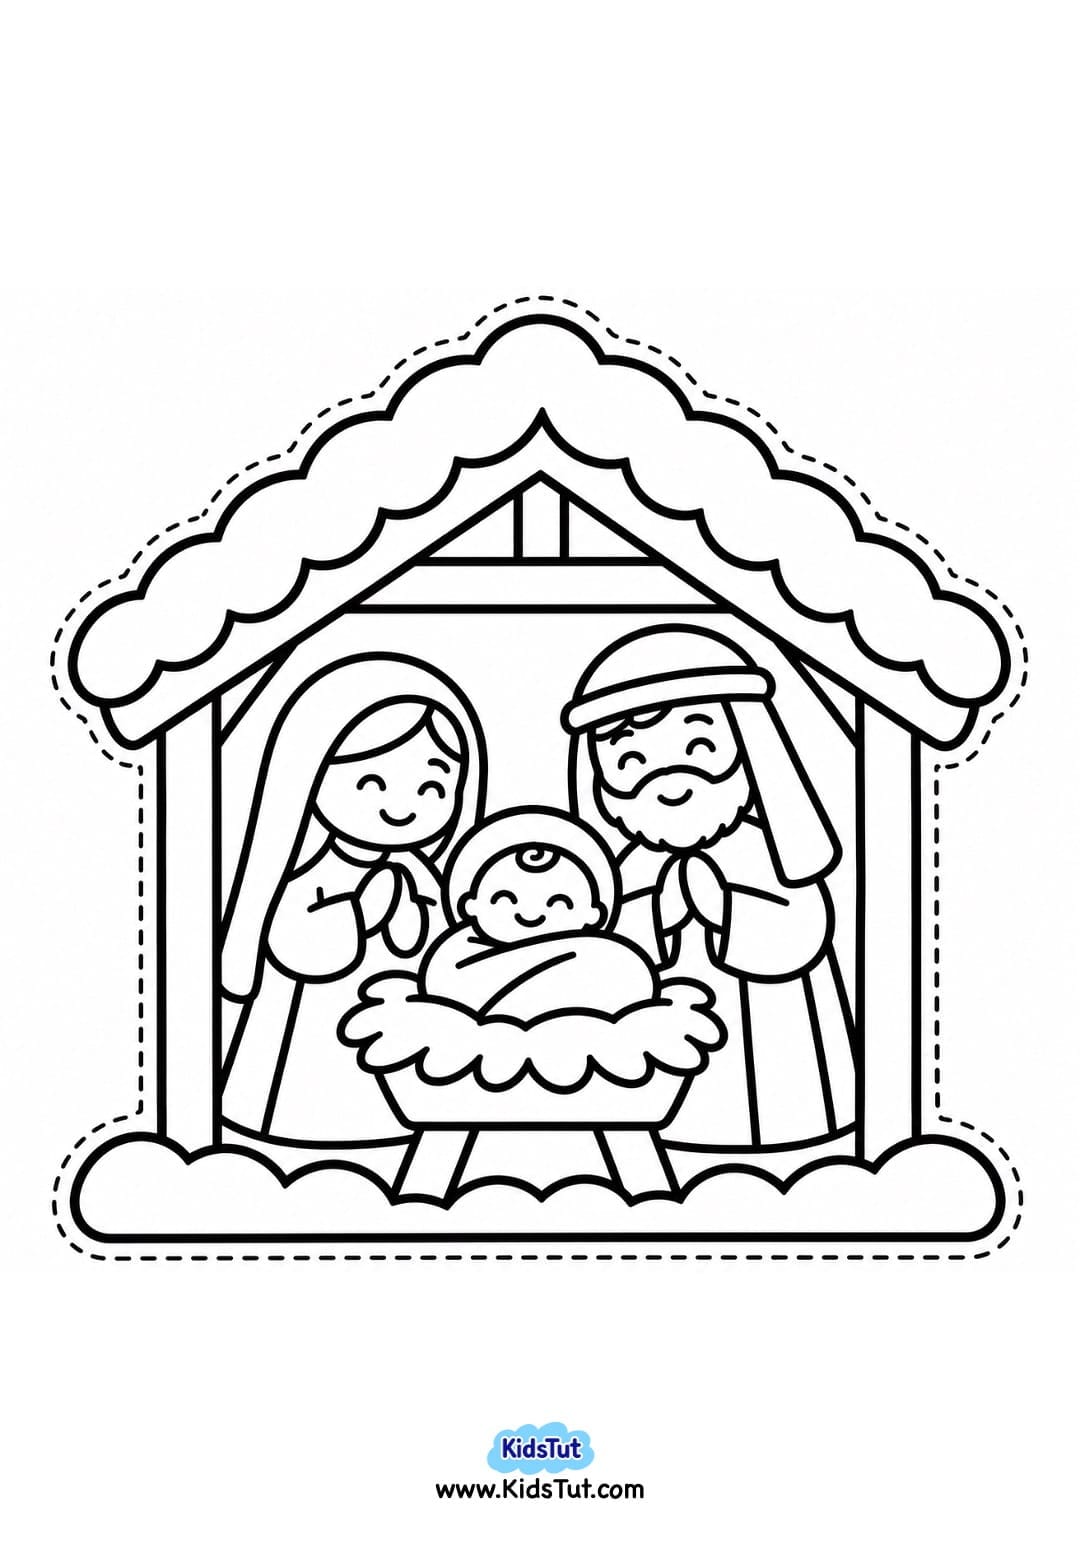
Christmas Nativity Scene Template:
5. Christmas Winter House Paper Craft with Cotton Snow
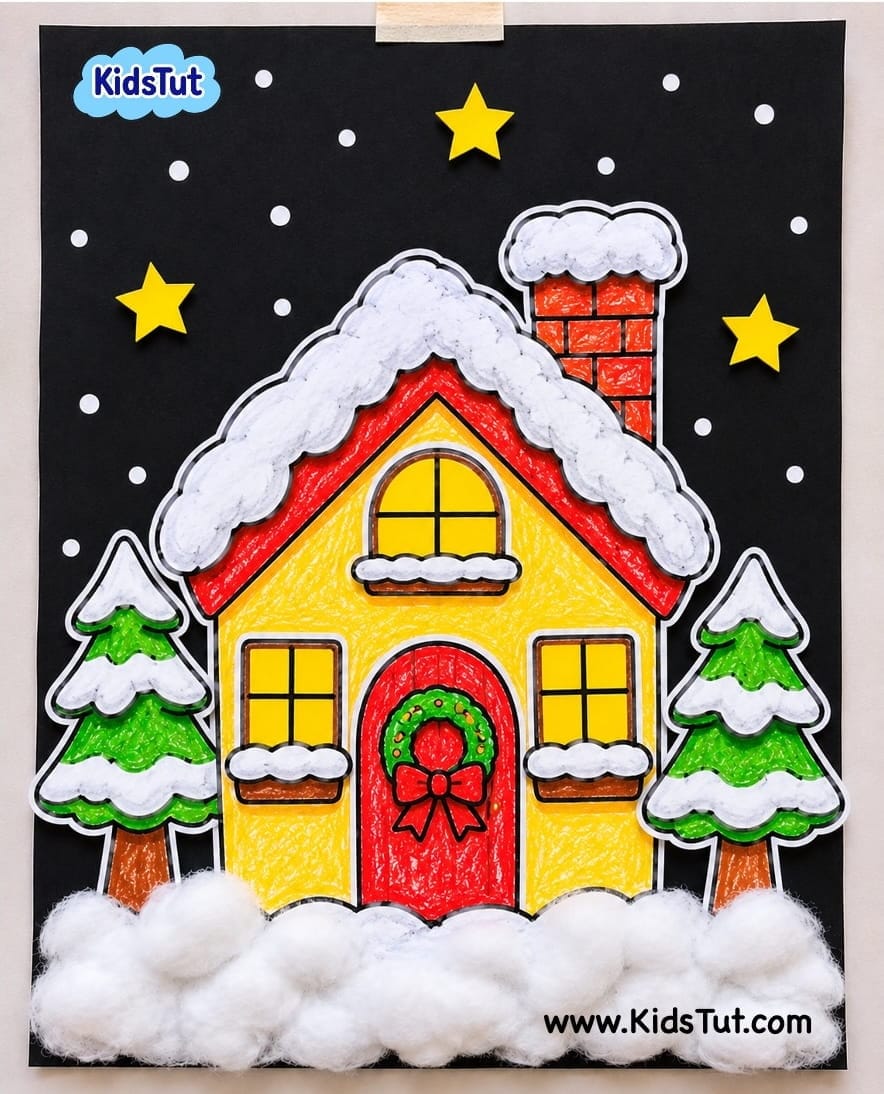
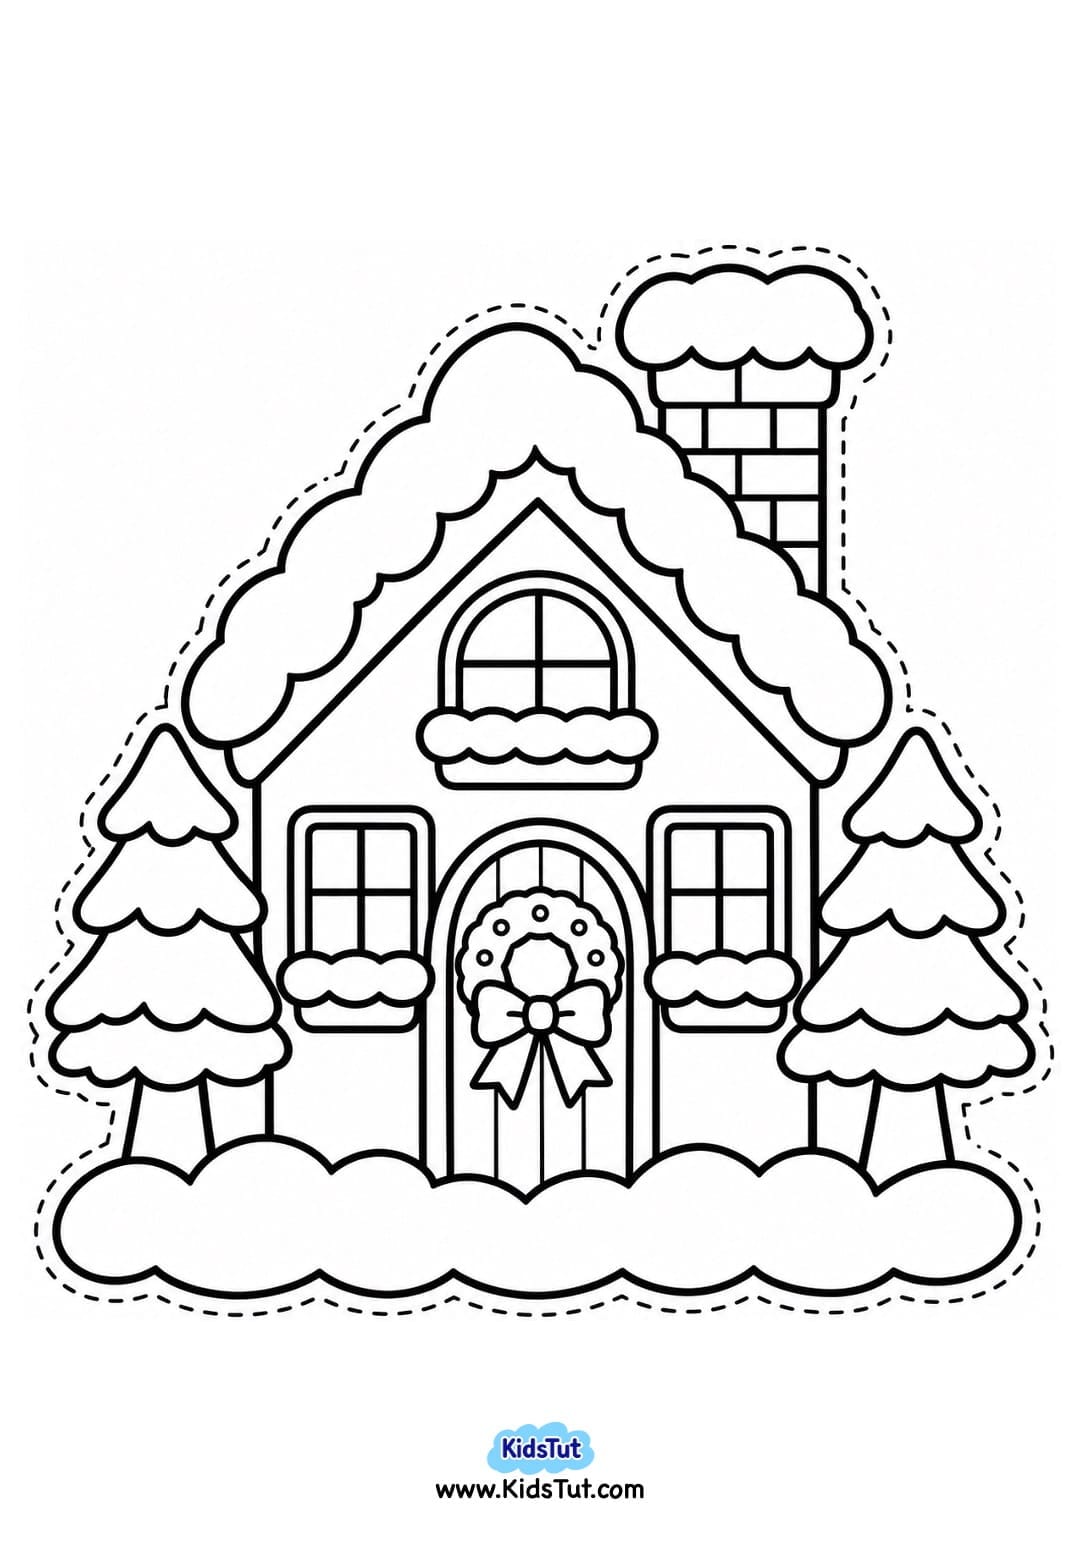
Christmas Winter House Template:
Benefits of Christmas Paper Crafts for Kids
These easy Christmas paper crafts are not only fun but also help children develop important skills through hands-on creative activities.
- Fine Motor Skills: Coloring, cutting, gluing, and pulling apart cotton pieces help children practice small hand and finger movements.
- Hand-Eye Coordination: Cutting out Christmas pictures and carefully placing stars and cotton snow helps improve hand-eye coordination.
- Creativity and Imagination: Kids can choose their favorite Christmas designs, colors, and decorations to create their own snowy scenes.
- Color Recognition: Using colorful crayons, yellow stars, and black paper helps younger children practice identifying different colors.
- Sensory Exploration: Touching and arranging soft cotton pieces gives children an enjoyable sensory experience.
- Focus and Concentration: Following each craft step encourages children to pay attention and complete their artwork.
- Shape Recognition: Cutting and arranging paper stars helps preschoolers recognize and explore basic shapes.
- Confidence and Independence: Finishing and displaying their handmade Christmas artwork gives children a sense of pride and achievement.

Click here to get the FREE PDF template: Download (Printable)