Easy Halloween Window Paper Craft for Kids
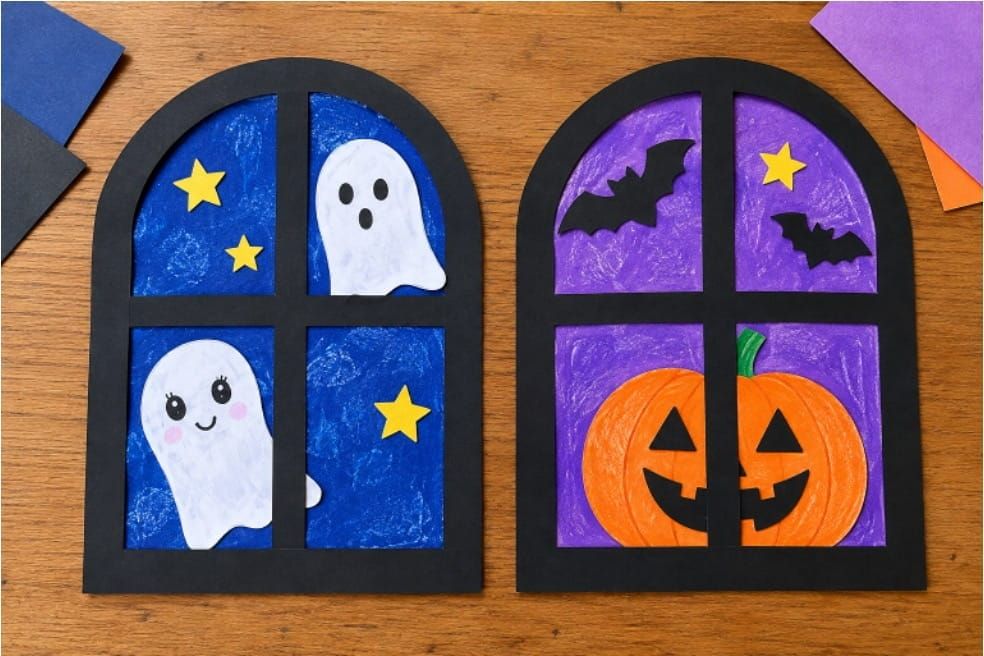
Looking for a creative Halloween activity that kids can make with simple paper supplies? This Easy Halloween Window Paper Craft for Kids to Make is a fun way to create a spooky Halloween scene inside a paper window.
Children can make a colorful night background and decorate it with ghosts, bats, pumpkins, witches, black cats, stars, a moon, spooky trees, or a cauldron. Once the scene is finished, the paper window frame goes on top, making it look like you are looking through a window on Halloween night.
This Halloween paper craft for kids is perfect for preschool, kindergarten, elementary classrooms, homeschool activities, or Halloween crafting at home. Kids can follow one of the provided scene templates or mix different printable pieces to design their own Halloween window.
What You Need
- Printable window frame template
- Printable arched background template
- Printable Halloween character and object templates
- White paper or cardstock
- Crayons or oil pastels
- Paints and paintbrushes
- Markers or colored pencils
- Purple, blue, and black colors
- Scissors
- Glue
How to Make a Halloween Window Paper Craft
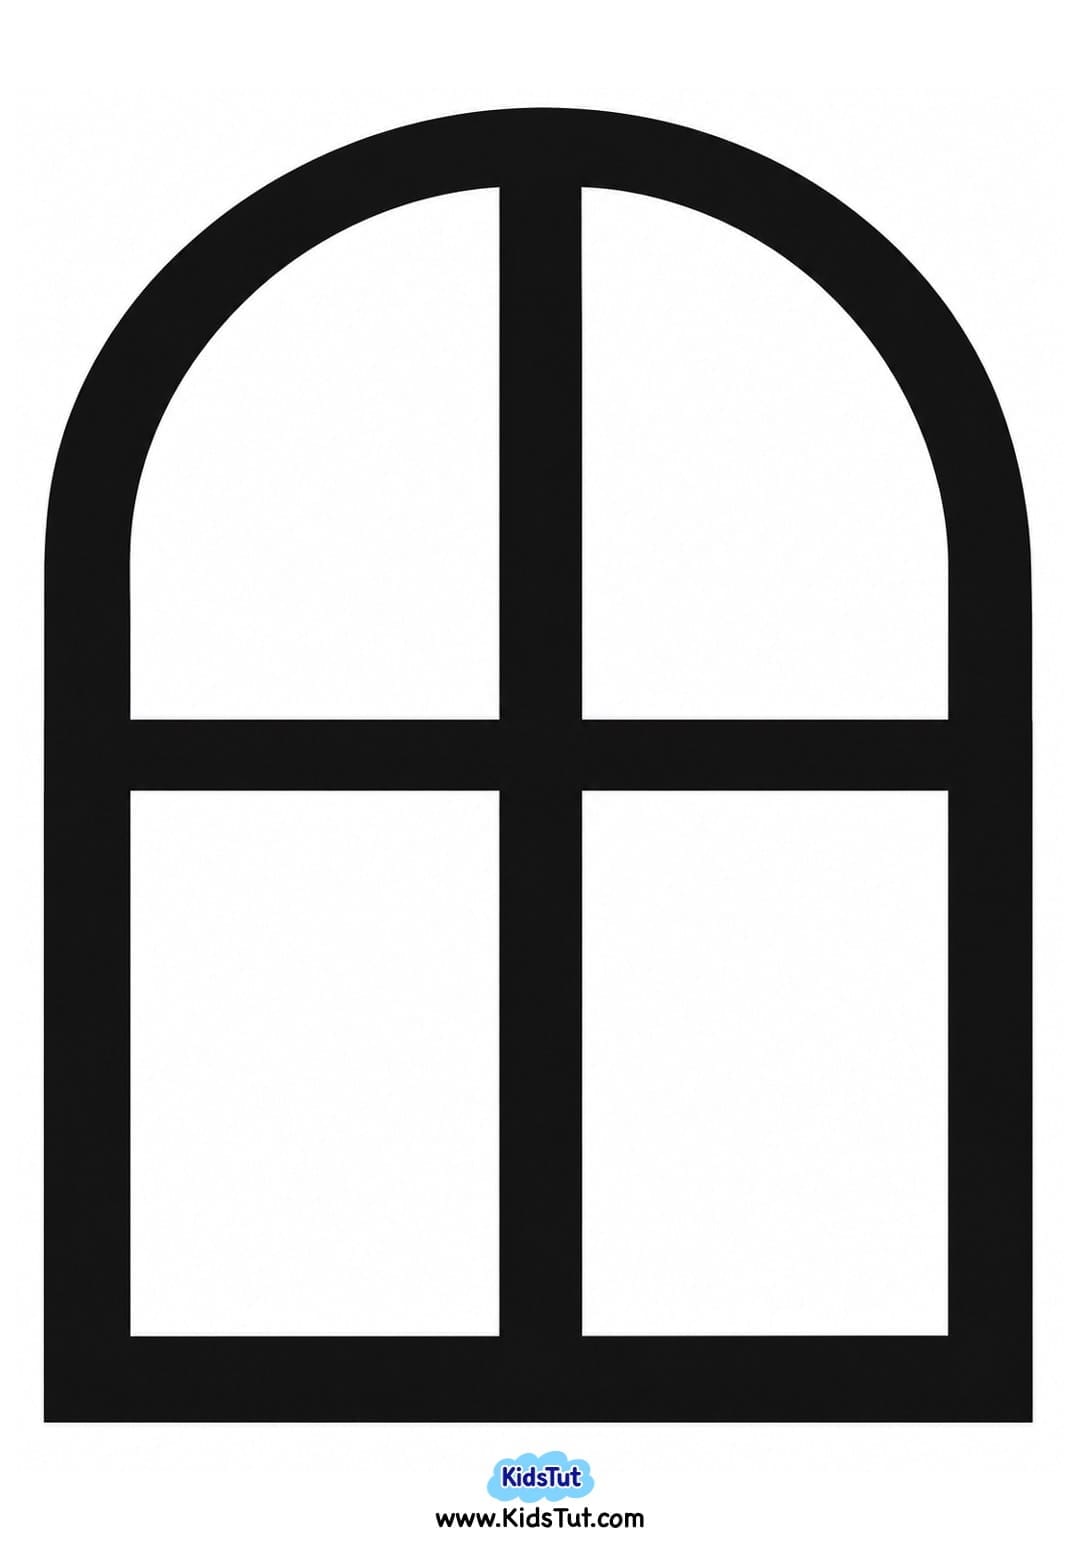
1. Print and Cut the Window Frame
- Start by printing the window frame template on a white sheet of paper.
- Carefully cut around the outside outline. Then, cut out and remove the white sections inside the window, leaving only the window frame and its bars.
- Younger children may need adult help when cutting out the inside sections.
Window Frame Template:
2. Make the Halloween Background
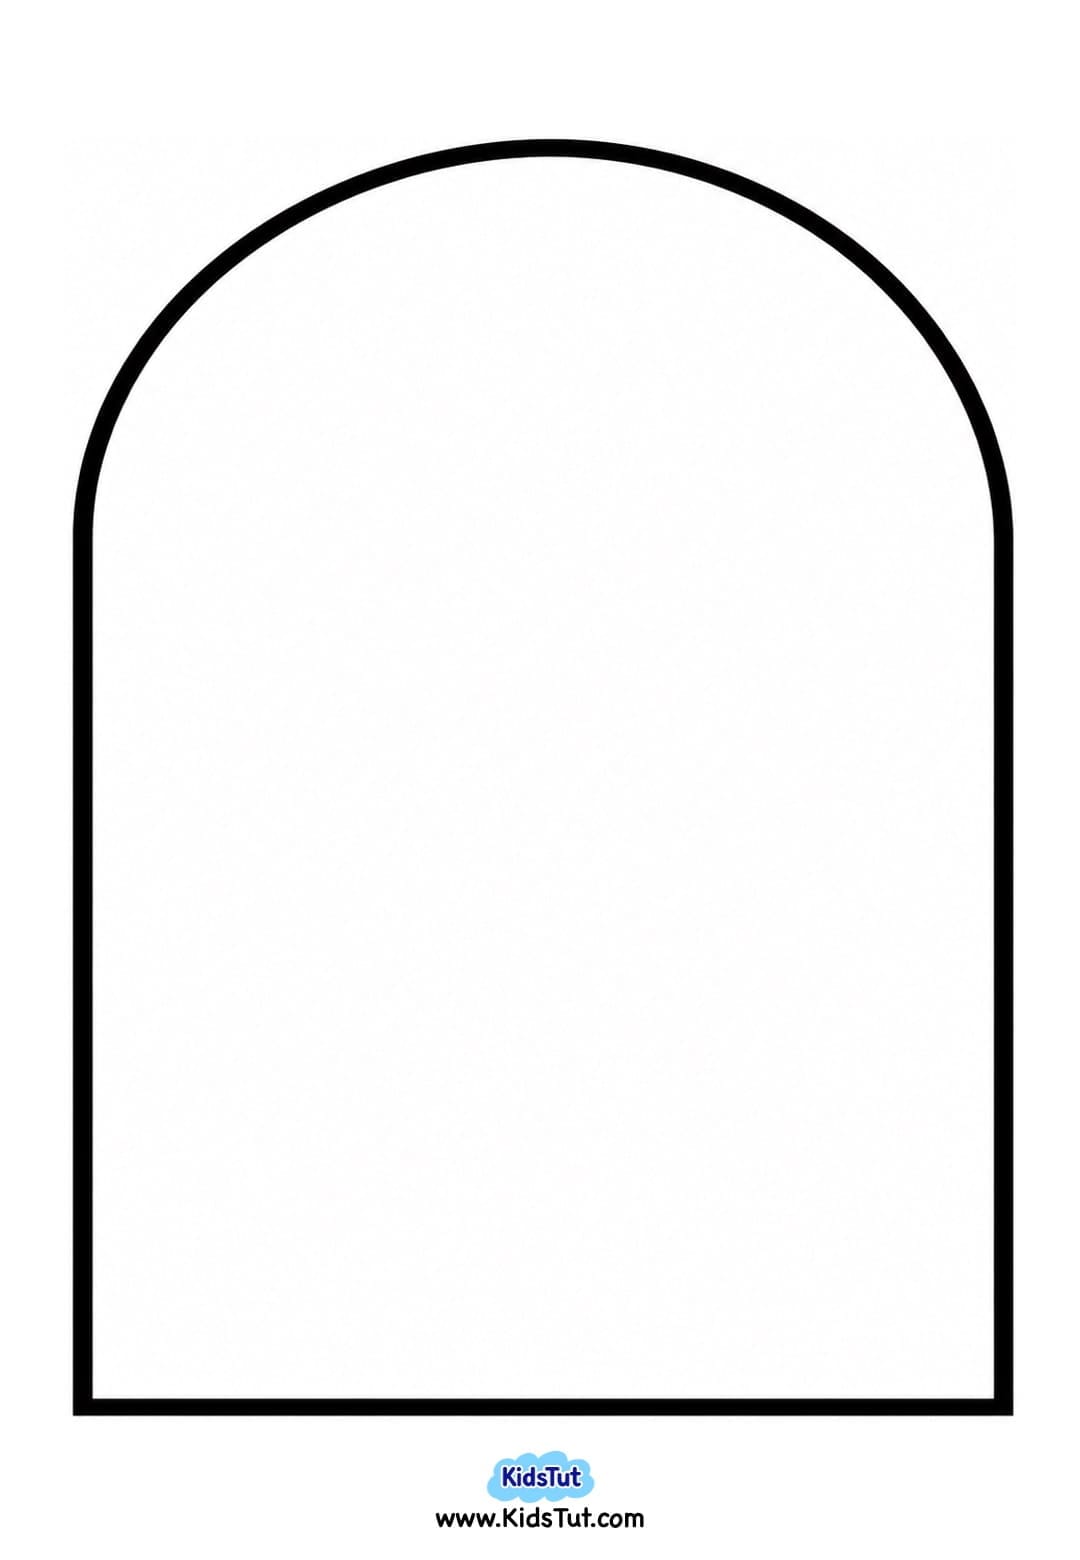
- Print the separate arched background template on another white sheet.
- Color the background using a mixture of purple, blue, and black to create a spooky Halloween night look. You can use crayons, oil pastels, or paints.
- Once you have finished coloring, cut around the outside outline to separate the background from the sheet. If you use paint, keep it aside until it is completely dry.
Halloween Background Template:
3. Choose Your Halloween Pieces
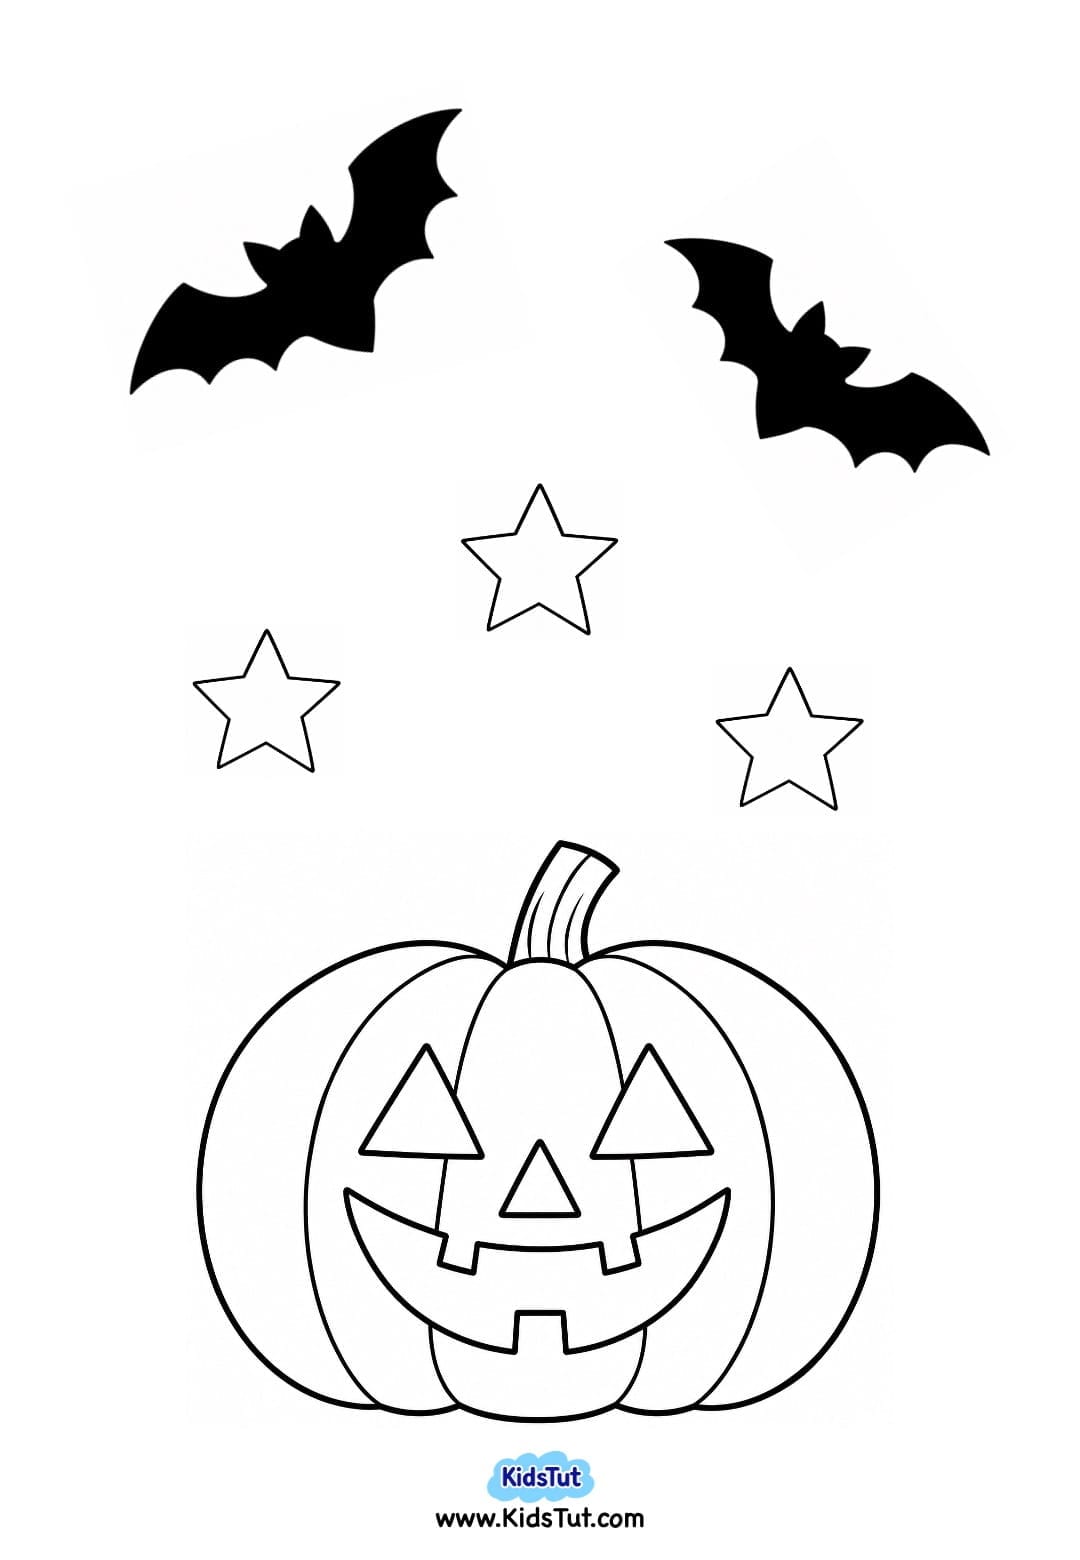
- Next, choose the Halloween characters and objects you would like to add to your window scene.
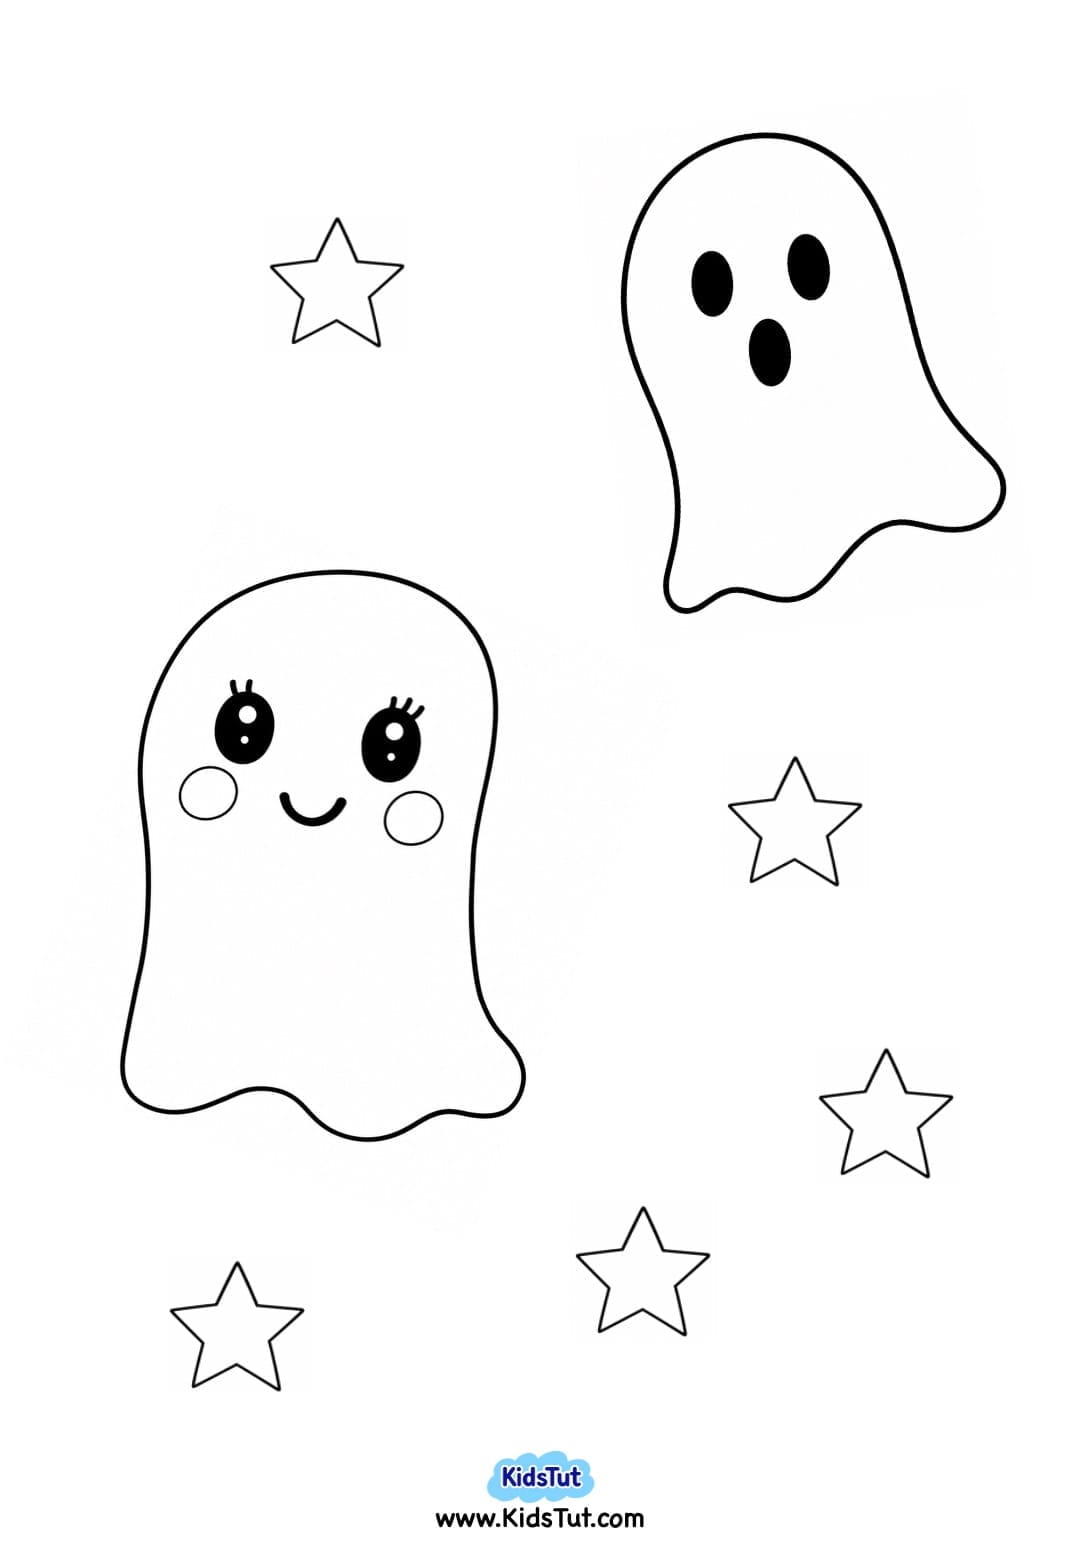
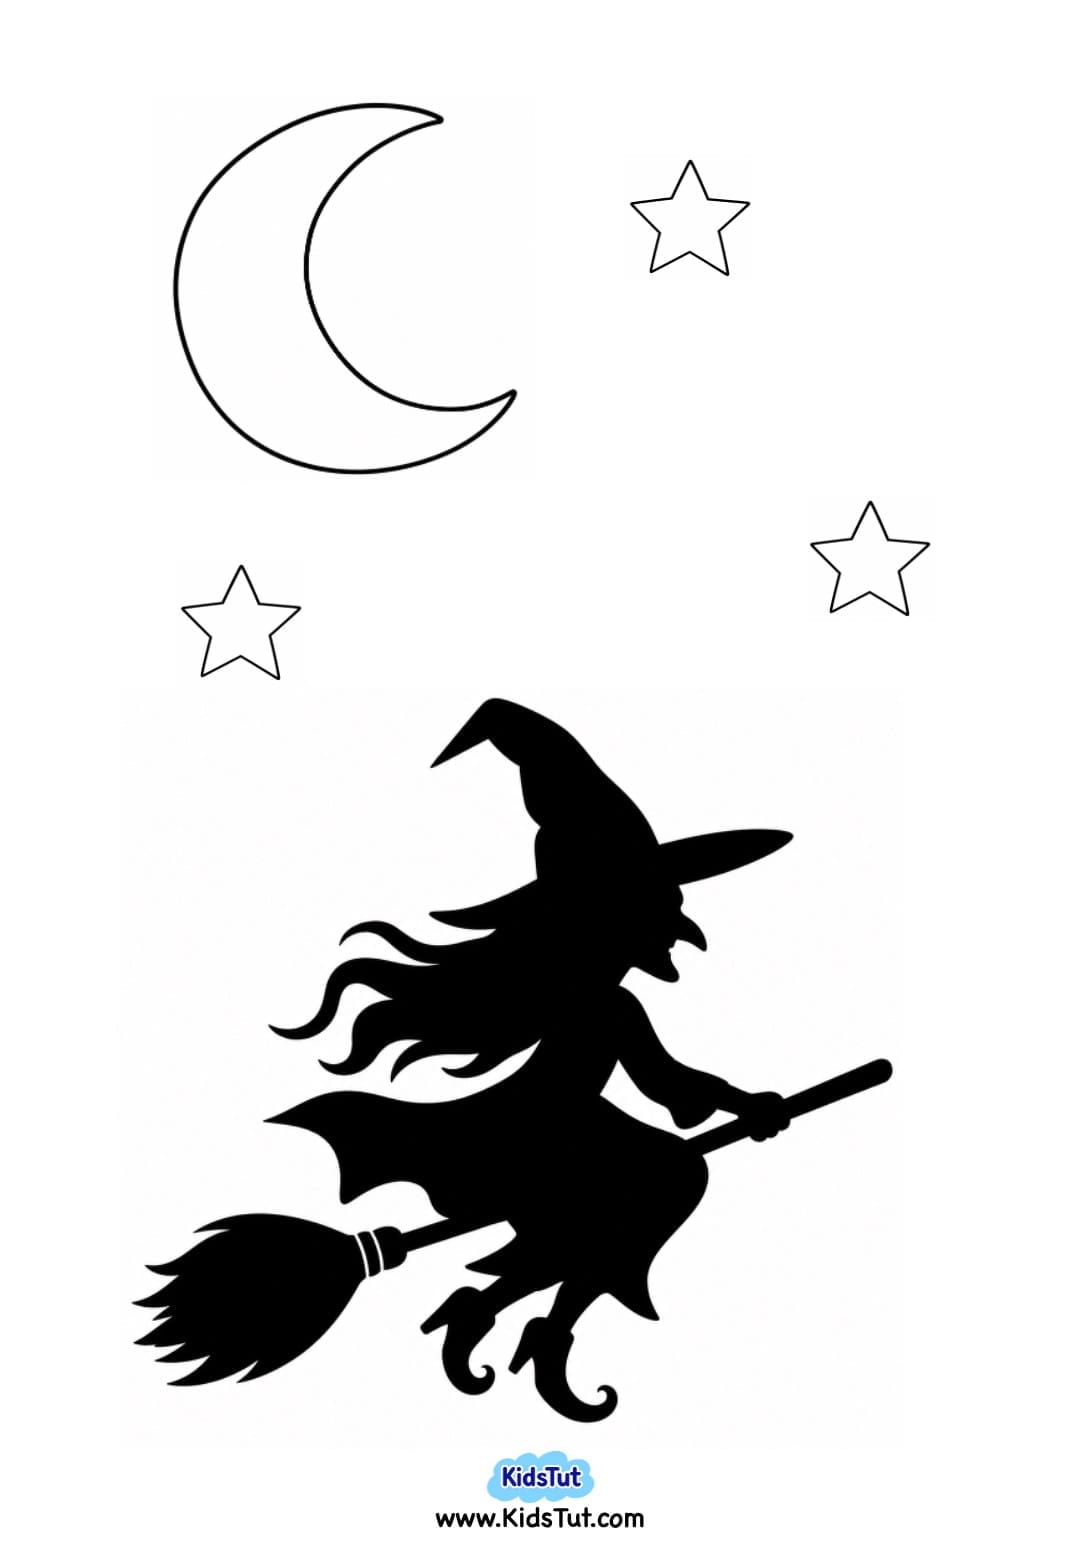
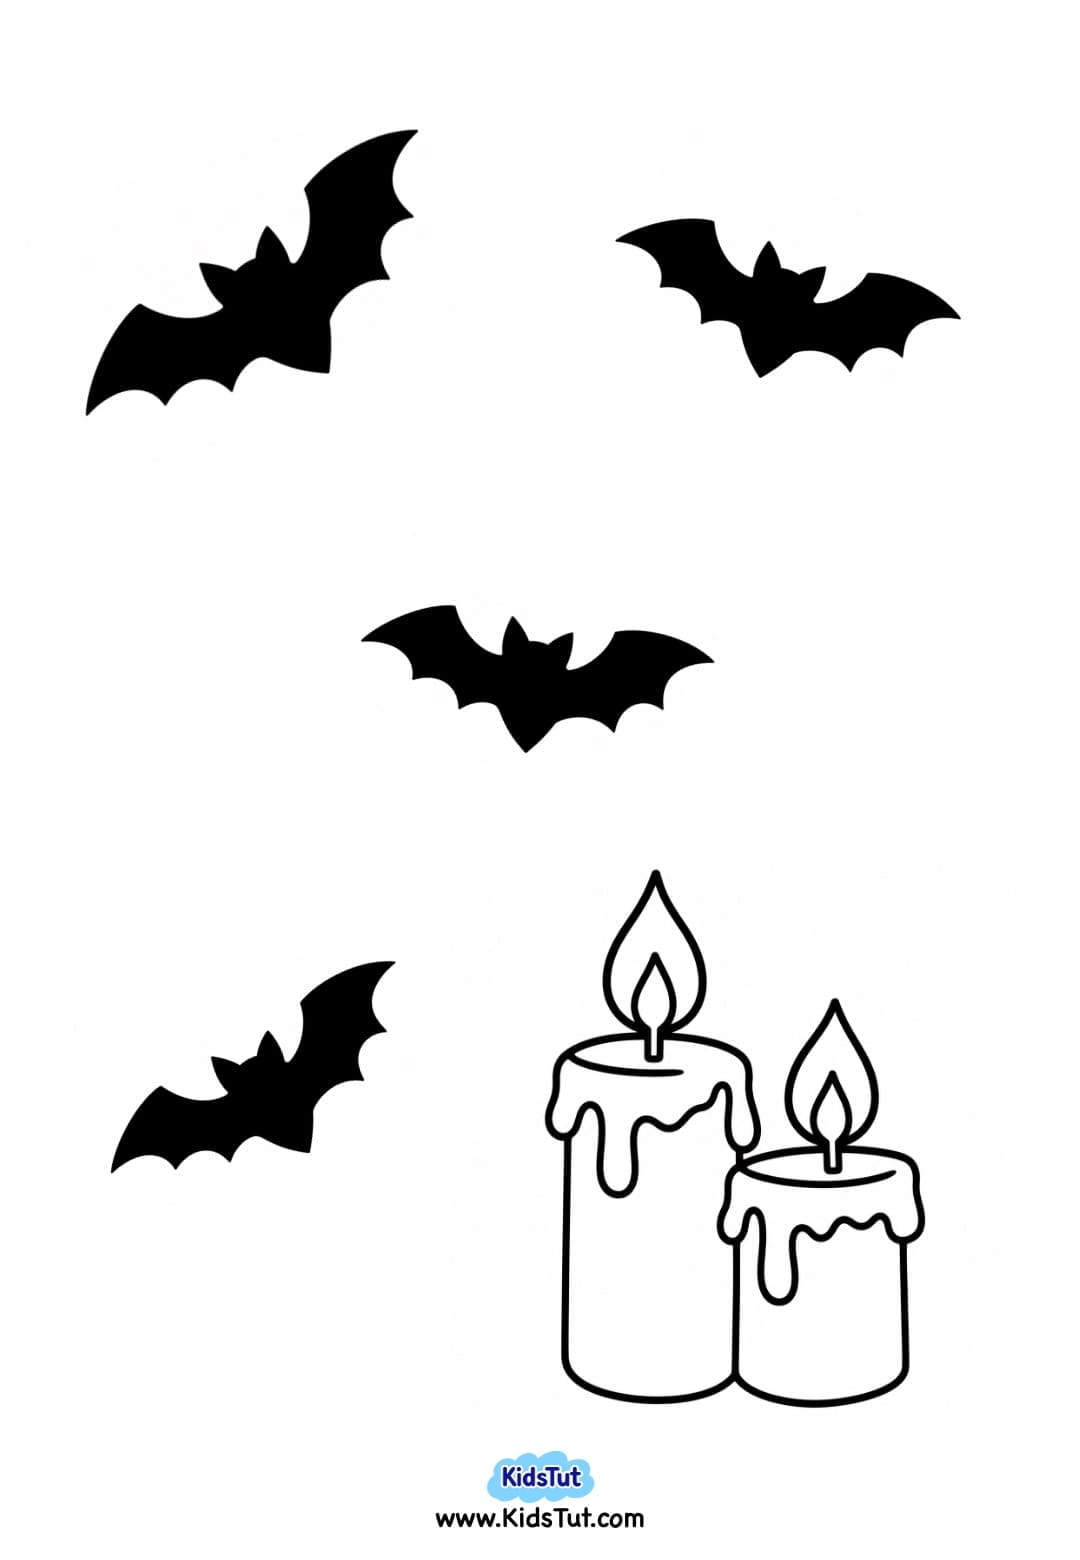
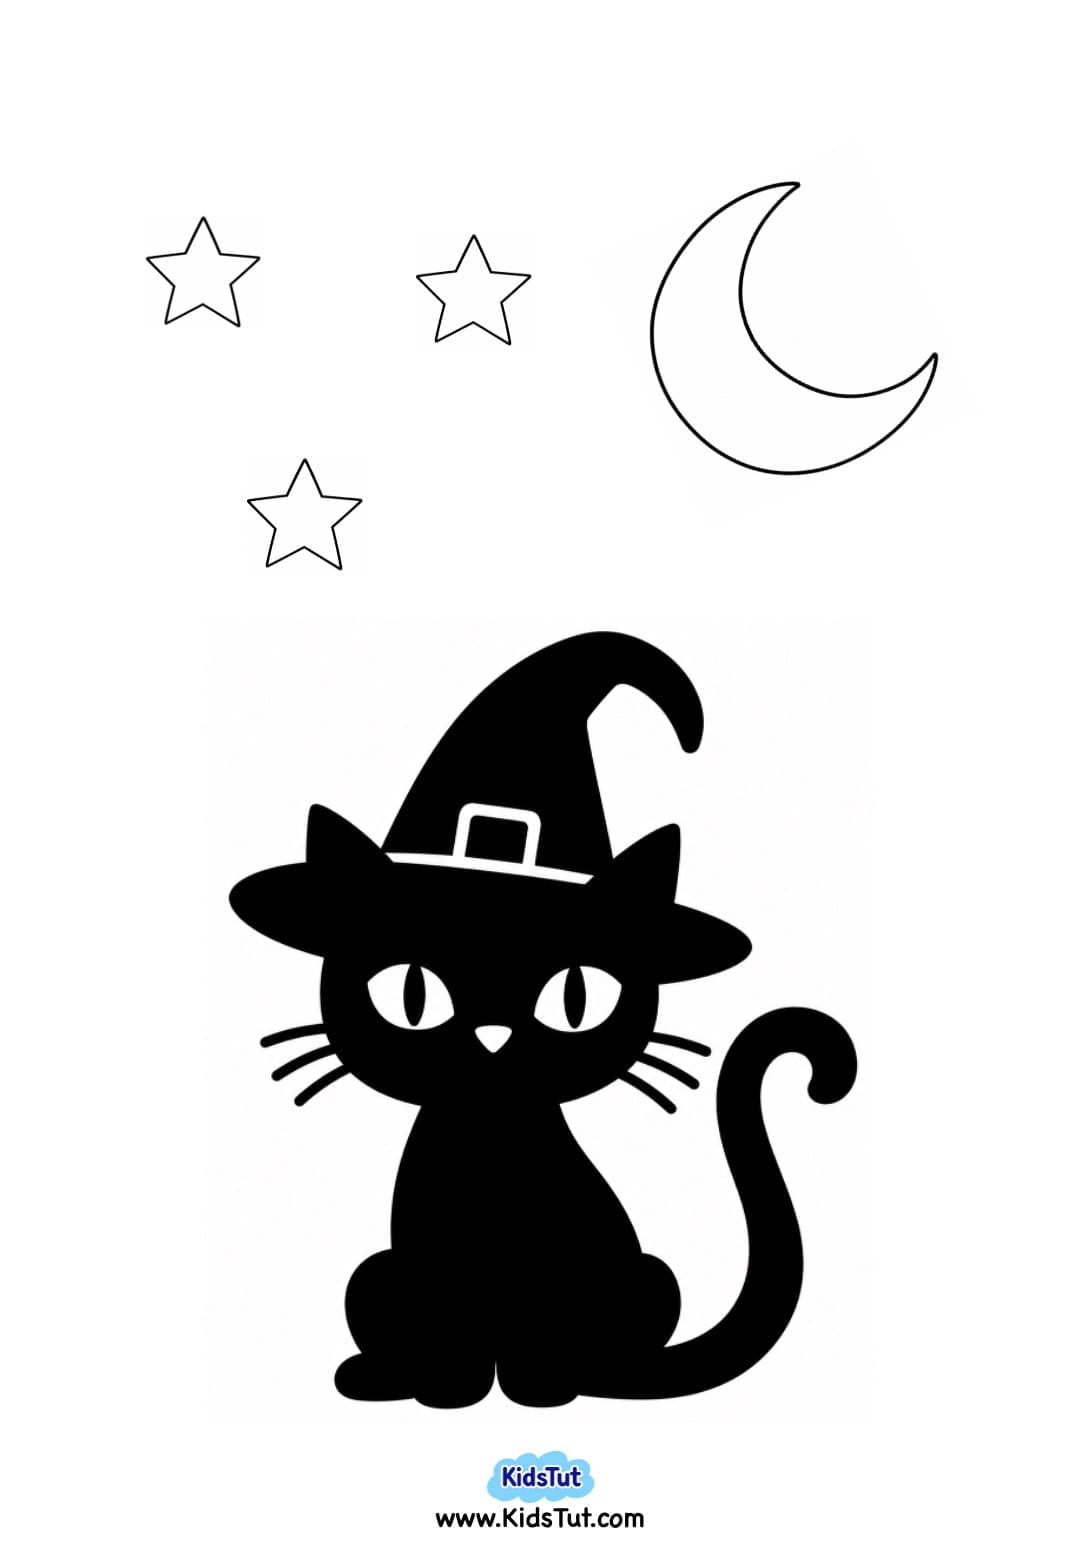
- You can use: Ghosts, Bats, Pumpkins or jack-o'-lanterns, A witch, A moon and stars, A spooky tree, A black cat, A cauldron
- For an easy option, choose one of the provided Halloween scene template pages. Each page includes matching pieces that can be used together.
- You can also choose different pieces from the templates and mix them to create your own Halloween scene.
Halloween Pieces Templates:

4. Color the Halloween Pieces
- Print your chosen Halloween pieces on white paper.
- Color any uncolored pieces using crayons, markers, colored pencils, or oil pastels. Traditional Halloween colors such as orange, yellow, purple, green, white, and black work well.
5. Cut Out the Pieces
- Carefully cut around the outside outlines of your colored Halloween characters and objects.
- Keep all the small pieces together so they are ready for the next step.
6. Create Your Halloween Scene
- Take your colored arched background and arrange the Halloween cutouts on it.
- Move the pieces around until you find an arrangement you like. You could put ghosts and stars against a blue night sky or make a purple Halloween scene with a pumpkin and flying bats.
- Once you are happy with your design, glue all the pieces in place.
7. Add the Window Frame
- Keep your Halloween scene aside and let the glue dry completely.
- Next, place the window frame over the finished scene. Make sure the outside edges of the frame and background line up correctly.
- Glue the window frame on top and gently press around the edges to secure it.
- The frame will make your finished artwork look like a spooky Halloween scene viewed through a window.
8. Let It Dry and Display
- Keep the finished craft aside and let it dry completely.
- Once dry, display your Halloween window paper craft on a classroom wall, bulletin board, door, or at home as a fun Halloween decoration.
Benefits of This Halloween Window Craft
- Develops cutting skills – Children practice cutting around different shapes and outlines.
- Strengthens fine motor skills – Coloring, cutting, arranging, and gluing exercise little hands and fingers.
- Improves hand-eye coordination – Kids carefully position the Halloween pieces inside their window.
- Encourages creativity – Children can choose different characters, colors, and layouts to make their own scene.
- Builds color recognition – Kids can explore popular Halloween colors such as purple, orange, yellow, blue, green, and black.
- Develops spatial awareness – Arranging several pieces inside one background helps children understand position and space.
- Introduces Halloween themes – Ghosts, bats, pumpkins, witches, and other familiar pictures make this a fun seasonal activity.
- Creates a unique decoration – Every child can make a different Halloween window to display at home or in the classroom.

Click here to get the FREE PDF template: Download (Printable)