Easy Christmas Geometric Coloring Crafts for Kids
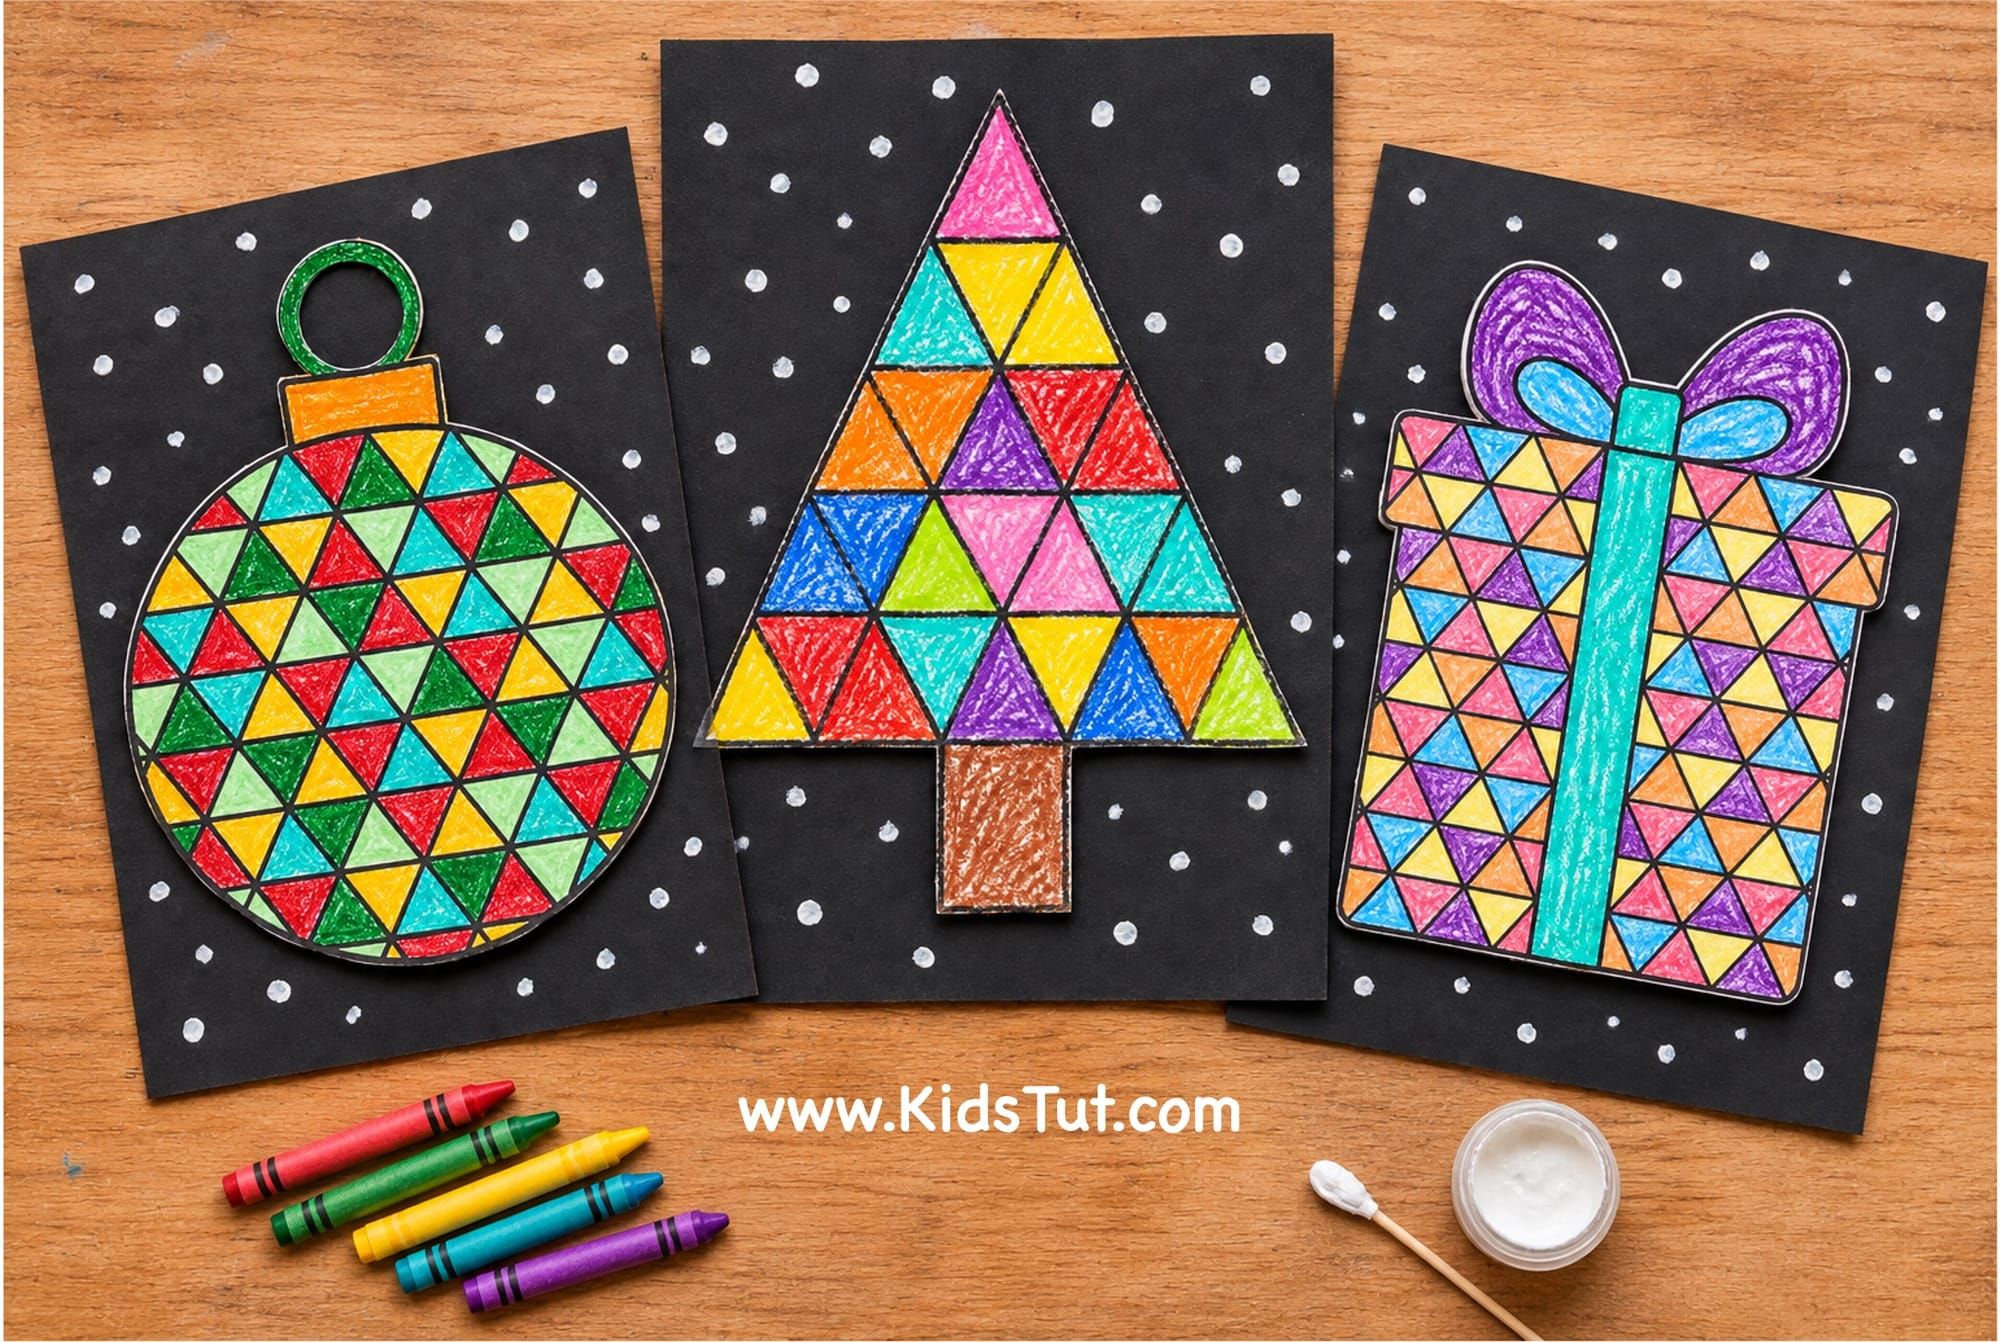
Looking for a fun and colorful Christmas activity for kids? These Easy Christmas Geometric Coloring Crafts for Kids to Make are a wonderful way to enjoy holiday crafting with simple printable templates, crayons, and paper.
These Christmas geometric coloring crafts are perfect for preschool, kindergarten, elementary school, homeschool, and classroom Christmas activities. They are easy to prepare, use simple craft supplies, and help children explore colors, shapes, and patterns while having fun.
What You Need
- Printable Christmas geometric coloring templates
- White A4 paper
- Black construction paper or black A4 craft sheets
- Crayons, markers, or colored pencils
- Child-safe scissors
- Glue stick or craft glue
- White paint
- Cotton swabs (Q-tips)
- Small paint container or palette
How to Make Christmas Geometric Coloring Crafts
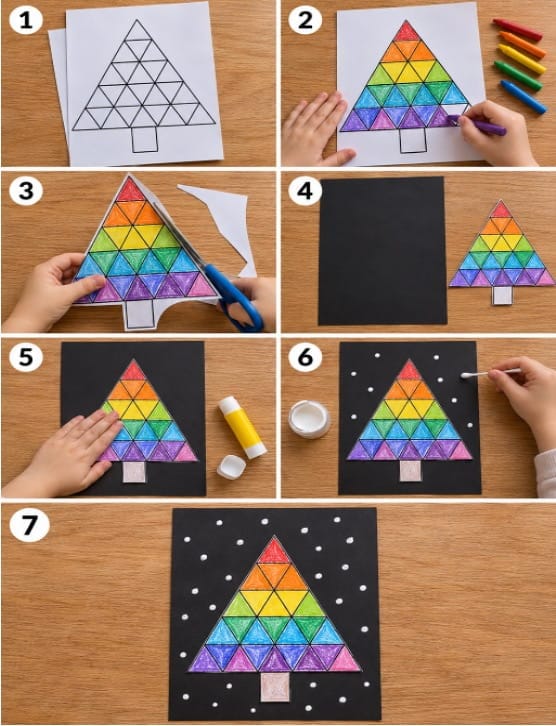
Step 1: Choose and Print the Christmas Templates
- First, choose your favorite Christmas geometric coloring page from the provided printable templates.
- You can select a Christmas tree, Christmas bauble, gift box, or another Christmas-themed picture.
- Print your selected coloring page on a white A4 sheet.
- You can print one picture or several different designs to make a colorful Christmas craft collection.
Step 2: Color the Christmas Pictures
- Next, use crayons, markers, or colored pencils to color the printed Christmas picture.
- Each Christmas picture includes different geometric shapes, such as triangles, squares, and other small patterns.
- Encourage children to use bright and beautiful colors like red, green, yellow, blue, orange, pink, and purple.
- They can color each small shape with a different color or repeat their favorite colors to create a pattern.
- Try to color neatly inside the black outlines to make the geometric design stand out.
Step 3: Cut Out the Colored Christmas Picture
- Once the coloring is finished, carefully cut along the outside outline of the Christmas picture.
- Separate the colored picture from the printed white sheet.
- Follow the outline neatly so the Christmas picture keeps its original shape.
Step 4: Prepare the Black Background
- Take a black A4 construction paper or black craft sheet and place it on your table.
- The black background will help the bright colors of your Christmas picture stand out beautifully.
- You can keep the paper in portrait or landscape position, depending on the shape of your Christmas picture.
Step 5: Paste the Christmas Picture onto the Black Paper
- Apply glue to the back of your colored Christmas cutout.
- Then, paste it in the center of the black background sheet.
- Gently press the picture to make sure it sticks well.
- Leave some empty space around the picture for the white snow decorations.
Step 6: Add White Snow Dots
- Now it's time to decorate your Christmas craft!
- Take a cotton swab (Q-tip) and dip one end into white paint.
- Gently press the cotton swab onto the black background to make small white dots around the pasted Christmas picture.
- Continue adding dots in different places to create a beautiful falling snow effect.
- Try to spread the white dots around the picture without covering the colorful geometric design.
Step 7: Let It Dry and Display
- Once you finish adding the white paint dots, keep your Christmas craft aside and let the paint and glue dry completely.
- Now your colorful Christmas geometric coloring craft is ready!
- You can display it on a classroom wall, bulletin board, window, or Christmas craft display.
- Make several different Christmas pictures and arrange them together to create a beautiful holiday art collection.
Christmas Geometric Coloring Craft Templates:
1. Christmas Tree
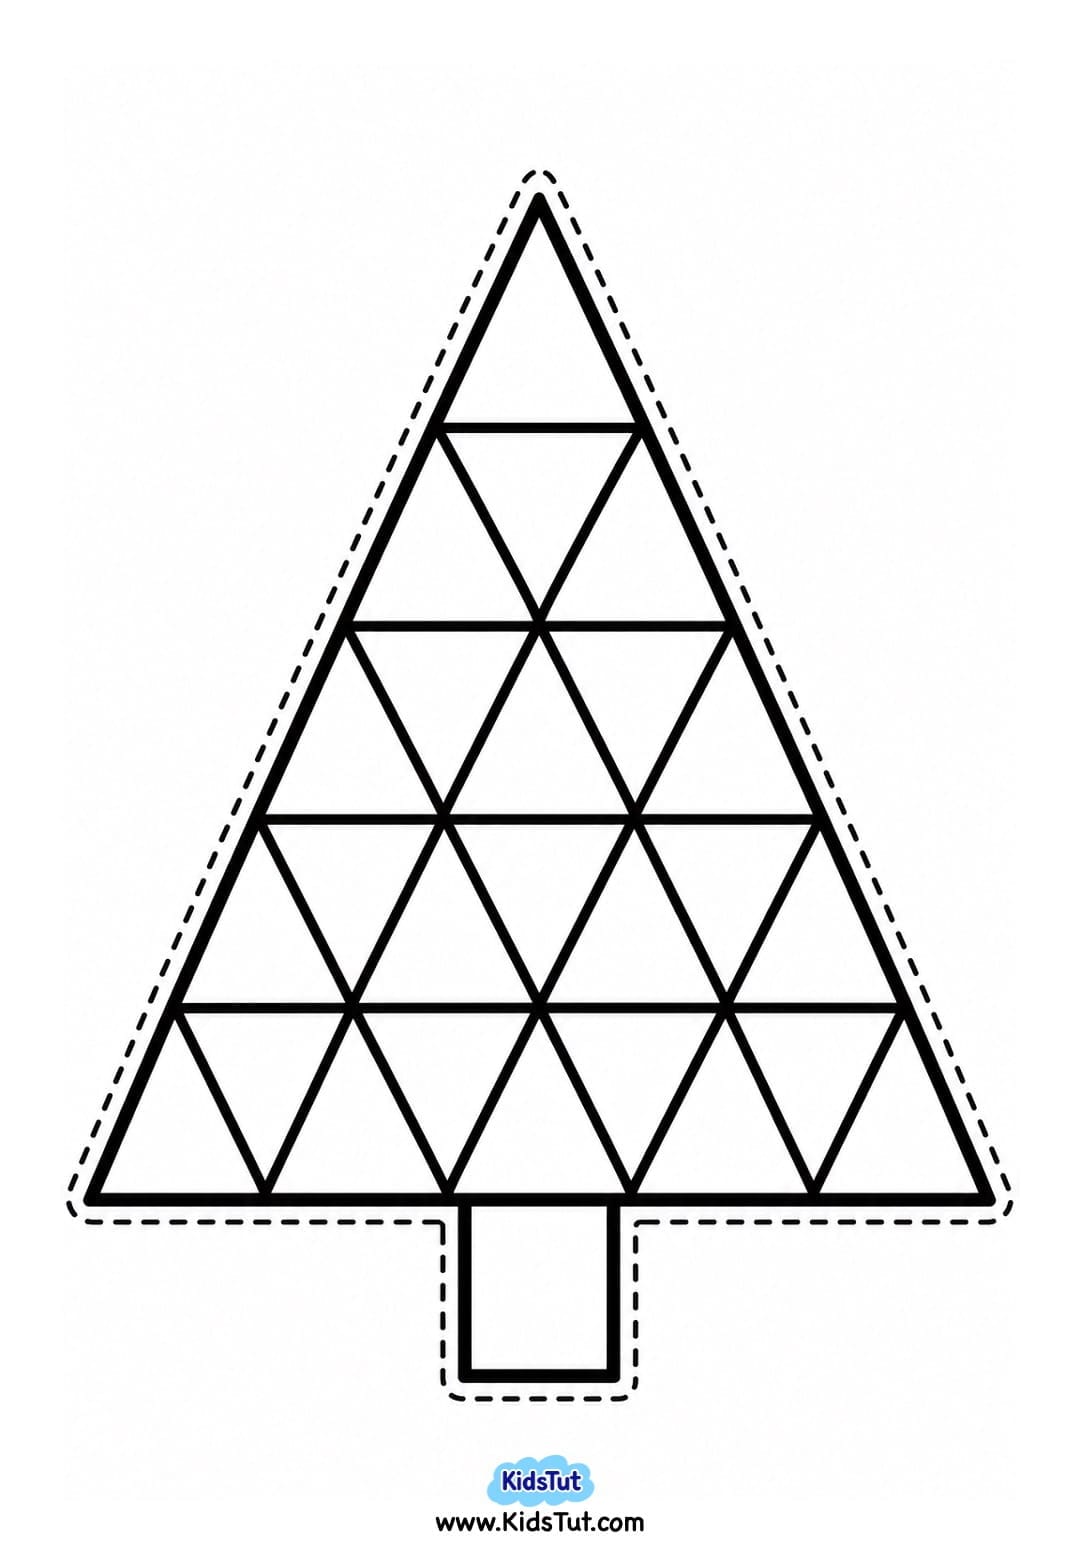
2. Christmas Bauble
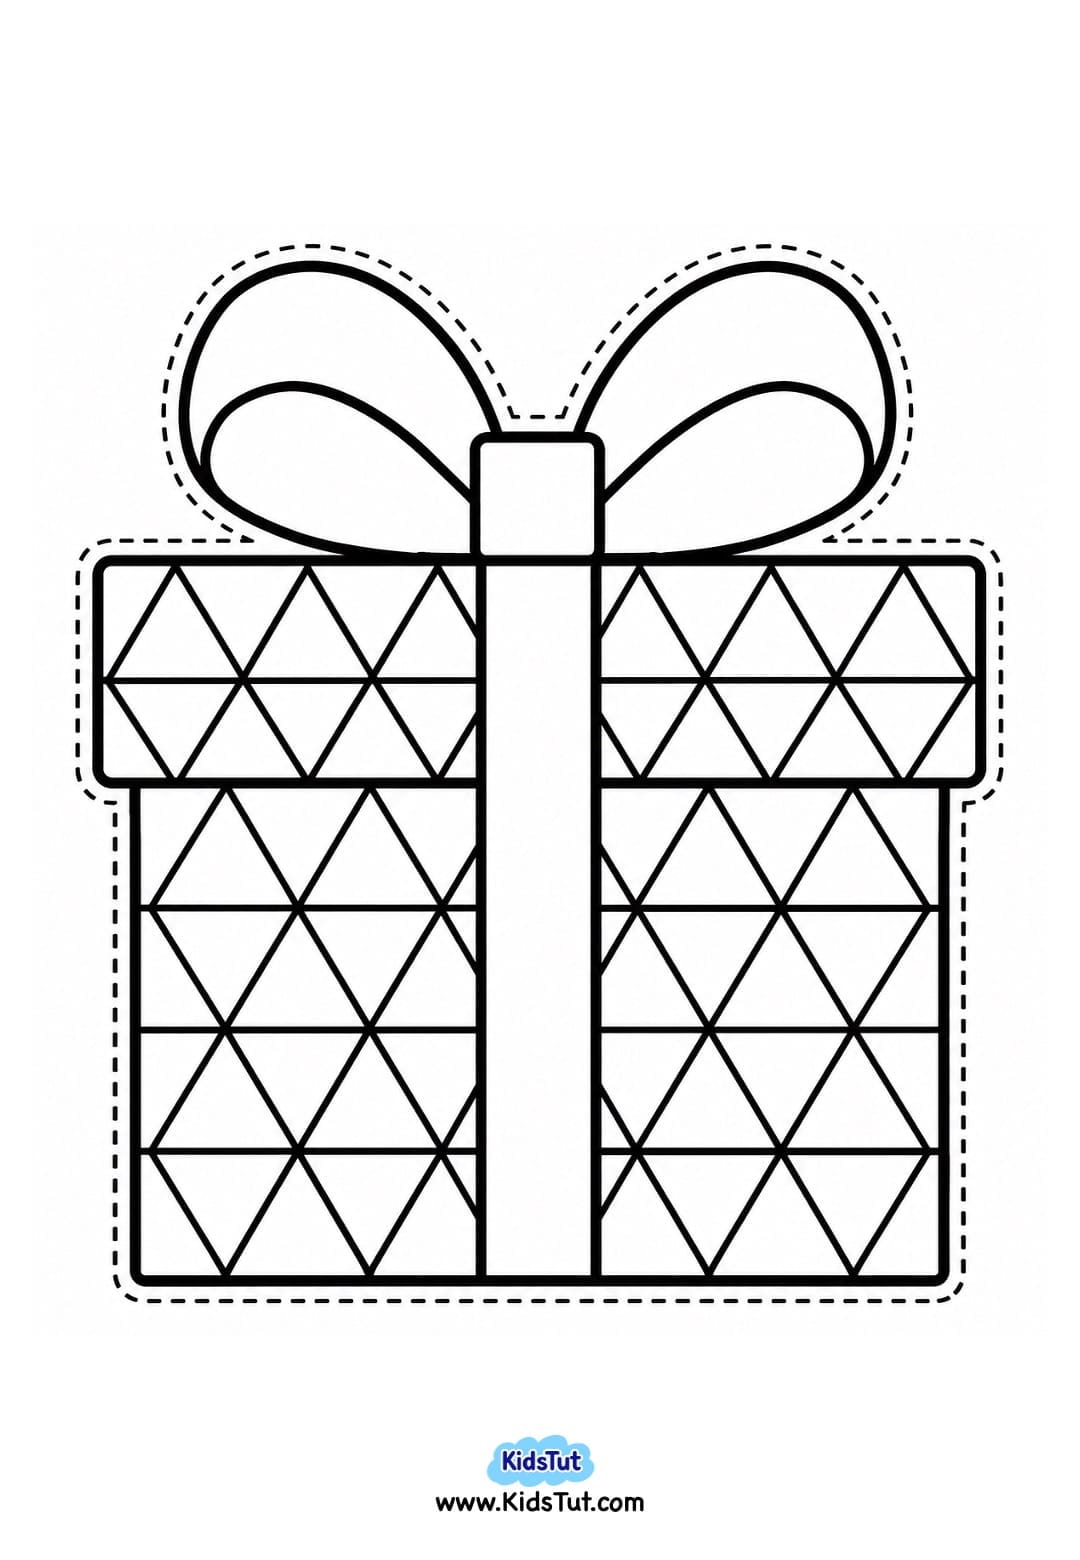
3. Christmas Gift Box
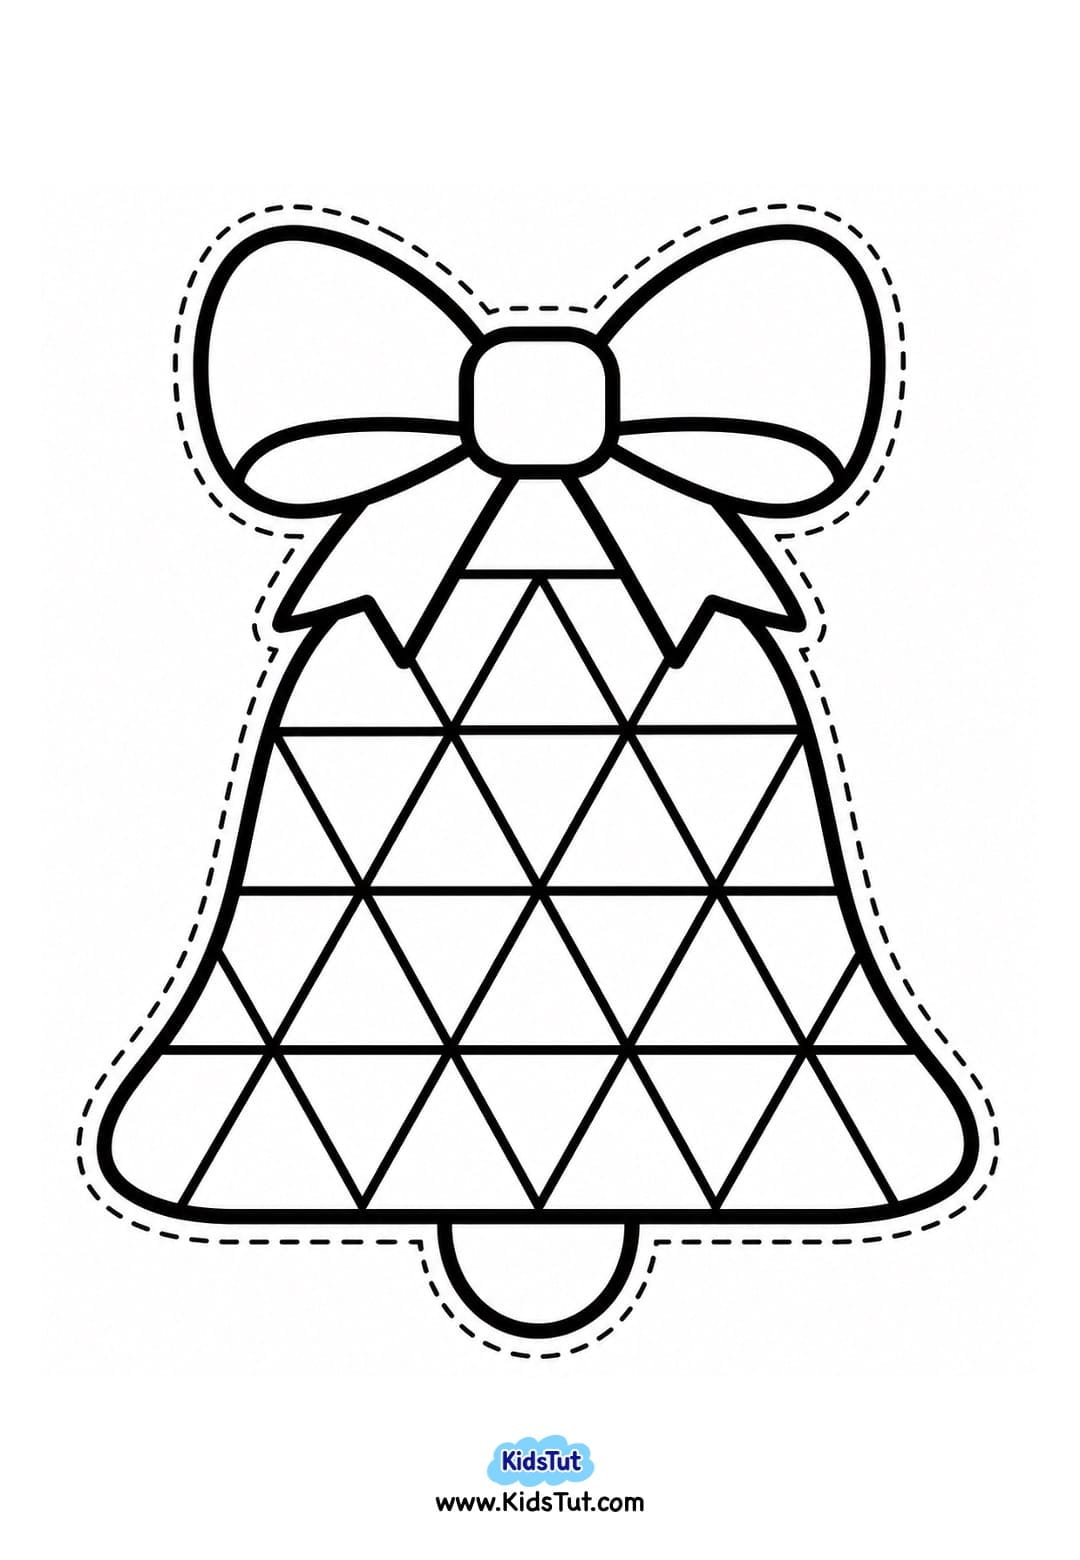
4. Christmas Bell
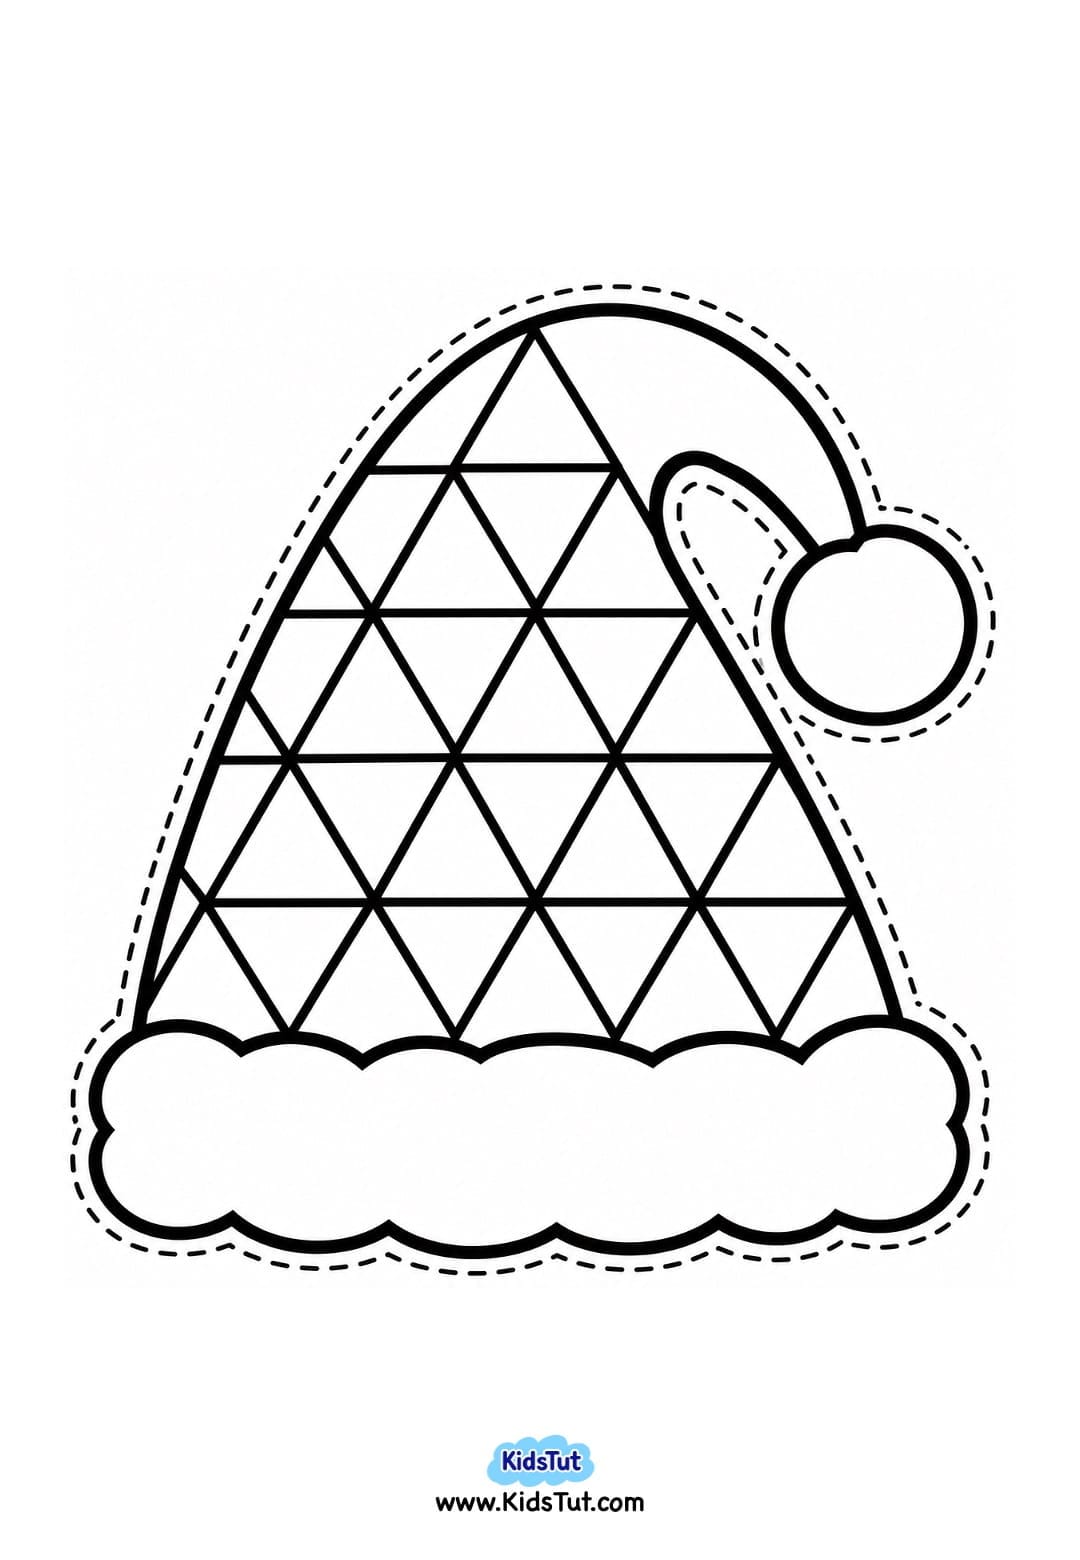
5. Christmas Hat
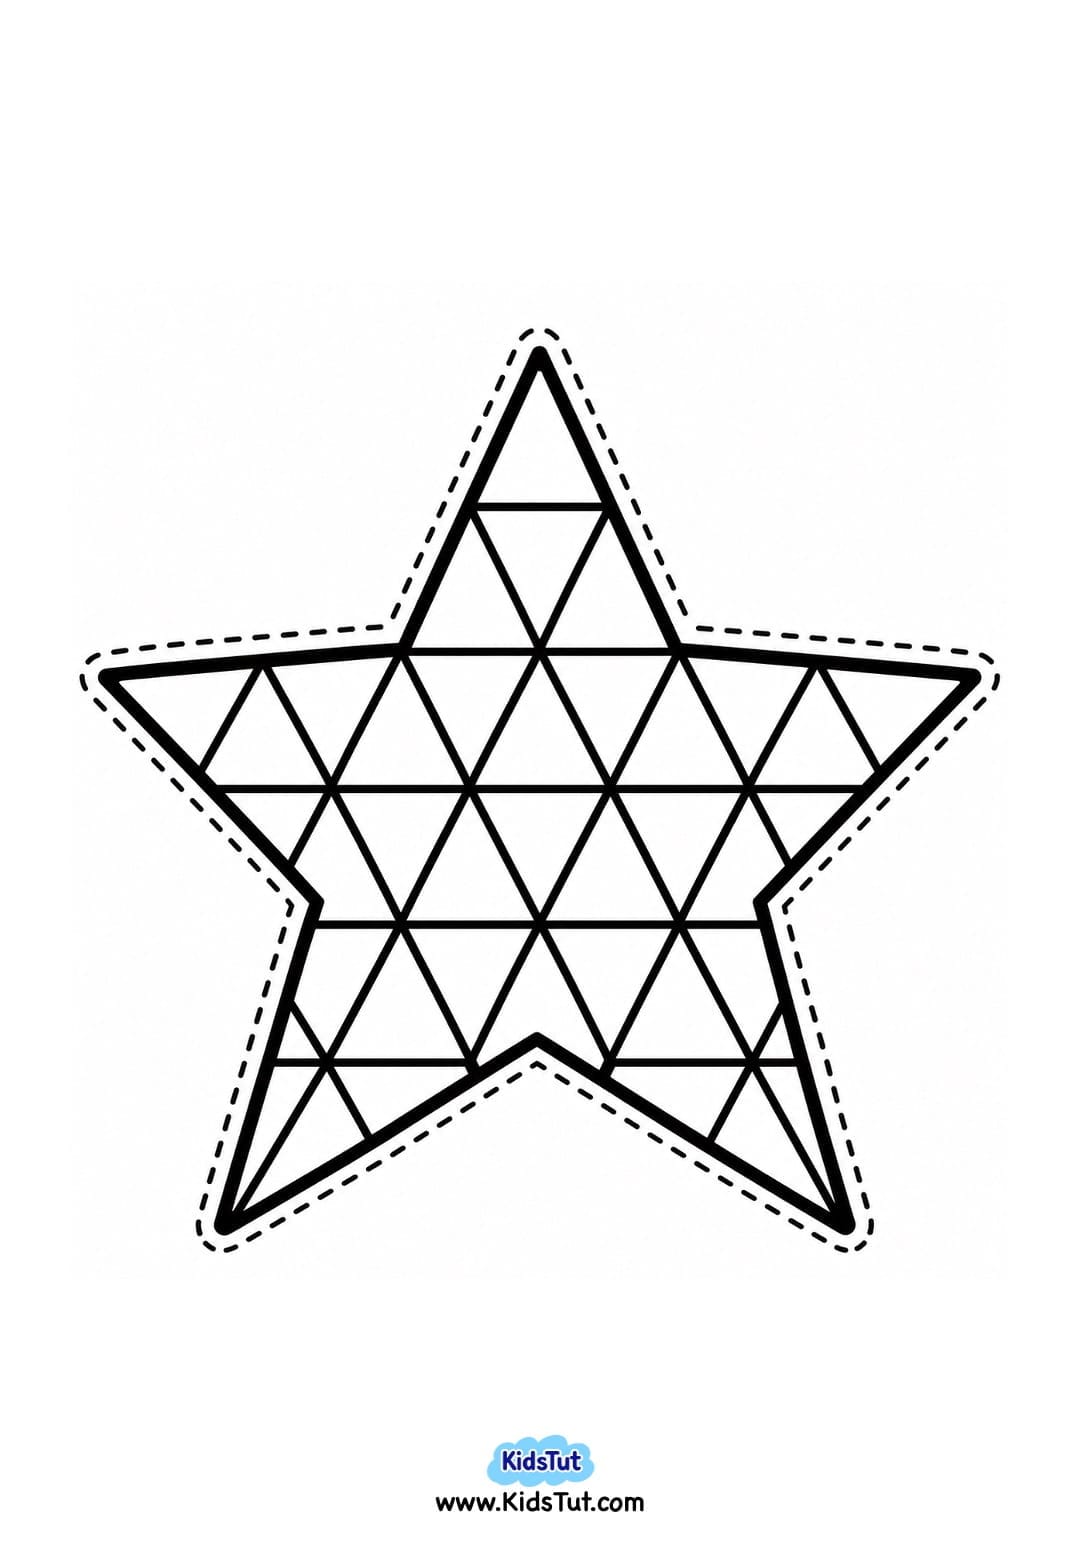
6. Christmas Star
7. Christmas Wreath
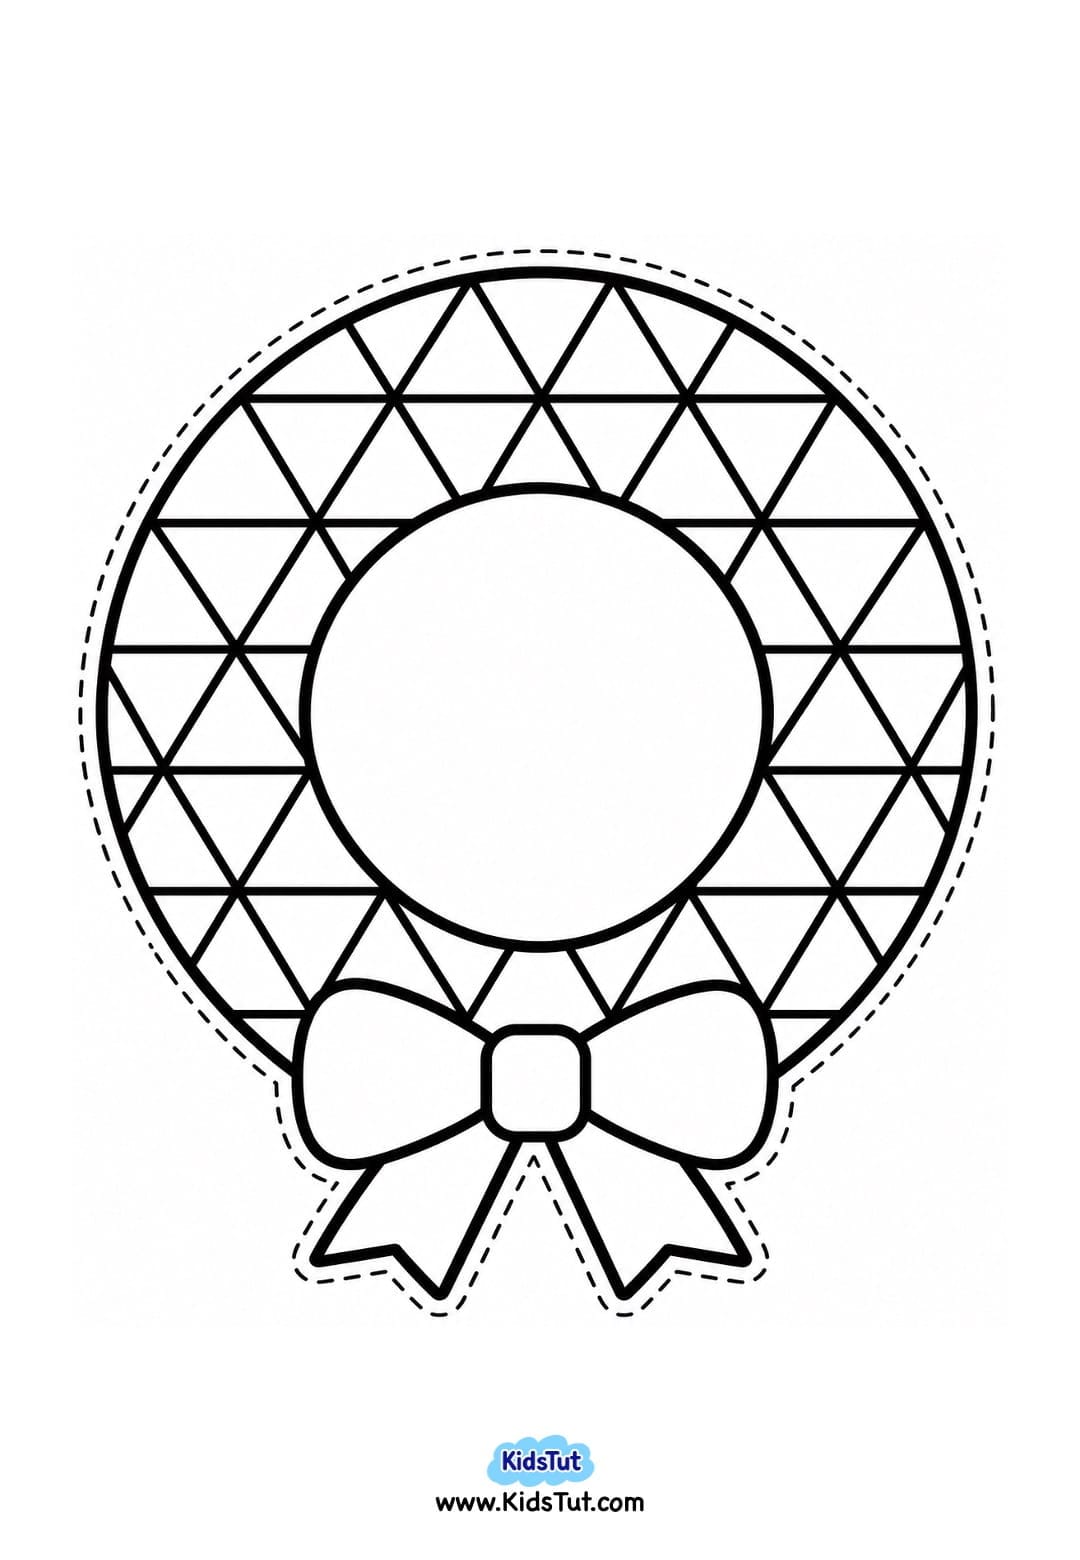
8. Christmas Candle
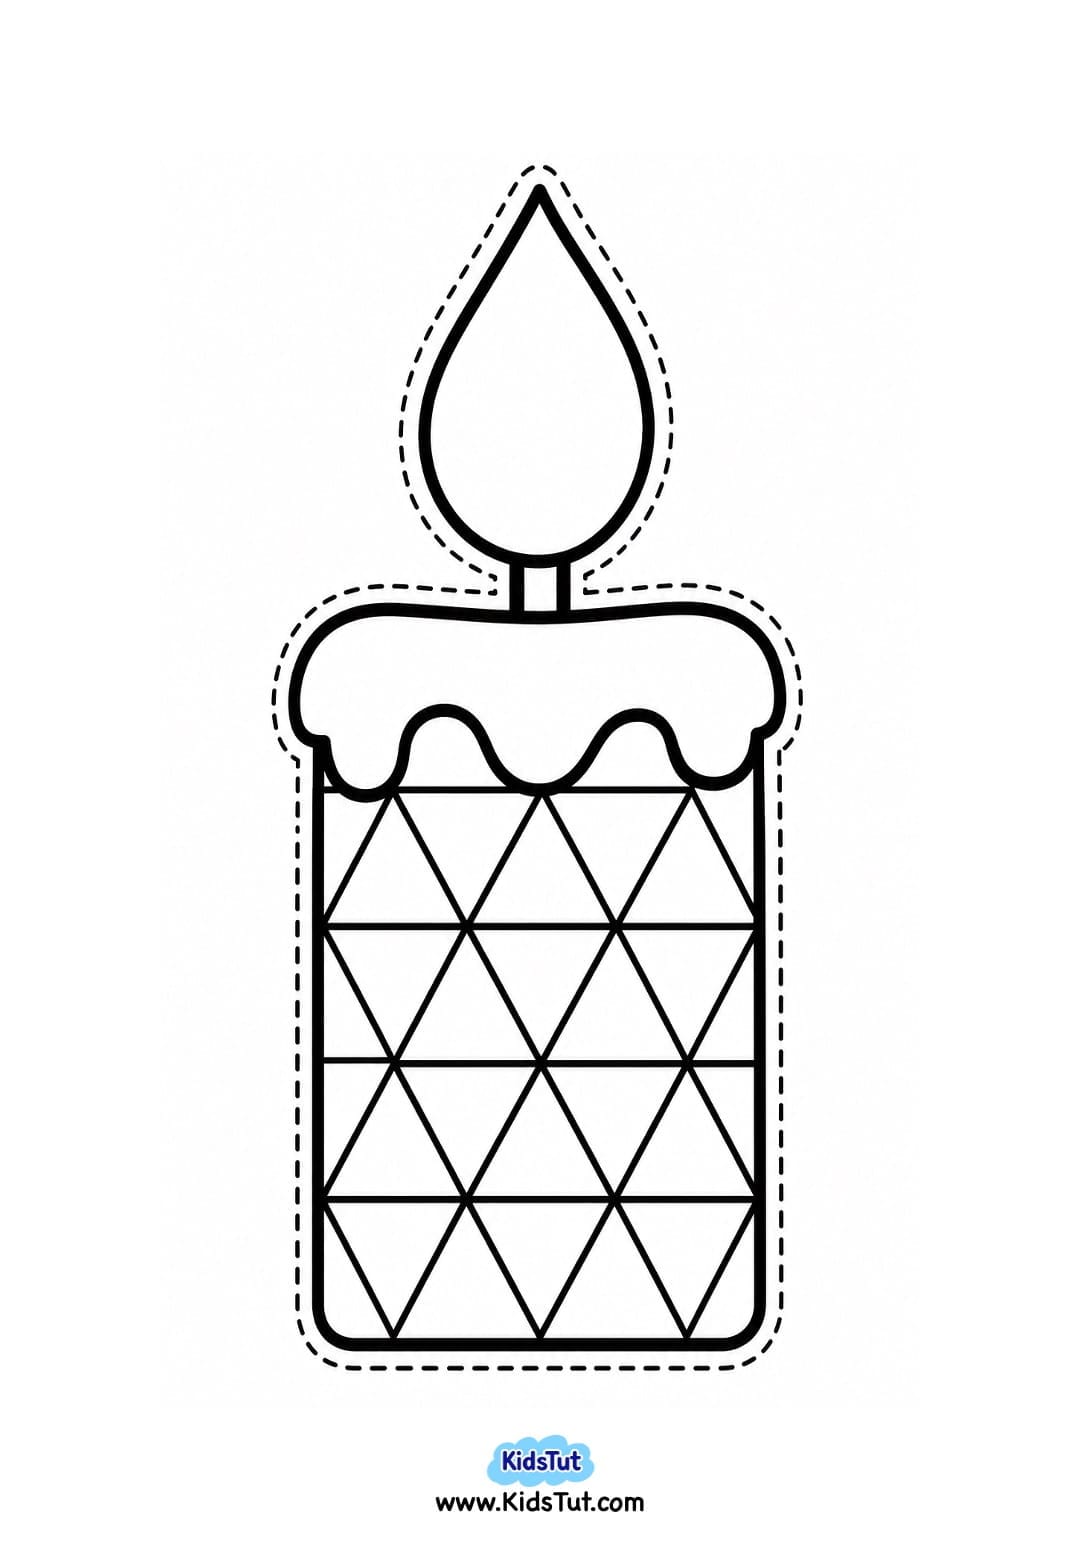
9. Christmas Mitten
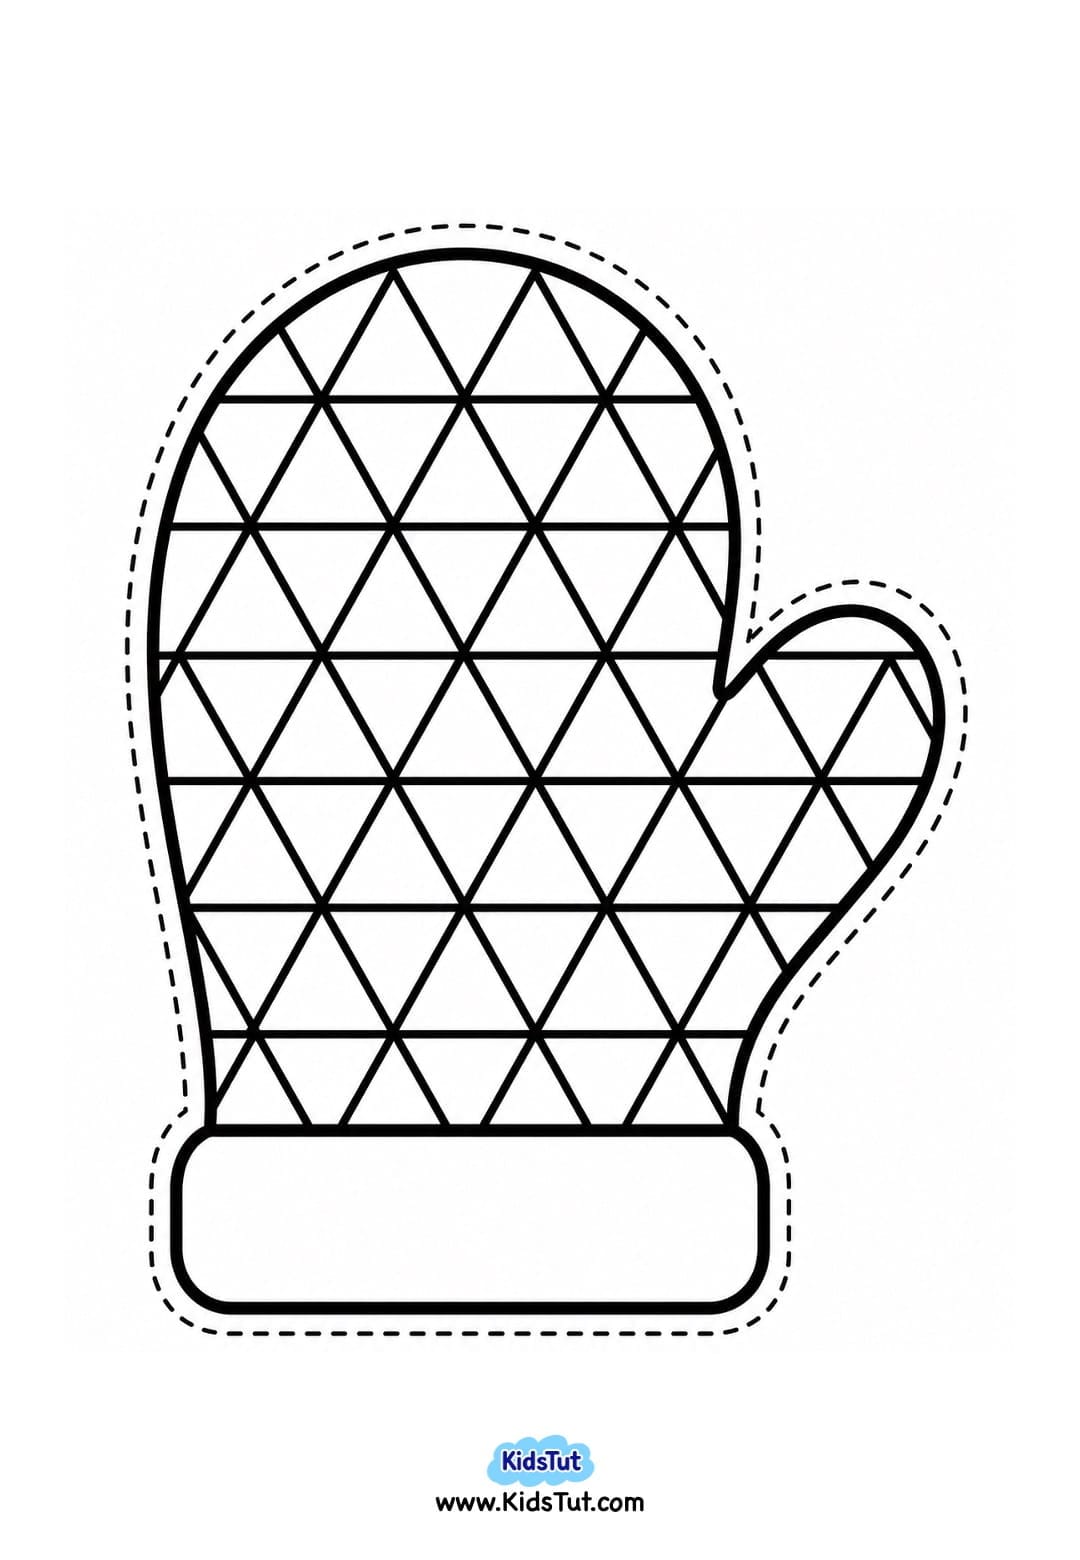
10. Christmas Gingerbread Man
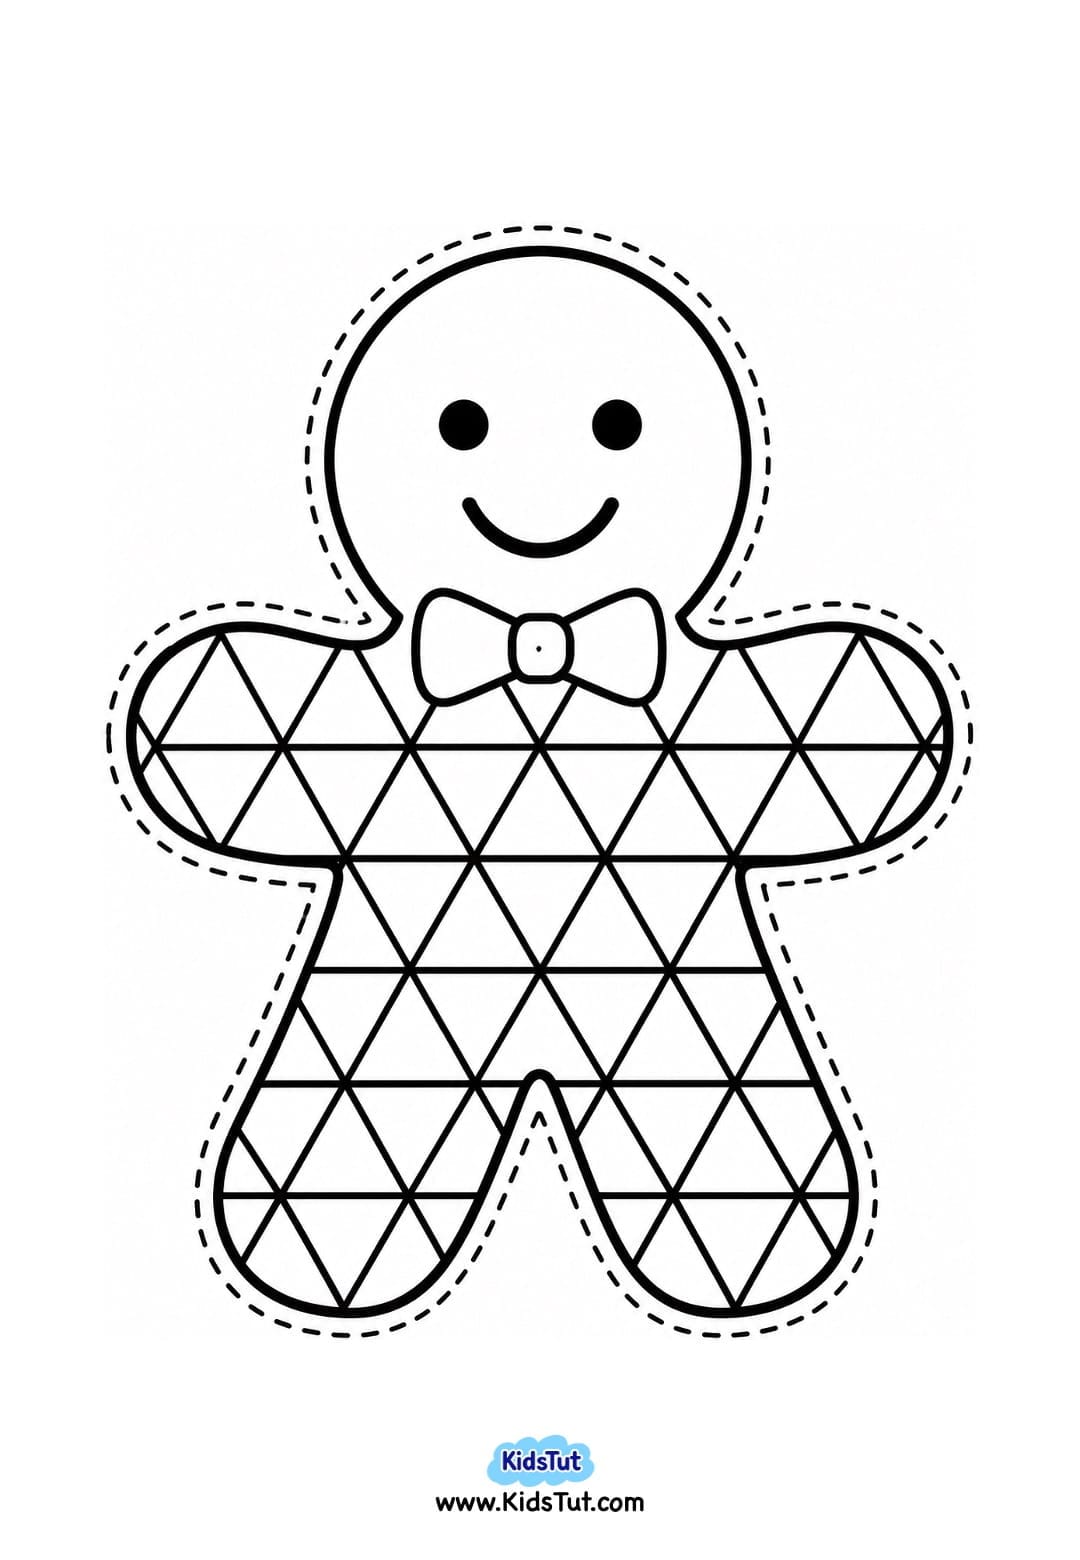
Benefits of Christmas Geometric Coloring Crafts for Kids
These easy Christmas coloring crafts are not only fun but also help children develop important early learning skills.
- Encourages creativity – Children can choose their favorite colors and create unique Christmas designs.
- Teaches geometric shapes – Kids can explore triangles, squares, and other shapes while coloring.
- Improves color recognition – Using different crayons and markers helps children recognize and match colors.
- Develops fine motor skills – Coloring small shapes, cutting, and gluing help strengthen little hands and fingers.
- Builds hand-eye coordination – Children practice carefully coloring inside the outlines and placing their cutouts.
- Improves focus and concentration – Coloring small geometric patterns encourages children to pay attention to details.
- Introduces patterns – Kids can create repeating color patterns while filling the geometric shapes.
- Develops cutting skills – Cutting around the Christmas pictures helps children practice using scissors.
- Encourages dot painting – Making white snow dots with cotton swabs helps children practice controlled hand movements.
- Builds confidence – Children feel proud when they finish and display their colorful Christmas artwork.
Fun Ways to Display Your Christmas Geometric Crafts
Once the crafts are completely dry, you can display them in different ways.
- Classroom Wall Display: Arrange the finished Christmas pictures together to create a colorful holiday wall.
- Christmas Bulletin Board: Use the crafts to decorate a classroom Christmas bulletin board.
- Holiday Art Gallery: Display different geometric Christmas pictures and let children enjoy each other's artwork.
- Christmas Cards: Print the templates in a smaller size and use the finished pictures to decorate handmade Christmas cards.
- Home Decorations: Hang the colorful Christmas artwork on a wall or display it near your Christmas tree.

Click here to get the FREE PDF template: Download (Printable)