Easy Halloween Treat Bag Paper Craft for Kids to Make
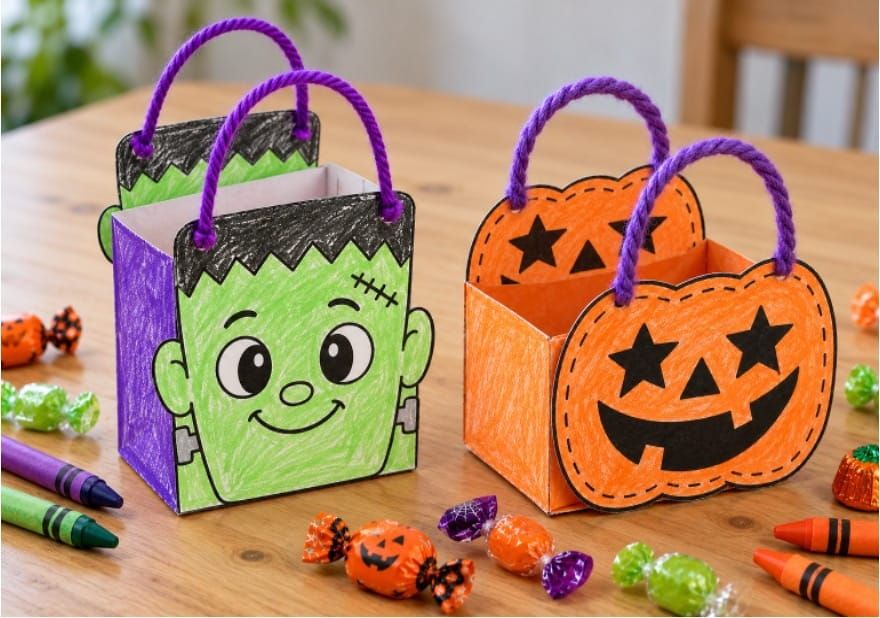
Get ready for Halloween with this Easy Halloween Treat Bag Paper Craft for Kids to Make. These cute printable treat bags are a fun way for children to make their own little bags for Halloween candy and small treats.
Kids can choose from fun Halloween designs such as a Frankenstein treat bag, jack-o'-lantern pumpkin bag, and other spooky characters. They can color the printable templates themselves or print them directly on colored paper for an easier option.
This Halloween treat bag craft for kids is perfect for preschool, kindergarten, elementary school, homeschool, classroom Halloween parties, or crafting at home. Once finished, fill the little bags with wrapped candy or small Halloween treats.
What You Need
- Printable Halloween treat bag templates
- White A4 paper or cardstock
- Colored paper (optional)
- Crayons
- Markers
- Colored pencils
- Child-safe scissors
- Glue or double-sided tape
- Hole punch
- Yarn, ribbon, or string
- Small wrapped Halloween treats (optional)
For a stronger treat bag, use thicker paper or light cardstock instead of regular printer paper.
How to Make a Halloween Treat Bag Paper Craft
Step 01: Print the Templates
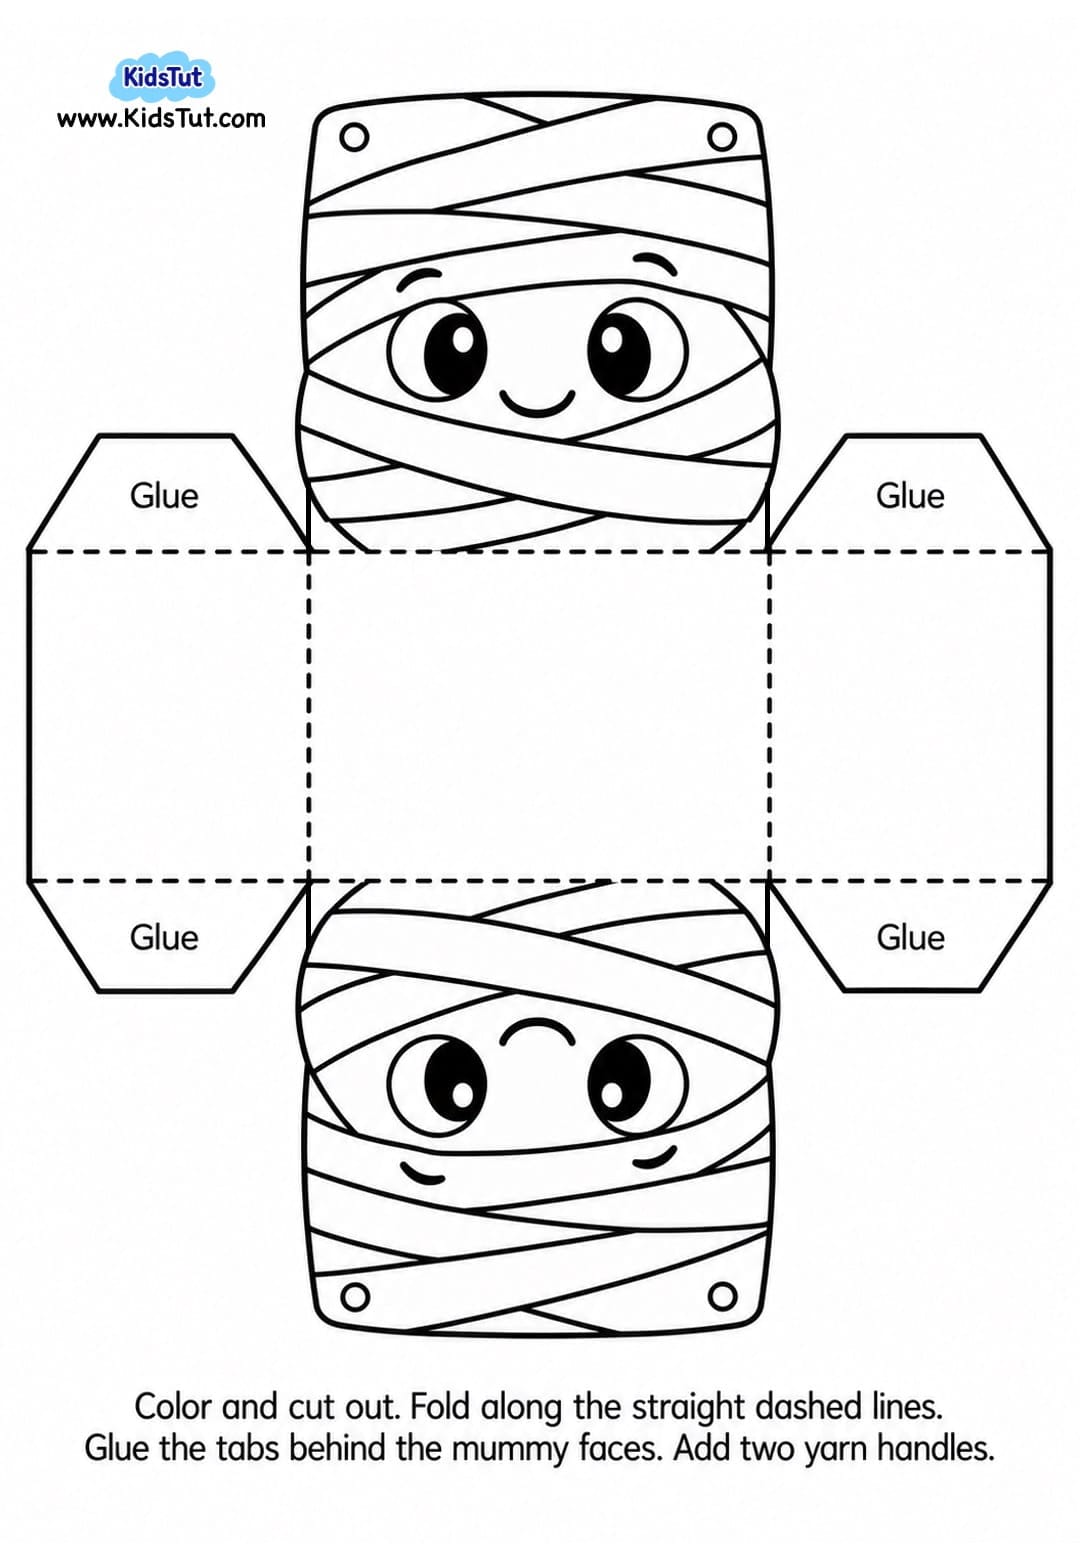
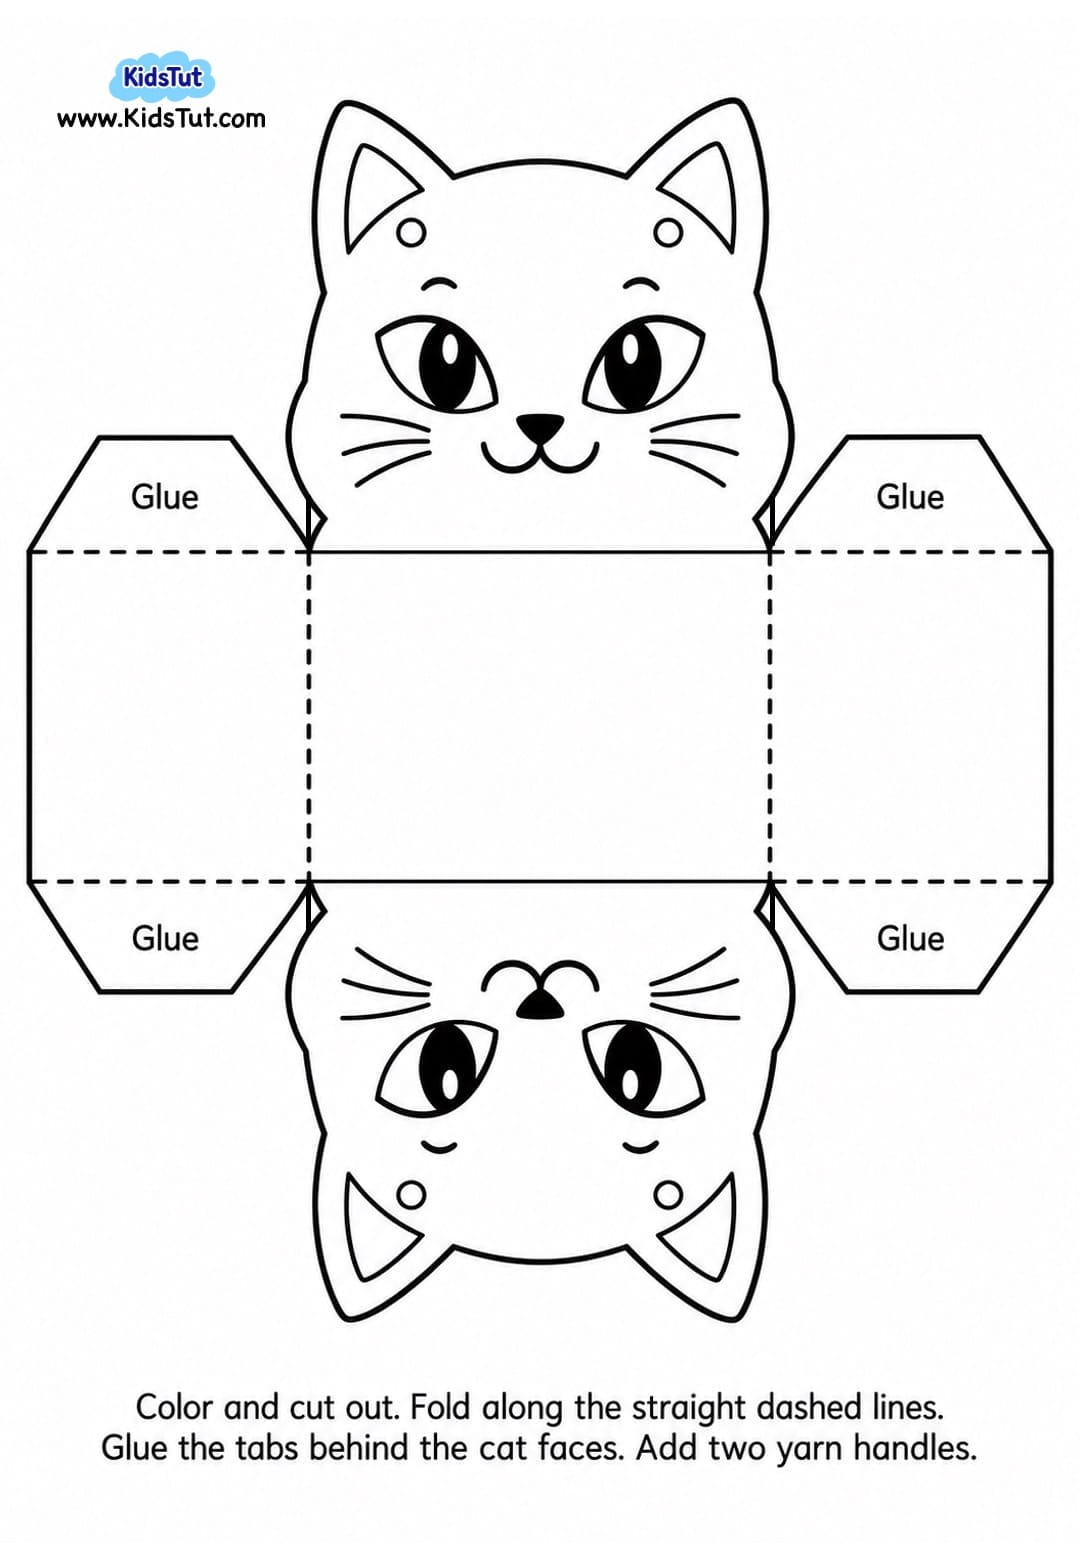
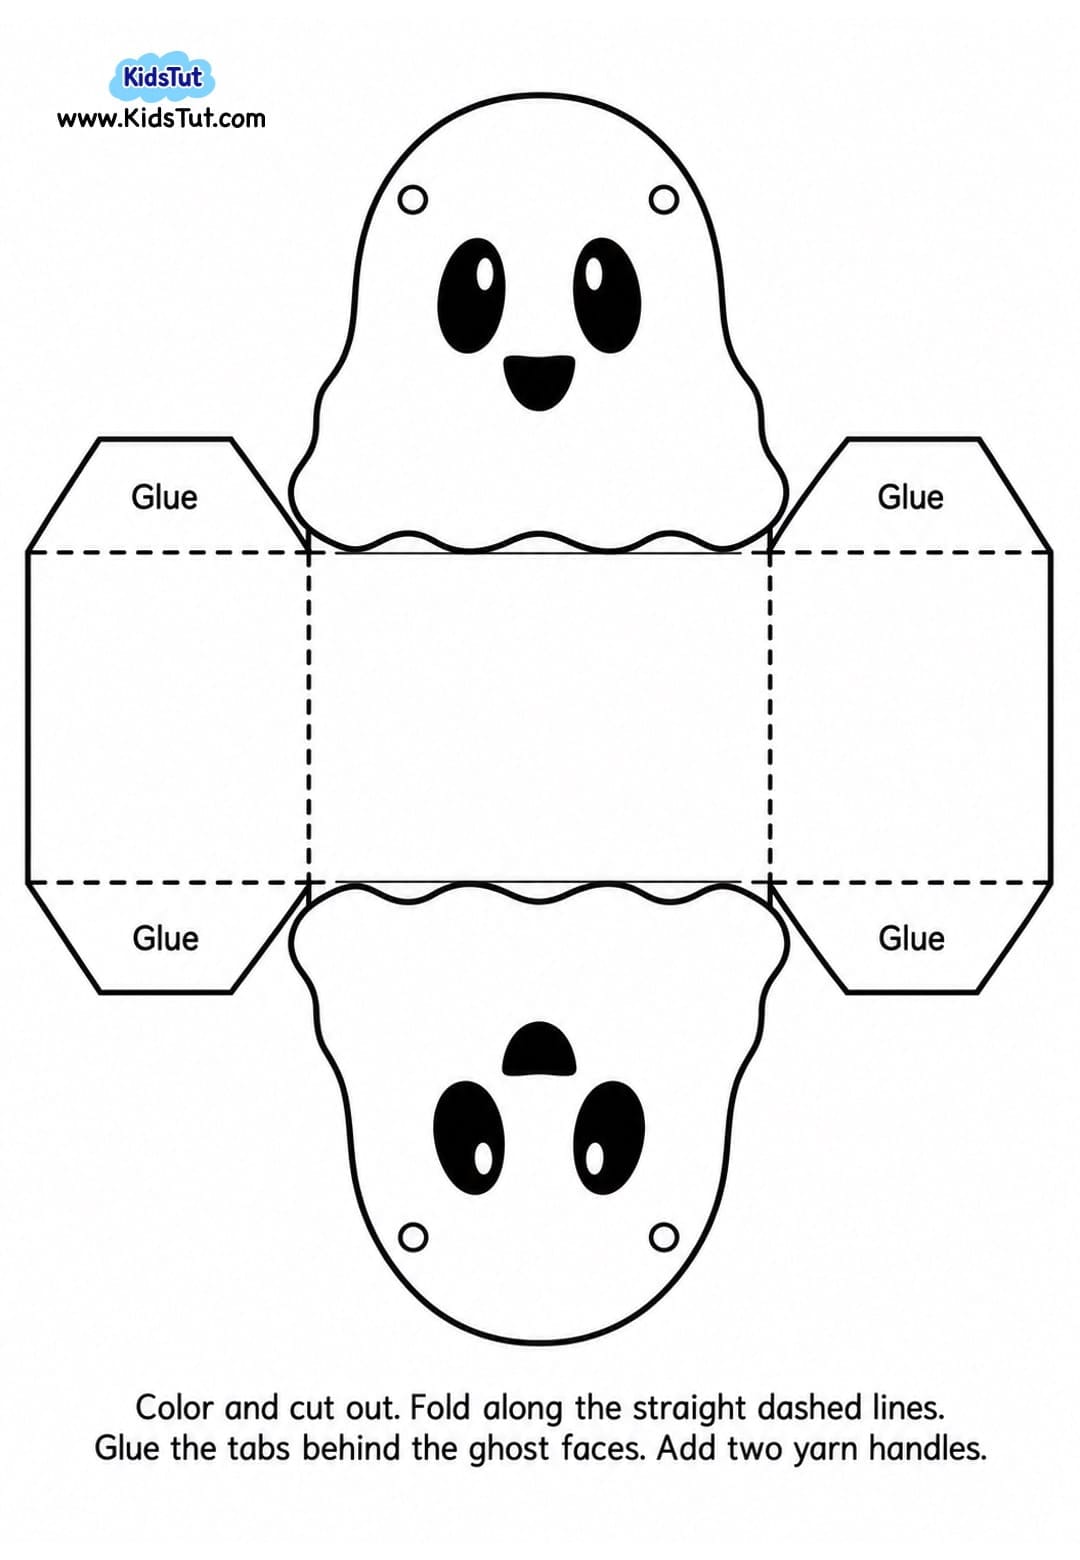
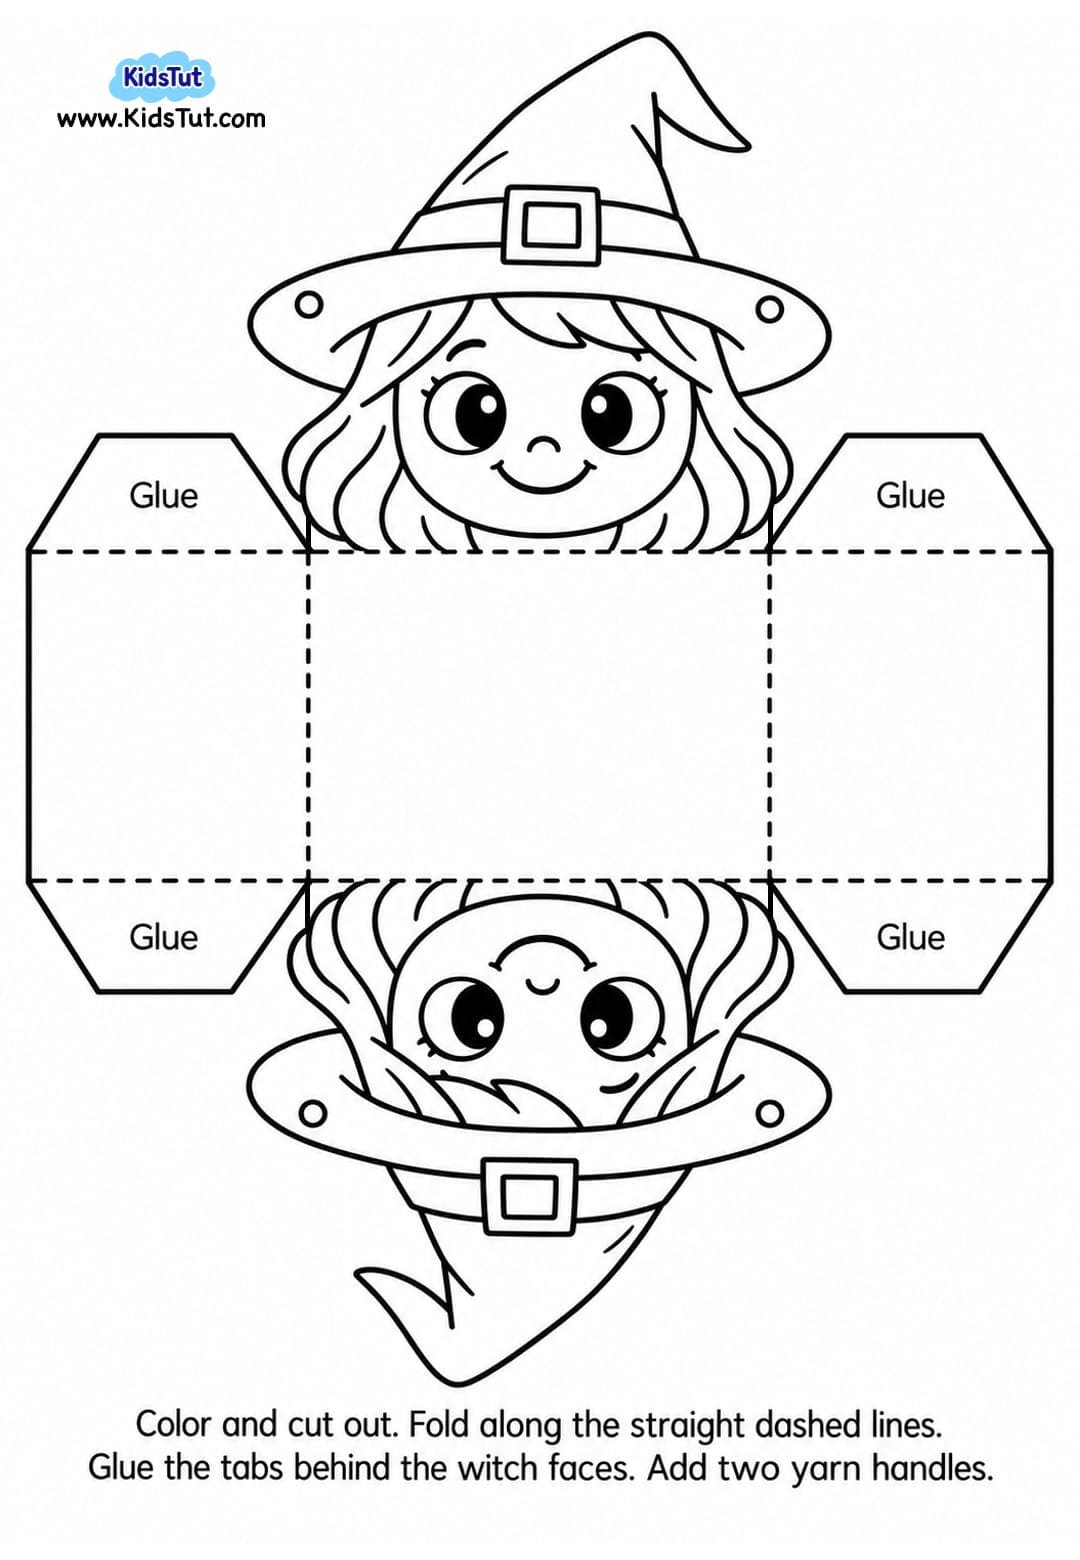
- Choose the Halloween treat bag template you want to make and print it on a white sheet of paper.
- You can make one design or print several different Halloween characters to create a collection of treat bags.
Step 02: Color the Templates
- Color the printed template using crayons, markers, or colored pencils.
- Use traditional Halloween colors such as orange, green, purple, and black, or let children choose their own colors.
- For an easier option, you can also print the templates directly onto colored paper and add only the extra details you need.
Step 03: Cut Out the Template
- Once the coloring is finished, carefully cut around the outside outline of the template.
- Make sure you keep all the folding and gluing sections attached.
Step 04: Fold and Make the Treat Bag
- Use the provided finished craft image as a guide.
- Carefully fold along the template lines to create the sides and bottom of the bag. Press along each fold to make a neat crease.
- Next, apply glue to the marked tabs or joining areas and bring the pieces together to form the treat bag.
- Gently press the glued sections and let them dry completely before adding the handles.
Step 05: Add the Handles
- Once the bag is dry, use a hole punch to make holes near the top.
- Cut a piece of yarn, ribbon, or string and thread it through the holes. Tie the ends securely to create the handle.
- Repeat on the other side if your design uses two separate handles.
- Your Halloween paper treat bag is now ready!
Fill Your Halloween Treat Bags
- Once the bags are completely dry, you can add small wrapped candies or lightweight Halloween treats.
- Kids can also use the bags to hold stickers, small toys, erasers, or other little Halloween surprises.
- Make different characters and place them together for a colorful Halloween party or classroom display.
Benefits of This Halloween Treat Bag Craft
- Develops cutting skills – Children practice following the outside outline of the printable template.
- Strengthens fine motor skills – Coloring, cutting, folding, gluing, and threading help exercise little hands and fingers.
- Practices folding skills – Kids learn how flat paper can be folded into a simple 3D bag.
- Improves hand-eye coordination – Children carefully line up, fold, and glue the different sections.
- Encourages creativity – Kids can choose their own colors and decorate each Halloween character differently.
- Practices threading skills – Adding yarn or ribbon handles gives children another simple hands-on activity.
- Helps children follow steps – Making the bag encourages kids to complete a project in the correct order.
- Makes Halloween more fun – Children get to create something they can actually use for treats and small surprises.
Halloween treat bag template:
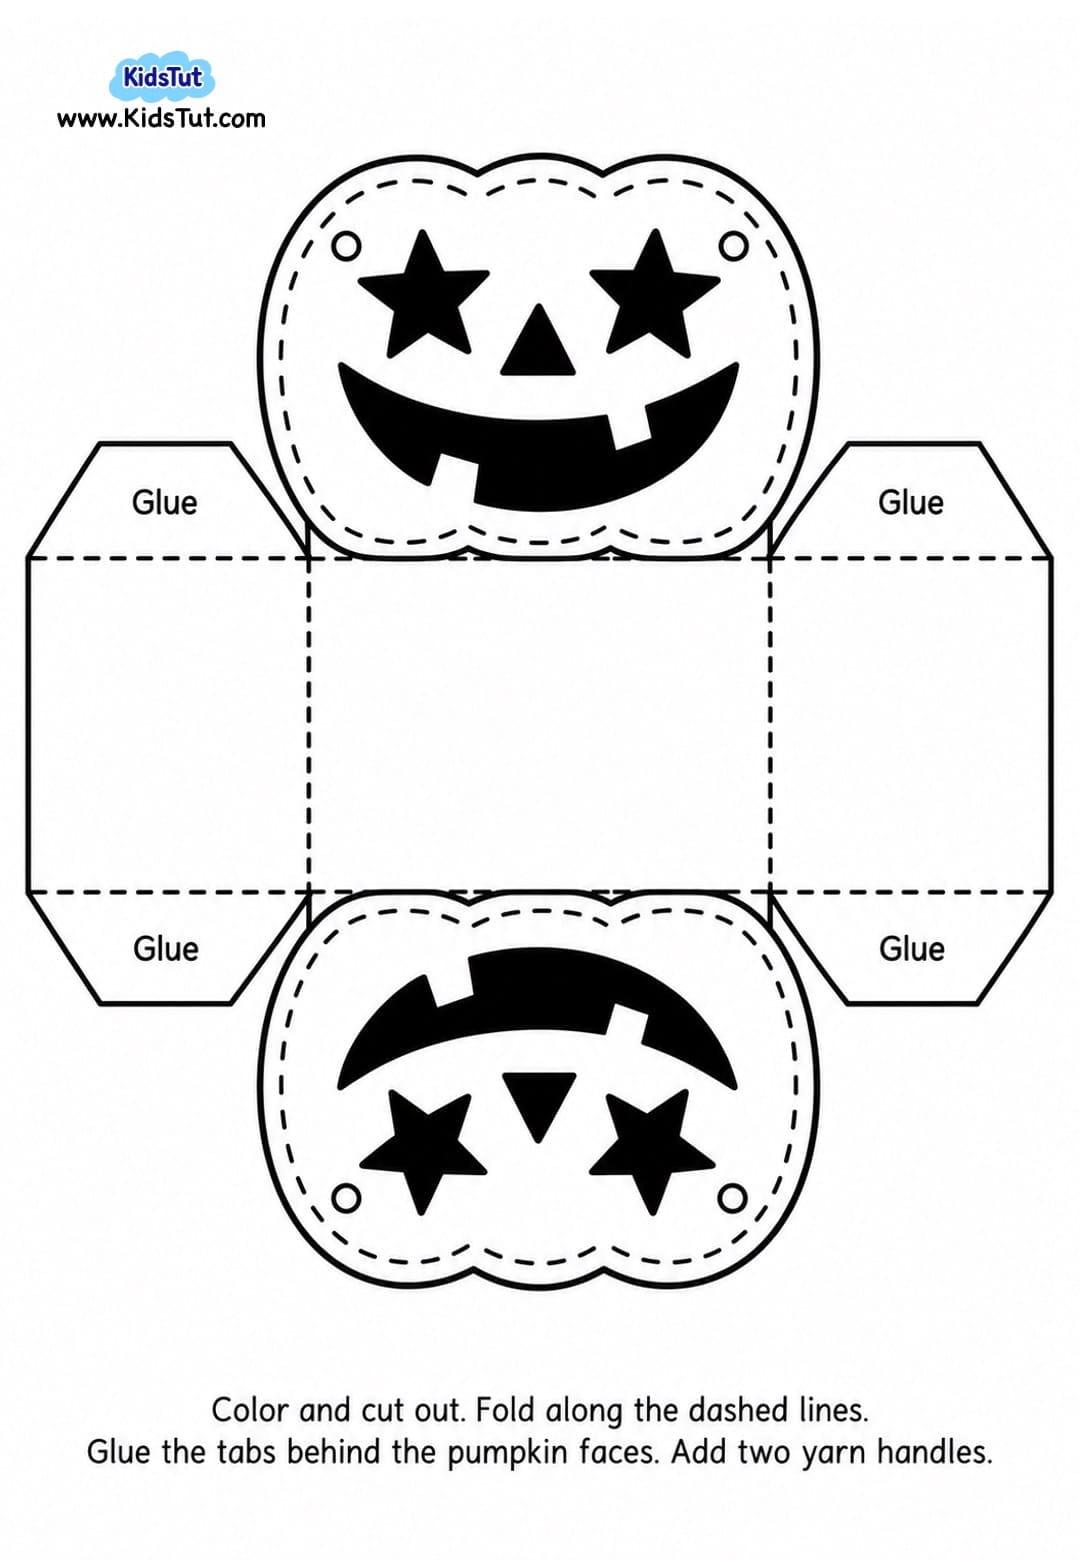
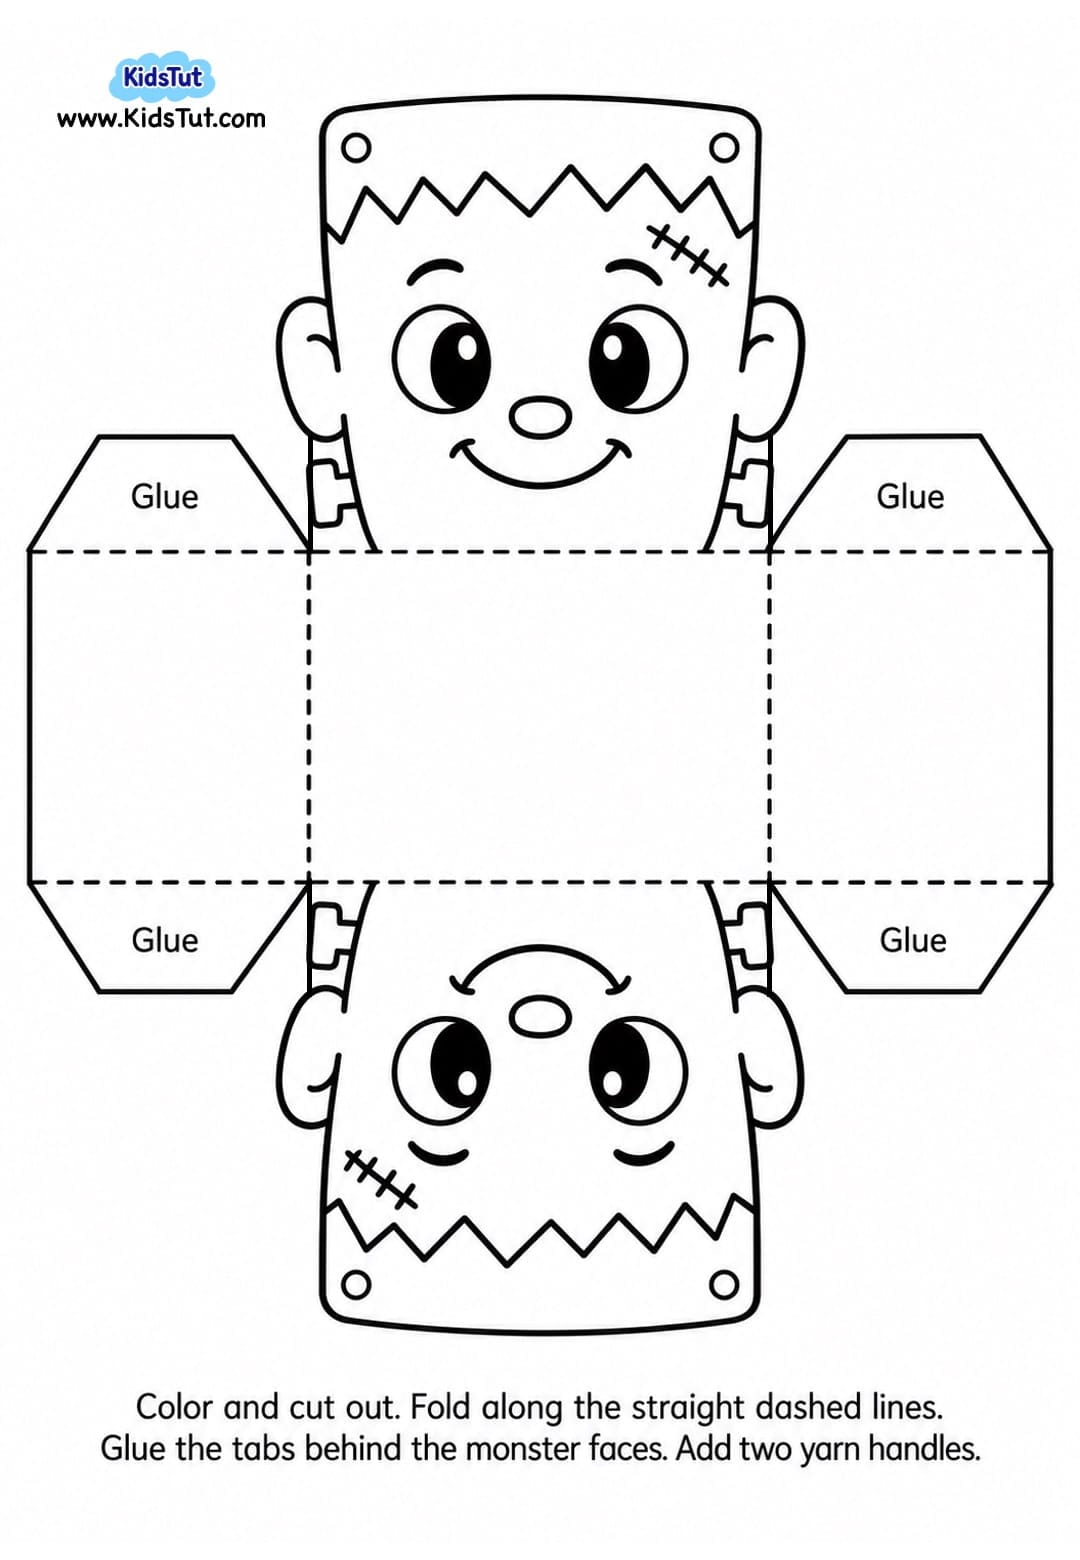
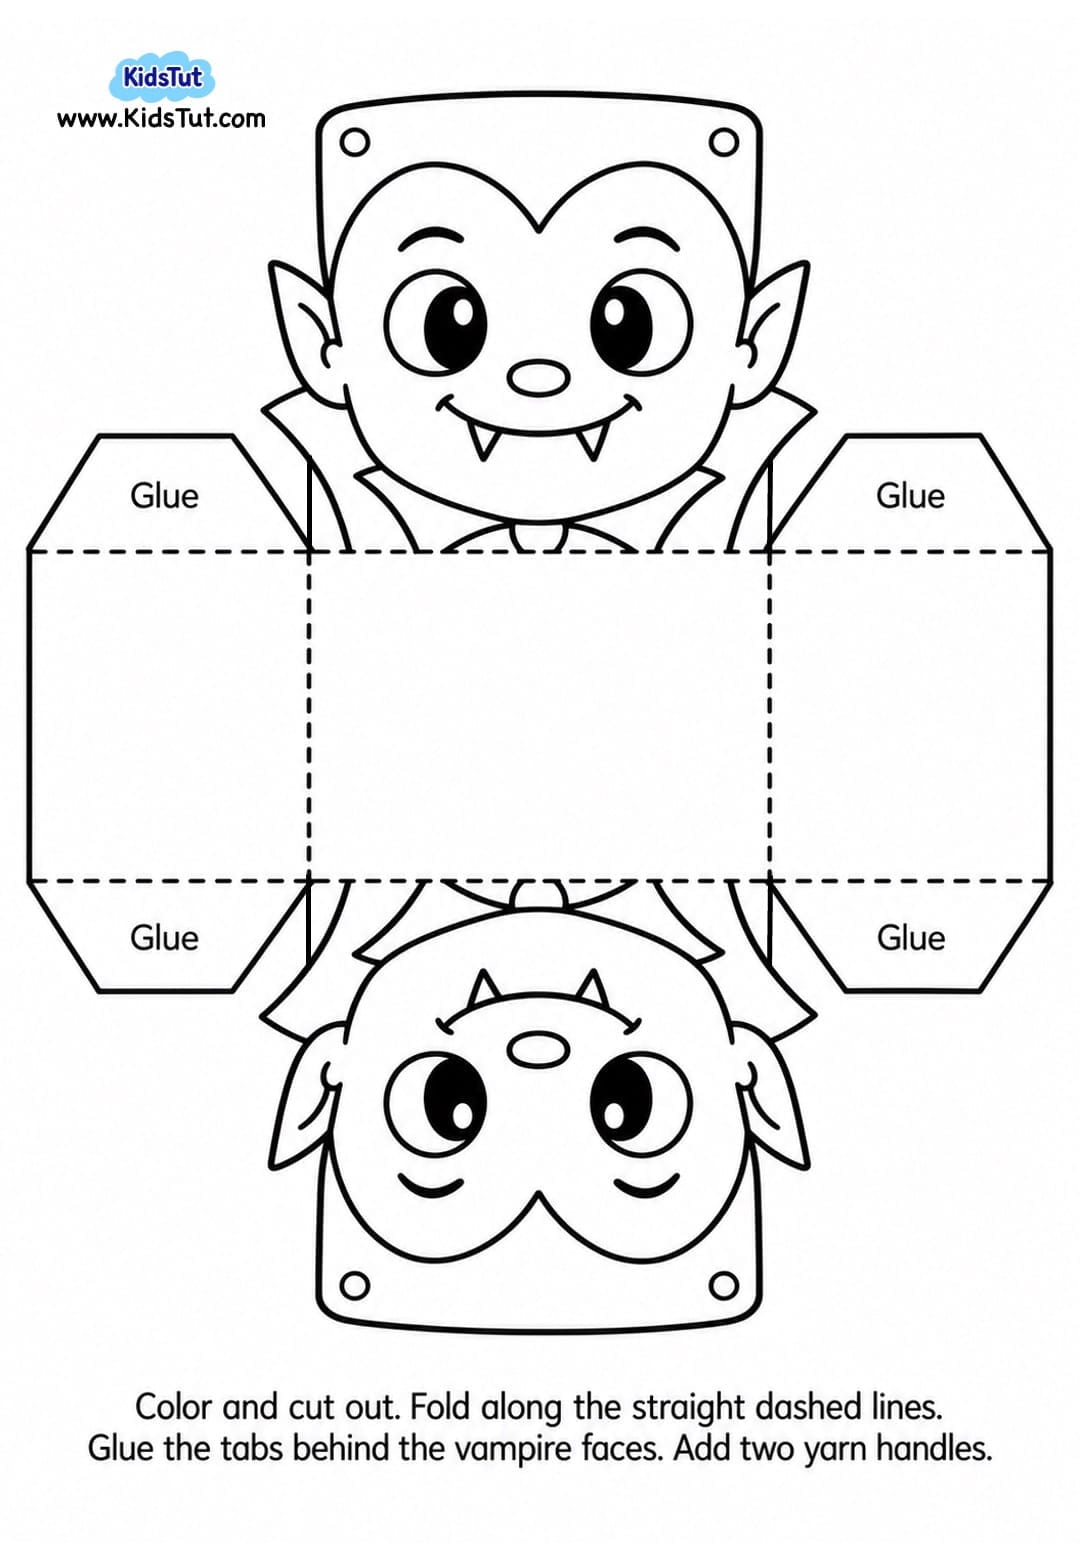
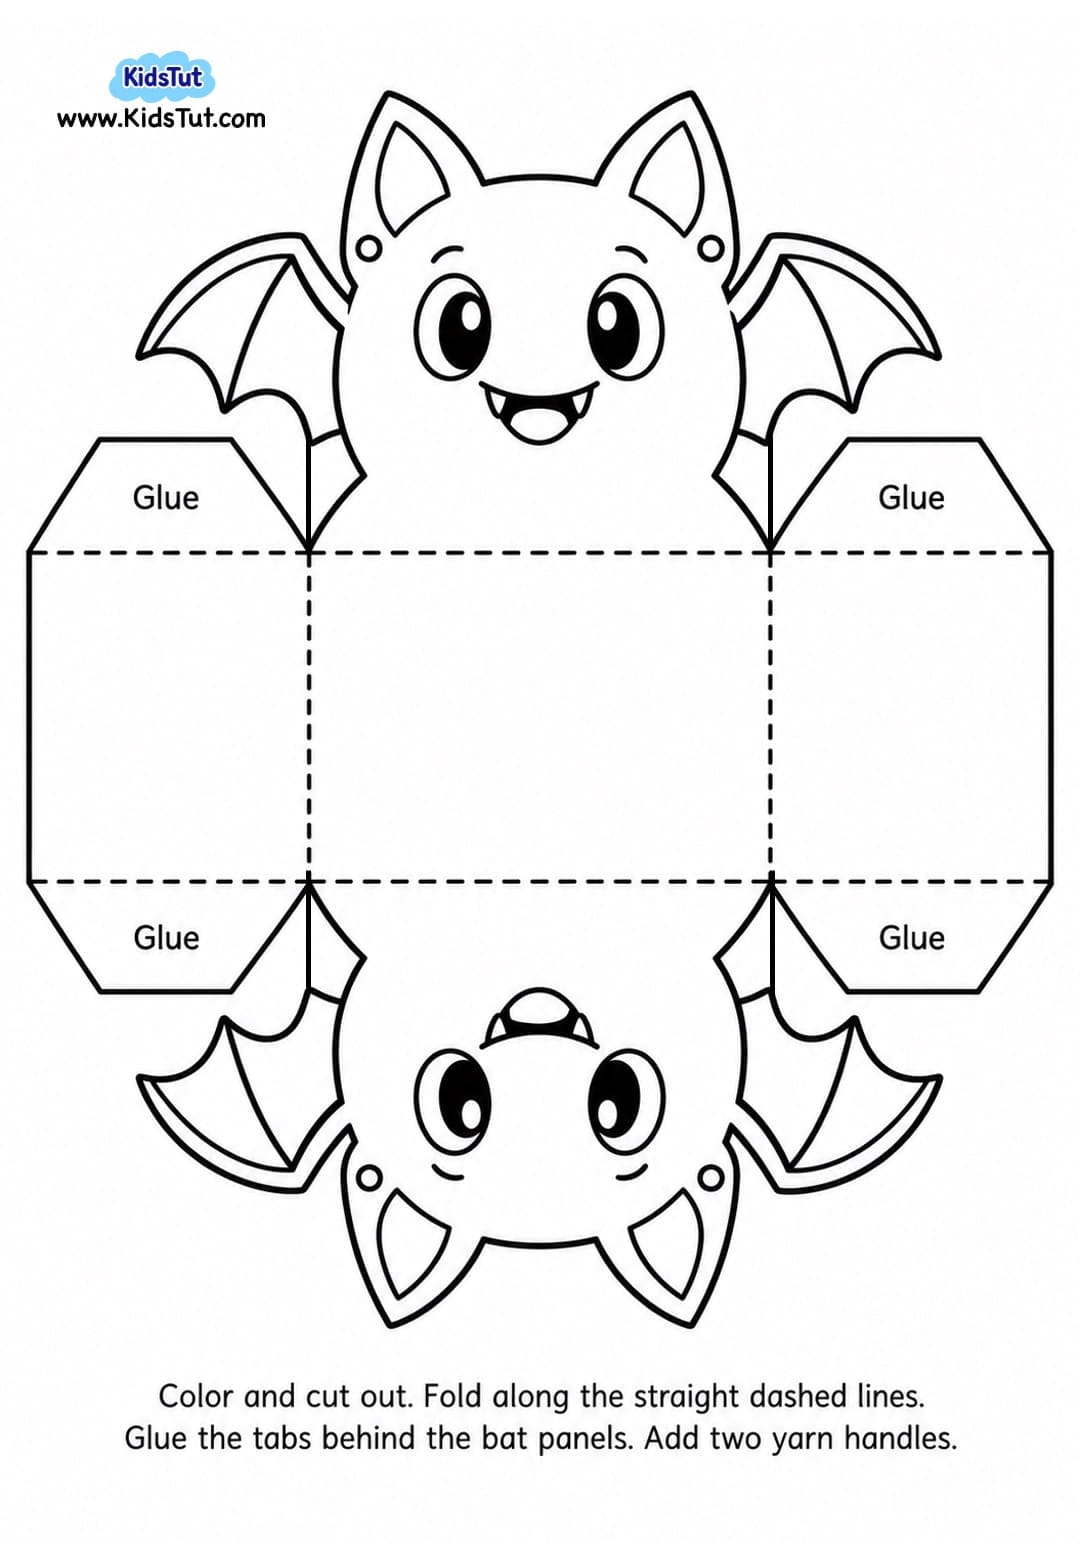

Click here to get the FREE PDF template: Download (Printable)