Easy Halloween Torn Paper Crafts for Kids to Make
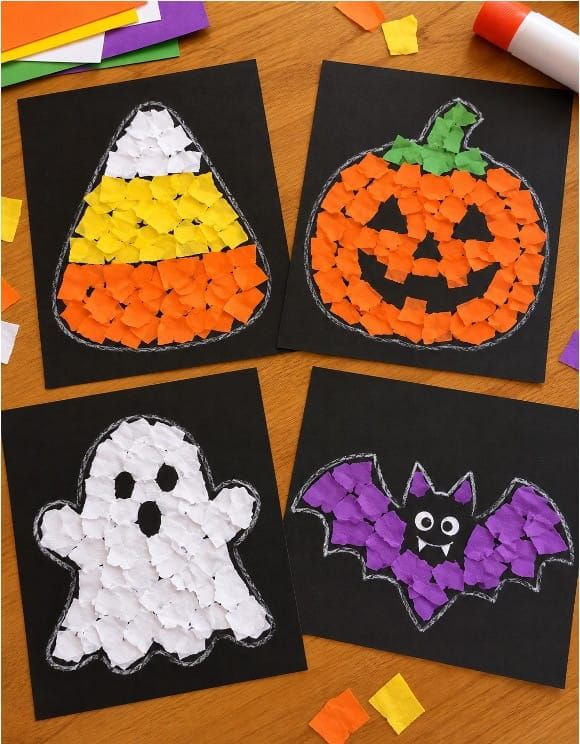
Get ready for a fun and colorful Halloween activity with these Easy Halloween Torn Paper Crafts for Kids to Make. Instead of coloring with crayons or paint, children tear colored paper into small pieces and use them to fill simple Halloween shapes.
Kids can make a ghost, jack-o'-lantern, bat, candy corn, and other Halloween pictures. Using black paper as the background makes the bright paper pieces stand out and gives each craft a bold Halloween look.
This Halloween torn paper craft for kids is perfect for preschool, Pre-K, kindergarten, elementary classrooms, homeschool, or a Halloween art activity at home. Tearing paper is also an easy activity for little hands and gives every finished picture a fun textured look.
What You Need
- Printable Halloween templates
- Black construction paper or cardstock
- Colored craft or construction paper
- White crayon or chalk
- Scissors
- Glue
How to Make Halloween Torn Paper Crafts
1. Print the Halloween Templates
- Choose your favorite design from the provided Halloween craft templates and print it on paper.
- You can choose a ghost, pumpkin, bat, candy corn, or another Halloween picture.
- Carefully cut around the outside outline of the printed template.
2. Trace the Shape onto Black Paper
- Take a sheet of black construction paper and place your cutout template on top.
- Hold the template in place and trace around the outside edge using a white crayon or chalk. The white outline will be easy to see against the black background.
- Use a separate black sheet for each Halloween design.
- If you don't want to use the cutout template, you can also draw the Halloween shape directly onto the black paper.
3. Prepare the Colored Paper
- Choose the colors you need for your Halloween picture.
- Instead of using scissors, let children tear the colored paper into small pieces. The pieces do not need to be the same size or shape.
- Prepare enough torn paper pieces to fill the whole picture.
4. Add Glue Inside the Shape
- Take the black paper with your traced Halloween outline.
- Apply glue to a small area inside the shape. Working in small sections can make it easier for children to keep the paper pieces inside the outline.
5. Fill the Picture with Torn Paper
- Place the small torn paper pieces onto the glue.
- Continue adding pieces until the empty areas inside the Halloween shape are covered.
- For pictures with several colors, work on one section at a time. For example, use orange for the pumpkin, green for its stem, or orange, yellow, and white for candy corn.
- Leave important details such as the pumpkin's eyes and mouth uncovered if you want the black background to show through.
6. Let the Craft Dry
- When the picture is filled, gently press down any loose paper pieces.
- Keep it aside and let the glue dry completely.
- Once dry, your Halloween torn paper craft is ready to display on a classroom wall, bulletin board, door, or at home.
Halloween Torn Paper Craft Ideas
Candy Corn Torn Paper Craft
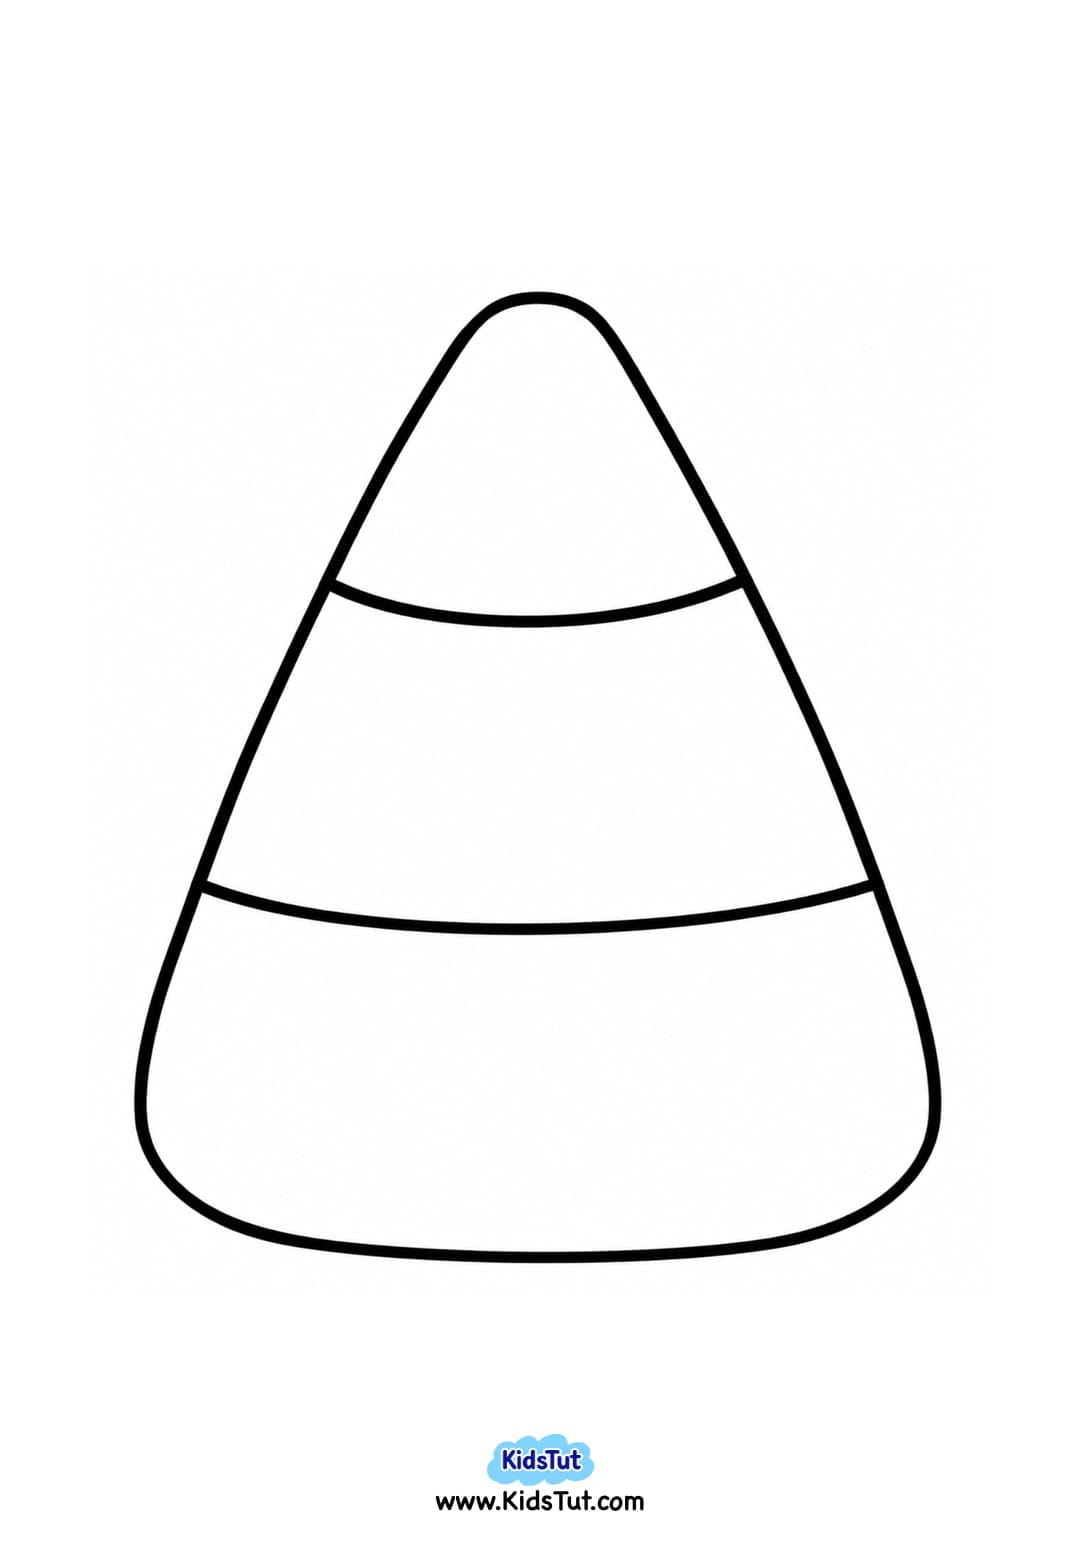
Trace a candy corn shape onto black paper. Fill the bottom section with orange torn paper, the middle with yellow, and the top with white.
Jack-o'-Lantern Torn Paper Craft
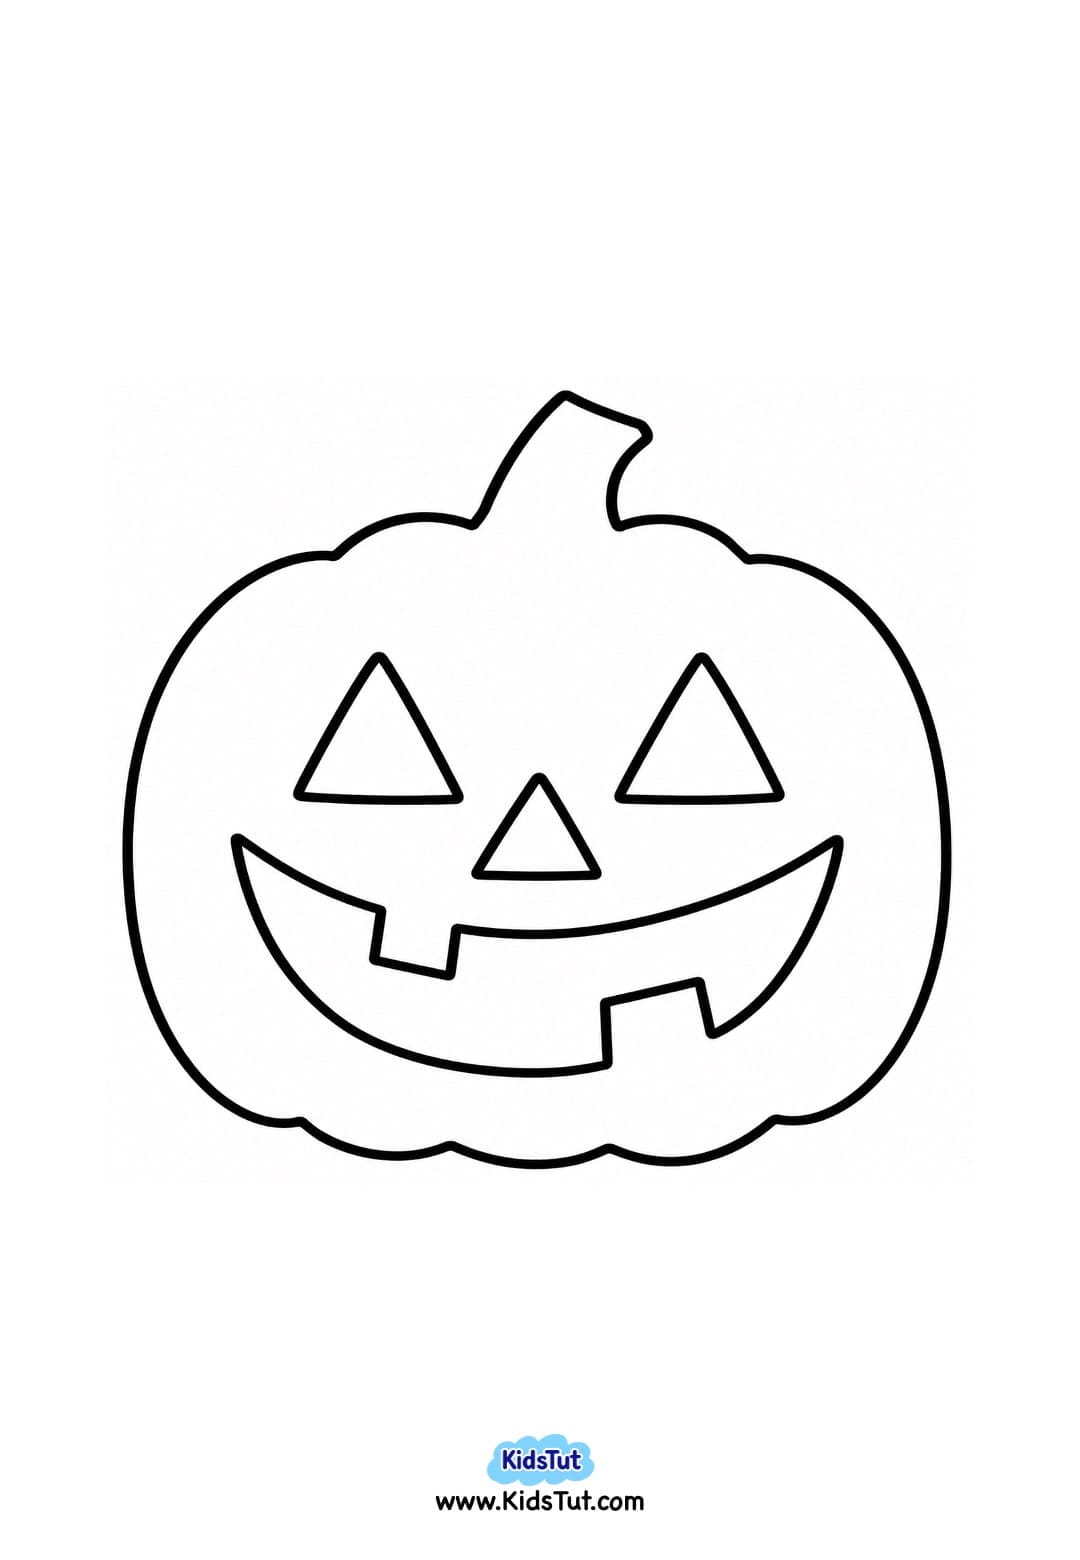
Use orange torn paper to fill the pumpkin and green pieces for the stem. Leave the eyes, nose, and mouth black to create the jack-o'-lantern face.
Ghost Torn Paper Craft
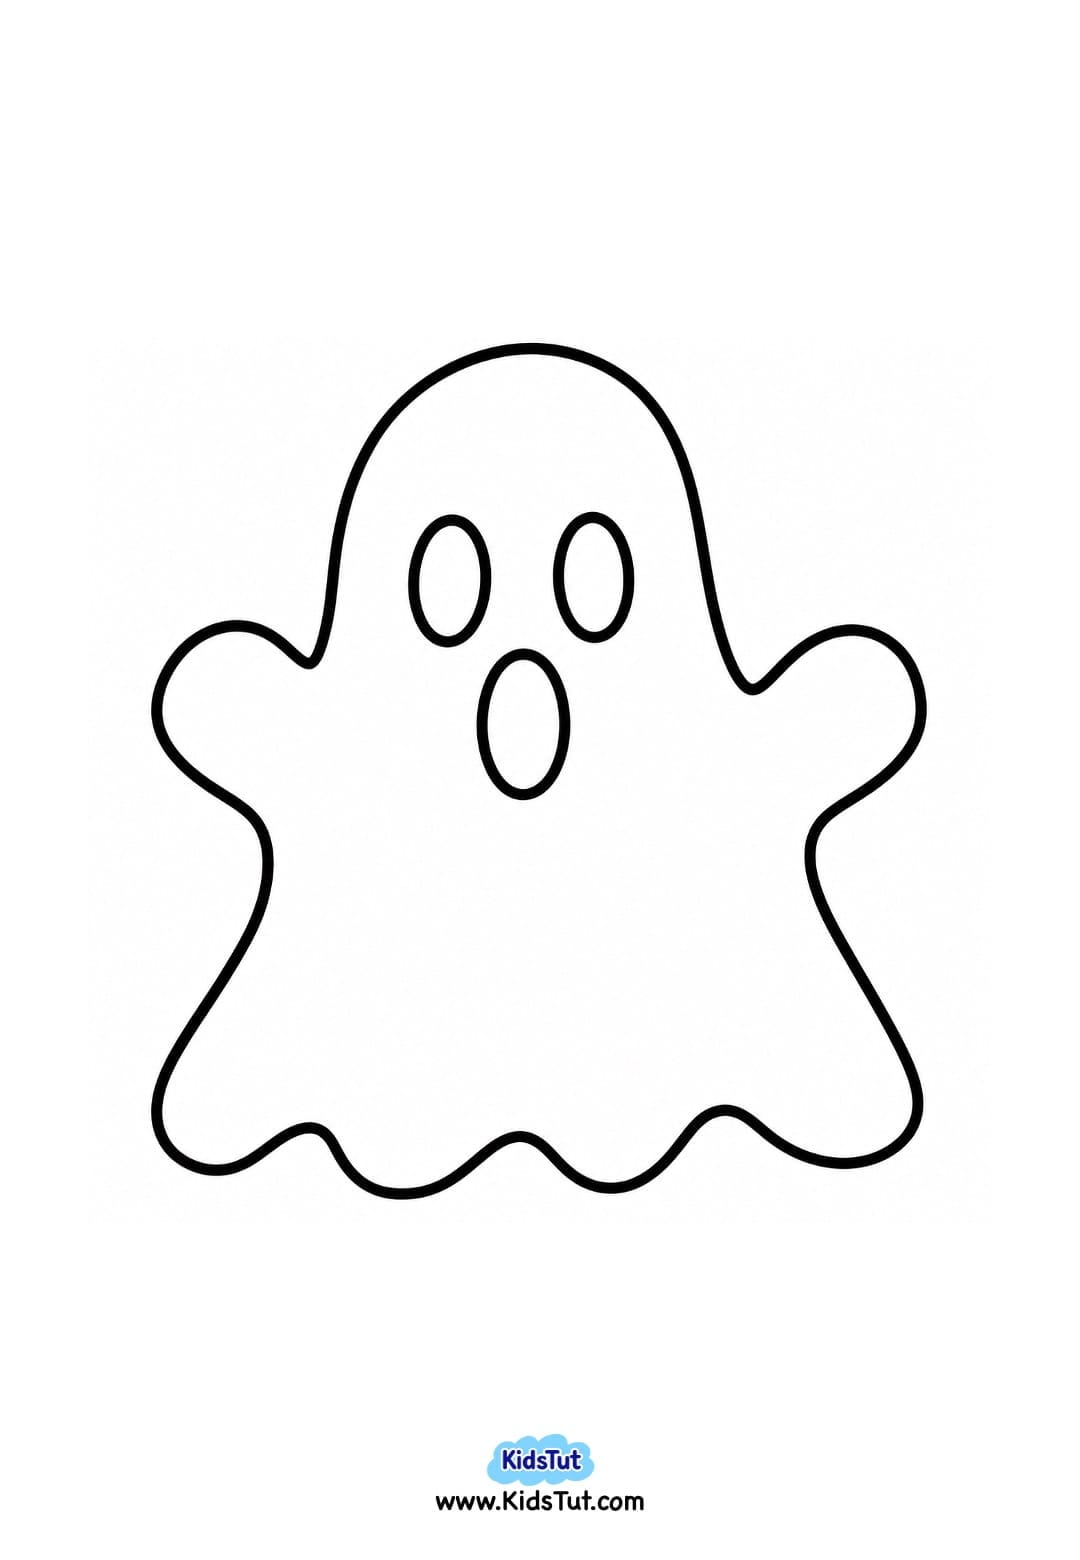
Fill the ghost shape with small pieces of white paper. Leave the eyes and mouth uncovered so the black background creates the face.
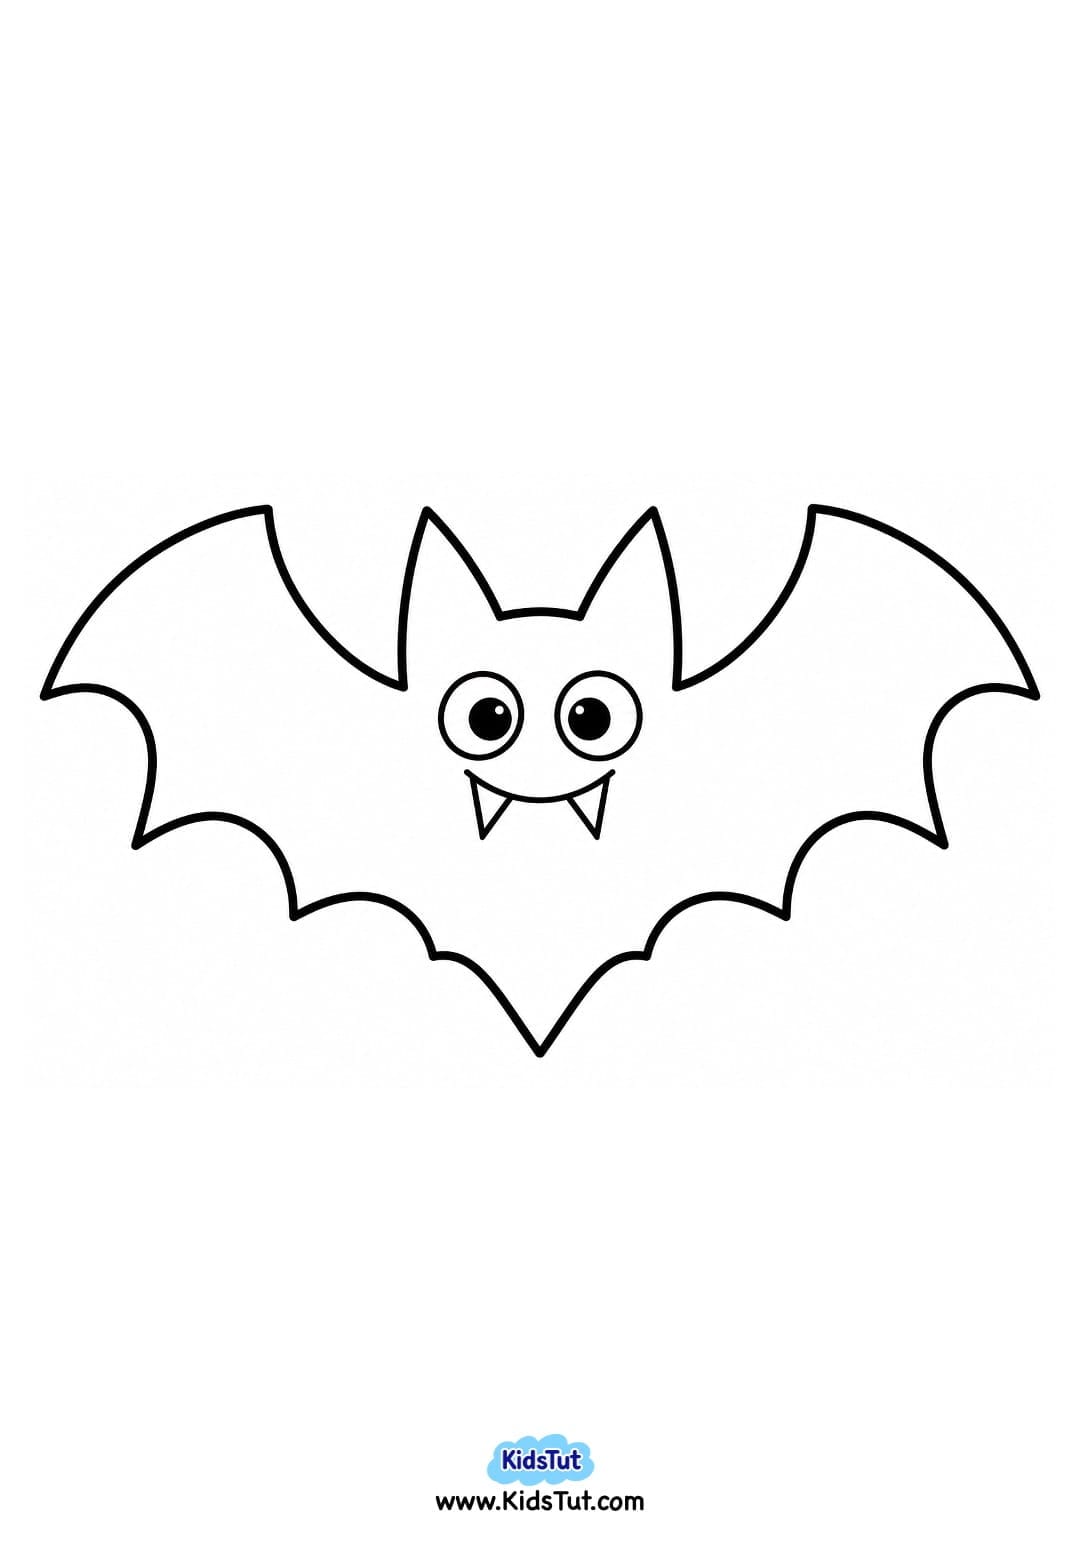
Bat Torn Paper Craft
Use purple, black, or another Halloween color to fill the bat. Leave the eyes and mouth visible, or add simple paper eyes after the craft is dry.
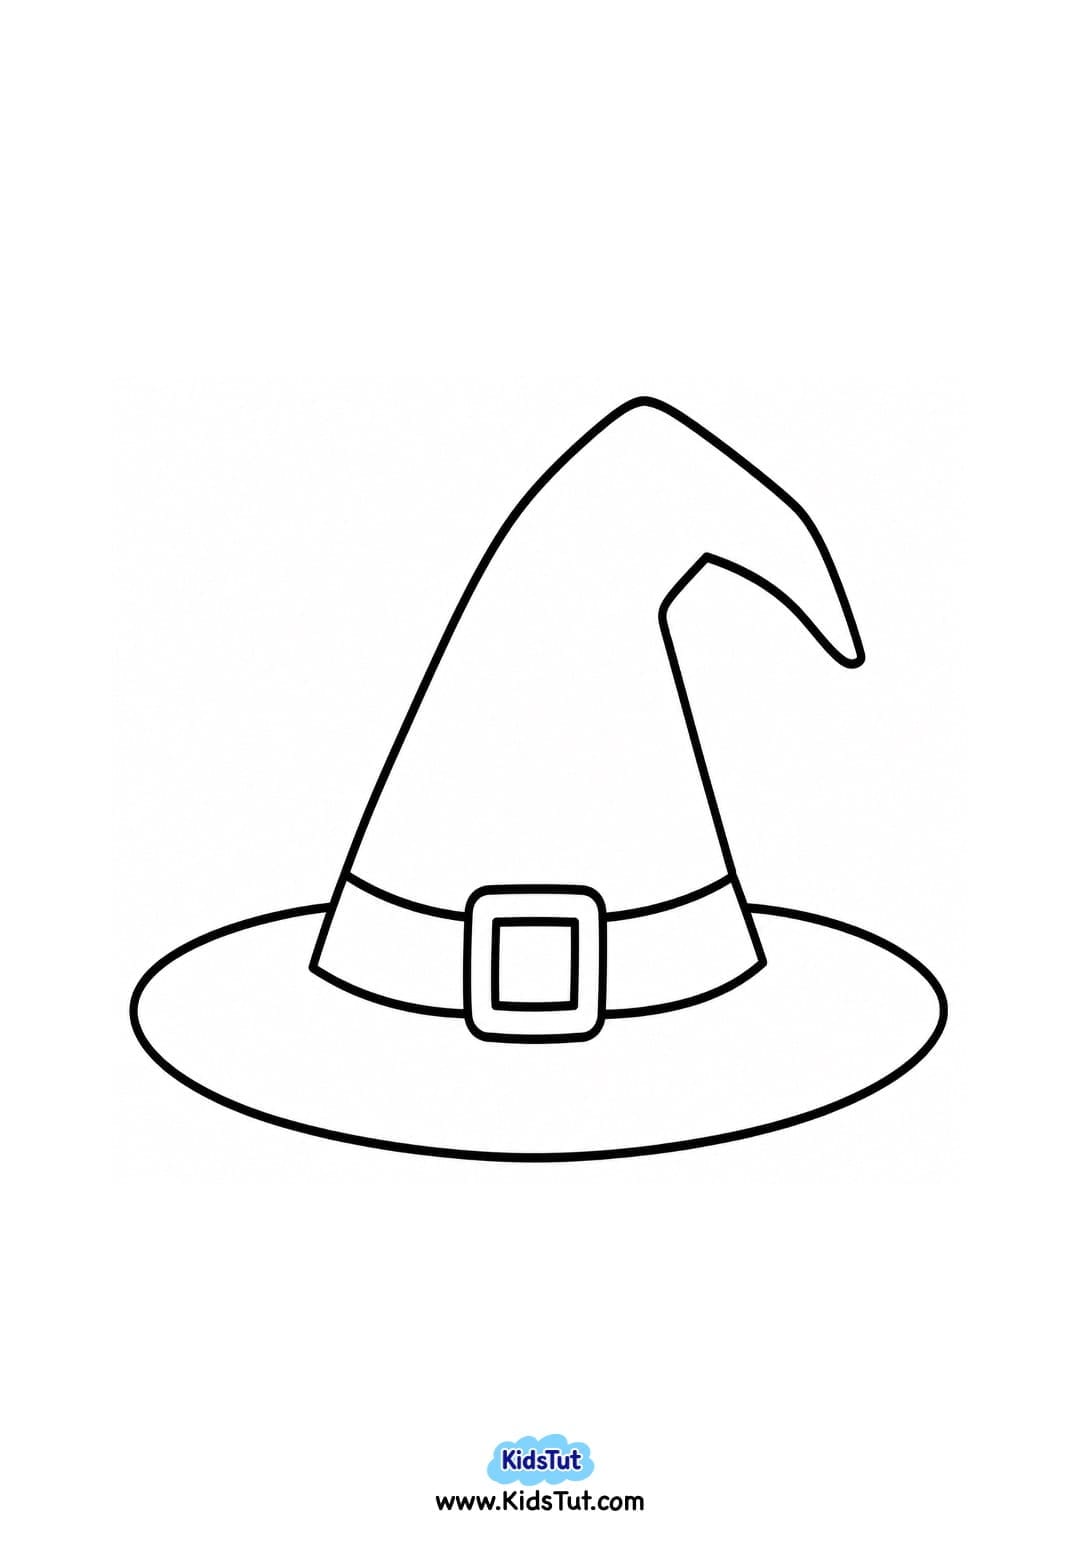
Witch Hat Torn Paper Craft
Trace a witch hat shape onto black paper. Fill the hat with brown or purple torn paper. Then, use orange torn paper for the hatband and brown or yellow paper for the buckle.
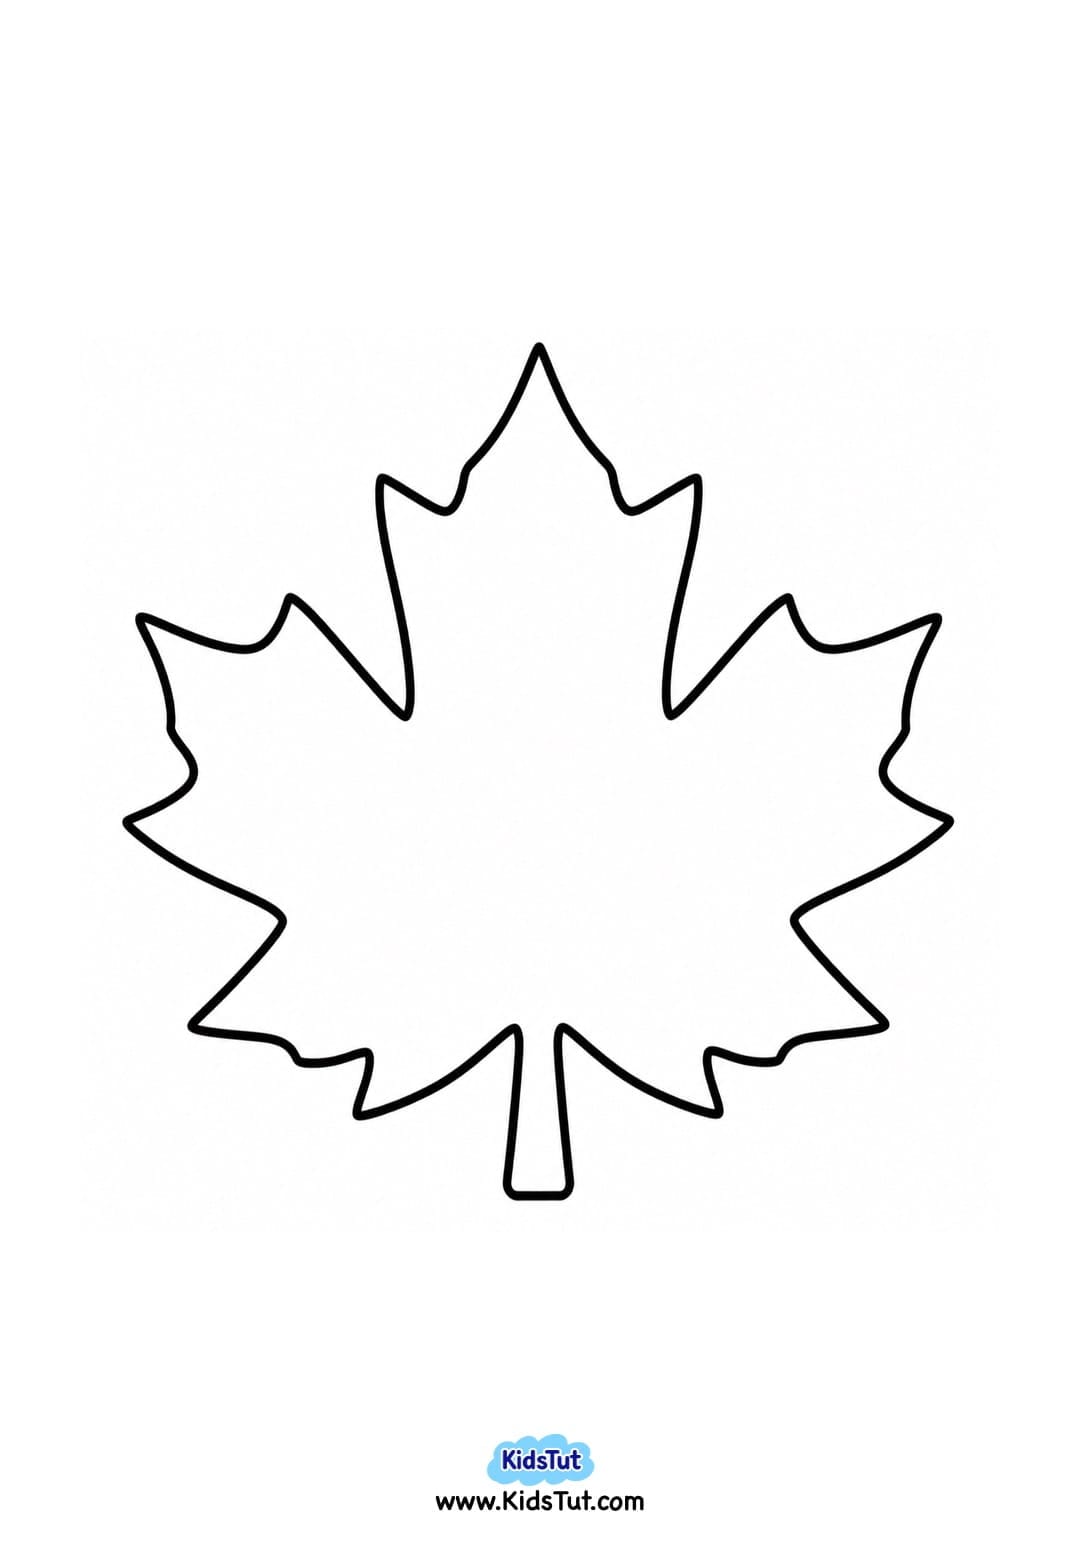
Fall Leaf Torn Paper Craft
Trace a fall leaf shape onto black paper. Fill the leaf with brown, red, orange, or yellow torn paper. Then, use brown torn paper for the stem.
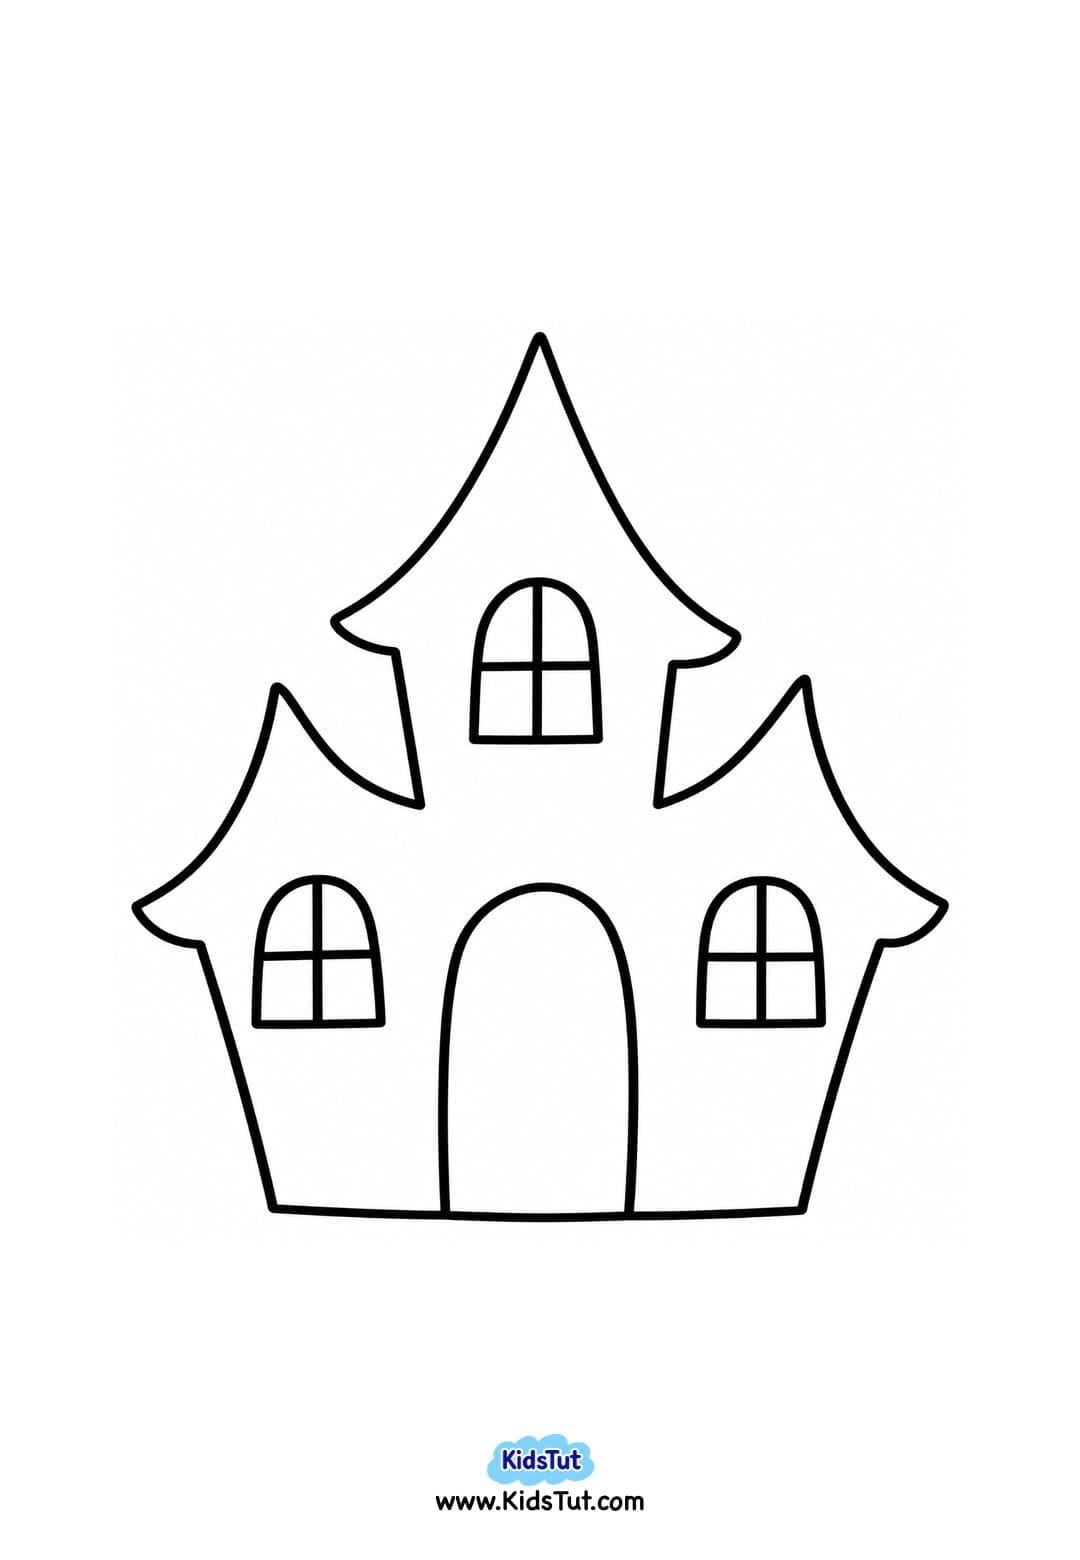
Haunted House Torn Paper Craft
Trace a haunted house shape onto black paper. Fill the house with purple or dark blue torn paper. Then, use yellow torn paper for the windows and door.
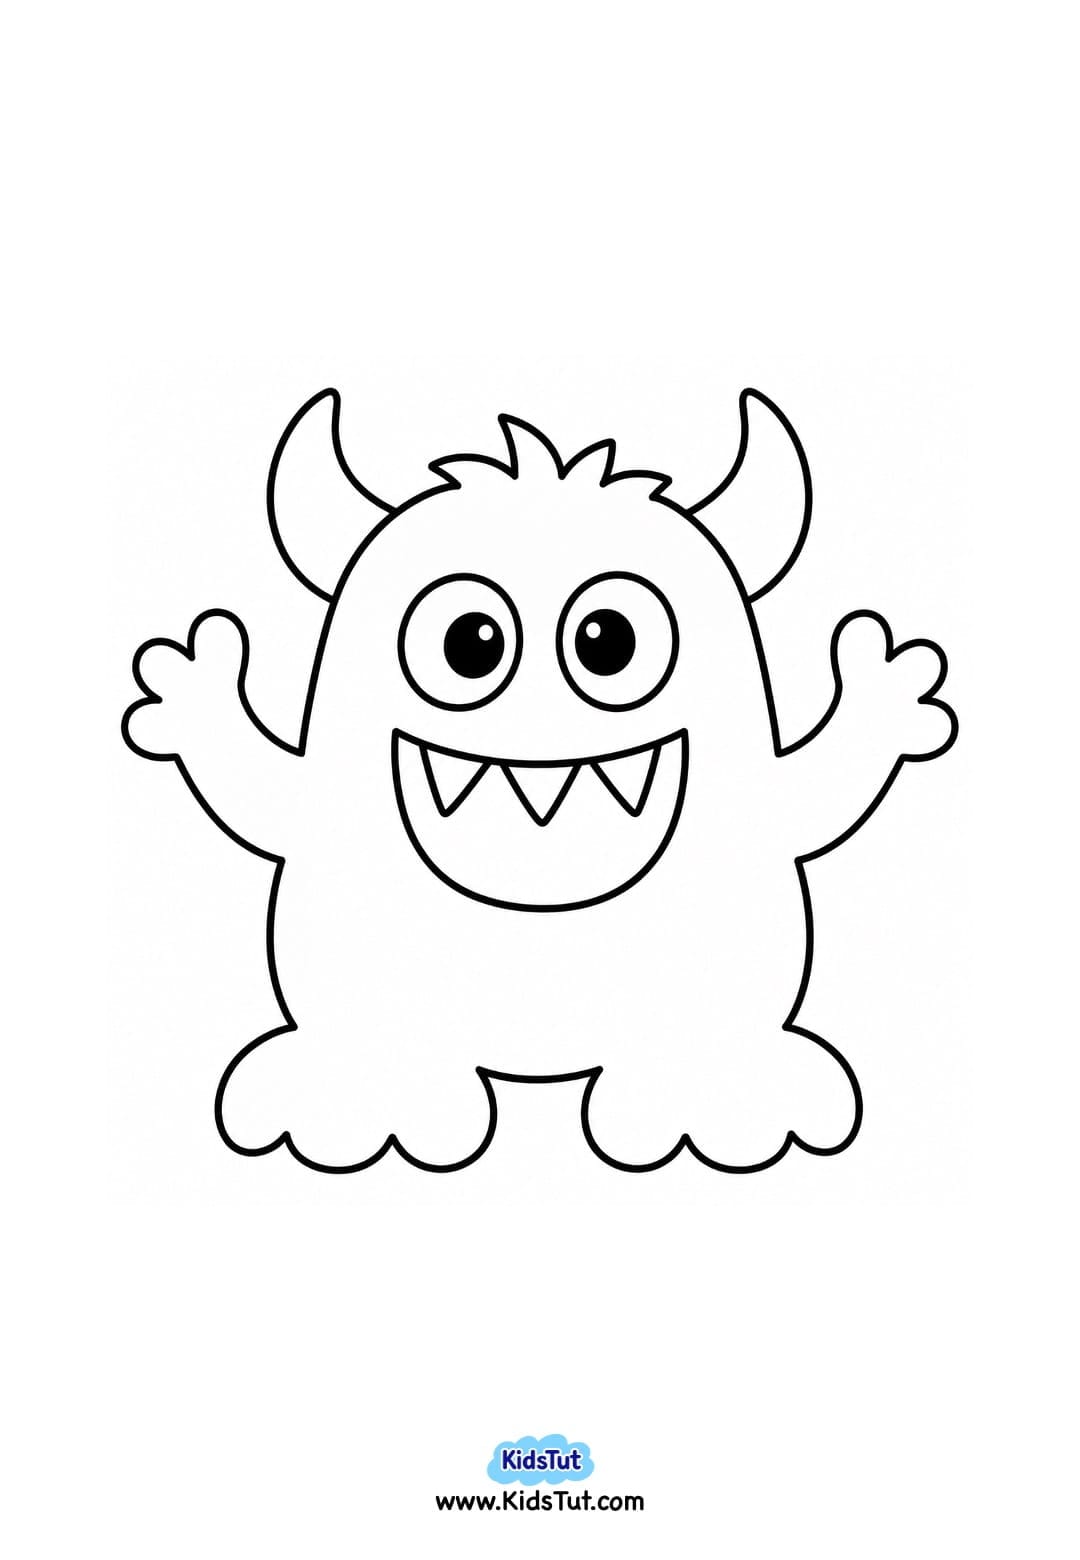
Monster Torn Paper Craft
Trace a monster shape onto black paper. Fill the monster with one color of torn paper, such as brown, pink, purple, green, blue, or orange. Then, cut out the eyes and mouth and glue them on top of the torn paper.
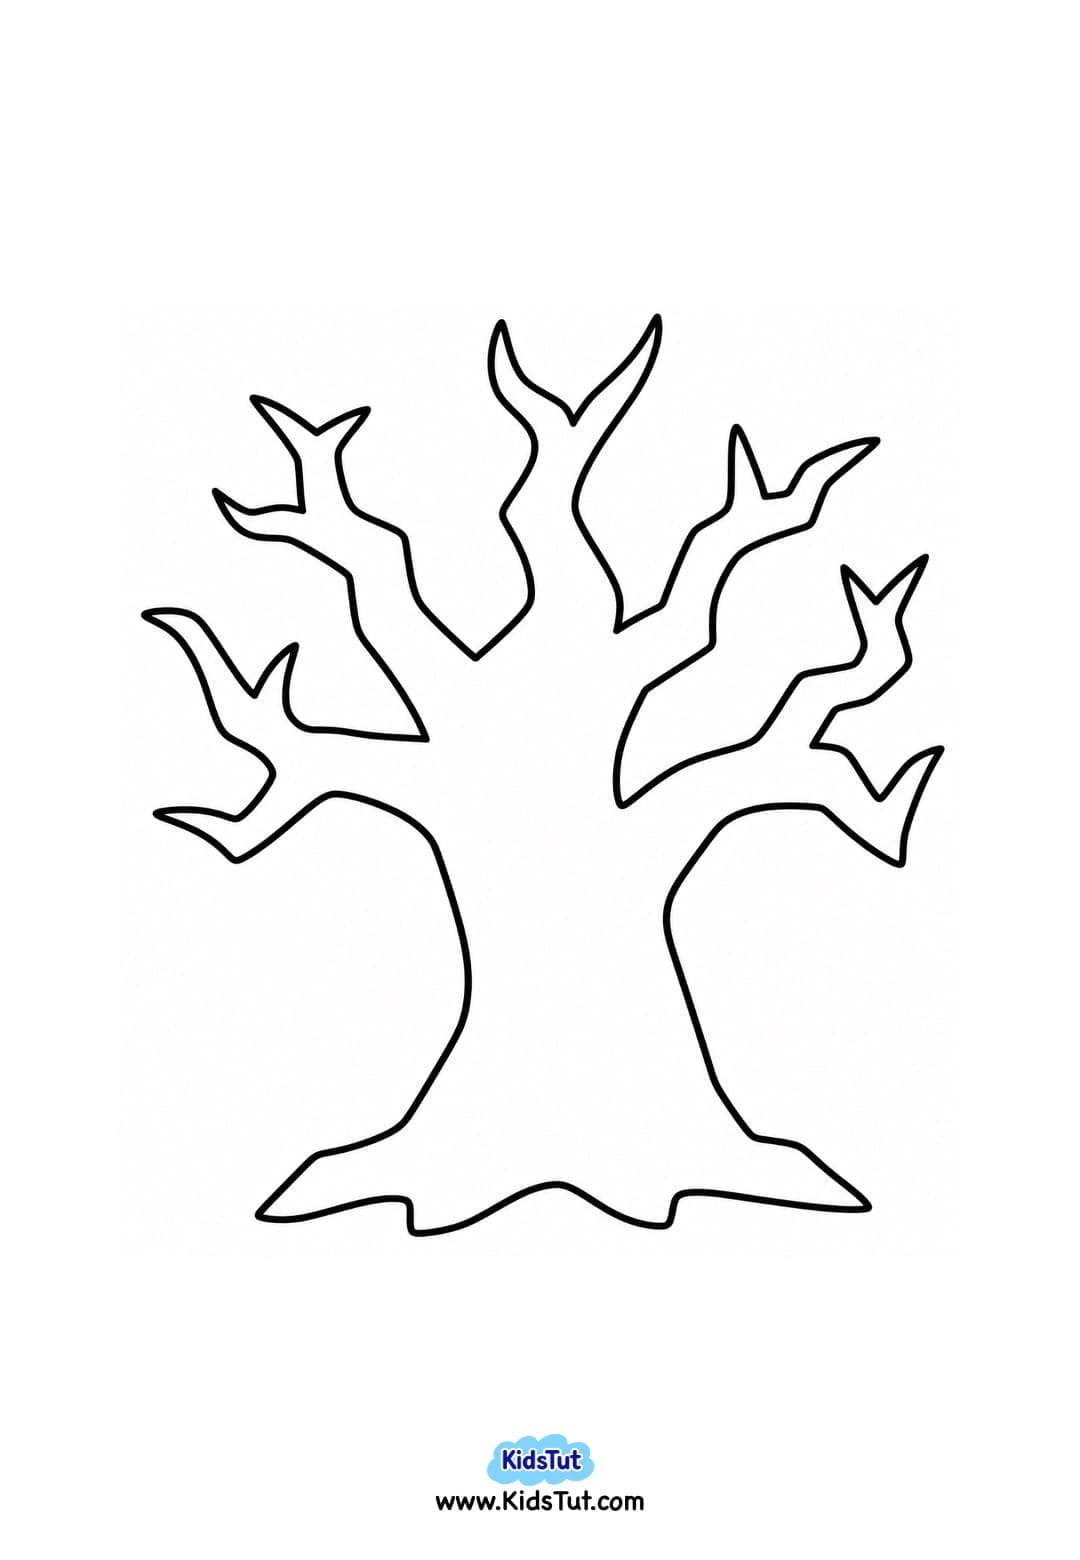
Scary Tree Torn Paper Craft
Trace a scary tree shape onto black paper. Fill the tree with brown torn paper. Then, cut out the scary eyes and mouth and glue them on top of the torn paper.
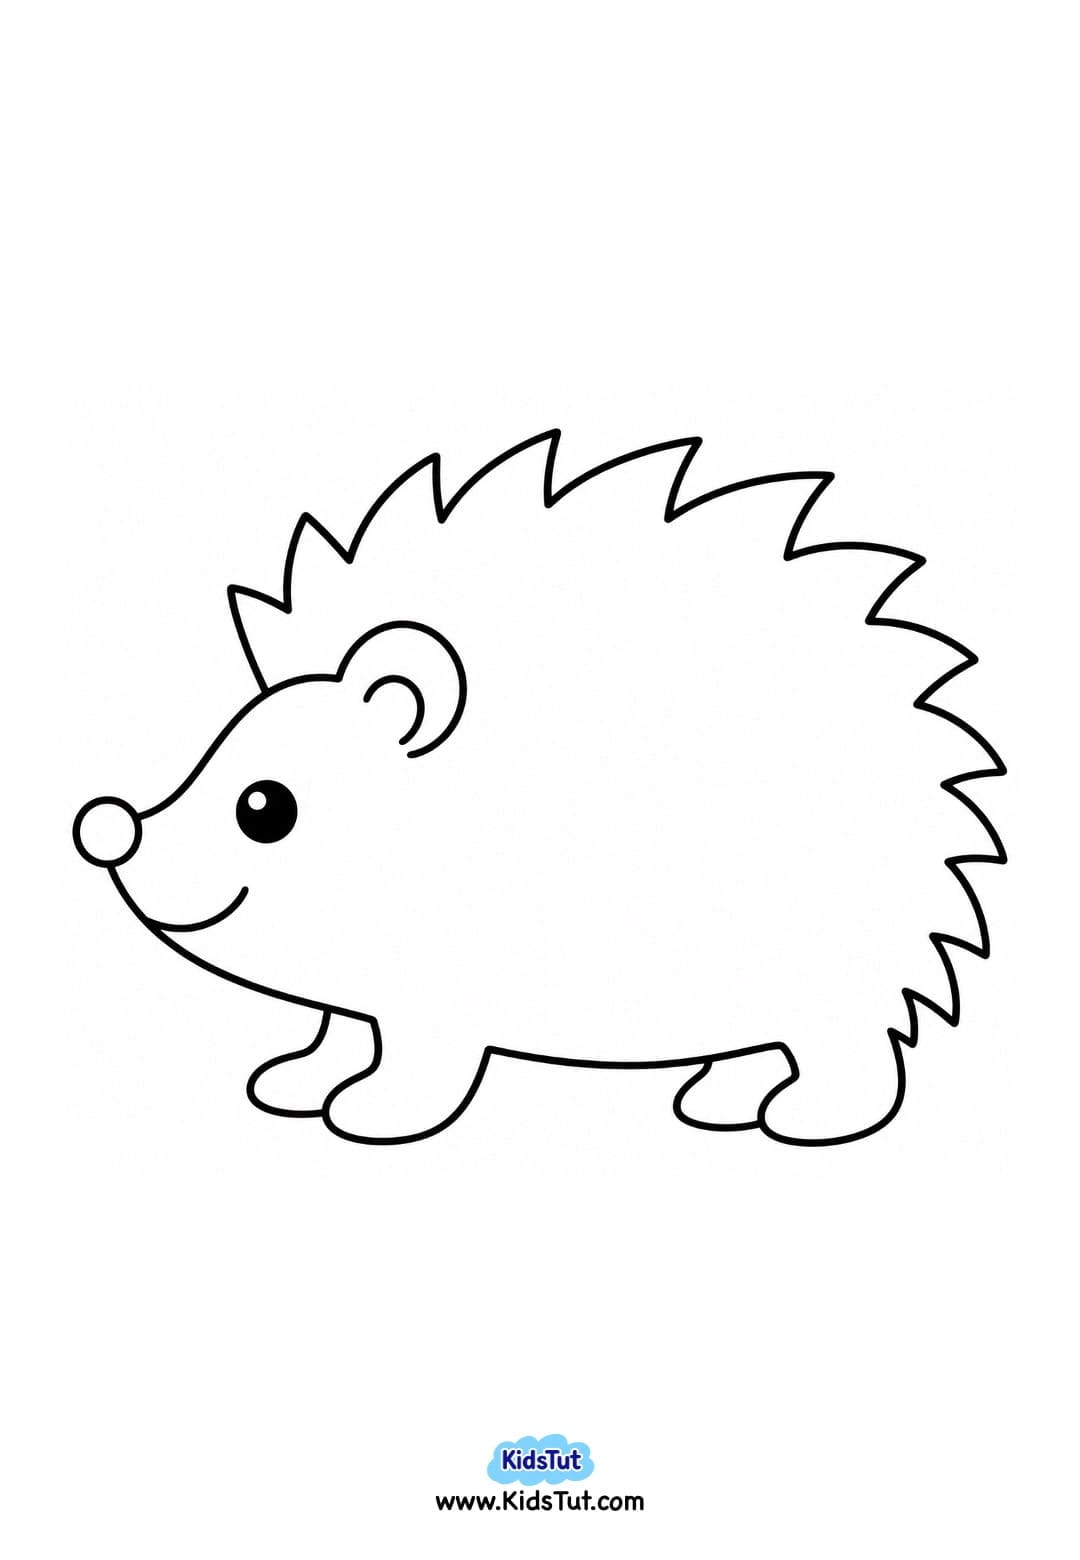
Hedgehog Torn Paper Craft
Trace a hedgehog shape onto black paper. Fill the hedgehog’s face with pink, light brown, yellow, or light orange torn paper, and use dark brown torn paper for the body. Leave the eye area uncovered so the black paper shows through. Draw the mouth, then glue a small pom-pom ball onto the nose.
Benefits of Torn Paper Crafts for Kids
- Develops fine motor skills – Tearing and picking up small paper pieces exercises little fingers and hands.
- Strengthens finger control – Children use their fingers to tear, hold, and position each piece.
- Improves hand-eye coordination – Kids practice placing paper pieces inside the outlined area.
- Encourages creativity – Children can experiment with different colors, sizes, and paper arrangements.
- Builds color recognition – Kids can learn common Halloween colors such as orange, black, white, purple, yellow, and green.
- Practices spatial awareness – Children learn how to fill a larger shape using many small pieces.
- Introduces Halloween themes – Ghosts, pumpkins, bats, and candy corn make the activity fun for the season.
- Creates unique artwork – The uneven torn edges give every child's picture a different handmade texture.

Click here to get the FREE PDF template: Download ( Printable )