Easy Christmas Paper Ornament Crafts for Kids to Make
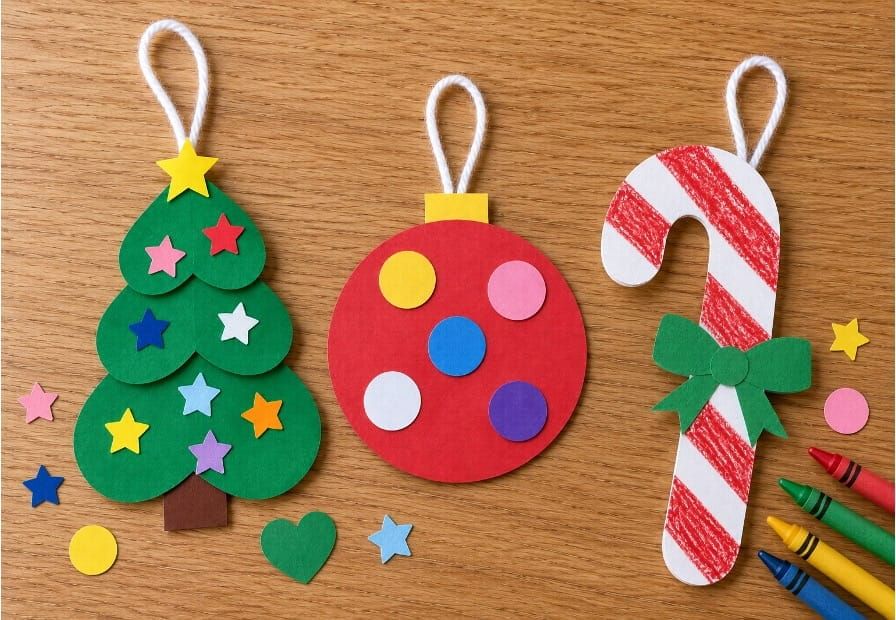
Get ready for some Christmas fun with these Easy Christmas Paper Ornament Crafts for Kids to Make! These simple and colorful Christmas crafts are a wonderful way for children to make their own holiday decorations using paper, glue, and printable templates.
These Christmas paper ornament crafts for kids are perfect for preschool, kindergarten, elementary school, homeschool, and classroom Christmas activities. They are easy to prepare, fun to make, and a lovely way to celebrate the holiday season.
What You Need
- Printable Christmas ornament templates
- White A4 paper
- Colored construction paper
- Colored craft board, cardstock, or matte board
- Crayons
- Markers or colored pencils
- Child-safe scissors
- Glue or double-sided tape
- Colorful star stickers or paper star cutouts
- Colorful dot stickers or paper circle cutouts
- Yarn, string, or ribbon for hanging
- Hole punch (optional)
How to Use the Christmas Ornament Templates
- I have designed all the Christmas ornament templates in A4 size. If you need a different size, simply adjust the printing scale or paper size in your printer settings before printing.
- I have also provided two types of printable templates to make this activity easier.
Template Type 1: All Parts on One Page
- This version includes all the parts needed to make one Christmas ornament on a single page.
- Print the template on white paper, color the pieces using crayons, markers, or colored pencils, and carefully cut them out.
- Then, glue the pieces together to complete your Christmas ornament.
Template Type 2: Separate Parts on Different Pages
- This version includes the ornament parts on separate template pages.
- You can print each part directly onto matching colored construction paper, cardstock, or craft board.
- Then, cut out the shapes and glue them together to make your Christmas ornament.
Note: You can find all the separate Christmas ornament parts in the downloadable PDF provided below. I have not added the individual part templates separately to this post.
Choose the template type you prefer and enjoy making your own colorful Christmas decorations!
1. Christmas Tree Paper Ornament Craft
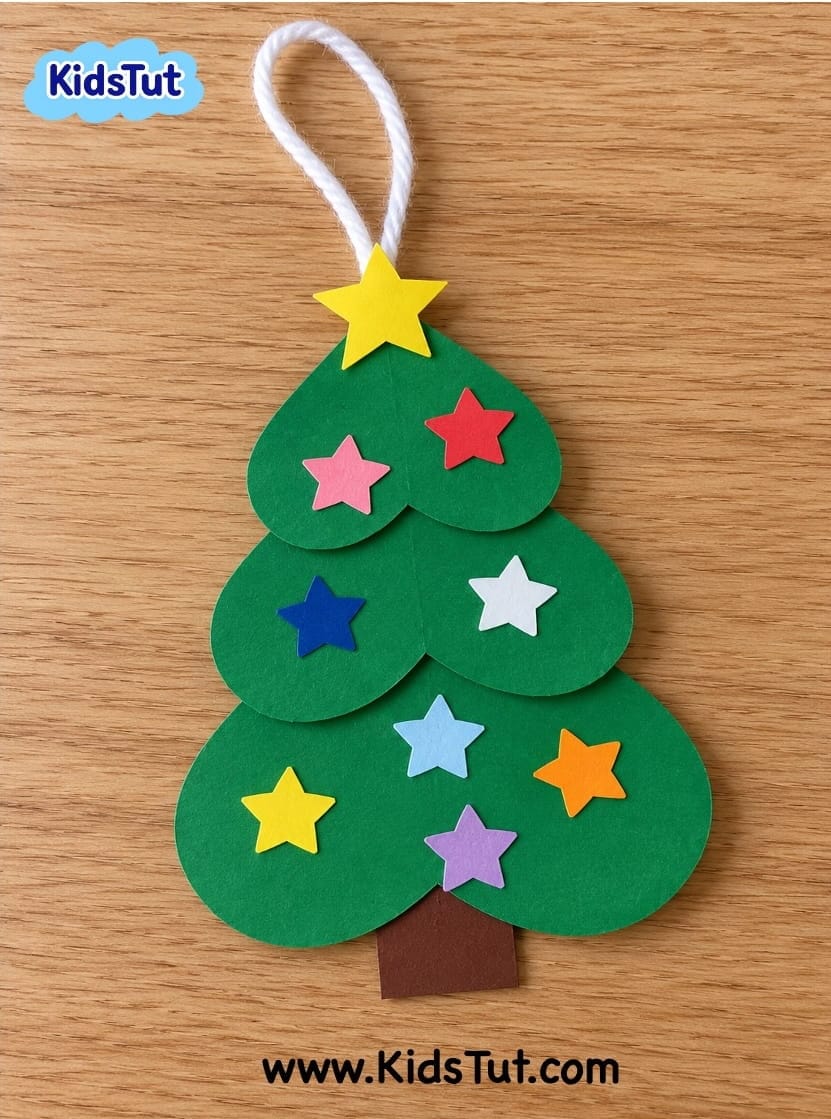
This cute Christmas tree ornament is made using three different-sized heart shapes.
How to Make:
- Step 1: Print the Christmas tree ornament templates.
- Step 3: Carefully cut out all the parts, including the three heart shapes, tree trunk, and large star.
- Step 4: Take the largest heart shape and place it at the bottom. Then, glue the medium-sized heart above it, slightly overlapping the first heart.
- Step 5: Glue the smallest heart above the middle heart to complete the Christmas tree body.
- Step 6: Attach the brown trunk to the bottom of the largest heart and glue the large yellow star to the top of the smallest heart.
- Step 7: Decorate the Christmas tree with colorful star stickers or small paper star cutouts.
- Step 8: Let the glue dry completely. Finally, attach a small yarn or string loop to the top of the ornament for hanging.
Templates:
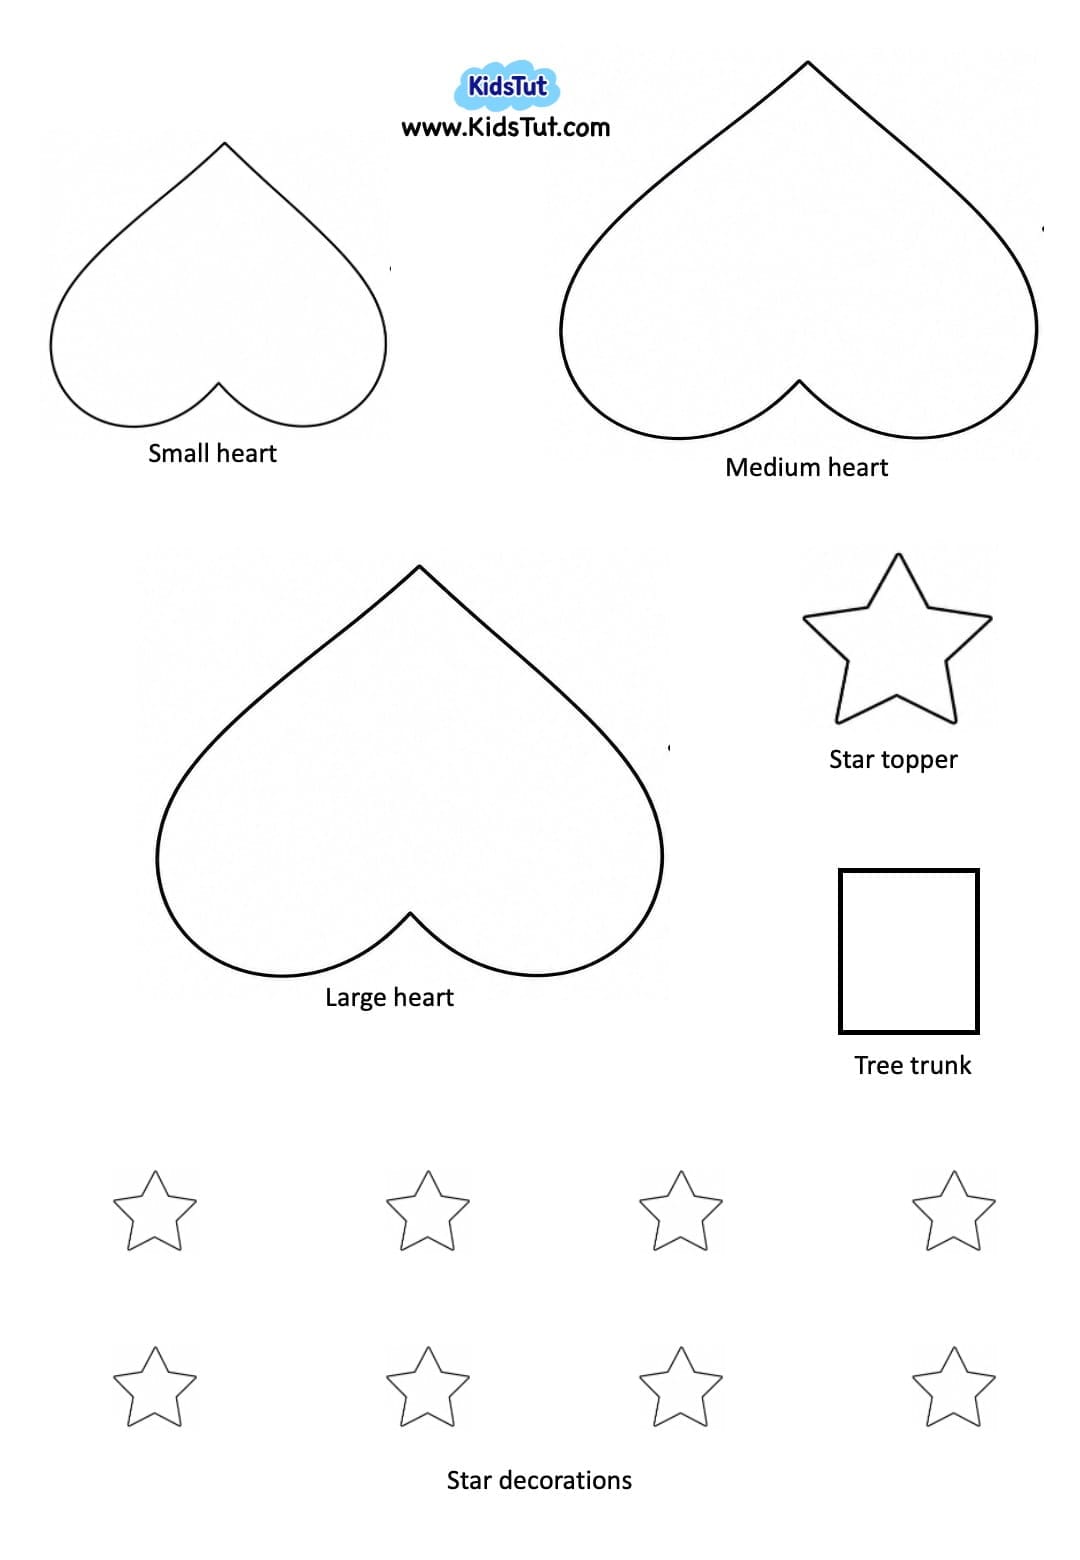
Your beautiful Christmas tree paper ornament is ready to display!
2. Christmas Stocking Paper Ornament Craft
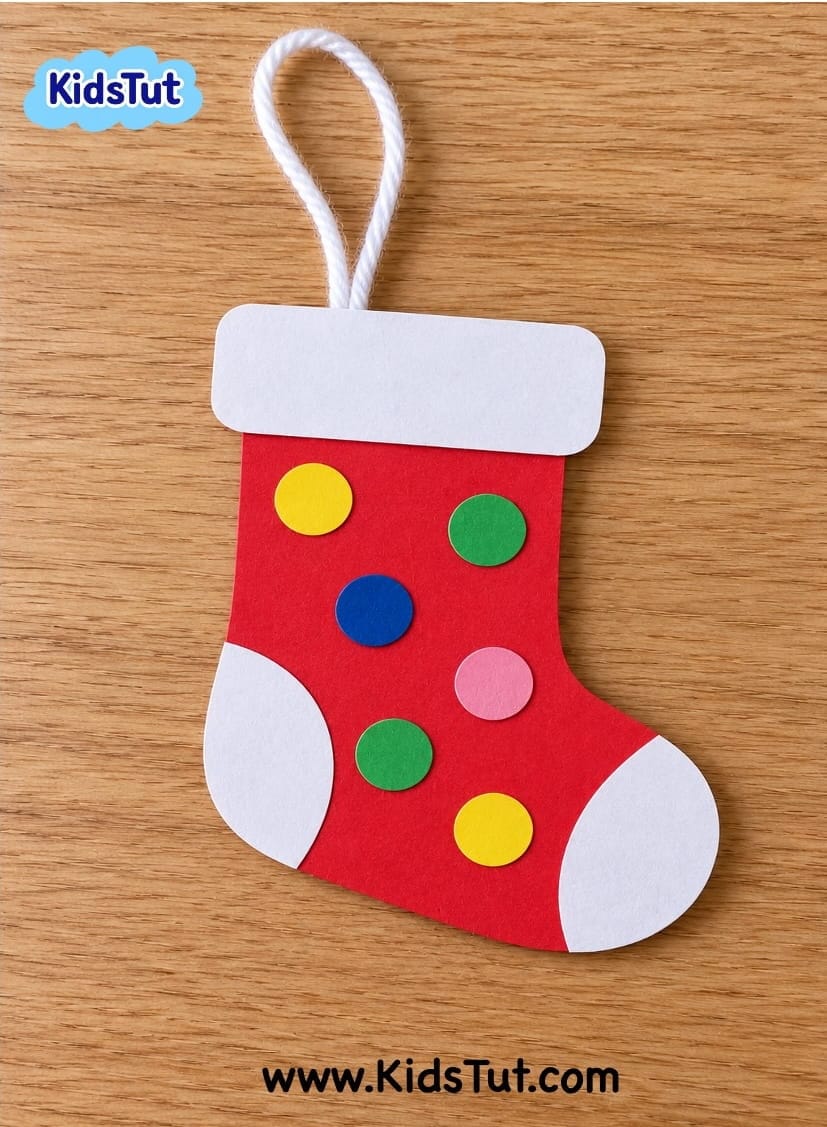
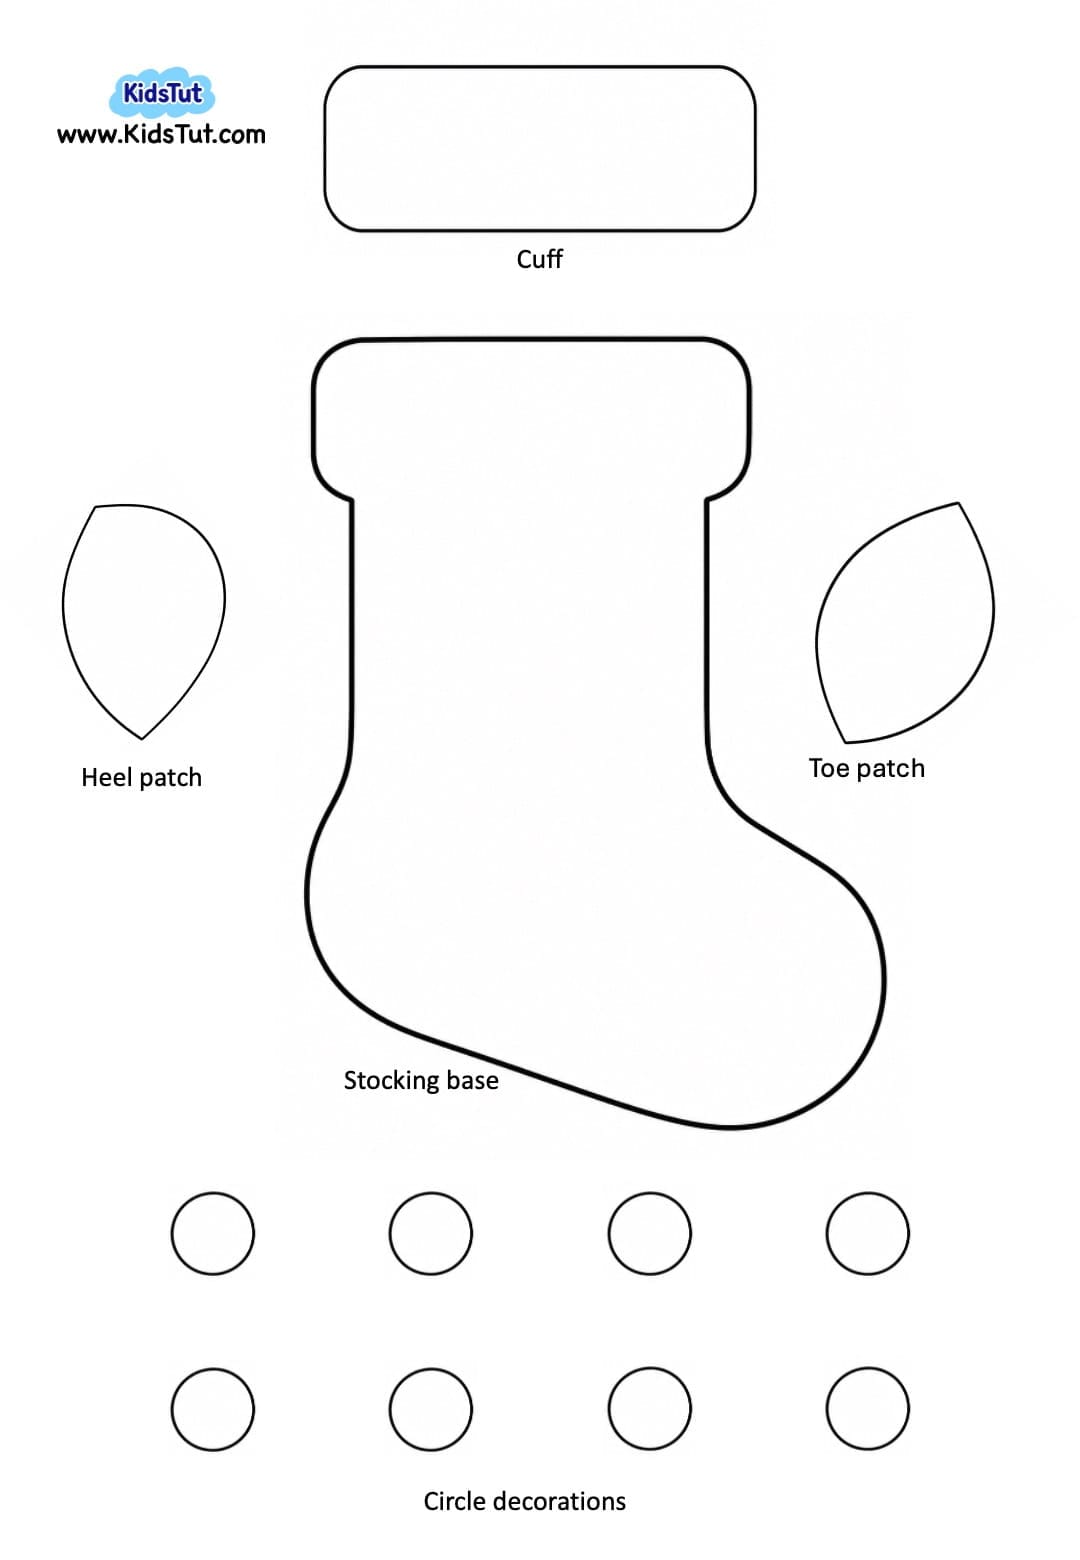
Make a colorful Christmas stocking ornament using simple paper cutouts and dot decorations.
How to Make
- Step 1: Print the Christmas stocking templates on white or colored paper.
- Step 2: Color the parts if needed, then carefully cut out all the shapes.
- Step 3: Take the large red stocking cutout and use it as the base.
- Step 4: Take the three white cutouts and glue them onto the matching places on the stocking, such as the top cuff, heel, and toe.
- Step 5: Decorate the stocking with colorful dot stickers or small paper circle cutouts.
- Step 6: Keep the craft aside and let the glue dry completely.
- Step 7: Finally, attach a small yarn loop to the top of the stocking for hanging.
Templates:
Your colorful Christmas stocking paper ornament is ready!
3. Christmas Bell Paper Ornament Craft
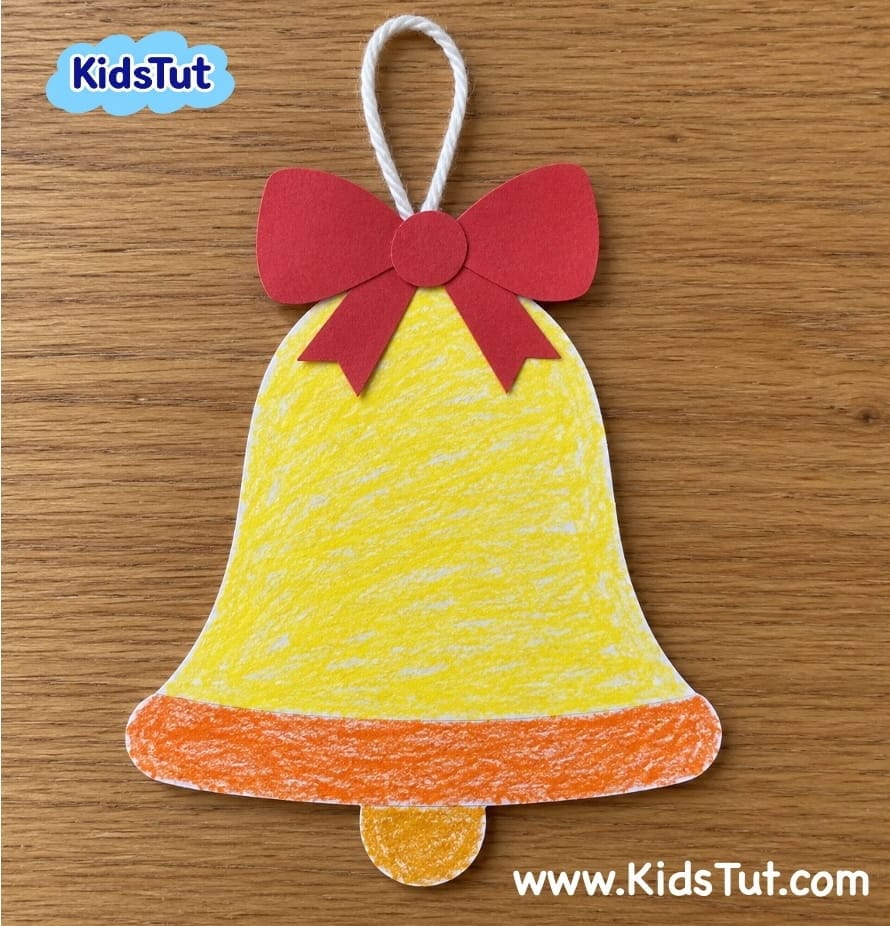
This simple Christmas bell craft is easy to make using a printable bell shape and a colorful paper bow.
How to Make
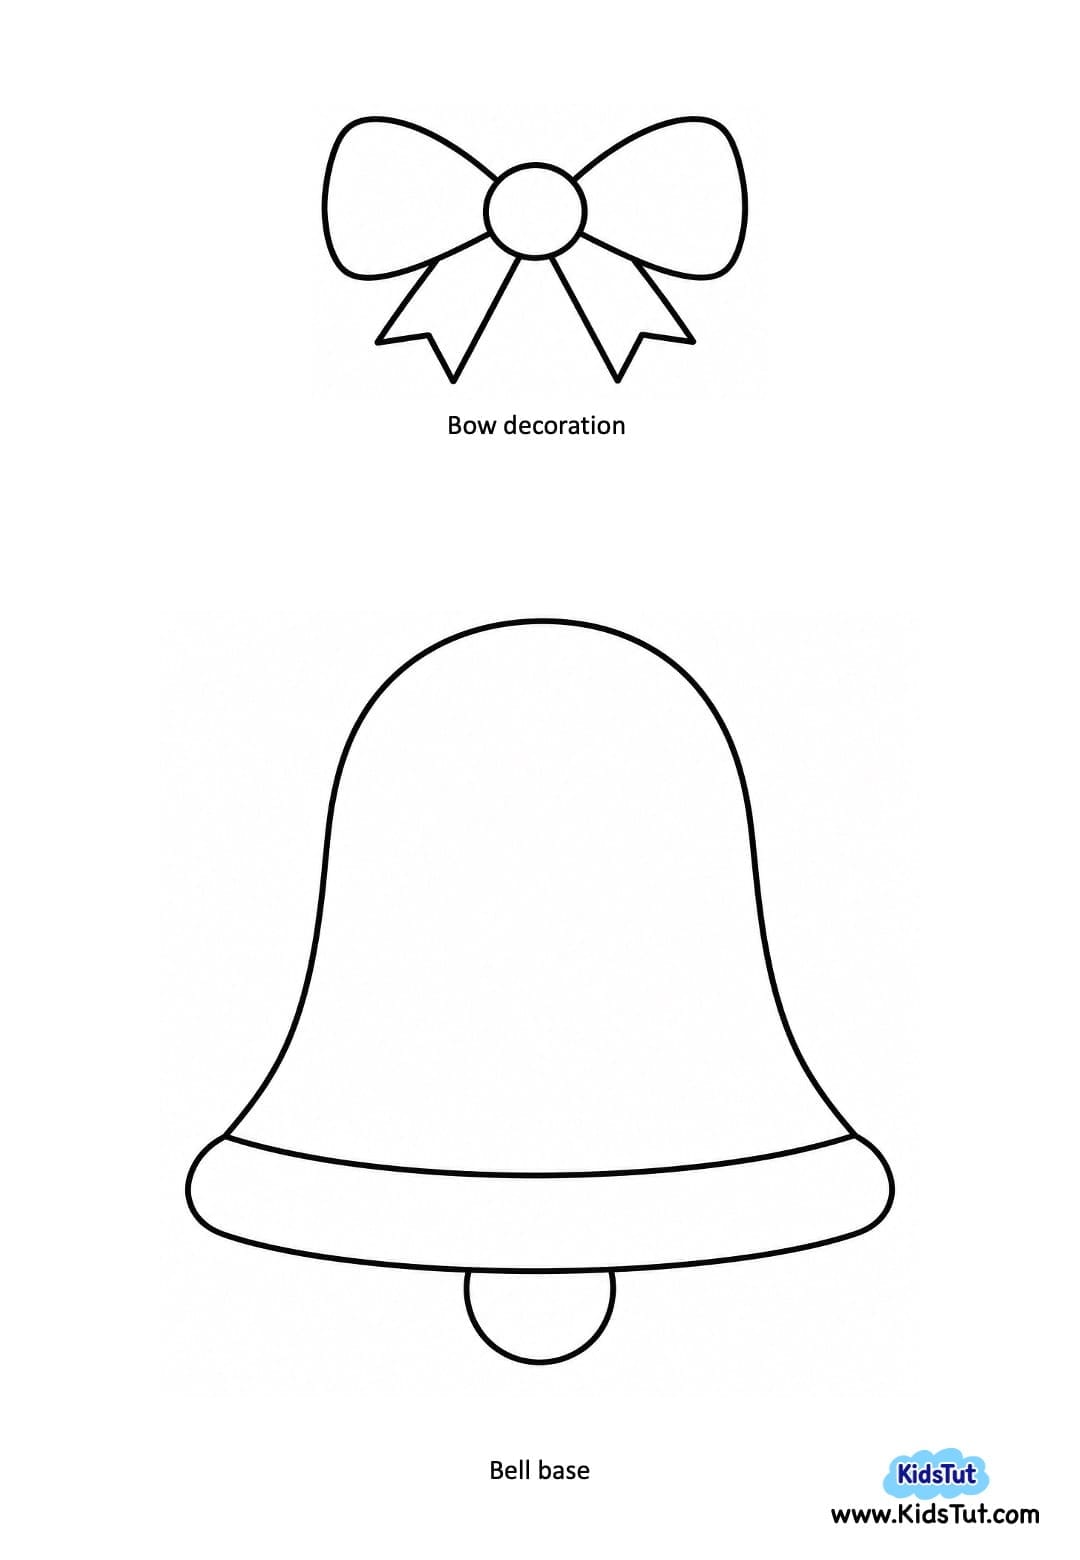
- Step 1: Print the Christmas bell template on white paper.
- Step 2: Color the bell using crayons, markers, colored pencils, or another coloring material. You can choose yellow, red, green, or any color you like.
- Step 3: Carefully cut out the bell along its outside outline.
- Step 4: Print the bow template on colored paper and cut it out.
- Step 5: Glue the bow to the top of the Christmas bell.
- Step 6: Let the glue dry completely.
- Step 7: Attach a small yarn or string loop to the top for hanging.
Templates:
Now your lovely Christmas bell paper ornament is ready to decorate your Christmas tree!
4. Snowman Paper Ornament Craft
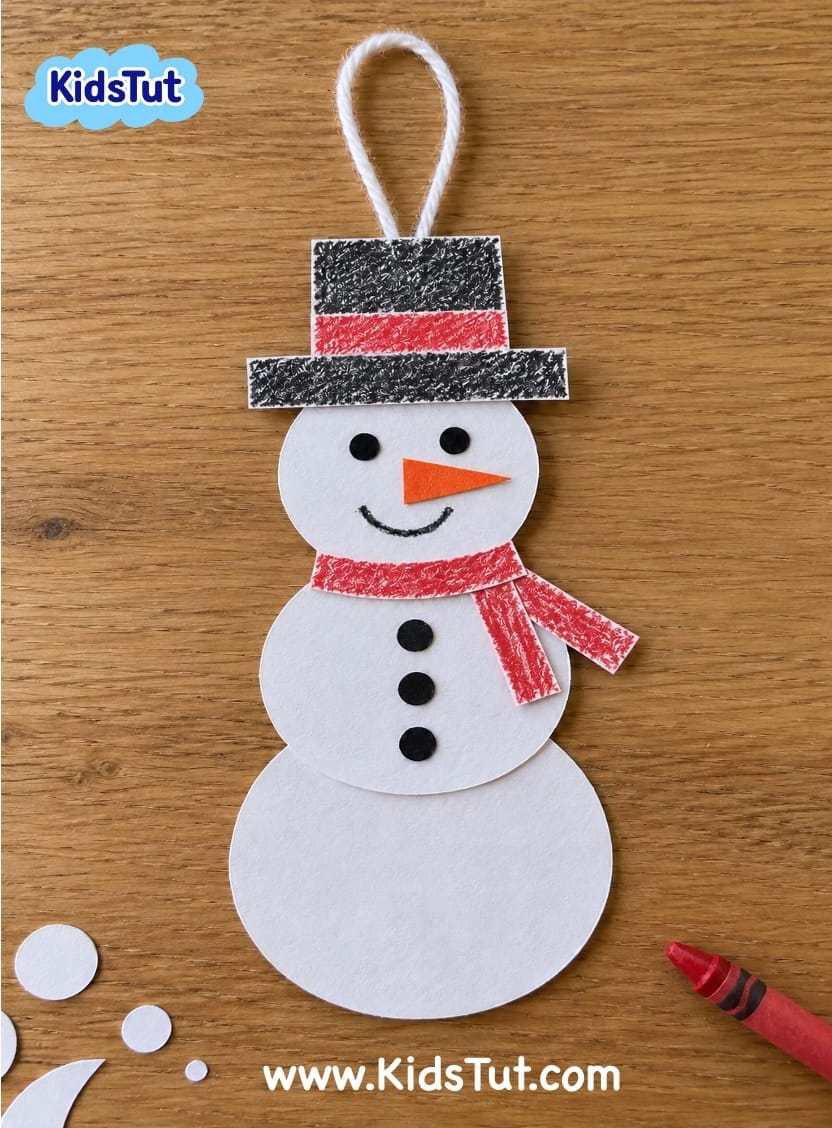
Make an adorable snowman ornament using three different-sized paper circles, a hat, a scarf, and a carrot nose.
How to Make:
- Step 1: Print all the snowman ornament templates on white paper.
- Step 2: Color the hat, scarf, and carrot nose using crayons, markers, or colored pencils. Leave the snowman's body circles white.
- Step 3: Carefully cut out all the pieces along their outside outlines.
- Step 4: Take the largest white circle and place it at the bottom to make the snowman's lower body.
- Step 5: Glue the medium-sized circle above it, slightly overlapping the large circle.
- Step 6: Glue the smallest circle above the middle circle to make the snowman's head.
- Step 7: Attach the colored hat to the top of the head and glue the scarf just below the head, around the neck area.
- Step 8: Use a black marker to draw the snowman's eyes and mouth. Then, glue the orange carrot nose onto the face.
- Step 9: Draw small black buttons down the snowman's body using a marker.
- Step 10: Let the craft dry completely, then attach a small yarn loop to the top for hanging.
Templates:
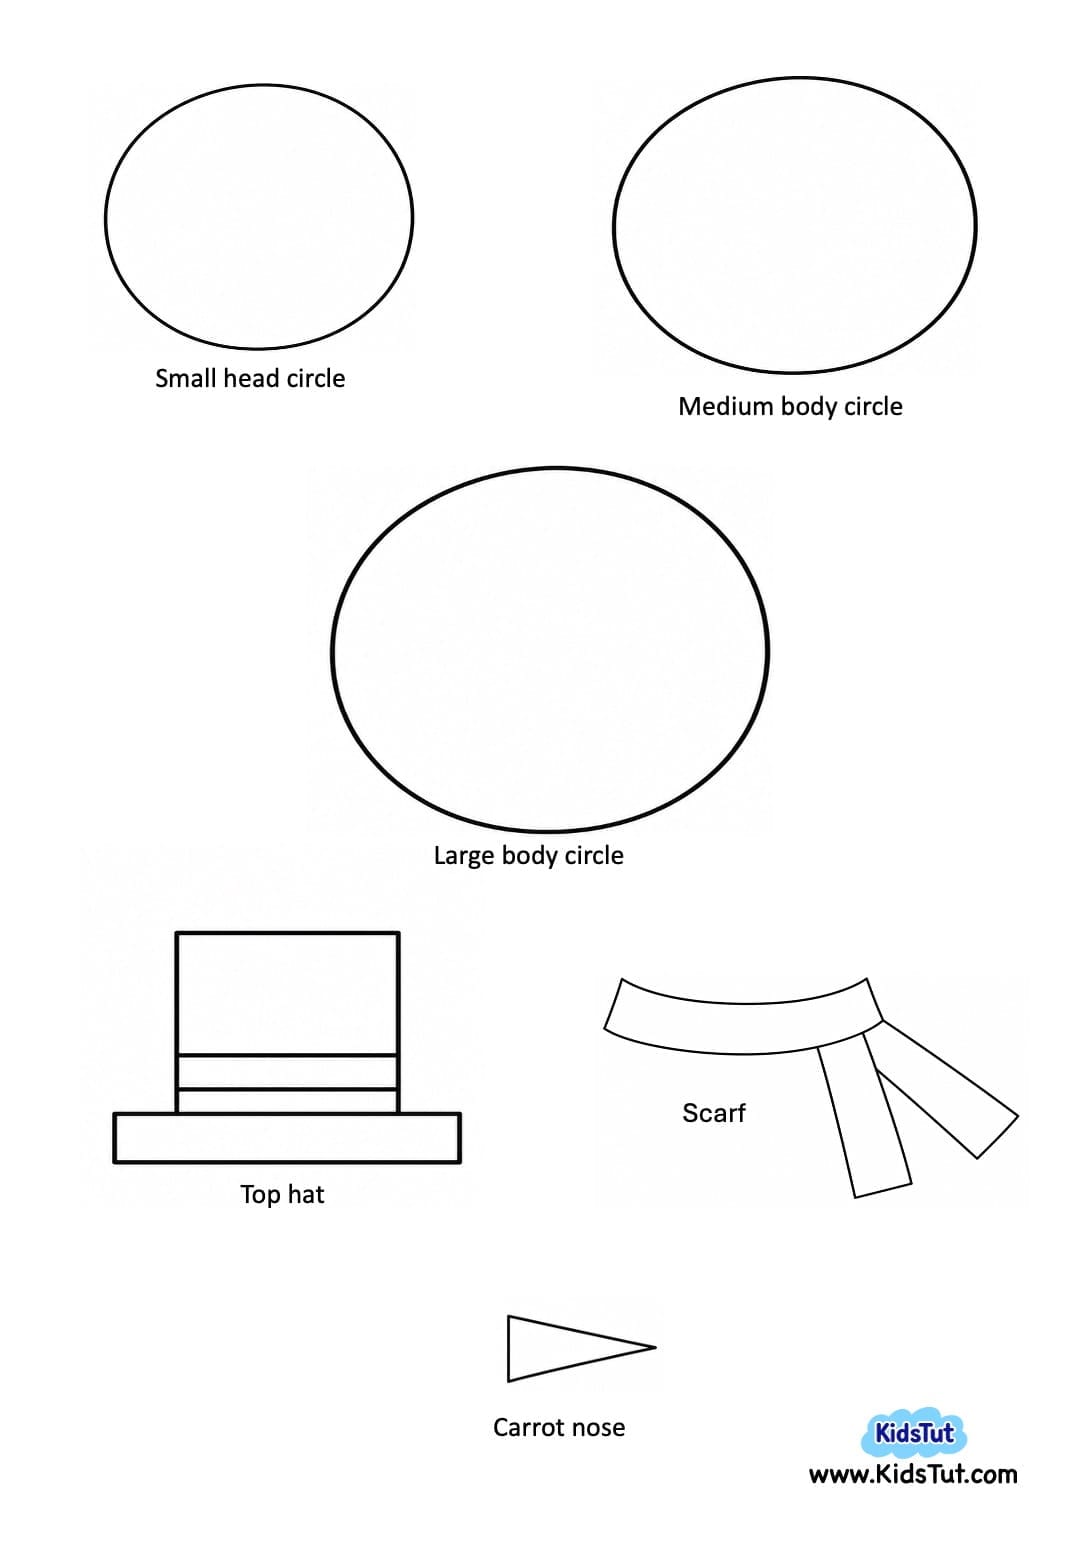
Your cute snowman paper ornament is ready!
5. Christmas Bauble Paper Ornament Craft
Create a bright Christmas bauble using a large paper circle and colorful star decorations.
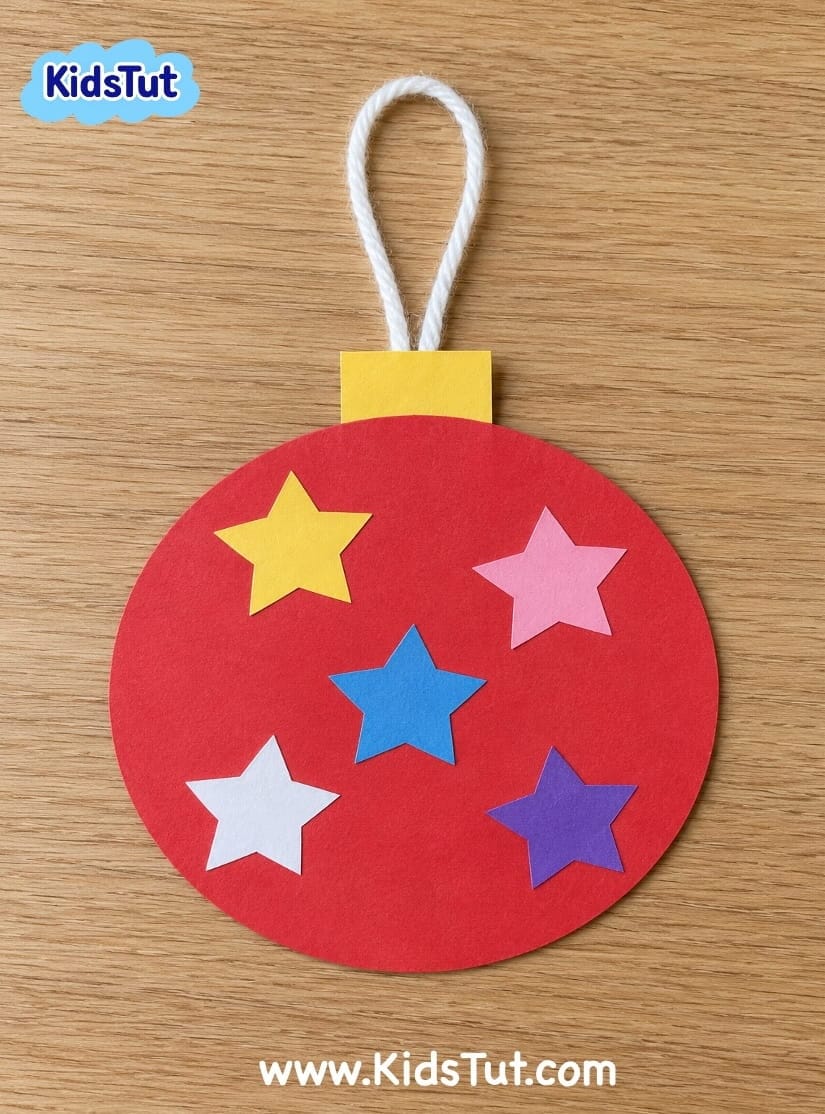
How to Make
- Step 1: Print the Christmas bauble templates on white or colored paper.
- Step 2: If needed, color the bauble using crayons, markers, or colored pencils.
- Step 3: Carefully cut out all the parts separately.
- Step 4: Take the large circular bauble cutout and use it as the main base.
- Step 5: Take the small bauble cap cutout and glue it behind the top edge of the large circle.
- Step 6: Decorate the circle with colorful star stickers or small paper star cutouts.
- Step 7: Arrange the stars in different places to create a beautiful design.
- Step 8: Let the glue dry completely, then attach a small yarn loop to the top of the bauble.
Templates:
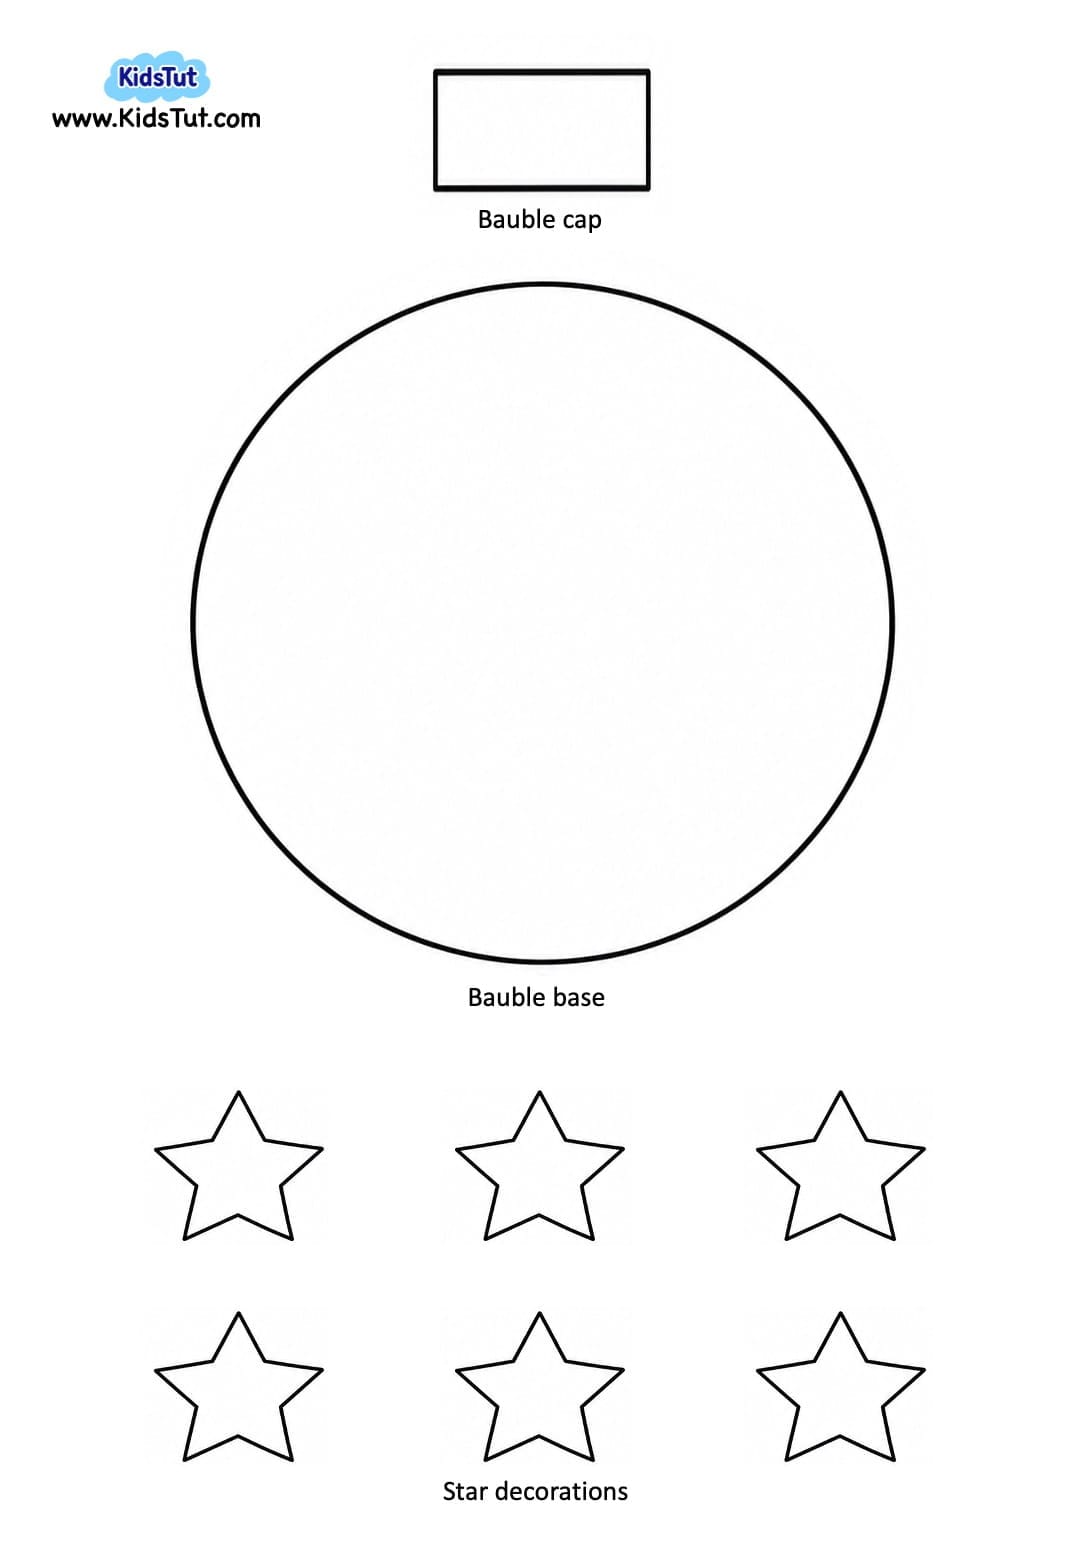
Your colorful Christmas bauble paper ornament is ready to hang!
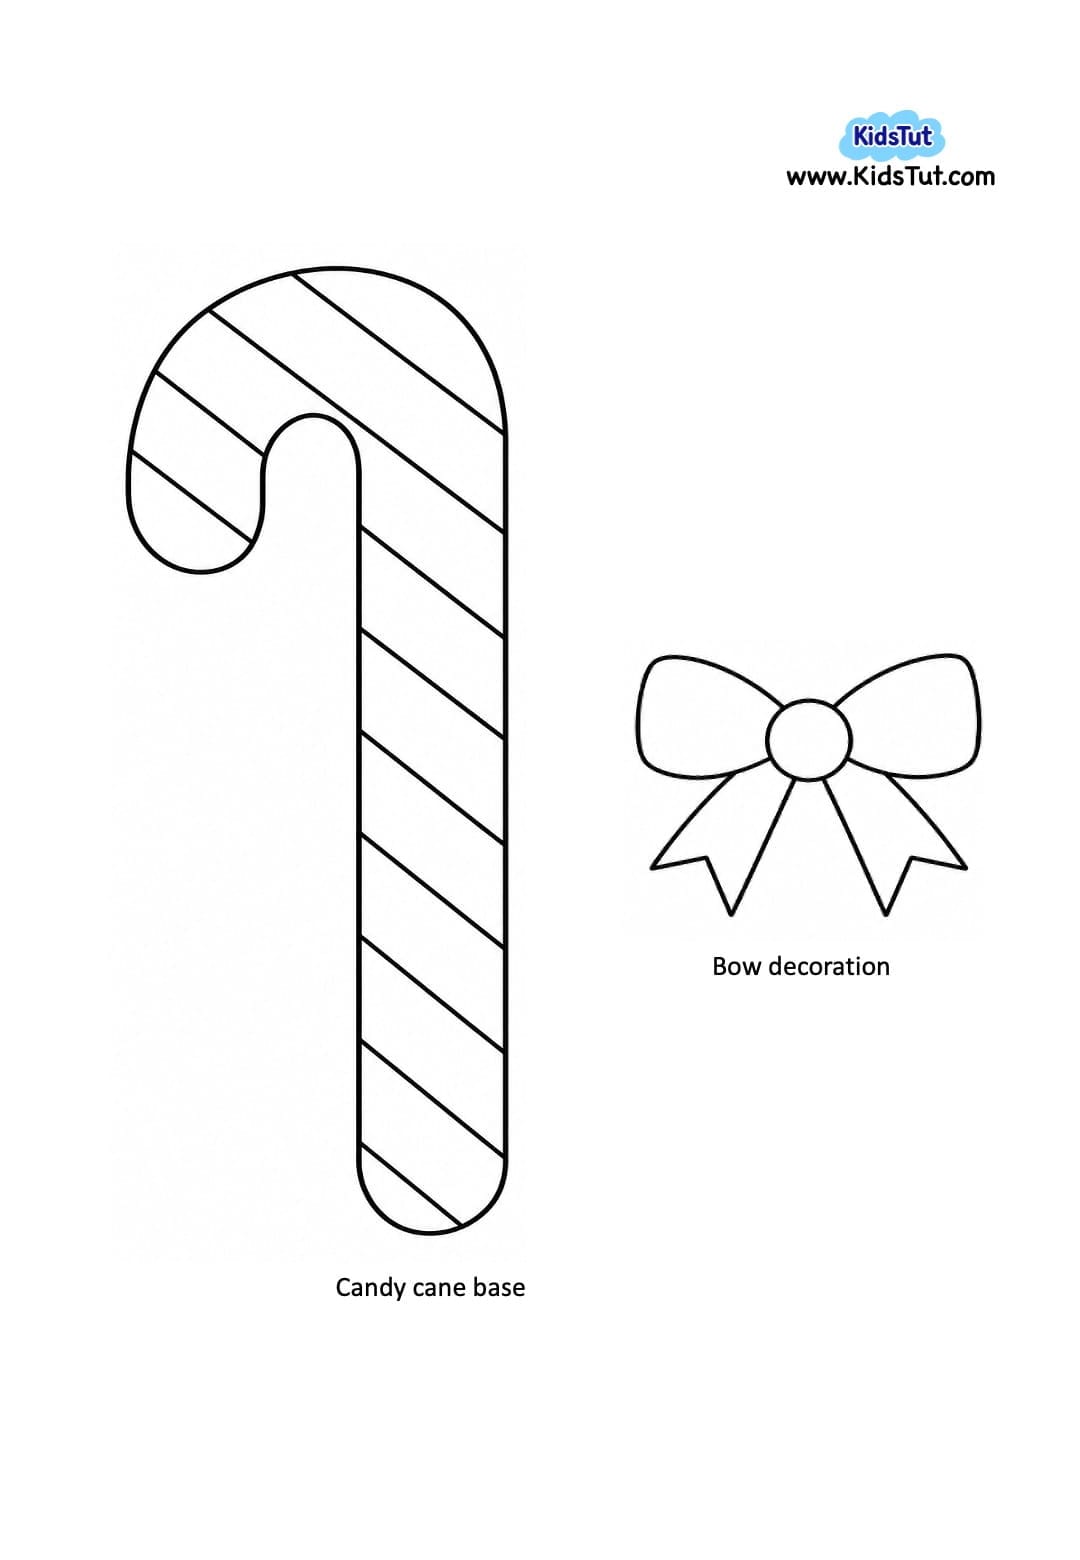
6. Candy Cane Paper Ornament Craft
This easy candy cane ornament is a fun Christmas craft that children can make with just a few paper pieces.
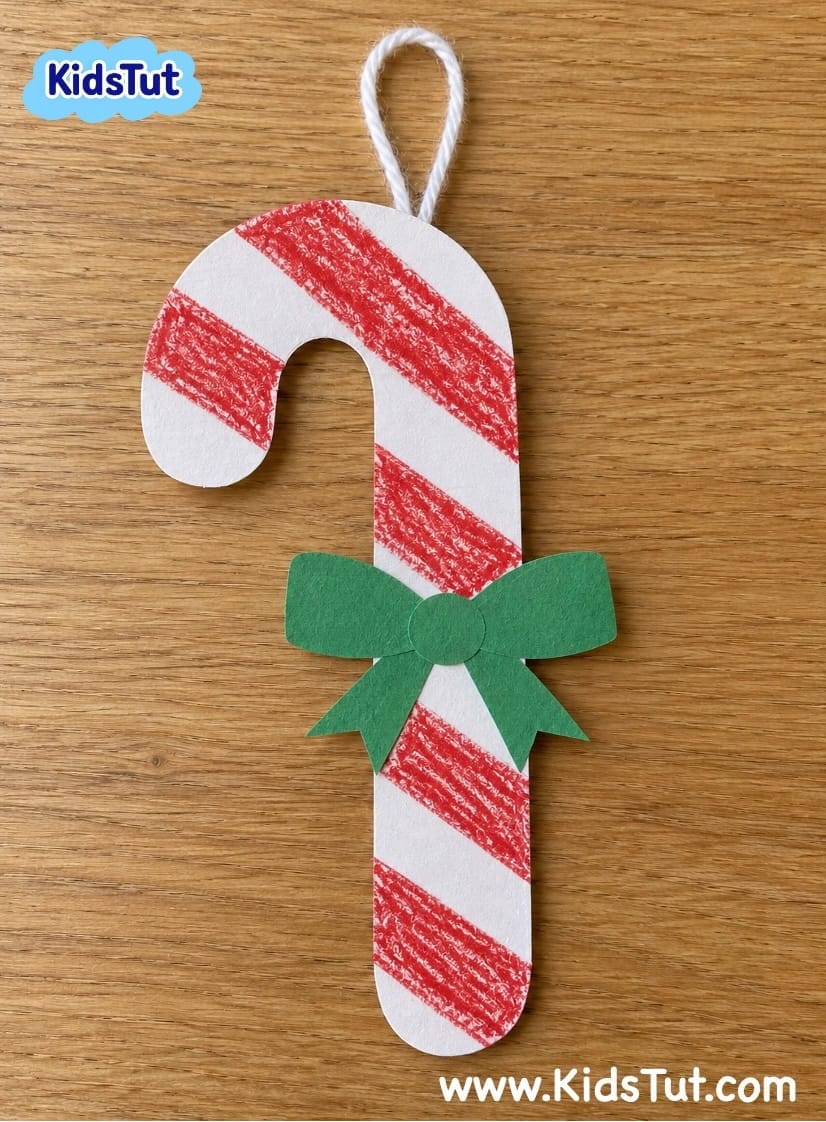
How to Make:
- Step 1: Print the candy cane template on white paper.
- Step 2: Use a red crayon or marker to color the striped sections of the candy cane. Leave the other sections white to create the traditional red-and-white candy cane design.
- Step 3: Carefully cut out the candy cane along its outside outline.
- Step 4: Print the bow template on colored paper and cut it out.
- Step 5: Glue the bow to the middle of the candy cane.
- Step 6: Keep the craft aside and let the glue dry completely.
- Step 7: Finally, attach a small yarn or string loop to the top for hanging.
Templates:
Your beautiful candy cane paper ornament is ready for Christmas!
Benefits of Christmas Paper Ornament Crafts for Kids
These easy Christmas paper crafts are not only fun but also help children develop important early learning skills.
- Develops cutting skills – Children practice cutting along the outlines of different paper shapes.
- Improves fine motor skills – Coloring, cutting, gluing, and decorating help strengthen little hands and fingers.
- Builds hand-eye coordination – Kids carefully arrange and attach paper pieces to complete each ornament.
- Encourages creativity – Children can choose their favorite colors and decorate their ornaments in different ways.
- Teaches color recognition – Using red, green, yellow, white, and other colors helps children identify and match colors.
- Introduces shapes and sizes – Making ornaments with circles, hearts, stars, and other shapes helps children learn about shapes and size differences.
- Develops problem-solving skills – Children learn how to arrange and glue the different pieces together.
- Introduces Christmas themes – Kids become familiar with Christmas trees, stockings, bells, snowmen, baubles, and candy canes.
- Encourages teamwork – Children can share supplies and help each other make Christmas decorations.
- Builds confidence – Kids feel proud when they finish and hang their handmade ornaments.
Fun Ways to Display Your Christmas Paper Ornaments
Once the ornaments are finished and completely dry, children can use them in different ways.
- Christmas Tree Decorations: Hang the paper ornaments on a Christmas tree using yarn or ribbon loops.
- Christmas Garland: Attach several ornaments to a long piece of string to create a colorful Christmas garland.
- Classroom Decorations: Hang the ornaments on classroom walls, windows, or bulletin boards.
- Christmas Gift Decorations: Attach a small paper ornament to a wrapped Christmas gift.
- Holiday Craft Display: Arrange the finished ornaments together to create a beautiful Christmas art display.

Click here to get the FREE PDF template: Download (Printable)