Easy Fall Paper Wreath Craft Ideas for Kids to Make
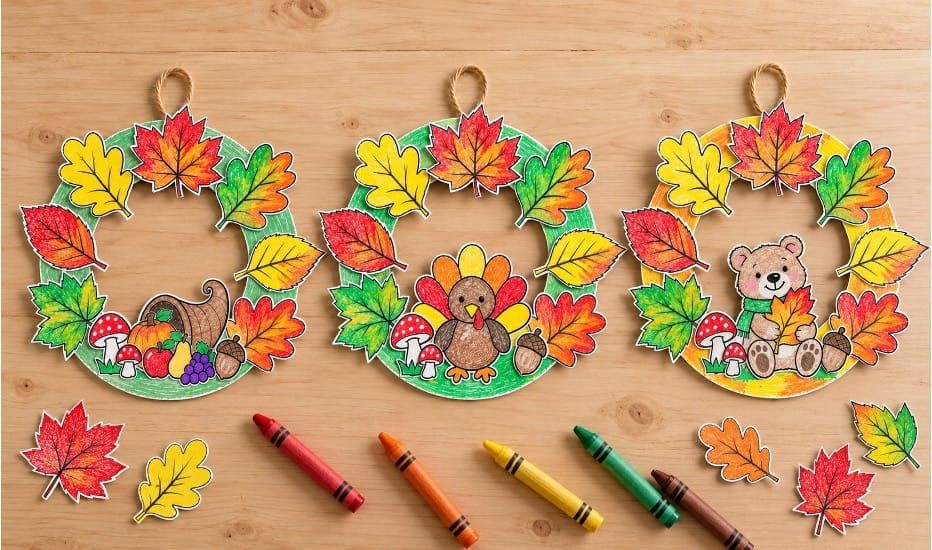
Celebrate the beautiful autumn season with these Easy Fall Paper Wreath Craft Ideas for Kids to Make! This simple and colorful fall craft lets children create their own beautiful autumn wreaths using paper, crayons, glue, and printable templates.
Kids can decorate their wreaths with colorful fall leaves, pumpkins, acorns, mushrooms, a turkey, a cute bear, or a cornucopia. They can choose their favorite fall pictures and arrange them around a paper wreath base to create a lovely autumn decoration.
These fall paper wreath crafts for kids are perfect for preschool, kindergarten, elementary school, homeschool, Thanksgiving activities, and classroom fall decorations. With easy printable templates and a few basic craft supplies, children can enjoy coloring, cutting, gluing, and creating their own handmade fall wreaths.
What You Need
- Printable fall wreath base template
- Printable fall leaves and autumn picture templates
- White A4 paper
- Colored craft board or cardstock
- Paper plate (optional)
- Crayons
- Markers or colored pencils
- Child-safe scissors
- Glue or double-sided tape
- Yarn, string, or ribbon for hanging
- Hole punch (optional)
Printable Template Note: All the templates are designed in A4 size. If you need a different size, simply adjust the scaling or paper size in your printer settings before printing.
How to Make a Fall Paper Wreath Craft
Step 1: Prepare the Wreath Base
First, make the circular wreath base. You can choose one of these three easy methods.
Method 1: Use the Printable Wreath Base Template
- Print the provided wreath ring template on a white A4 sheet.
- Color the wreath using crayons, markers, or colored pencils. You can use green, orange, yellow, brown, or another beautiful fall color.
- Then, glue the colored wreath onto craft board or cardstock to make it stronger.
- Carefully cut around the outside outline and remove the middle circle to create a ring-shaped wreath base.

Method 2: Use Colored Craft Board
- Take a piece of colored craft board or cardstock.
- Draw a large circle and a smaller circle inside it to create a wreath ring.
- Carefully cut around the outside circle and remove the middle section.
- Now your colored wreath base is ready to decorate!
Method 3: Use a Paper Plate
- Take a paper plate and color or paint it with your favorite fall color.
- You can also cover it with colored paper.
- Carefully cut out the middle circle of the paper plate, leaving the outside ring.
- Now you have a simple paper plate wreath base.
- An adult should help younger children cut out the middle section.
Step 2: Choose Your Fall Wreath Design
Next, choose the fall paper wreath craft you would like to make.
You can select a wreath with:
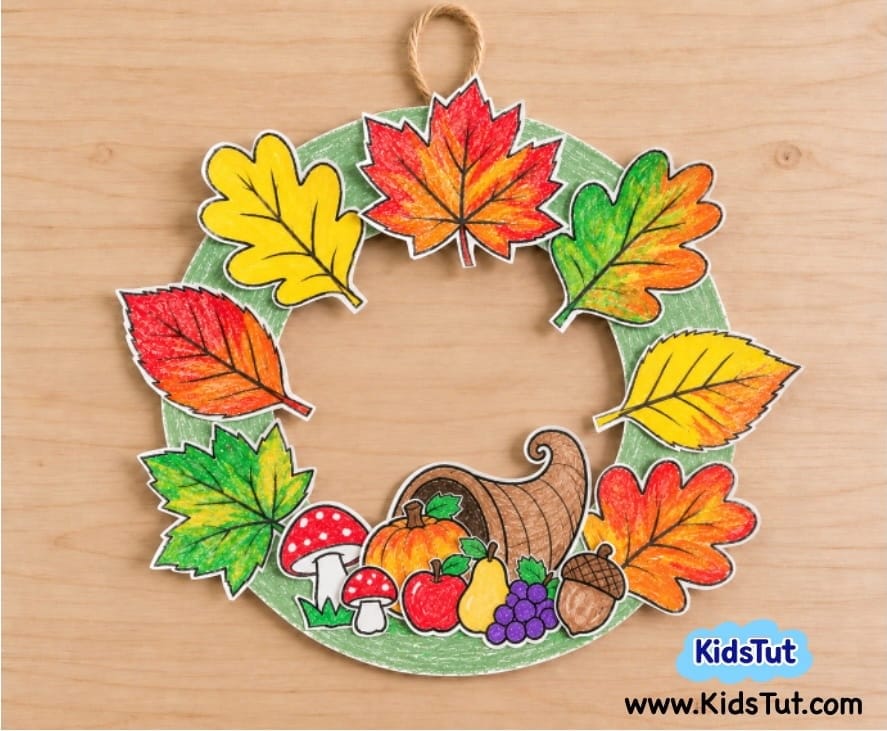
- A cornucopia and colorful fall leaves
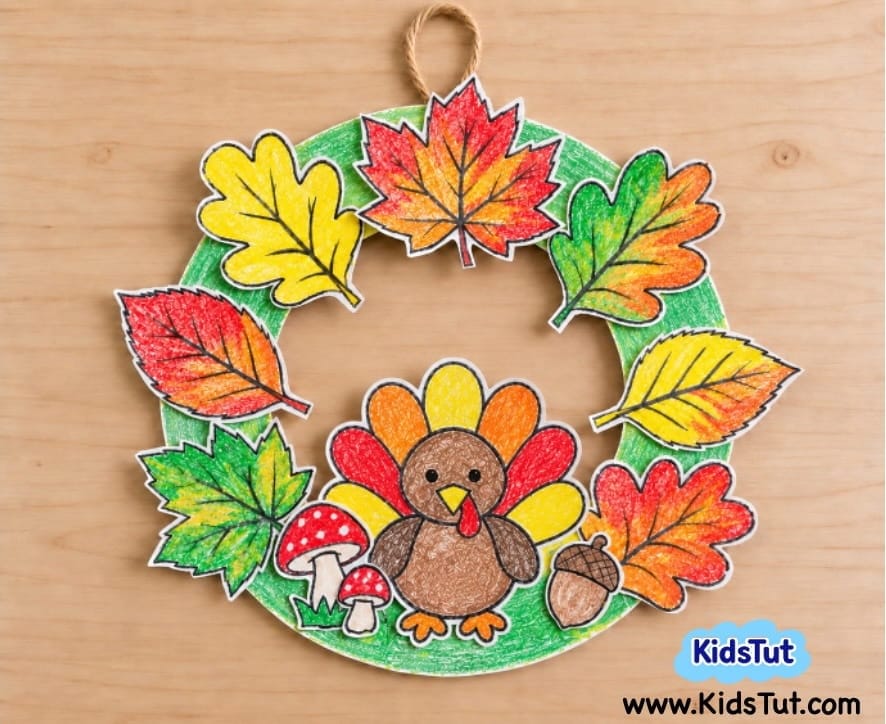
- A cute turkey and autumn leaves
- A little bear and fall decorations
- Pumpkins, mushrooms, and acorns
- Other fall-themed pictures
Choose the matching printable templates for your favorite design.
Step 3: Print the Fall Templates
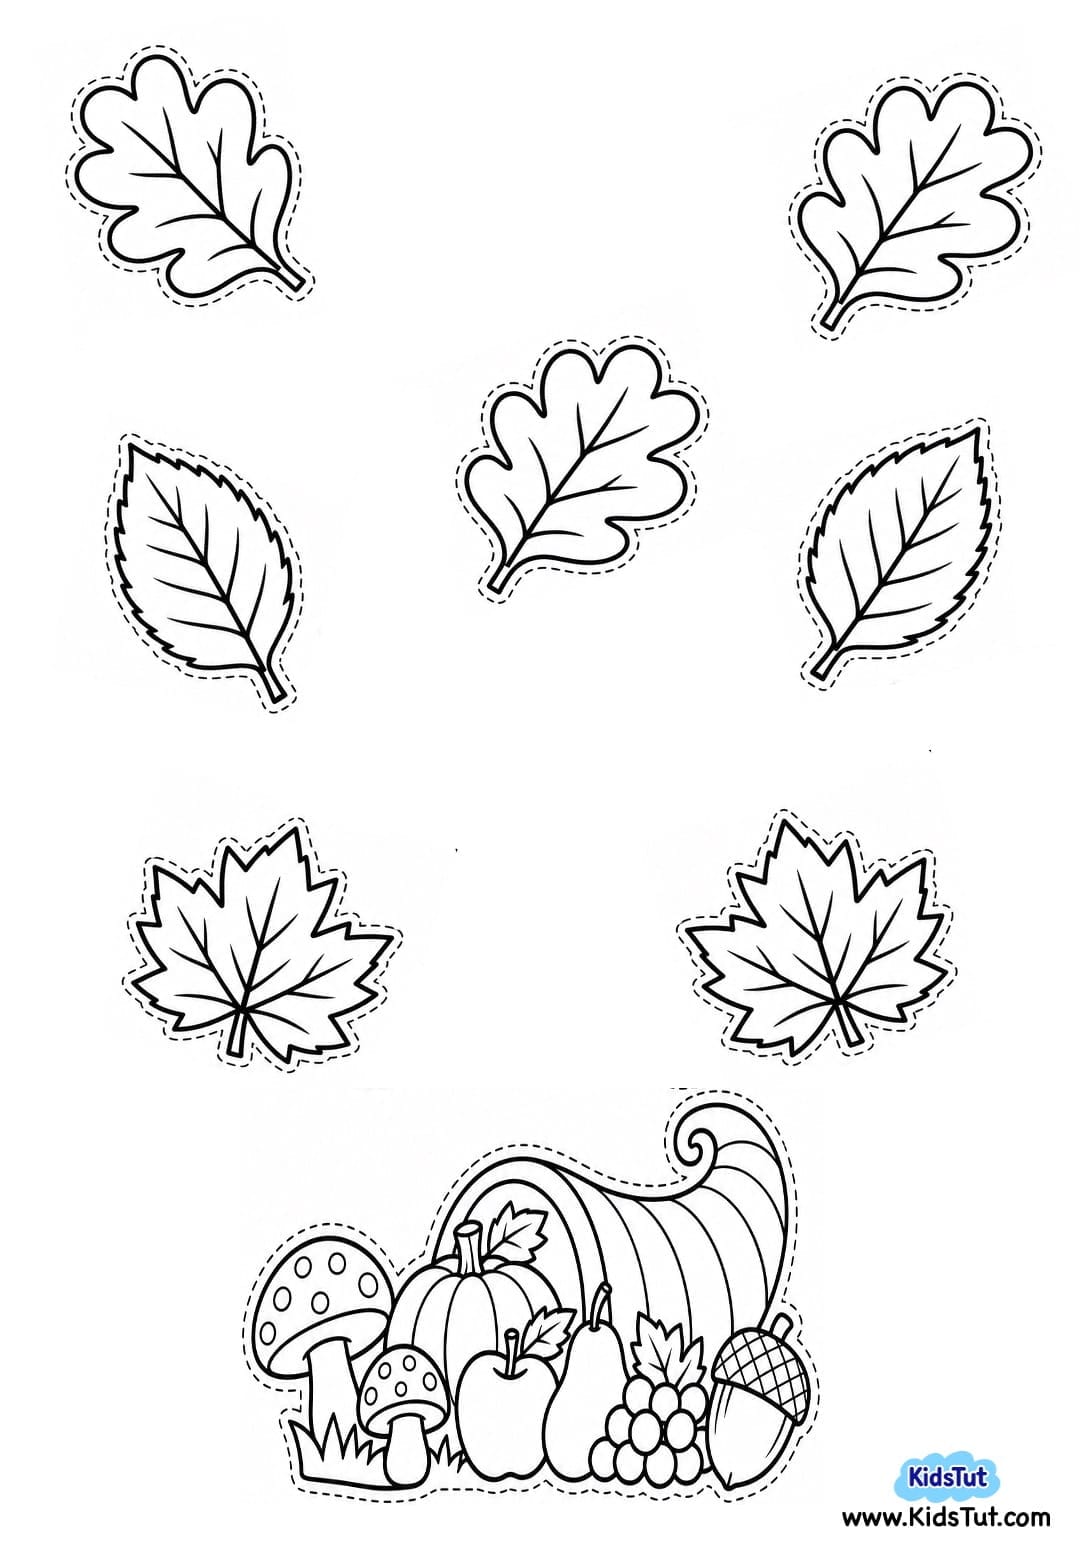
- Print the selected fall leaves and autumn picture templates on white A4 paper.
- You can print the main picture and the separate leaf shapes on different sheets if needed.
- The printable templates make it easy for children to create their own fall wreath decorations.
Step 4: Color the Fall Pictures
- Use crayons, markers, or colored pencils to color the printed pictures.
- Children can use their own favorite colors to make each wreath different and special.
Step 5: Cut Out the Fall Decorations
- Once the coloring is finished, carefully cut around the outside outline of each picture.
- Separate the fall leaves, main picture, and other small decorations from the printed sheets.
- Keep all the cutouts together so they are ready to arrange on the wreath.
Step 6: Arrange the Pictures on the Wreath Base
- Take your prepared wreath ring and place it on the table.
- First, place the main fall picture at the bottom of the wreath. This could be a turkey, bear, cornucopia, or another autumn decoration.
- Next, arrange the colorful fall leaves around the wreath ring.
- You can slightly overlap some leaves to make the wreath look fuller and more colorful.
- Try different arrangements before gluing the pieces.
Step 7: Glue the Fall Decorations
- Once you are happy with the arrangement, apply glue to the back of each cutout.
- Start by attaching the main picture to the bottom of the wreath base.
- Then, glue the colorful fall leaves around the ring, filling the empty spaces.
- Add smaller decorations, such as acorns, mushrooms, or pumpkins, wherever you like.
- Gently press each piece into place and make sure everything is attached securely.
Step 8: Let the Wreath Dry
- After attaching all the decorations, keep your fall wreath aside and let the glue dry completely.
- Avoid moving the wreath until all the paper pieces are firmly attached.
Step 9: Add a Hanging Loop and Display
- Once the wreath is dry, take a piece of yarn, string, or ribbon.
- Attach it to the top of the wreath to create a hanging loop. You can use tape or make a small hole and tie the string through it.
- Now your beautiful fall paper wreath craft is ready to display!
- Hang it on a classroom wall, door, bulletin board, or anywhere you would like to add a little autumn decoration.
Fall Paper Wreath Craft Ideas
1. Cornucopia Fall Wreath Craft
Template:
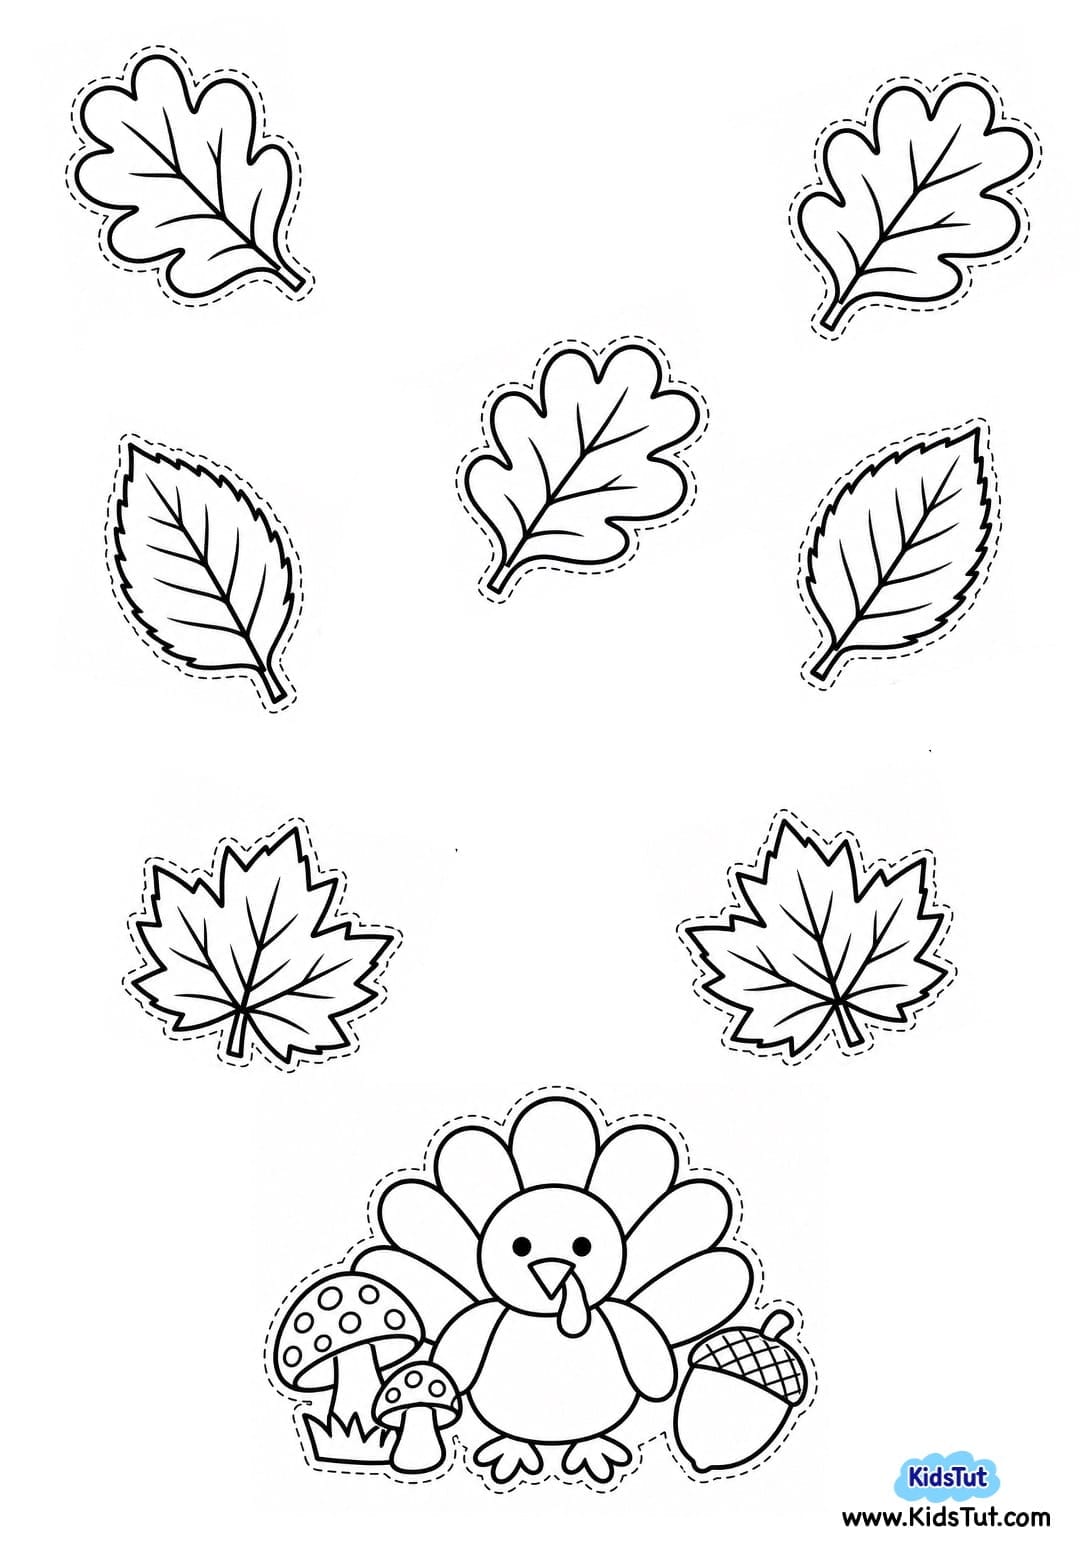
2. Turkey Fall Wreath Craft
Template:
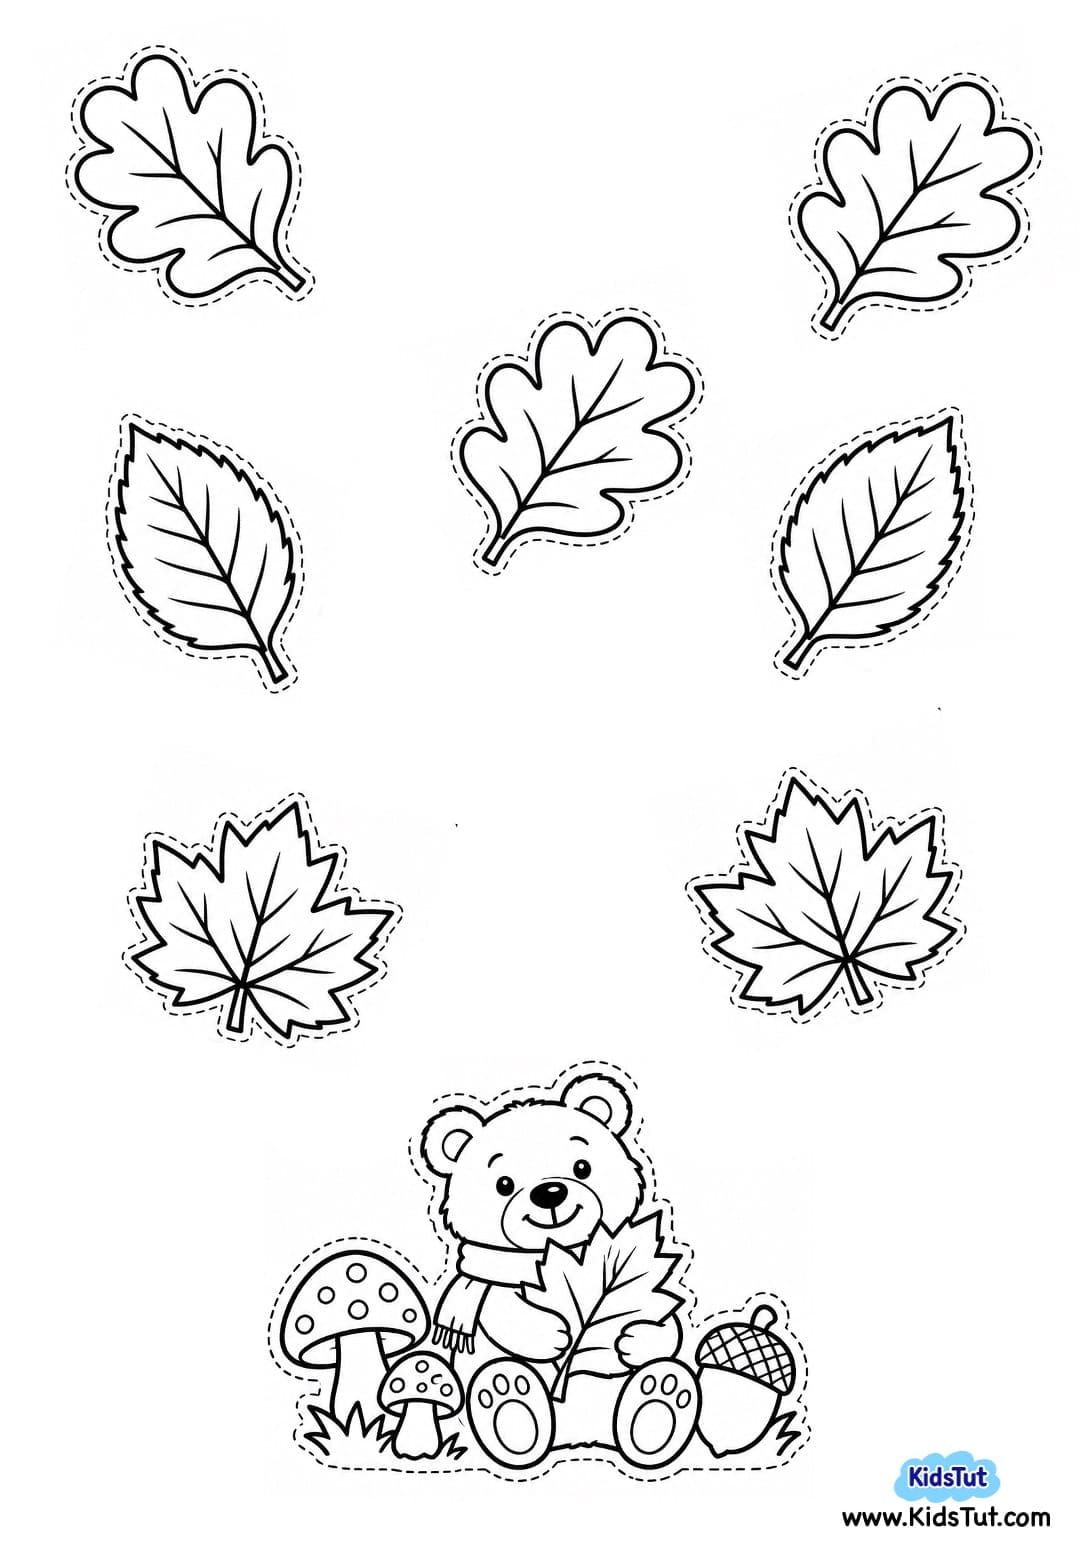
3. Bear Fall Wreath Craft
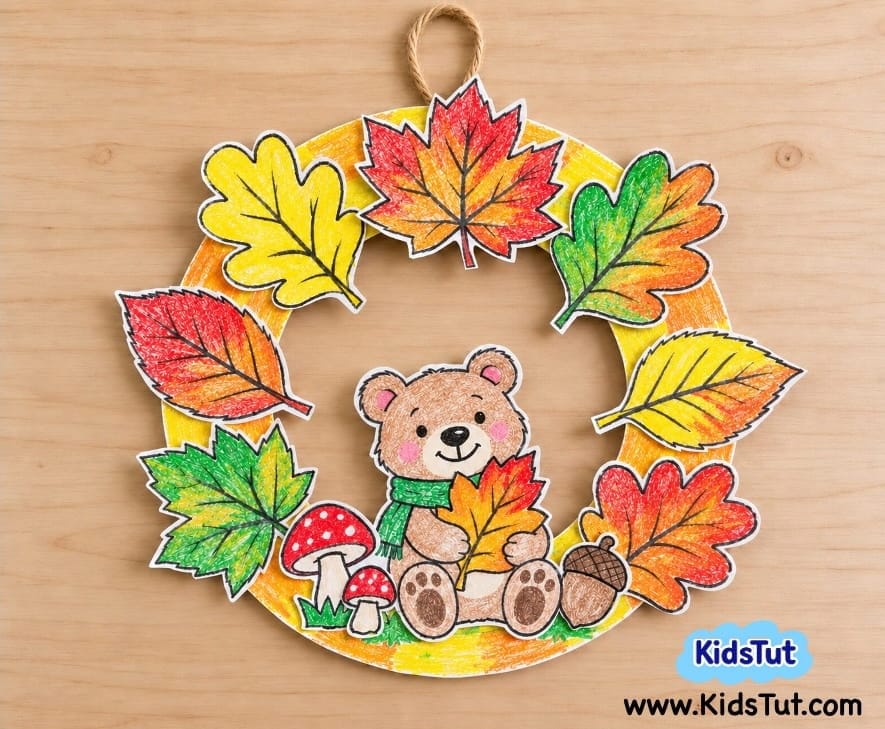
Template:
4. Scarecrow Fall Wreath Craft
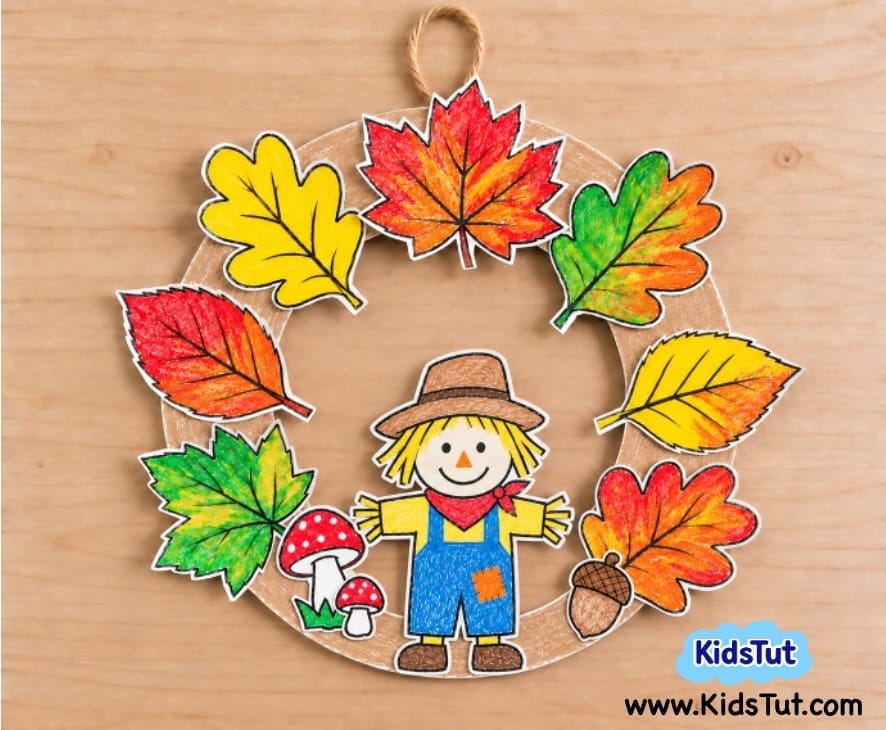
Template:
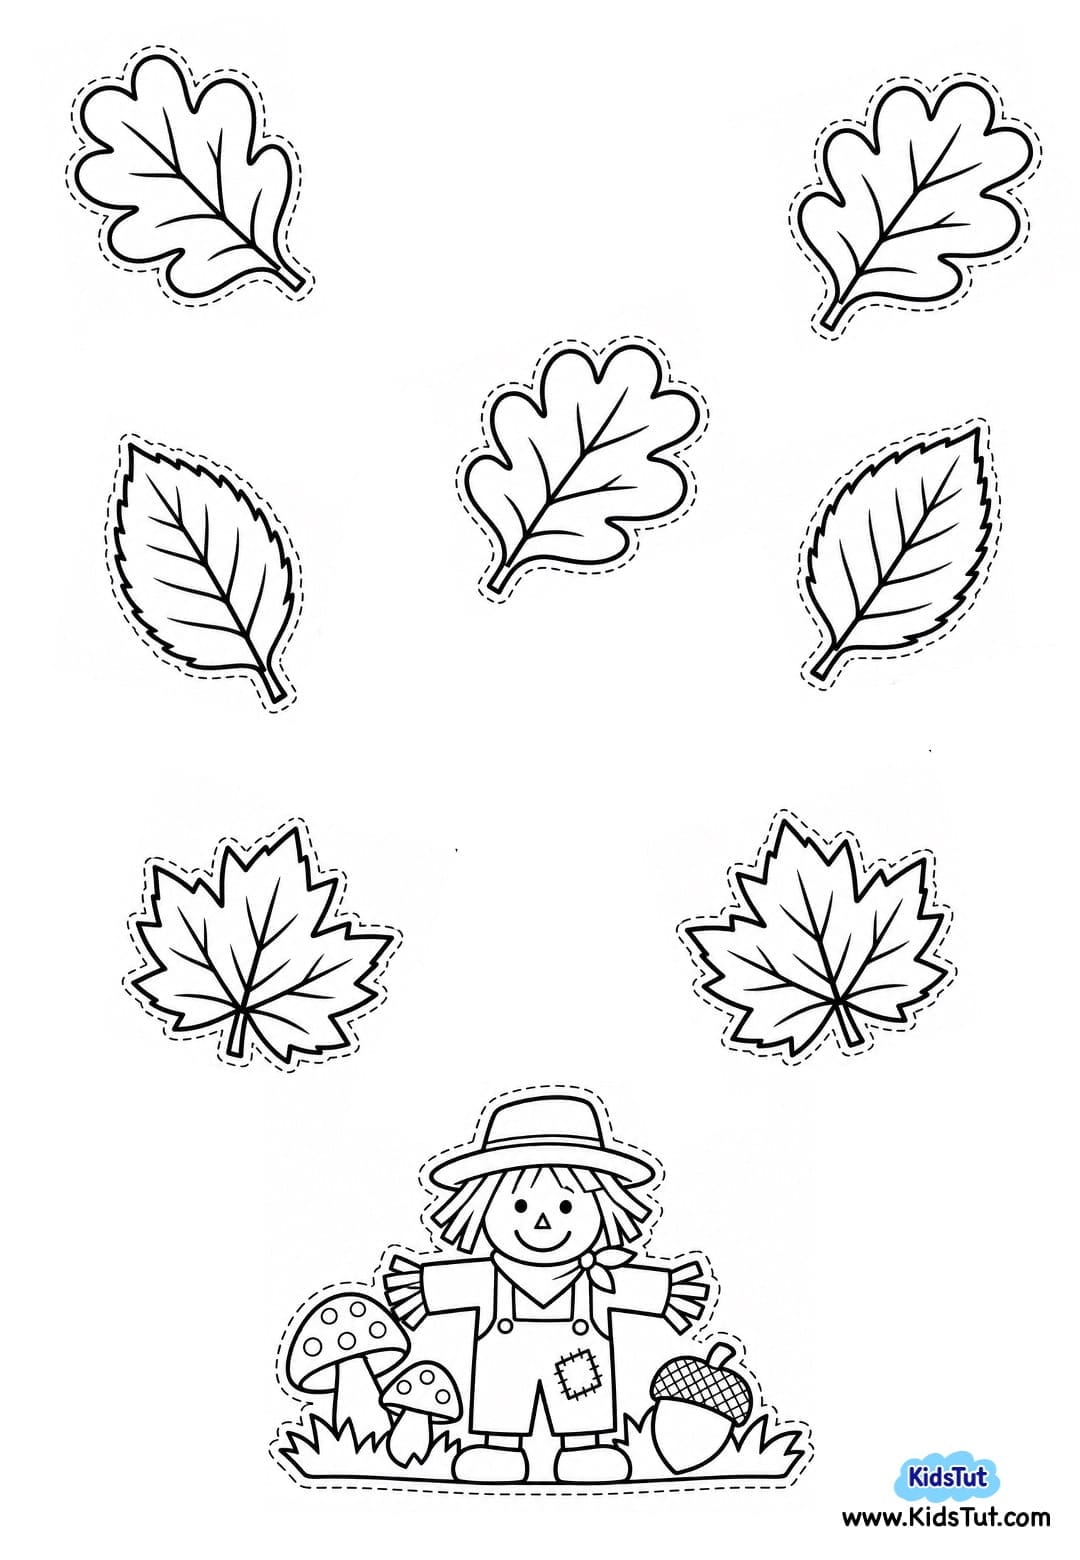
5. Harvest Fall Wreath Craft
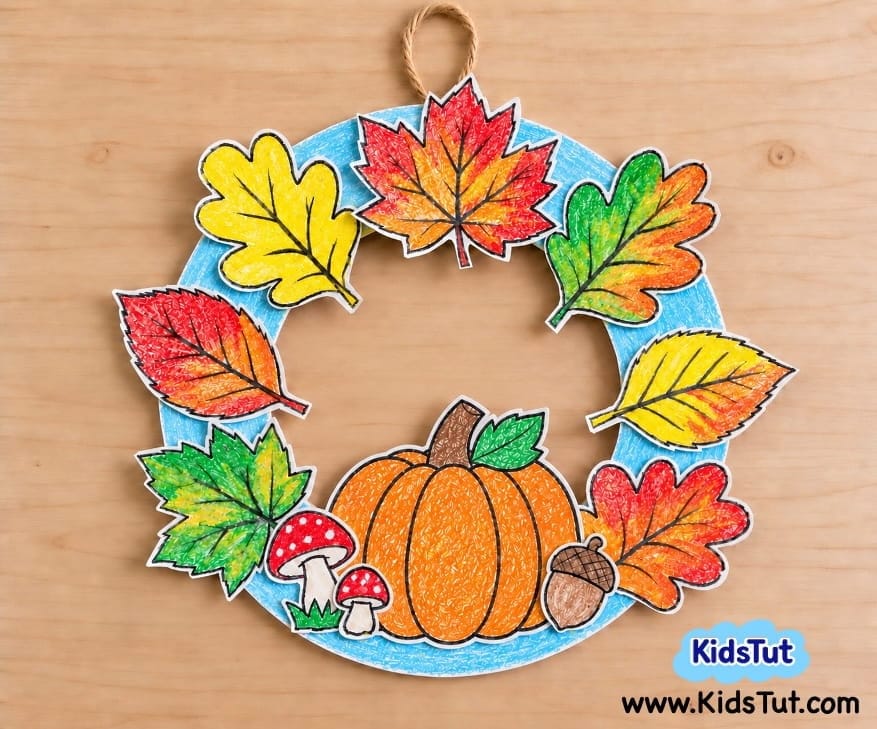
Template:
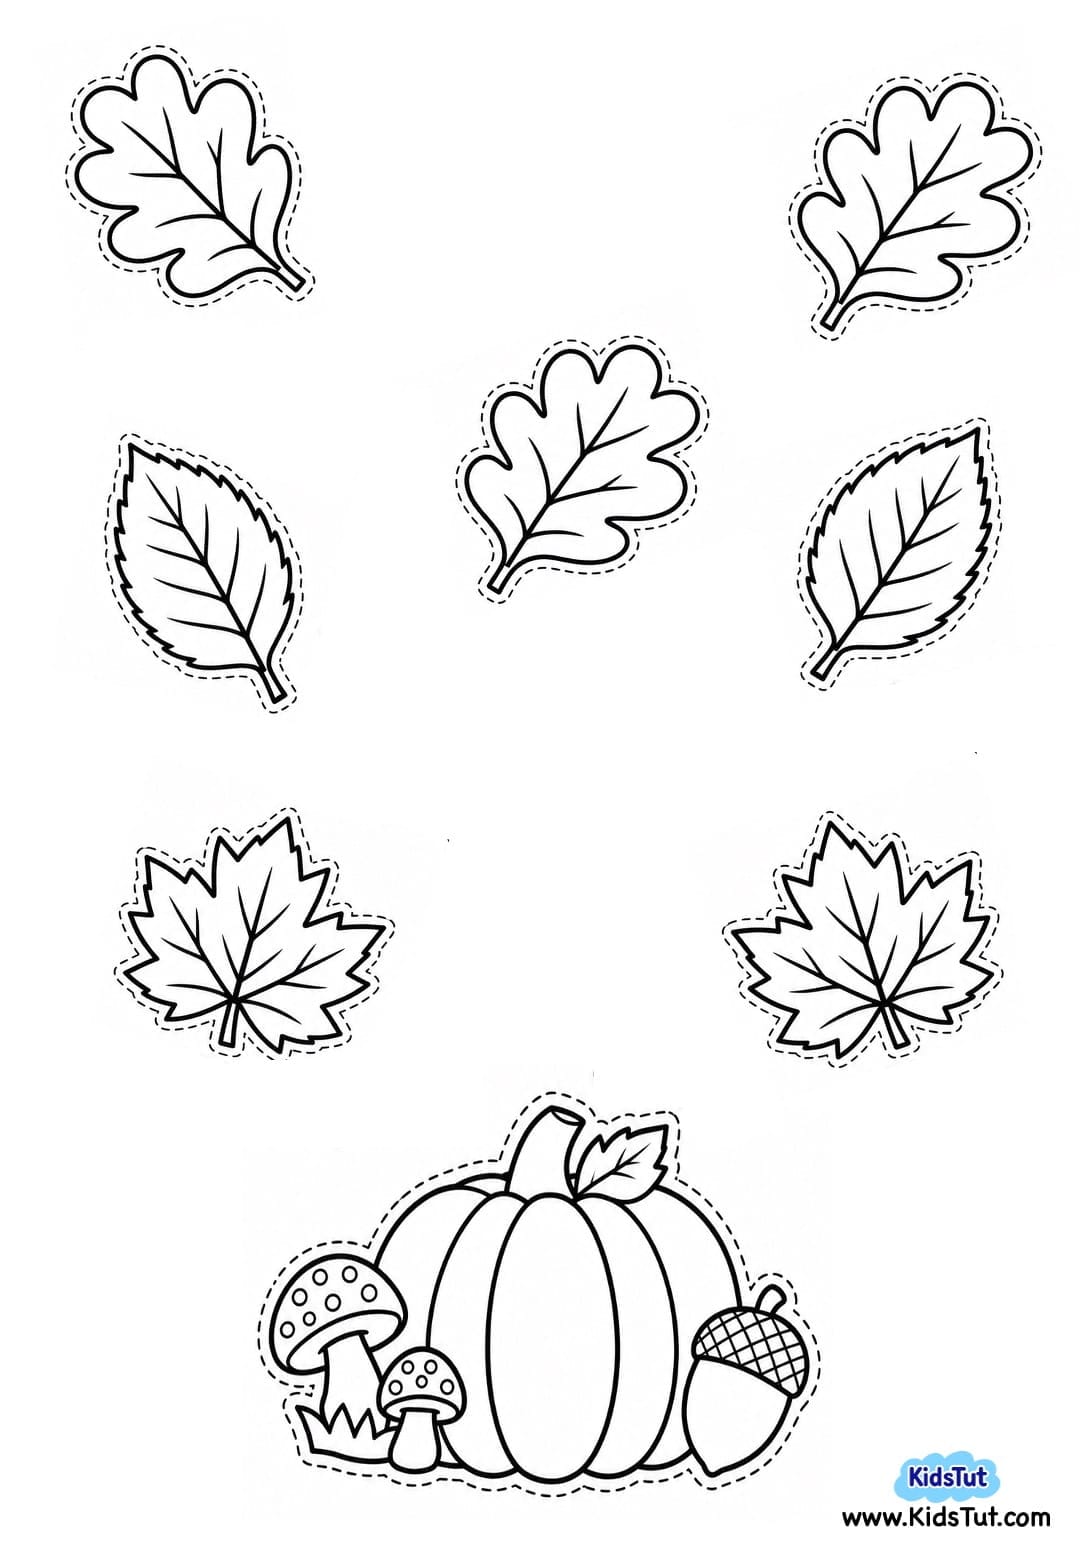
Benefits of Fall Paper Wreath Crafts for Kids
- Develops fine motor skills – Coloring, cutting, and gluing help strengthen little hands and fingers.
- Improves cutting skills – Children practice following the outlines of leaves and autumn pictures.
- Encourages creativity – Kids can choose their own colors and arrange the decorations in different ways.
- Builds hand-eye coordination – Placing and gluing small paper cutouts helps improve control and accuracy.
- Teaches color recognition – Children explore beautiful autumn colors such as red, orange, yellow, brown, and green.
- Introduces fall themes – Kids learn about autumn leaves, pumpkins, acorns, turkeys, and other seasonal pictures.
- Develops planning skills – Arranging the pictures before gluing helps children practice making simple decisions.
- Encourages teamwork – Children can share craft supplies and help each other make beautiful wreaths.
- Builds confidence – Kids feel proud when they finish and display their handmade fall decorations.

Click here to get the FREE PDF template: Download ( Printable )