Easy Halloween Paper Rosette Crafts for Kids to Make
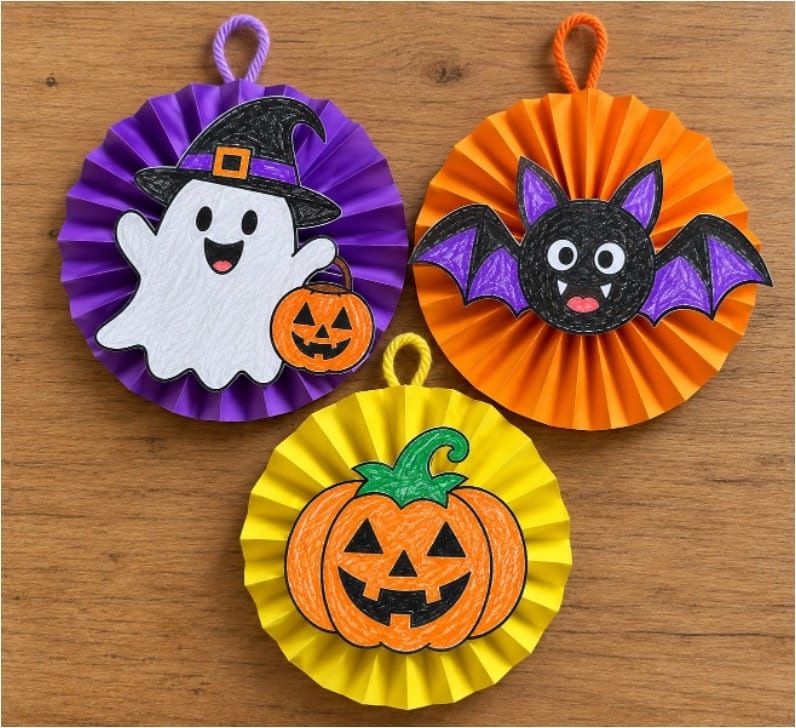
Kids can make bright accordion-folded paper rosettes and decorate the centers with their favorite Halloween characters. Try a friendly ghost, smiling jack-o'-lantern, cute bat, witch, black cat, monster, or any other Halloween design.
This Halloween paper craft for kids is great for classroom activities, Halloween parties, homeschool projects, or home decor. Kids can enjoy folding, coloring, cutting, and gluing as they create their own Halloween rosette decorations.
What You Need
- A4 construction paper in Halloween colors
- Printable Halloween templates
- White paper for printing
- Crayons, oil pastels, or colored pencils
- Scissors
- Glue or double-sided tape
- Yarn or string, optional for hanging
- Googly eyes, optional
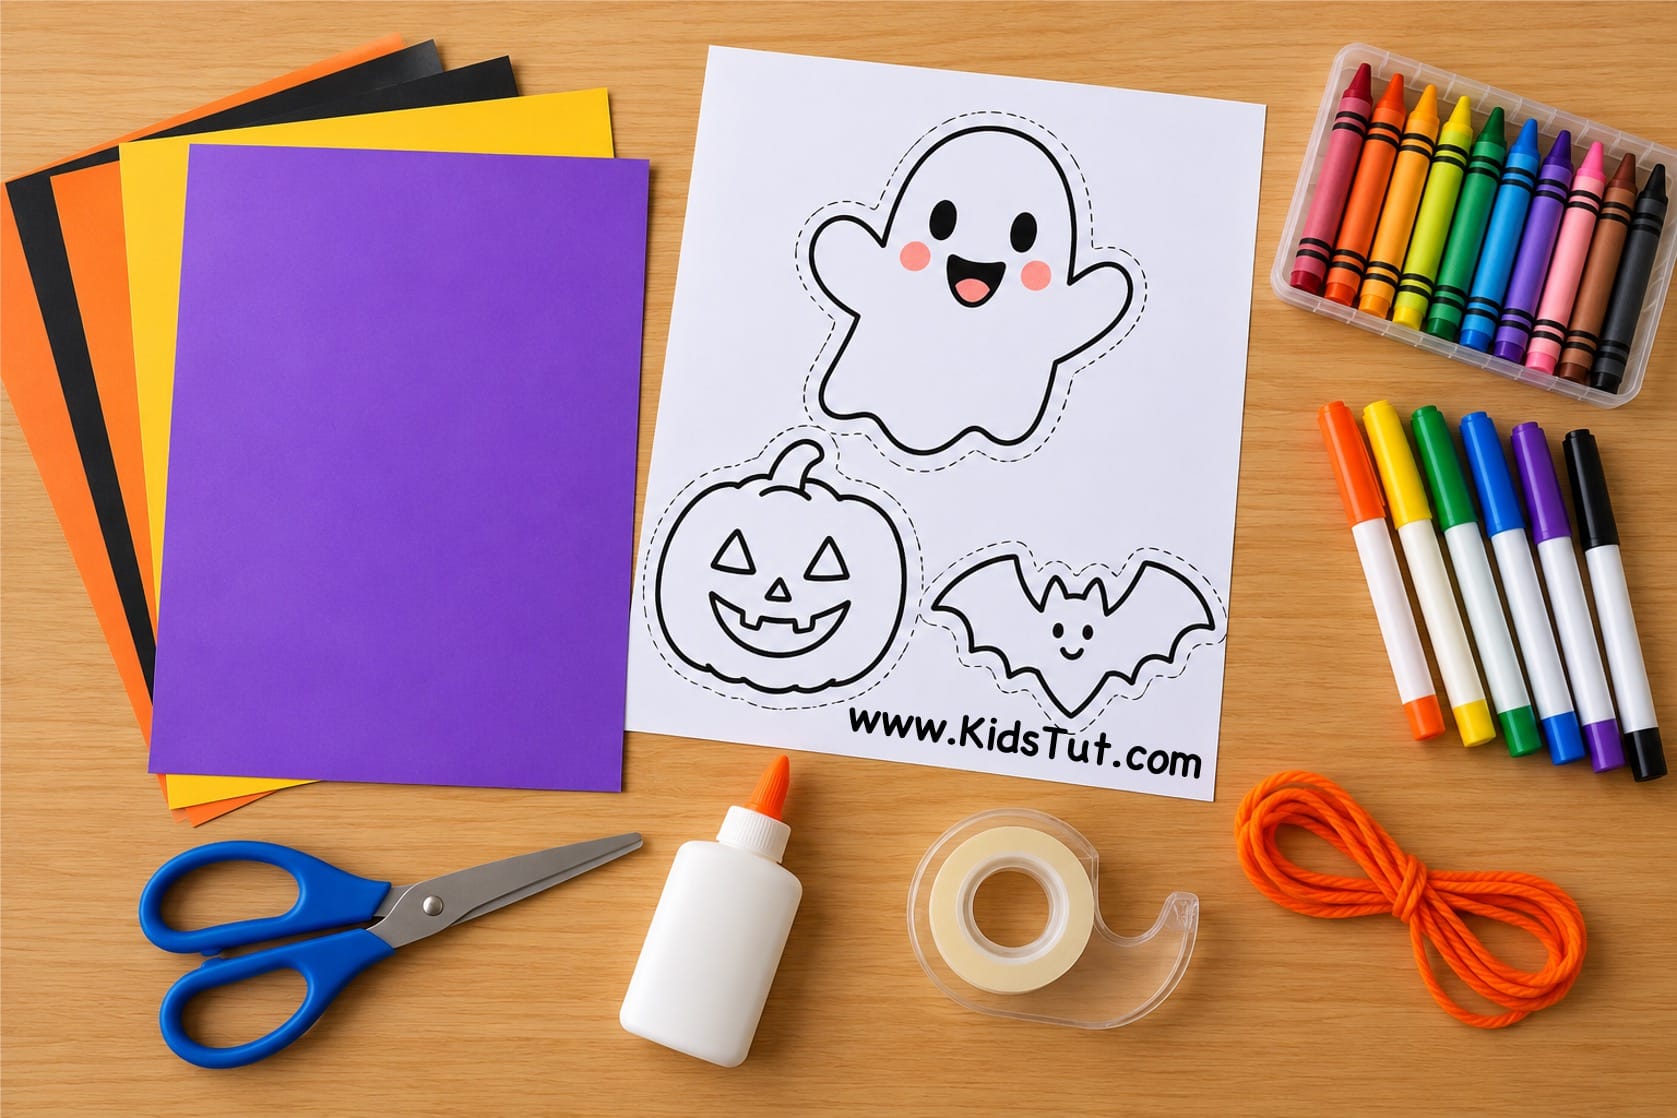
Purple, orange, yellow, green, and black are great colors for a Halloween theme, but kids can choose any colors they like.
How to Make:
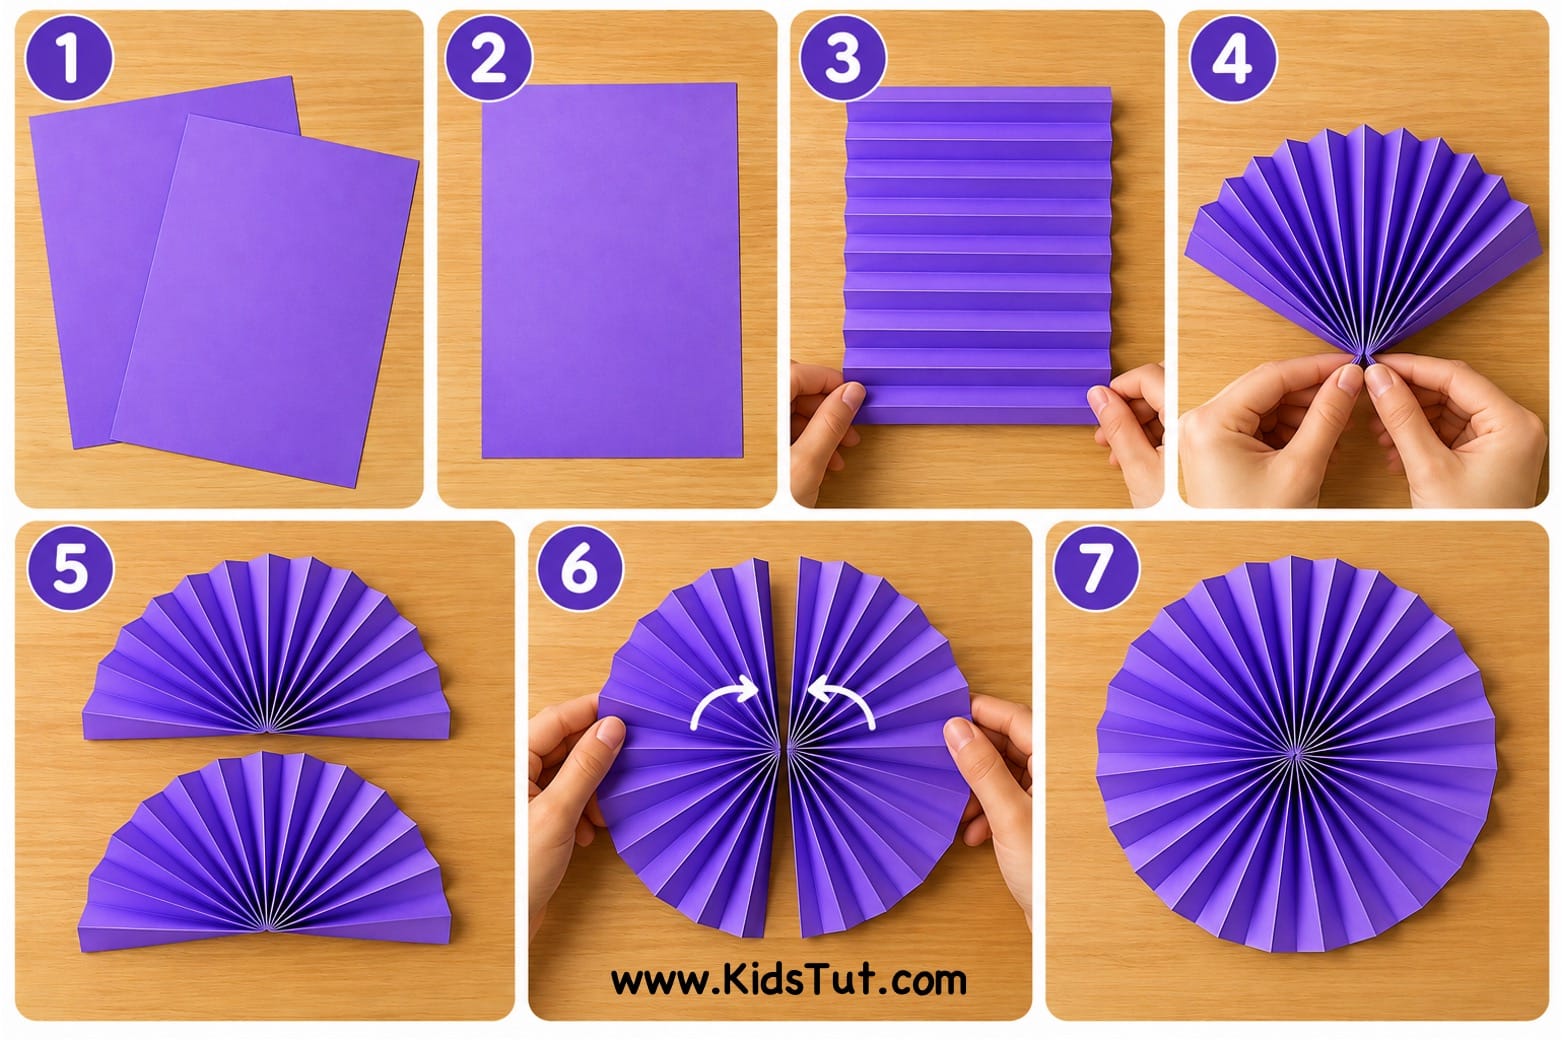
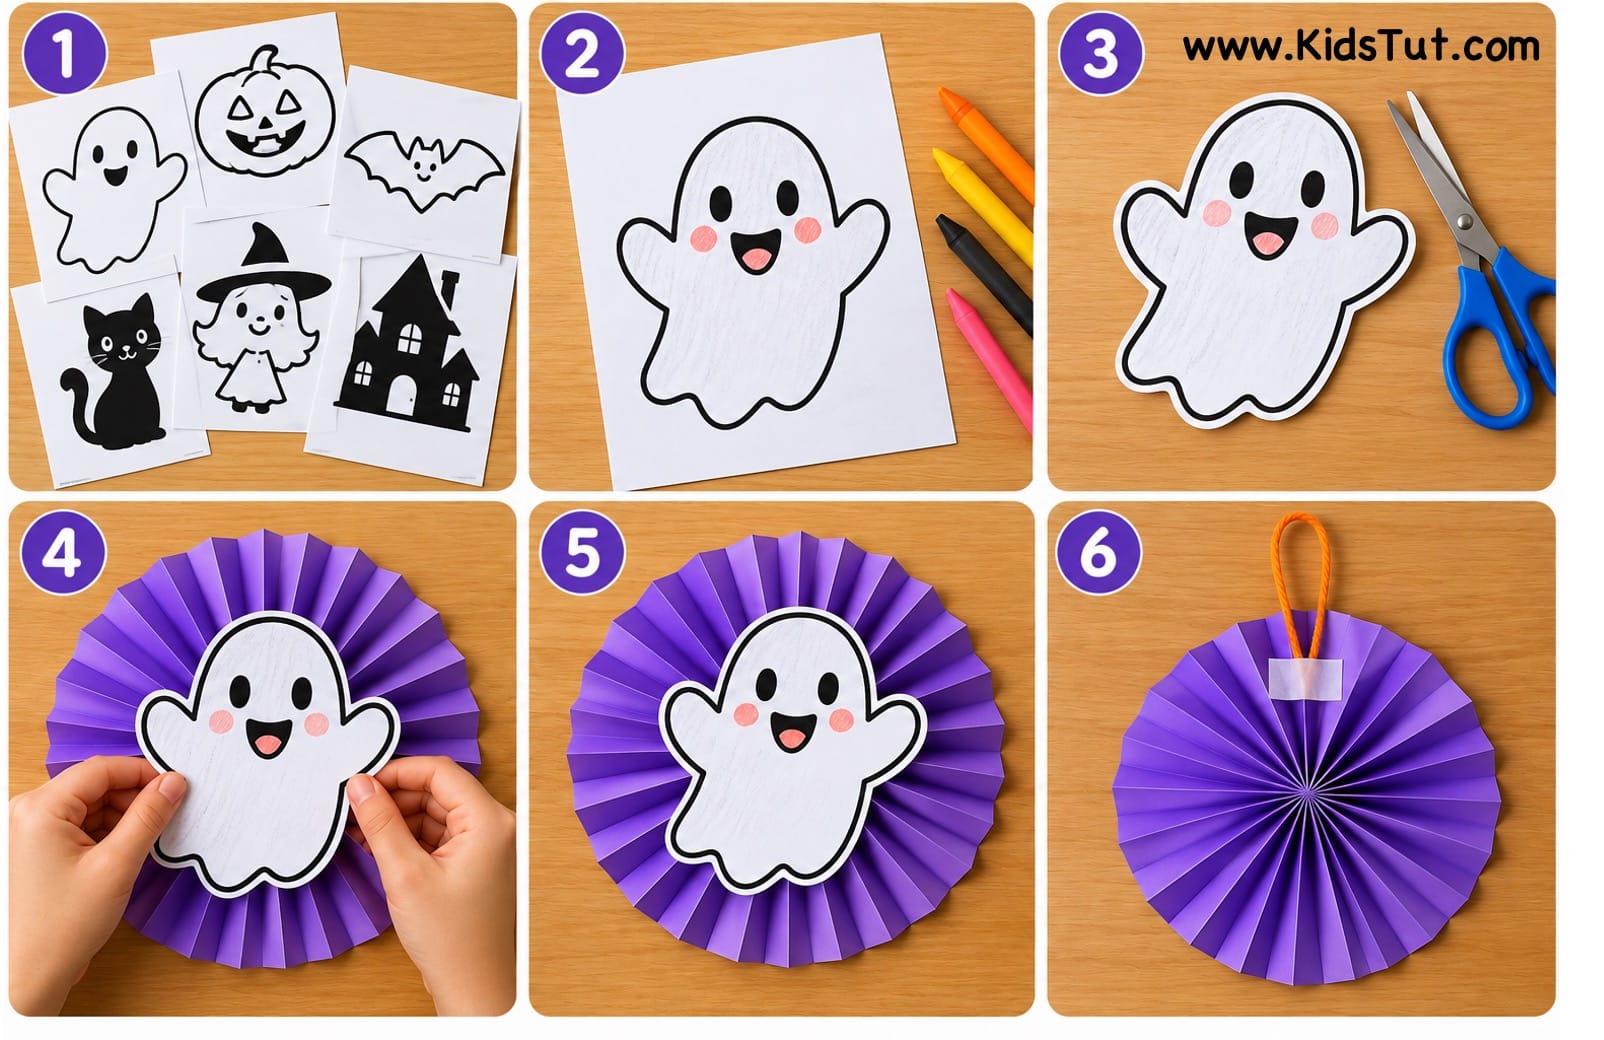
1. Make the Paper Rosette
- Choose two A4 sheets of construction paper in the same color.
- Place the A4 sheet in portrait position.
- Start folding from one short side of the paper, folding it back and forth in an accordion style. Try to keep each fold about the same width, and continue folding until you reach the other end of the sheet.
- Once the whole sheet is folded, fold it in half and attach the two inside edges together. This will create a fan shape.
- Repeat the same steps with the second A4 sheet to make another fan.
- Now join the two paper fans together along their open edges. Carefully spread them out until they form a full circle.
- Glue or tape the edges together securely.
- Your paper rosette base is now ready!
2. Choose a Halloween Character
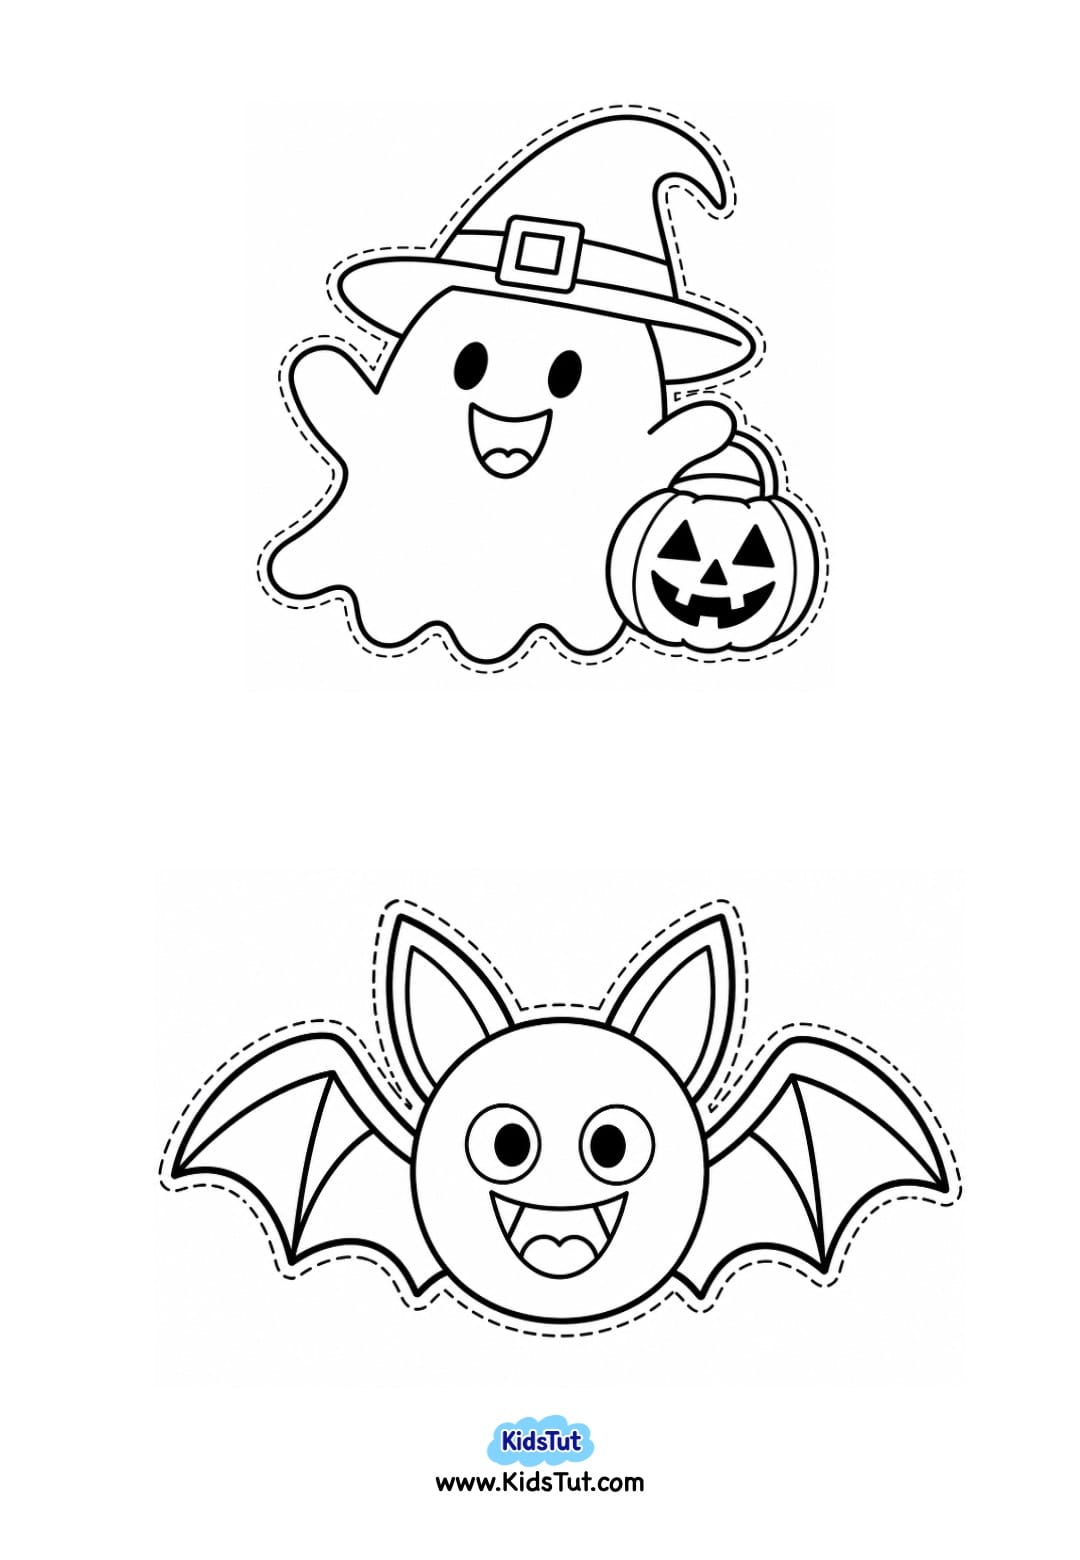
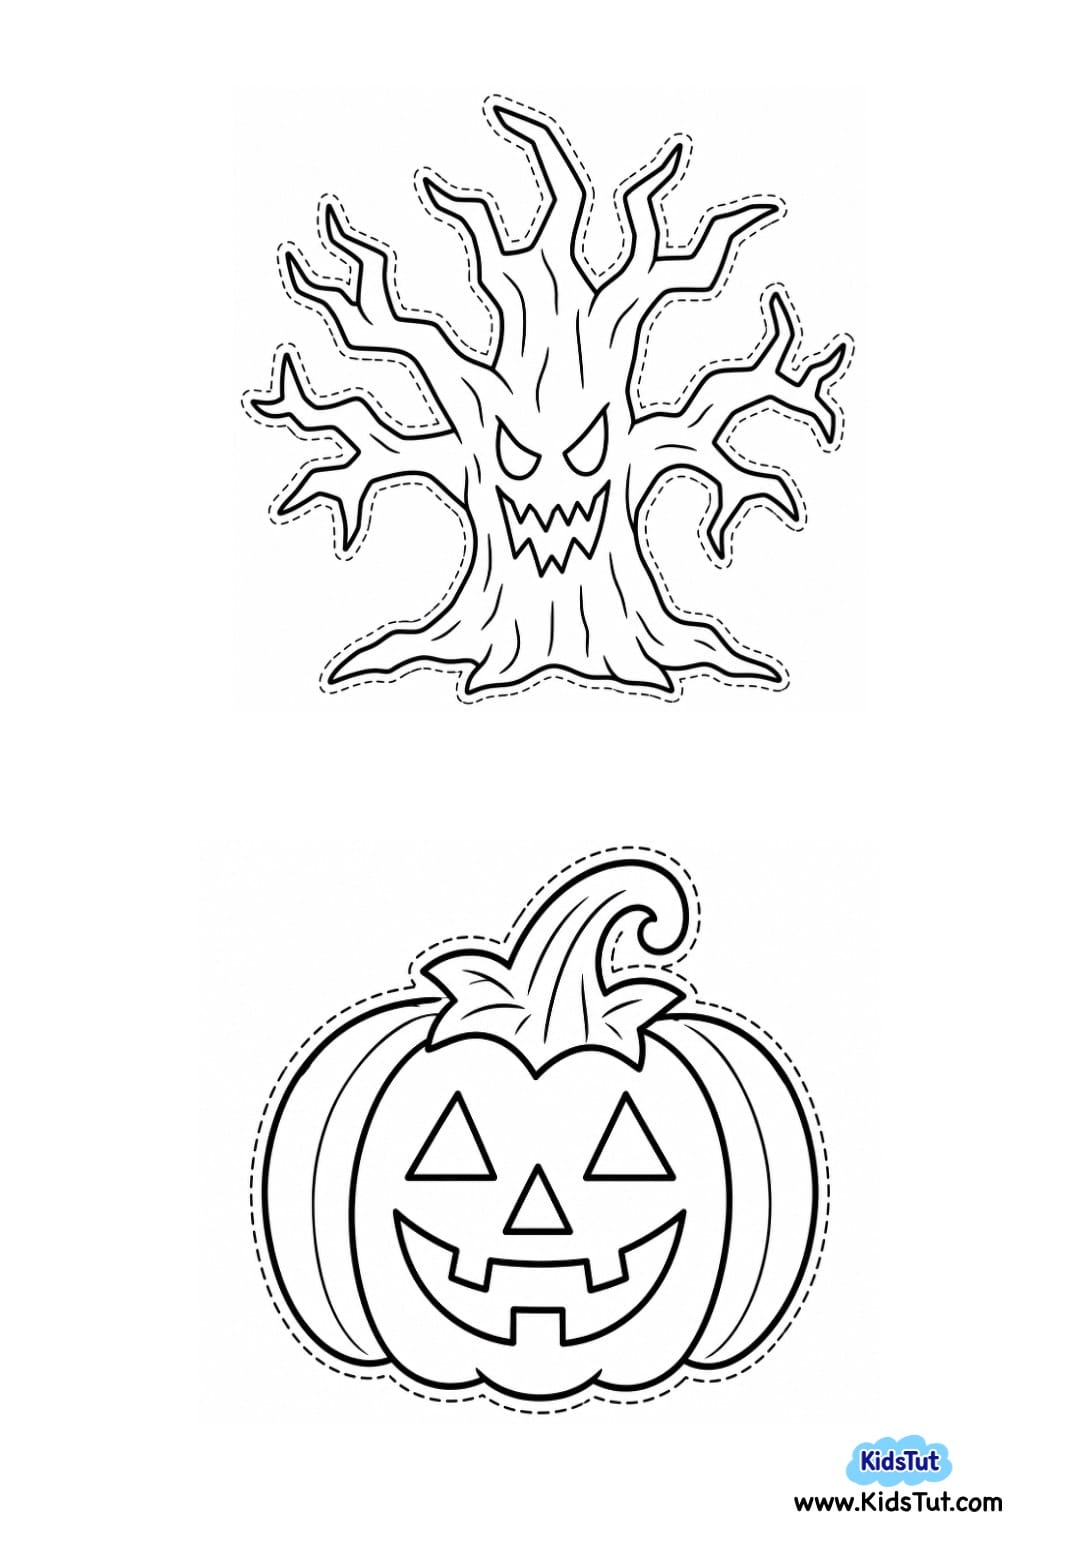
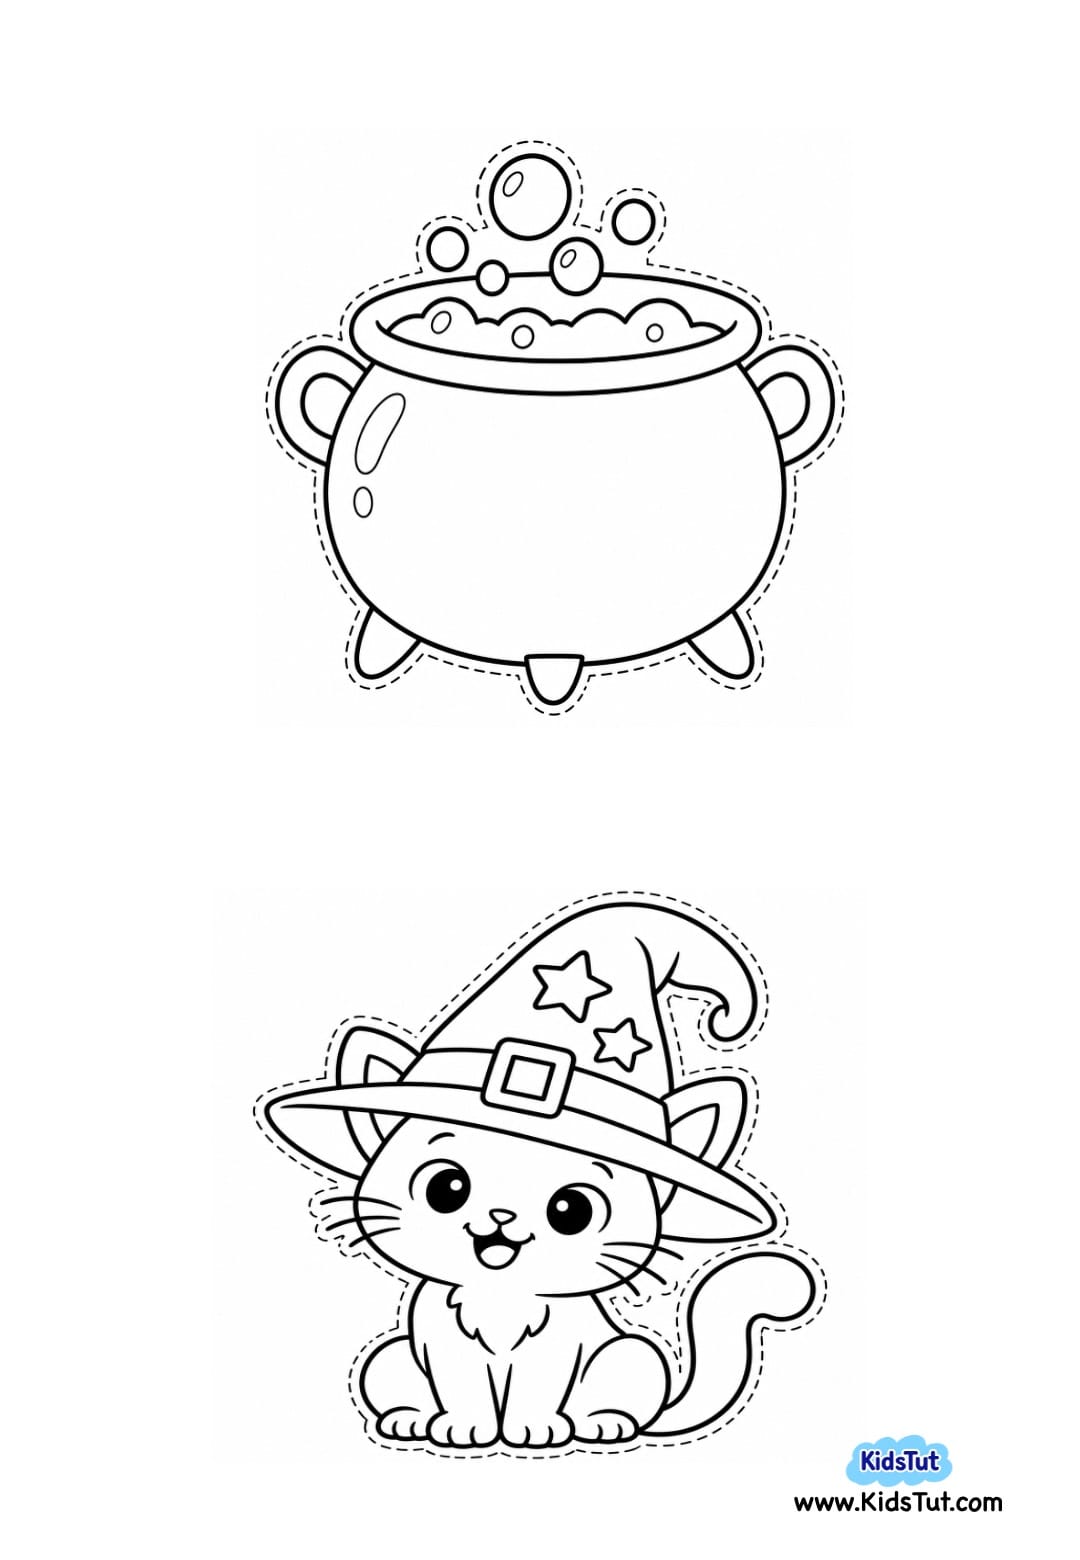
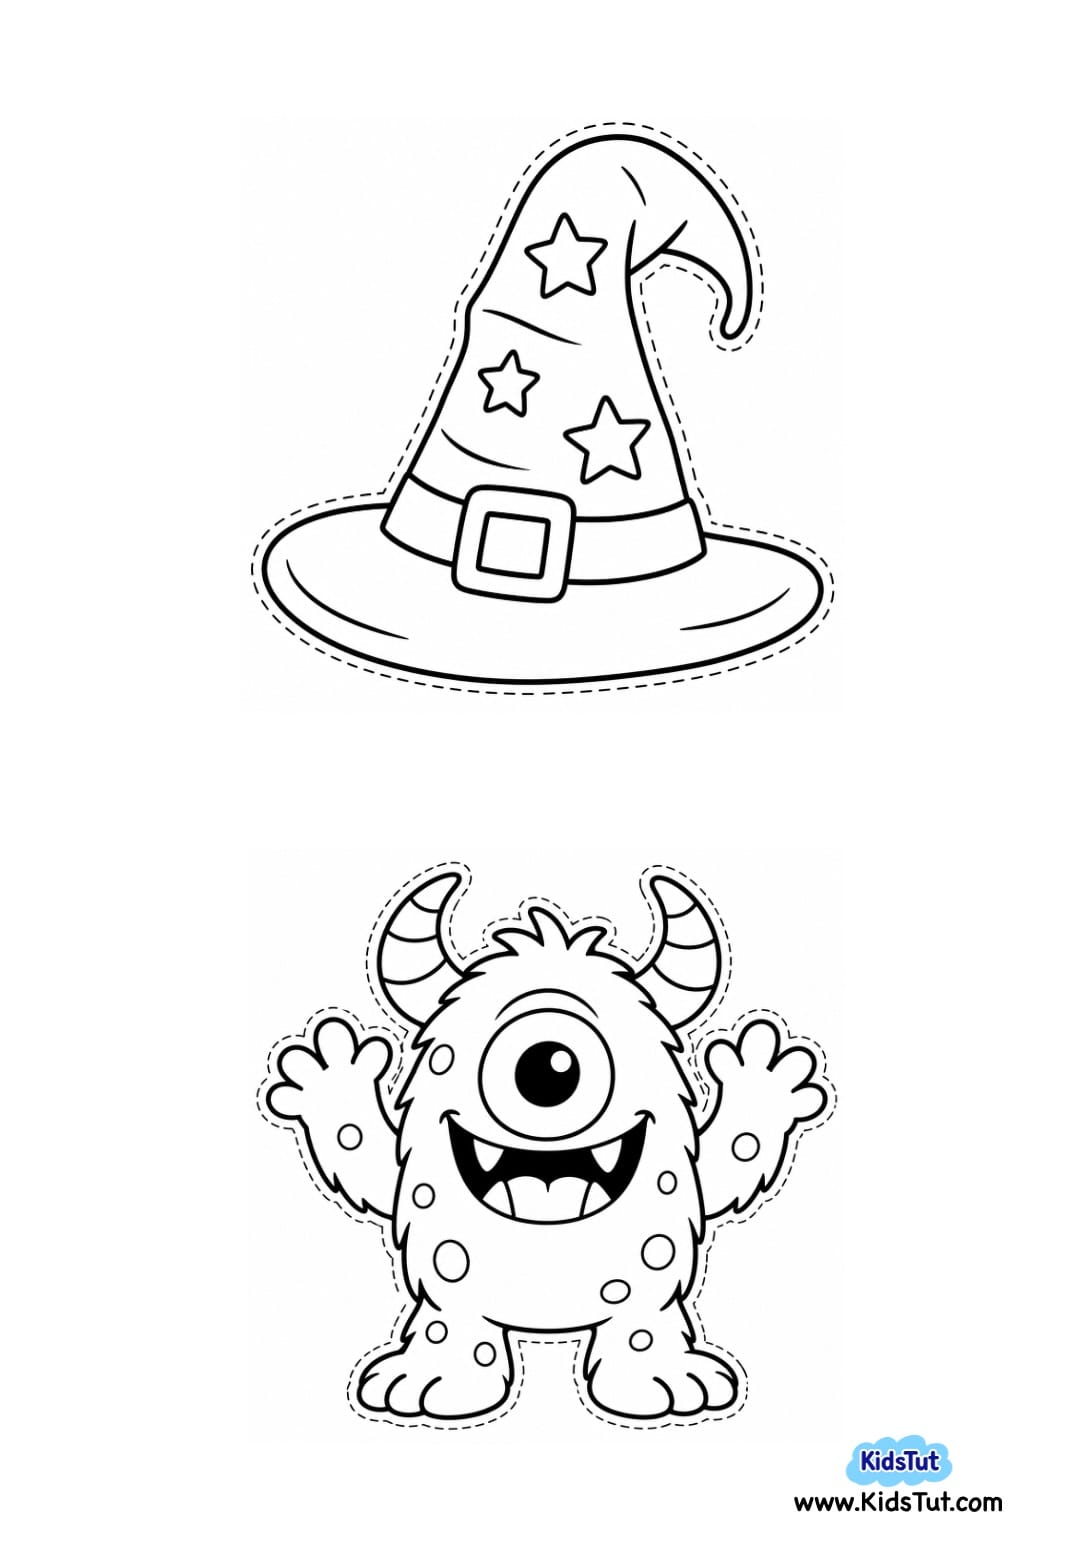
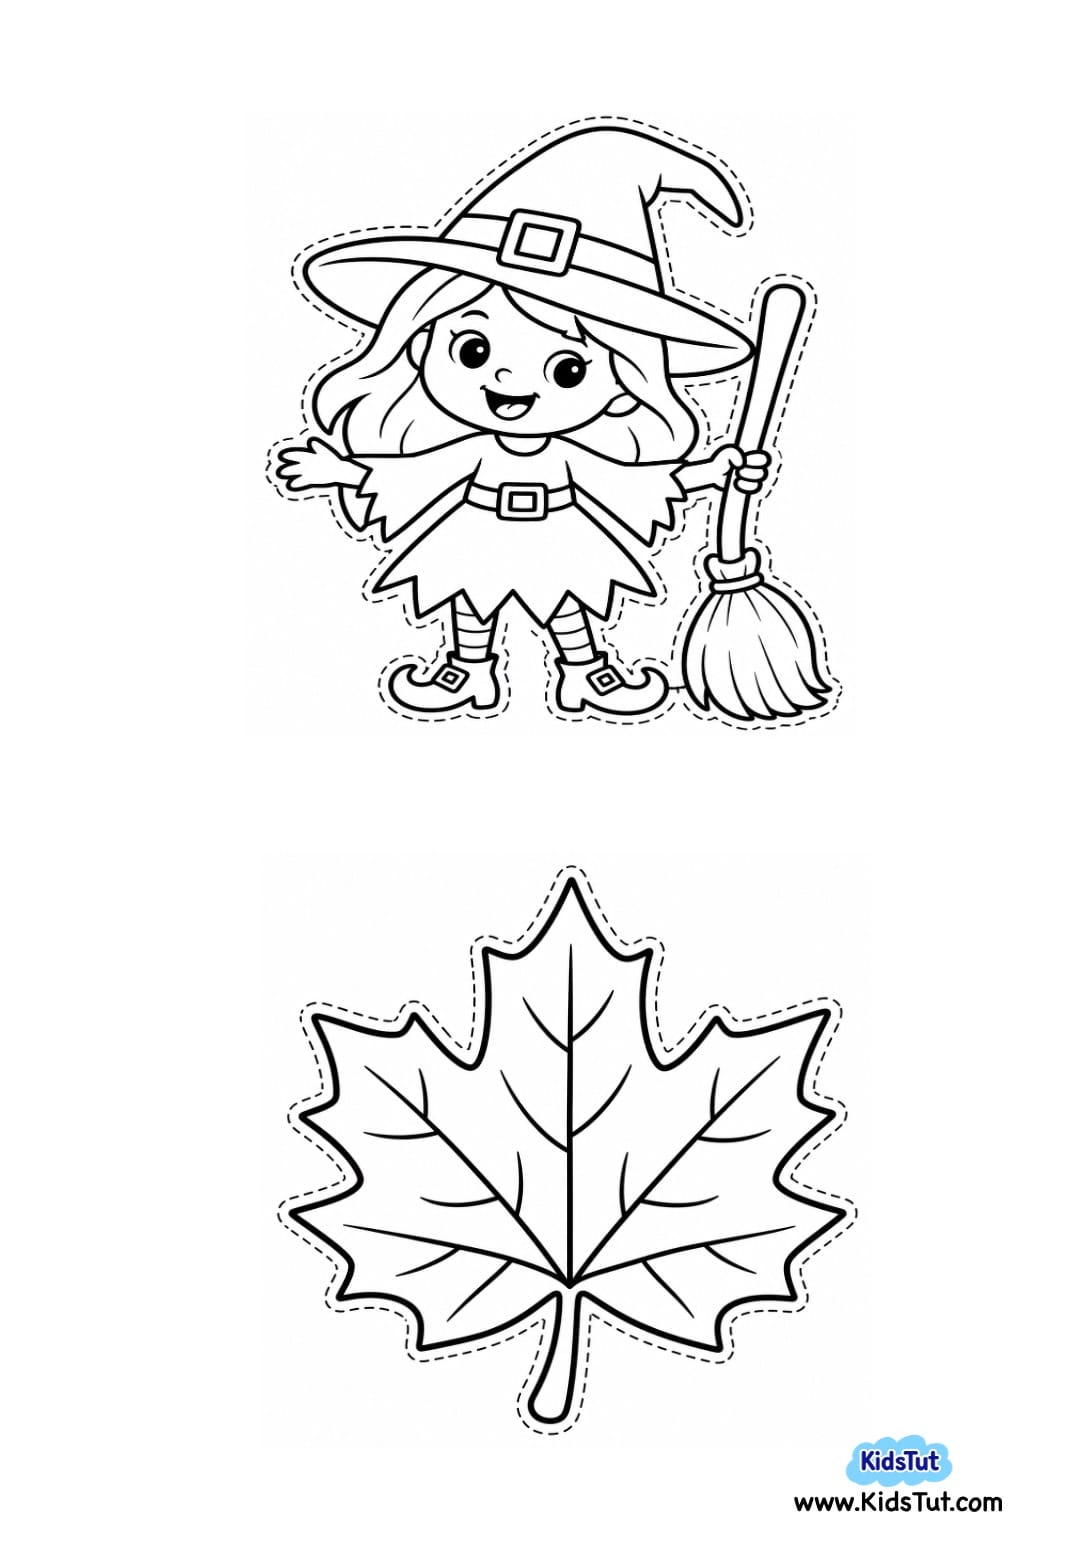
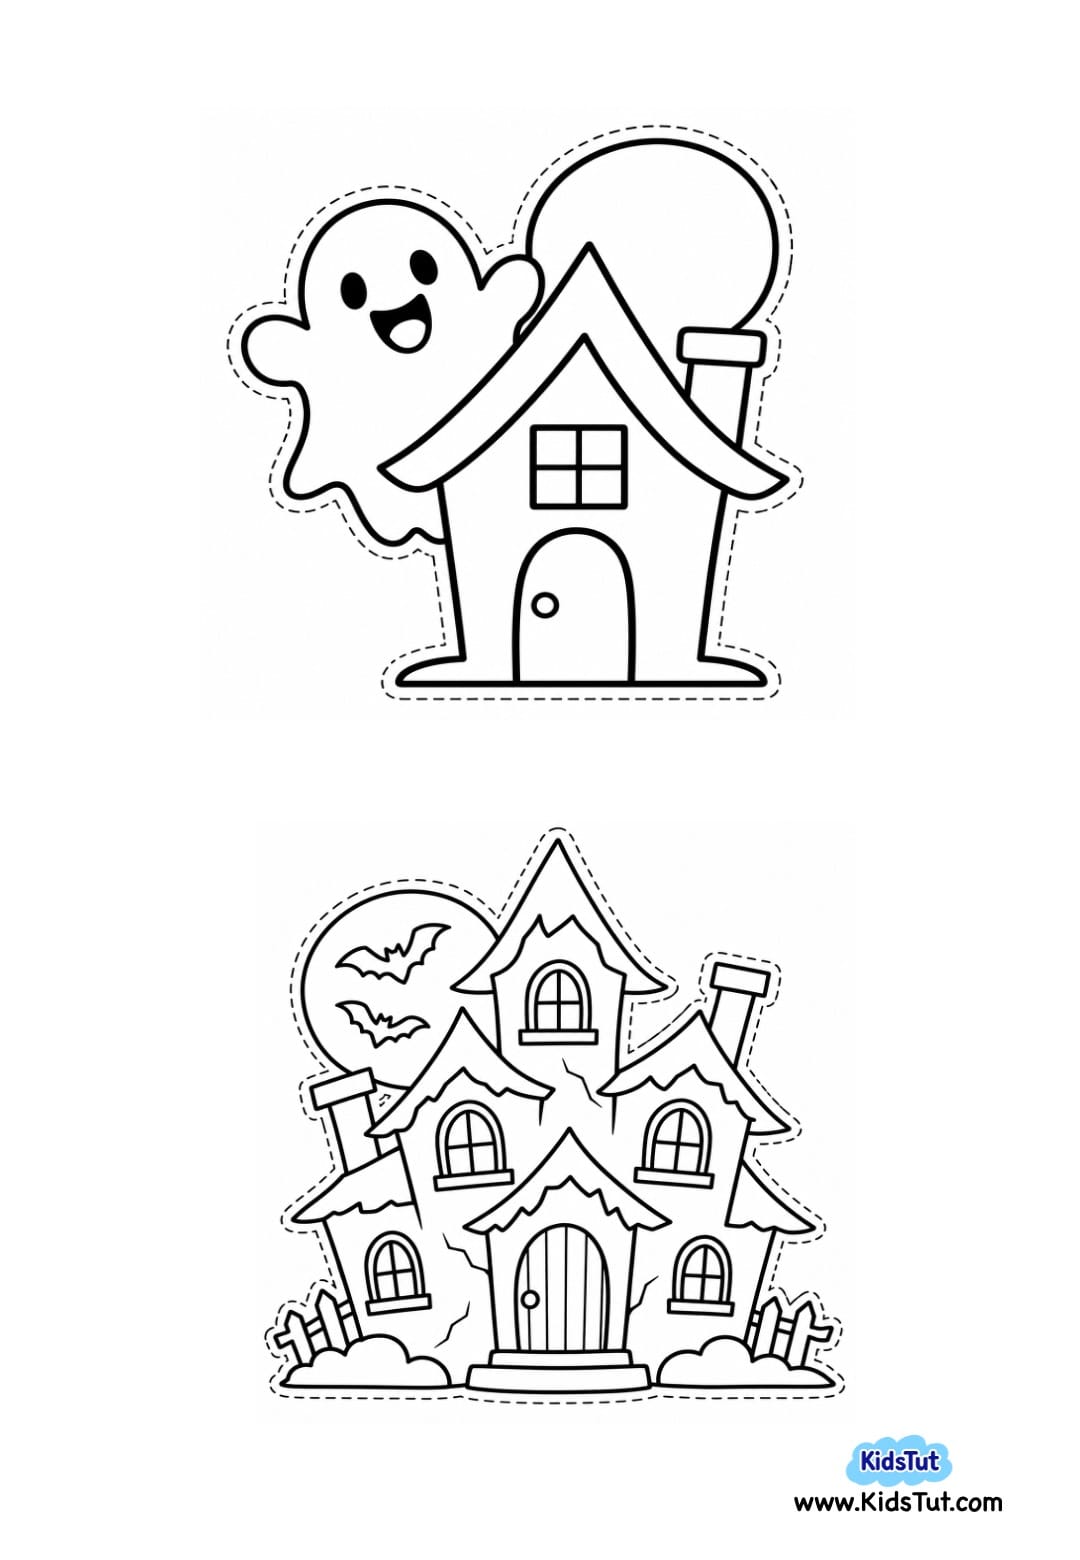
- Choose your favorite design from the printable Halloween templates.
- You can try a ghost, a jack-o’-lantern, a bat, a witch, a cat, a monster, a haunted house, a spooky tree, and more!
- Print the Halloween character on a white sheet of paper.
Templates:
3. Color the Halloween Picture
- Use crayons, oil pastels, or colored pencils to decorate your Halloween character.
- Kids can follow traditional Halloween colors or use their imagination and choose completely different colors.
4. Cut Out the Character
- Once the coloring is finished, carefully cut around the outside outline of the Halloween character.
- Younger children may need adult help with smaller or more detailed areas.
5. Add the Character to the Rosette
- Place the finished Halloween cutout in the center of the paper rosette.
- Check that you like its position before adding glue.
- Then, glue the character securely onto the center of the rosette and gently press it down.
- Keep it aside and let the glue dry completely.
6. Add a Hanging Loop
- If you want to hang your Halloween rosette, cut a short piece of yarn, ribbon, or string.
- Form it into a loop and attach it securely to the back of the rosette.
- Now your Halloween paper rosette craft is ready to display!
Benefits of Halloween Paper Rosette Crafts
- Builds fine motor skills through folding, coloring, cutting, and gluing.
- Supports hand-eye coordination while making even accordion folds.
- Encourages creativity by letting kids choose their own colors and characters.
- Practices simple folding skills while making the paper rosette.
- Develops coloring skills with easy printable Halloween pictures.
- Encourages imagination as children create different Halloween designs.
- Makes Halloween fun with a simple hands-on activity.
These Easy Halloween Paper Rosette Crafts for Kids to Make are simple, colorful, and easy to customize. With just construction paper, printable Halloween pictures, crayons, scissors, and glue, kids can create decorations they will be excited to display.

Click here to get the FREE PDF template: Download (Printable)