Easy Fall Rain Boots and Leaves Paper Craft for Kids
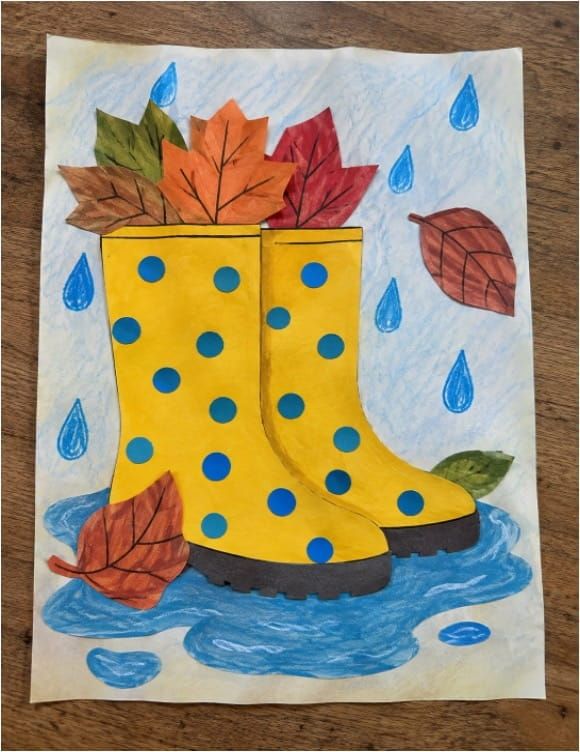
Rainy fall days are perfect for colorful crafts! This Easy Fall Rain Boots and Leaves Paper Craft for Kids combines some of the best parts of autumn—bright leaves, rainy weather, puddles, and rain boots—all in one simple art activity.
Kids can color a rainy-day background, decorate their own rain boots, and add red, orange, yellow, brown, and green fall leaves. It is an easy project for preschool, kindergarten, elementary classrooms, homeschool activities, or a cozy craft day at home.
With the printable templates, children can easily create their own fall rain boots craft while enjoying coloring, cutting, arranging, and gluing.
What You Need
- Printable rainy scene background
- Printable rain boots template
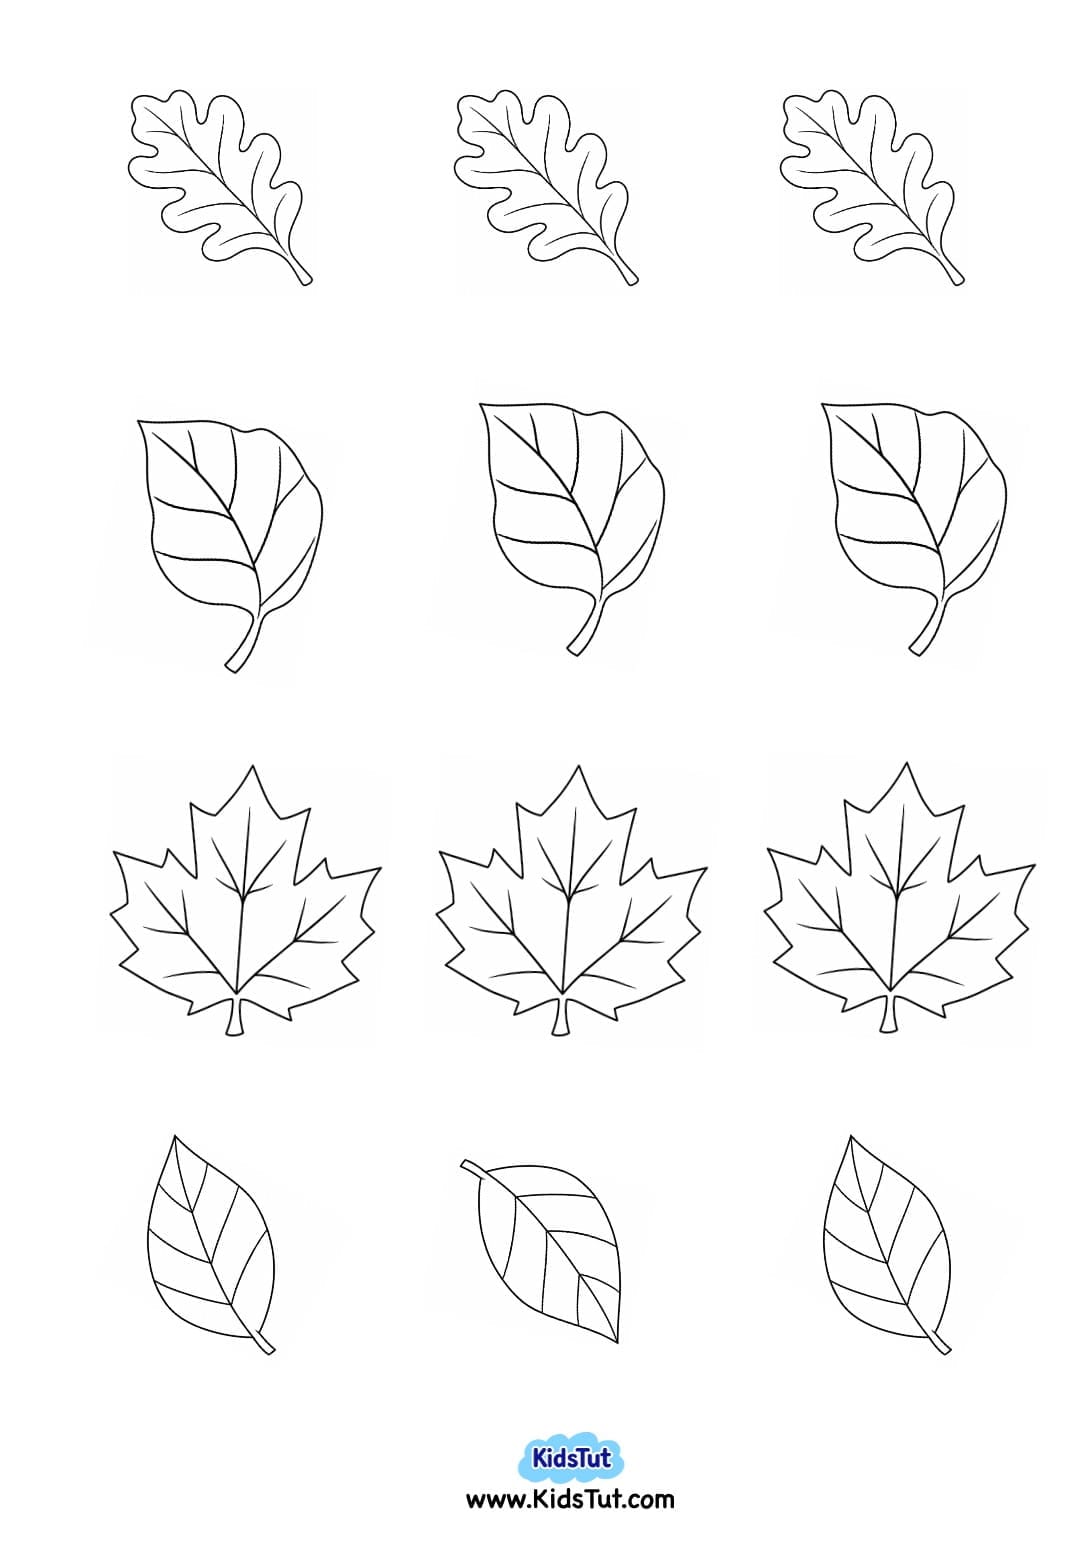
- Printable fall leaf templates
- White A4 paper or cardstock
- Fall-colored paper
- Crayons, oil pastels, or colored pencils
- Markers
- Scissors
- Glue
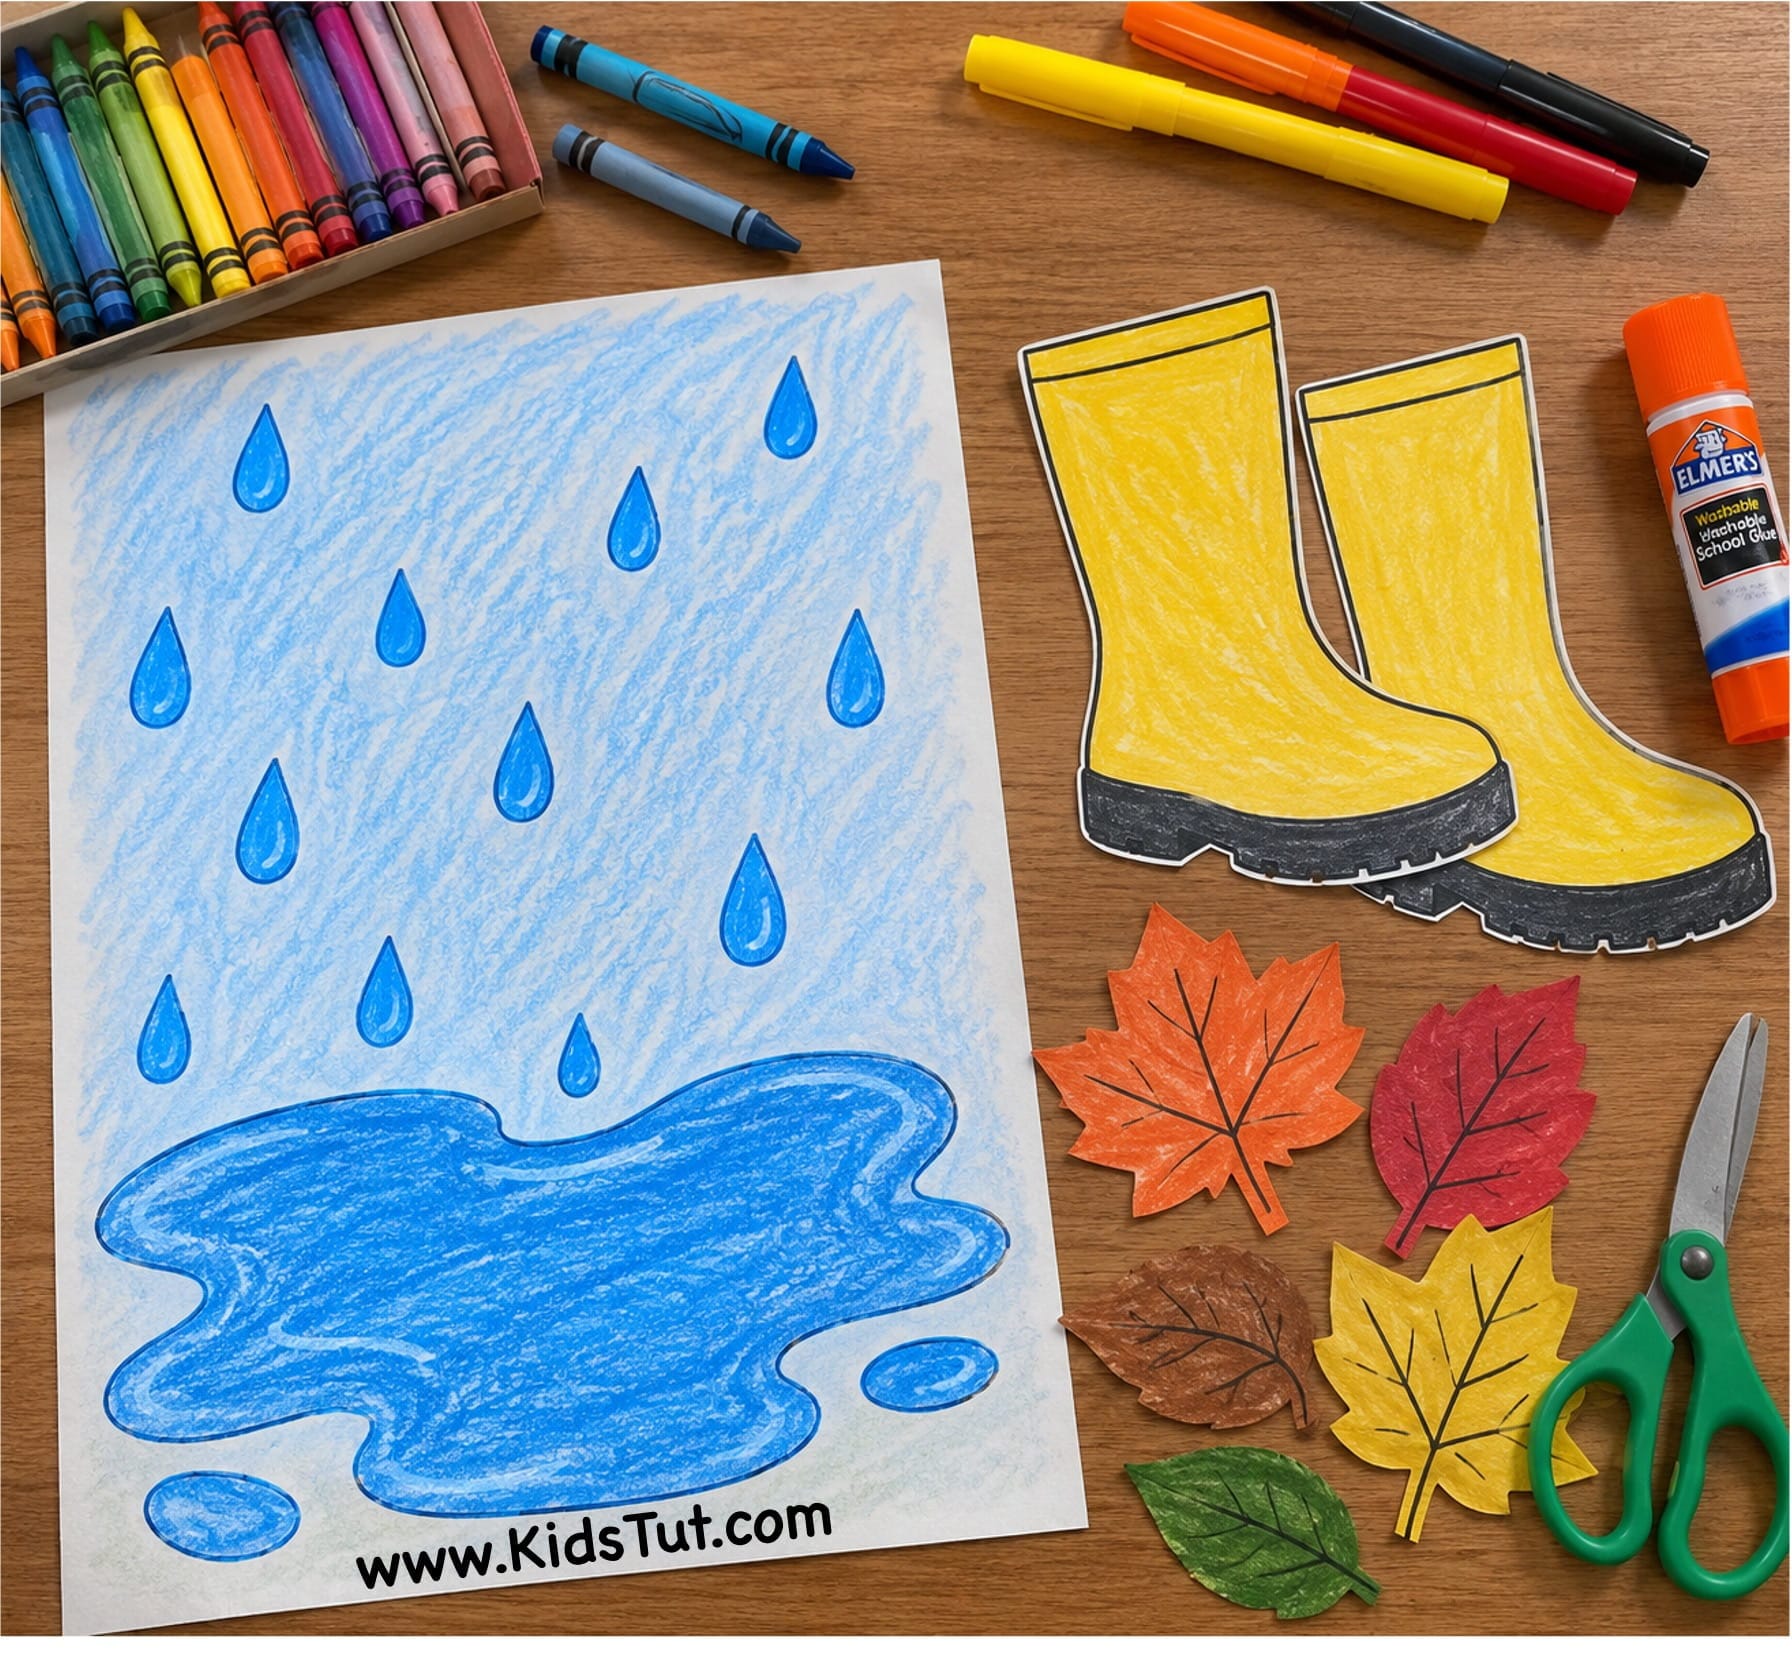
You can use yellow paper for the boots like our example, or let children choose any color they like.
How to Make a Fall Rain Boots and Leaves Craft
1. Color the Rainy Background
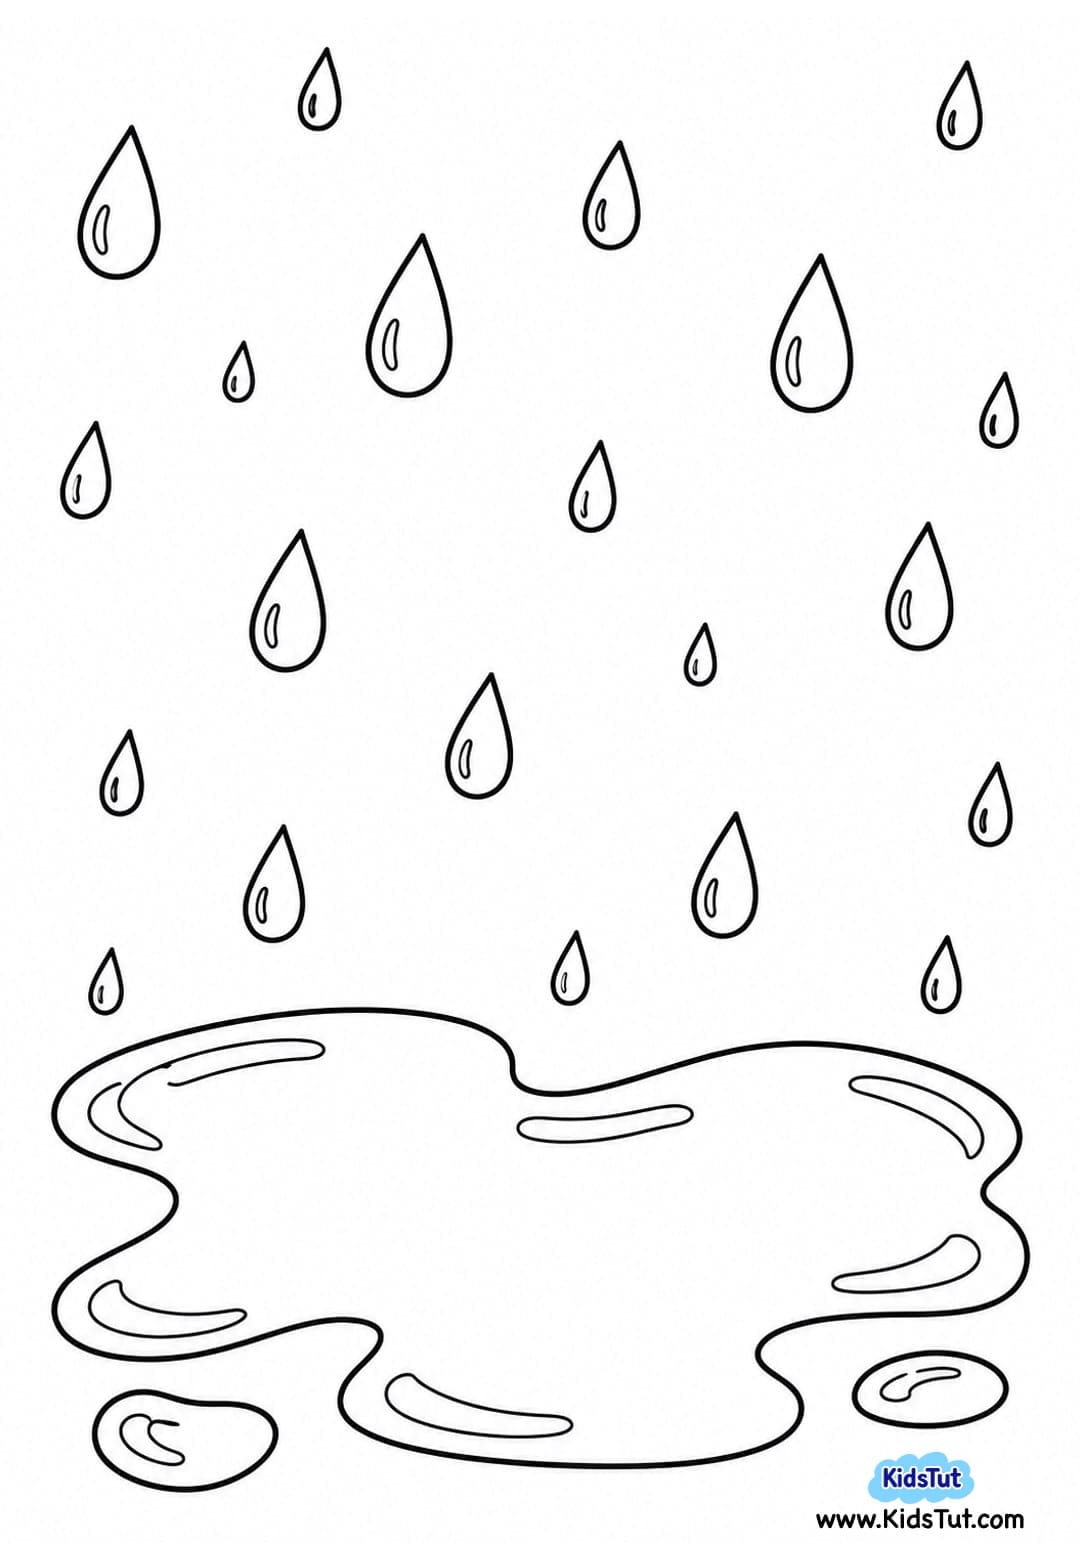
- Start by printing the rainy scene coloring page on a white sheet of paper.
- Use crayons, pastels, or colored pencils to color the background. Add blue to the raindrops and puddle, and gently shade the rest of the background to create a rainy-day look.
- When you are finished coloring, keep the background aside.
2. Make the Rain Boots
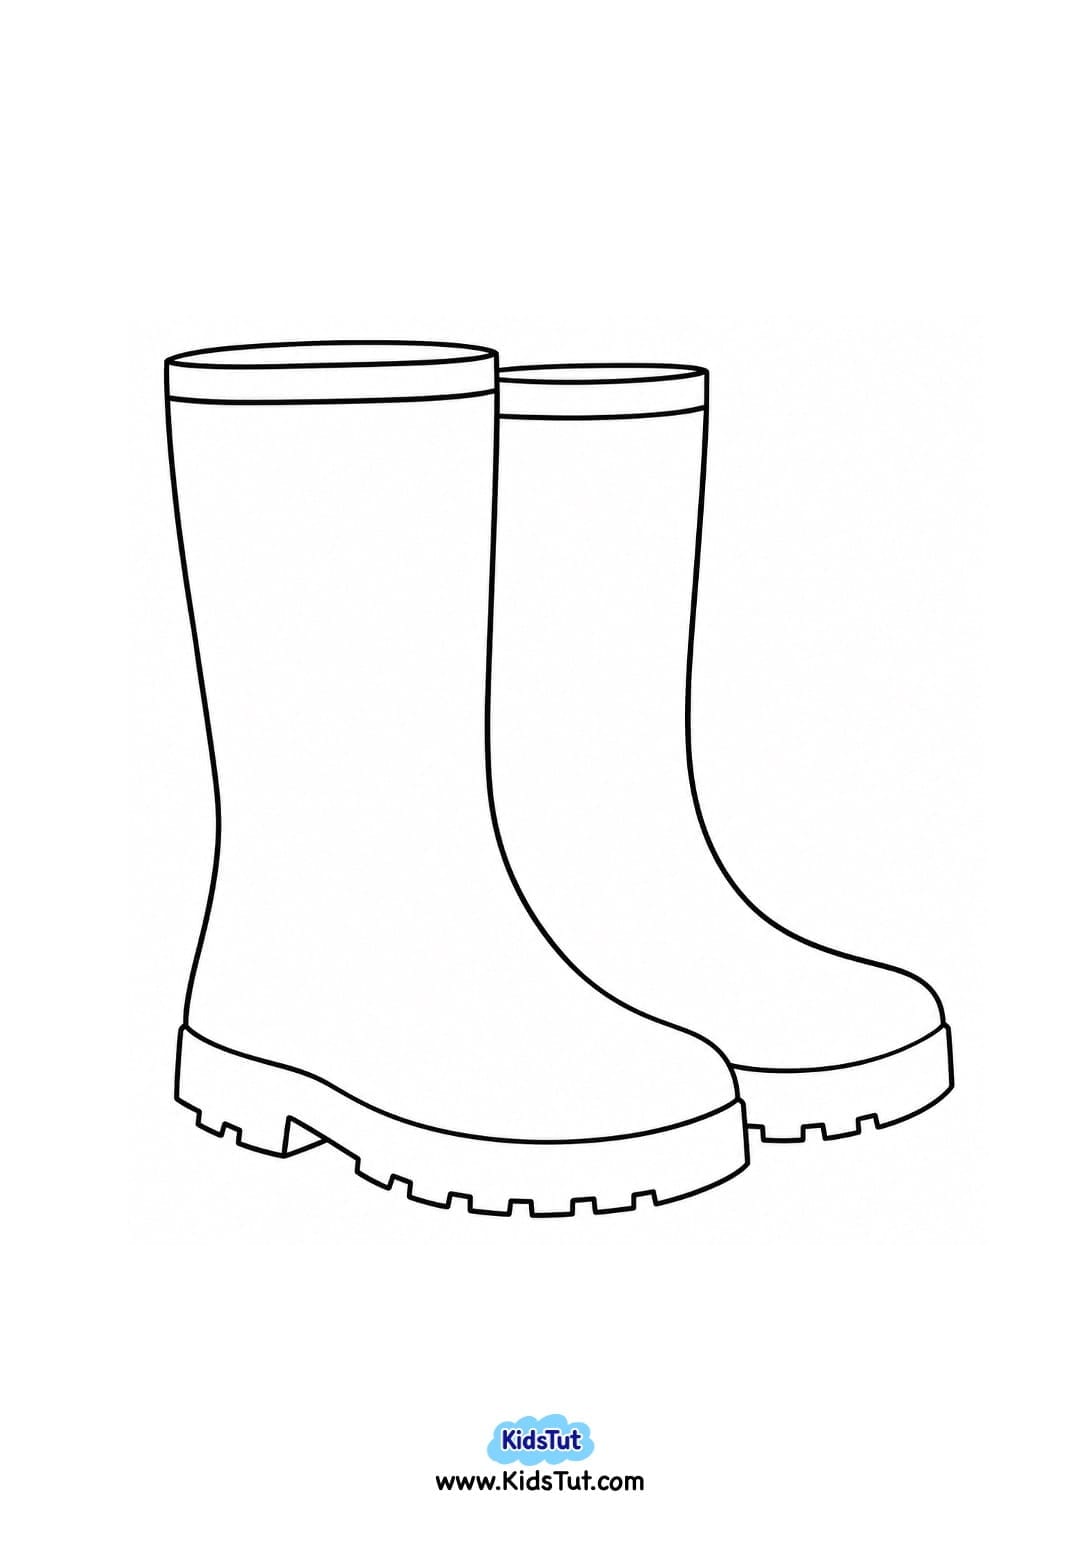
- Print the rain boots template on your favorite colored paper.
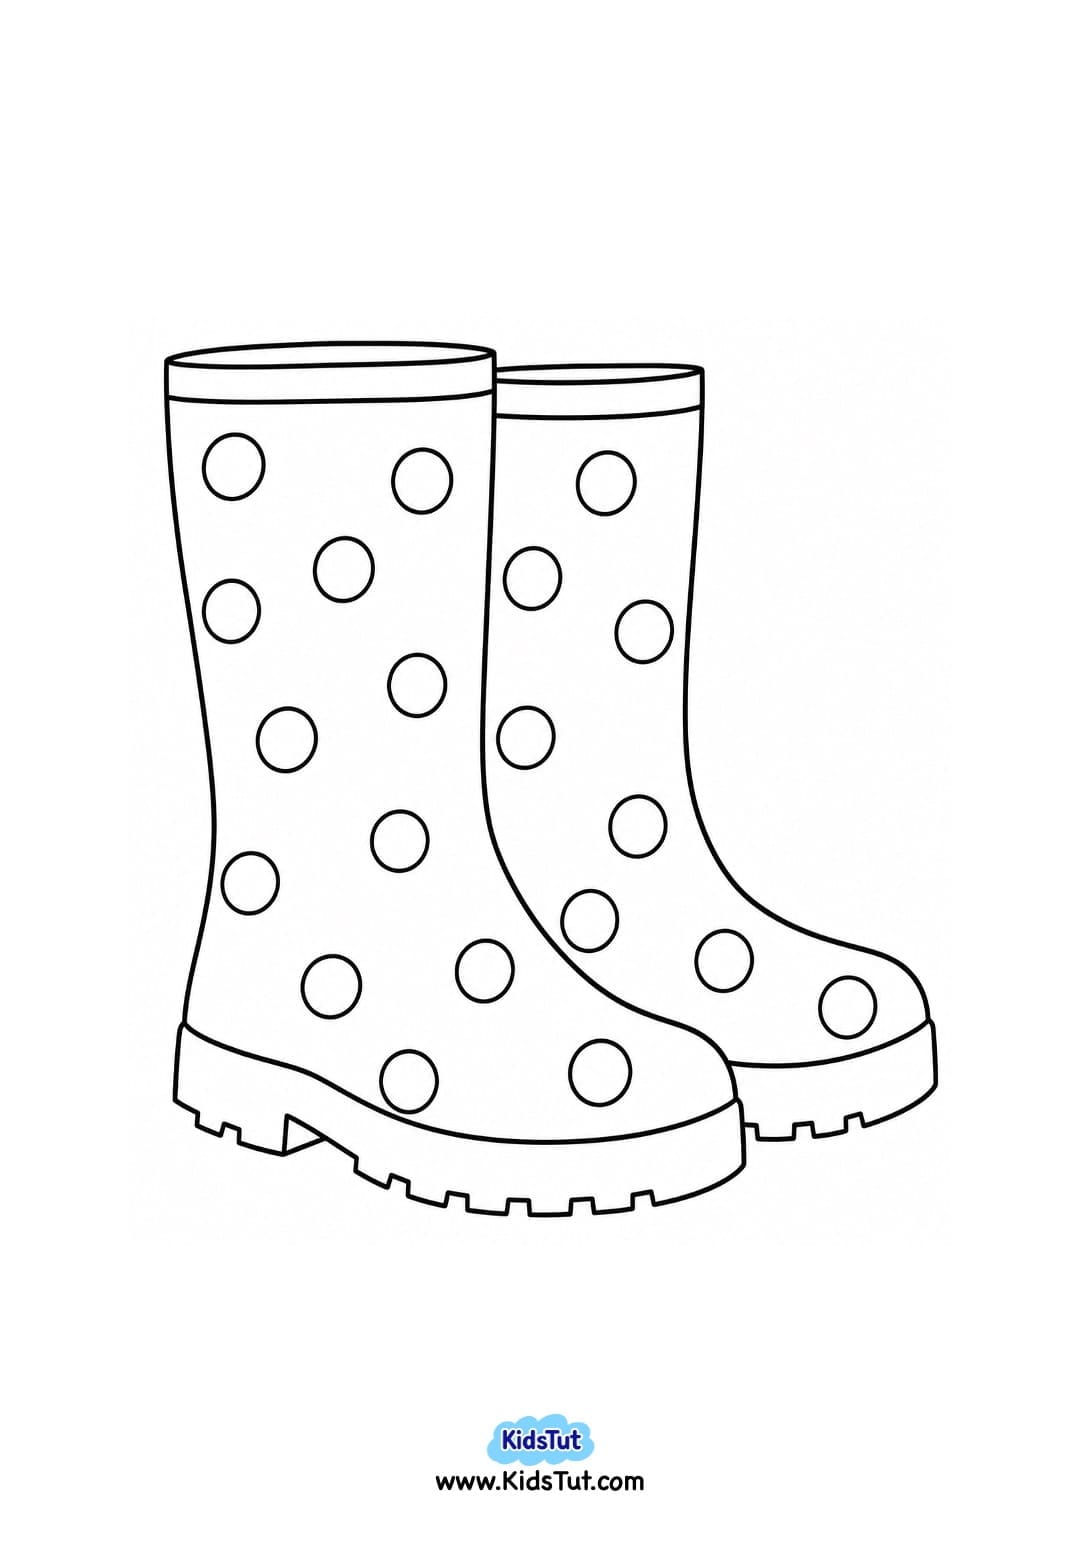
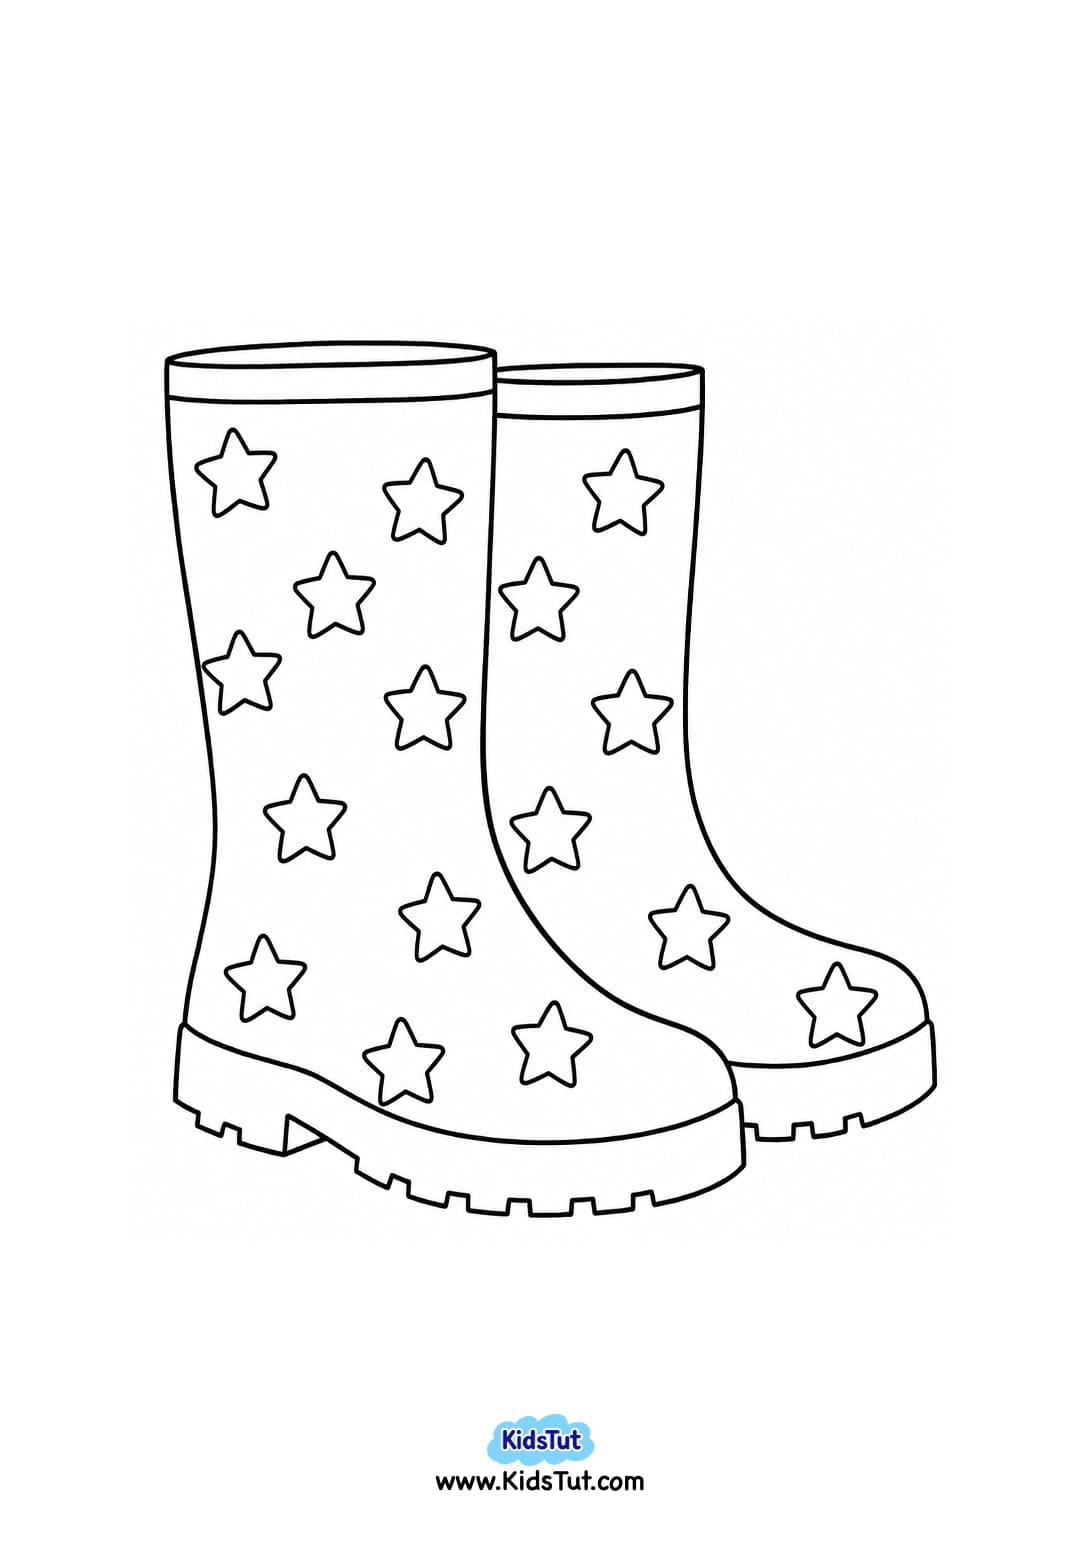
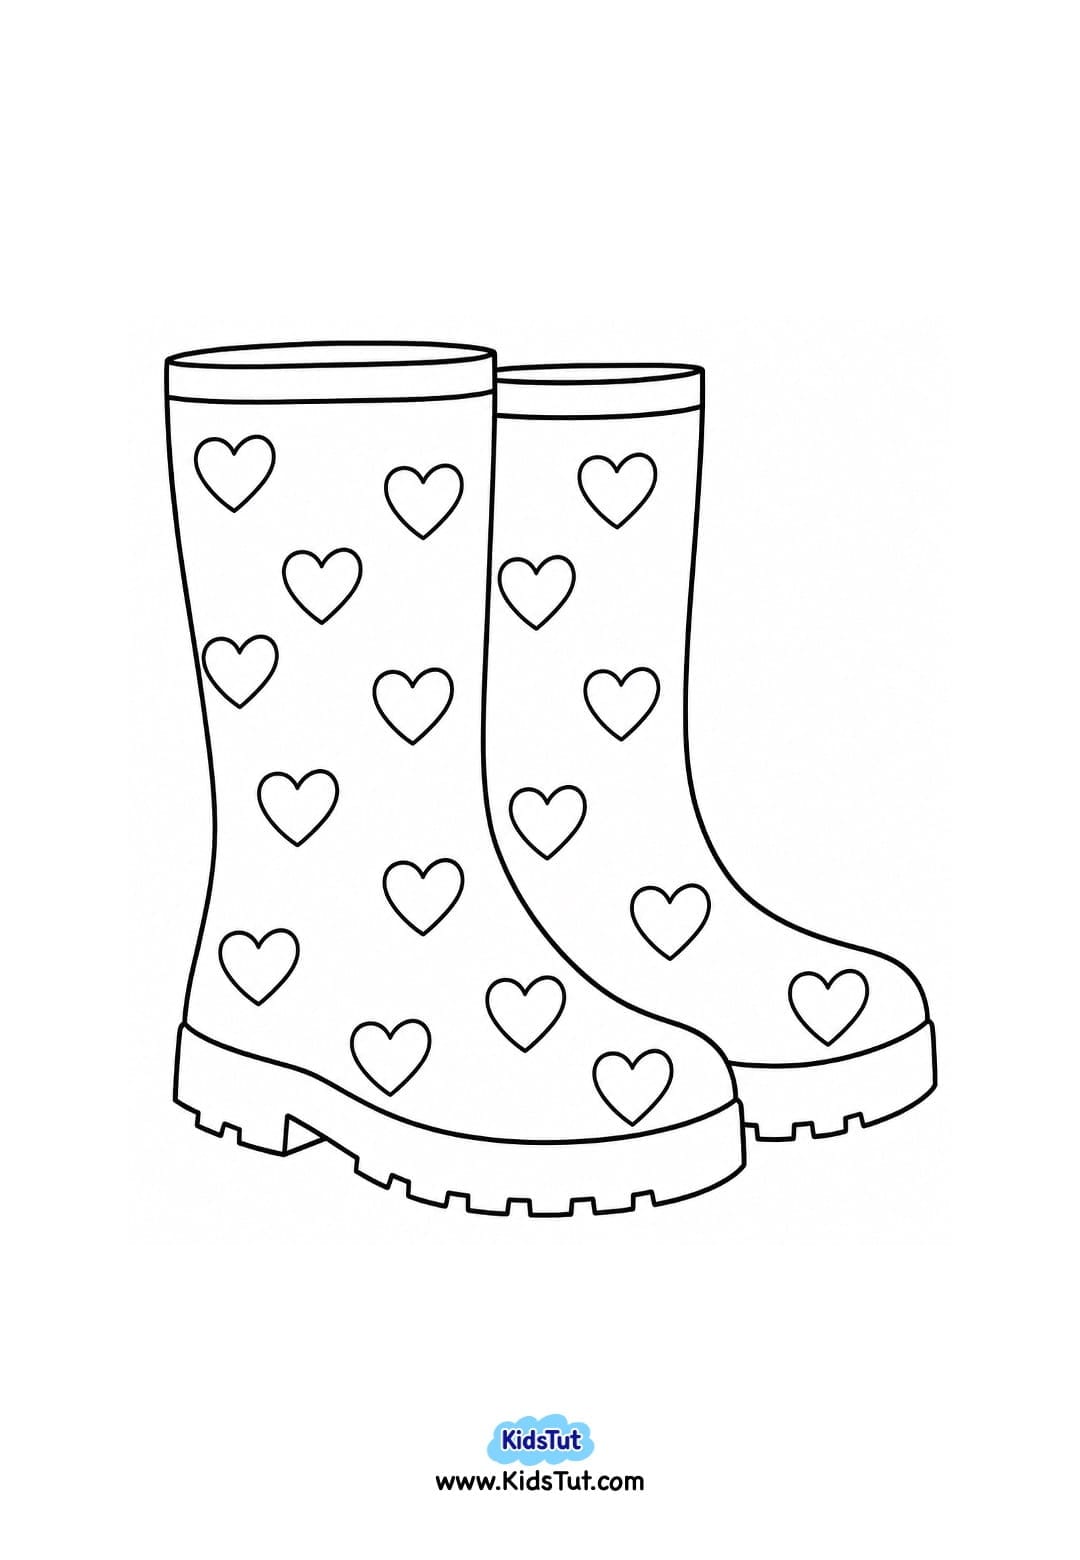
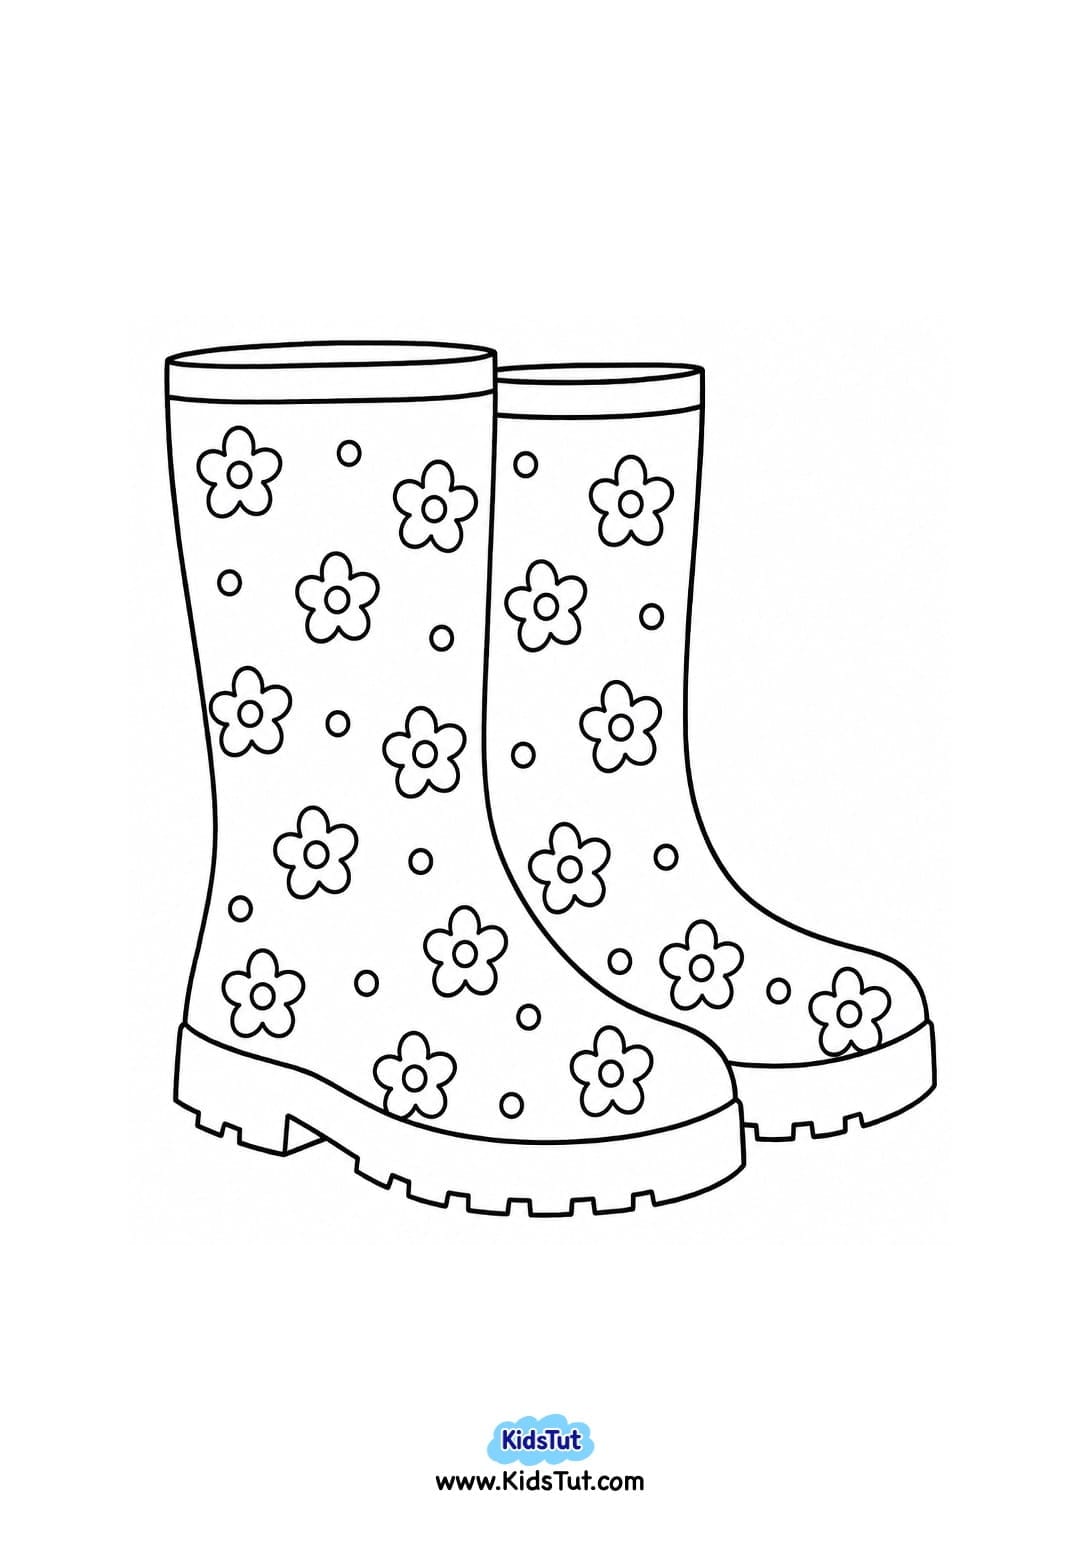
- Use markers to add simple patterns to the boots. Kids can make dots, stripes, hearts, stars, or any other easy pattern they like.
- Another option is to print the boots on white paper and color them completely with crayons, markers, or colored pencils.
- Carefully cut out boots along their outlines.
3. Make the Fall Leaves
- Print the leaf templates on fall-colored paper, such as red, orange, yellow, brown, and green.
- Carefully cut each leaf along its outline.
4. Arrange the Craft
- Take your finished rainy background and place the rain boots in the middle of the page.
- Position the bottom of the boots inside the puddle so it looks like they are standing in the rainwater.
- Next, arrange several colorful fall leaves at the top of the boots. These leaves will look like they are tucked inside the rain boots.
- Place a few more leaves around the background to make the scene look like a windy fall day.
- Don't glue anything yet. Move the pieces around until you are happy with the arrangement.
5. Glue Everything in Place
- Start by gluing down any leaves that need to sit behind the top of the boots.
- Next, glue the rain boots over those leaves.
- Finally, add and glue the remaining fall leaves around the boots and background.
- Press each piece gently so it stays flat.
6. Let It Dry and Display
- Keep the finished craft aside and let it dry completely.
- Once dry, your fall rain boots and leaves paper craft is ready to display! Hang it on a classroom wall, bulletin board, door, or at home for a cheerful autumn decoration.
Benefits of This Fall Craft for Kids
- Builds fine motor skills through cutting and gluing.
- Practices coloring skills while decorating the background and boots.
- Supports hand-eye coordination when arranging the paper pieces.
- Encourages creativity by letting kids choose colors and patterns.
- Helps children recognize fall colors such as red, orange, yellow, brown, and green.
- Introduces fall weather through rain, puddles, boots, and leaves.
- Encourages imagination as children create their own rainy autumn scene.
Extra Fall Rain Boots Craft Ideas
- For a more natural autumn craft, replace some of the paper leaves with clean, dry real fall leaves collected from outside.
- You can also glue small pieces of cotton above the raindrops to create fluffy clouds or add extra puddles with blue crayons and paint.
- For another fun idea, ask children to draw a small frog, snail, umbrella, or other rainy-day object beside the boots.
- Older children can write a short fall sentence at the bottom, such as “I love rainy fall days!” or add their name and date to turn the artwork into a seasonal keepsake.

Click here to get the FREE PDF template: Download ( Printable )