Easy Fall Dot Painting Craft Ideas for Kids to Make
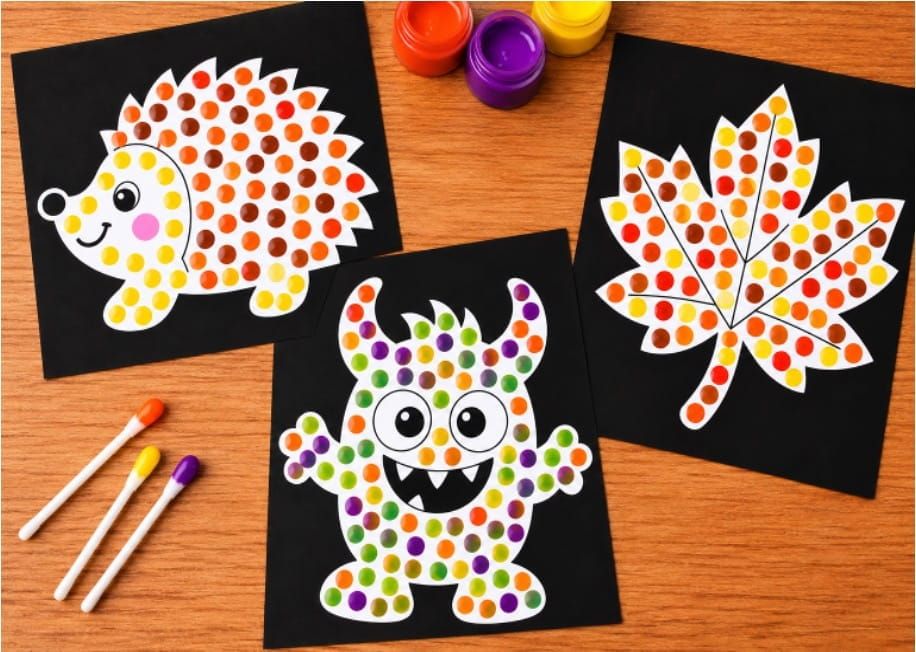
Bring bright autumn colors into your classroom with these Easy Fall Dot Painting Craft Ideas for Kids to make. This simple art activity lets children decorate cute fall pictures by filling printed circles with colorful paint dots.
Kids can choose fun designs such as a hedgehog, fall leaf, pumpkin, or other autumn pictures. They can use cotton swabs, Q-tips, pencil erasers, or other small round tools to create the dots. After painting, cut out the finished pictures and paste them onto black paper to make the fall colors stand out.
This fall dot painting activity for kids is perfect for preschool, kindergarten, elementary school, homeschool, or a classroom fall art project. It is easy to prepare and gives children plenty of opportunities to explore colors while practicing important fine motor skills.
What You Need
- Printable fall dot coloring pages
- White A4 paper
- Colorful liquid paints
- Cotton swabs or Q-tips
- Pencils with erasers – optional
- Crayons or markers
- Black paper or cardstock
- Scissors
- Glue
- Pencil or marker for writing names
- Paint tray or small containers
For a traditional fall look, try red, orange, yellow, brown, and green. Kids can also add purple, pink, or any other colors they like.
How to Make a Fall Dot Painting Craft
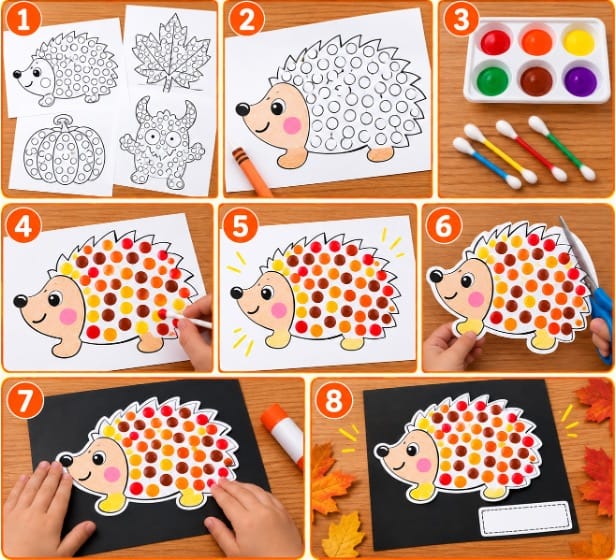
1. Print the Dot Coloring Pages
- Choose your favorite fall dot painting templates and print them on white A4 sheets.
- You can choose different designs, such as a hedgehog, fall leaf, pumpkin, or other seasonal pictures.
2. Color the Extra Details
- Before starting the dot painting, look for any parts of the picture that do not have printed dots.
- Use crayons or markers to color these extra details. For example, children can color the hedgehog's face, the monster's eyes and mouth, or the lines and other small details on the picture.
3. Prepare the Paint
- Pour small amounts of colorful paint into a paint tray or separate containers.
- Give children cotton swabs or Q-tips for making the dots. You can also use the eraser end of a pencil or another small round tool that makes a similar dot shape.
4. Make the Colorful Dots
- Dip the end of the cotton swab, Q-tip, or other dotting tool lightly into the paint.
- Gently press it onto one of the printed circles to make a colorful dot.
- Continue dipping and pressing until all the printed dots are filled. Kids can use one color for each section or mix different colors to create their own design.
5. Let the Painting Dry
- Once all the dots are finished, place the artwork somewhere safe.
- Keep it aside and let the paint dry completely before moving on to the next step. This will help prevent the colors from smudging.
6. Cut Out the Picture
- When the paint is completely dry, carefully cut around the outside outline of the picture.
- Younger children may need help with detailed areas.
7. Add a Black Background
- Take a sheet of black paper or cardstock and glue the finished picture onto it.
- Press the picture gently so it sticks flat. Keep it aside and allow the glue to dry.
8. Add Your Name and Display
- Write the child's name on the side or bottom of the finished artwork.
- Your fall dot painting craft is now ready to display! Hang the finished crafts on a classroom wall, bulletin board, window display, or fall art board.
Benefits of Fall Dot Painting for Kids
- Explores colors – Children can experiment with traditional fall colors and their own combinations.
- Builds fine motor skills – Holding and pressing a cotton swab uses small hand and finger muscles.
- Improves hand-eye coordination – Kids try to place each paint dot inside the printed circle.
- Practices coloring skills – Children can color the extra details before painting.
- Encourages focus – Filling the circles one by one encourages children to slow down and concentrate.
- Introduces fall themes – Kids can learn about leaves, pumpkins, hedgehogs, and other autumn pictures.
- Encourages creativity – Every child can choose different colors and make a unique design.
- Practices cutting skills – Cutting out the finished artwork adds another useful hands-on activity.
Print your favorite template, fill the circles with colorful paint dots, let the picture dry, and add a black background. Then write each child's name on their artwork and create a beautiful fall classroom display everyone can enjoy. 🍁🎨
Templates:
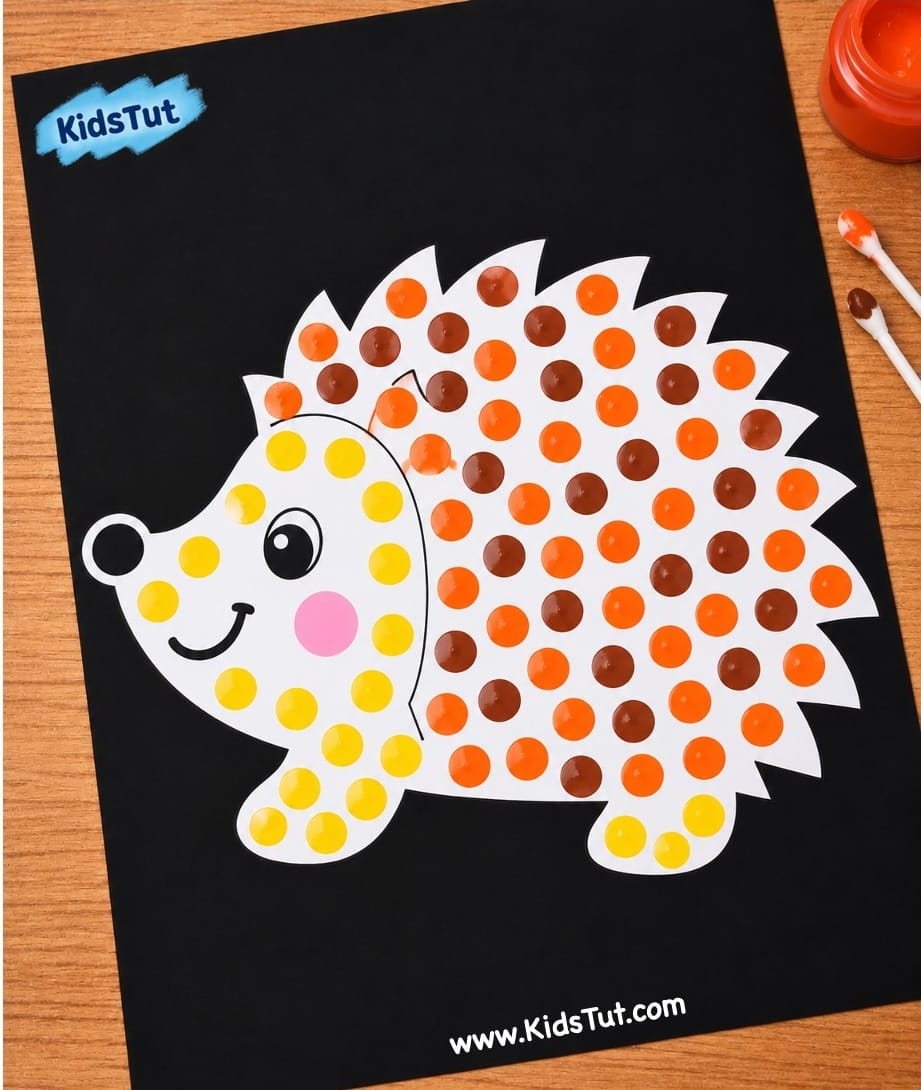
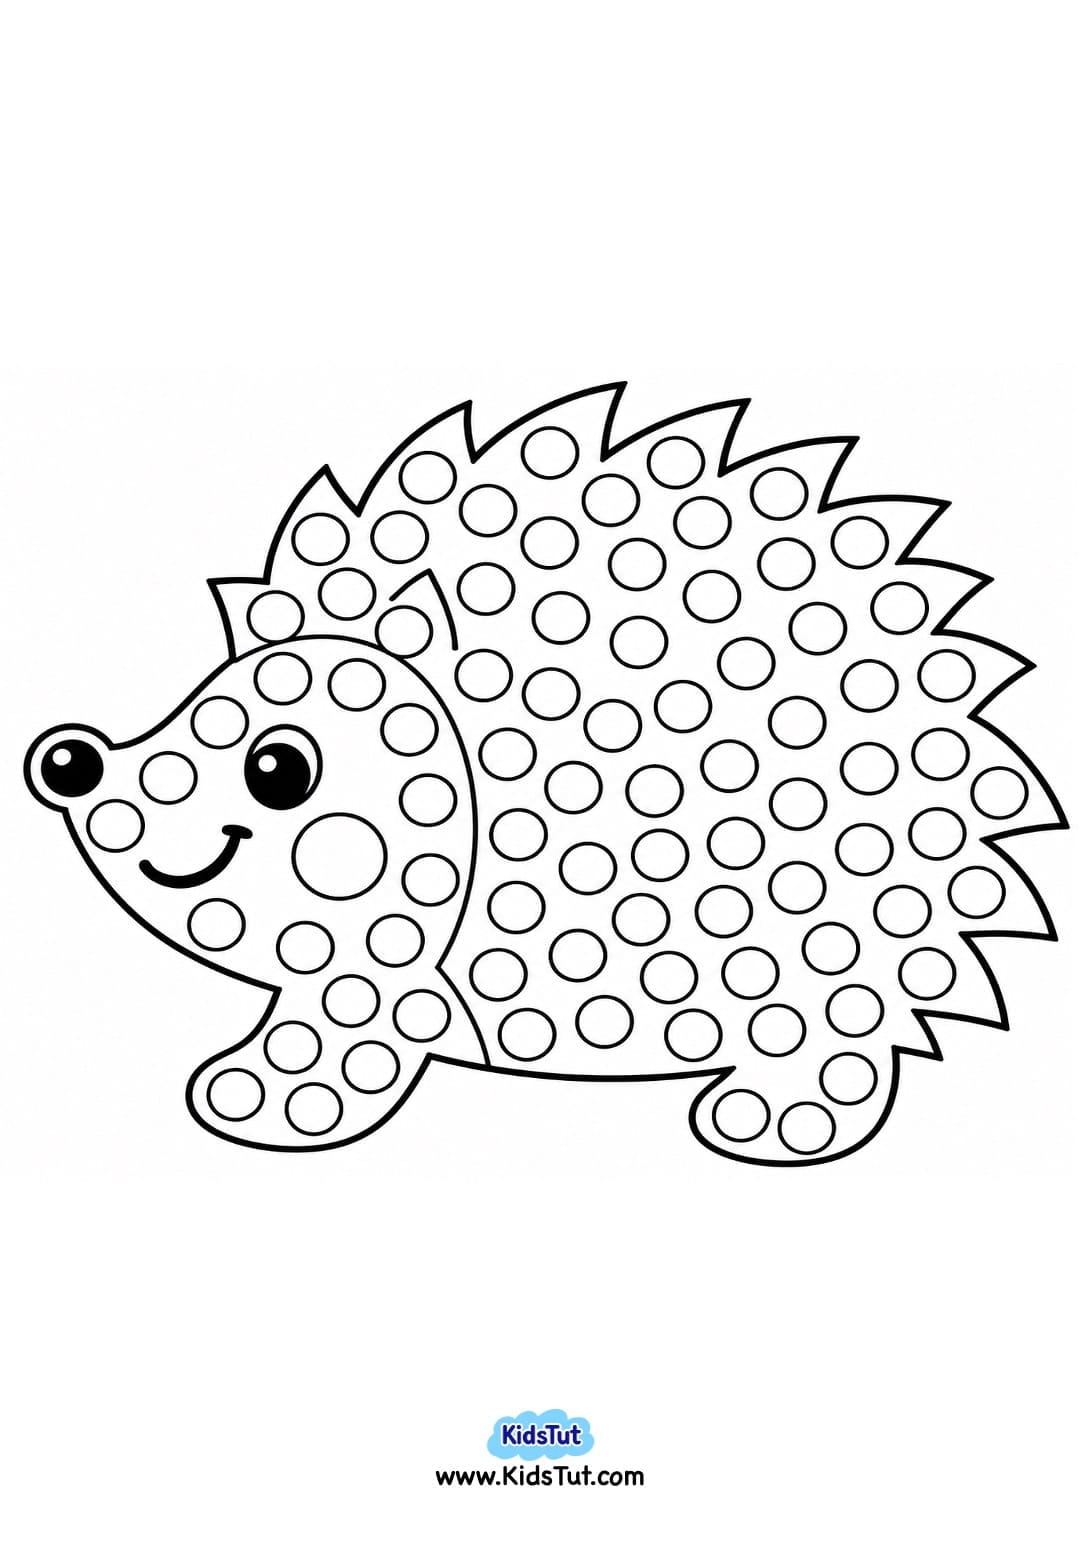
- Hedgehog Dot Painting Craft:
- Monster Dot Painting Craft:
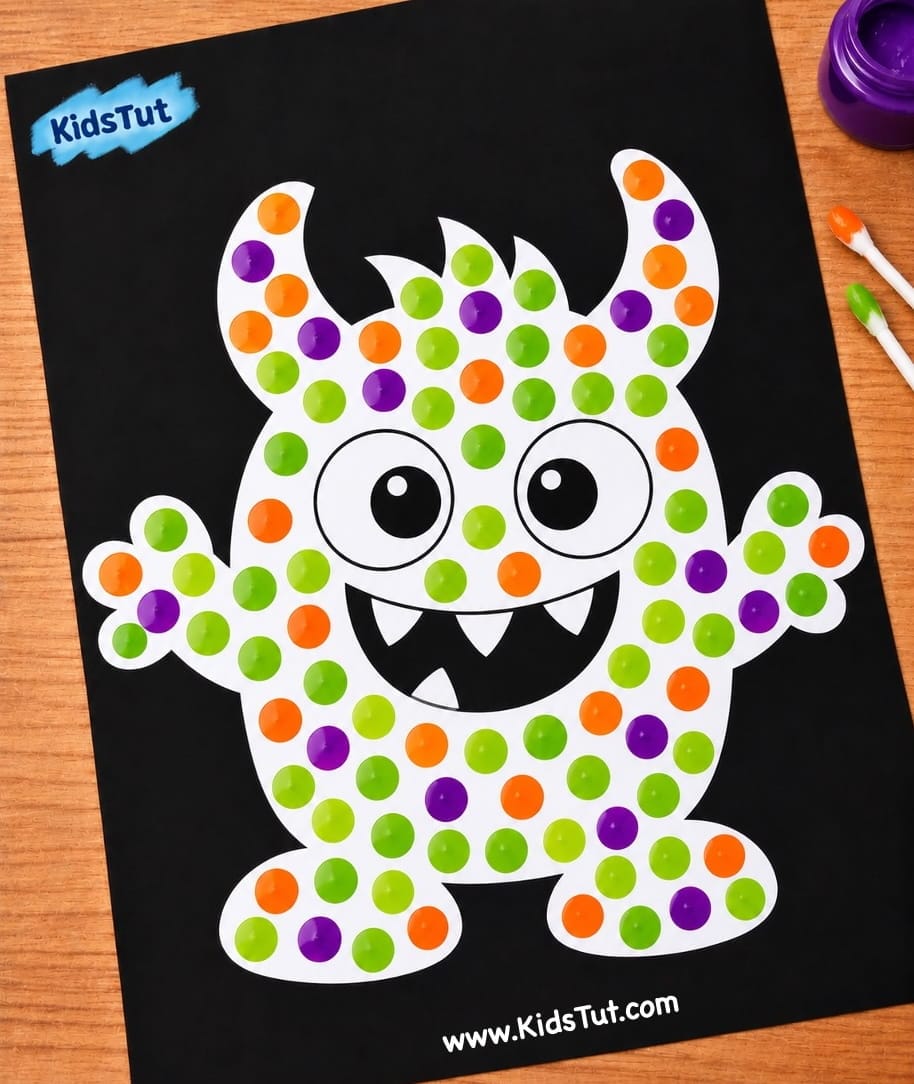
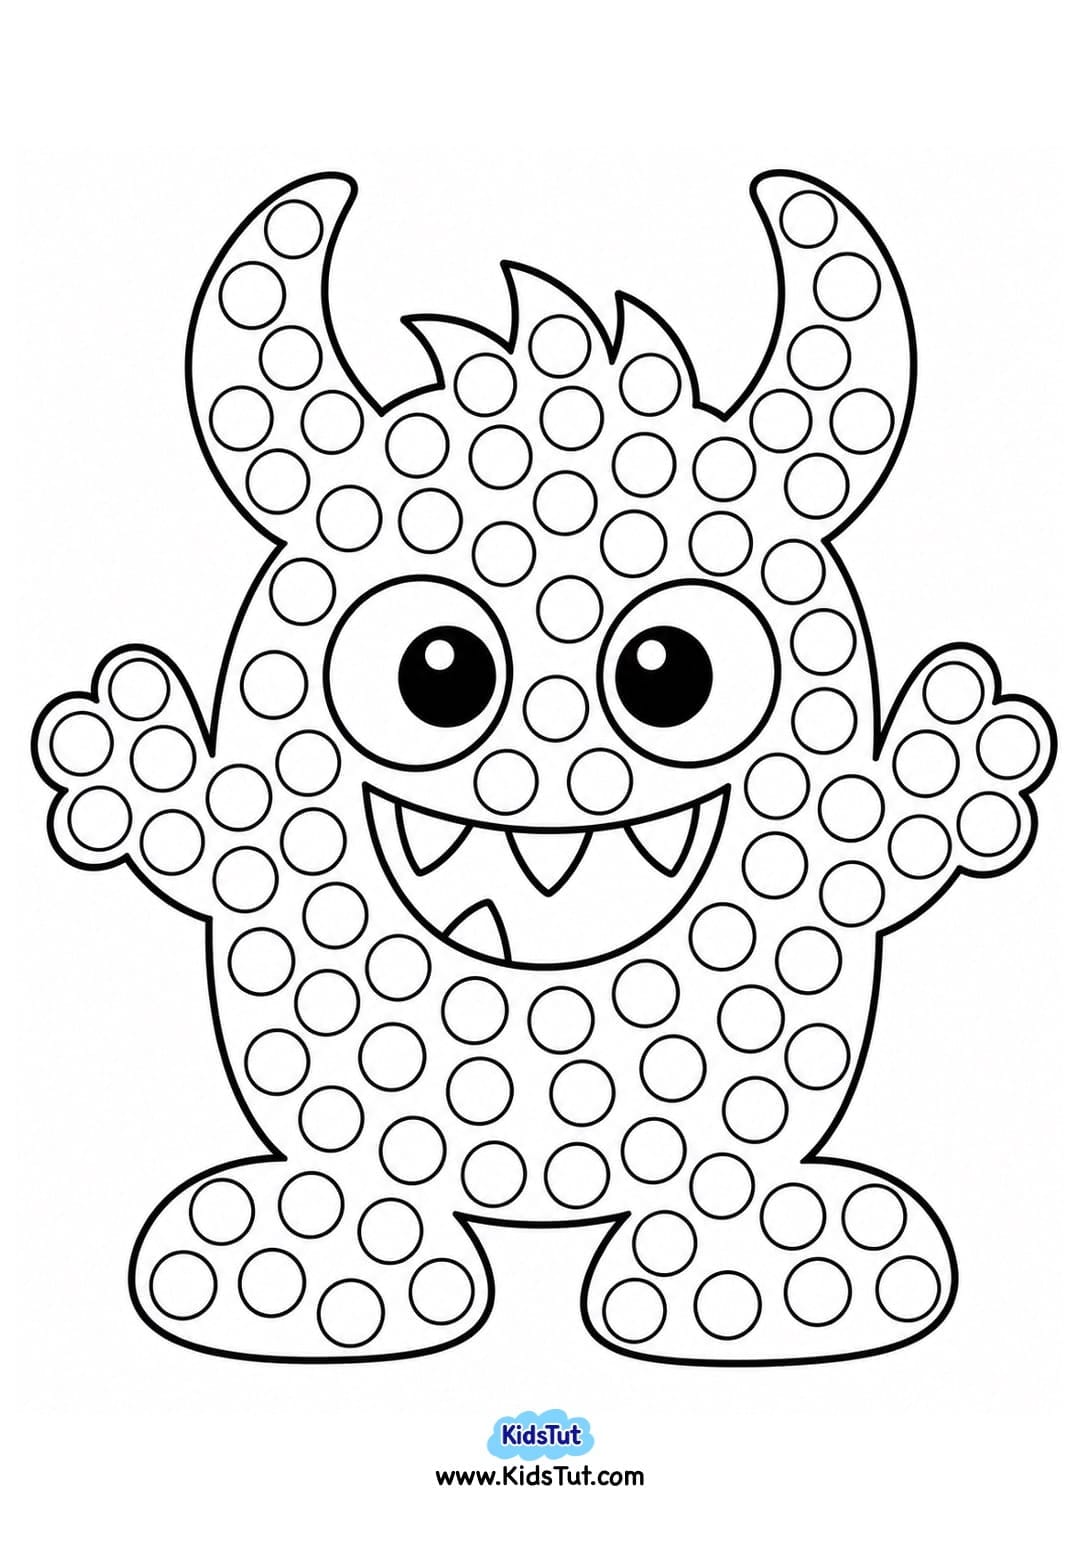
- Fall Leaf Dot Painting Craft:
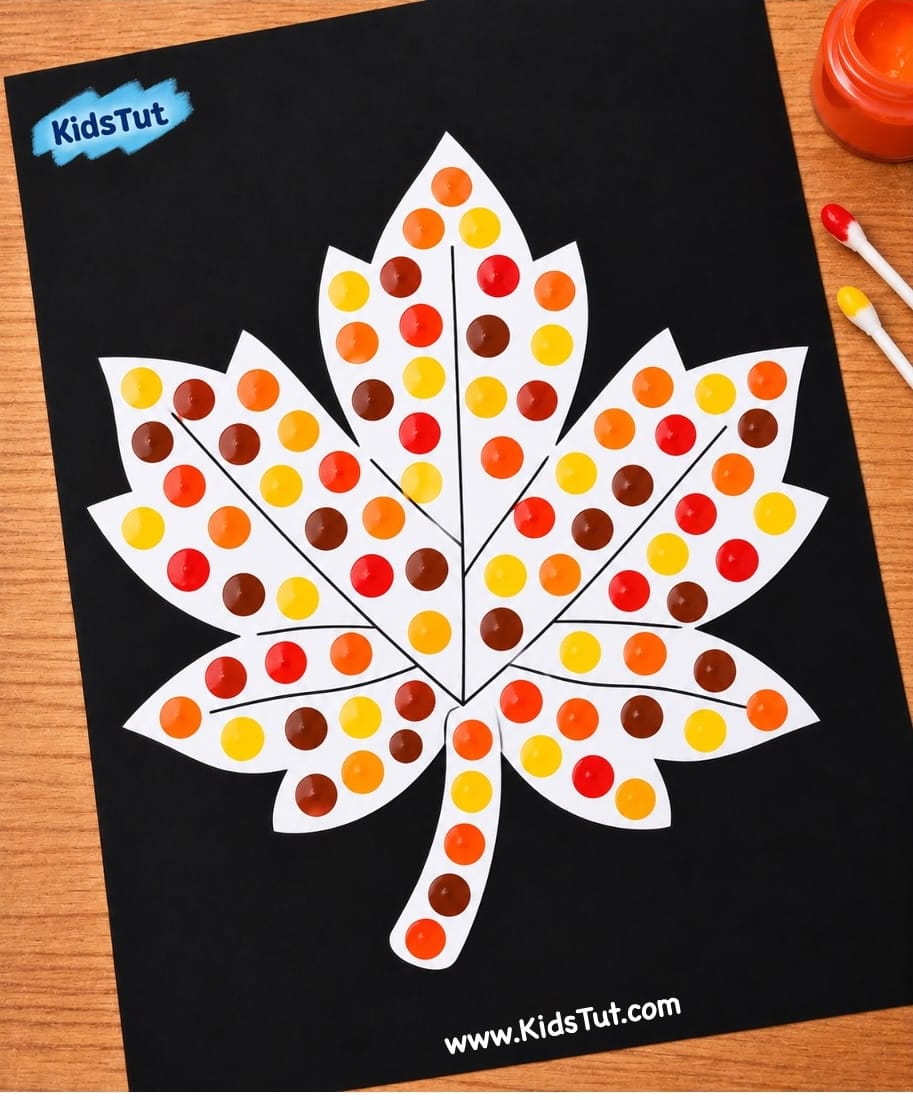
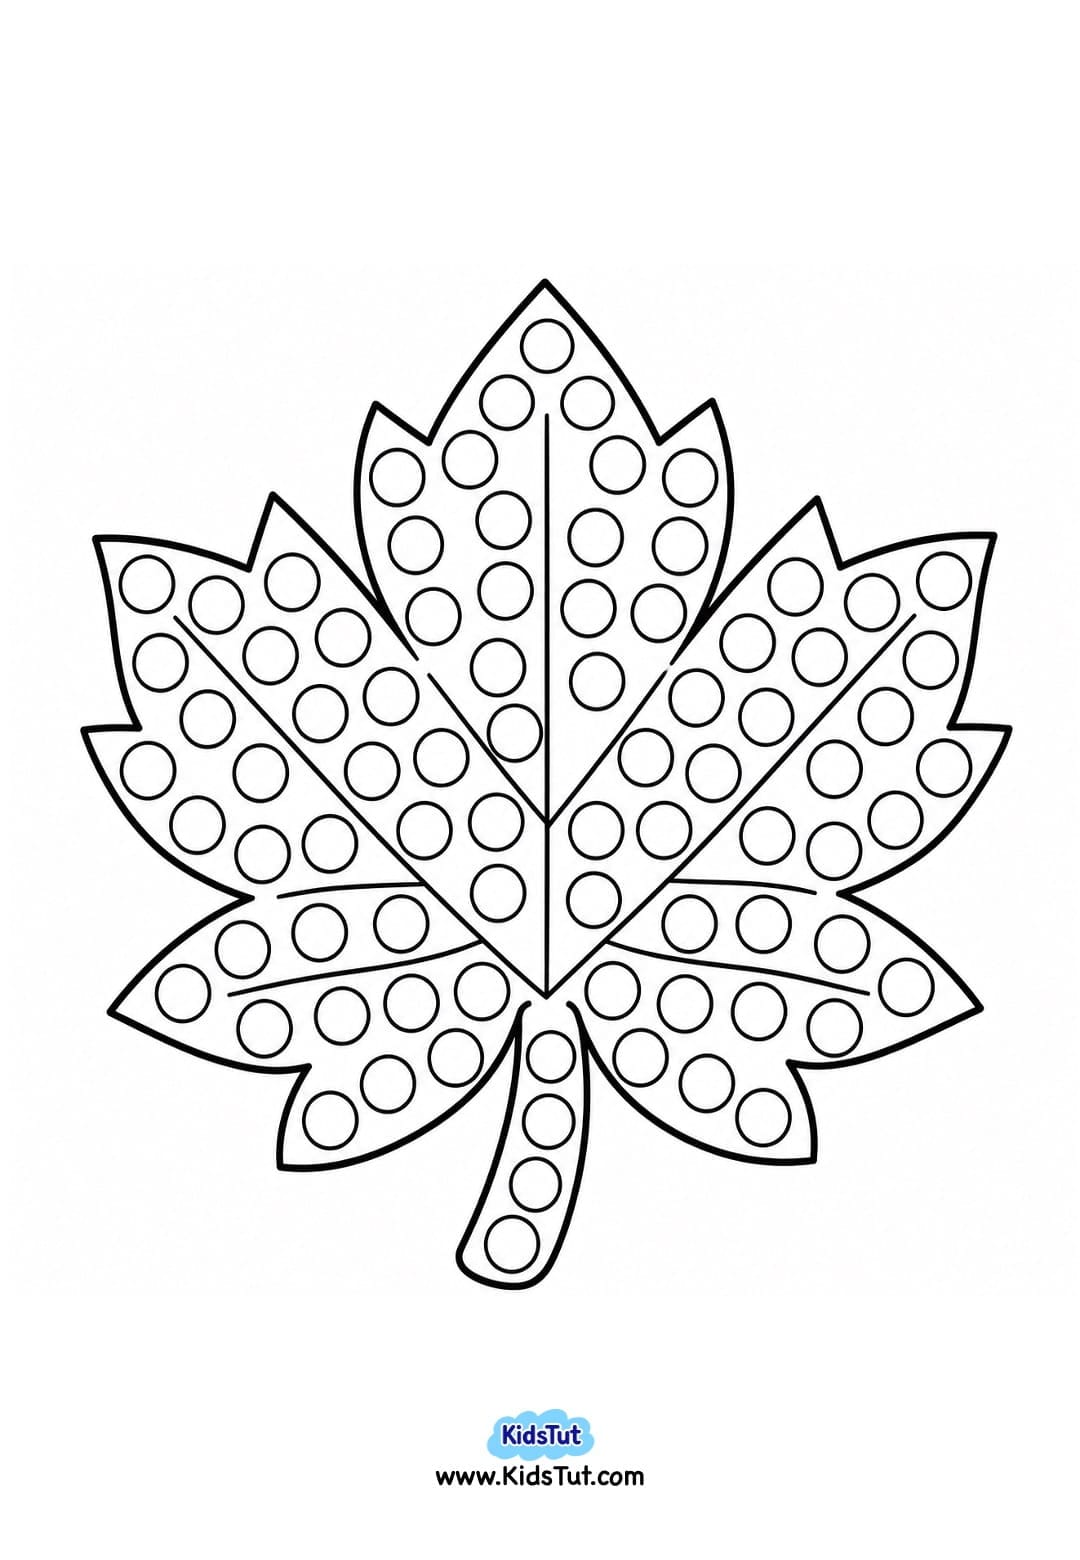
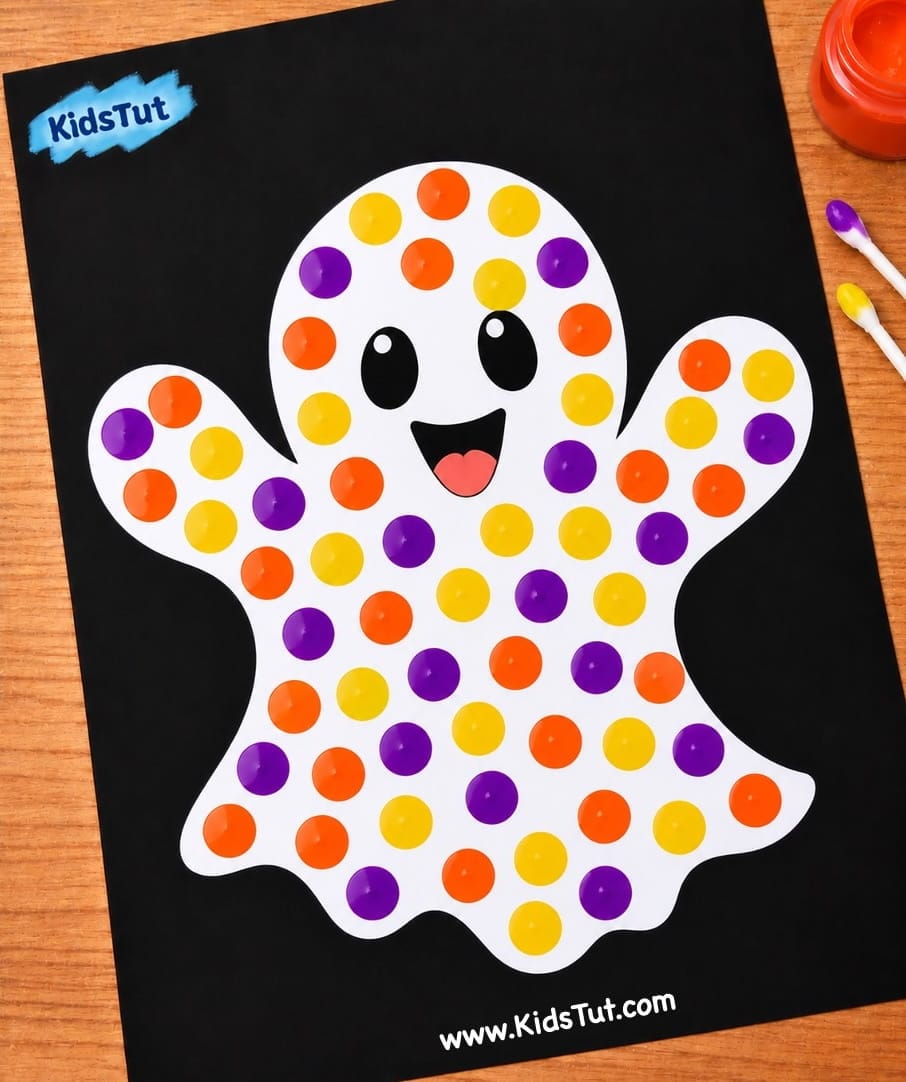
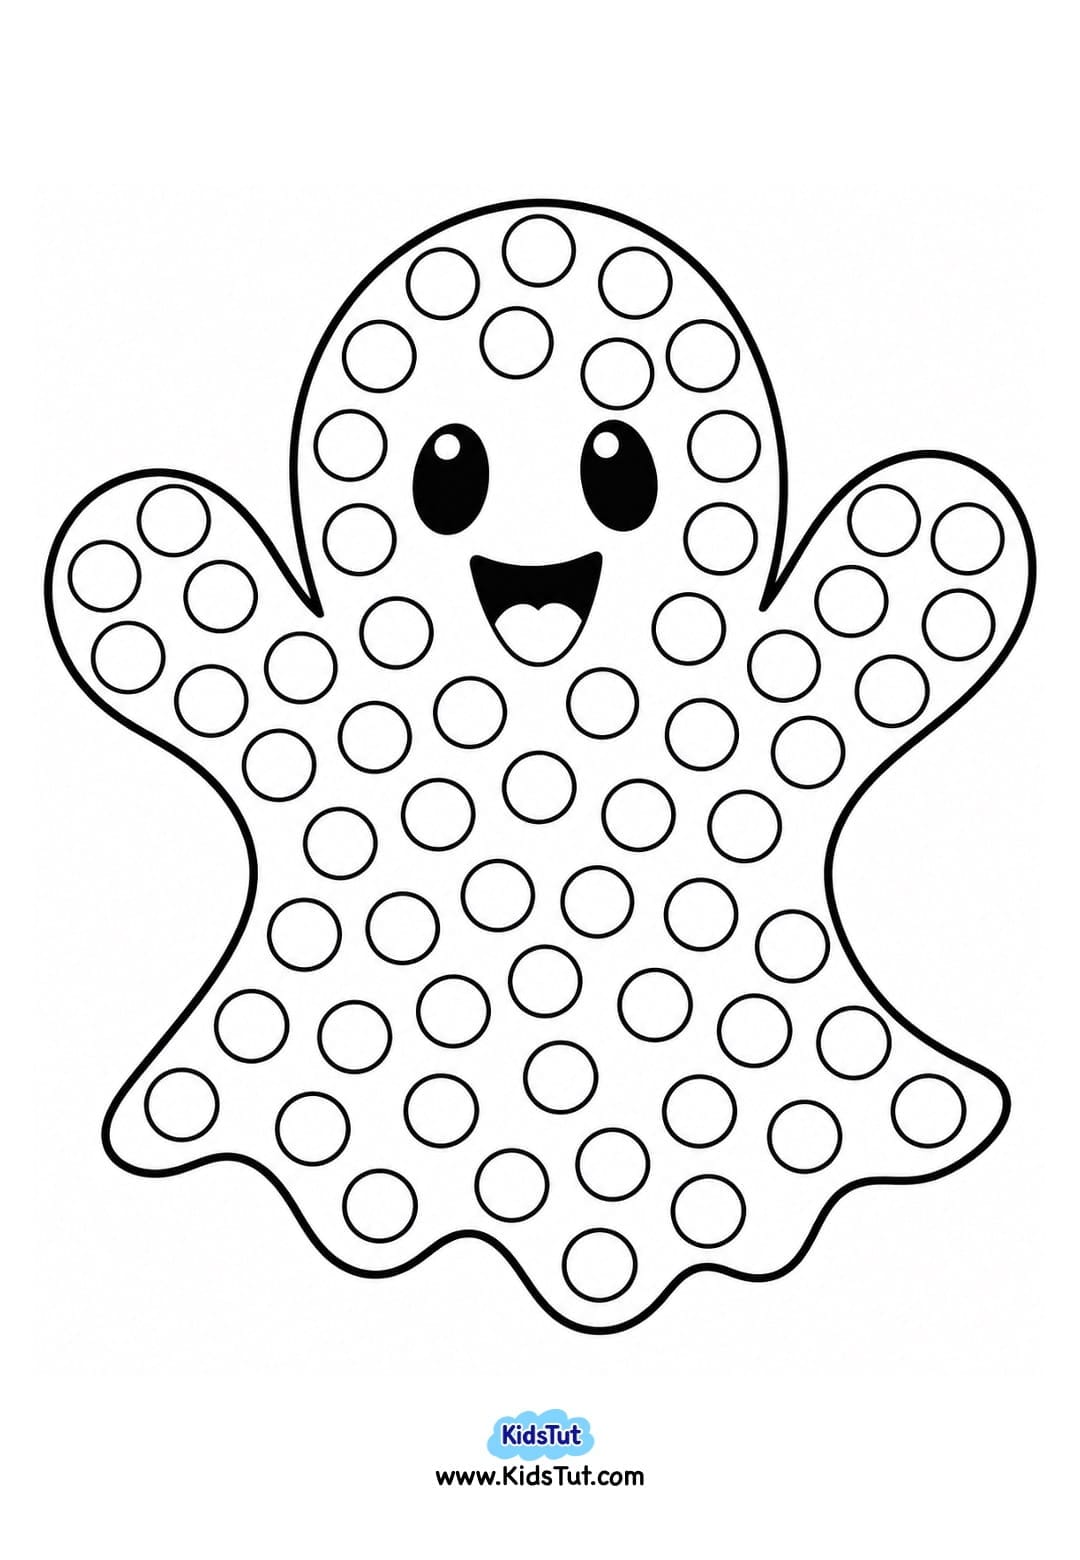
4. Ghost Dot Painting Craft:
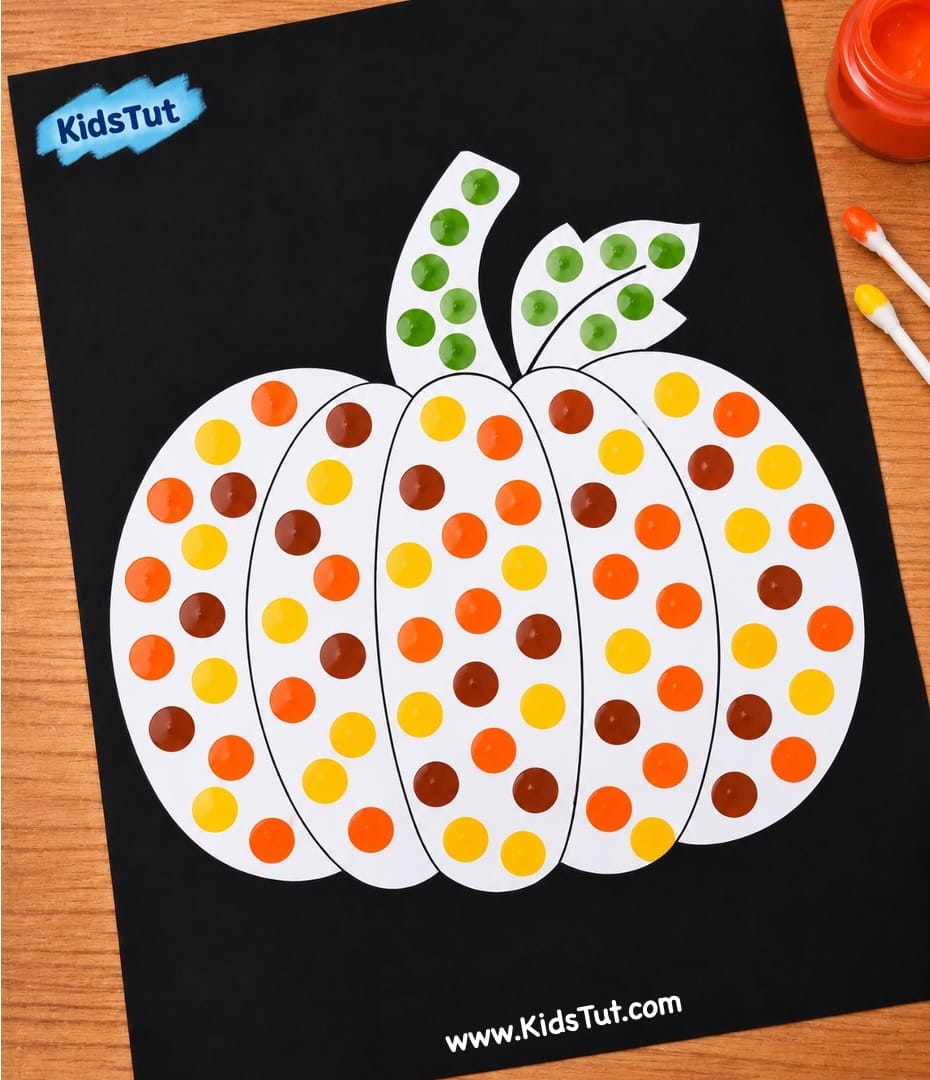
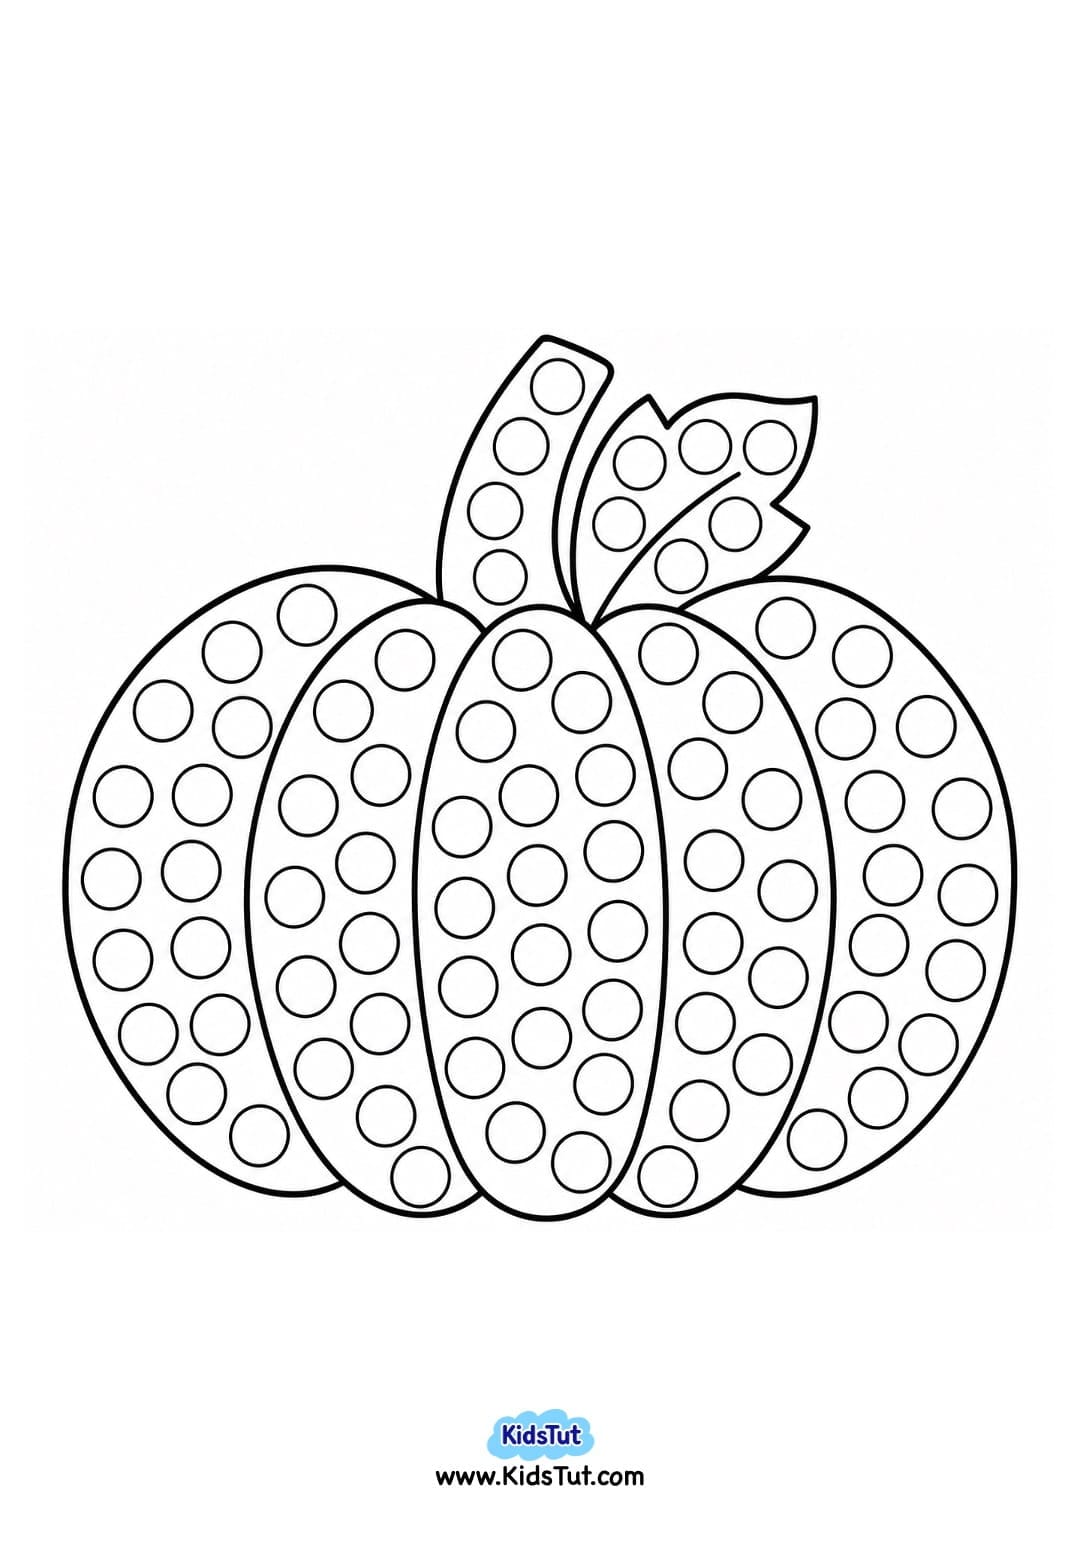
- Pumpkin Dot Painting Craft:
- Cauldron Dot Painting Craft:
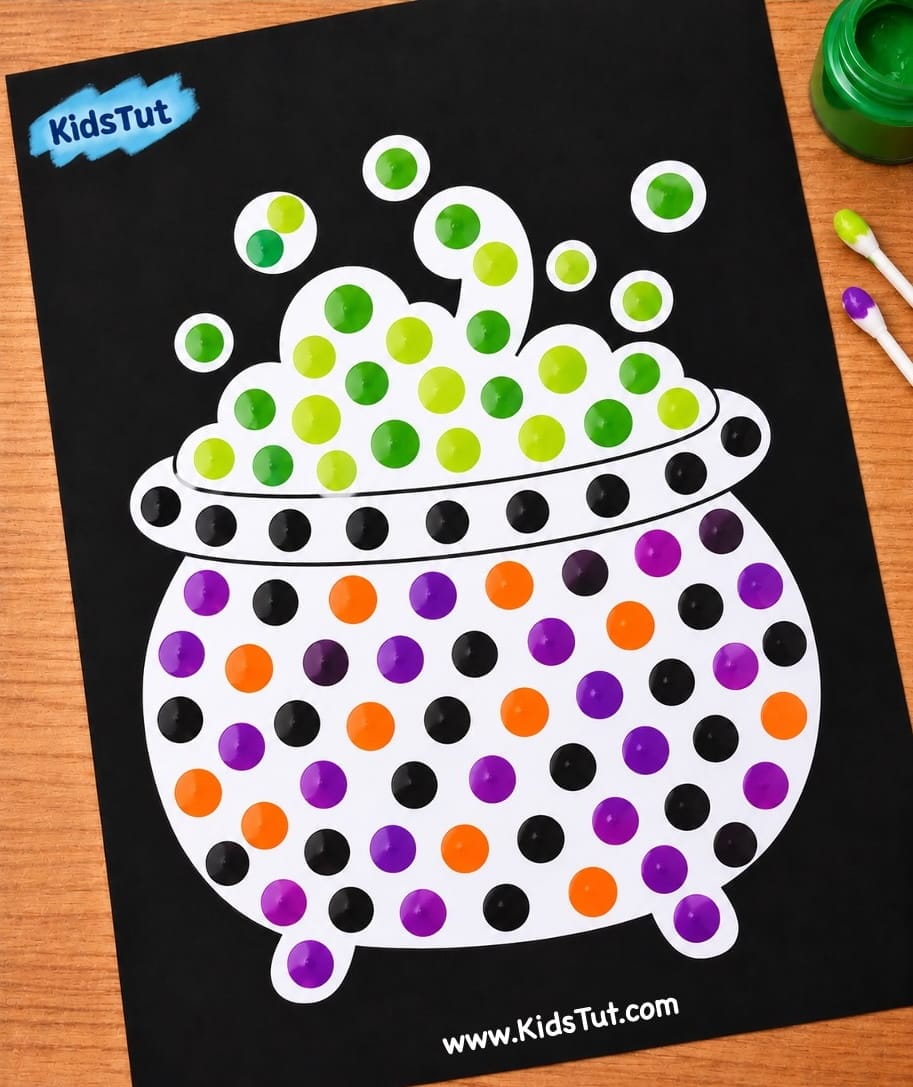
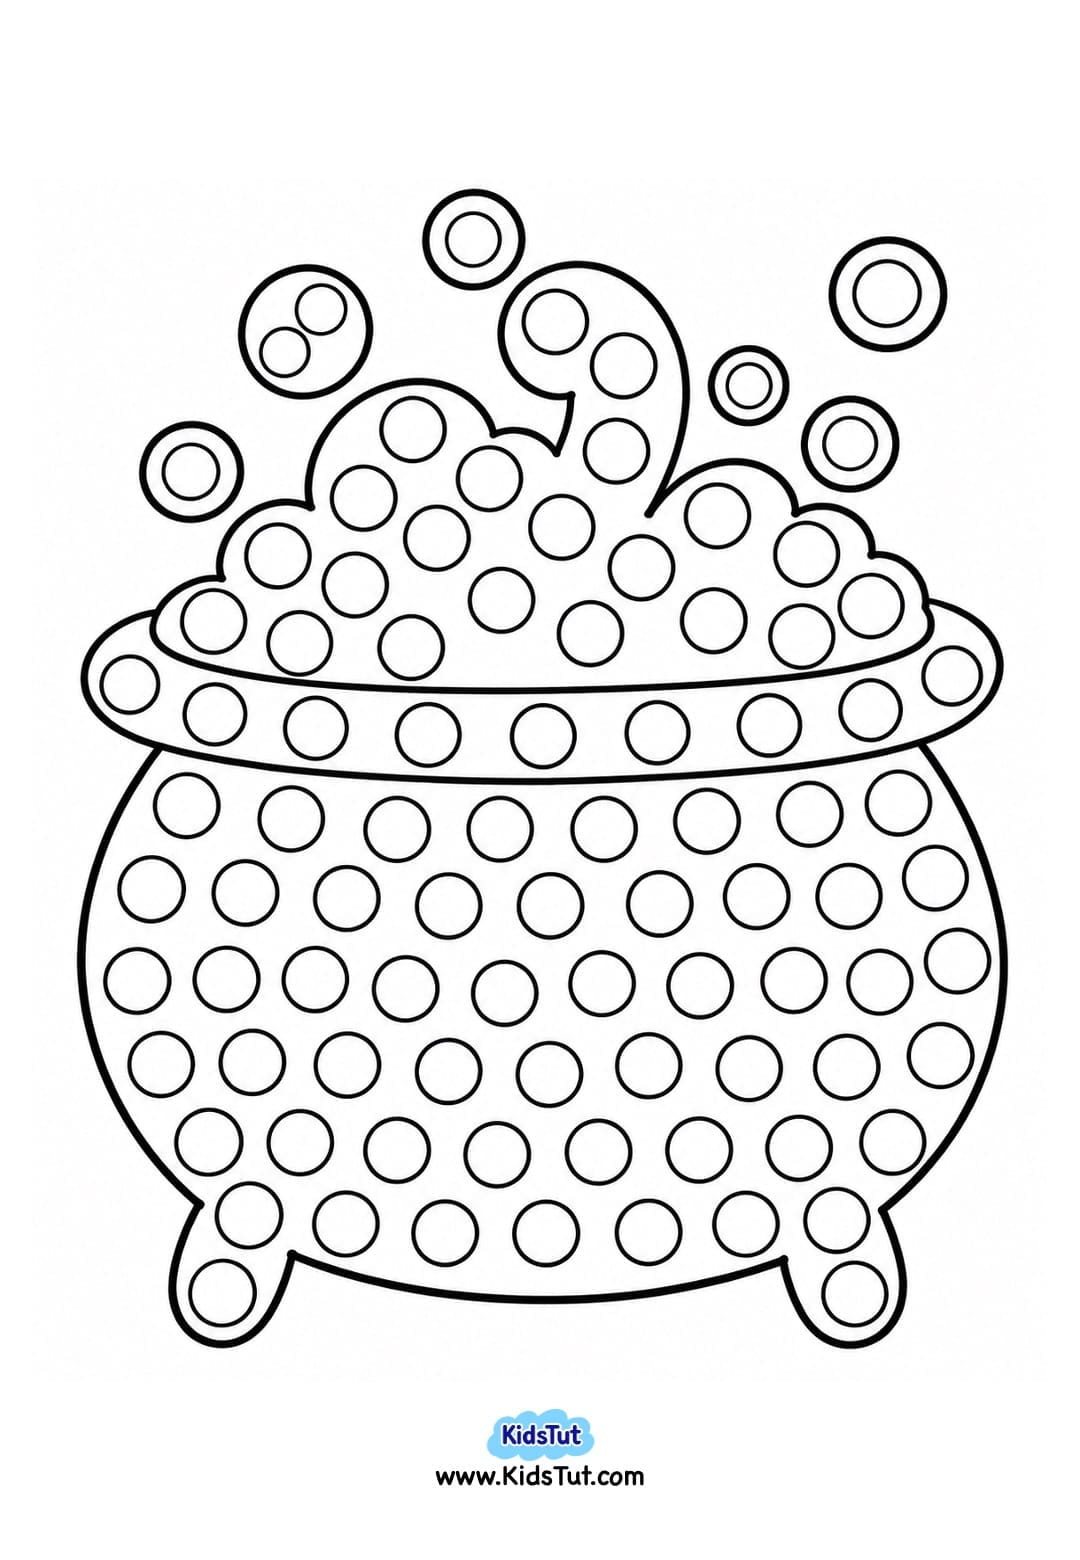
- Acorn Dot Painting Craft:
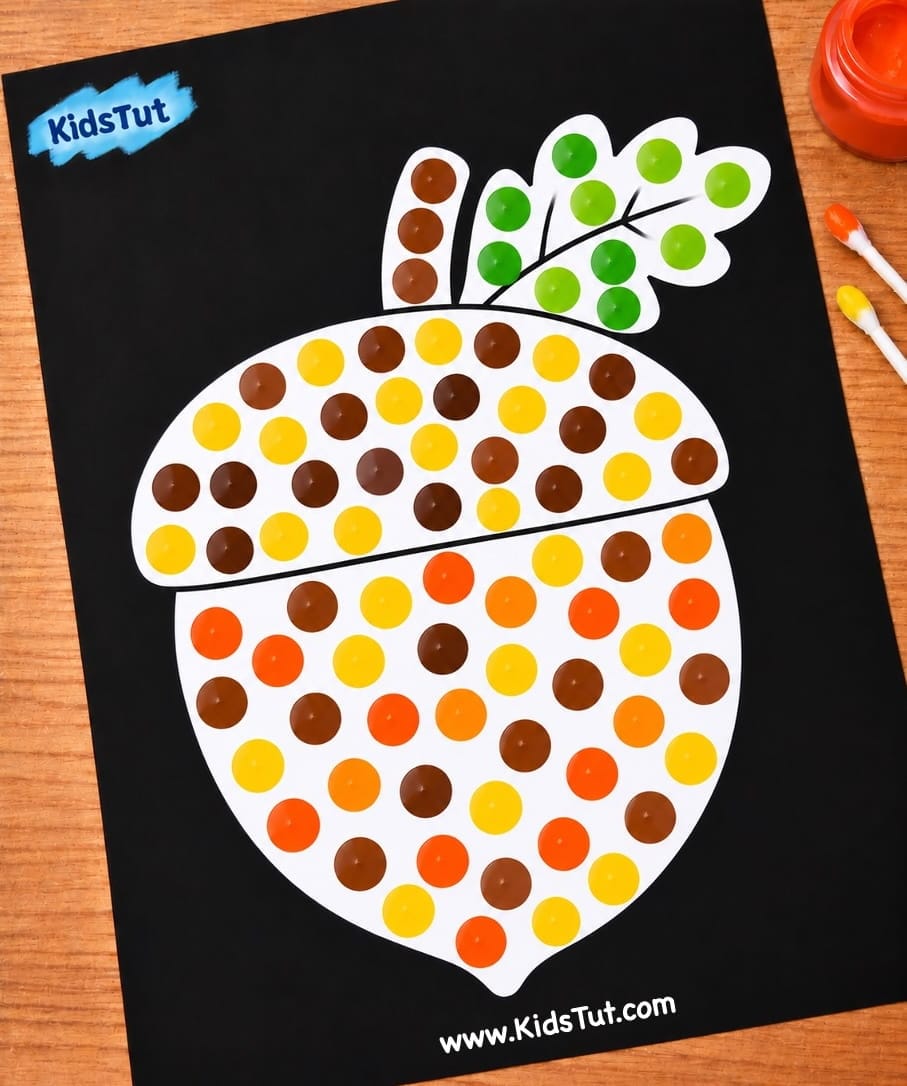
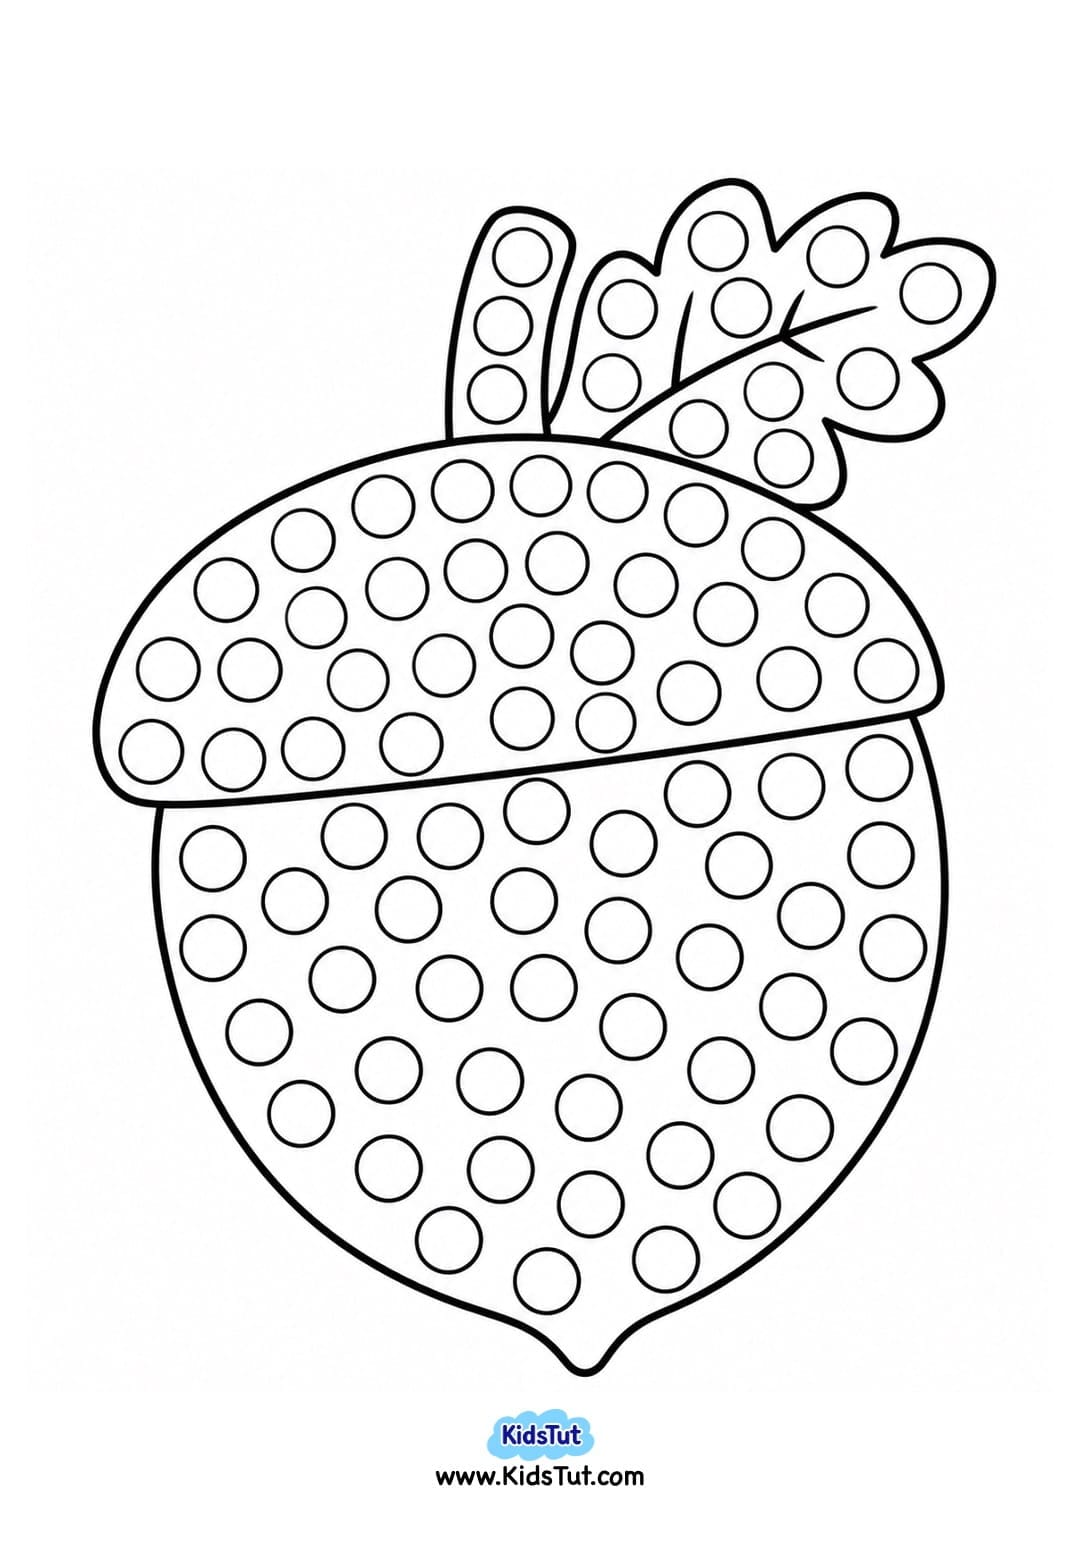
- Witch Dot Painting Craft:
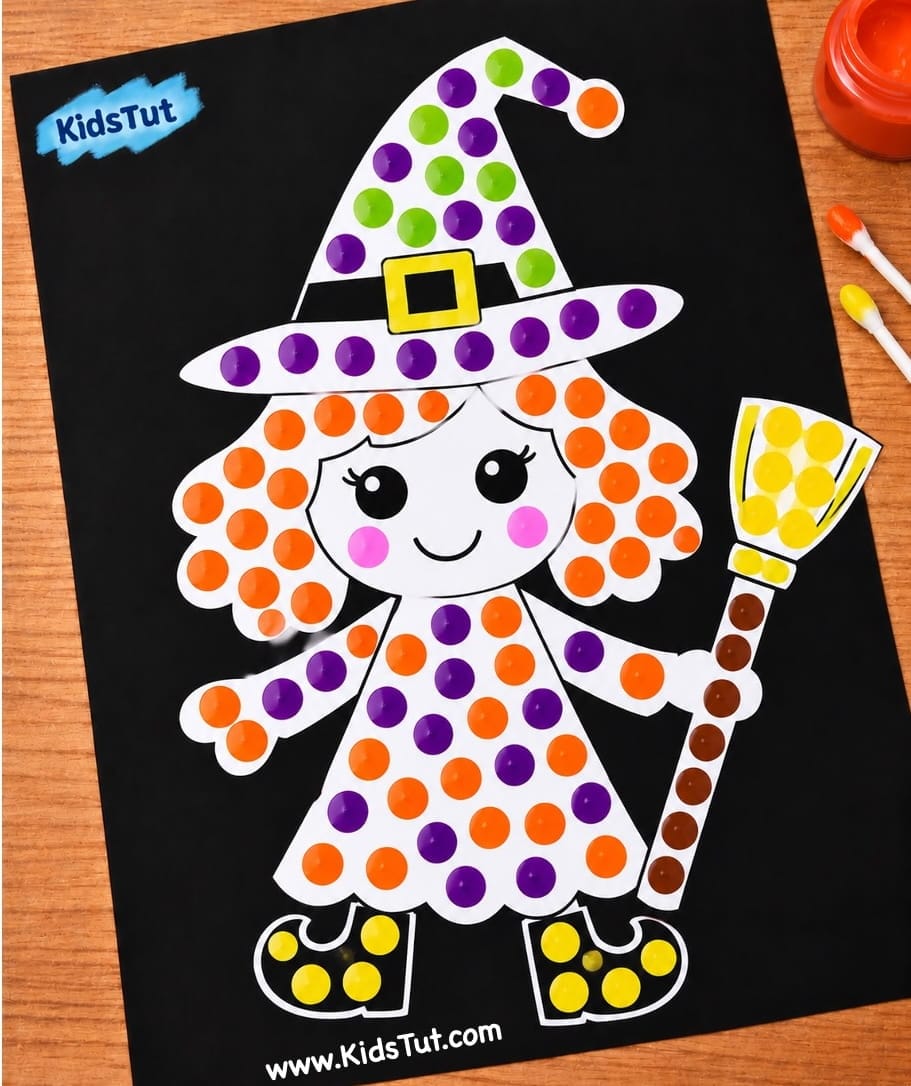
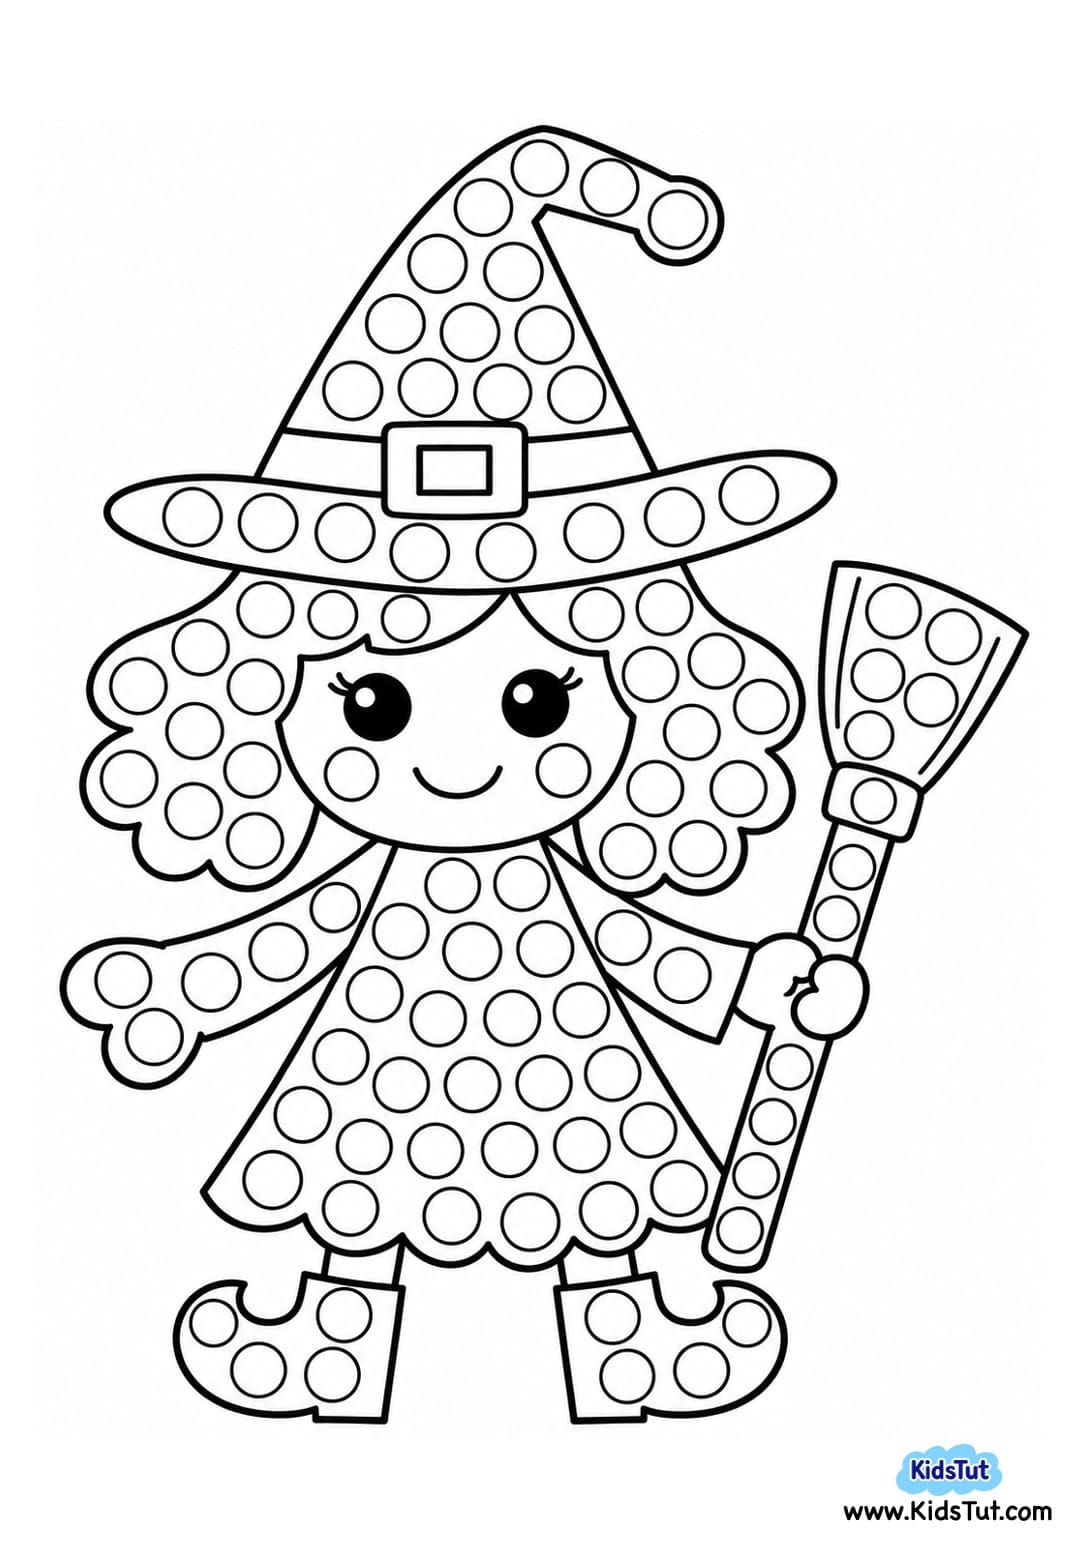
- Haunted House Dot Painting Craft:
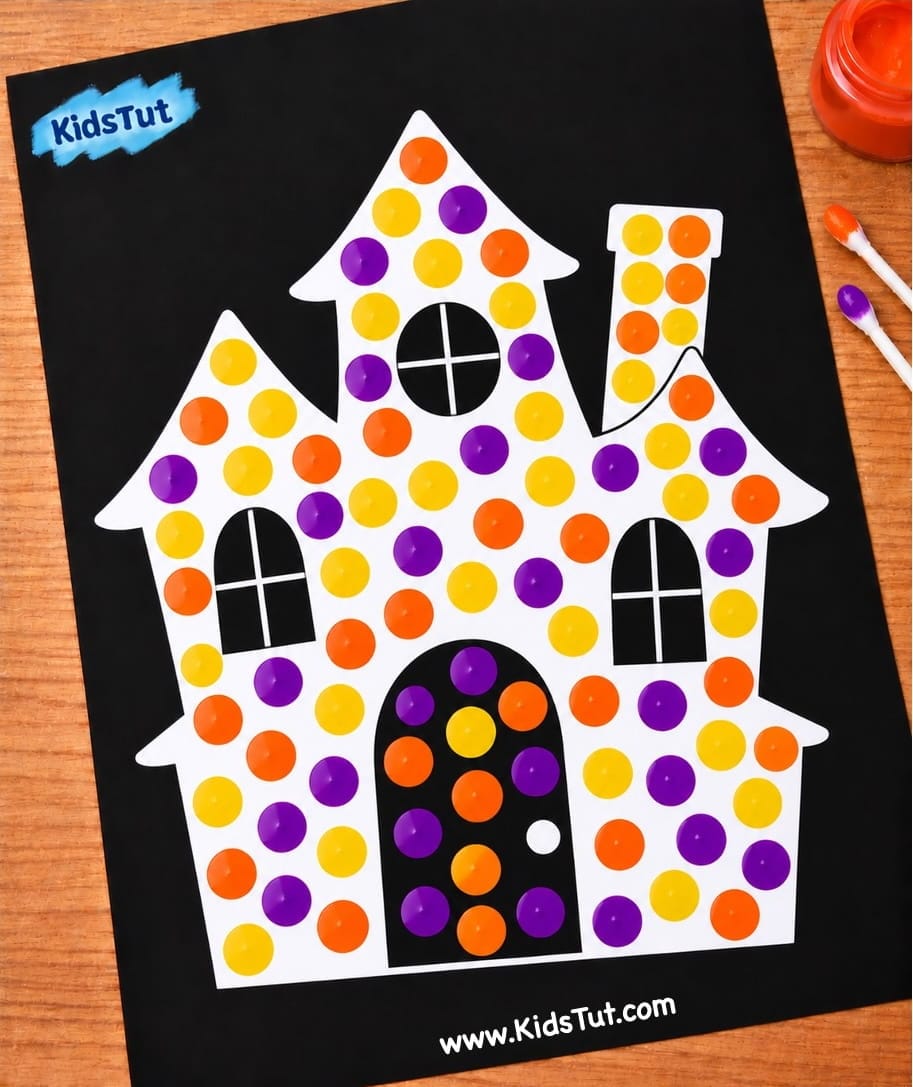
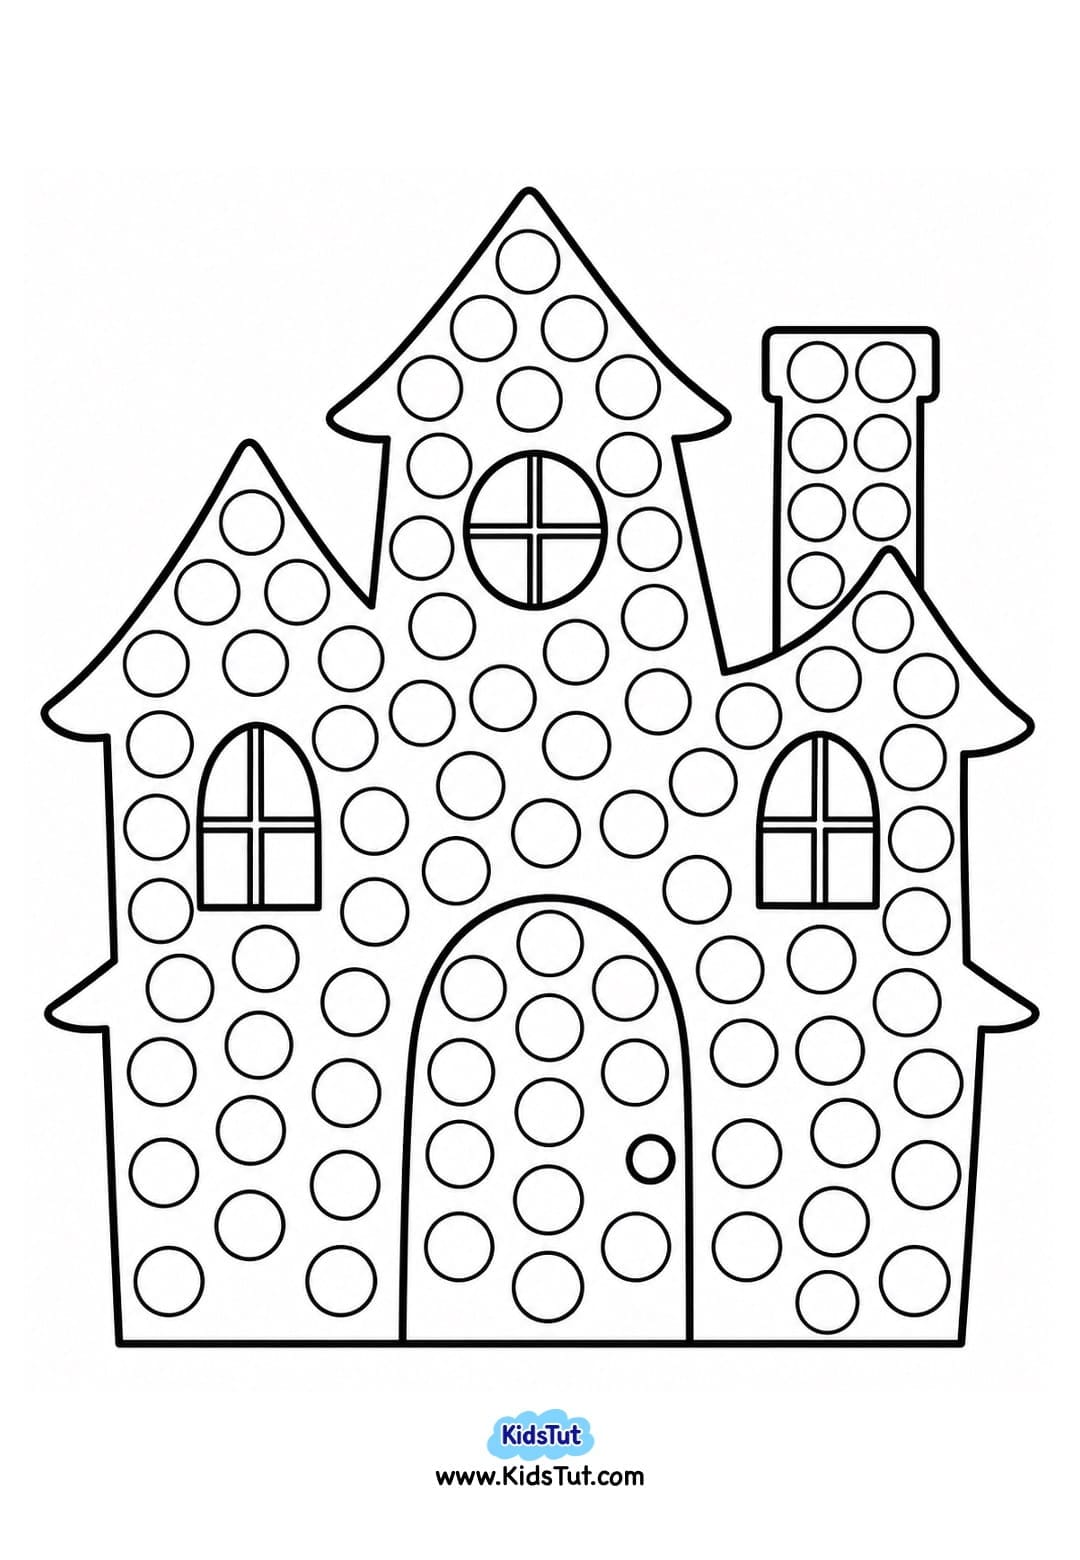

Click here to get the FREE PDF template: Download ( Printable )