Easy Christmas Torn Paper Crafts for Kids to Make
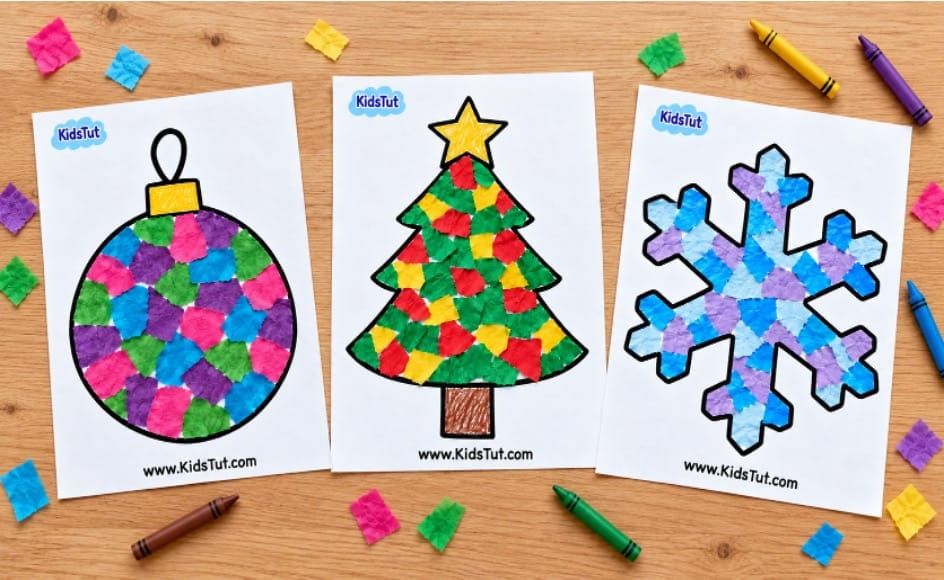
Get ready for some colorful holiday fun with these Easy Christmas Torn Paper Crafts for Kids to Make! This simple Christmas activity lets children create beautiful holiday pictures using small pieces of colorful torn paper, glue, and printable templates.
Kids can make a Christmas tree, Christmas ornament, snowflake, and other festive designs by tearing colorful paper into small pieces and gluing them inside the pictures. They can also use crayons, markers, or colored pencils to color the smaller details.
These Christmas torn paper crafts for kids are perfect for preschool, Pre-K, kindergarten, elementary school, homeschool, classroom Christmas activities, or holiday crafting at home. The best part is that children don't need to cut every little piece of paper. They can simply tear, glue, and create their own colorful Christmas artwork!
What You Need
- Printable Christmas craft templates
- White A4 paper
- Colored construction paper
- Colorful tissue paper
- Colored craft paper or other decorative paper
- Craft glue or glue sticks
- Crayons
- Markers or colored pencils
- Scissors (optional)
You can use different types of paper for this activity. Construction paper, tissue paper, and other colorful paper scraps all work well for making torn paper Christmas crafts.
How to Make Christmas Torn Paper Crafts
Step 1: Choose and Print the Christmas Templates
- First, choose your favorite printable Christmas craft template.
- You can select a Christmas tree, Christmas ornament, snowflake, or another holiday picture.
- Print the selected templates on white A4 sheets of paper.
Step 2: Prepare the Colored Paper
- Choose colorful paper that matches your Christmas picture.
- You can use colored construction paper, tissue paper, decorative paper, or leftover craft paper.
- For example:
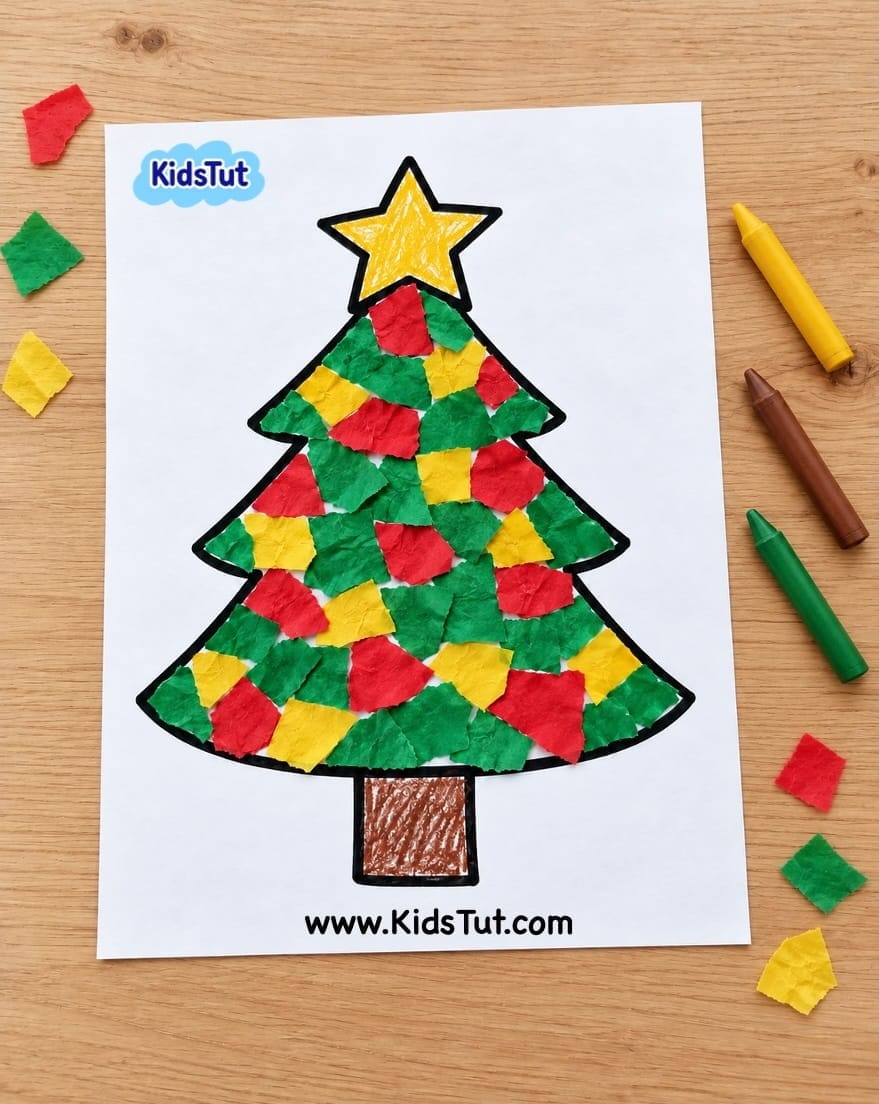
Christmas Tree: Green, red, and yellow paper
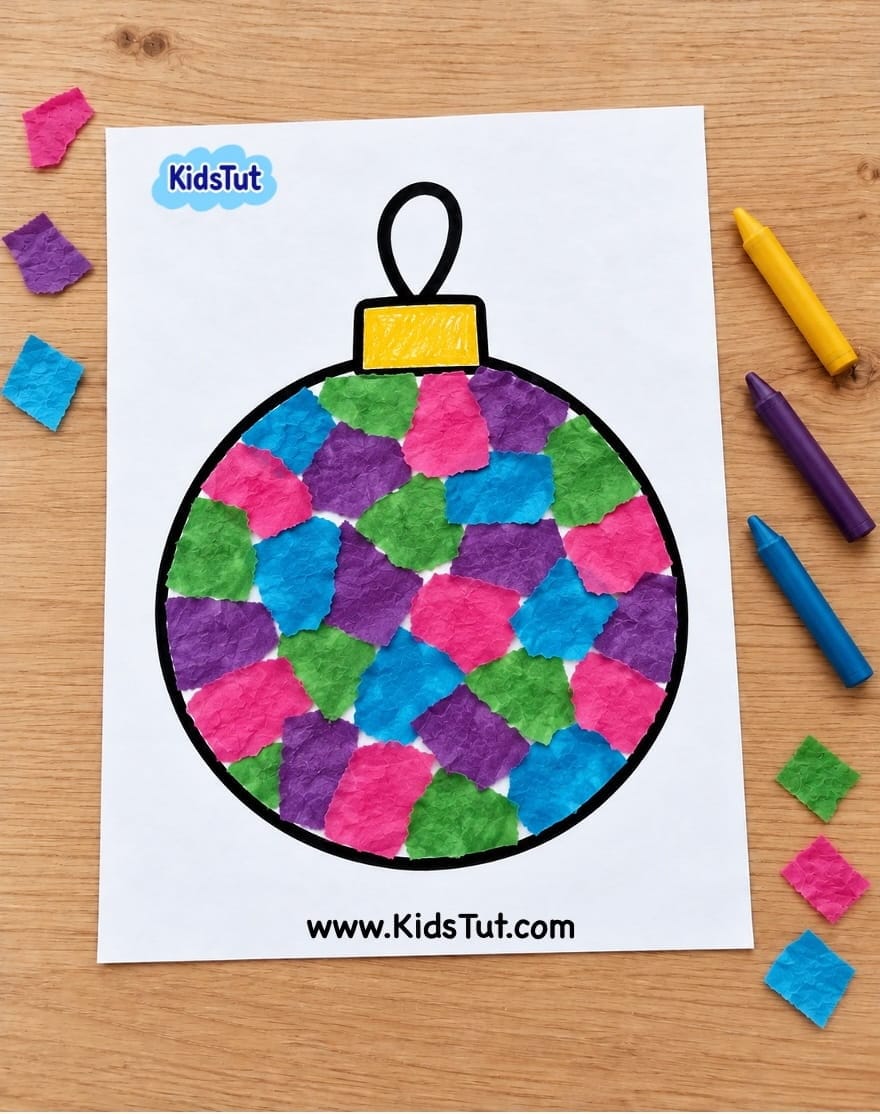
Christmas Ornament: Pink, purple, blue, and green paper
Snowflake: Light blue, dark blue, purple, and white paper
- Children can also choose their own colors to make their Christmas pictures bright and unique.
Step 3: Tear the Paper into Small Pieces
- Take the selected colored paper and tear it into small pieces using your fingers.
- Try to make the pieces small enough to fit inside the printed Christmas shapes.
- The pieces do not need to be the same size or shape. Different torn paper pieces will give the finished craft a fun and colorful look.
- Prepare enough paper pieces to fill the larger areas of your chosen picture.
Step 4: Apply Glue Inside the Picture
- Take your printed Christmas template and apply glue to one section of the picture.
- Start with the larger, easier areas, as these are simpler for young children to fill with torn paper.
- Avoid applying glue over the entire page at once. Work on one small section at a time.
Step 5: Fill the Picture with Torn Paper
- Pick up the small colored paper pieces and gently press them onto the glued area.
- Continue adding pieces until the selected section is covered.
- You can place the pieces close together or slightly overlap them to fill the empty spaces.
- Try to keep the torn paper pieces inside the printed outlines.
- Repeat this process until the larger parts of your Christmas picture are filled with colorful torn paper.
Step 6: Color the Smaller Details
- Some parts of the Christmas pictures may be too small for torn paper pieces.
- Instead of covering these small areas with paper, children can color them using crayons, markers, or colored pencils.
- This makes the activity easier and helps children combine coloring and paper collage techniques.
Step 7: Let the Craft Dry
- Once all the torn paper pieces are glued and the smaller details are colored, keep the craft aside and let the glue dry completely.
- Make sure all the paper pieces are attached securely before moving the finished artwork.
Step 8: Display Your Christmas Crafts
- Now your colorful Christmas torn paper craft is ready to display!
- You can hang the finished artwork on a classroom wall, bulletin board, refrigerator, or Christmas craft display.
- Make several different Christmas pictures and display them together to create a beautiful holiday art collection.
Christmas Torn Paper Craft Ideas:
1. Christmas Tree Torn Paper Craft
Paste colorful torn paper pieces onto the Christmas tree body, filling the shape. Then, use a yellow crayon to color the star at the top and a brown crayon to color the trunk. Let the craft dry completely.
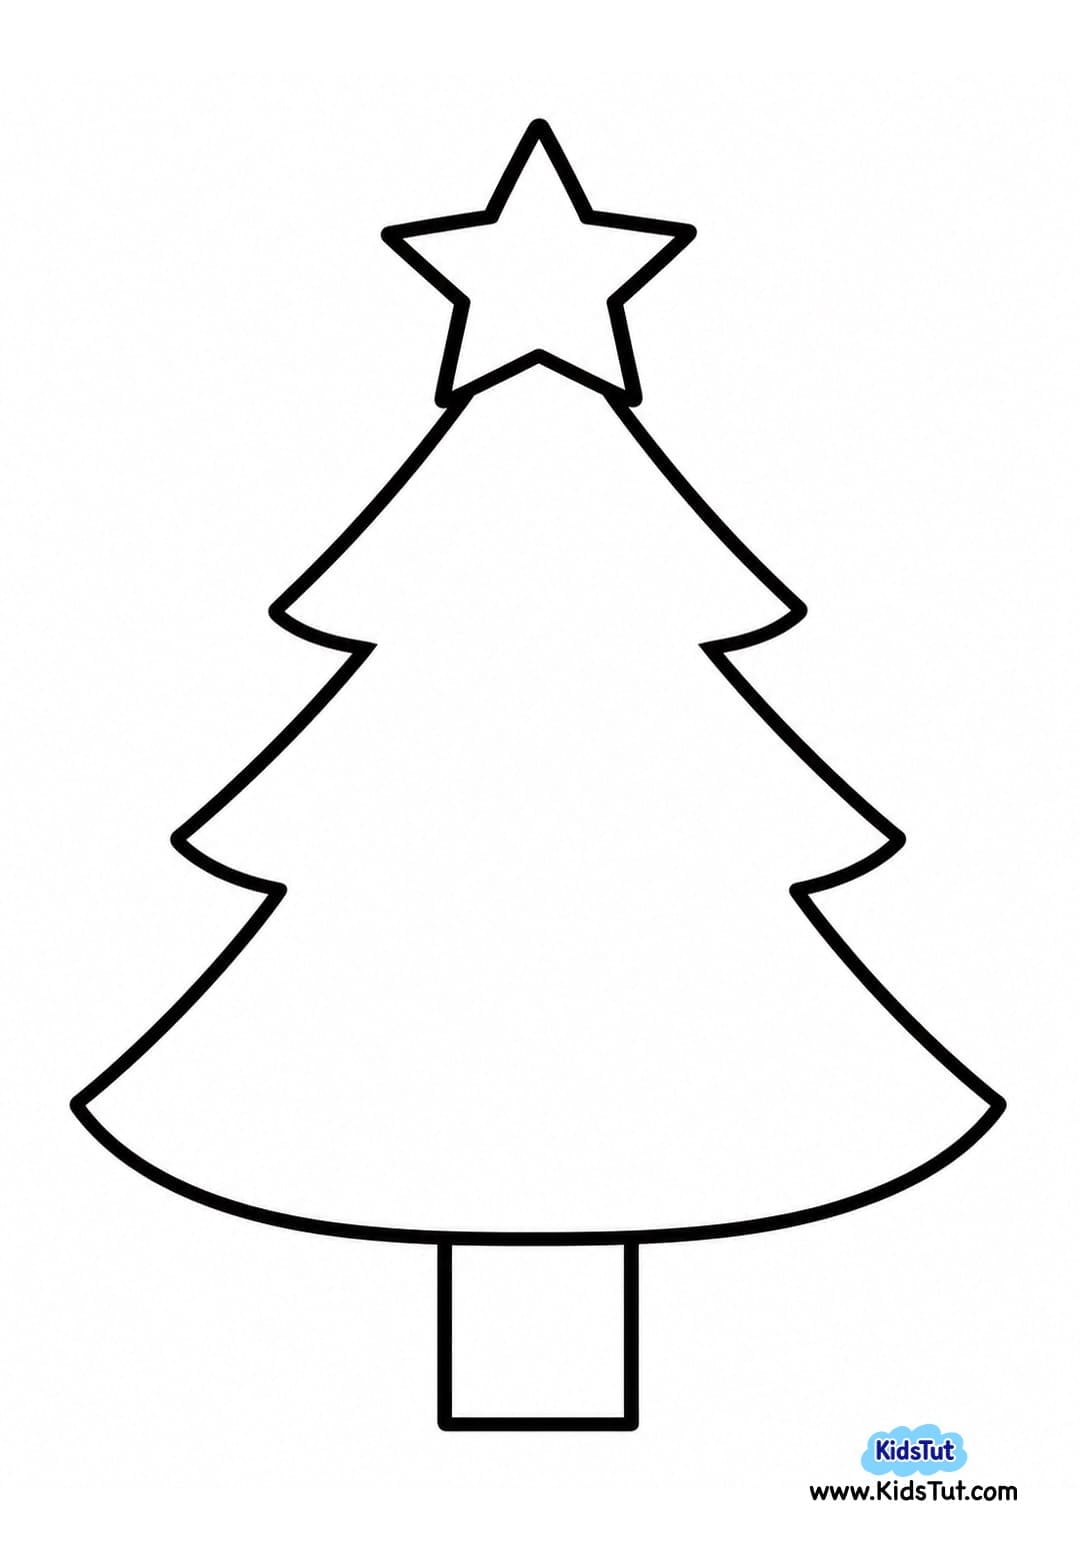
Christmas Tree Template:
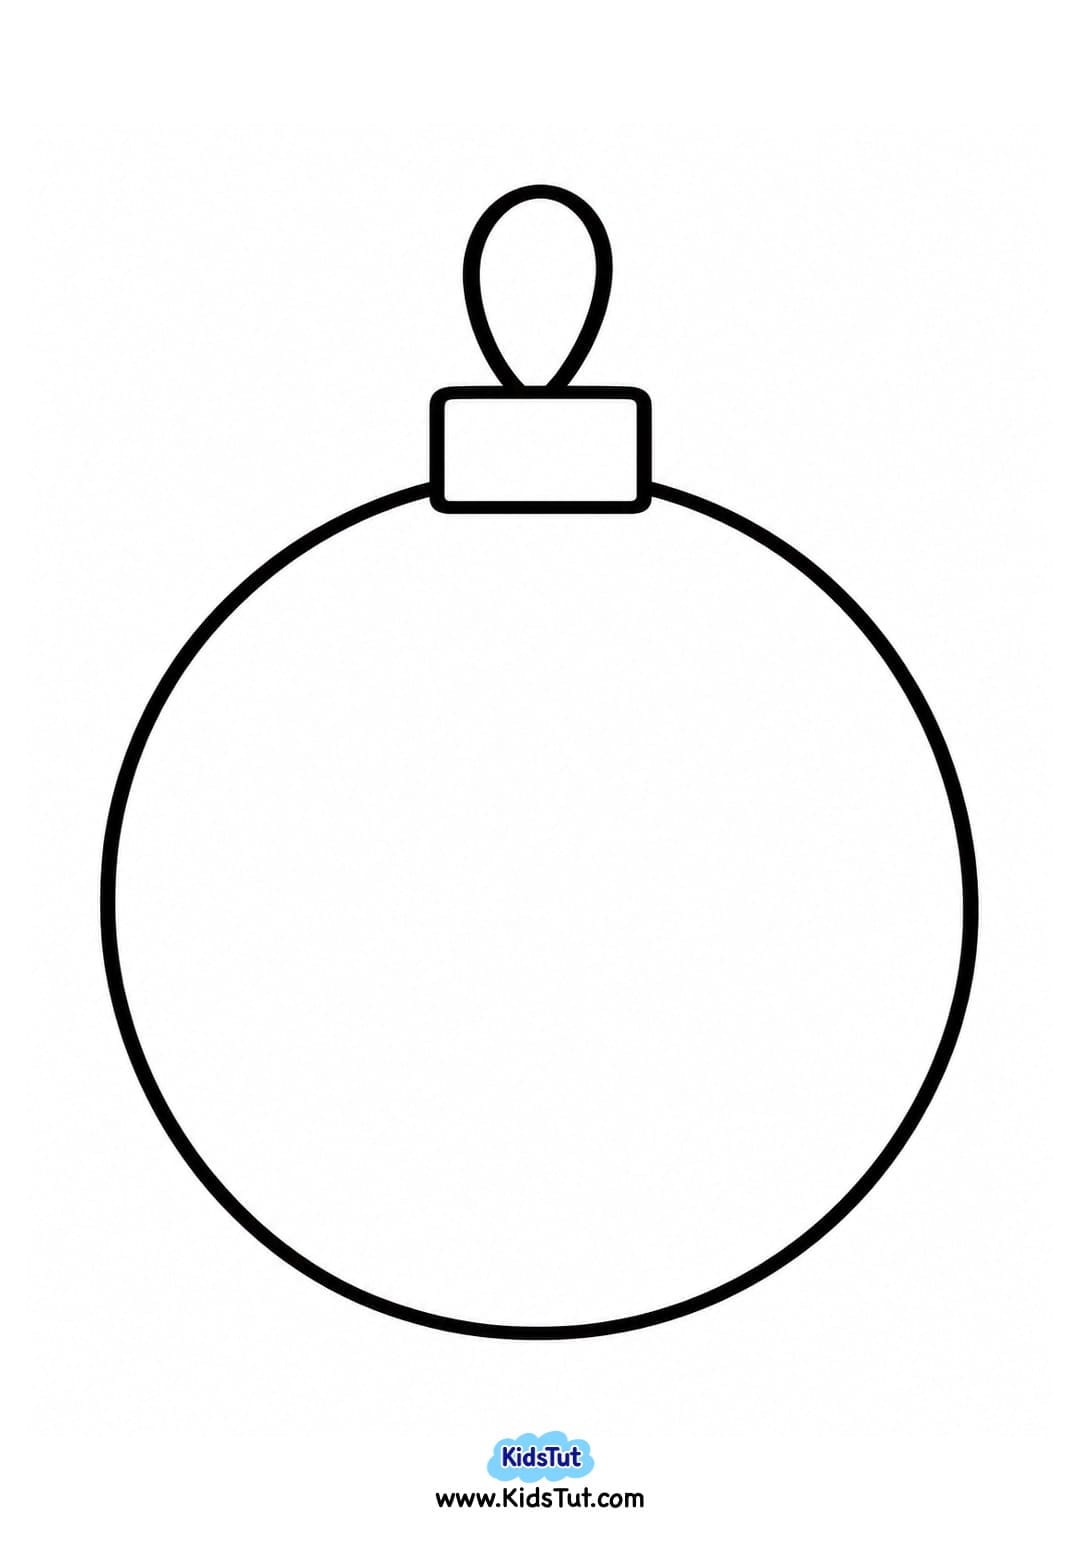
2. Christmas Bauble Torn Paper Craft
Paste colorful torn paper pieces inside the round body of the Christmas bauble. You can mix different colors to make it bright and beautiful. Then, color the small top section using crayons. Let the craft dry completely.
Christmas Bauble Template:
3. Christmas Wreath Torn Paper Craft
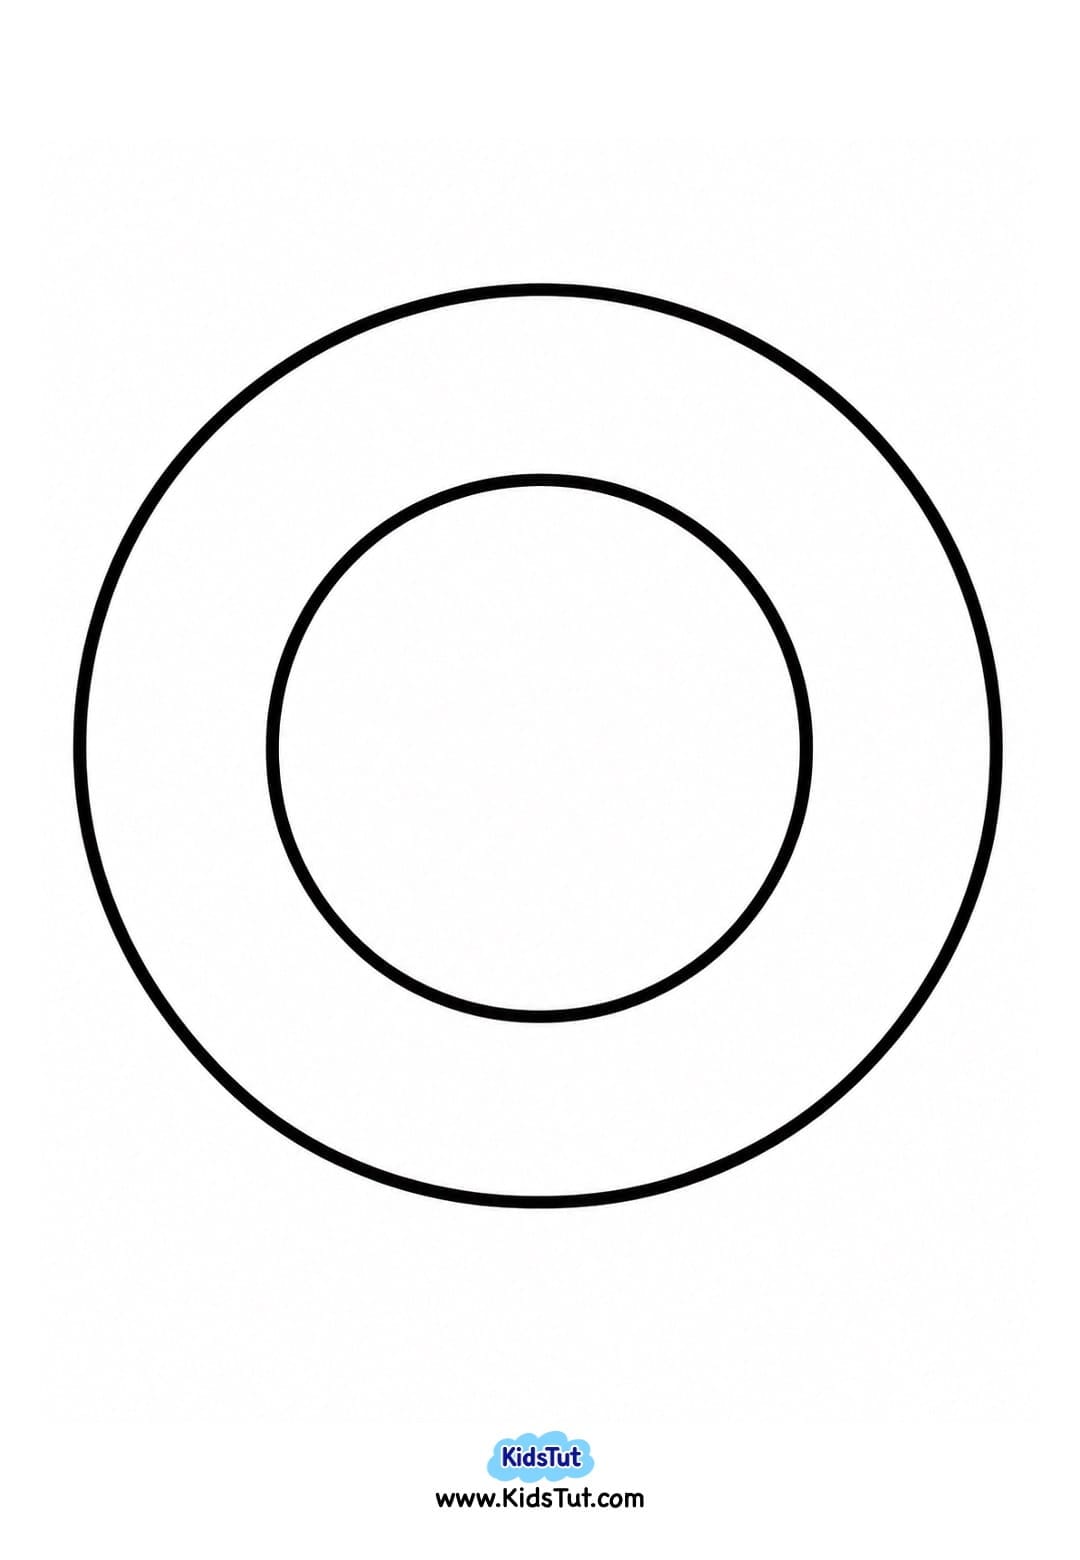
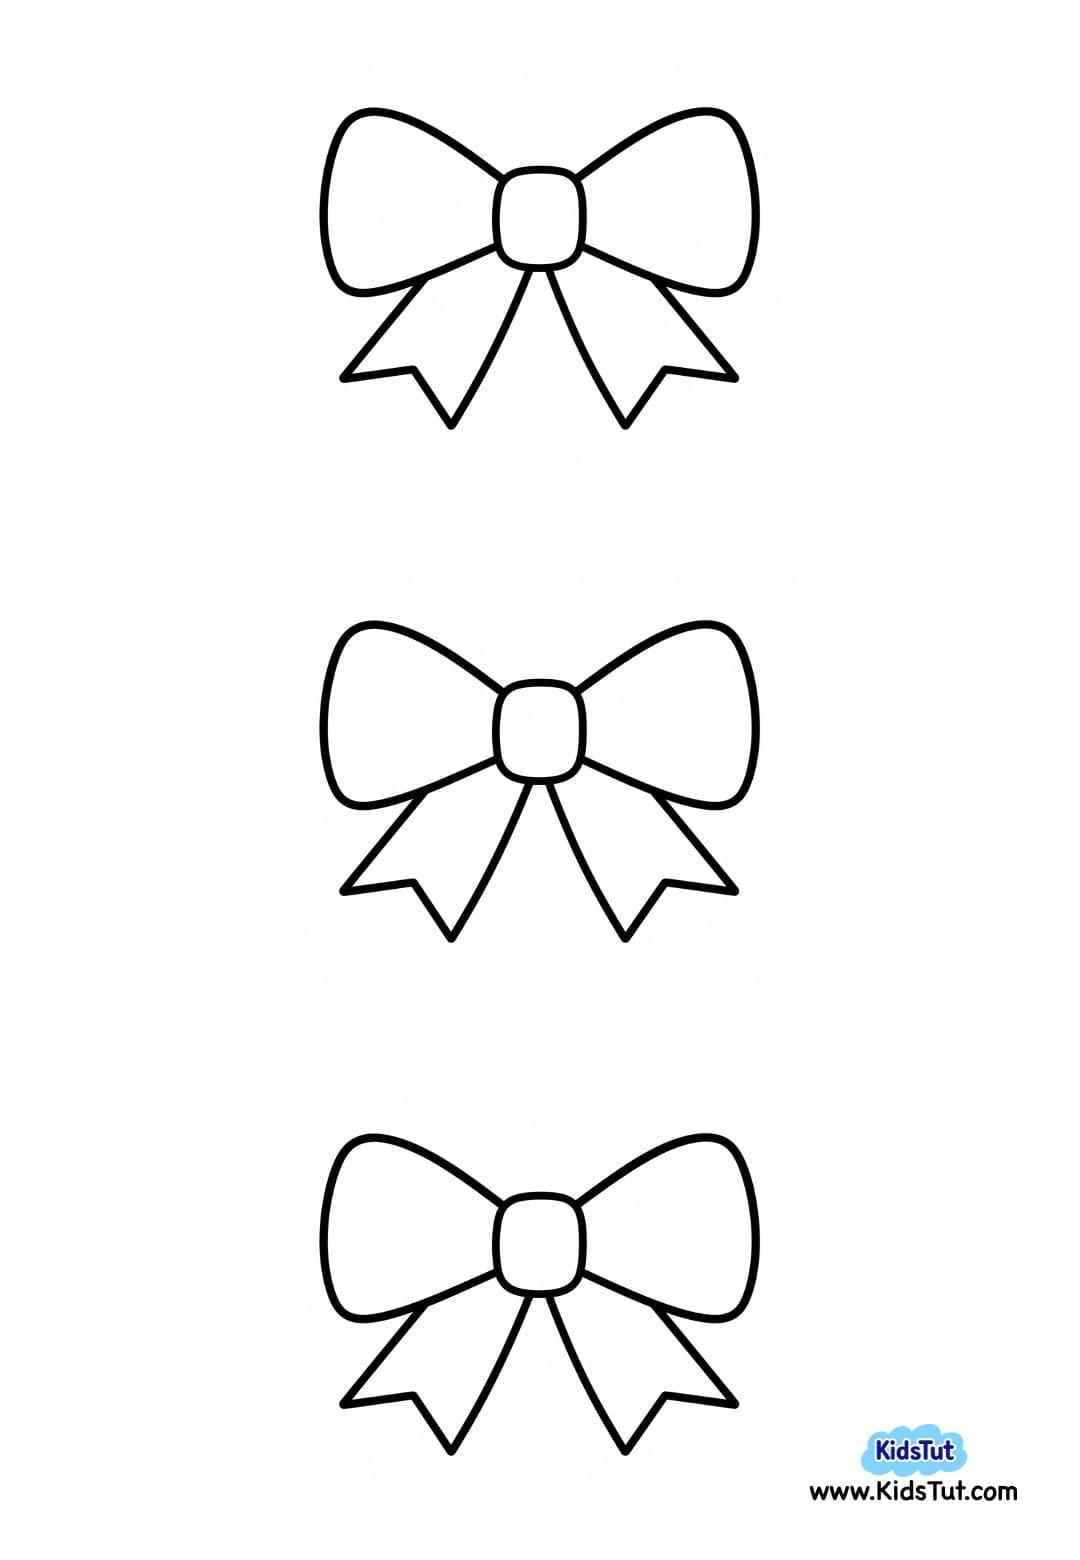
Paste colorful torn paper pieces around the wreath's ring shape, filling the entire ring. Then, print the bow template on white paper and color it using crayons or markers. Carefully cut out the bow along its outline and glue it to the bottom of the wreath. Let the craft dry completely.
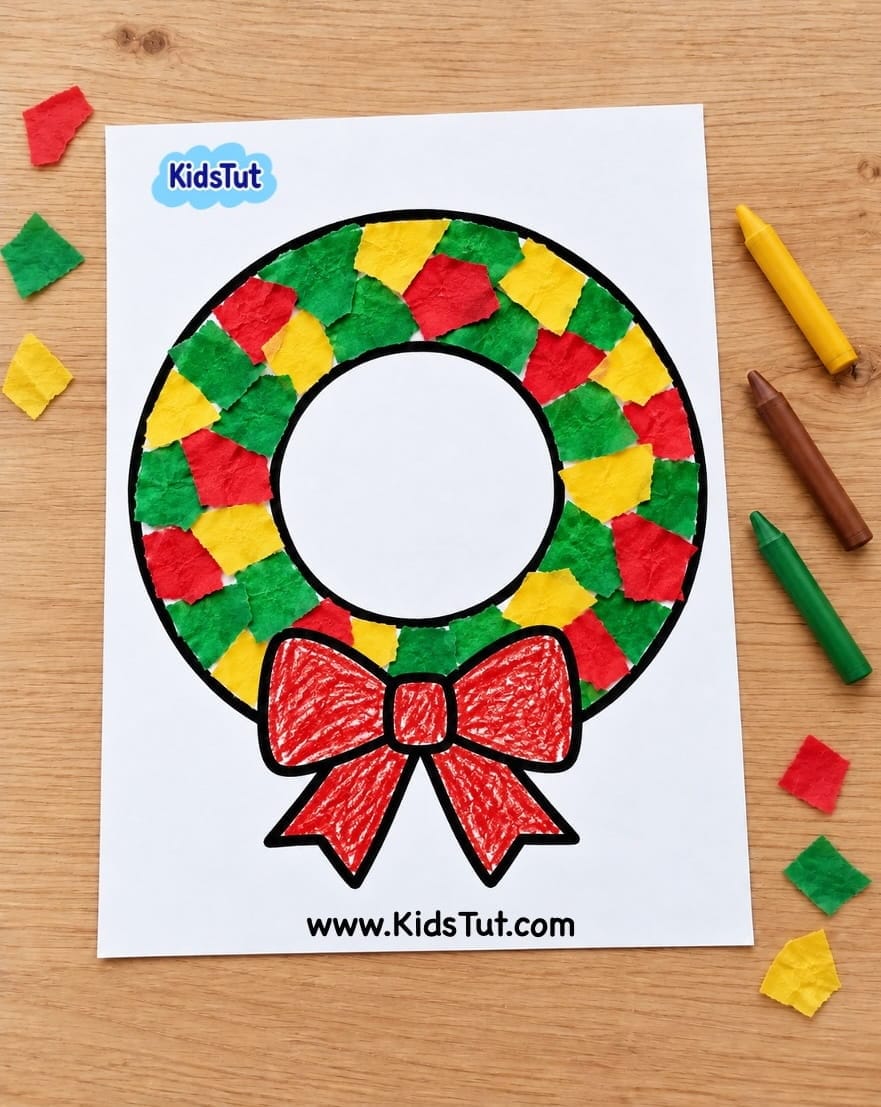
Wreath base and bow Template:
4. Christmas Gift Box Torn Paper Craft
First, color the gift box ribbon using crayons, markers, or colored pencils. Then, paste colorful torn paper pieces inside the gift box area, keeping the ribbon visible. Continue until the box is filled with torn paper pieces. Let the craft dry completely.
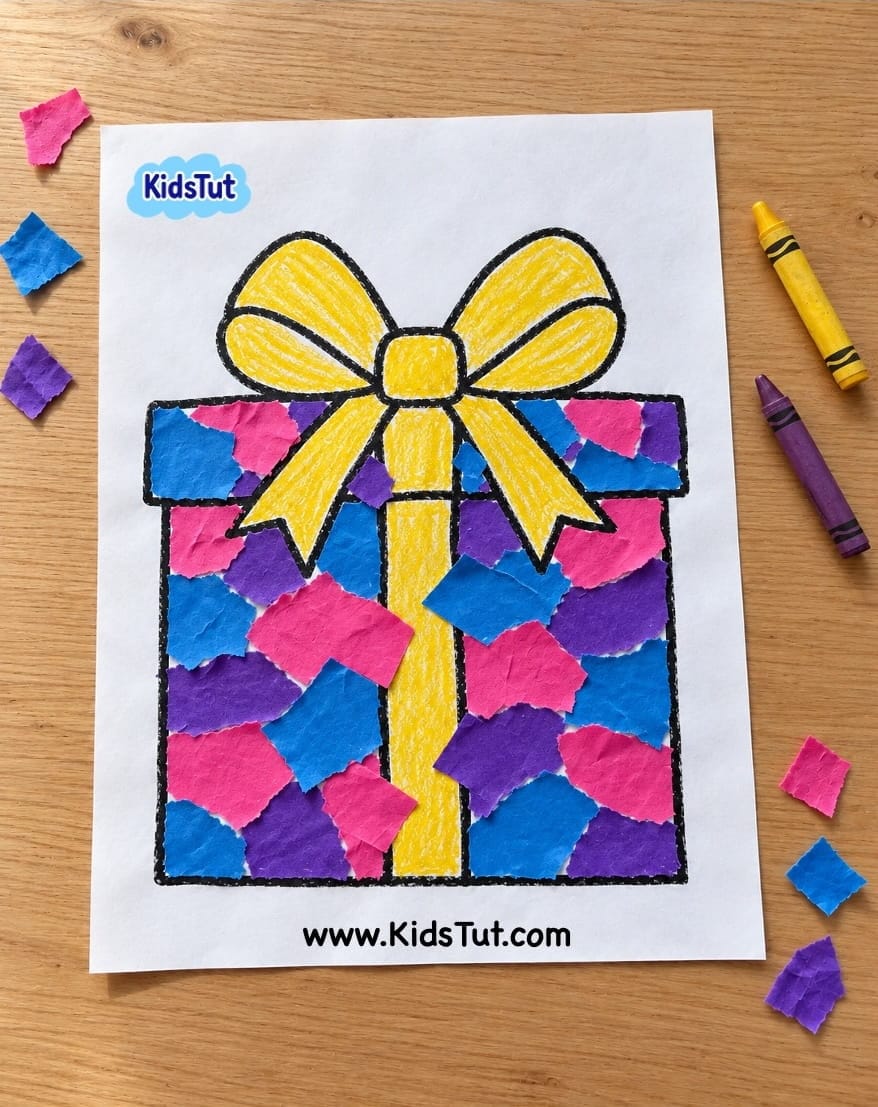
Christmas Gift Box Template:
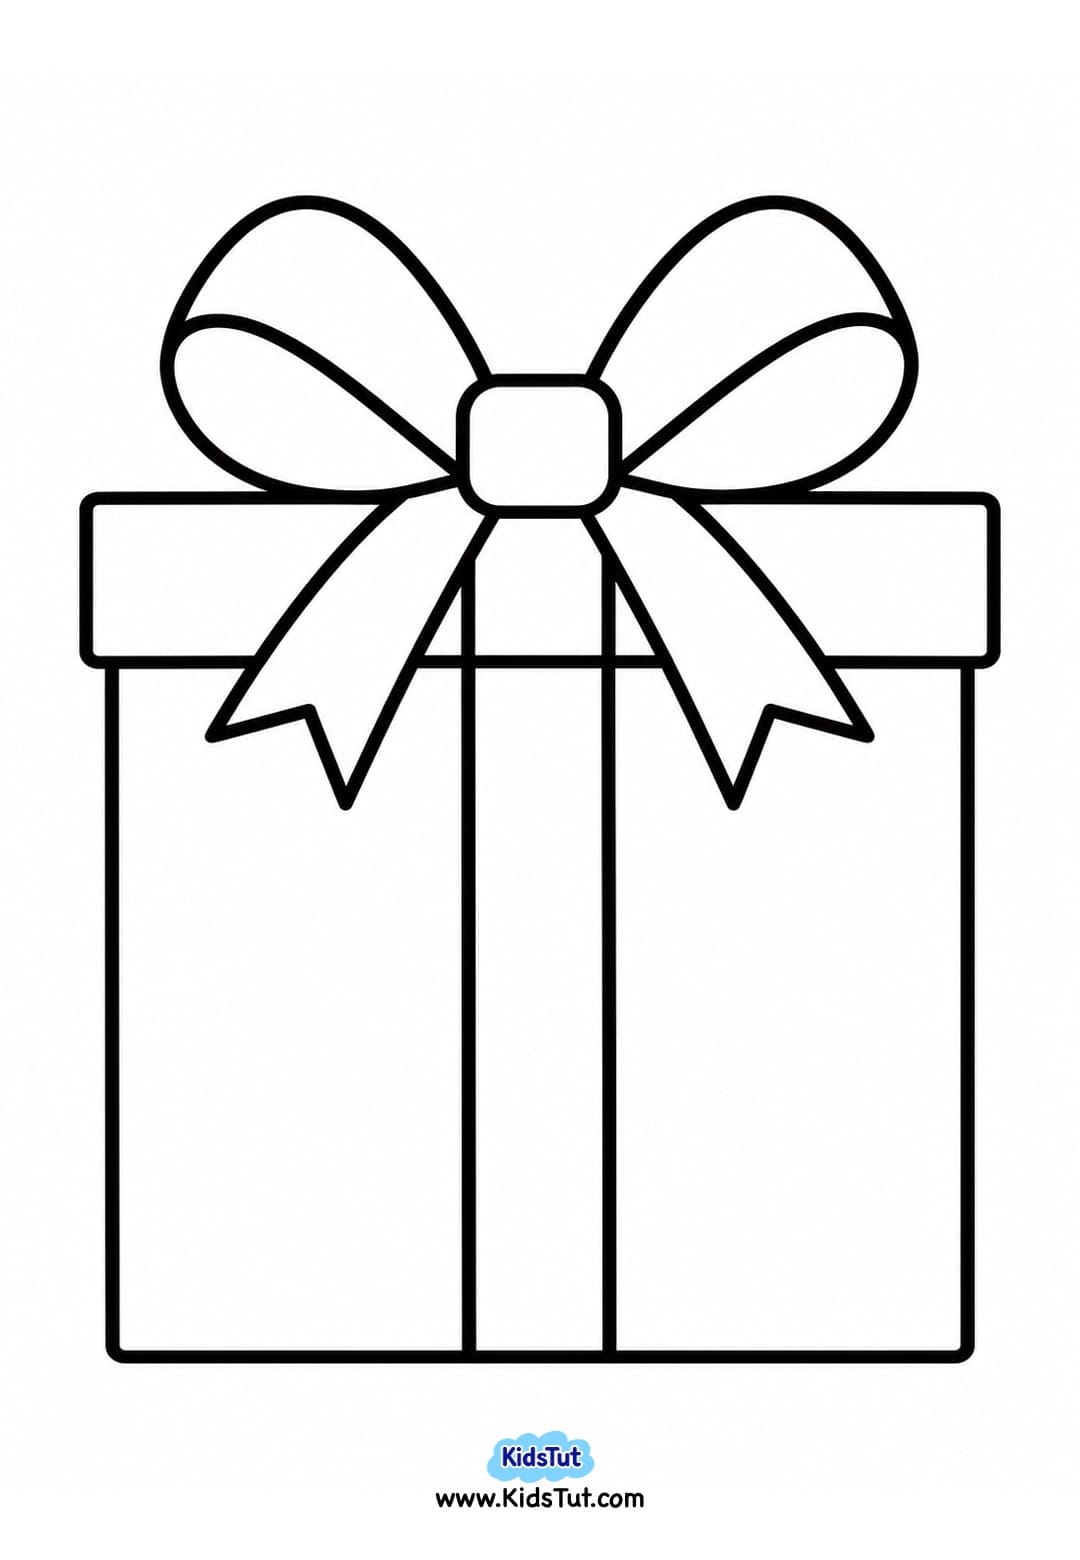
5. Christmas Hat Torn Paper Craft
Paste colorful torn paper pieces onto the main part of the Christmas hat. For the white sections, you can leave them white, color them with crayons, or glue cotton balls onto them for a soft, fluffy look. Let the craft dry completely.
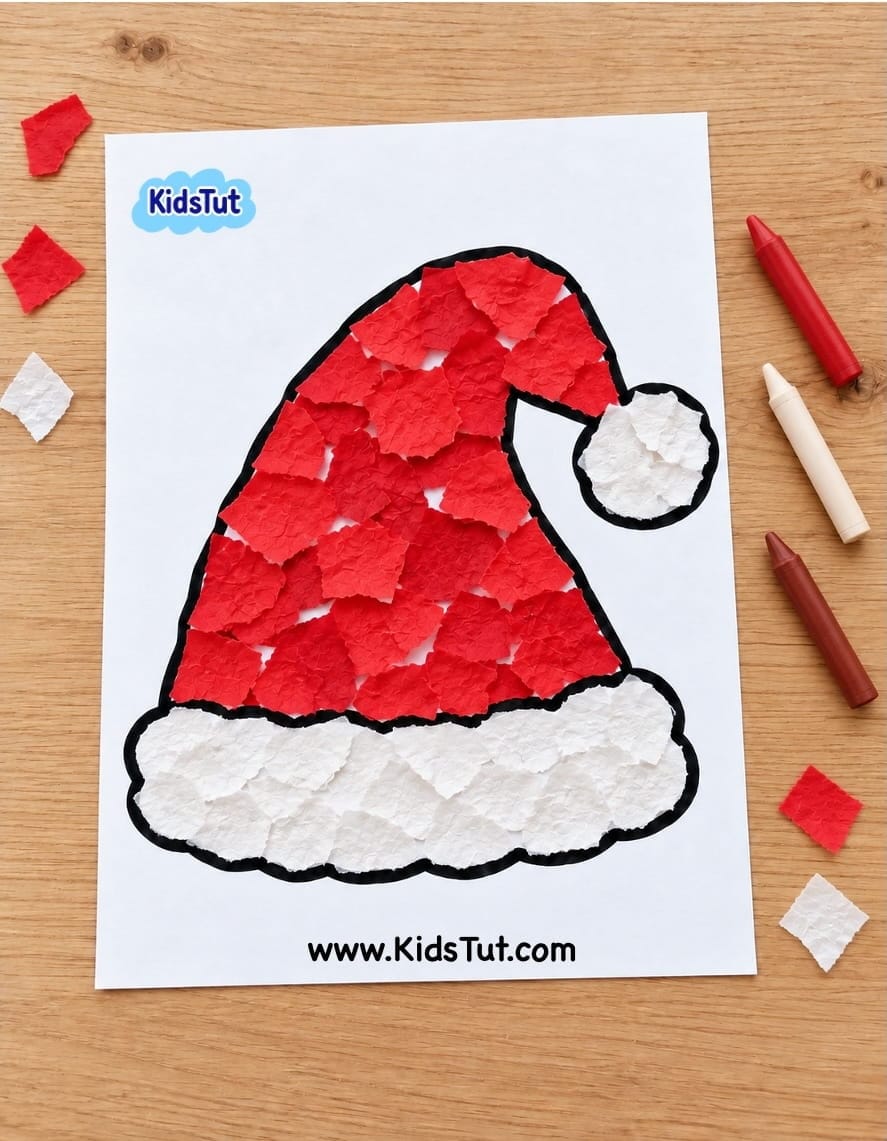
Christmas Hat Template:
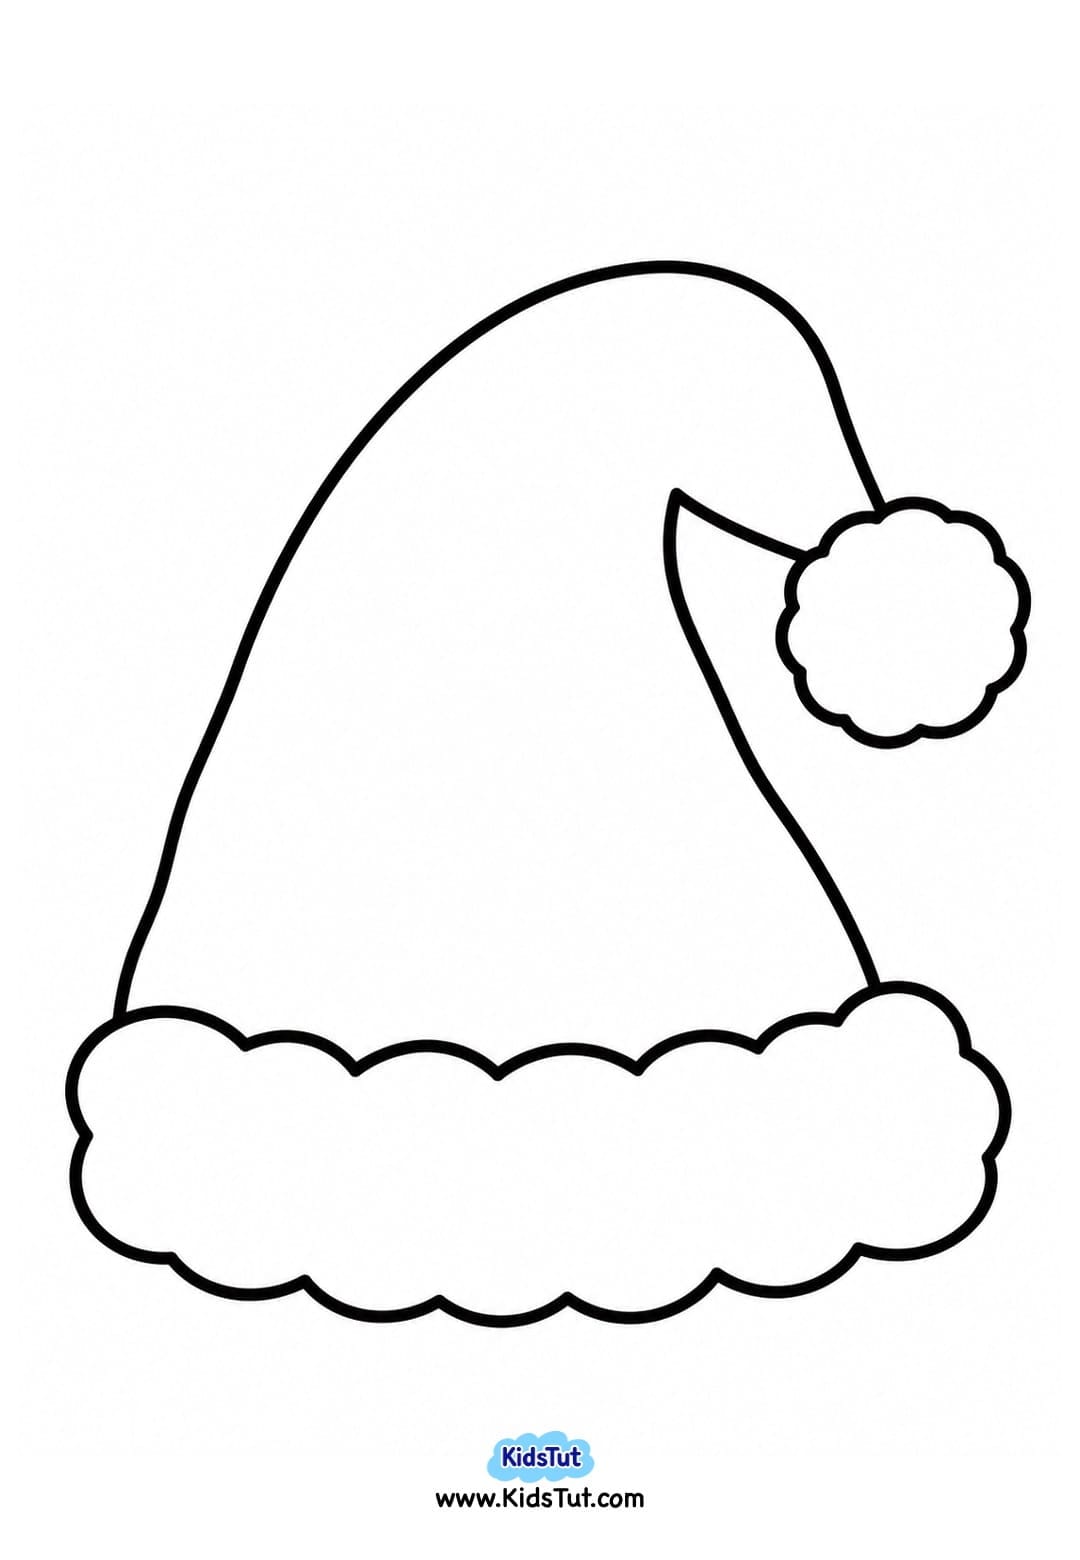
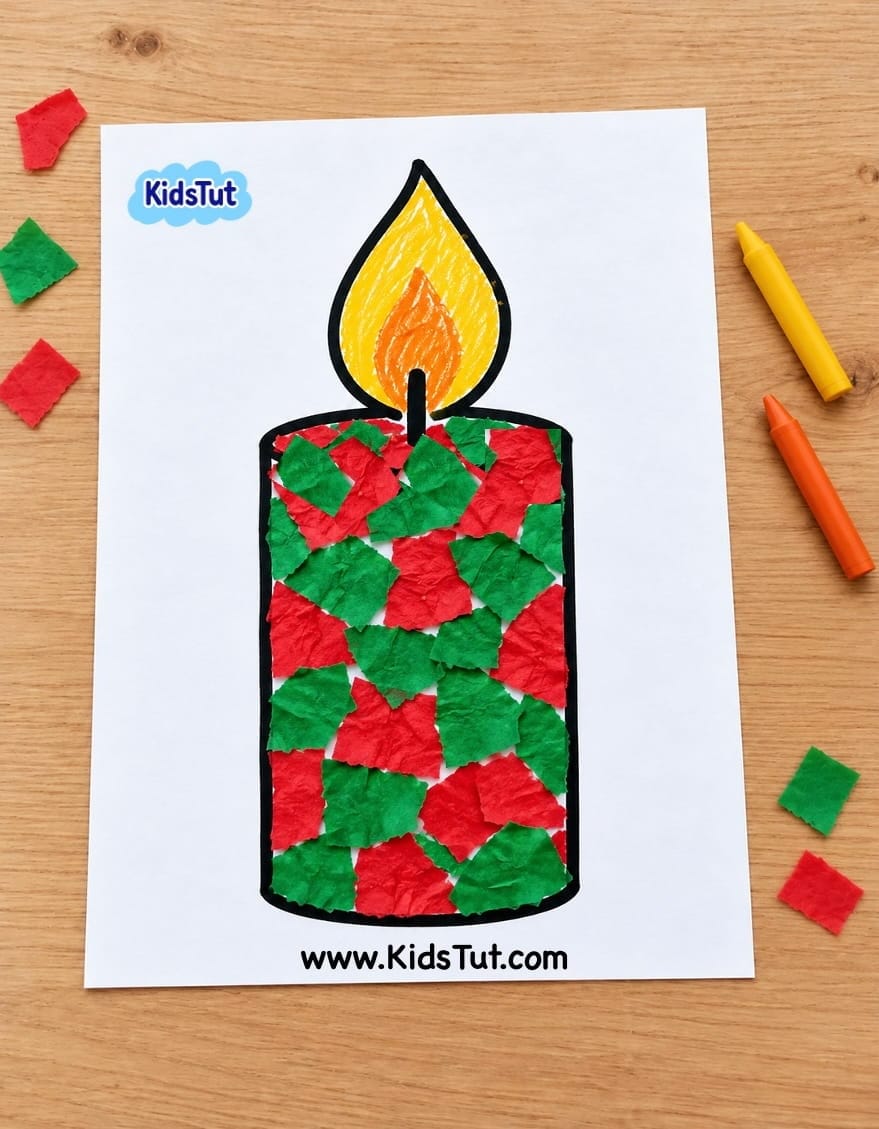
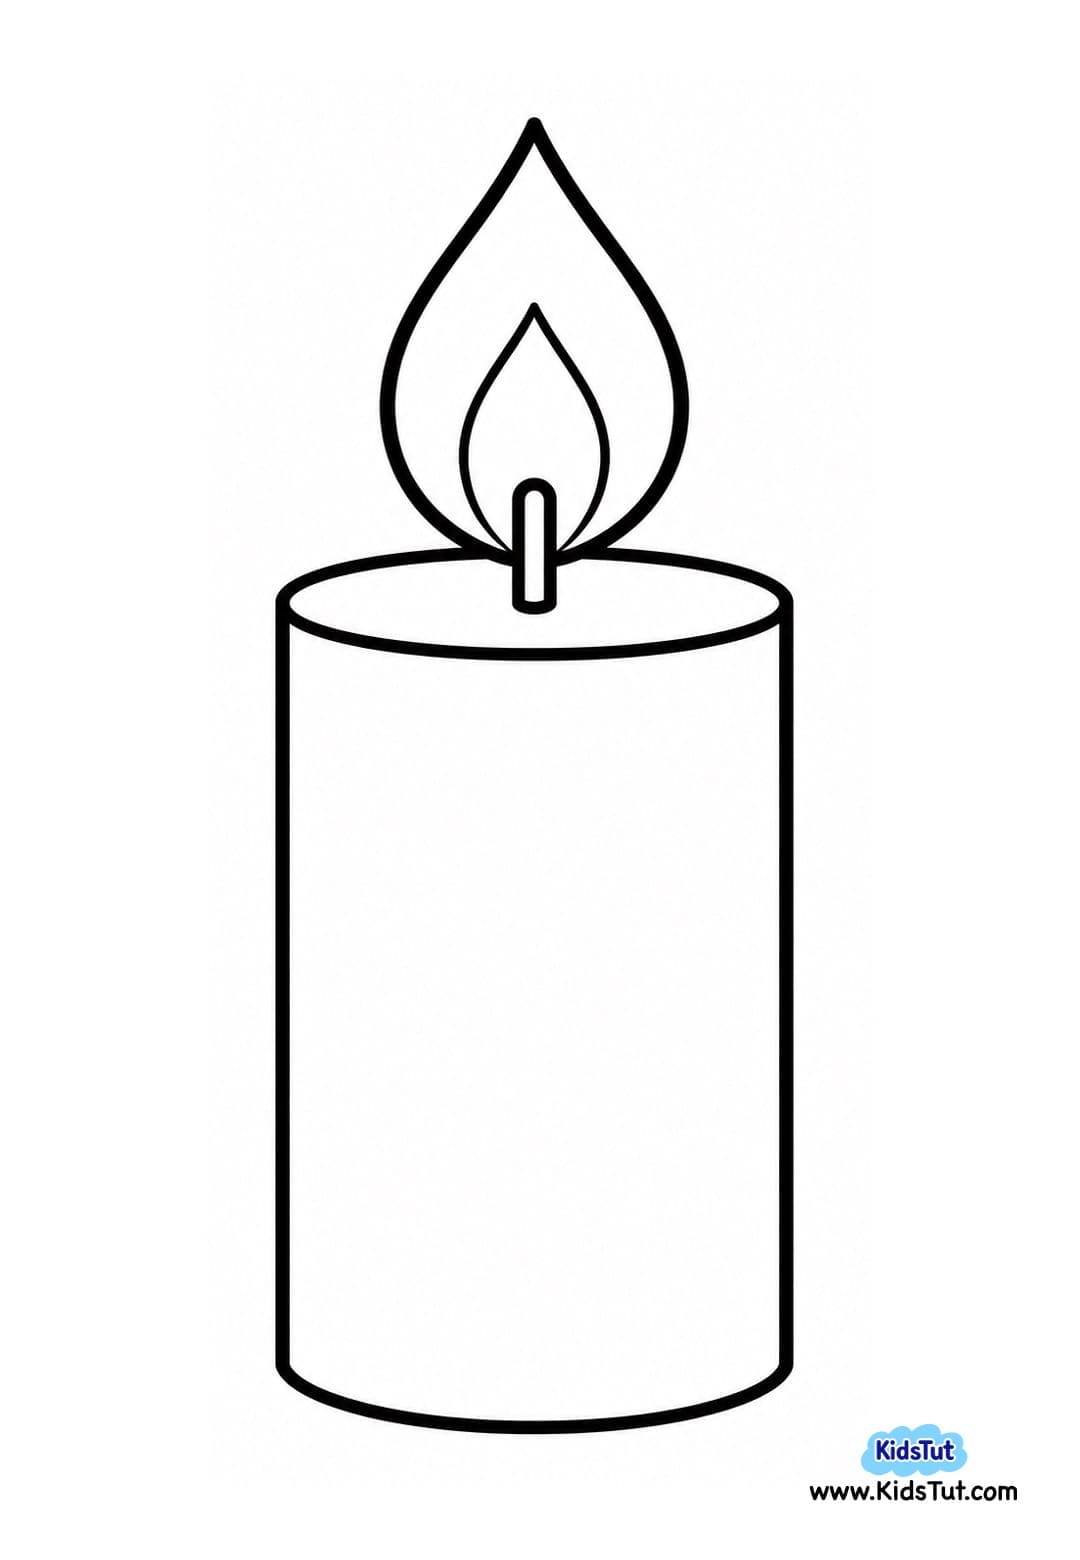
6. Christmas Candle Torn Paper Craft
Paste colorful torn paper pieces inside the candle body, filling the shape. Then, use yellow, orange, or red crayons to color the candle flame. Let the craft dry completely.
Christmas Candle Template:
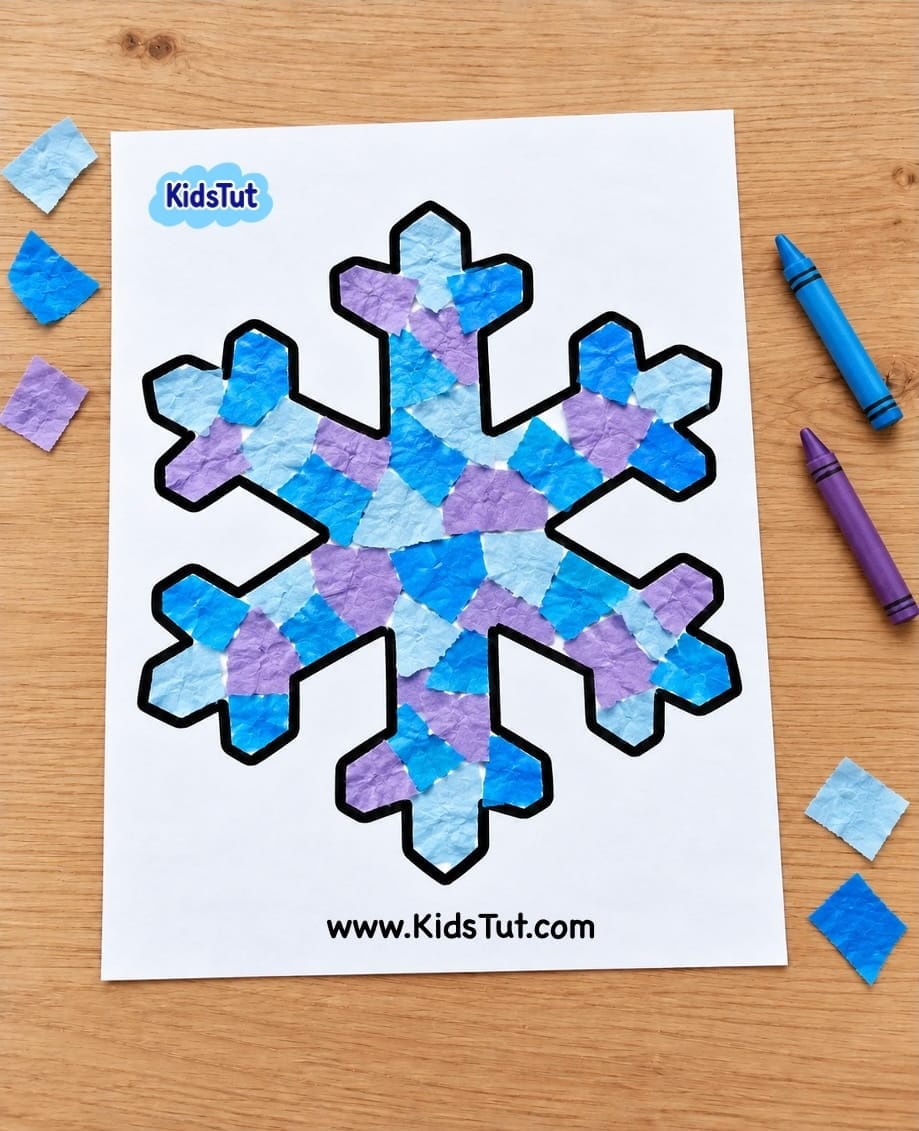
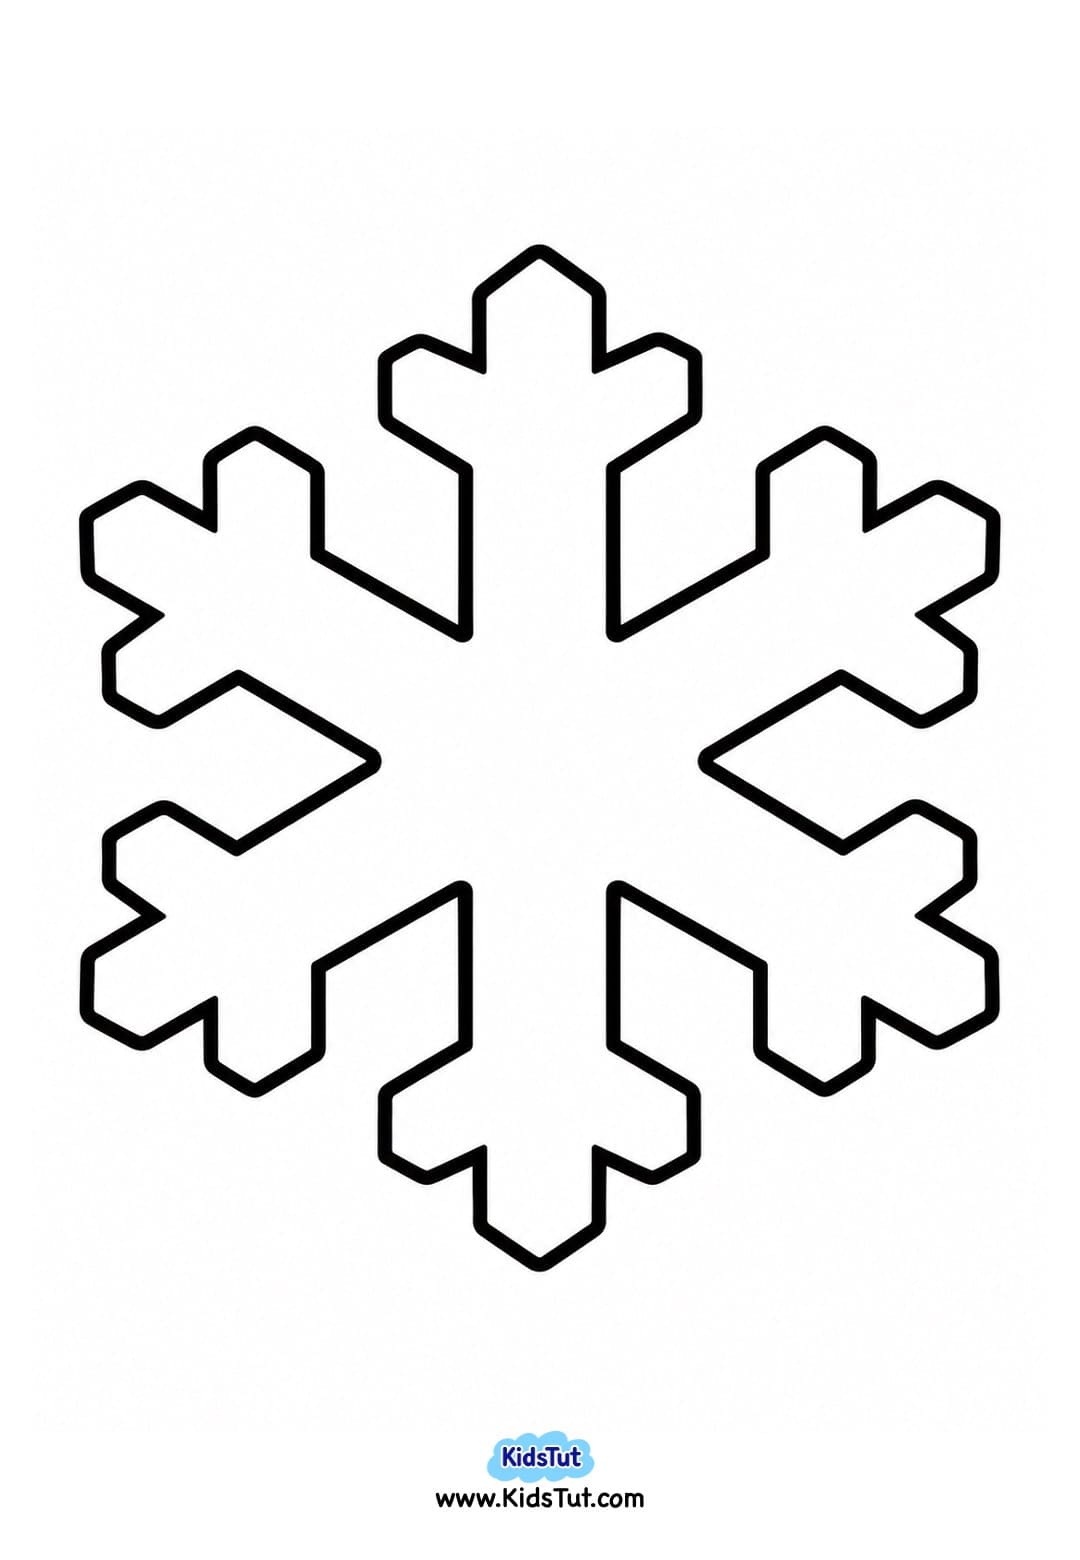
7. Snowflake Torn Paper Craft
Choose different colors of paper and tear them into small pieces. Paste the colorful torn paper pieces inside the entire snowflake shape, mixing the colors to create a bright and beautiful design. Let the craft dry completely.
Snowflake Template:
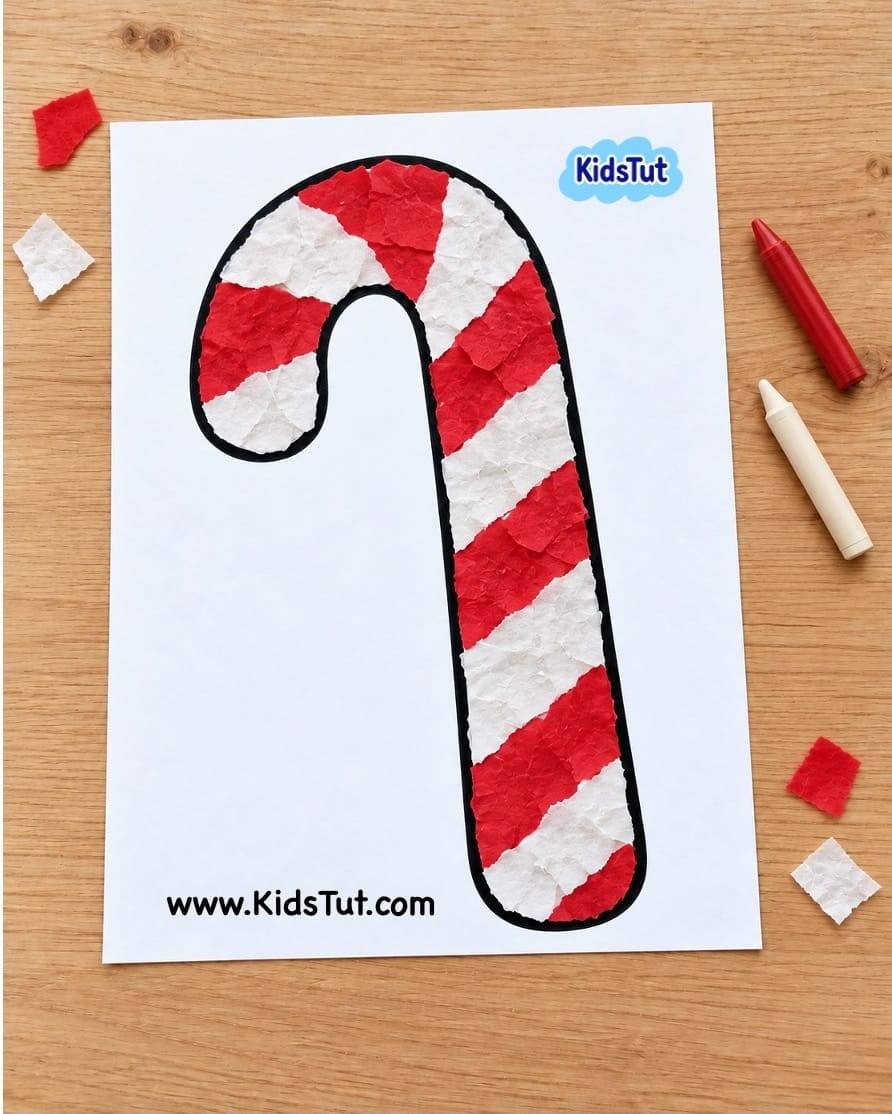
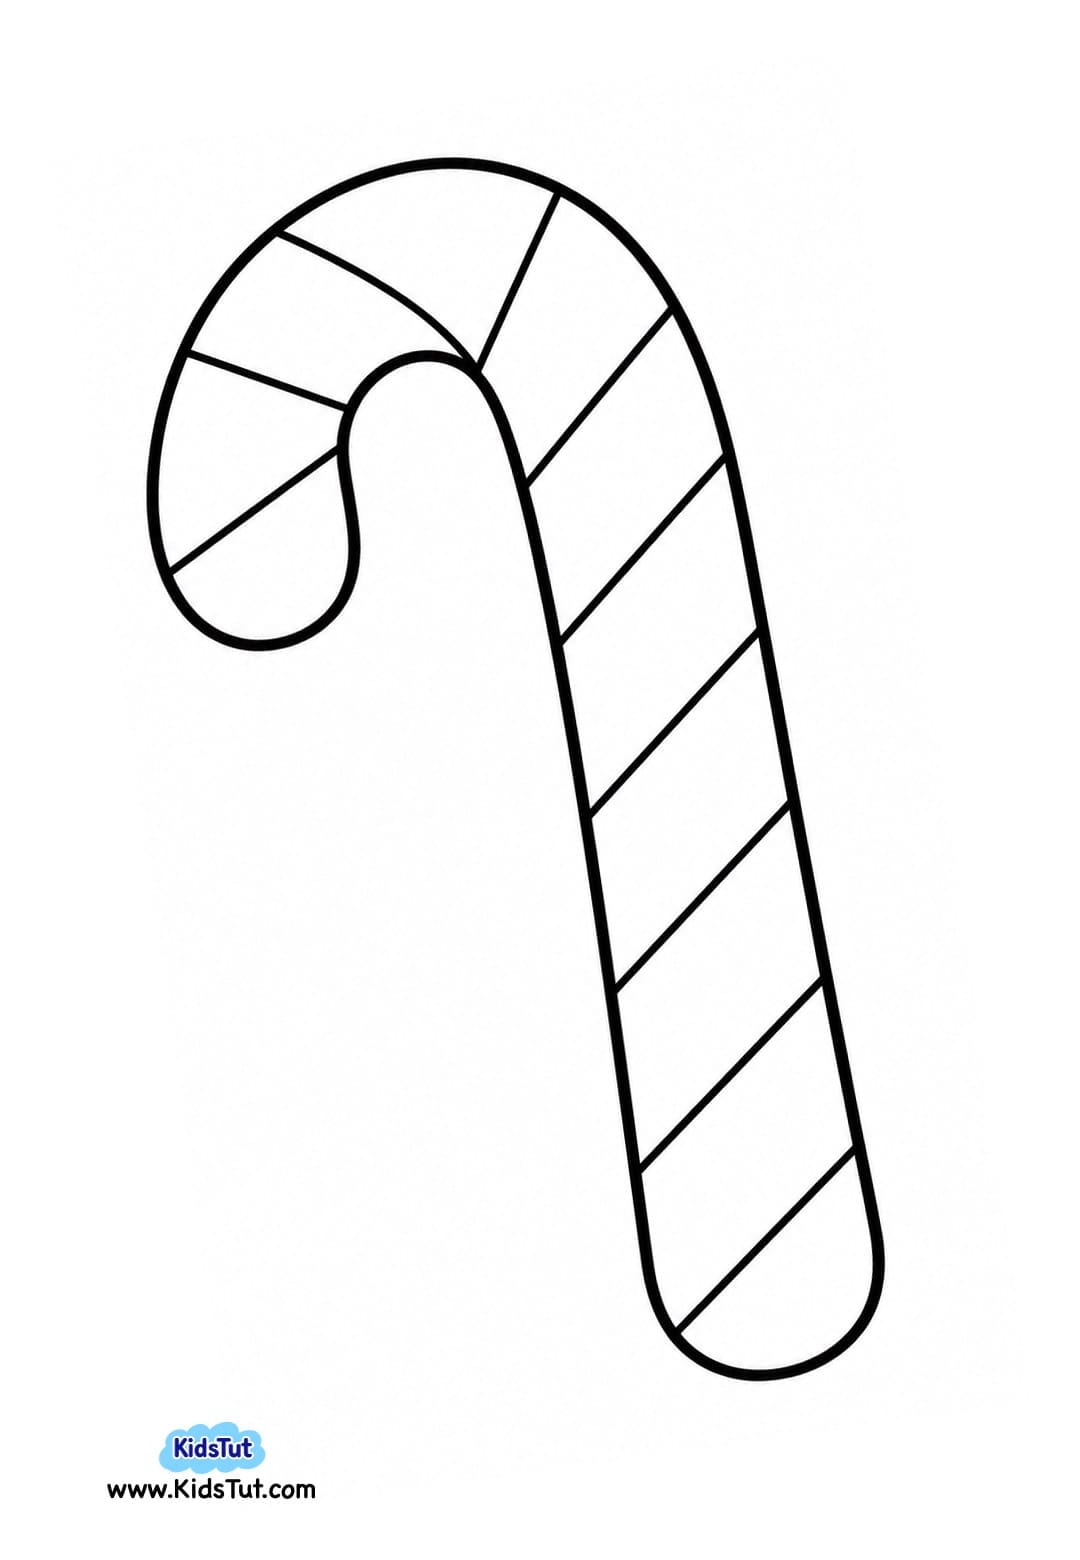
8. Candy Cane Torn Paper Craft
Paste colorful torn paper pieces inside the candy cane shape. You can use red and white paper pieces for a traditional Christmas candy cane or choose other bright colors for a fun design. Continue filling the shape with torn paper pieces and let the craft dry completely.
Candy Cane Template:
Benefits of Christmas Torn Paper Crafts for Kids
- Develops fine motor skills – Tearing, picking up, and gluing small paper pieces strengthens little hands and fingers.
- Improves finger control – Children practice using their fingers to tear paper into smaller pieces.
- Builds hand-eye coordination – Kids carefully place torn paper pieces inside the printed shapes.
- Encourages creativity – Children can choose their own colors and create unique Christmas designs.
- Supports color recognition – Using different colored paper helps children identify, match, and combine colors.
- Improves focus and concentration – Filling the Christmas pictures encourages children to work carefully and complete their artwork.
- Explores different paper textures – Children can feel the differences between construction paper, tissue paper, and decorative paper.
- Combines coloring and collage skills – Kids practice gluing torn paper and coloring smaller picture details.
- Introduces Christmas themes – Christmas trees, ornaments, snowflakes, and other holiday pictures make learning fun during the festive season.
- Builds confidence – Children feel proud when they finish and display their handmade Christmas artwork.

Click here to get the FREE PDF template: Download ( Printable )