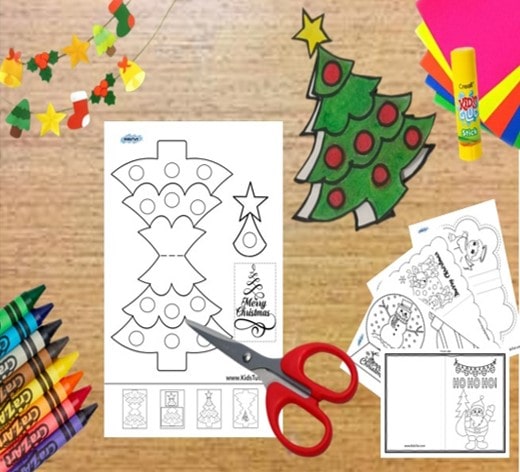
Improving children’s creativity is a responsibility for all of us as parents and teachers. Therefore, guiding children to create various designs enables them to express their diverse talents. Also, we can encourage children to craft different designs to celebrate the Christmas season. Additionally, Christmas card templates are specially presented for these children, perfectly fitting the festive season. So, enjoy this holiday season with our Christmas card ideas.
Here, you can create wonderful cards with the provided templates. Furthermore, Step-by-step instructions with pictures guide you through the process. Direct the child to cut out the given shapes following the pictures and paste them together to make a wonderful card. So, these cards provide an opportunity to color as children develop their skills and create their own creations.
*** You have the option to download the PDF file from this location.- Download
Easy Christmas Card Ideas for Kids: Create a Christmas Tree Card Template
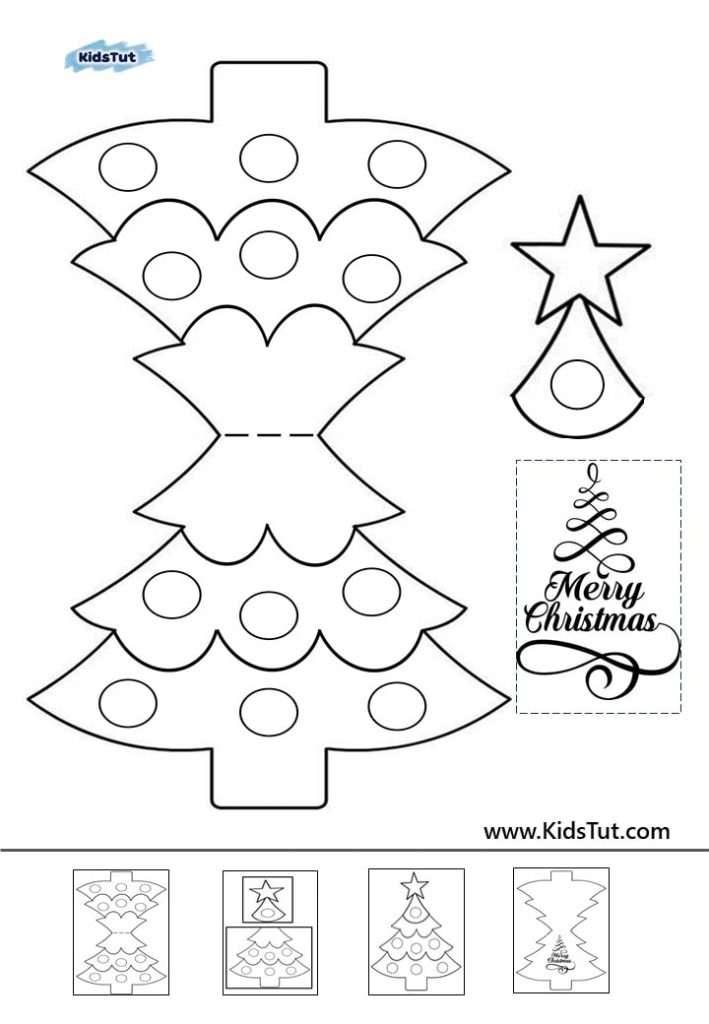
Here, you can create a card template shaped like a Christmas tree. Also, you will see four small images at the bottom of this page. So, follow the given images to create this wonderful card in the form of a Christmas tree.
Step 1- Firstly, you need to cut around the given images.
Step 2: Secondly, fold along the center line of the Christmas tree shape you cut out.
Step 3: Thirdly, glue the star Christmas tree top over the folded Christmas tree.
Step 4: Then, you are done with the Christmas card template. Let’s prepare the back side of this card.
Step 5: Finally, paste the ‘Merry Christmas’ box you cut out on the other side of the card, as shown in the picture. Also, don’t forget to mention the name of the person you wish to.
Easy Christmas Card Ideas for Kids: Create a Santa face Card Template
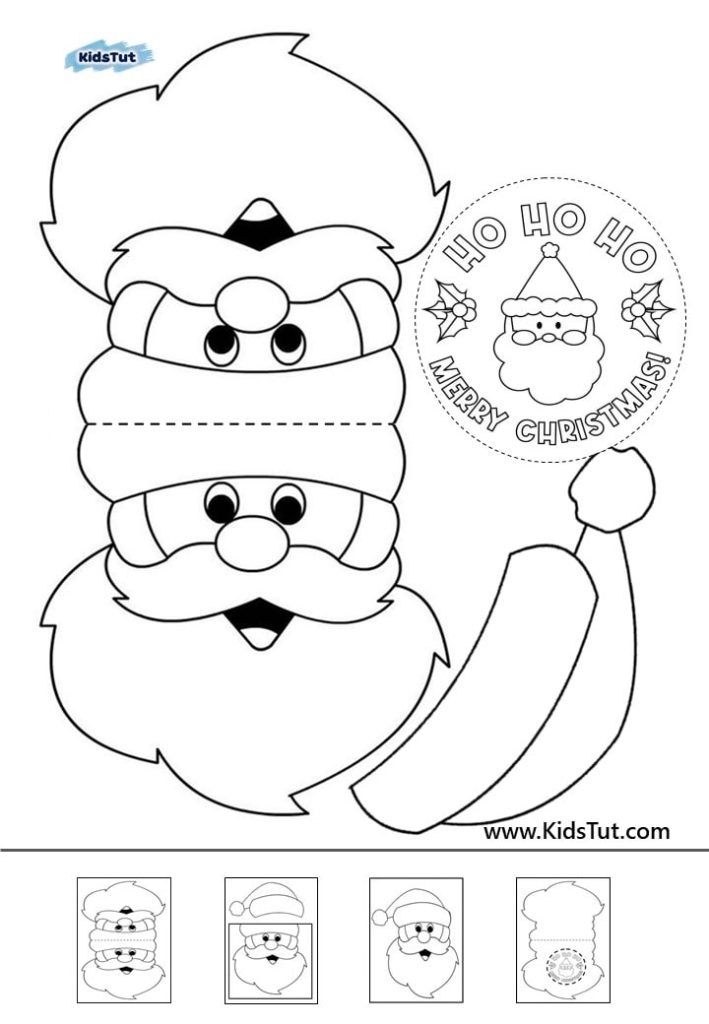
This wonderful card features a model of Santa’s face that kids will love making.
Step 1: At first, Cut out the provided images separately.
Step 2: After that, cut out the Santa face card template and fold it along the center line.
Step 3: Later, glue the cut-out Santa hat over Santa’s face, as shown in the small image.
Step 4: Finally, prepare the front side of the card this way, and paste the other cut image on the back side to complete it.
Easy Christmas Card Ideas for Kids: Create a Christmas Wreath Card Template
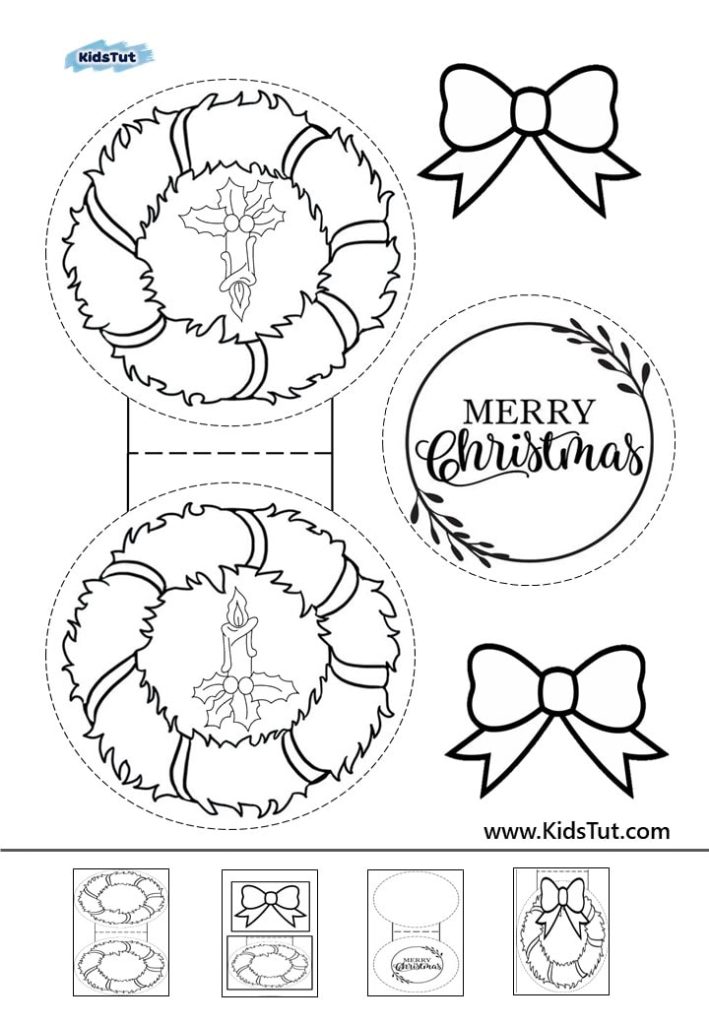
This card is designed as a Christmas wreath, a classic Christmas decoration.
Step 1: Cut the given shapes around each other separately.
Step 2: Following, fold the card in the form of a wreath along the line in the middle.
Step 3: Then, decorate by pasting the cut and separated bows on top of the wreath.
Step 4: At last, paste the provided Christmas greeting on the other side of the card to complete it.
Easy Christmas Card Ideas for Kids: Create a Snow Globe Card Template
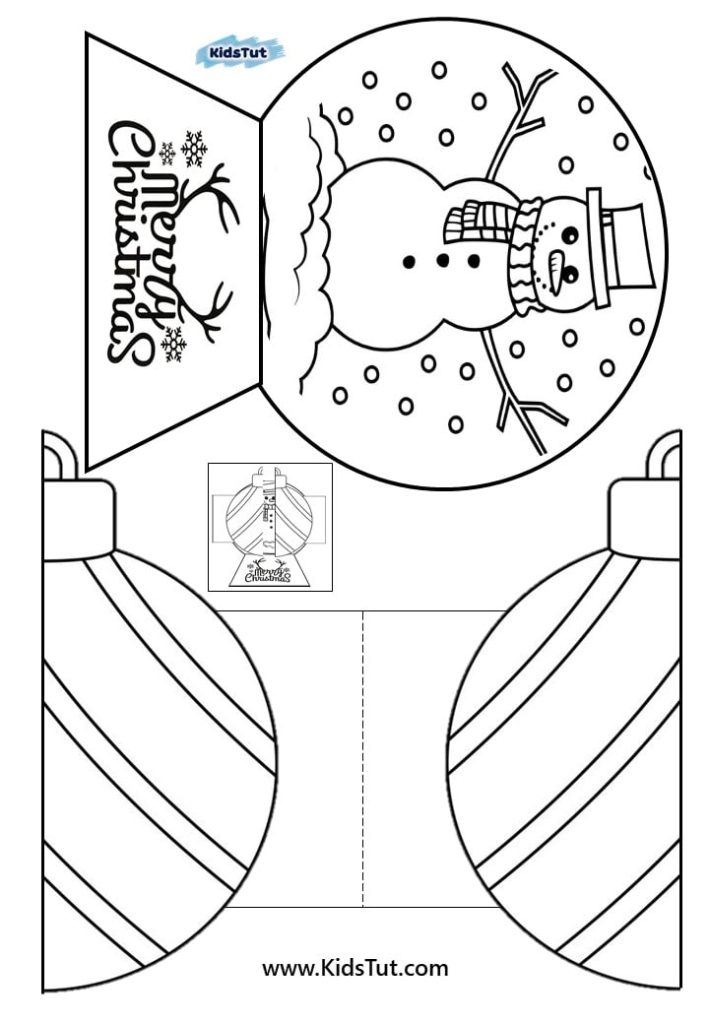
This card features a beautiful and unique design resembling a snow globe. Follow the steps below:
Step 1: Cut the given images separately.
Step 2: Cut the Christmas bubbles along the center line and separate them.
Step 3: Stick the cut bubbles on both sides of the snow globe using sticky strips. A small image on this page can help guide you in setting up this card.
Easy Christmas Card Ideas for Kids: Create a Gift Box Card Template
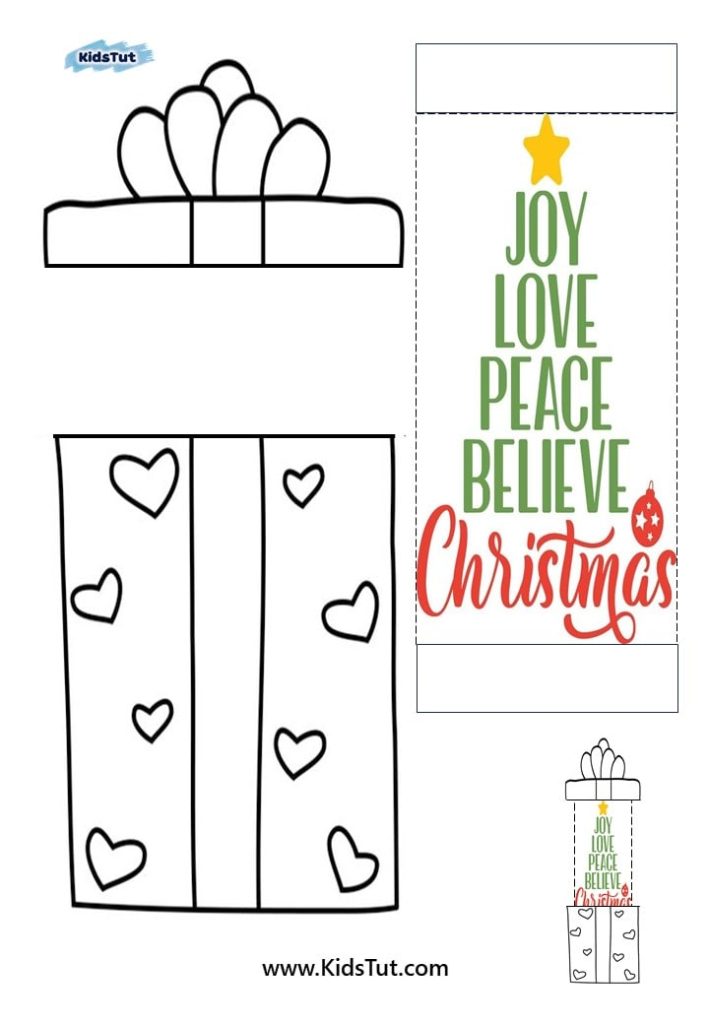
Create your own Christmas gift card with these easy steps:
Step 1: Cut the given images separately.
Step 2: Glue one end of the cut-out Christmas card to the gift box and the other end to the lid.
Step 3: Fold the paper with the pasted greeting card and join the box and the lid together.
Easy Christmas Card Ideas for Kids: Create an Angel Card Template
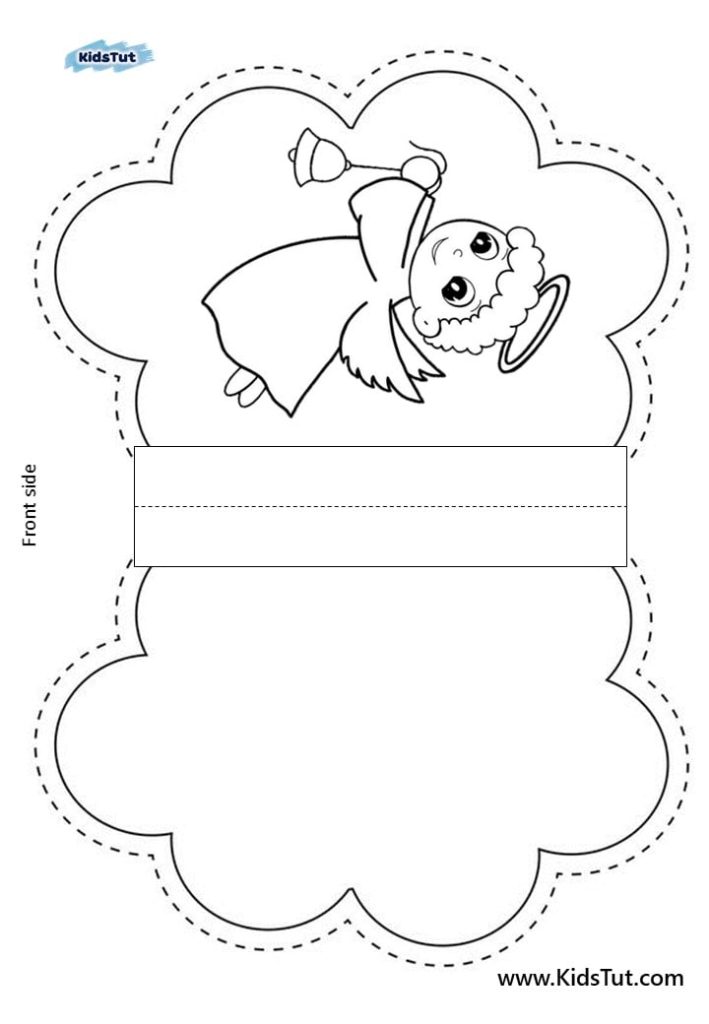
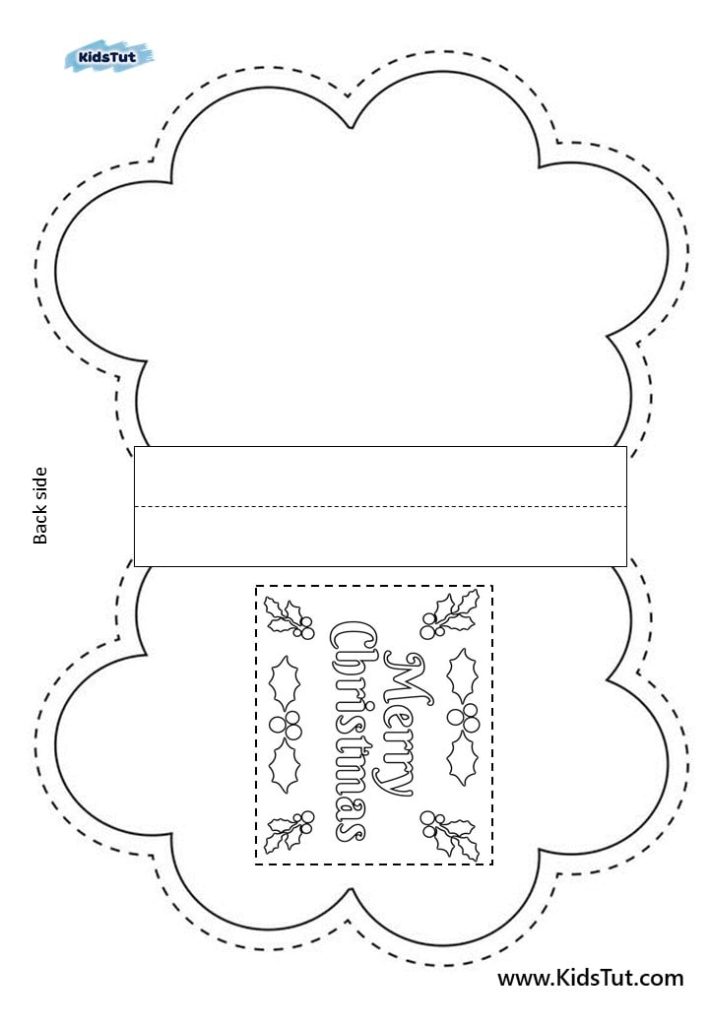
On the two pages above, you are provided with another Christmas card template. The first page contains the front side of the card, and the second page contains the back side.
Step 1: Cut and separate the card along the given shape.
Step 2: Glue the front and back sides on top of each other.
Step 3: Fold the center of the card in half to create the card.
Step 4: Color and style the card as desired.
Easy Christmas Card Ideas for Kids: Create a Santa Claus Card Template
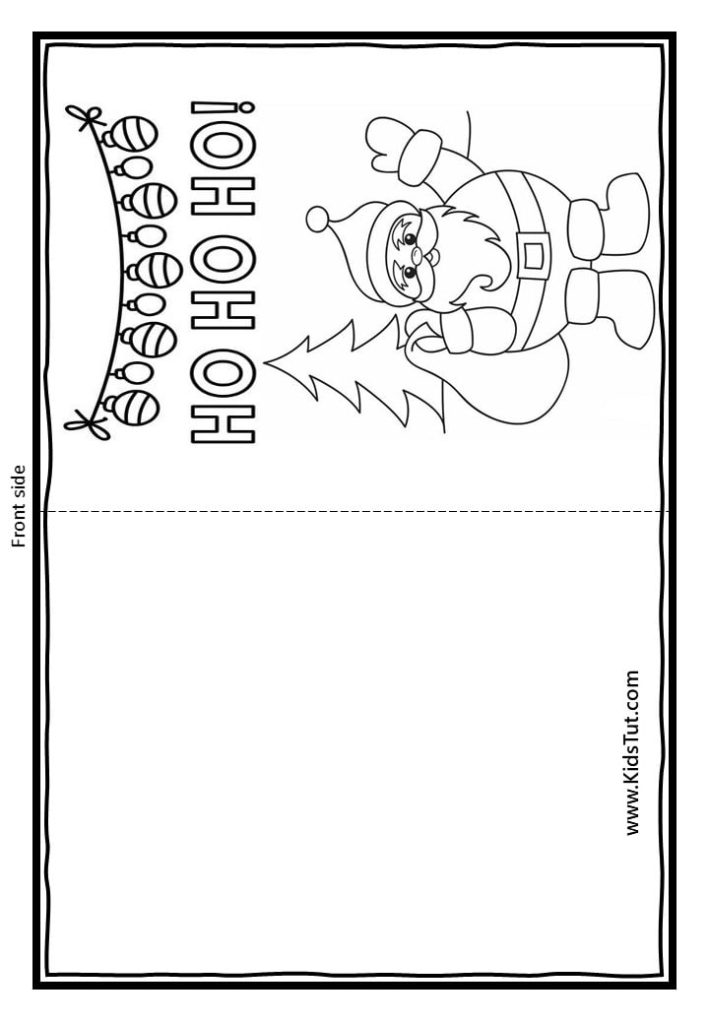
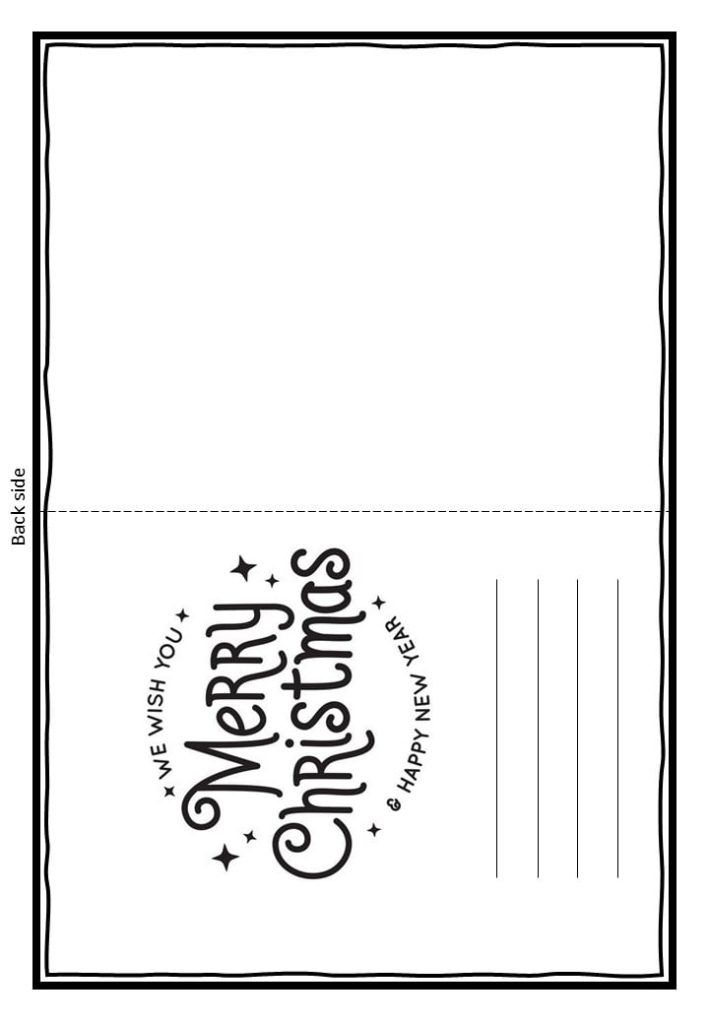
Create your card with these simple steps:
Step 1: Glue the front and back sides of the above pages correctly on top of each other.
Step 2: Fold the card along the given cut line.
Step 3: Customize this card to your liking.
Easy Christmas Card Ideas for Kids: Create a Reindeer Card Template
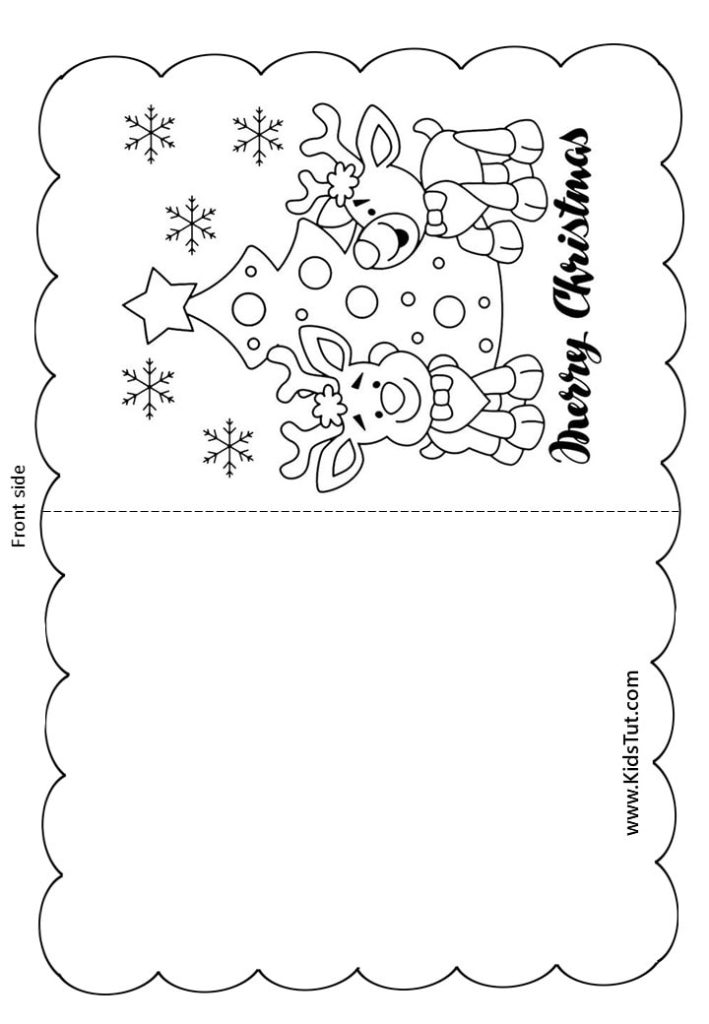
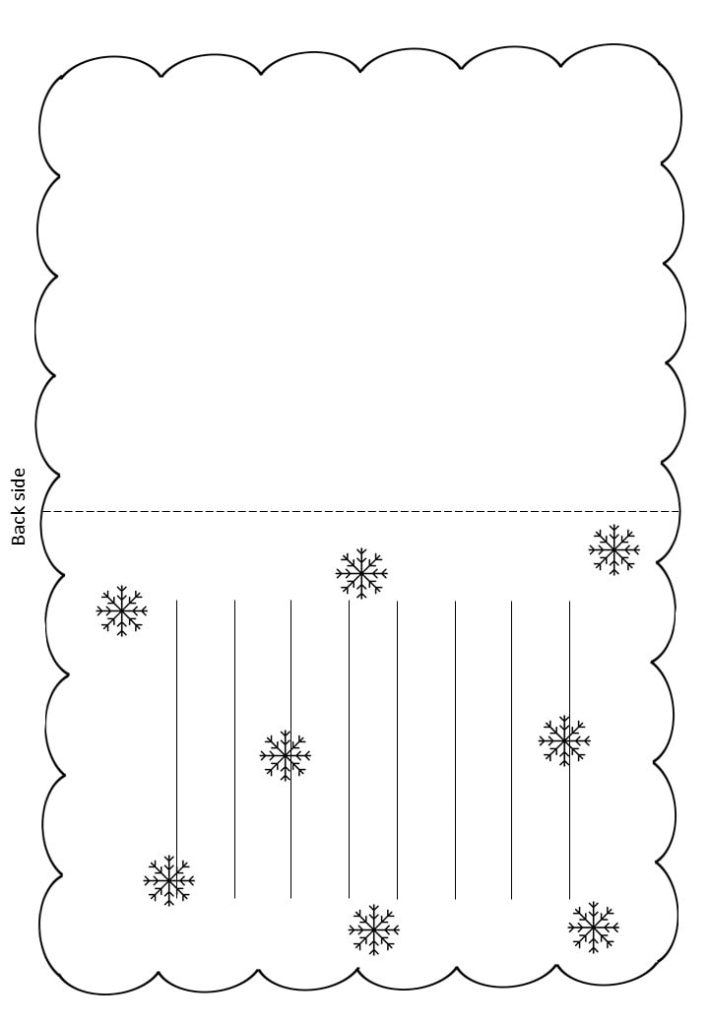
Create your card with these easy steps:
Step 1: Cut the card along the perimeter, following the shape given on the two pages above.
Step 2: Glue the pages on top of each other correctly.
Step 3: Arrange the card by folding along the slits in the middle.
Step 4: Color the card as you like.
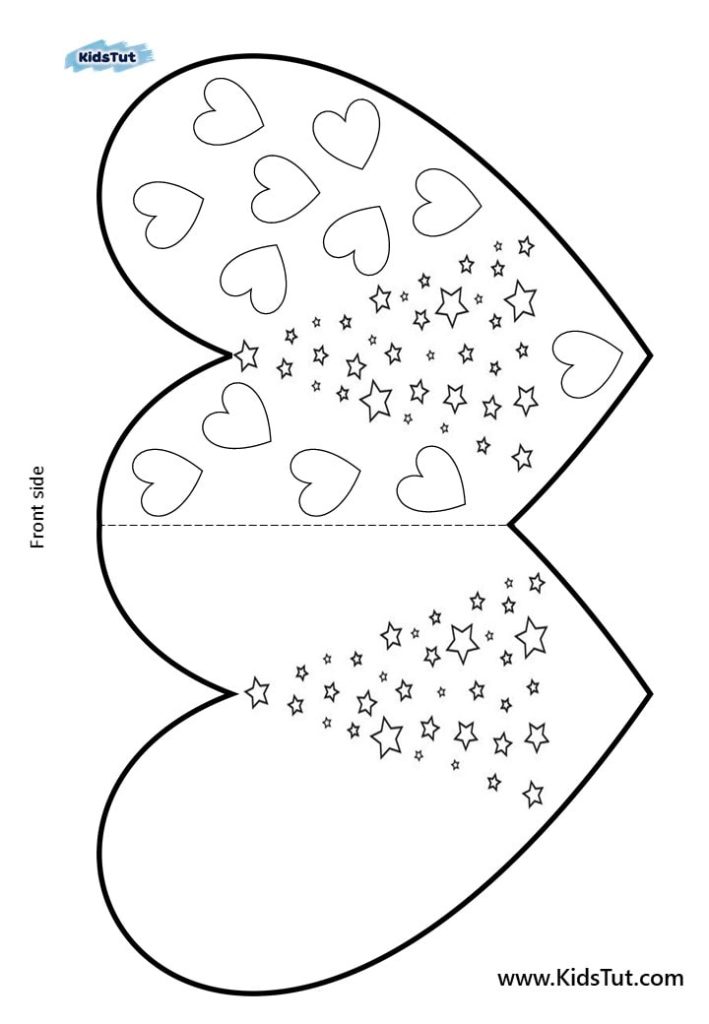
Easy Christmas Card Ideas for Kids: Create a Heart Shape Card Template
Explore More Fun Cards Templates for Kids!
Free Printable Card Templates for Mother’s Day – See More
