10 Easy Fall Tree Craft Ideas for Kids to Make
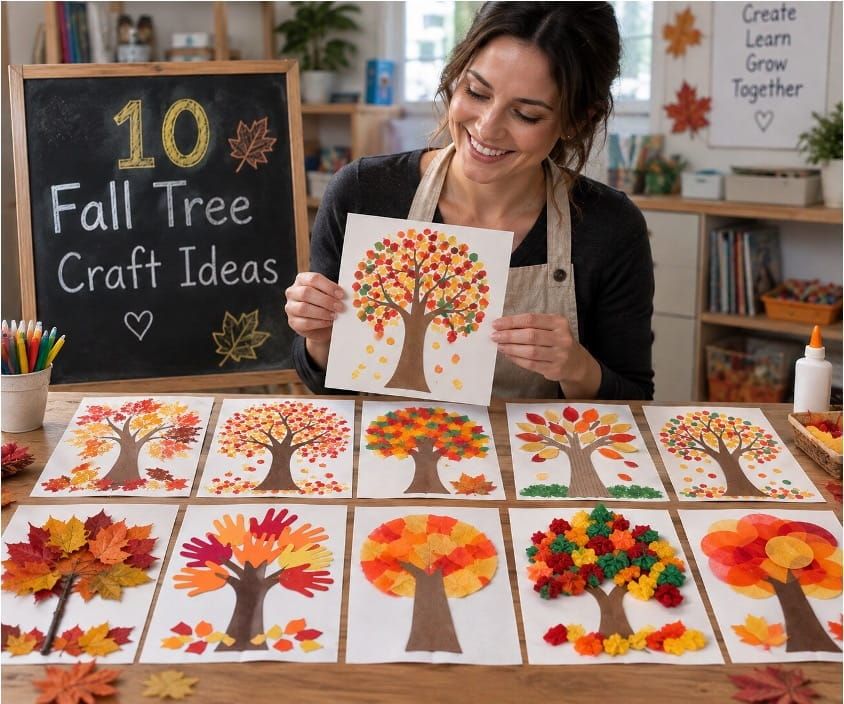
These 10 easy fall tree craft ideas for kids use simple materials such as paper, cardboard, tissue paper, real leaves, bubble wrap, pumpkin seeds, and paint. Something here fits different ages and skill levels, from easy handprint trees to fun leaf-printing activities.
These autumn tree crafts for kids are great for preschool, kindergarten, elementary classrooms, homeschool lessons, or a cozy craft day at home. You can also find many supplies around the house or collect them outdoors.
What You Need:
You won't need all these supplies for every project. Choose the materials that match the fall tree craft you want to make.
- Fall tree printable templates
- White A4 paper or cardstock
- Brown and fall-colored paper
- Toilet paper rolls or cardboard rolls
- Cardboard
- Paper plates
- Real fall leaves and small sticks
- Tissue paper or oil paper
- Bubble wrap
- Pumpkin seeds
- Red, orange, yellow, green, and brown paint
- Paintbrushes
- Crayons or markers
- Scissors
- Glue or double-sided tape
Now, choose your favorite idea and start creating!
1. Cardboard Roll Fall Tree Craft with Paper Leaves
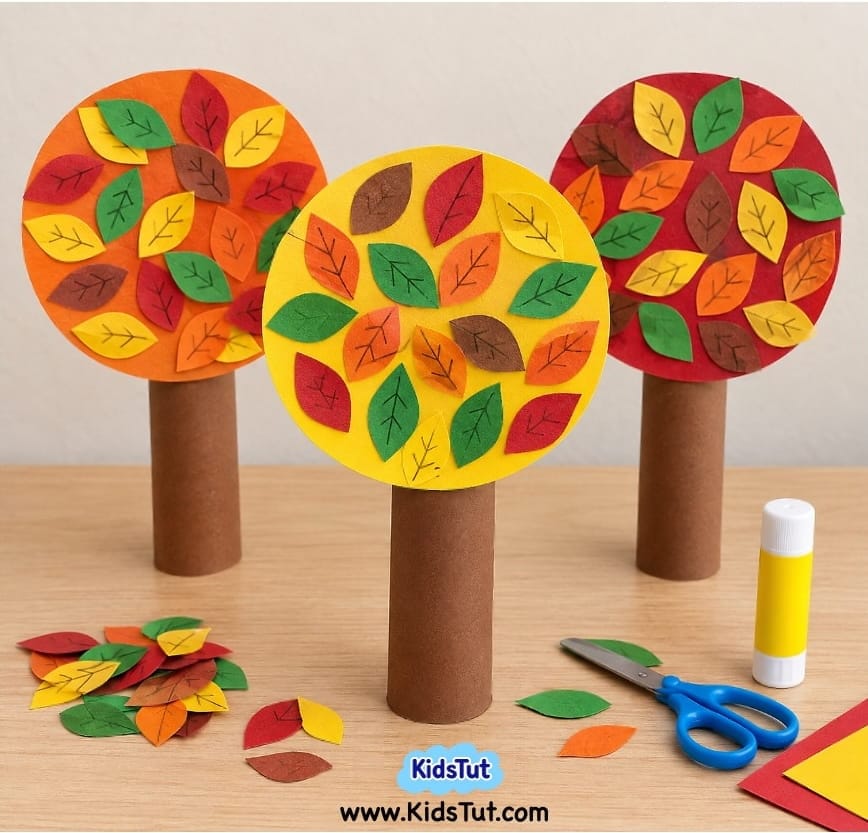
This cute 3D fall tree craft can stand on its own, making it perfect for a classroom table or autumn display.
Method 1: Paper Plate Tree
Start with an empty toilet paper roll or a simple cardboard roll. Cover the roll with brown paper to make the tree trunk.
- Take a paper plate and paint it with your favorite fall colors. Let the paint dry.
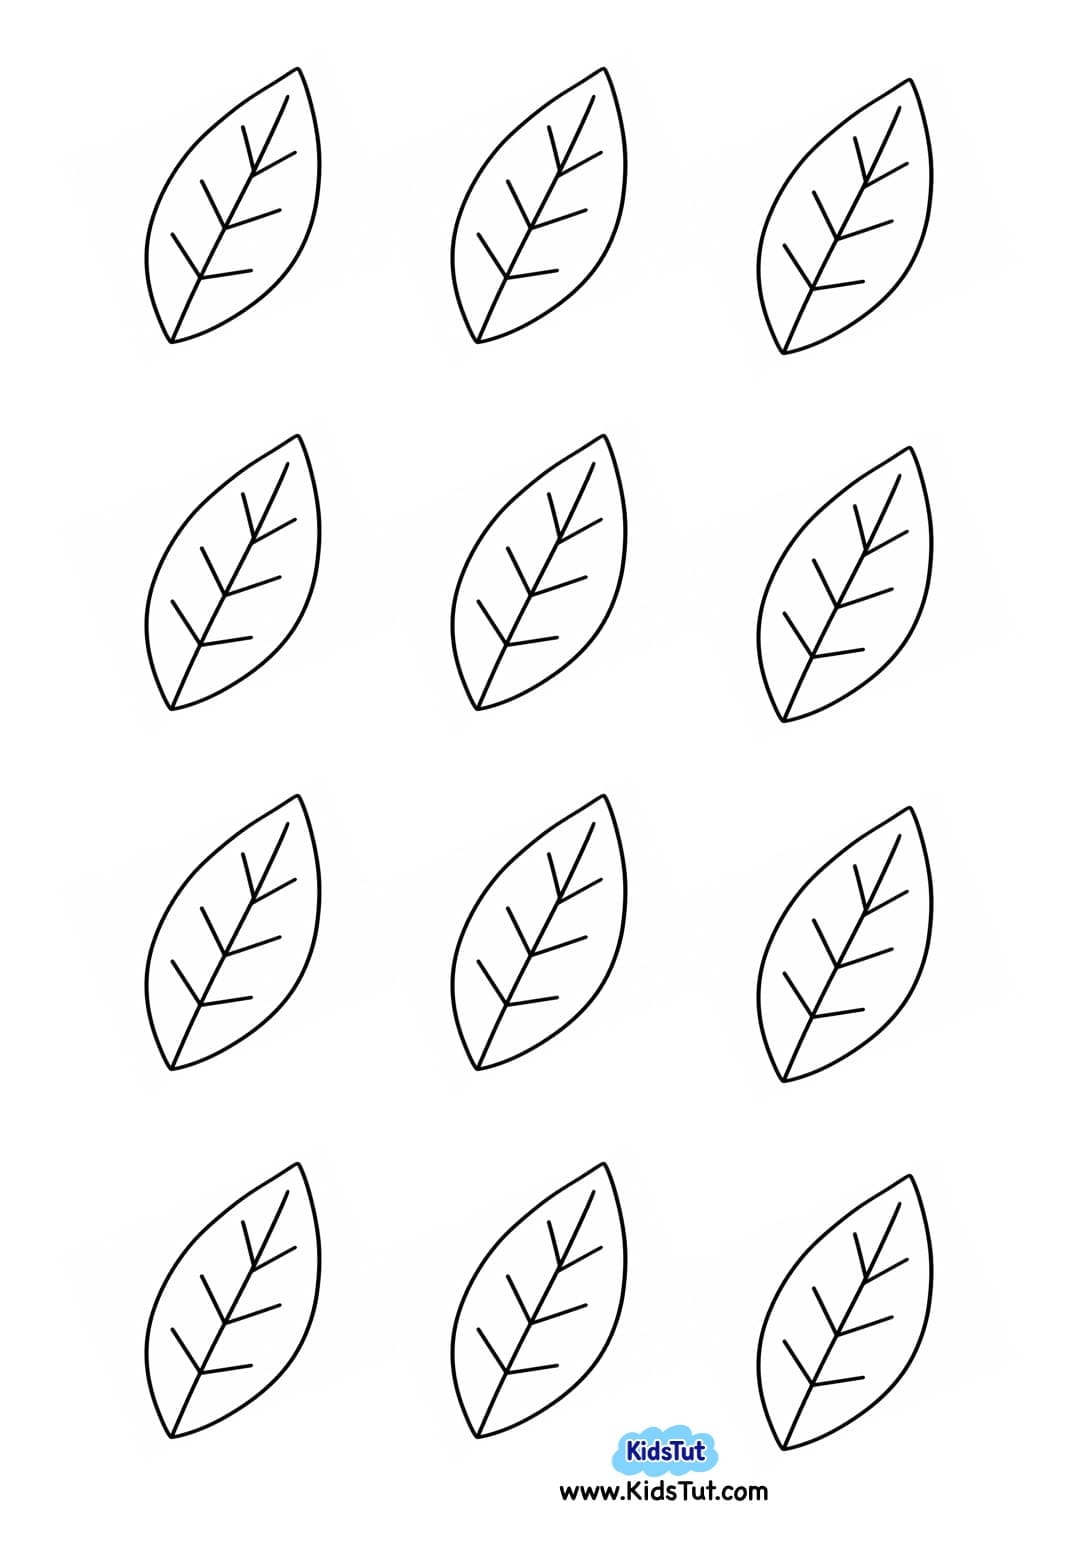
- Next, print the leaf templates on red, orange, yellow, brown, and green paper. Cut out the leaves separately and glue them onto the painted paper plate.
- Attach the finished paper plate to the top of the cardboard roll to create the tree canopy. Let everything dry well before displaying your tree.
Method 2: Standing Cardboard Tree
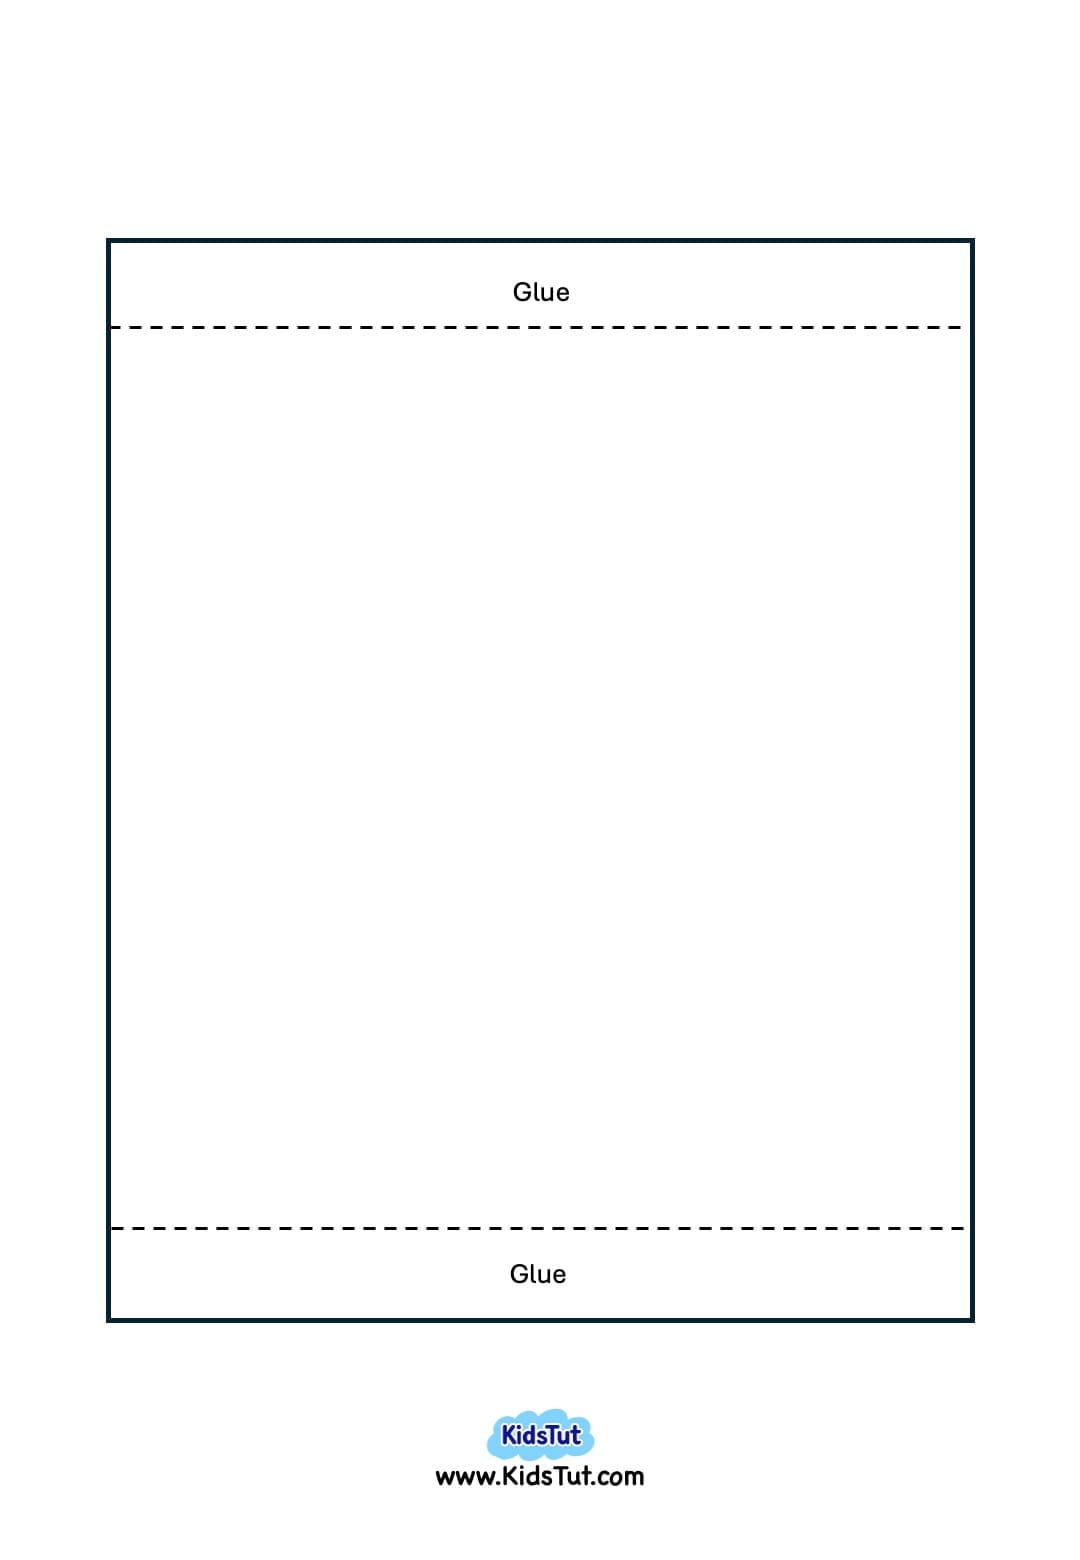
- Print a rectangle shape on brown paper, a large circle on white paper, and the leaf templates on fall-colored paper. Cut out all the pieces.
- Roll a piece of craft cardboard into a tube to create the trunk. Wrap the brown rectangle around it and glue it in place.
- For the canopy, glue the large paper circle onto another piece of cardboard and cut around the circle. Add your colorful paper leaves to the front.
- Finally, attach the finished canopy to the cardboard roll trunk. Once dry, your standing fall tree craft is ready to display.
Templates:

2. Easy Real Leaf Fall Tree Craft
Bring a little bit of nature indoors with this simple real leaf fall tree craft.
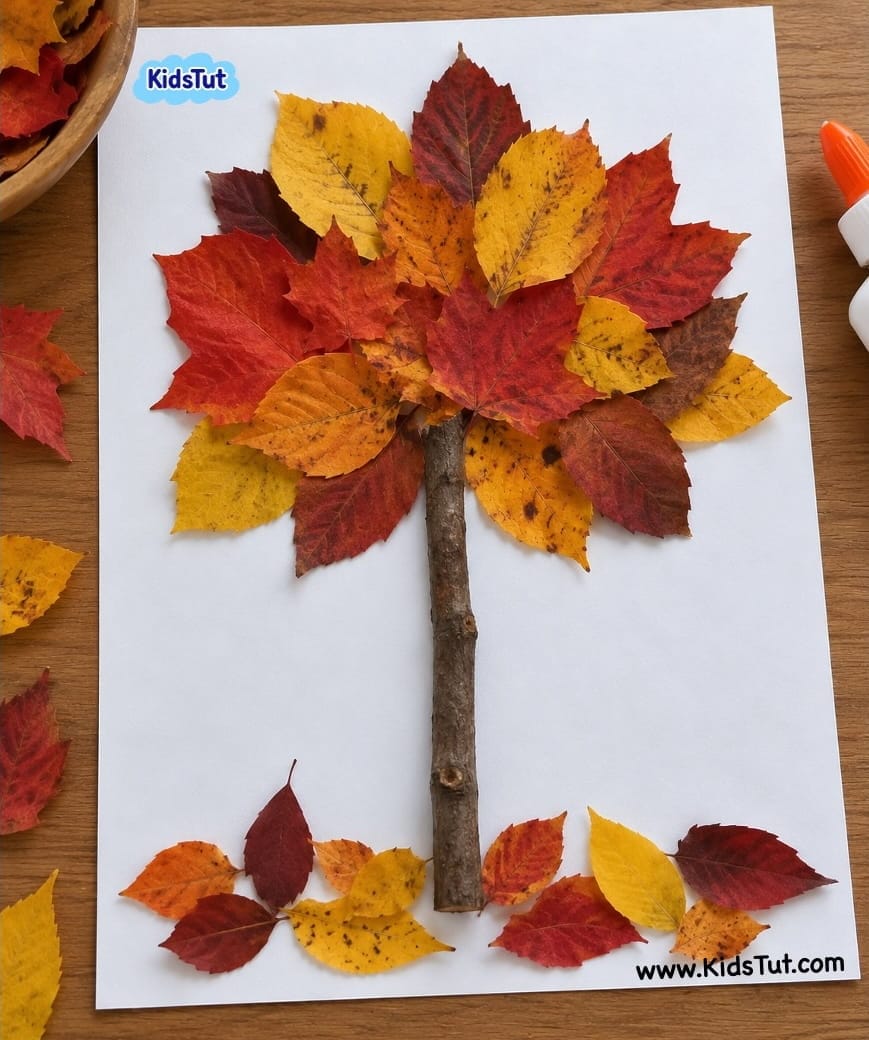
- Collect a small stick and several colorful fallen leaves from your garden or during a nature walk. Gently clean them and let them dry completely.
- Use a white A4 sheet as your background. Glue the stick onto the paper to create the tree trunk.
- Arrange the real leaves around the top of the stick to create the tree canopy. Once you like the arrangement, glue or tape them in place.
- Keep the craft aside and let it dry completely before displaying it.
3. Oil Paper Circle Fall Tree Craft
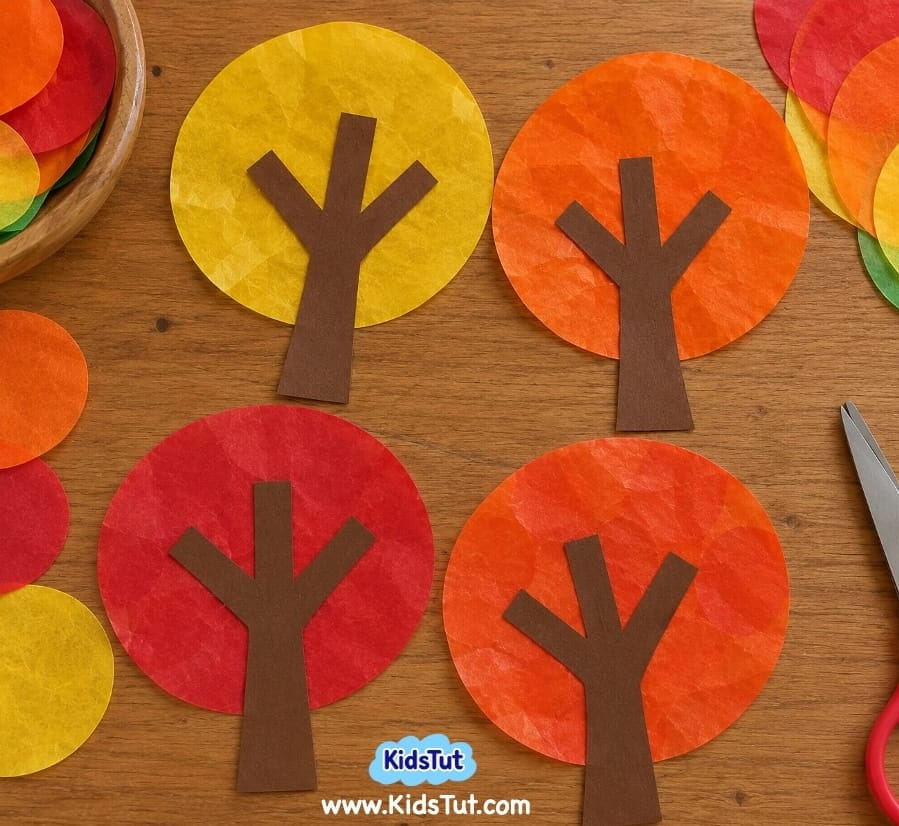
- This colorful fall tree is simple to make and looks especially pretty when you use slightly transparent paper.
- Use colored oil paper, tissue paper, or regular colored paper. Draw or print large circle shapes onto the paper and carefully cut them out. You can also trace around a plate or another round object to create your circles.
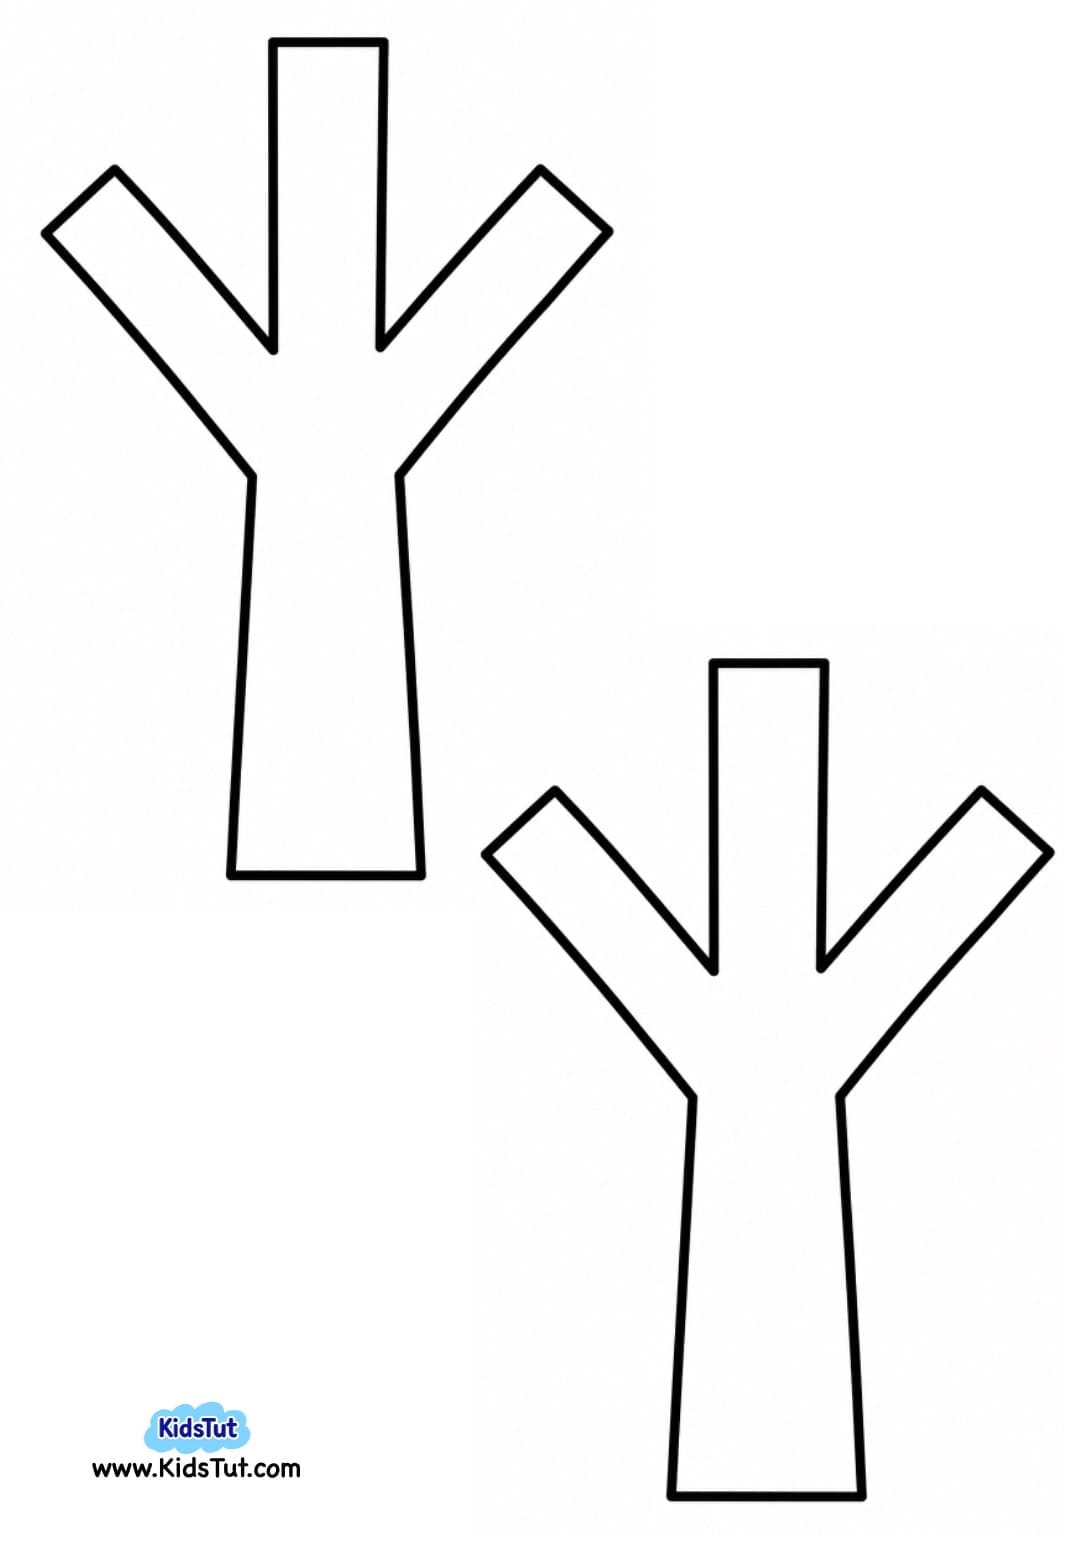
- Next, print the tree trunk and branches on brown paper and cut around the outline.
- Glue the brown tree cutout onto the front of each colorful circle. The circle becomes a simple, bright fall tree canopy.
- Try making several trees in different autumn colors for a fun classroom display.
Templates:

4. Handprint Fall Tree Craft for Kids
Kids can turn their own hand shapes into colorful autumn leaves with this easy handprint fall tree craft.
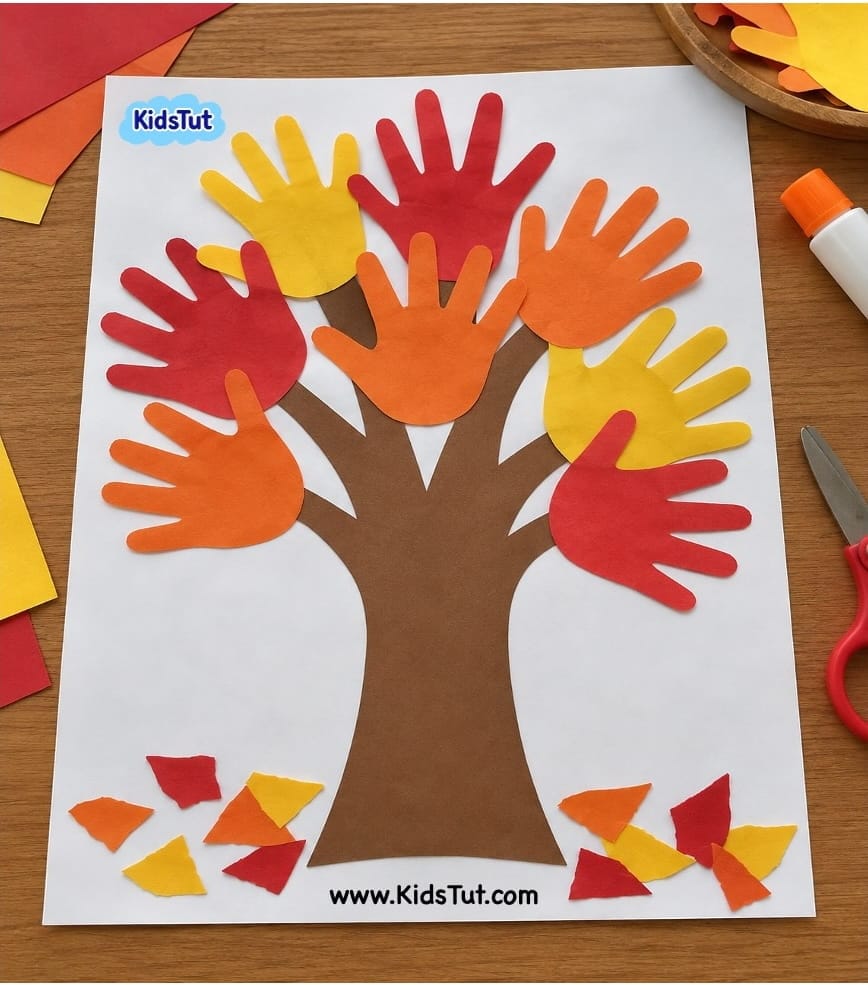
Method 1: Using Traced Handprint Cutouts
- Ask children to place their hands on red, orange, yellow, or other fall-colored paper.
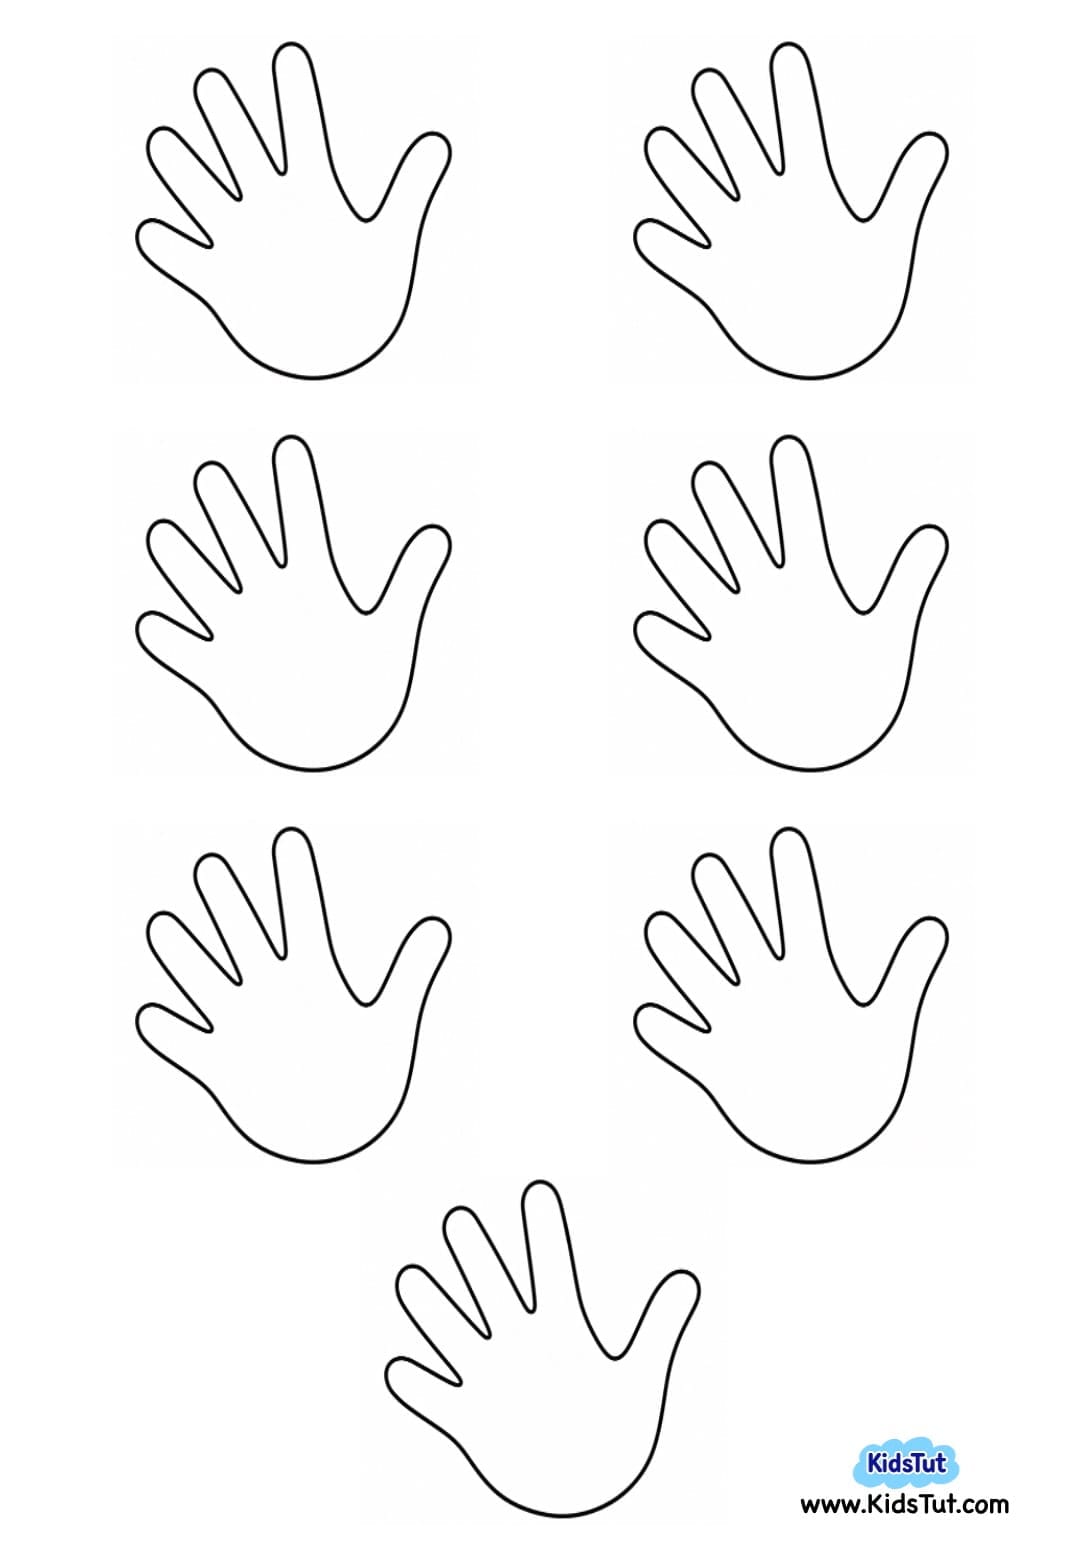
- Trace around each hand and cut out the shapes. You can also print hand templates directly onto colored paper and cut them out.
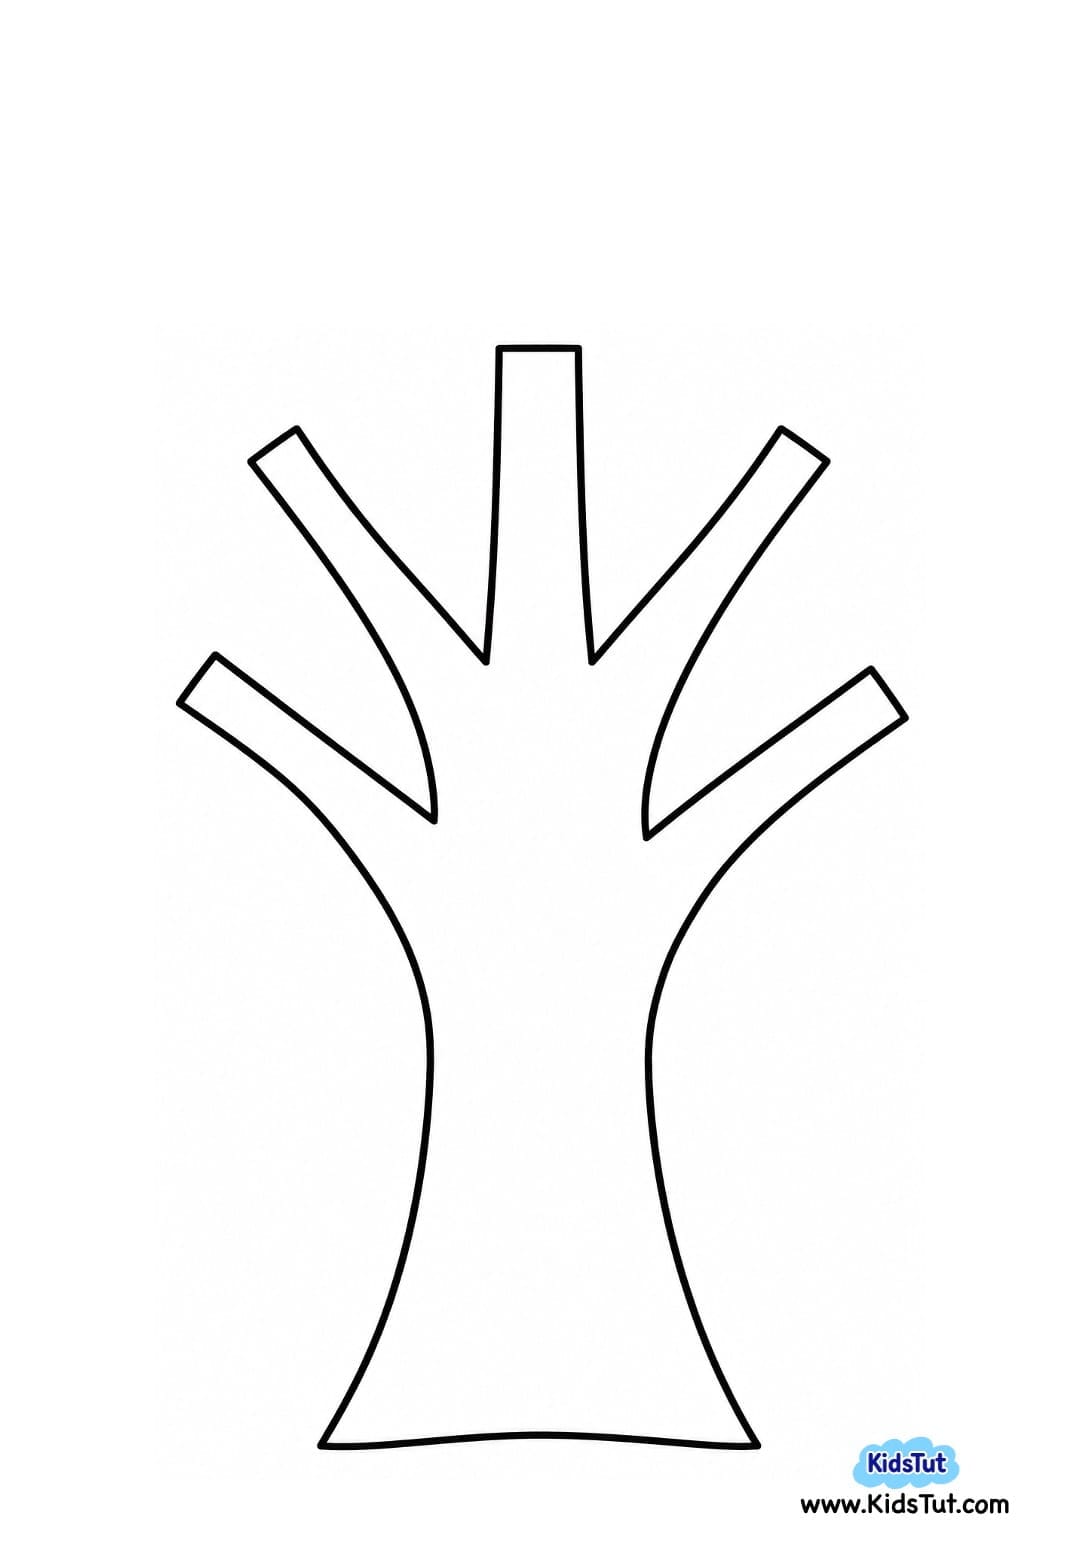
- Print the tree trunk with branches on brown paper and cut around the outline.
- Take a white sheet and glue the brown tree onto it. Arrange and glue the colorful handprint cutouts around the branches to create a large tree canopy.
Method 2: Using Handprint Templates
- Print the provided hand shape templates onto colored paper.
- Cut out each hand shape carefully along the outline.
- Print the tree trunk template, cut it out, and paste it onto a white sheet of paper.
- Arrange and glue the colorful hand-shaped cutouts around the branches to create the tree canopy.
- Let the craft dry completely, then display your colorful fall handprint tree.
Templates:
5. Crumpled Tissue Paper Fall Tree Craft
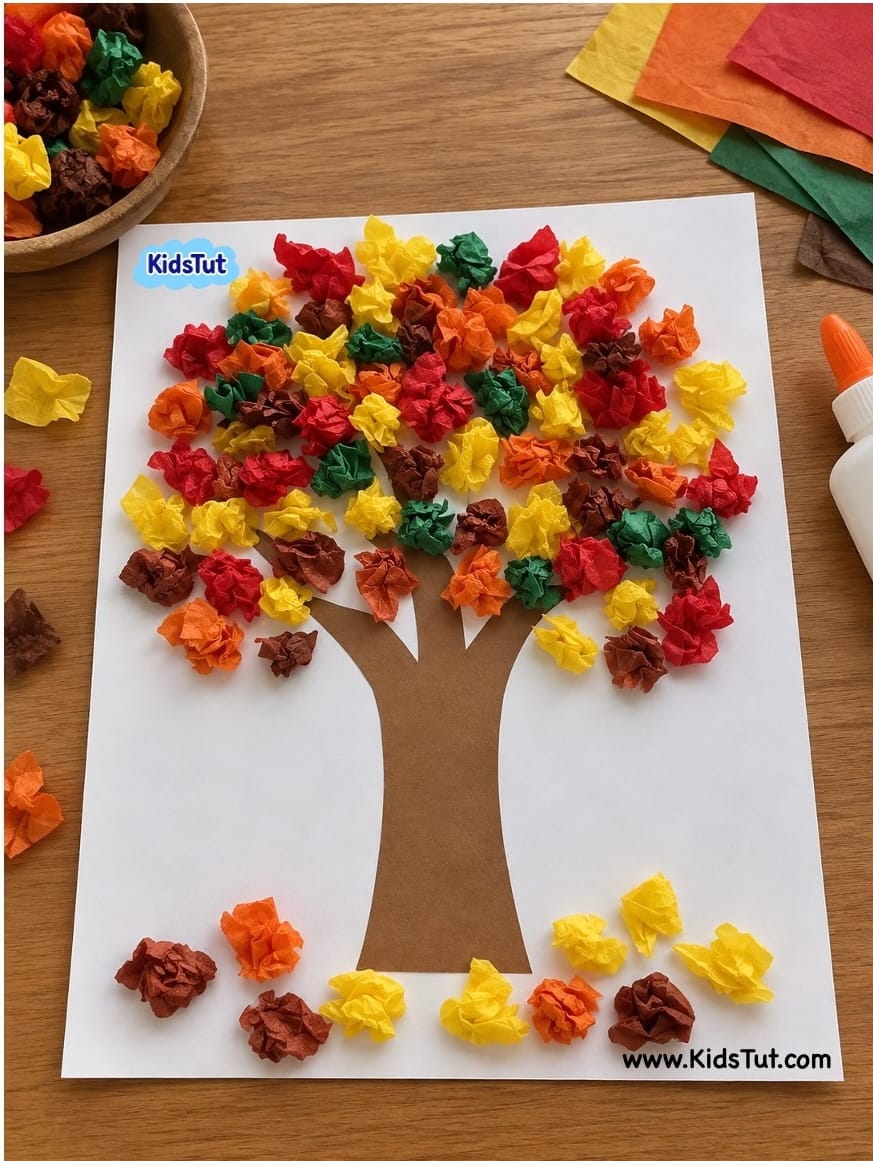
- Choose tissue paper in fall colors such as red, orange, yellow, green, and brown. Tear it into small pieces and gently crumple each piece into a little ball.
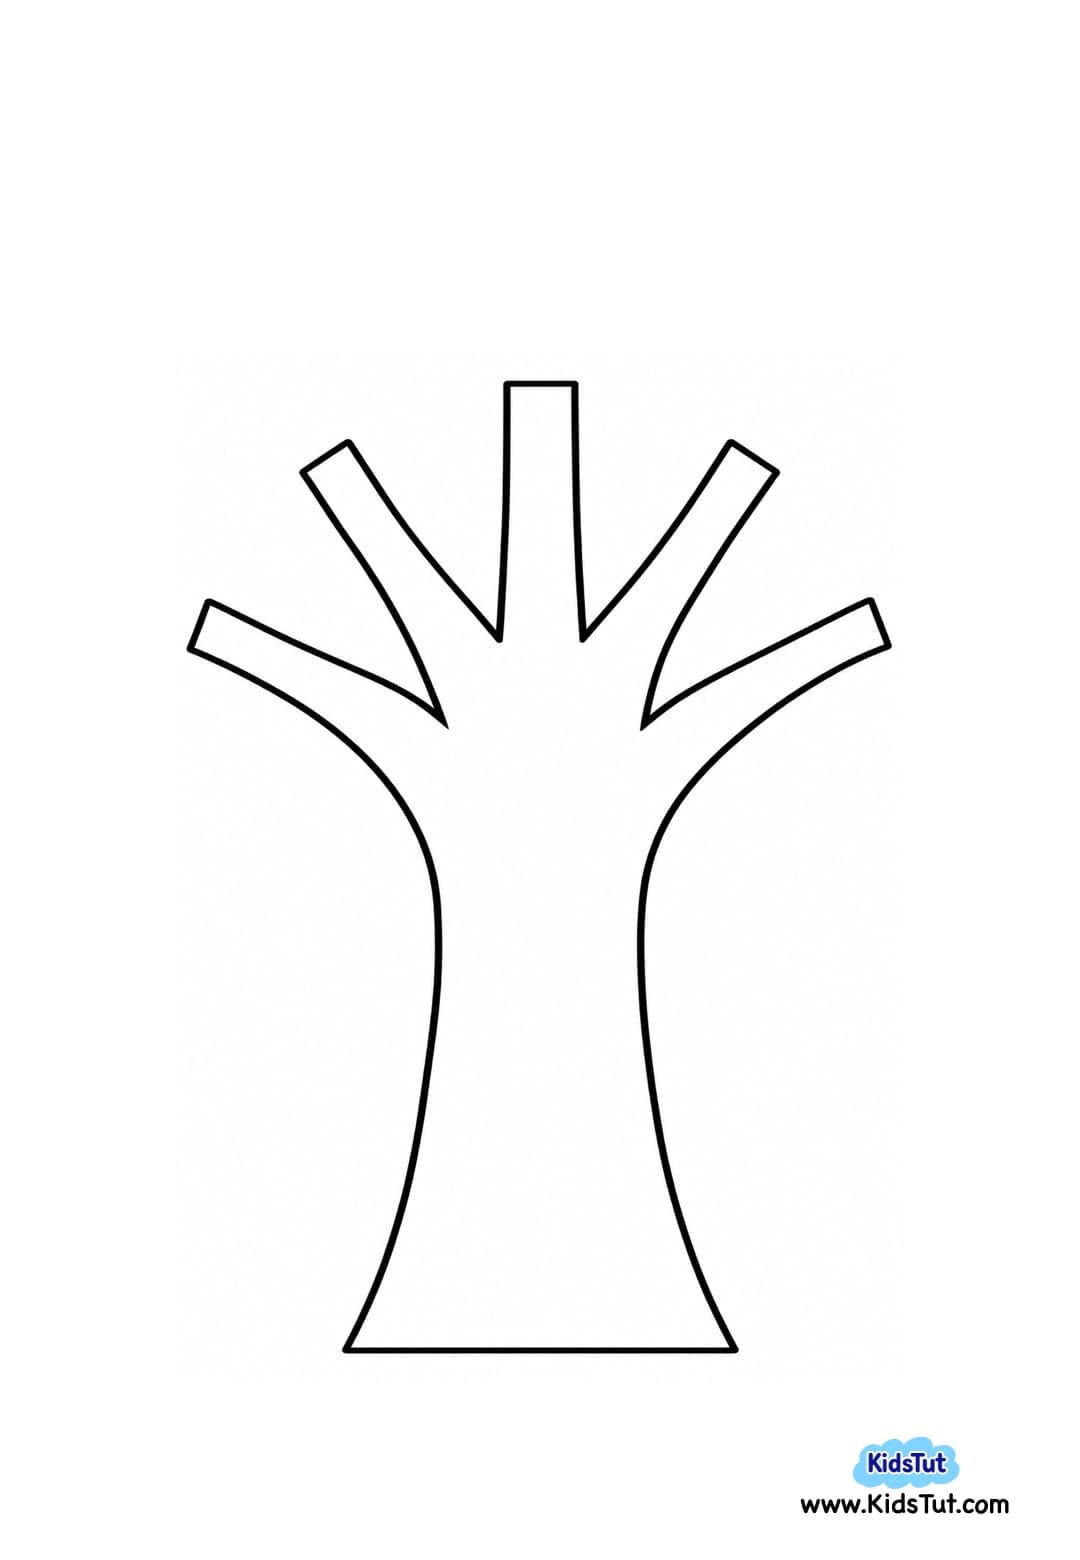
- Print the tree trunk and branches on brown paper, cut them out, and glue the tree onto a white background sheet.
- Glue the crumpled tissue paper pieces around the branches to create a full, colorful canopy. Add a few pieces along the bottom of the page to look like fallen leaves.
- Let the glue dry completely before displaying the finished tree.
Templates:
6. Real Leaf Print Fall Tree Craft
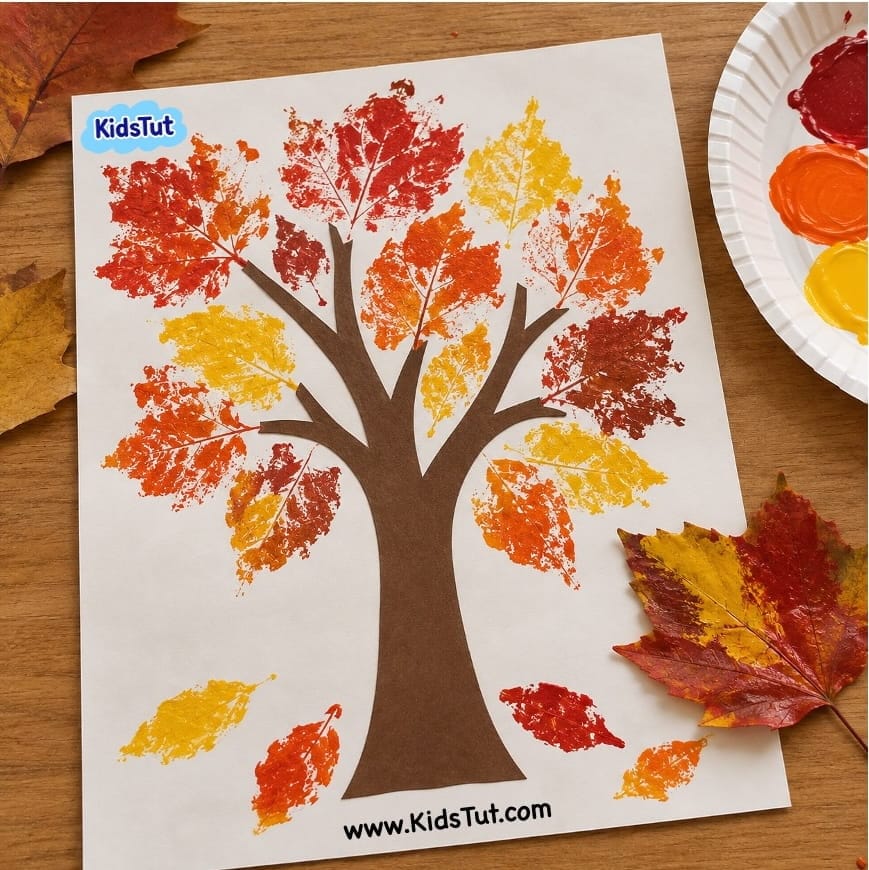
Instead of gluing real leaves onto the page, use them to make colorful fall leaf prints.
- Collect several fallen leaves from outside. Gently clean them and allow them to dry.
- Print the tree trunk on brown paper, cut it out, and glue the tree onto a white background sheet.
- Choose paints in autumn colors. Use a paintbrush to apply a thin layer of paint to one side of a real leaf.
- Press the painted side gently onto the paper around the tree branches, then lift it away to reveal the leaf print. Repeat with different leaves and colors until the tree has a beautiful autumn canopy.
- Let the paint dry completely before displaying the artwork.
Templates:
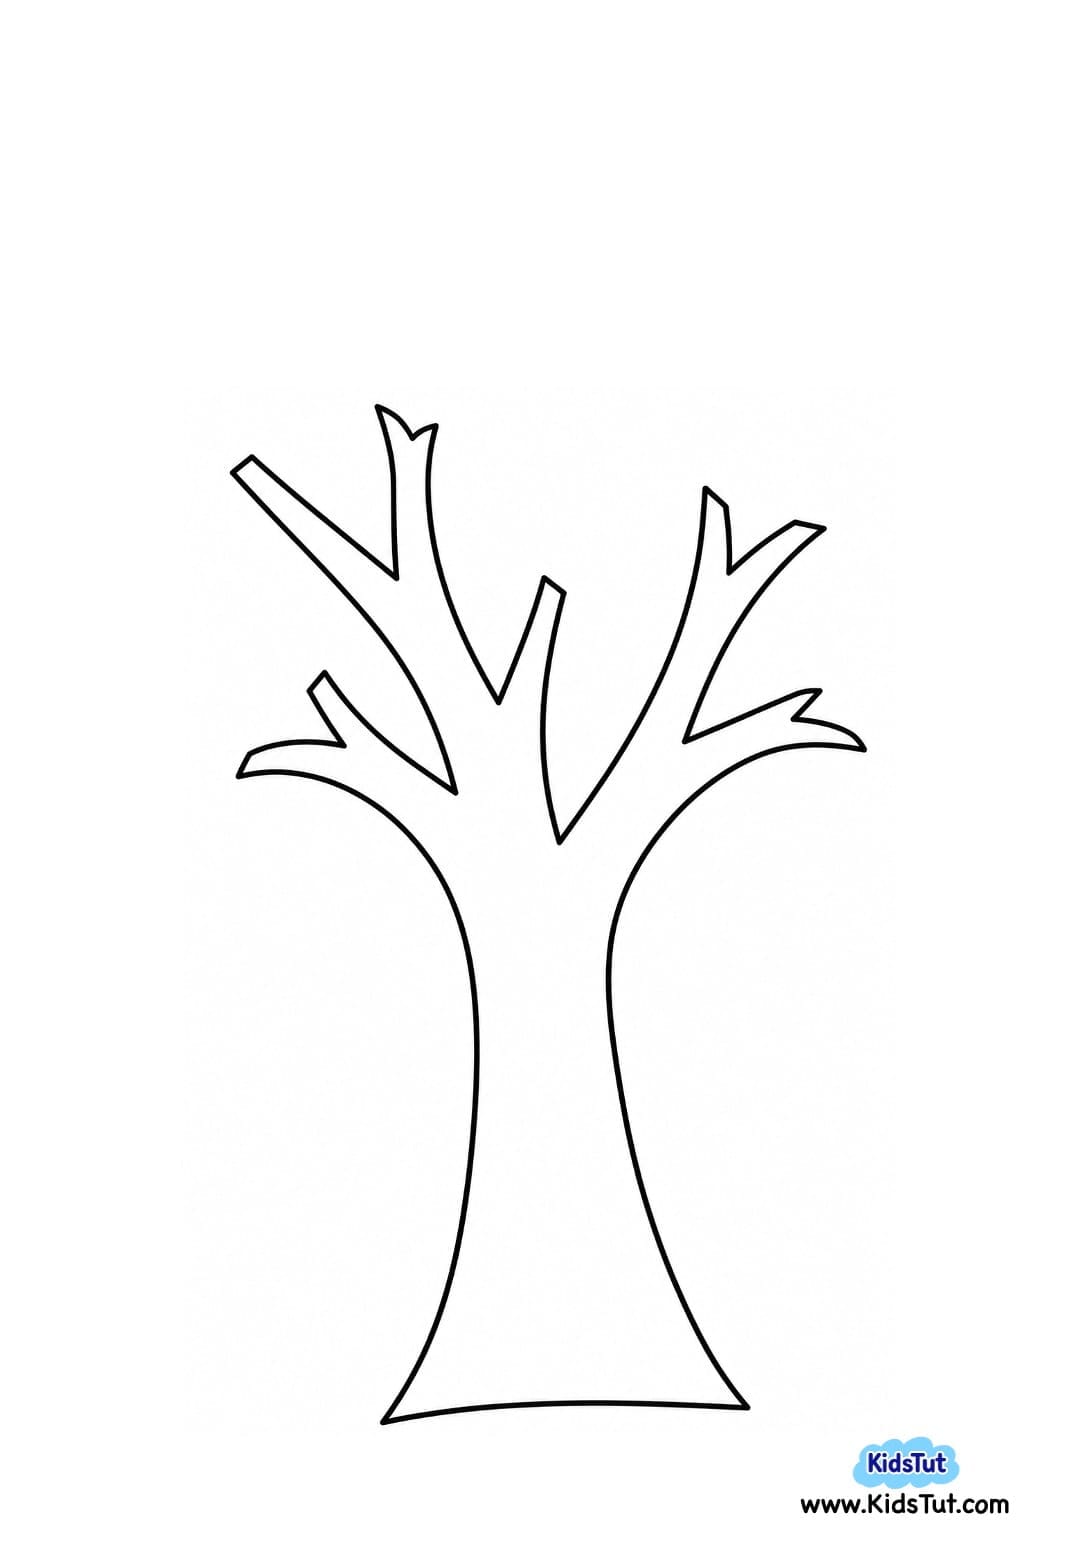
7. Bubble Wrap Stamped Fall Tree Craft
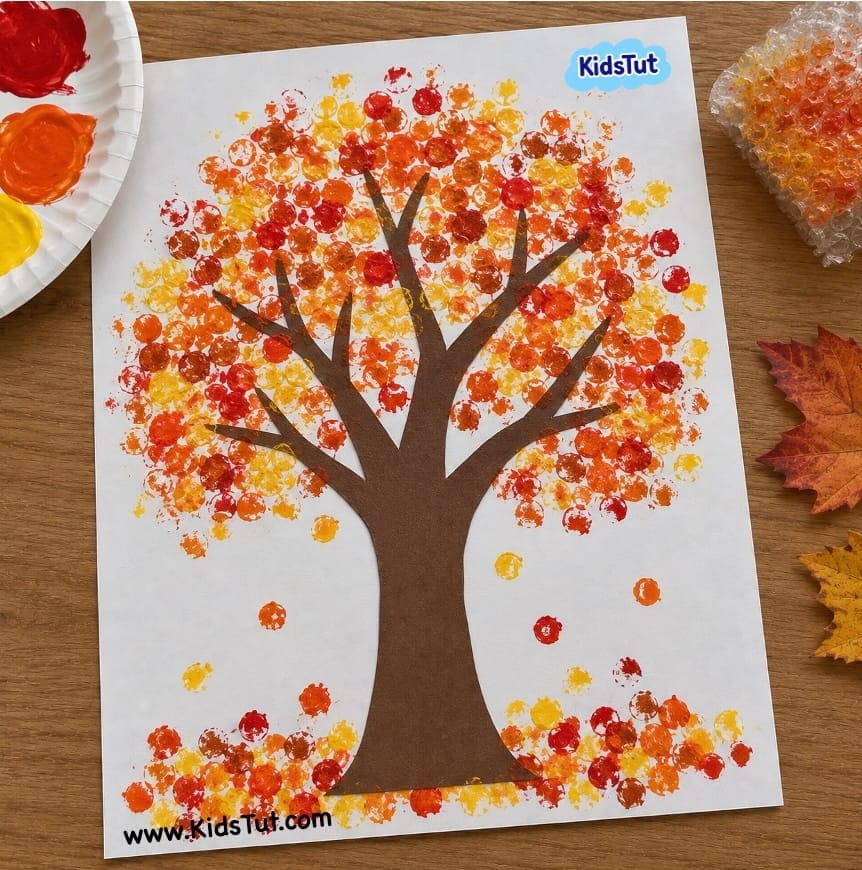
Save a piece of old bubble wrap for this fun fall tree painting activity.
- Print the tree trunk on brown paper, cut it out, and glue the tree onto a white background sheet.
- Add red, orange, yellow, and other fall-colored paints to a piece of bubble wrap. Gently press the painted bubble wrap around the tree branches.
- Lift it away to reveal lots of little painted marks that look like autumn leaves.
- Continue stamping until the tree canopy is full of color. Let the picture dry completely before displaying it.
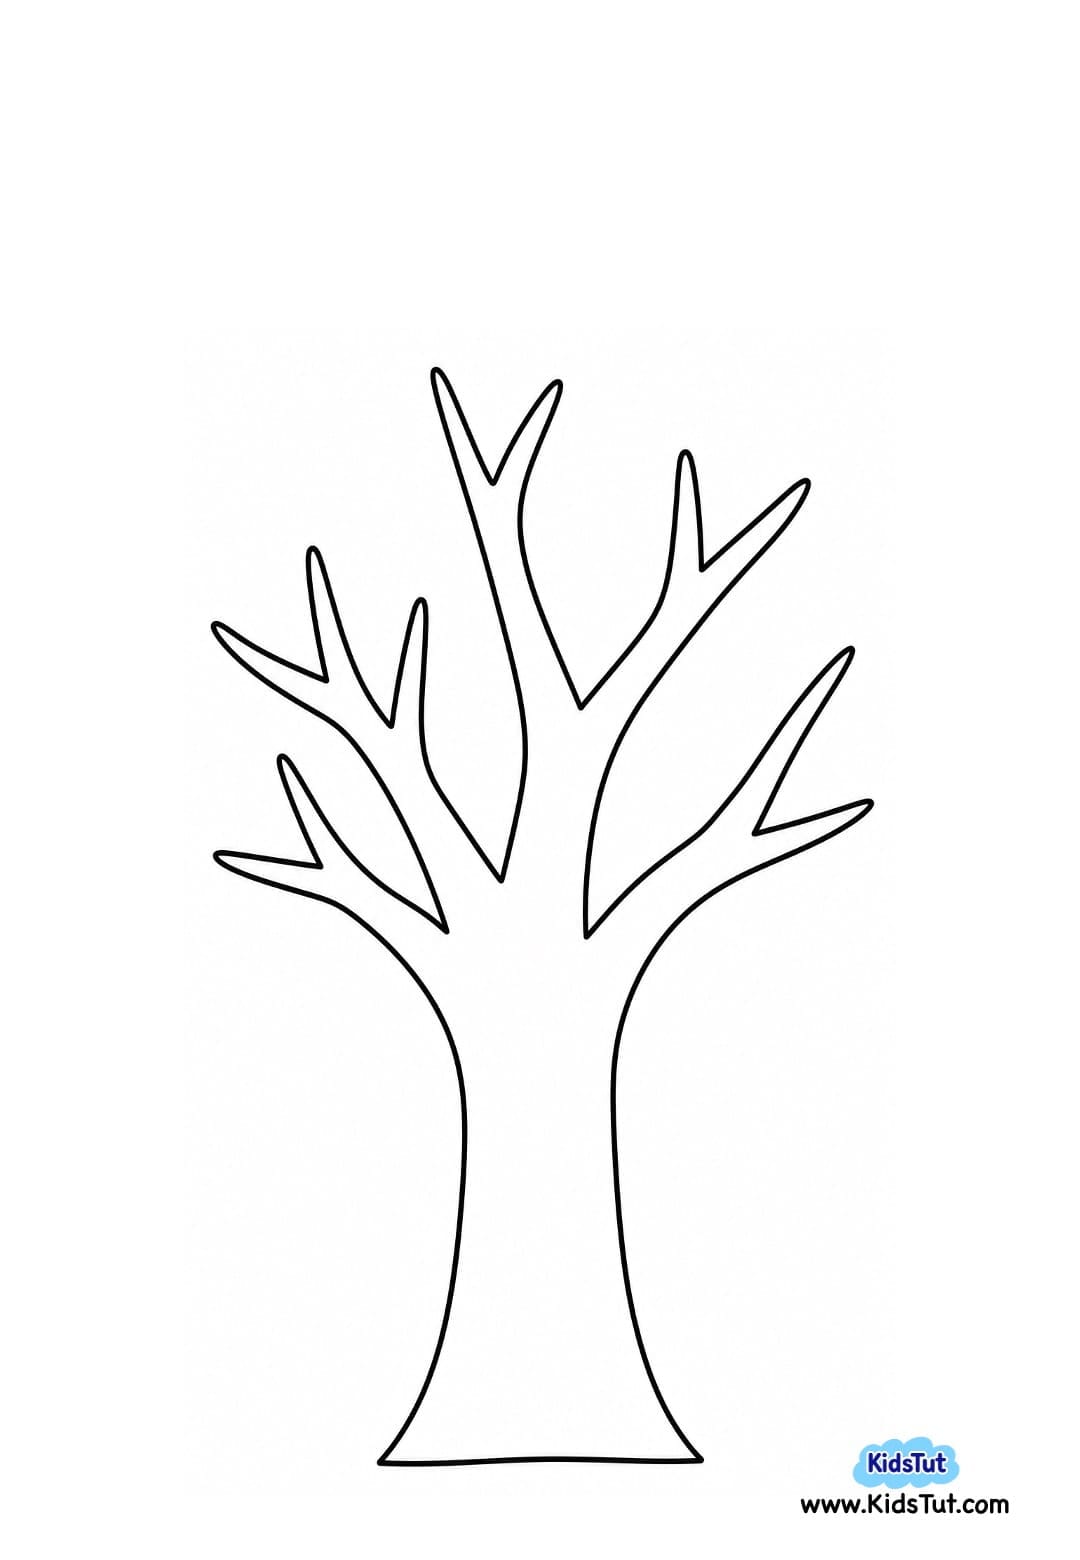
Templates:
8. Tissue Paper Mosaic Fall Tree Craft
Turn small pieces of tissue paper into a bright fall tree mosaic.
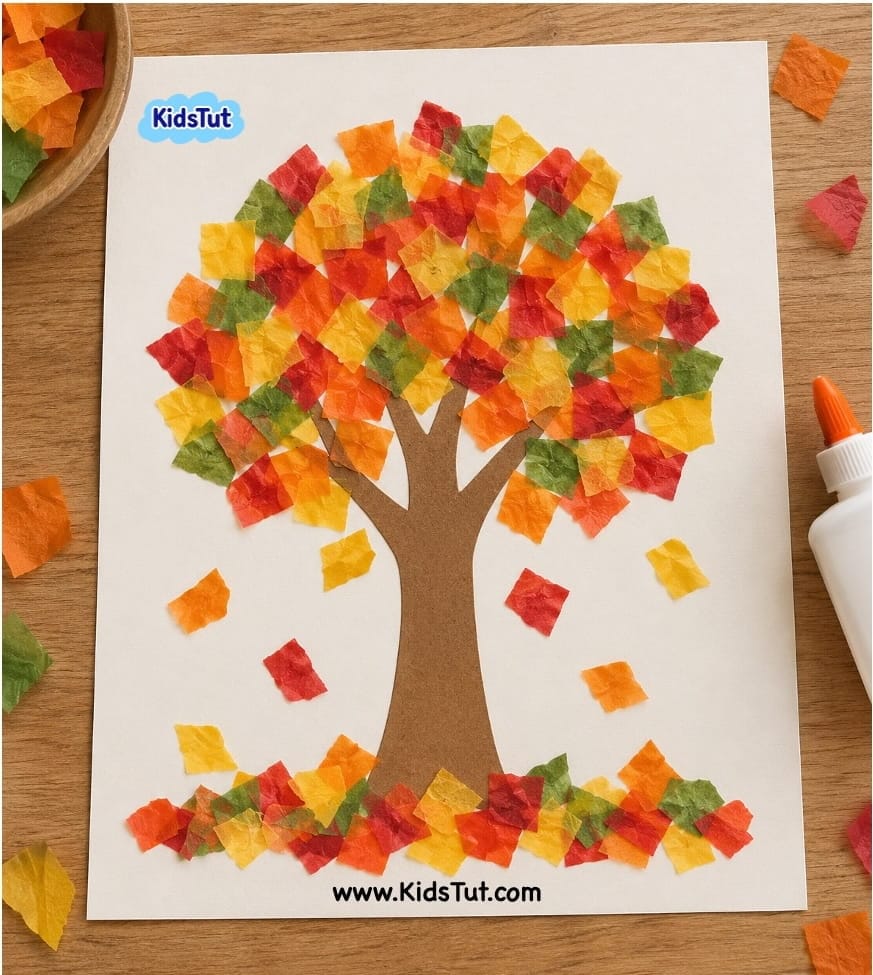
- Choose tissue paper in red, orange, yellow, green, and brown. Cut the tissue paper into lots of small square pieces.
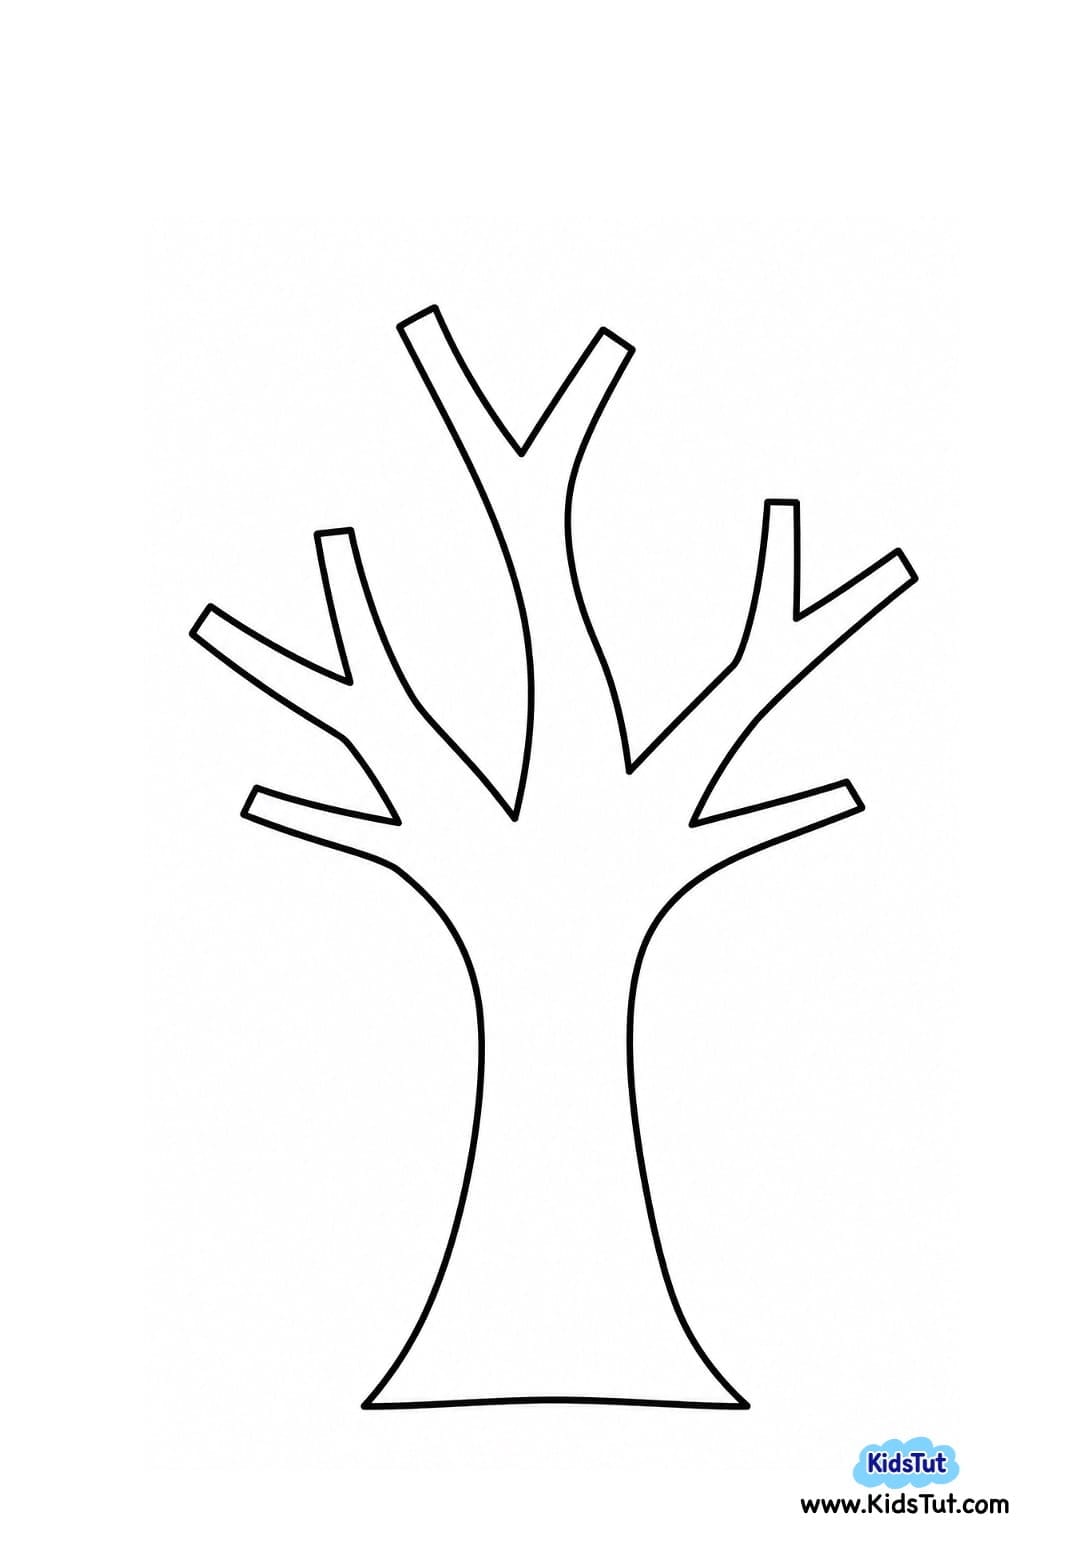
- Print the tree template on brown paper, cut it out, and glue the tree onto a white background sheet.
- Glue the tissue paper squares around the branches to create the tree canopy. The pieces can overlap a little to give the tree more color and texture.
- Add a few squares around the bottom of the page to represent fallen leaves.
- Let everything dry completely, and your tissue paper fall tree craft is finished.
Templates:
9. Painted Pumpkin Seed Fall Tree Craft
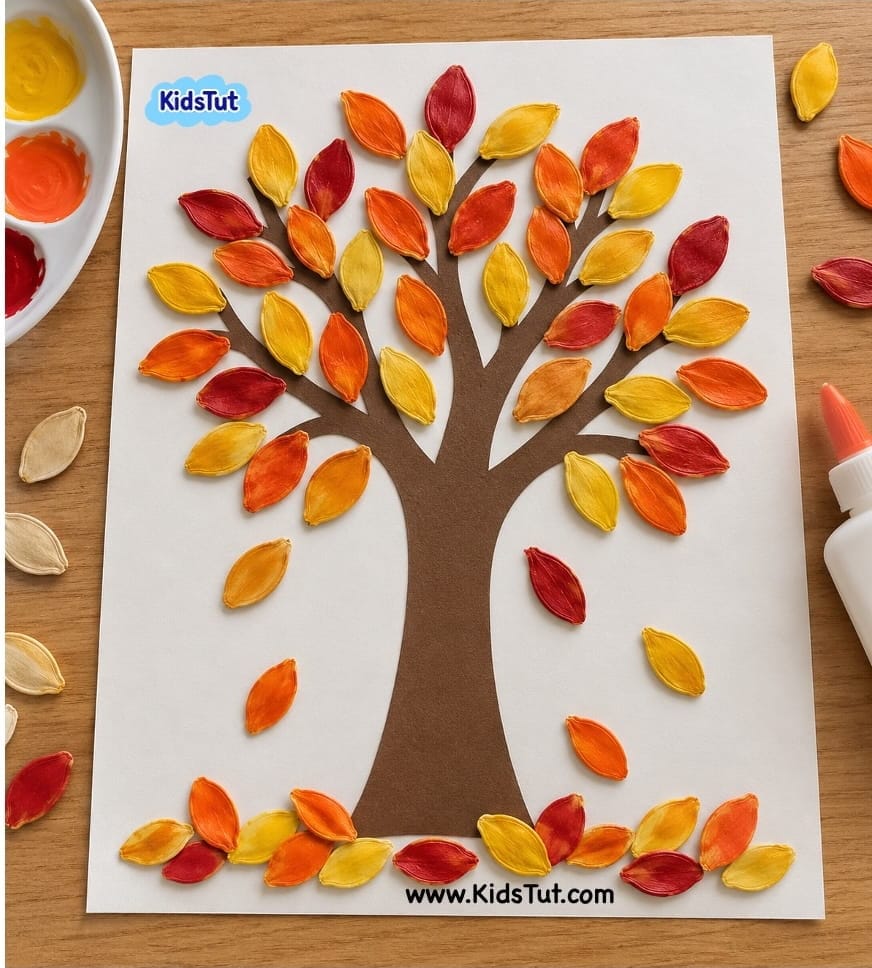
- Make sure the pumpkin seeds are clean and completely dry before you begin.
- Paint the seeds with fall colors such as red, orange, yellow, brown, and green. Keep them aside until the paint is completely dry.
- Print a tree template on white paper and color the trunk and branches brown.
- Glue the painted pumpkin seeds around the branches to create colorful leaves. You can also add a few seeds along the bottom to look like fallen leaves.
- Allow the glue to dry completely before displaying the finished craft.
Templates:
10. Cardboard Leaf Fall Tree Craft
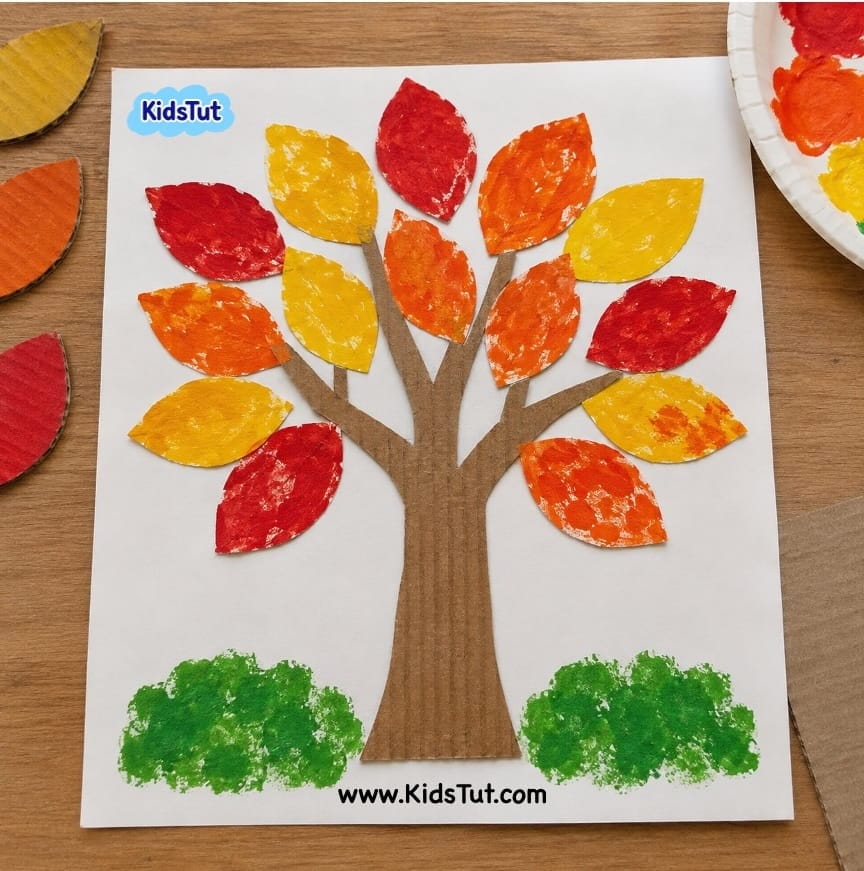
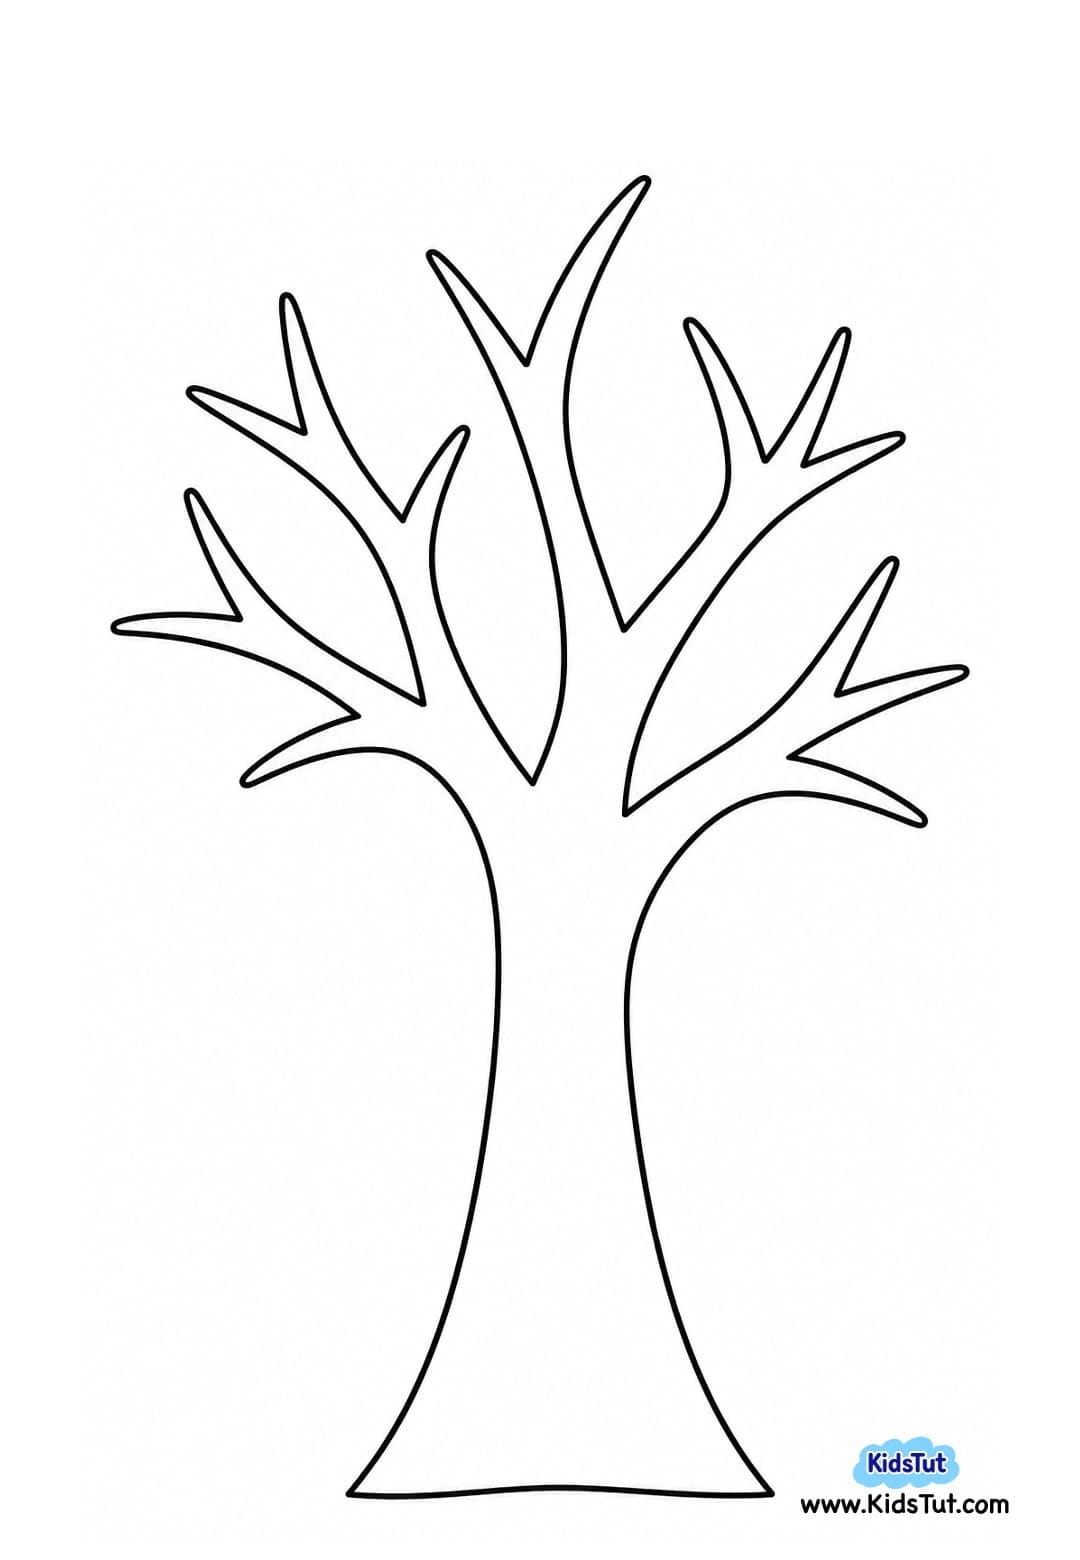
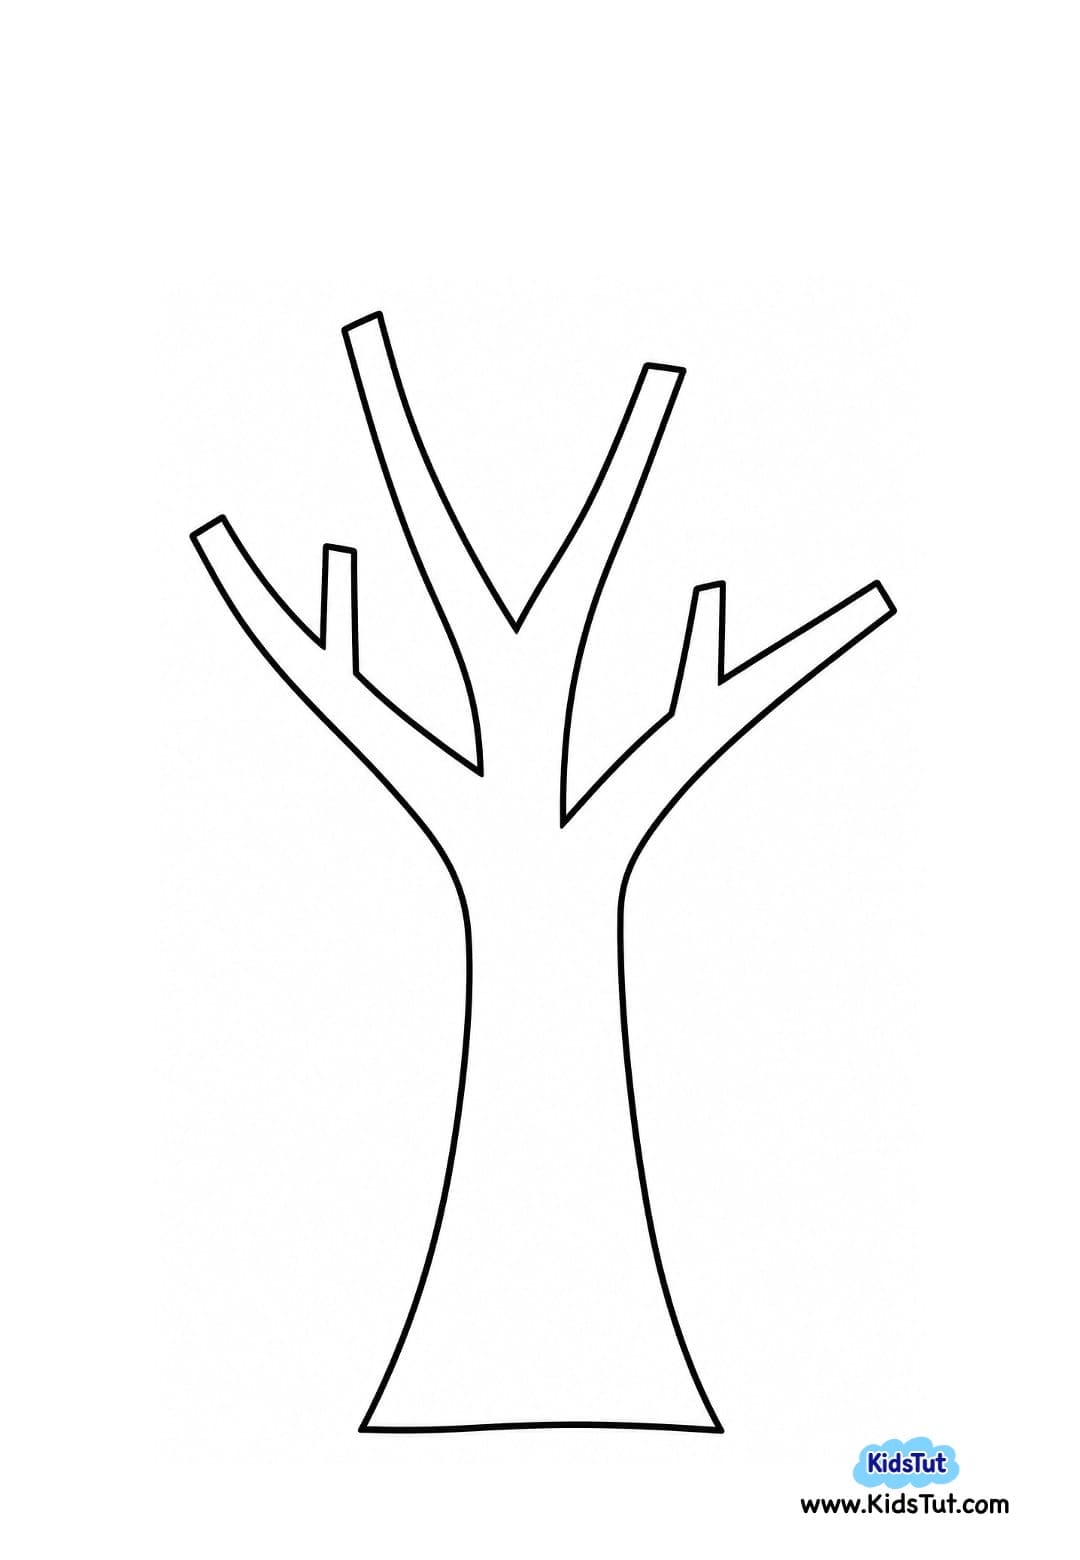
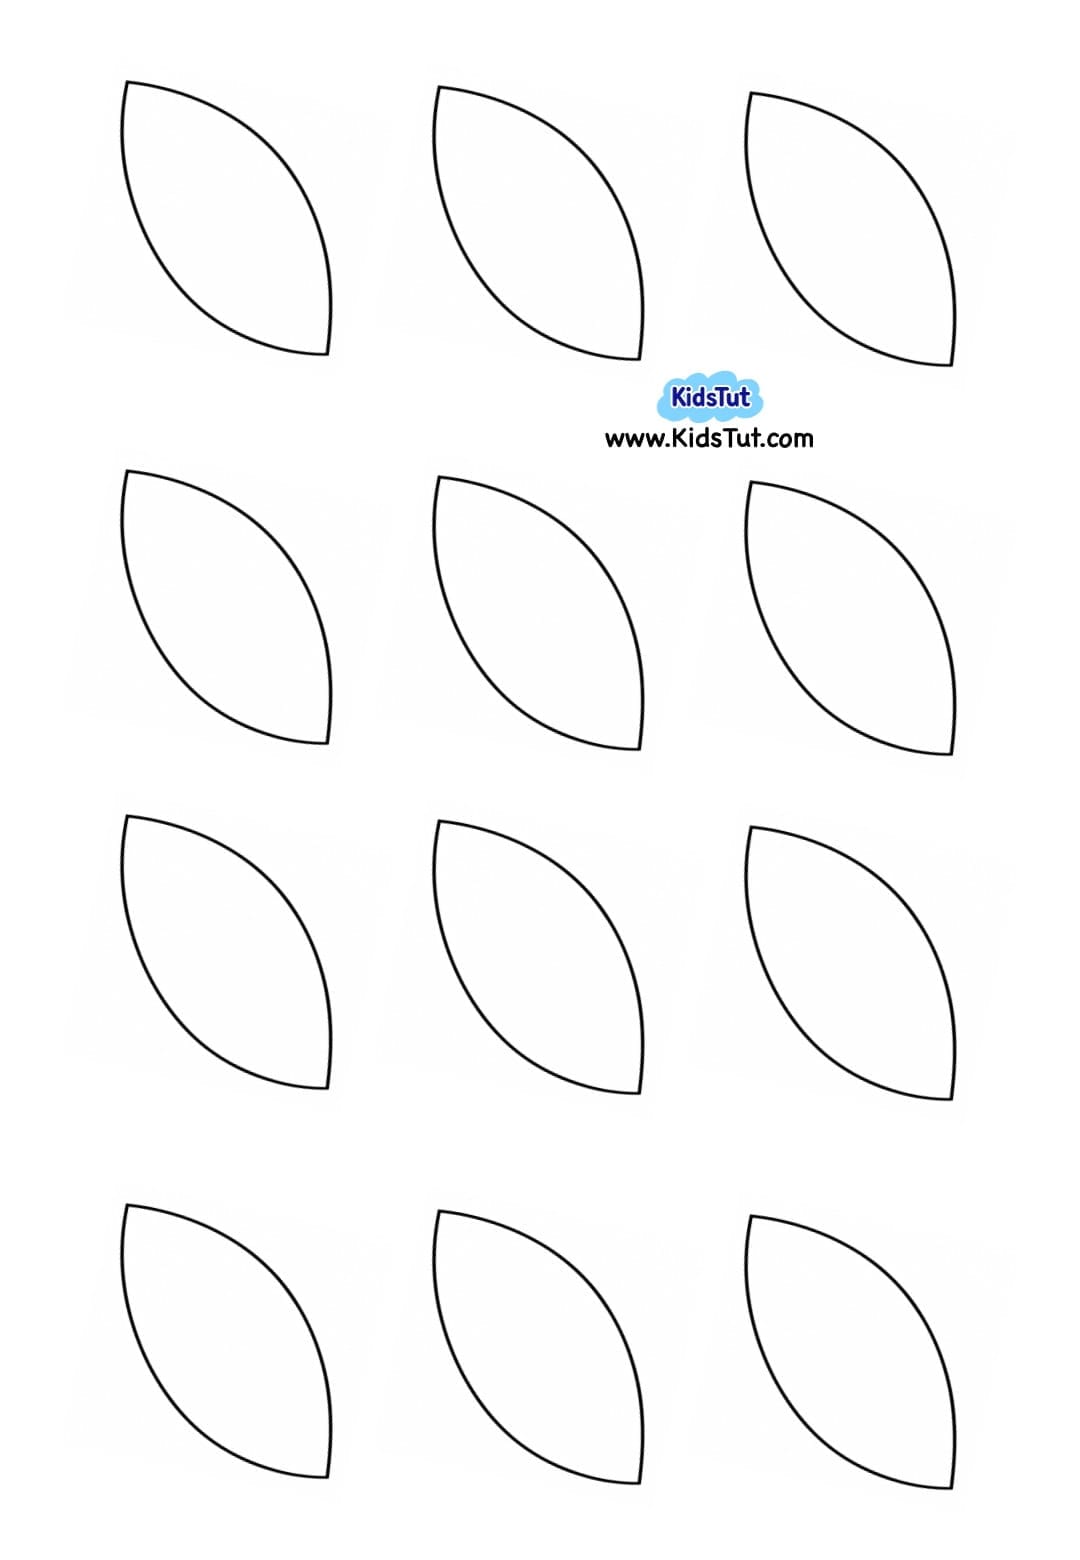
- Print the tree and leaf templates on paper.
- Use the templates to trace the shapes onto cardboard, then carefully cut them out. An adult may need to help younger children with this step.
- Paint the cardboard tree trunk brown and paint the leaves with different fall colors.
- Once the paint is dry, arrange the cardboard pieces on a white background sheet. Glue the tree trunk first, then add the colorful leaves around the branches.
- Let everything dry well before displaying your cardboard fall tree craft.
Templates:
Benefits of Fall Tree Crafts for Kids
These easy autumn activities are not only fun to make. They can also support simple learning and creative play.
- Build fine motor skills through cutting, painting, gluing, and tearing paper.
- Encourage creativity by letting children choose their own colors and designs.
- Teach fall colors such as red, orange, yellow, brown, and green.
- Explore nature by using real leaves, sticks, seeds, and other natural materials.
- Support hand-eye coordination while children arrange and glue small pieces.
- Explore different textures with tissue paper, cardboard, leaves, bubble wrap, and seeds.
- Reuse simple materials such as cardboard rolls and old bubble wrap.
- Make seasonal learning fun with hands-on autumn art.

Click here to get the FREE PDF template: Download (Printable)