Are you looking for a new way to teach shapes to your children? Then here is a great opportunity for that. Here we will help you learn shapes and build your children’s creativity. So here we have another simple and easy creative activity related to the shapes lesson. So, are you ready to join us in our latest Shape Collage with Tone Papers activity?
This activity is very easy and simple, suitable for children of any age. However, it is best suited for children who are old enough to recognize basic shapes. That is, it is best suited for preschoolers. Also, through this simple activity, we will give children the opportunity to identify basic shapes and develop their motor skills. So, let’s explore the benefits of doing this activity further.
What is a Torn Paper Shape Collage?
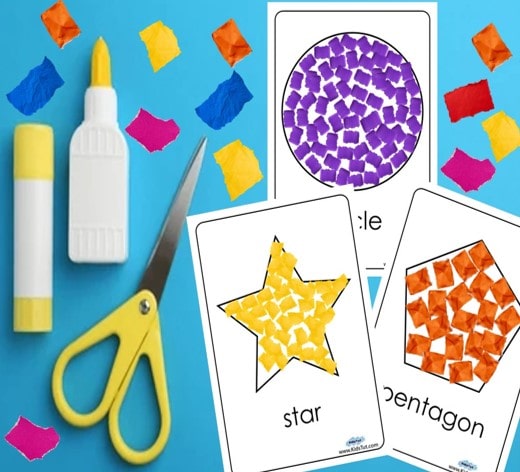
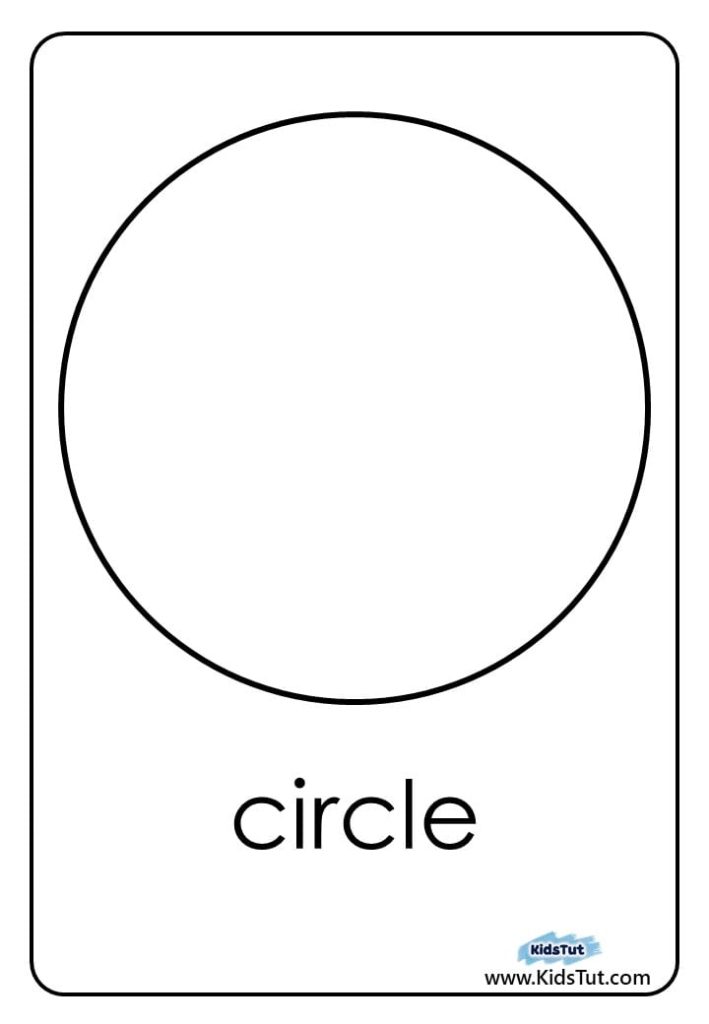
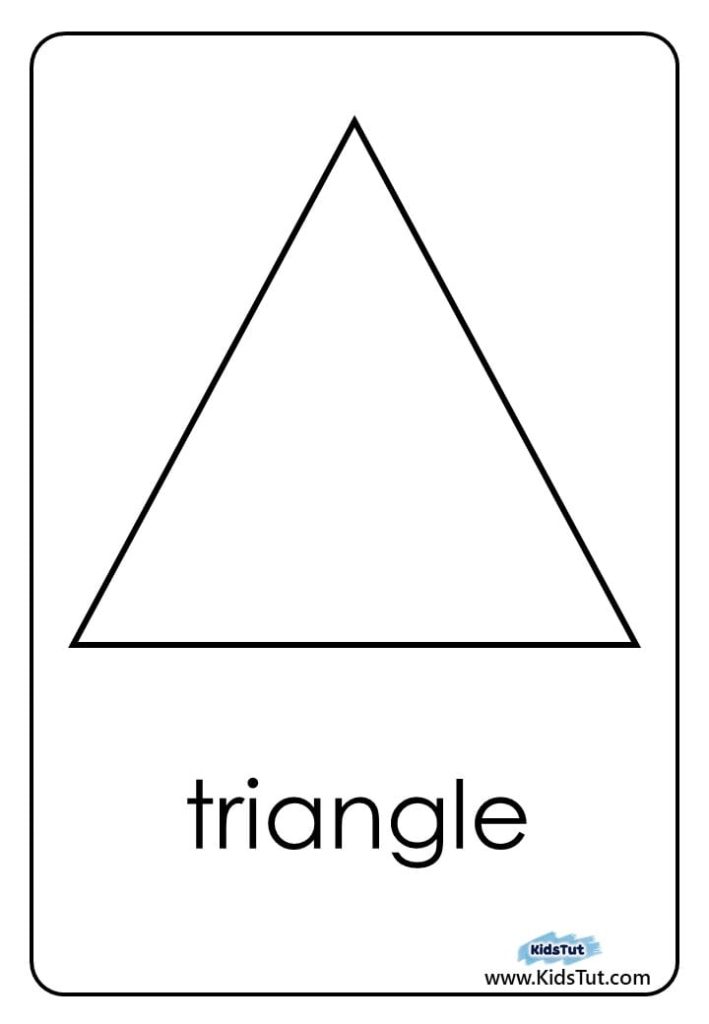
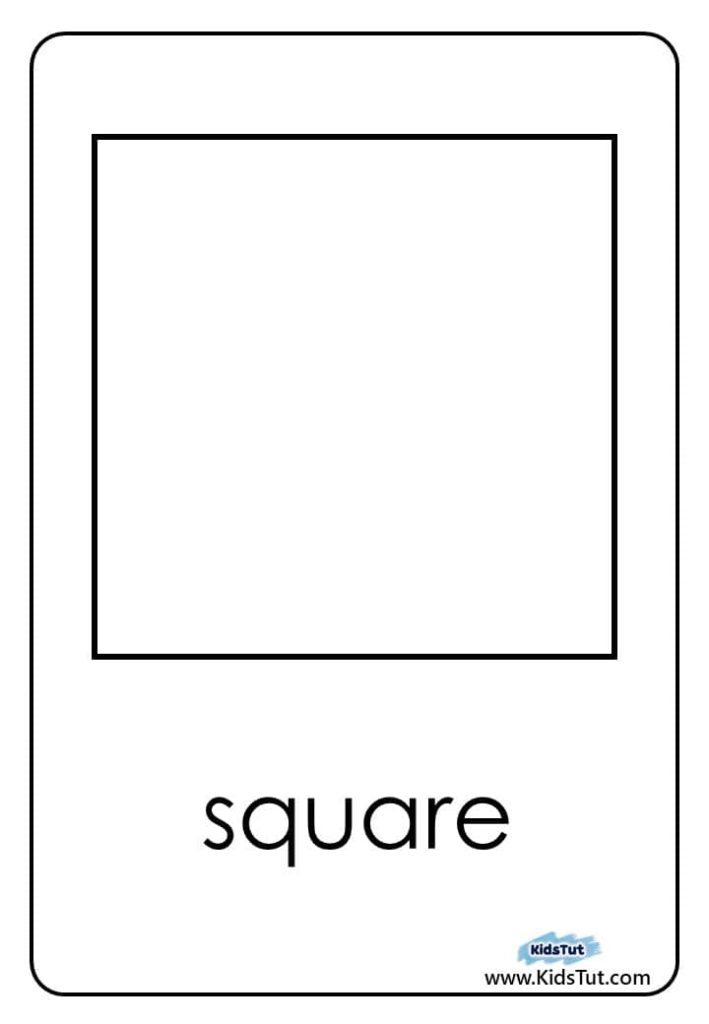
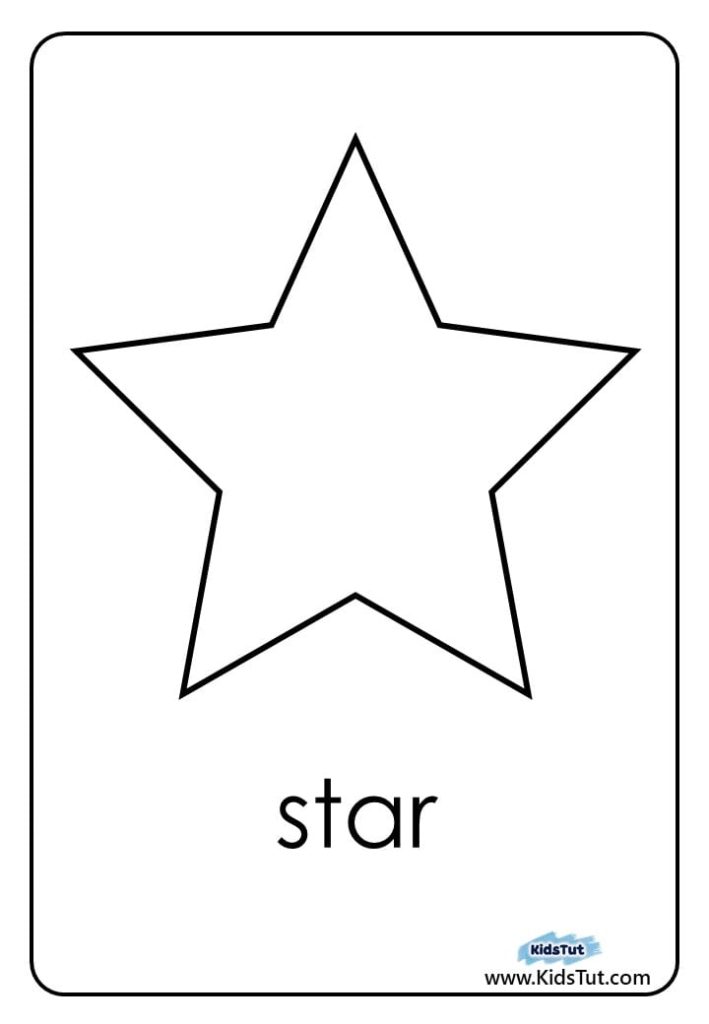
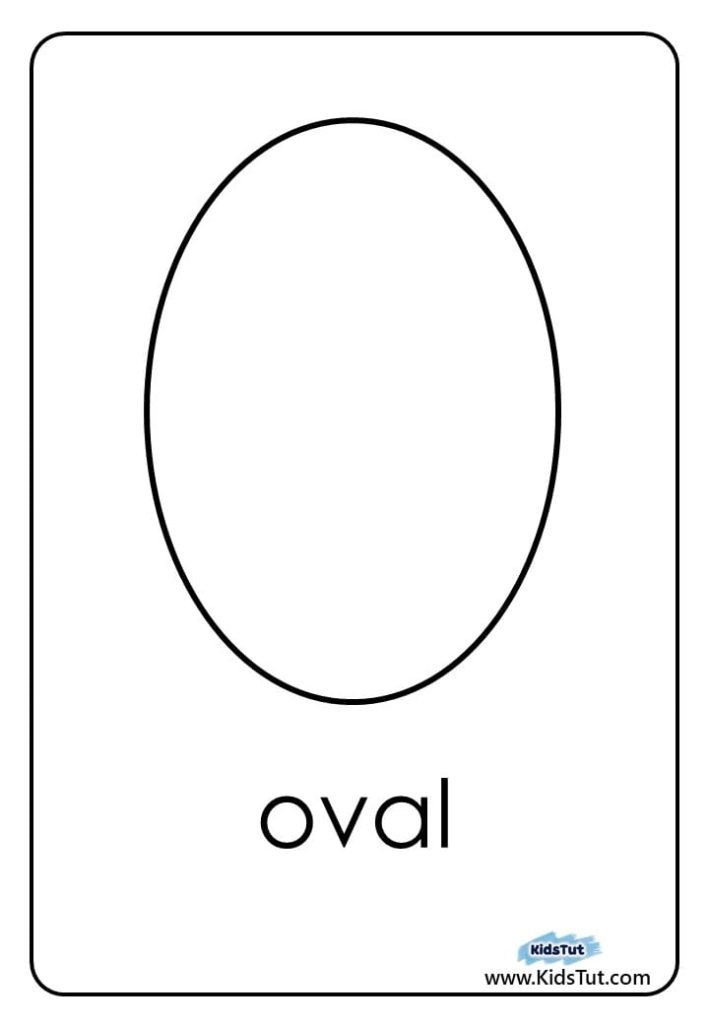
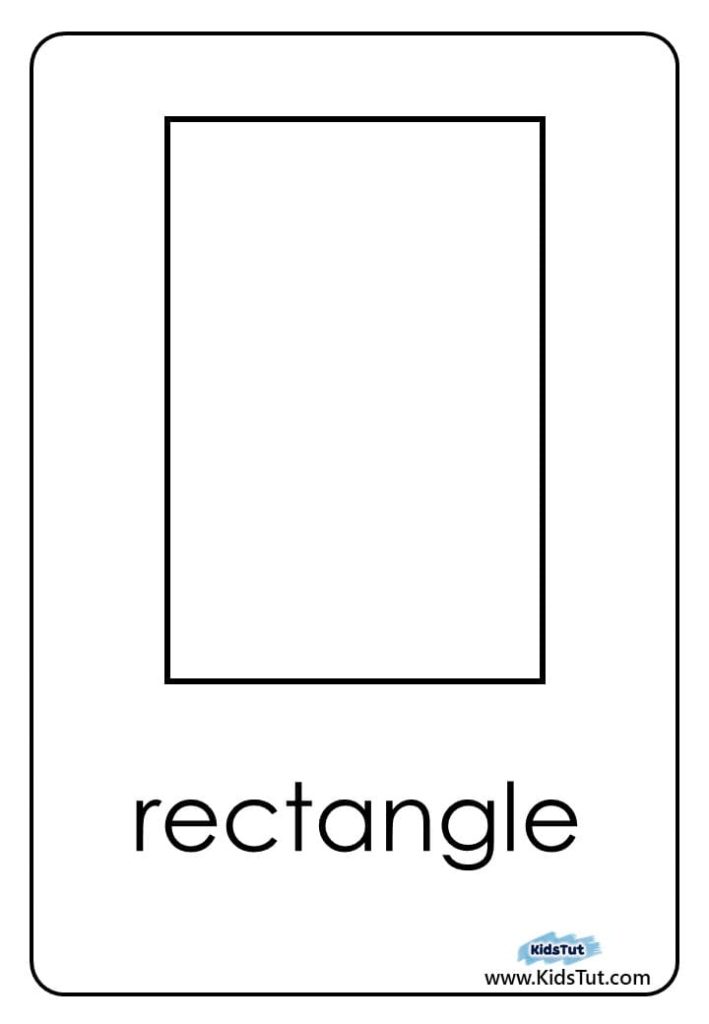
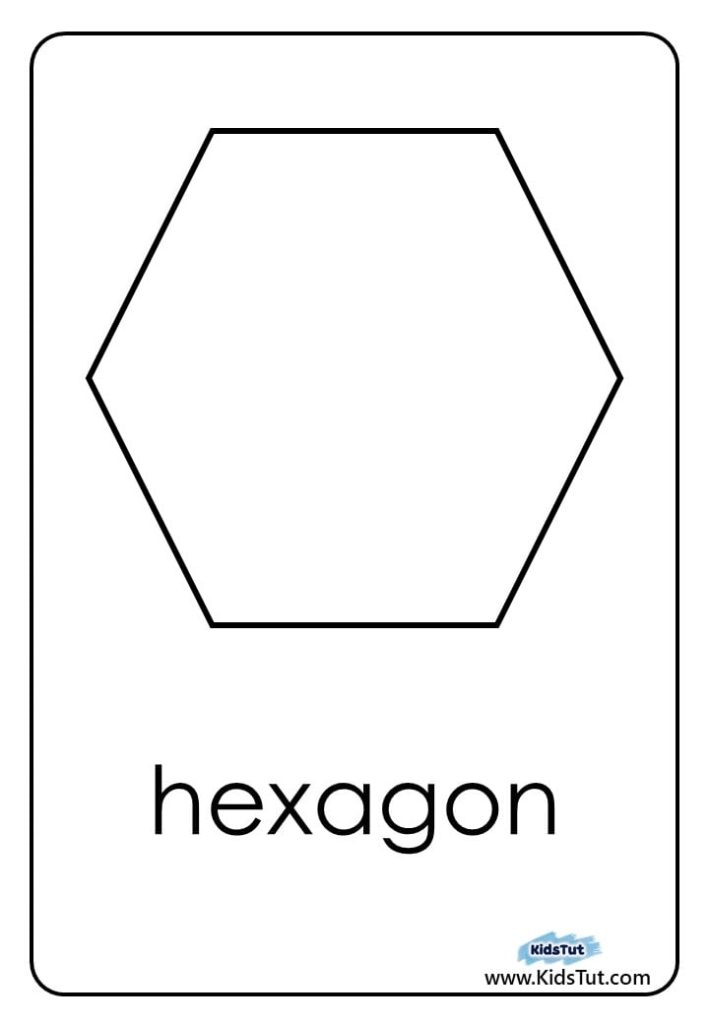
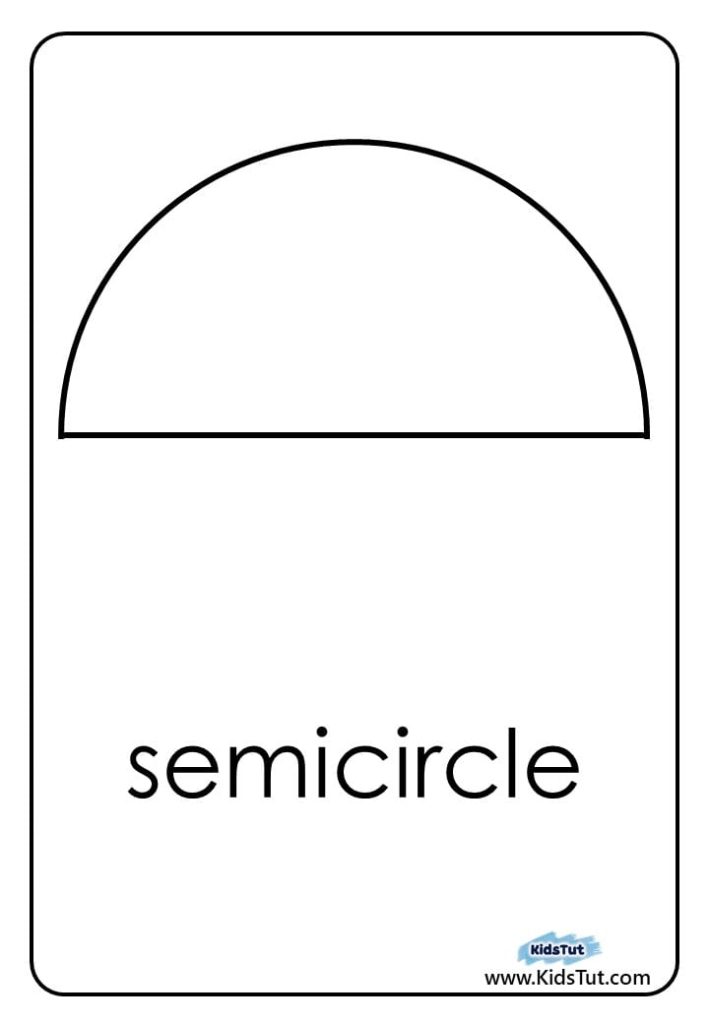
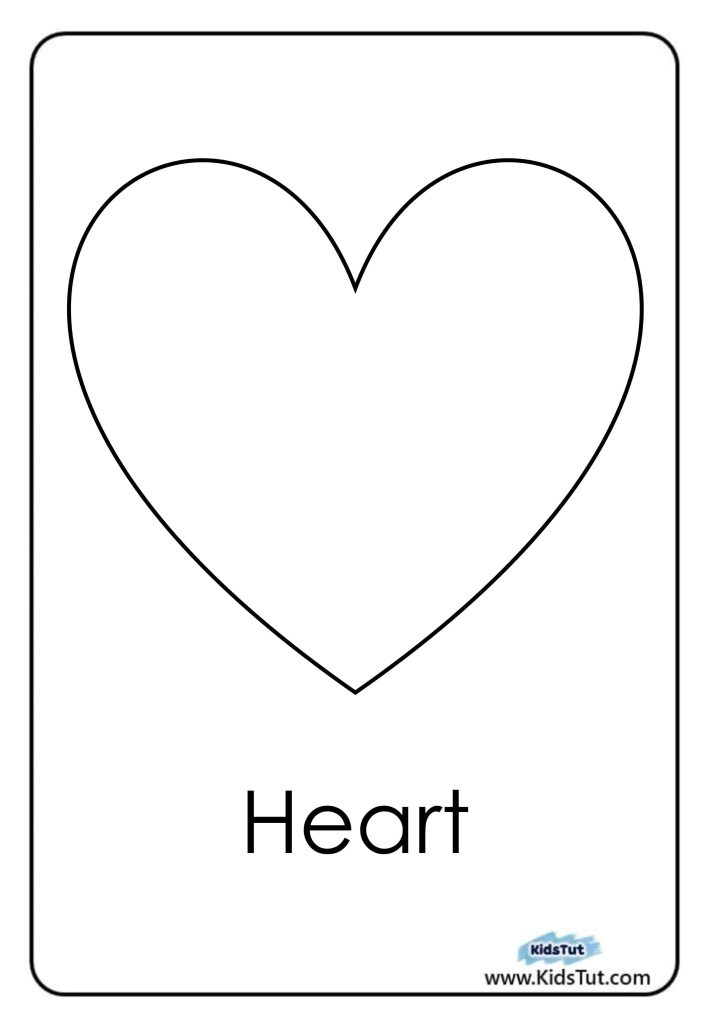
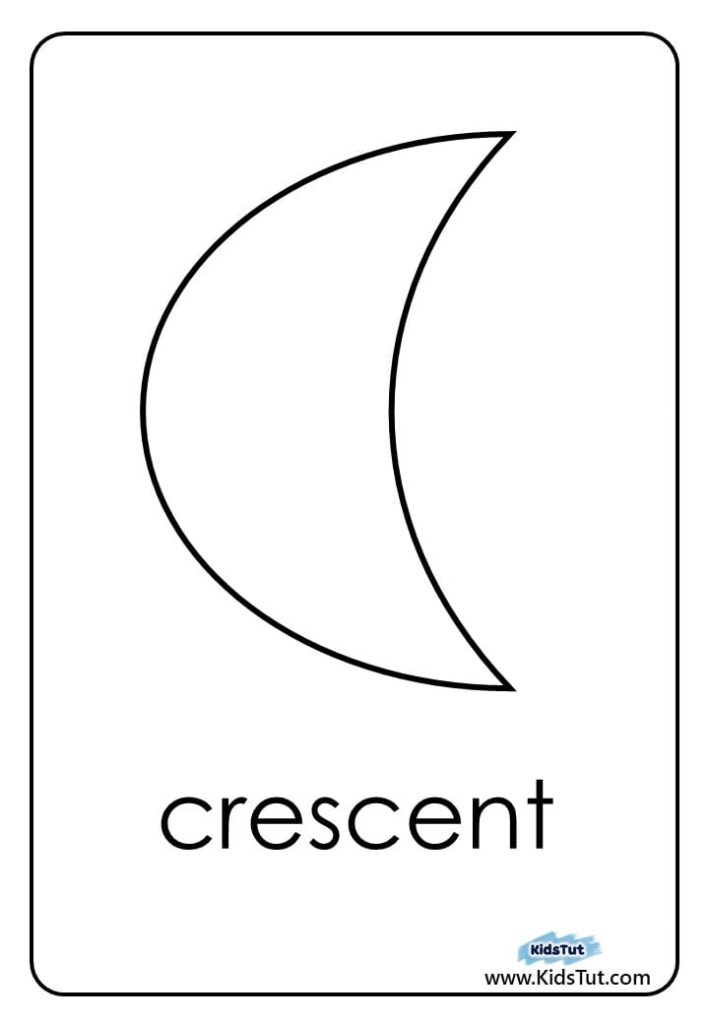
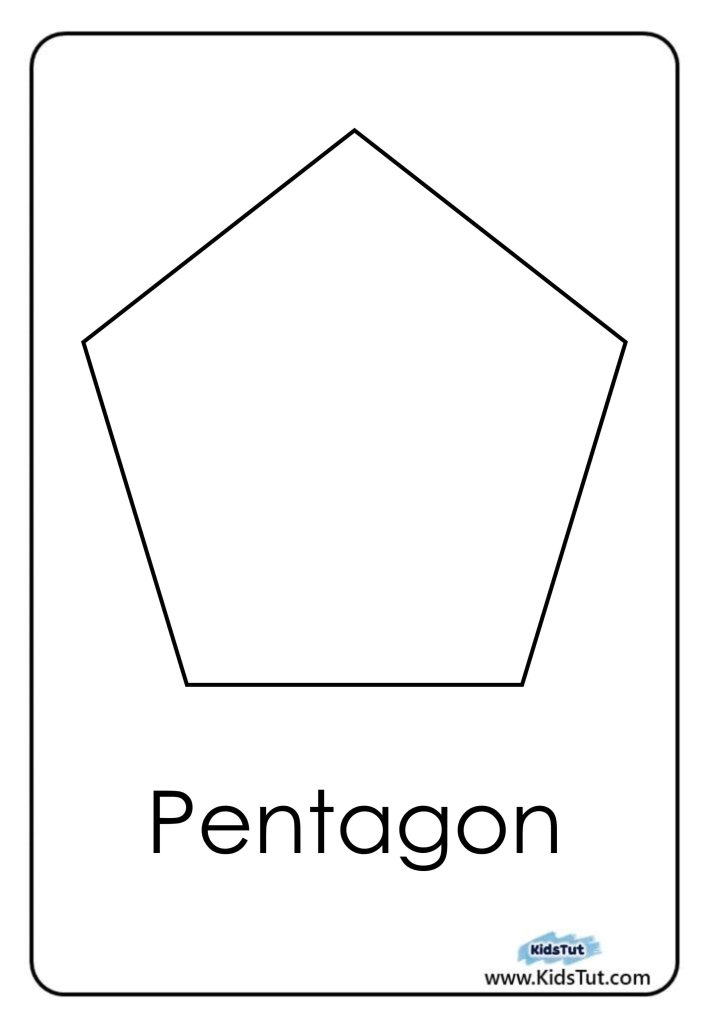
This activity is designed to introduce basic two-dimensional shapes. Here, 11 basic two-dimensional shapes are provided for children to introduce and learn. They are: circle, triangle, square, star, oval, rectangle, hexagon, semicircle, crescent, heart, and pentagon. This blog post provides all of these shapes as outline image templates. So we’re giving you a free PDF file here with all 11 pages. So, just a few more things you can do to get active.
Below, we will introduce you to the materials, tools, and instructions needed for this activity. You can find more instructions on this blog page that will make this activity easier. So, read the article below to know more.
Materials Needed:
To get started, you will need:
- Shape templates (Download the free printable PDF)
- Colored paper (Red, blue, green, yellow, etc.)
- Glue stick or liquid glue
- A tray or bowl (to hold torn paper pieces)
First, gather the above materials and equipment to carry out the activity. Also, consider the comfort and safety of the children, and choose materials that are appropriate for their age. And if you have other alternative ways to do this activity, you can use the materials instead of these tools. However, our shredded paper collage creation only requires the few materials above.
How to Make a Torn Paper Shape Collage:
Step 1: Print the Templates
The first step is to print the templates that come with this. You can use white or light-colored printer paper for this. If you want this activity to last longer, you can print these templates on cardboard. However, you can print it easily and conveniently. Use the PDF file provided here to get clear templates.
Step 1: Take colored paper
Now, give the children colored paper. Get colored paper of different colors. For example, use different colored papers like red, blue, green, yellow, purple, pink, and orange. For this, you can use different types of paper, such as construction paper, tissue paper, and varnished paper. Don’t forget to give these large sheets of paper in pieces or strips that children can easily handle.
Step 2: Tear the Paper
Next, instruct the children to tear the colored paper you have given them into small pieces. Here, they should use their fingertips to tear them. But you can also use scissors to cut the paper into small pieces and paste them. Do it as you see fit. Give the children a small tray or bowl so that these torn papers don’t scatter.
Step 3: Apply Glue
Now distribute the templates you printed among the children. Then, instruct them to apply glue inside the outline of the shapes on the templates. This way, teach them to apply glue without going outside the outline.
Step 4: Paste the Torn Paper
Then, have the children take torn colored paper and stick it on the glue applied to the shape. Here, you can also choose one color for each shape. For example, paste the circle in blue, the triangle in yellow. Otherwise, paste the shapes without choosing a color. Then you can get colorful rainbow shapes.
When you separate the colors and use one color for each shape, you get a chance to remind the children of both the color and shape lessons. So, I think this method is the best. But if you find it difficult, you can paste the paper on the shapes without choosing a color.
Step 5: Let It Dry
Finally, let the shapes with the colored paper pieces glued on them dry. Once the glue is dry, you can display the children’s creations. You can display them on the classroom wall, on the art board, or in children’s books. Or, you can collect all these creations and make a shape book.
Learning Benefits of This Activity:
This fun shape collage is more than just a craft! Kids learn many skills, such as:
- Shape Recognition – Learning different 2D shapes
- Fine Motor Development – Strengthening finger muscles
- Hand-Eye Coordination – Tearing and pasting help coordination
- Creativity – Choosing colors and designing unique collages
- Sensory Play – Feeling different textures of torn paper
This activity is perfect for preschool, kindergarten, and early learners.
Tips for Parents and Teachers:
- Use brightly colored paper to make the collage fun
- Allow kids to choose their own colors for creativity
- Encourage tearing instead of cutting for better motor skill development
- Use thicker paper for durability
- Make it a group activity for more fun in the classroom or at home
Get Your Free Shape Collage Templates!:
We have included 11 shape templates in the free PDF for you! Just download, print, and start crafting.
📥 Click here to get your free PDF!📥
Let’s create colorful, fun, and creative shape collages with torn paper! 🎨✨
This Fun Shape Collage with Torn Paper is an engaging and educational activity that kids will love. Try it today and watch their creativity shine! 🌟