Easy Summer Mosaic Tissue Paper Crafts for Kids
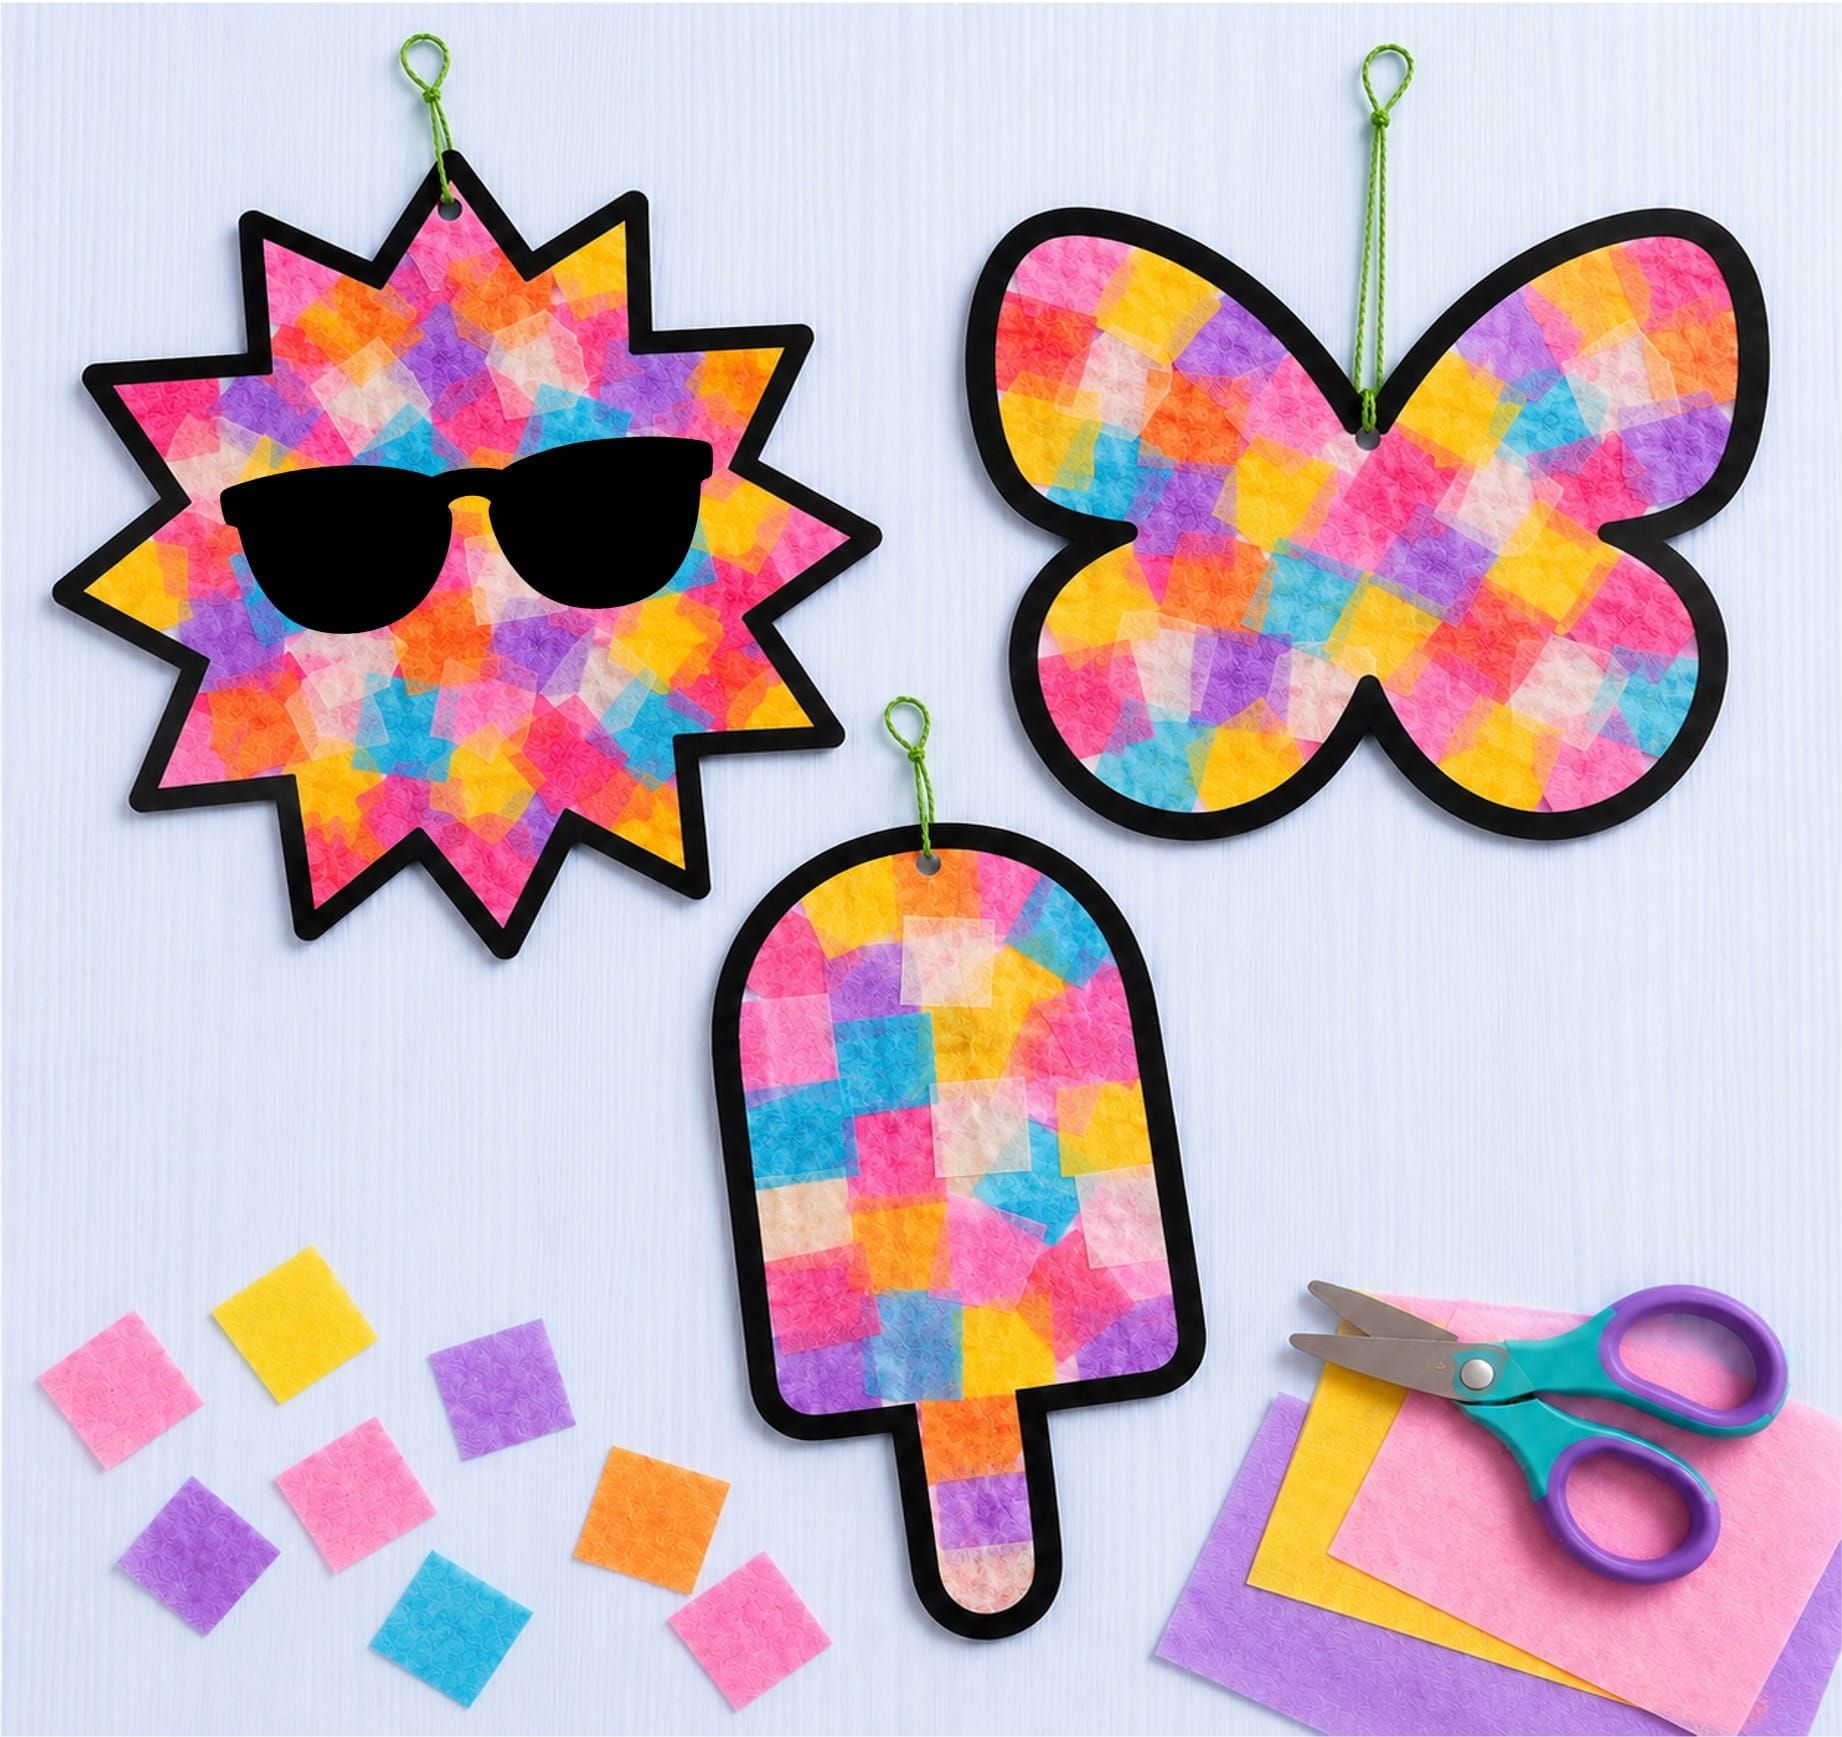
Summer is the best time for bright and colorful crafts! Mosaic tissue paper crafts let kids create fun designs like suns, butterflies, and popsicles while practicing cutting, pasting, and coloring. These activities improve fine motor skills, teach color matching, and encourage creativity. The finished crafts make cheerful classroom decorations or playful home displays.
What You Need:
- Printed templates (sun, butterfly, popsicle, starfish, watermelon, etc.)
- Colored sheets or white sheets for printing
- Crayons or markers (if using white sheets)
- Tissue paper squares in bright colors
- Transparent sticky paper (optional)
- Scissors
- Glue stick
- Yarn or string for hanging
- Laminating sheet or cardboard (optional for strength)
How to Make:
- Print and Cut Templates
- Print the templates and cut out the outlines.
- Remove the middle parts, keeping only the thick black outline.
- Fill with Tissue Squares
- Method 1: Place the outline on transparent sticky paper.
- Paste tissue paper squares inside the outline.
- Cover with another sticky sheet to seal.
- Cut away extra paper to highlight the shape.
- Method 2: Paste tissue squares directly inside the outline.
- Overlap pieces to cover the space neatly.
- For strength, paste the back onto another sheet or laminate.
- Trim extra parts for smooth edges.
- Method 1: Place the outline on transparent sticky paper.
- Add Extra Details
- Sunglasses for the sun
- Body for the butterfly
- Paper strips for the popsicle
- White circles on the starfish
- Black dots on the watermelon
- Or any other fun details kids imagine!
- Hang and Display
- Attach yarn pieces to the top.
- Hang in the classroom or at home for a bright summer display.
🌈 Extra Benefits
- Builds patience and focus
- Improves cutting and pasting skills
- Encourages creativity and imagination
- Makes classrooms festive and colorful for summer
Templates:
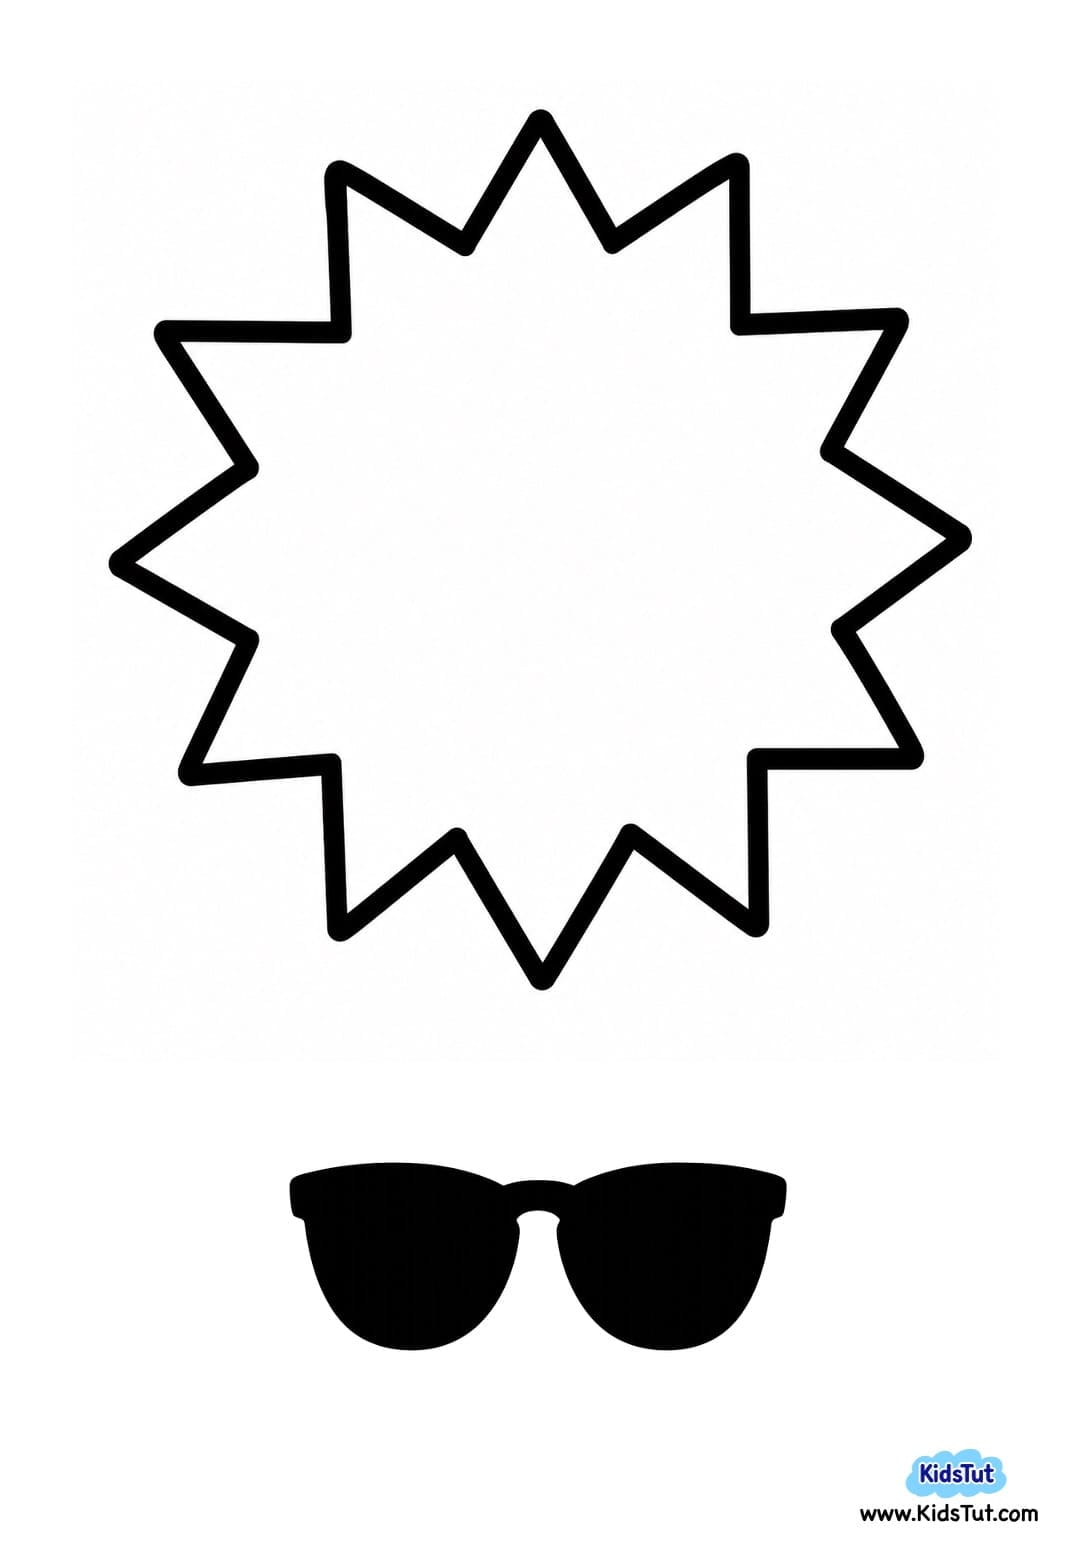
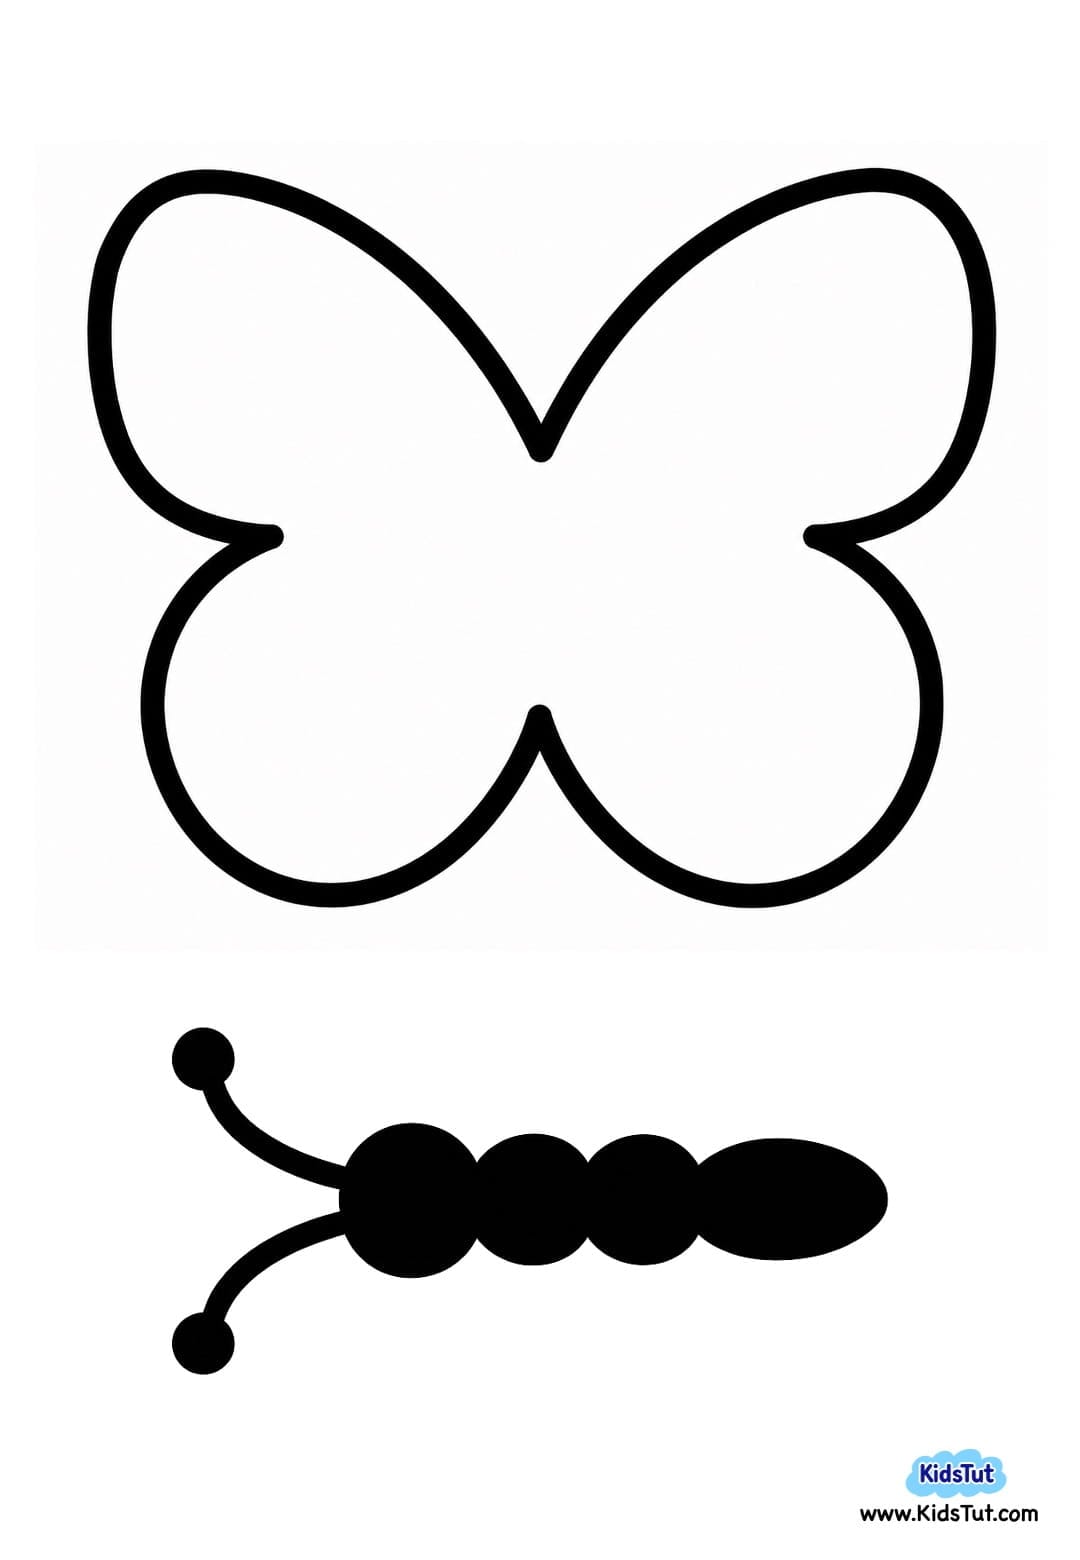

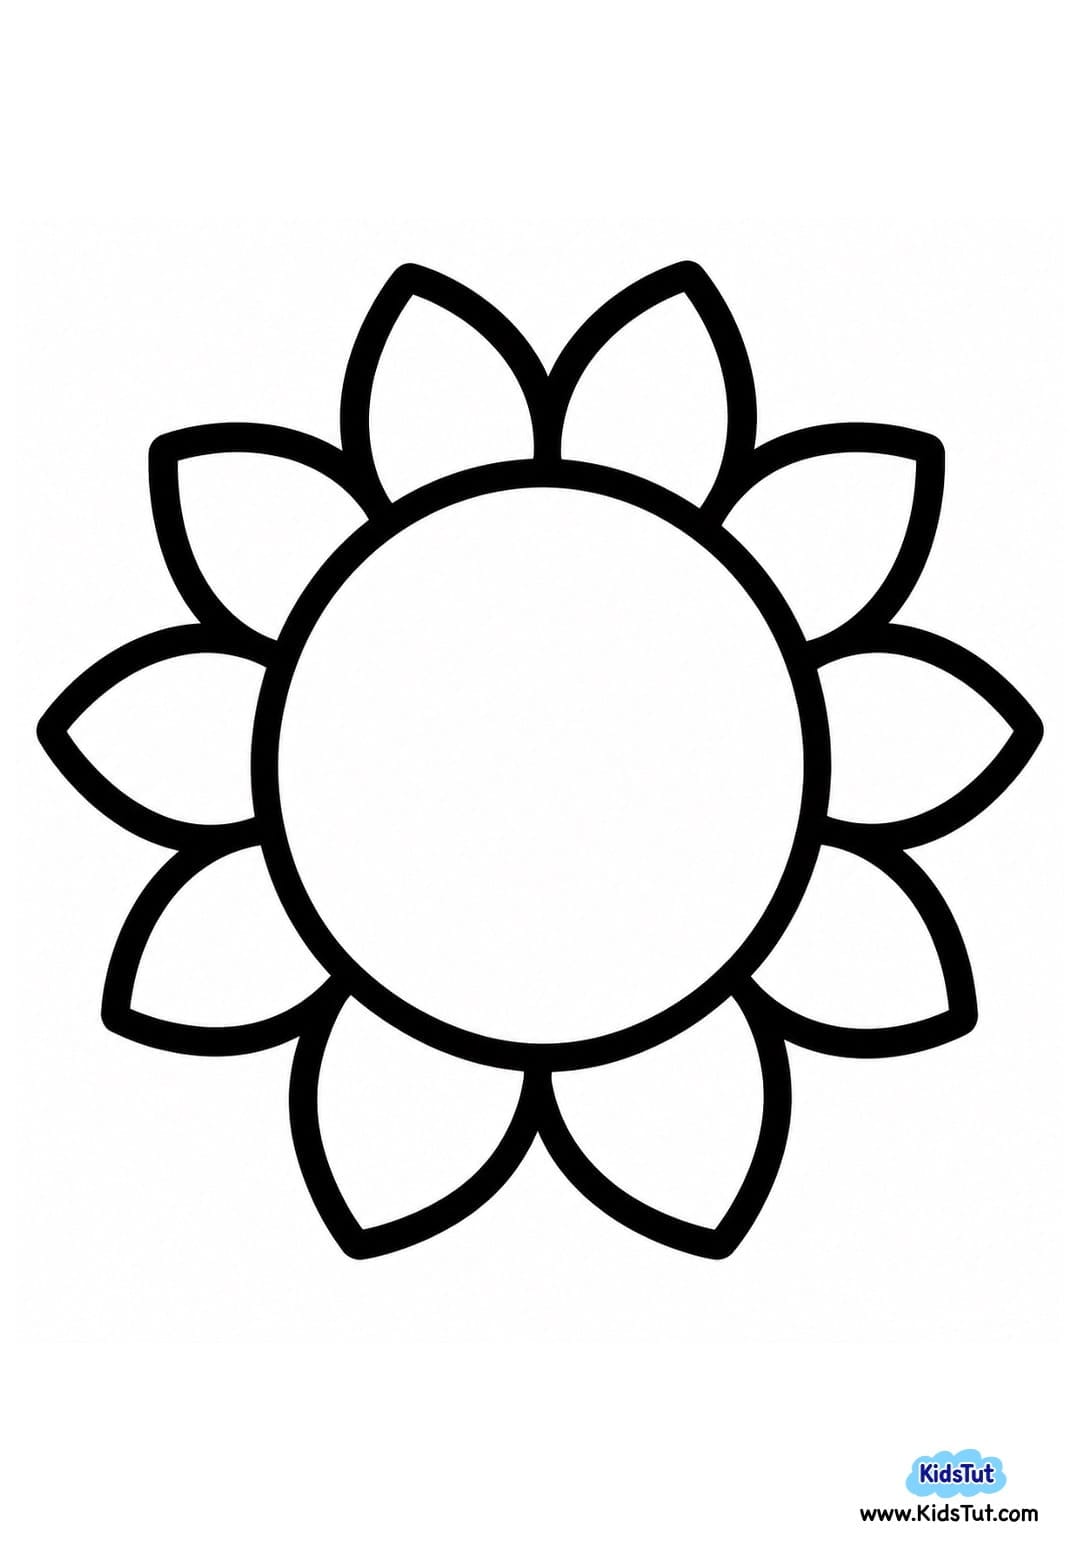
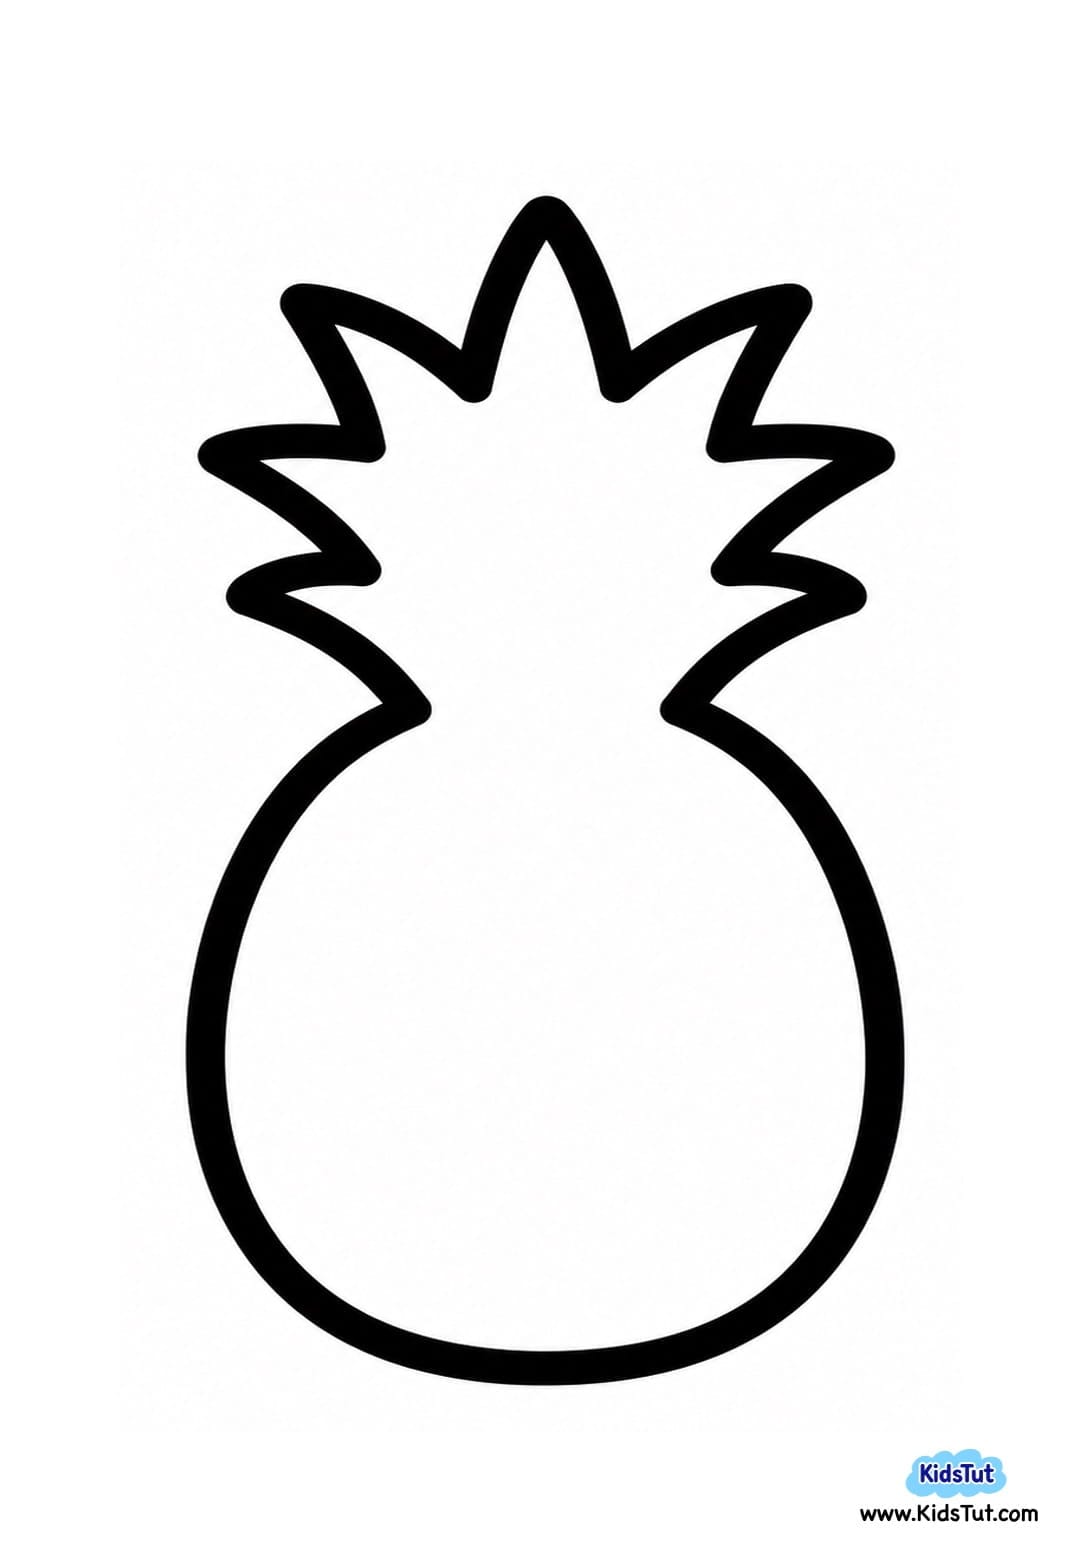
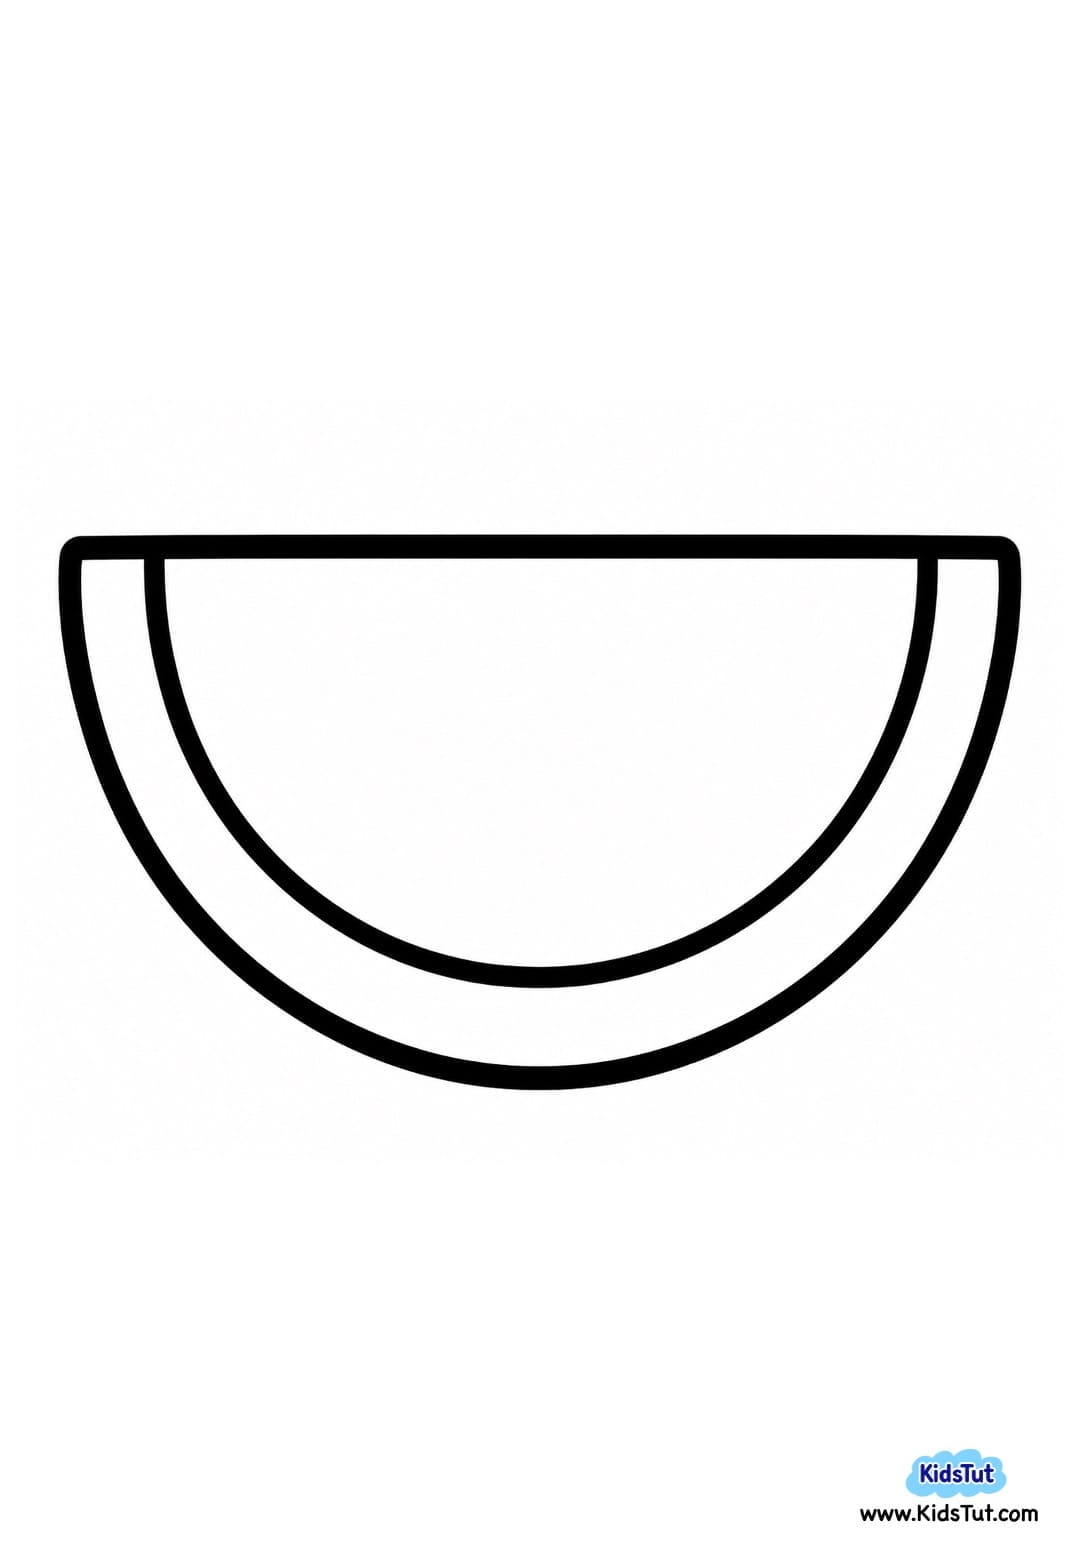
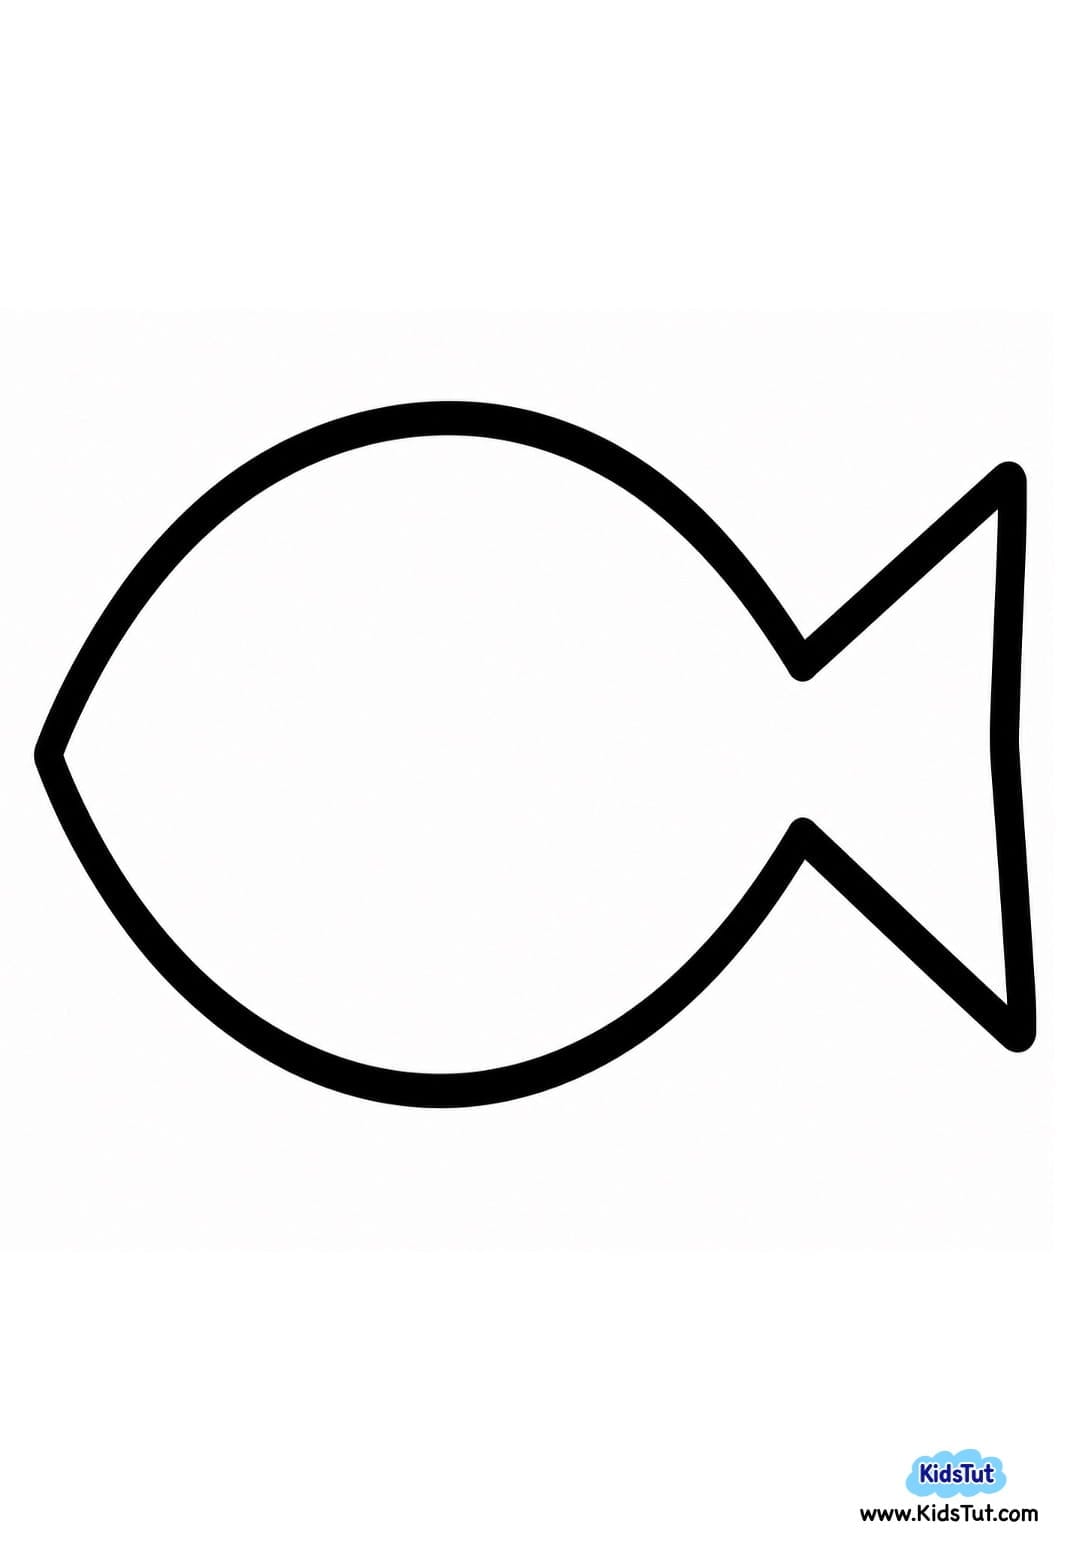

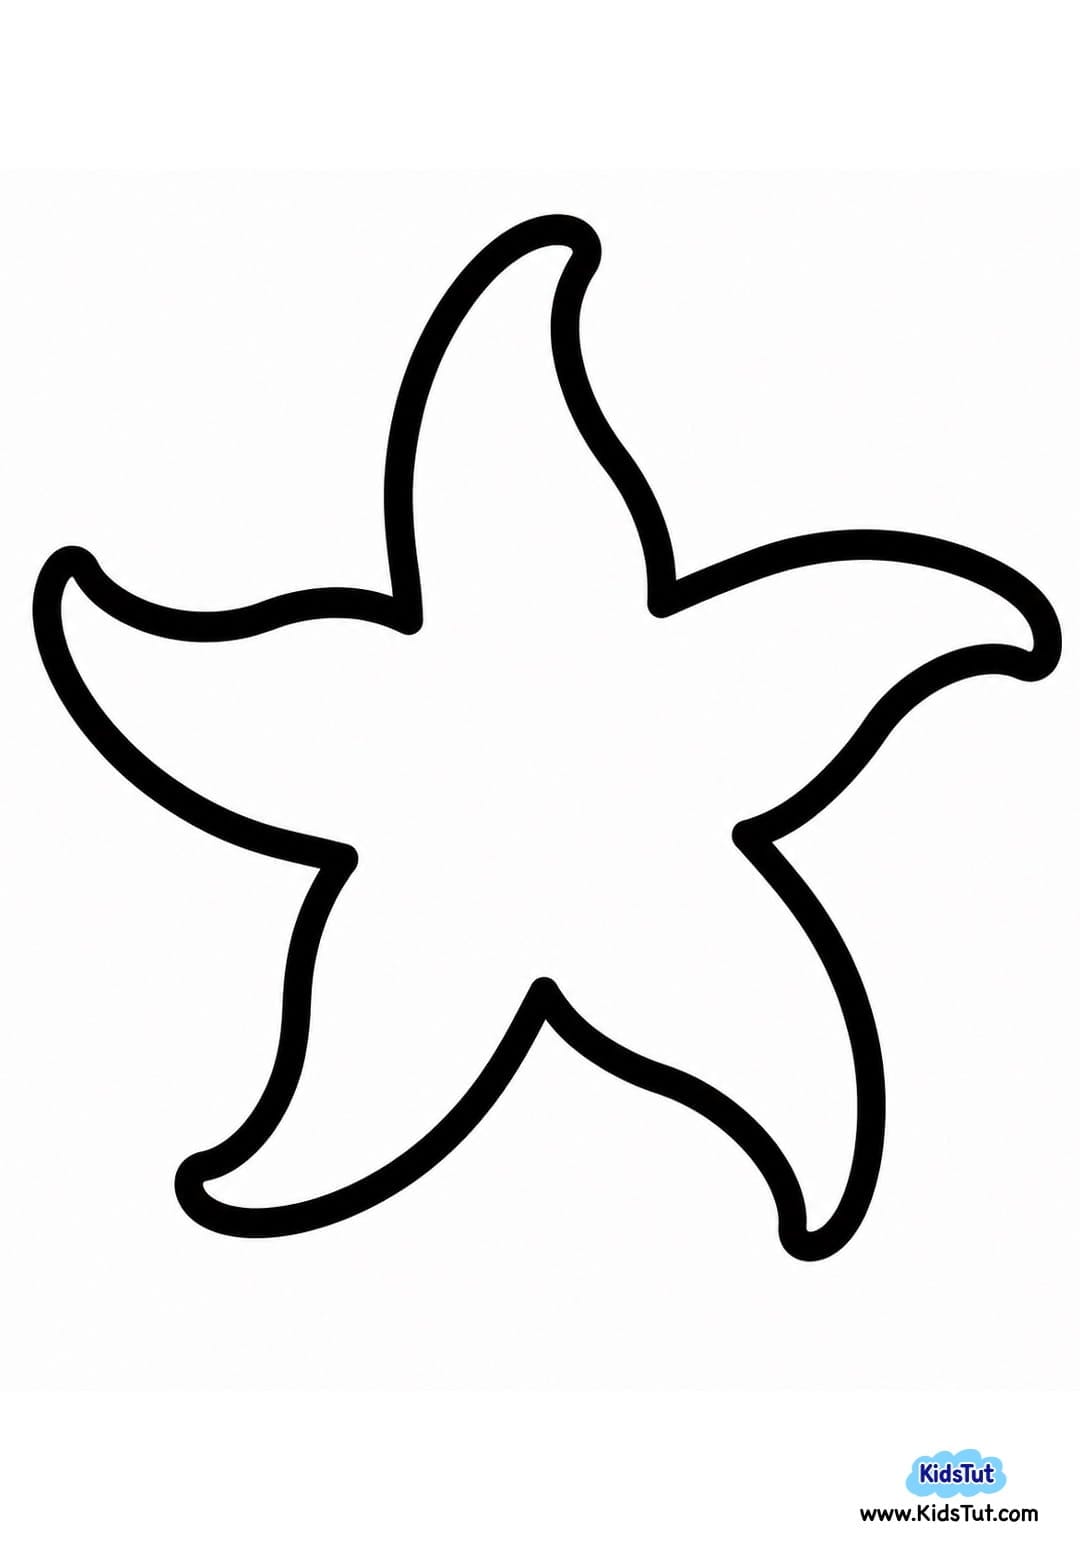
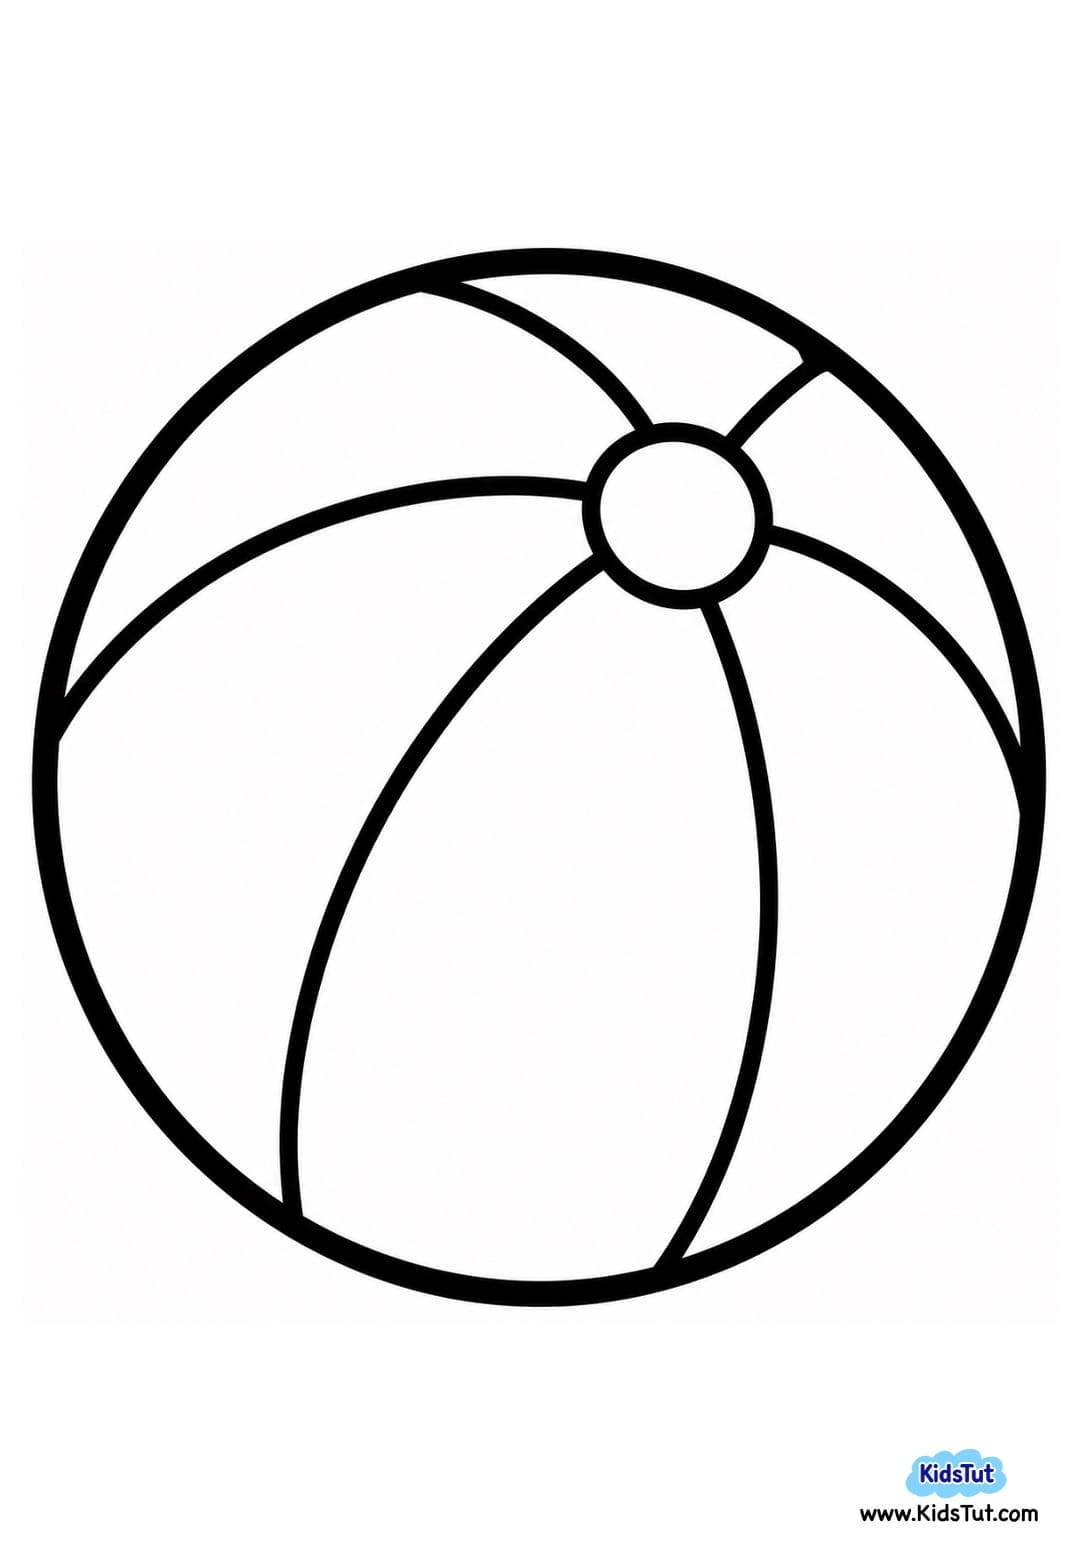

Click here to get the FREE PDF template: Download ( Printable )