DIY Colorful Tree Wall Art Crafts for Kids
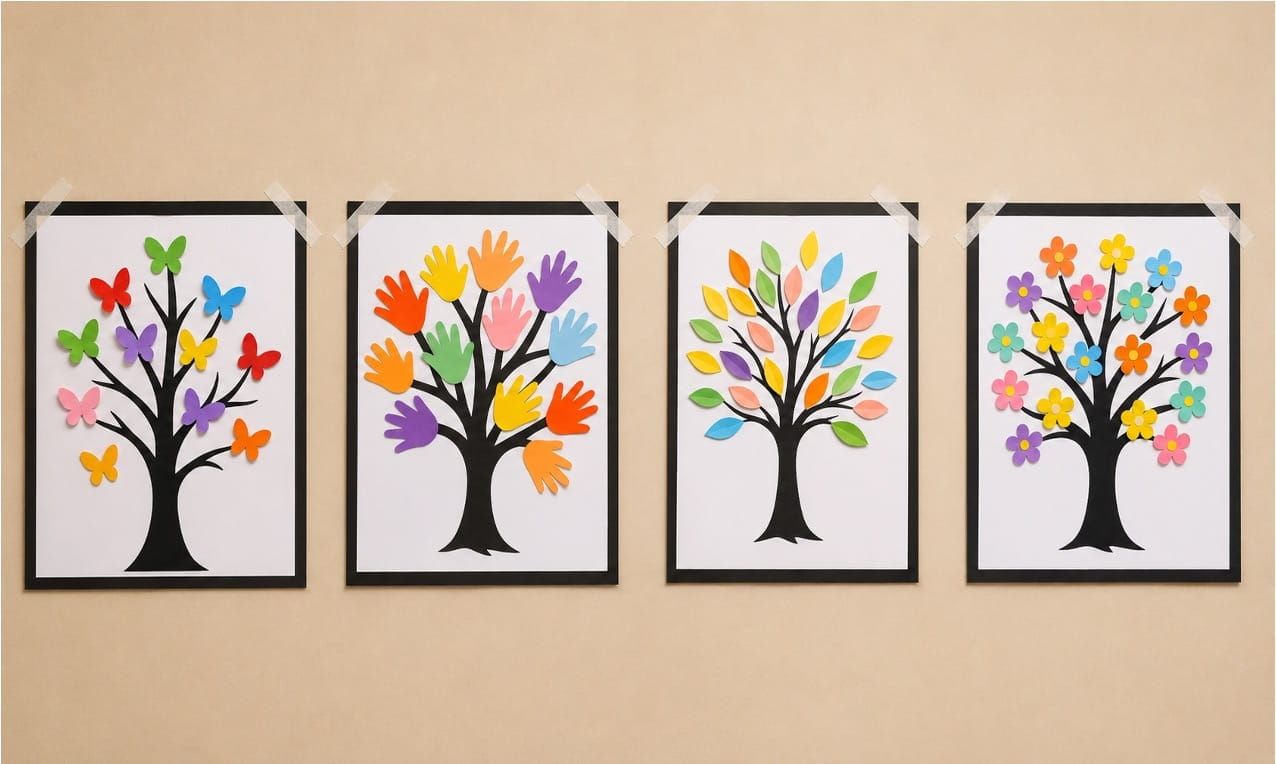
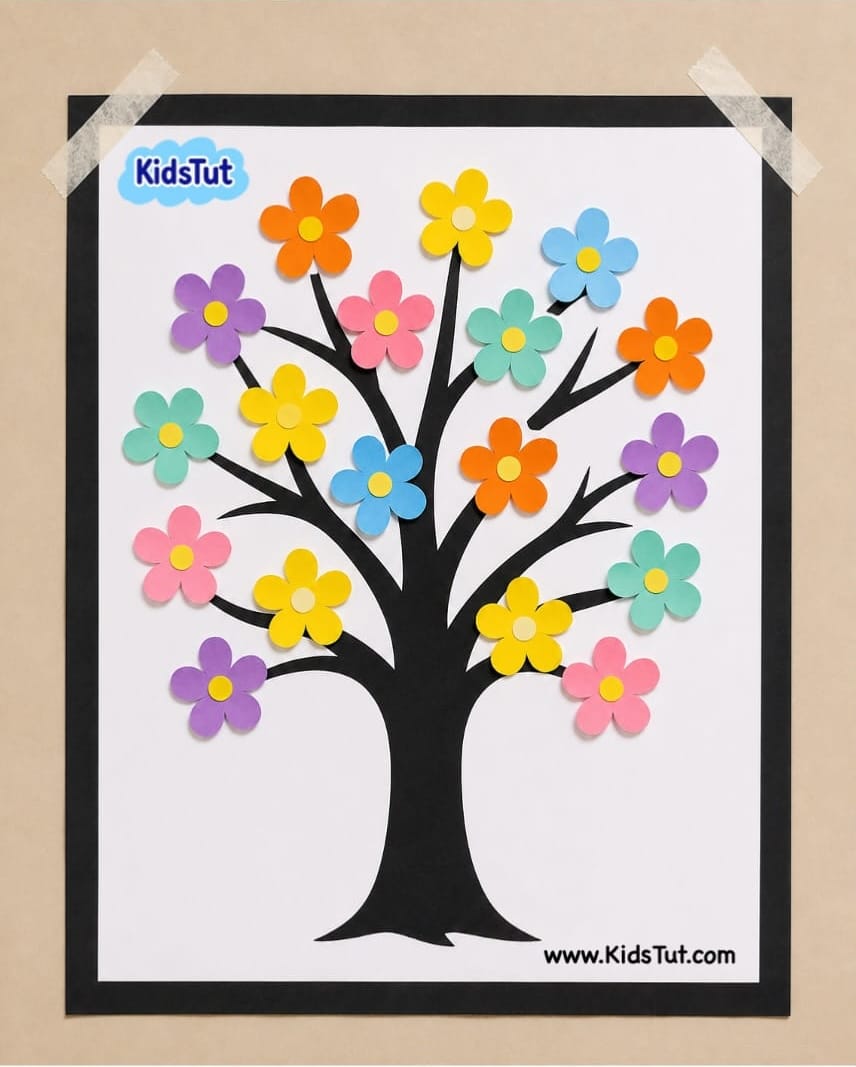
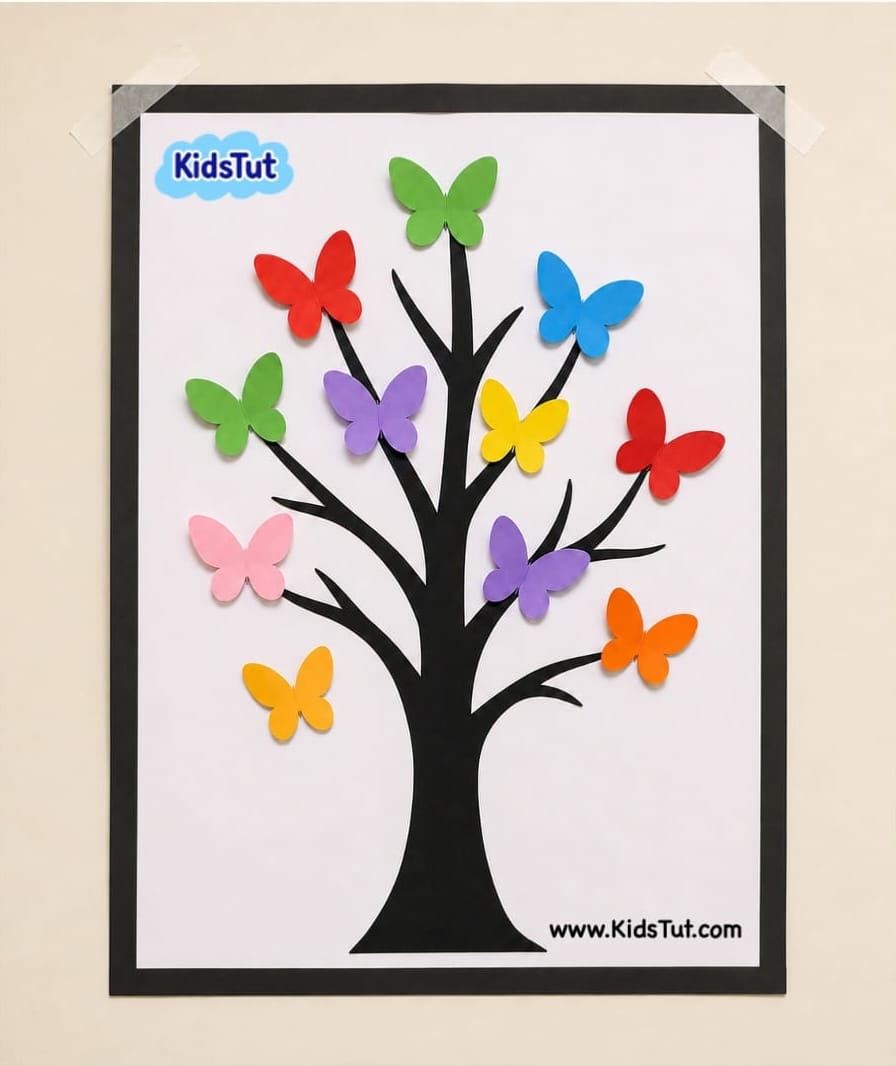
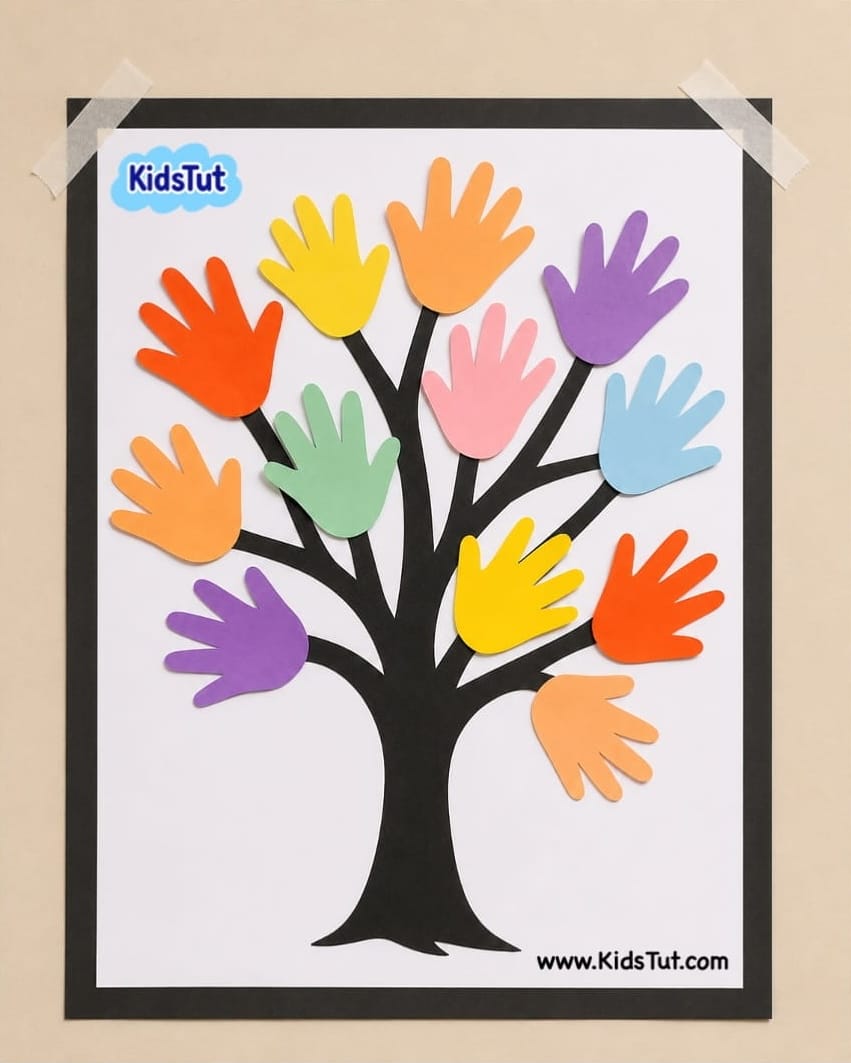
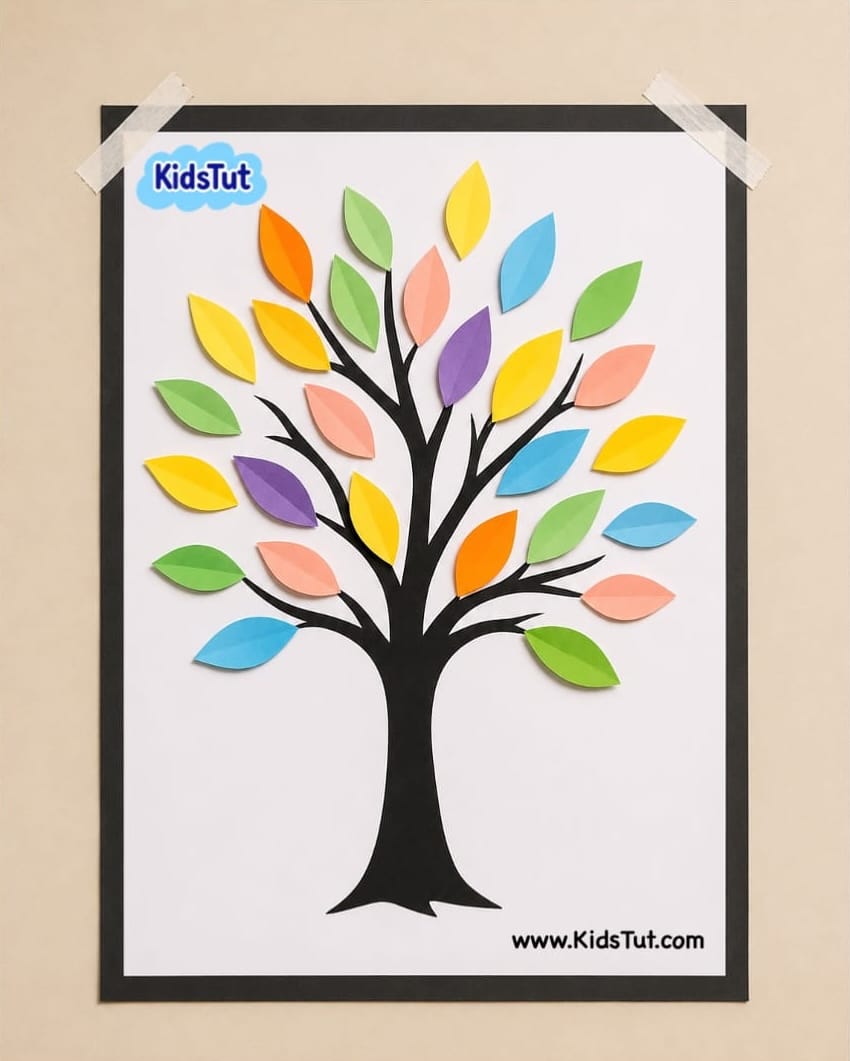
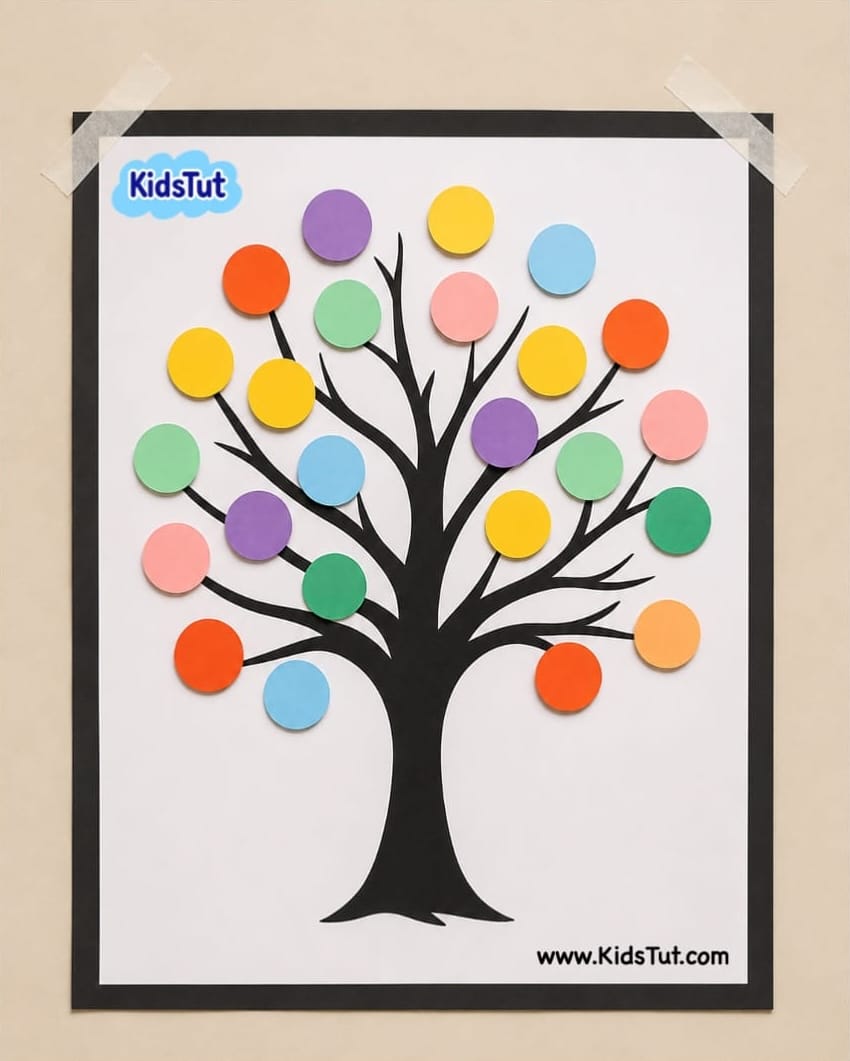
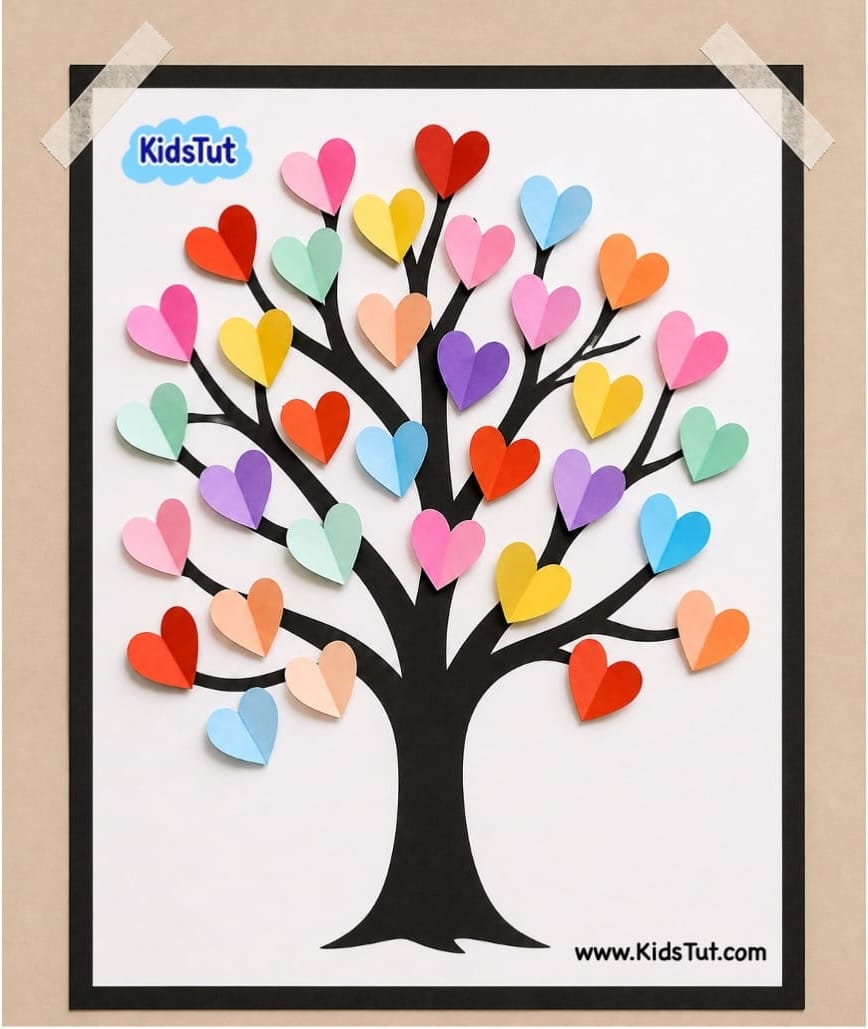
Trees are a symbol of life, growth, and creativity. This craft lets kids design their own colorful tree using butterflies, flowers, leaves, or hearts. It’s simple, fun, and makes a beautiful classroom or home decoration. Children will enjoy choosing their favorite shapes and colors to bring the tree to life.
What You Need:
- Printable tree silhouette (A3 size)
- Black paper strips (for border)
- Colored sheets (for butterflies, flowers, leaves, hearts)
- Scissors
- Glue
How to Make:
- Prepare the tree base:
- Print out the tree silhouette on a white A3 sheet.
- Cut black paper strips and paste them around the sheet as a border.
- Make colorful cutouts:
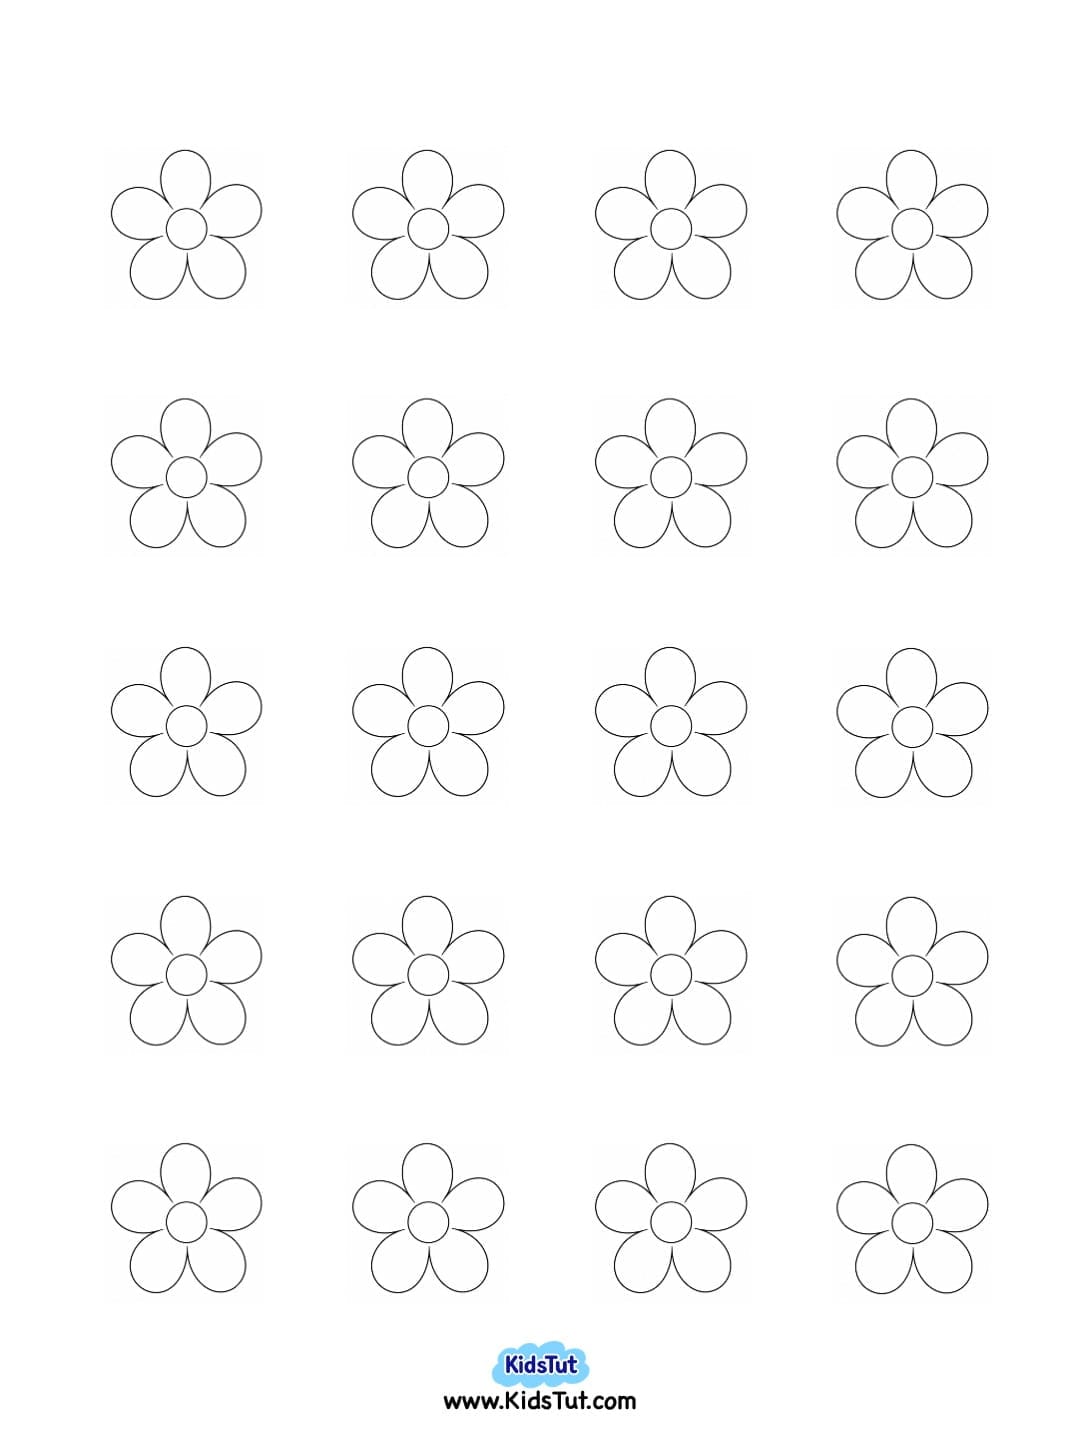
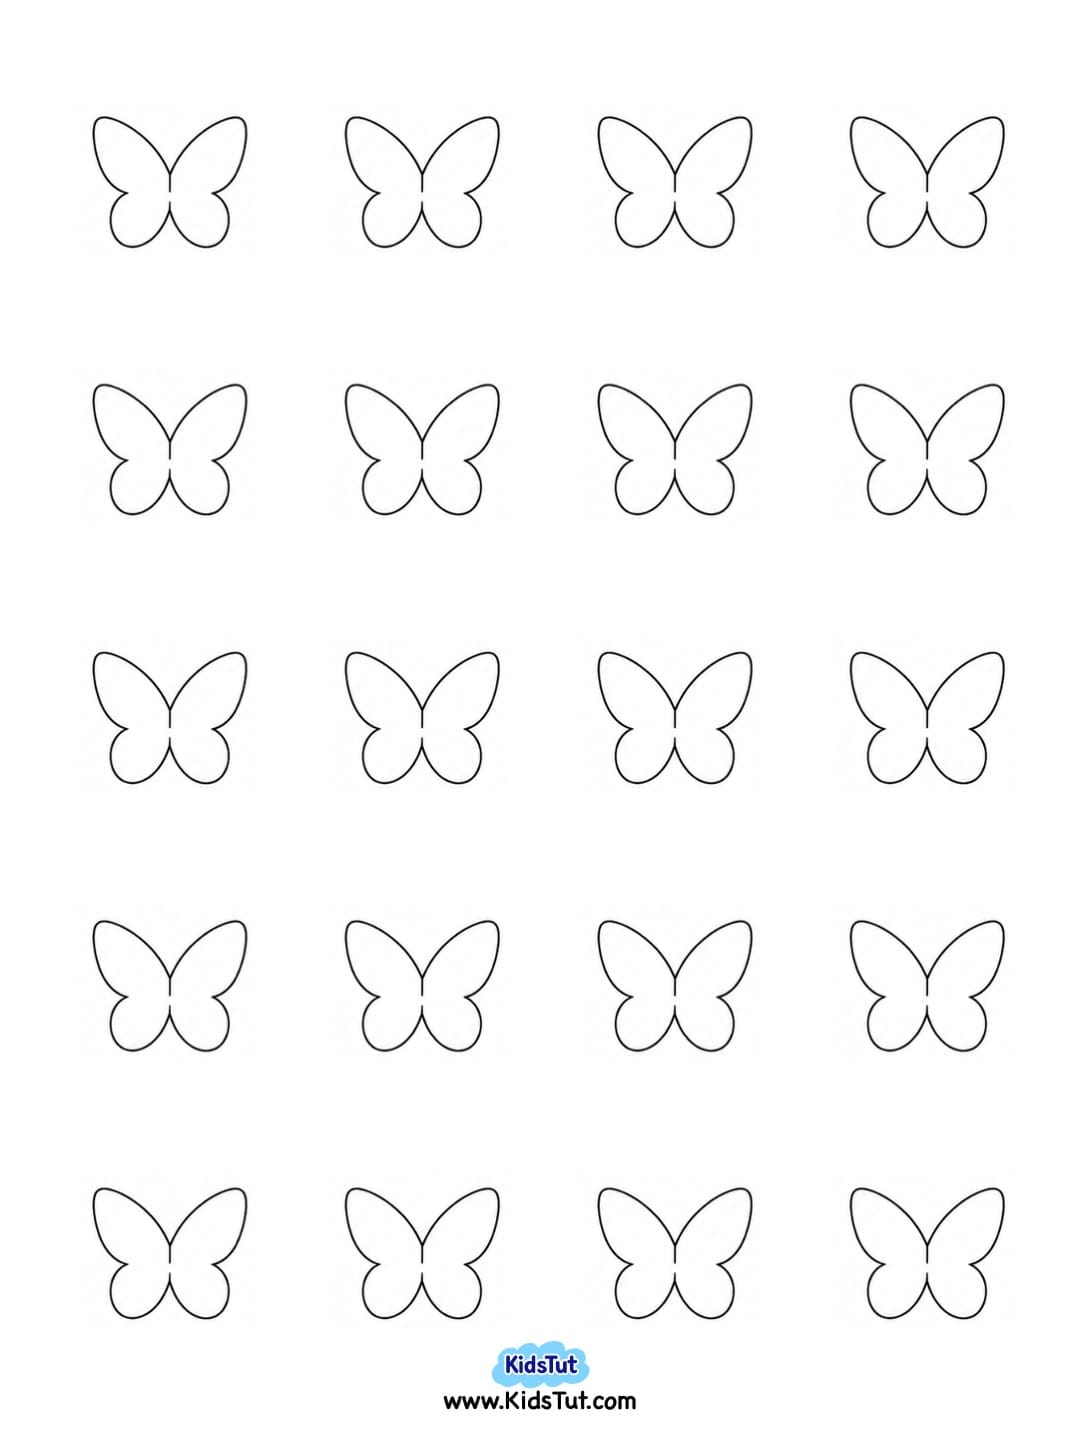
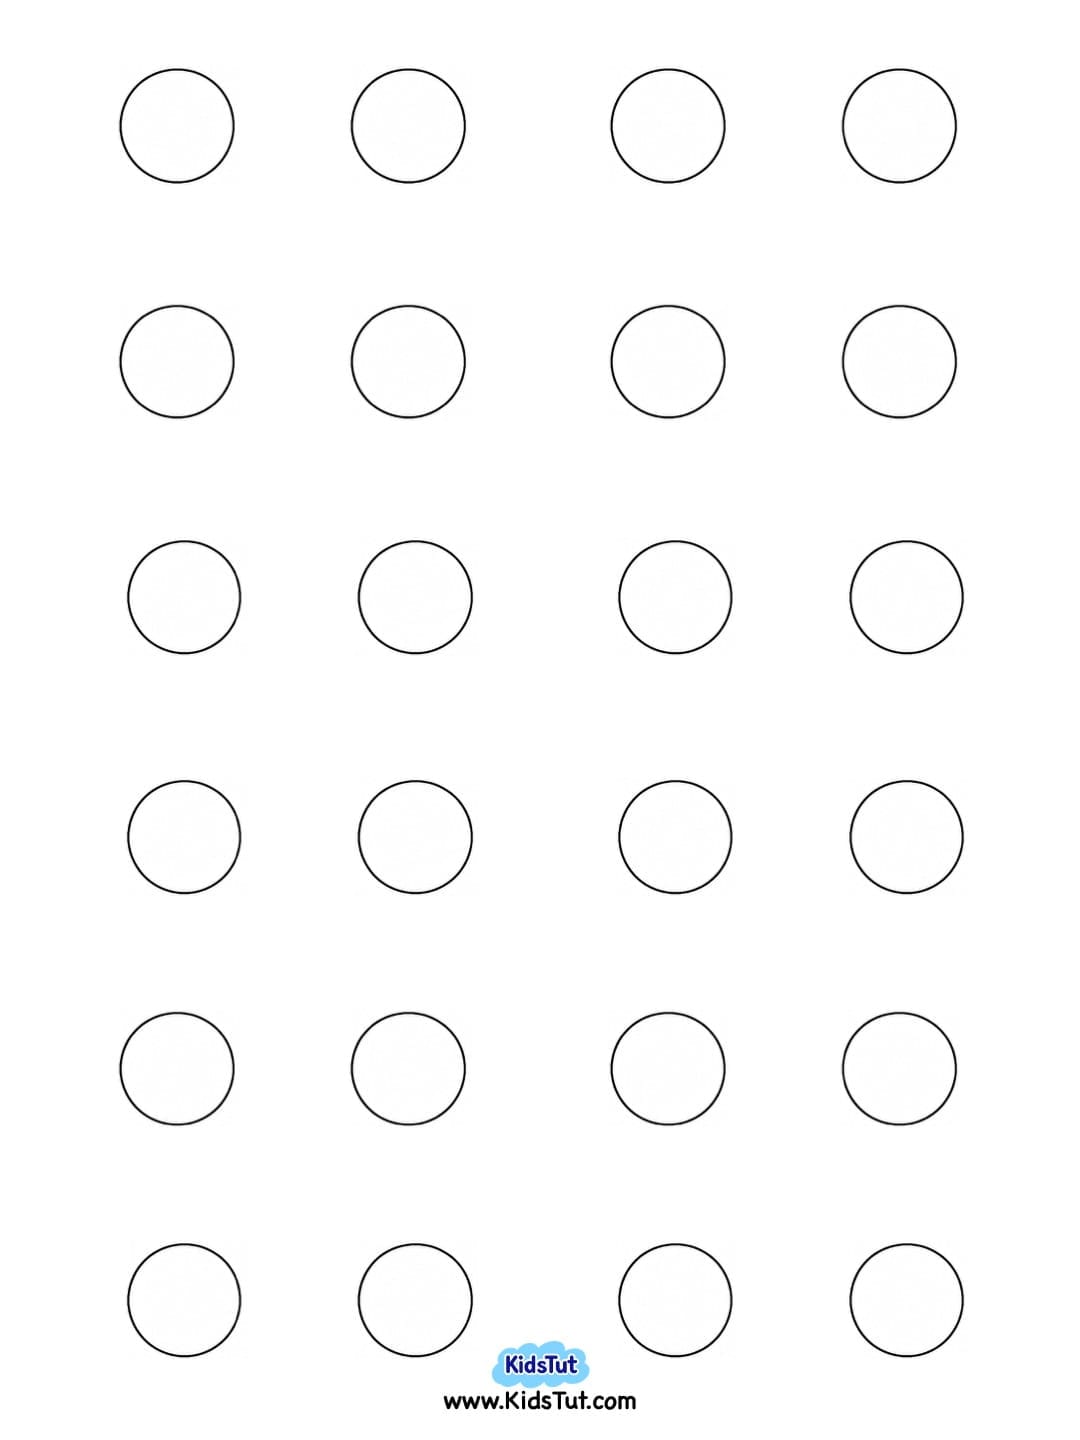
- Print shapes (butterflies, flowers, leaves, hearts) on colored sheets.
- Cut them out neatly.
- Decorate the tree:
- Paste the colorful cutouts onto the tree branches.
- Mix different shapes to make the tree bright and lively.
- Finish and display:
- Let the craft dry.
- Your colorful tree wall art is ready to display in the classroom or at home!
📌 Special Note:
For small kids, you can use stickers (dots, stars, or shapes), stencil painting, fingerprints, or simply draw patterns to decorate the tree instead of cutting out shapes. This makes the activity easier and still very colorful.
🌟 Benefits:
- Boosts creativity – Kids choose shapes and colors to design their tree.
- Improves motor skills – Cutting and pasting build hand coordination.
- Encourages imagination – Children create their own version of a “magic tree.”
- Bright classroom décor – Adds color and joy to walls.
- Supports teamwork – Perfect for group projects.
Templates:
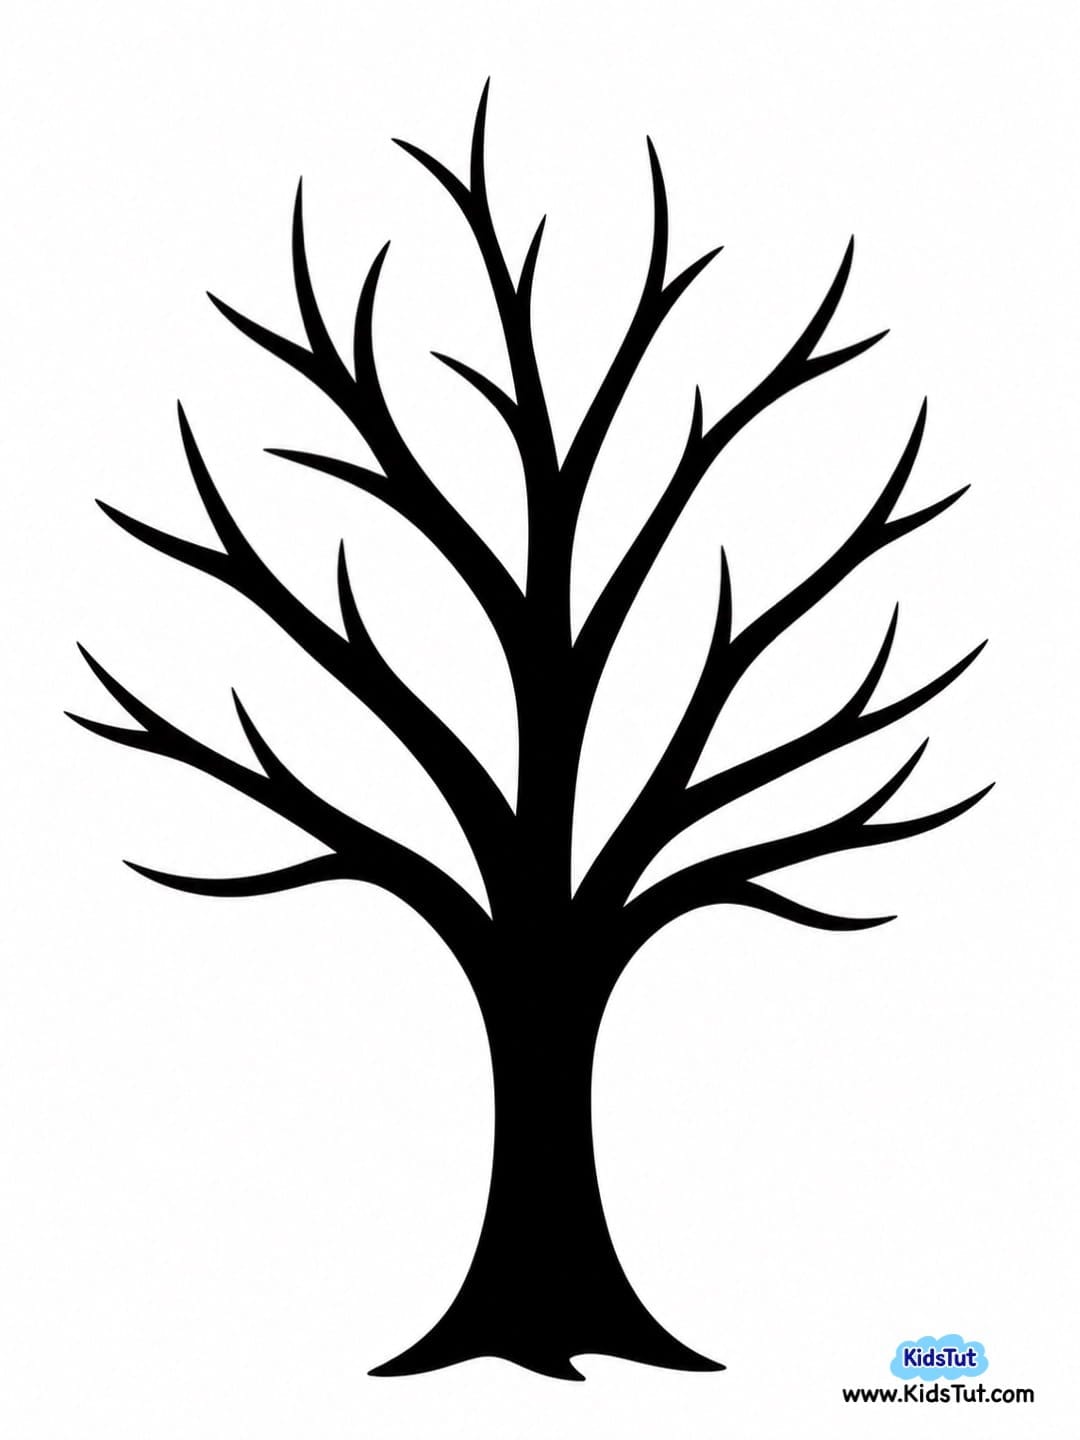
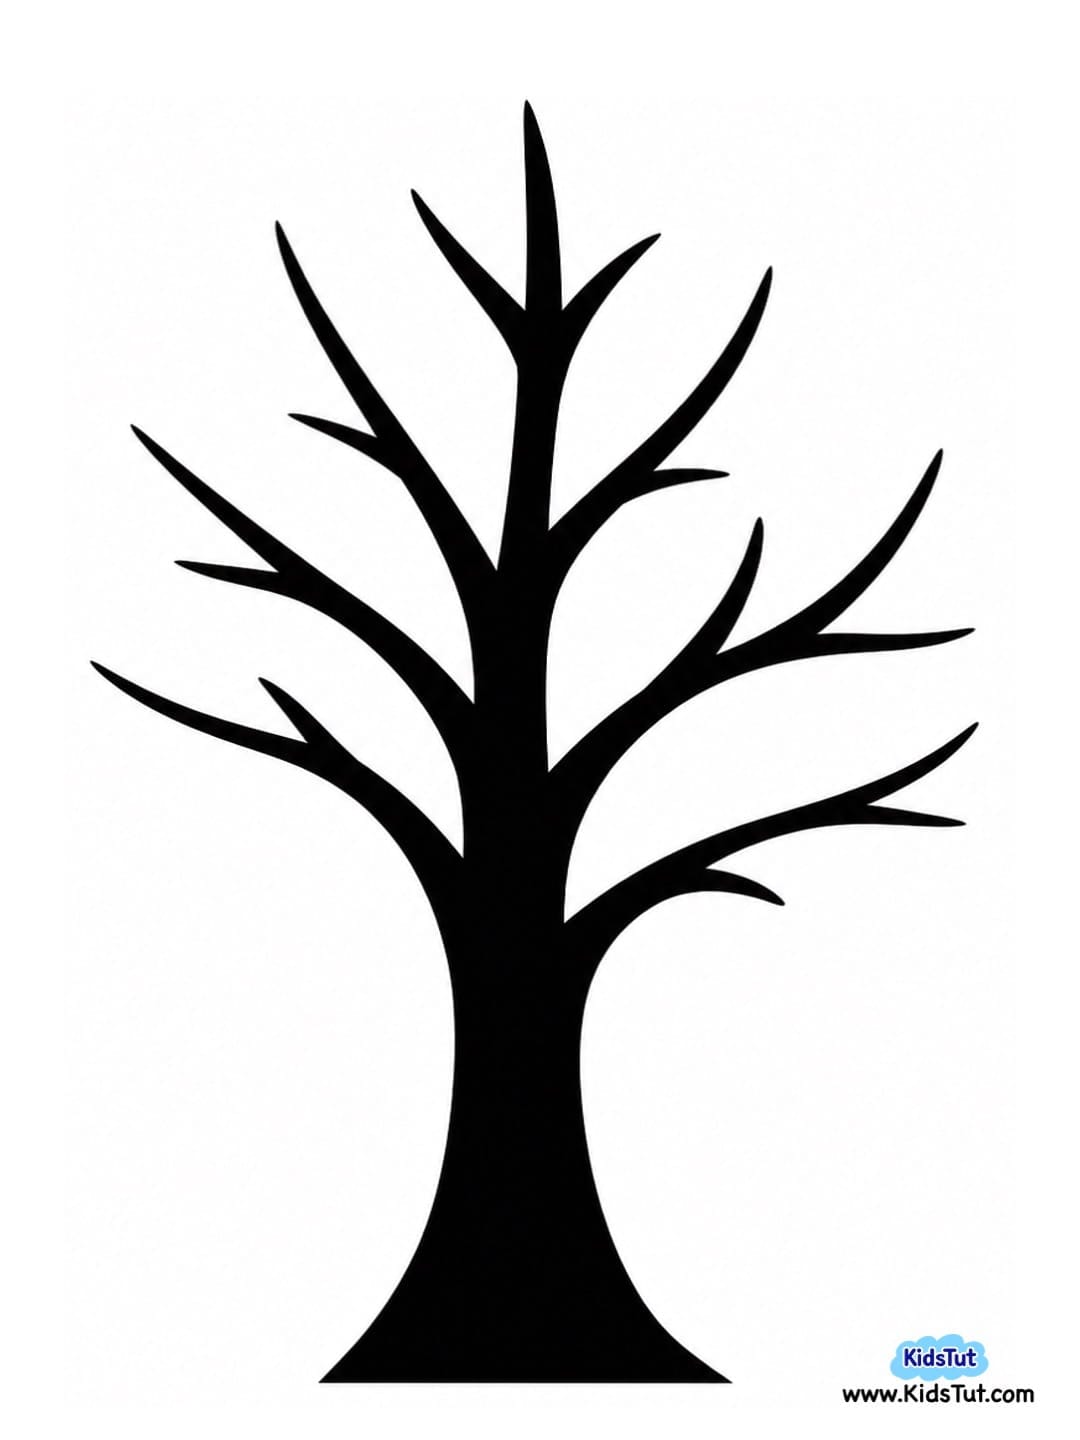
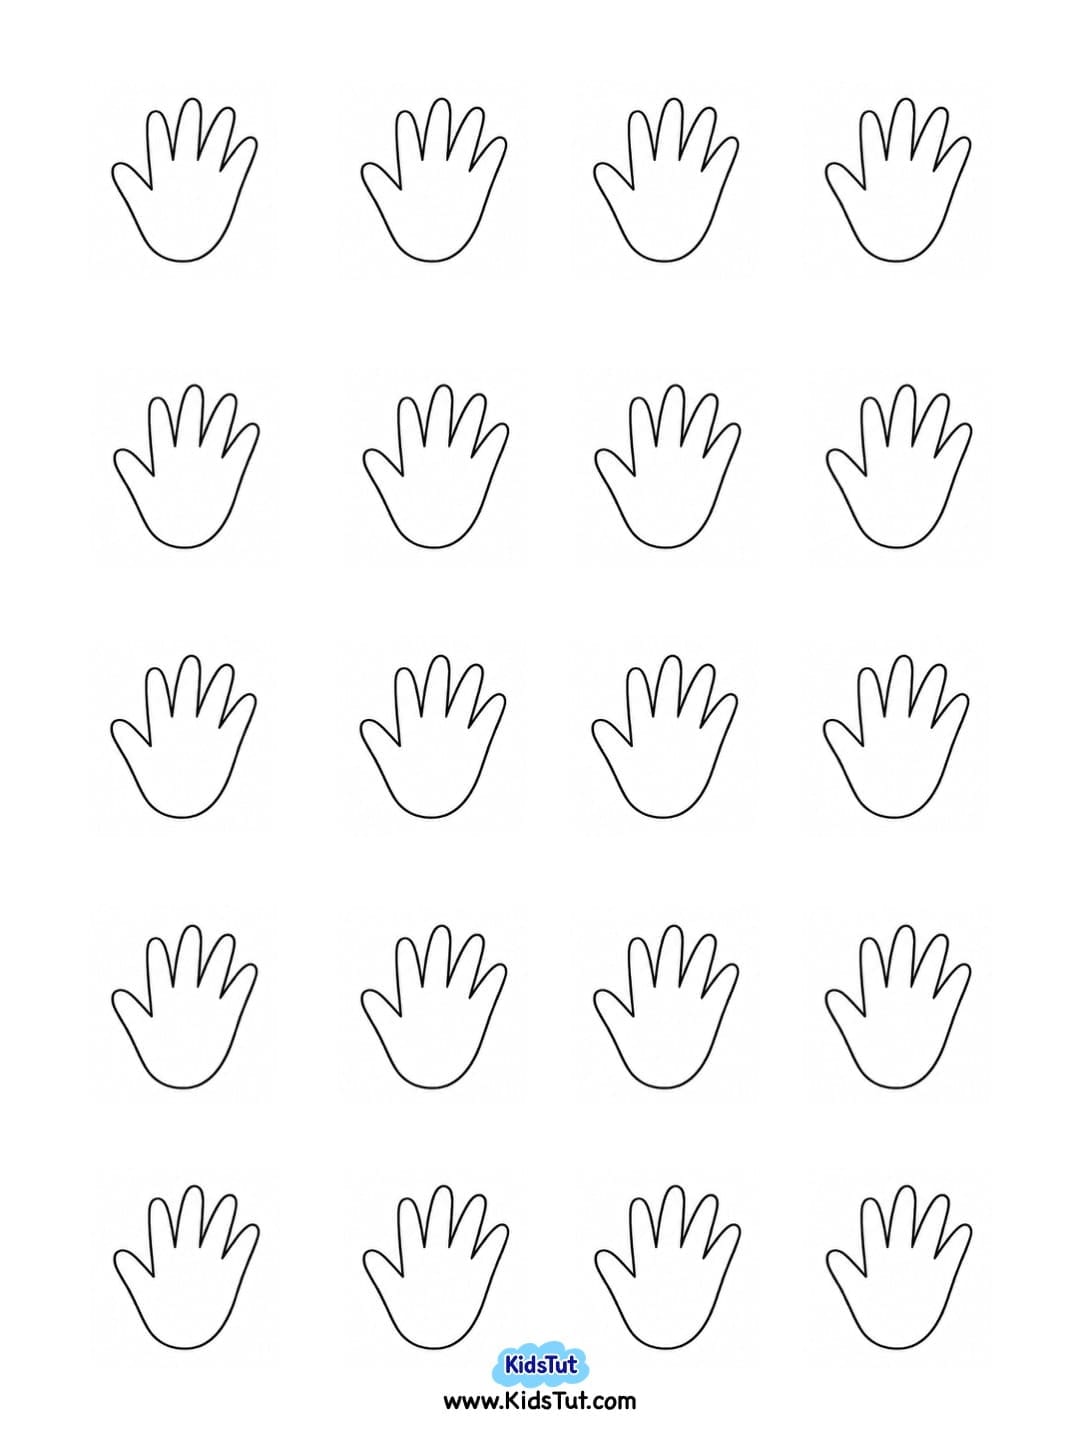
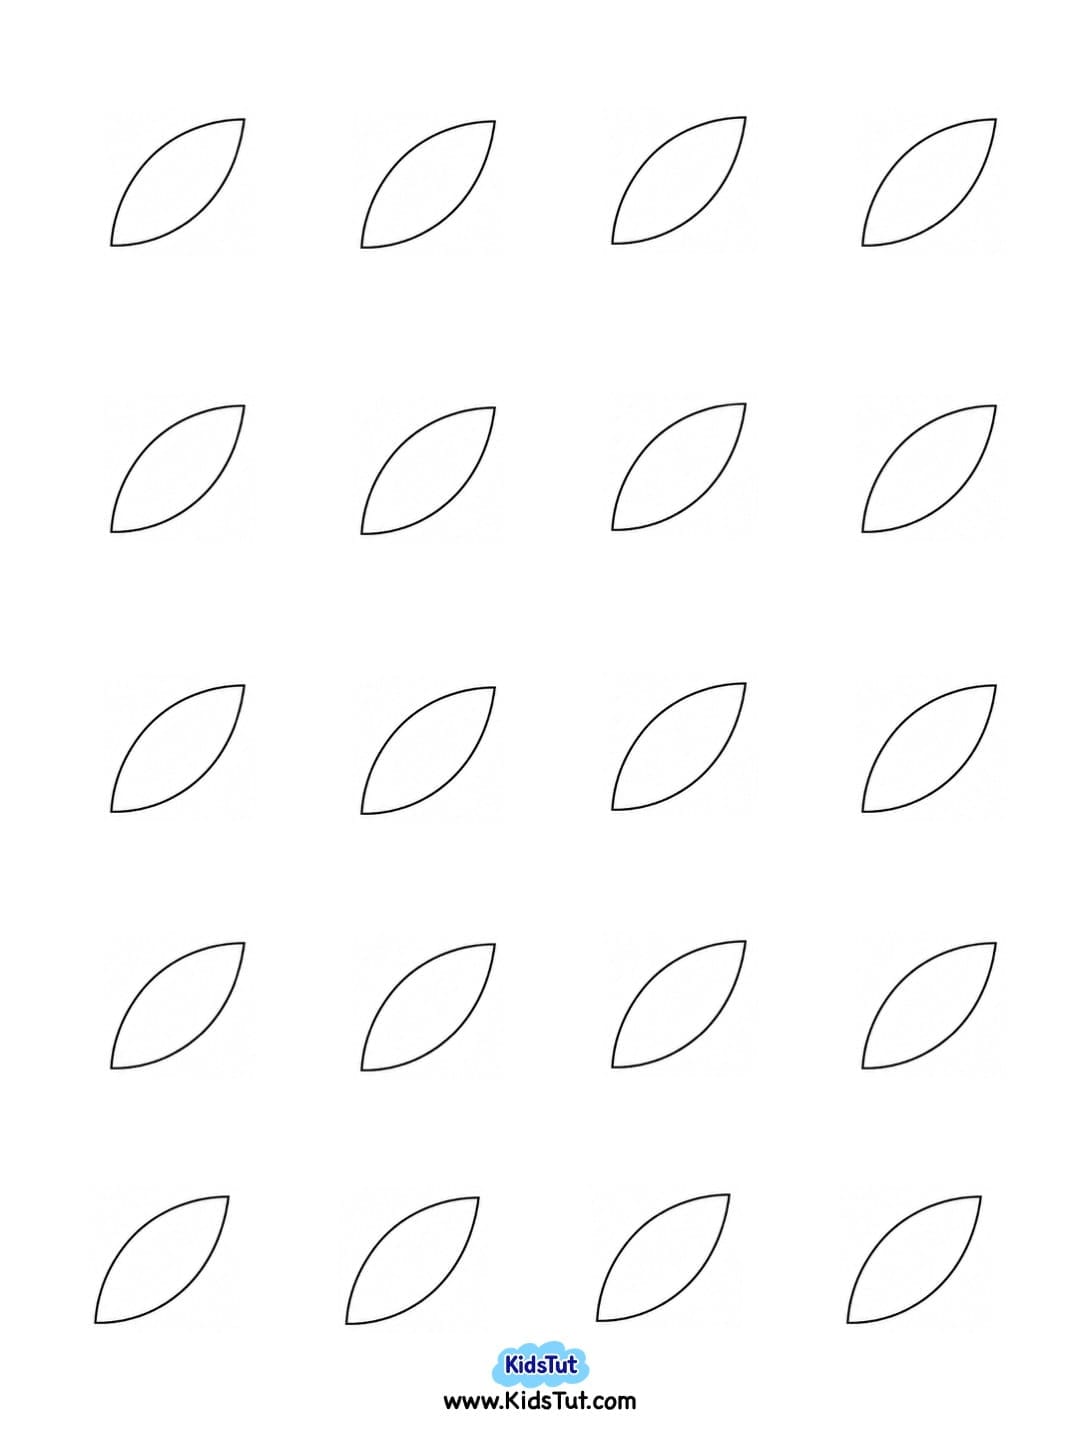


Click here to get the FREE PDF template: Download (Printable)