Easy Halloween Paper Garland Craft for Kids to Make
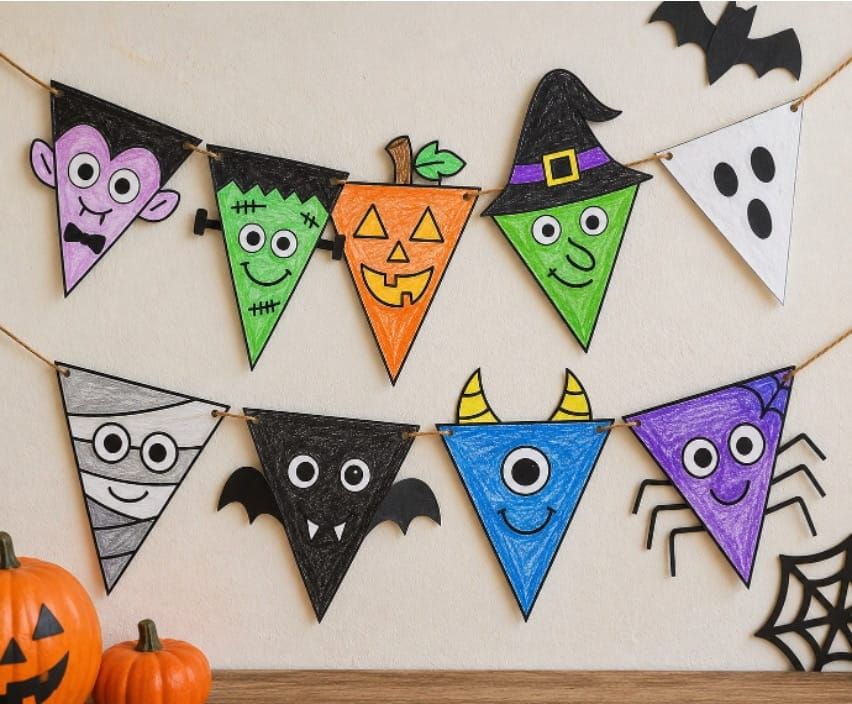
Get ready to decorate your classroom or home with this Easy Halloween Paper Garland Craft for kids. This colorful Halloween activity lets children enjoy coloring, cutting, and creating their own handmade decorations.
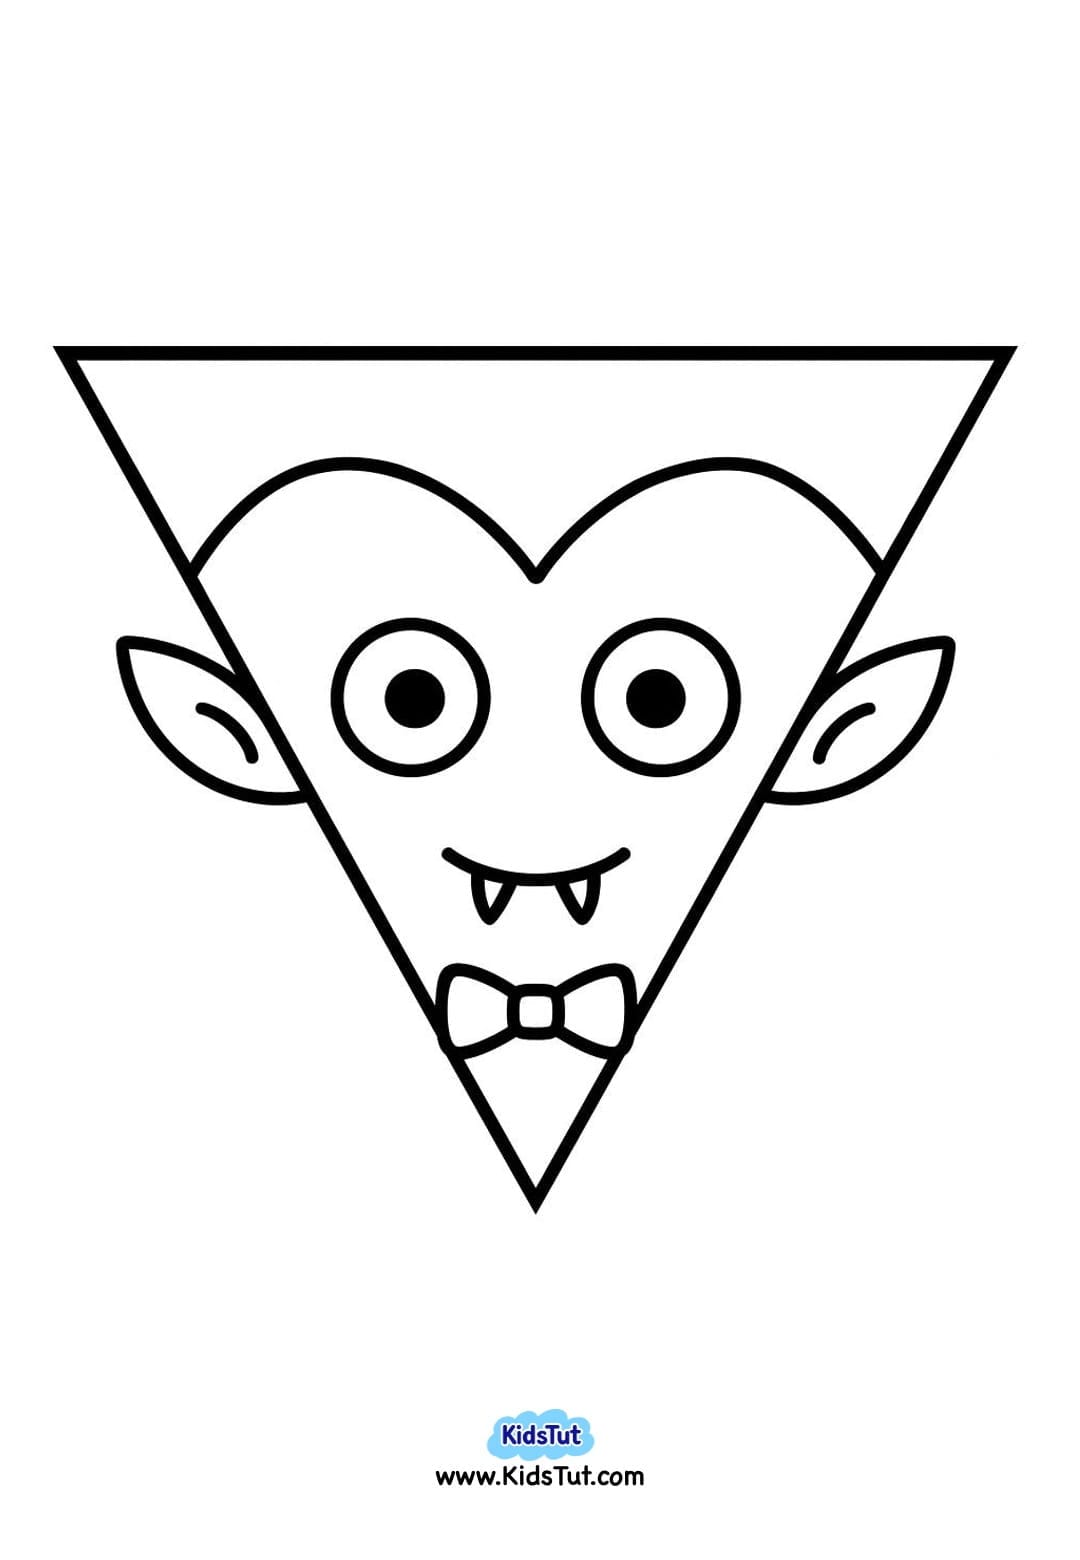
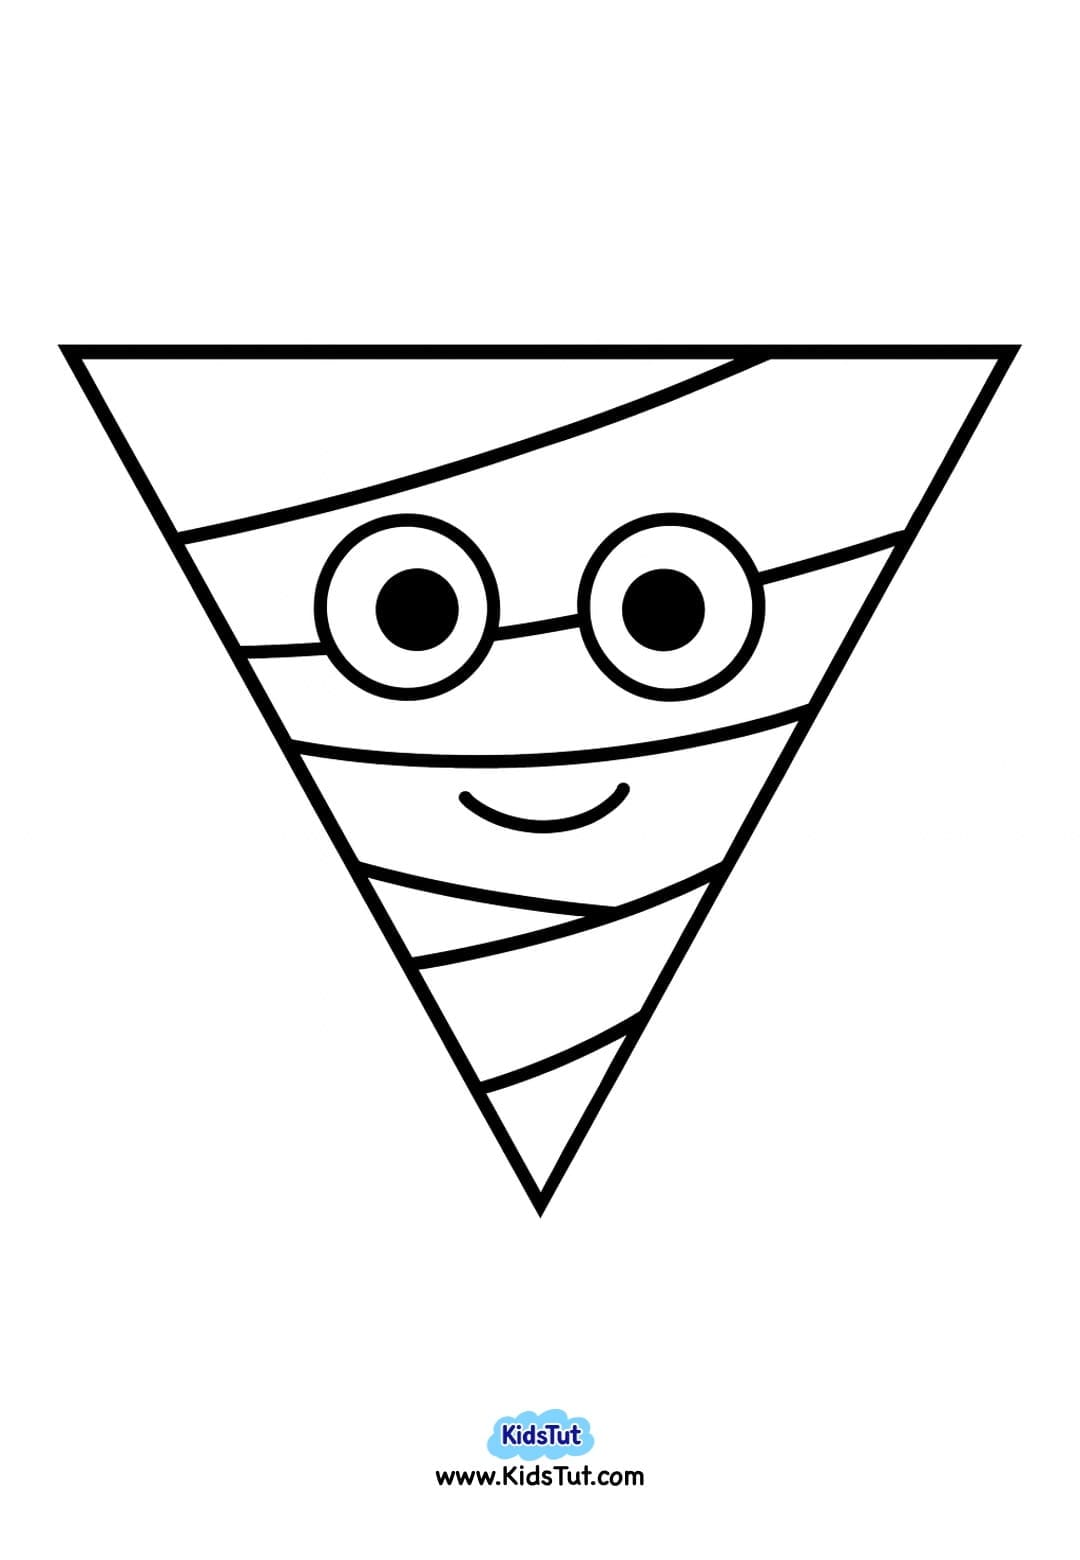
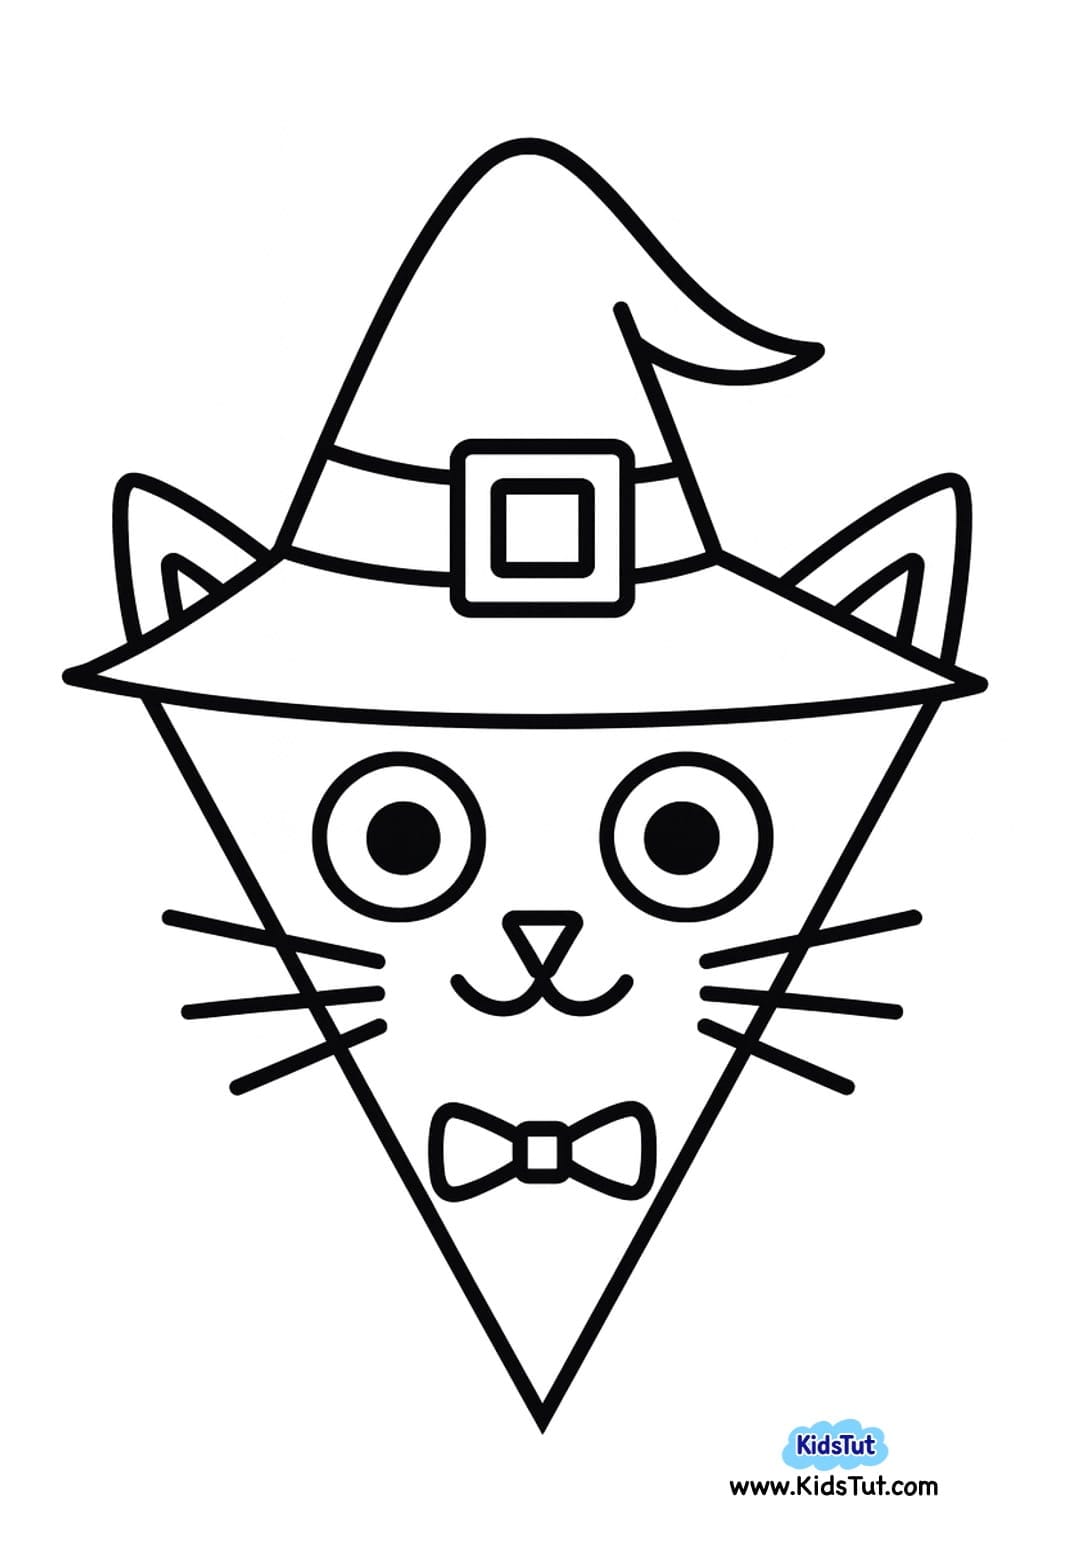
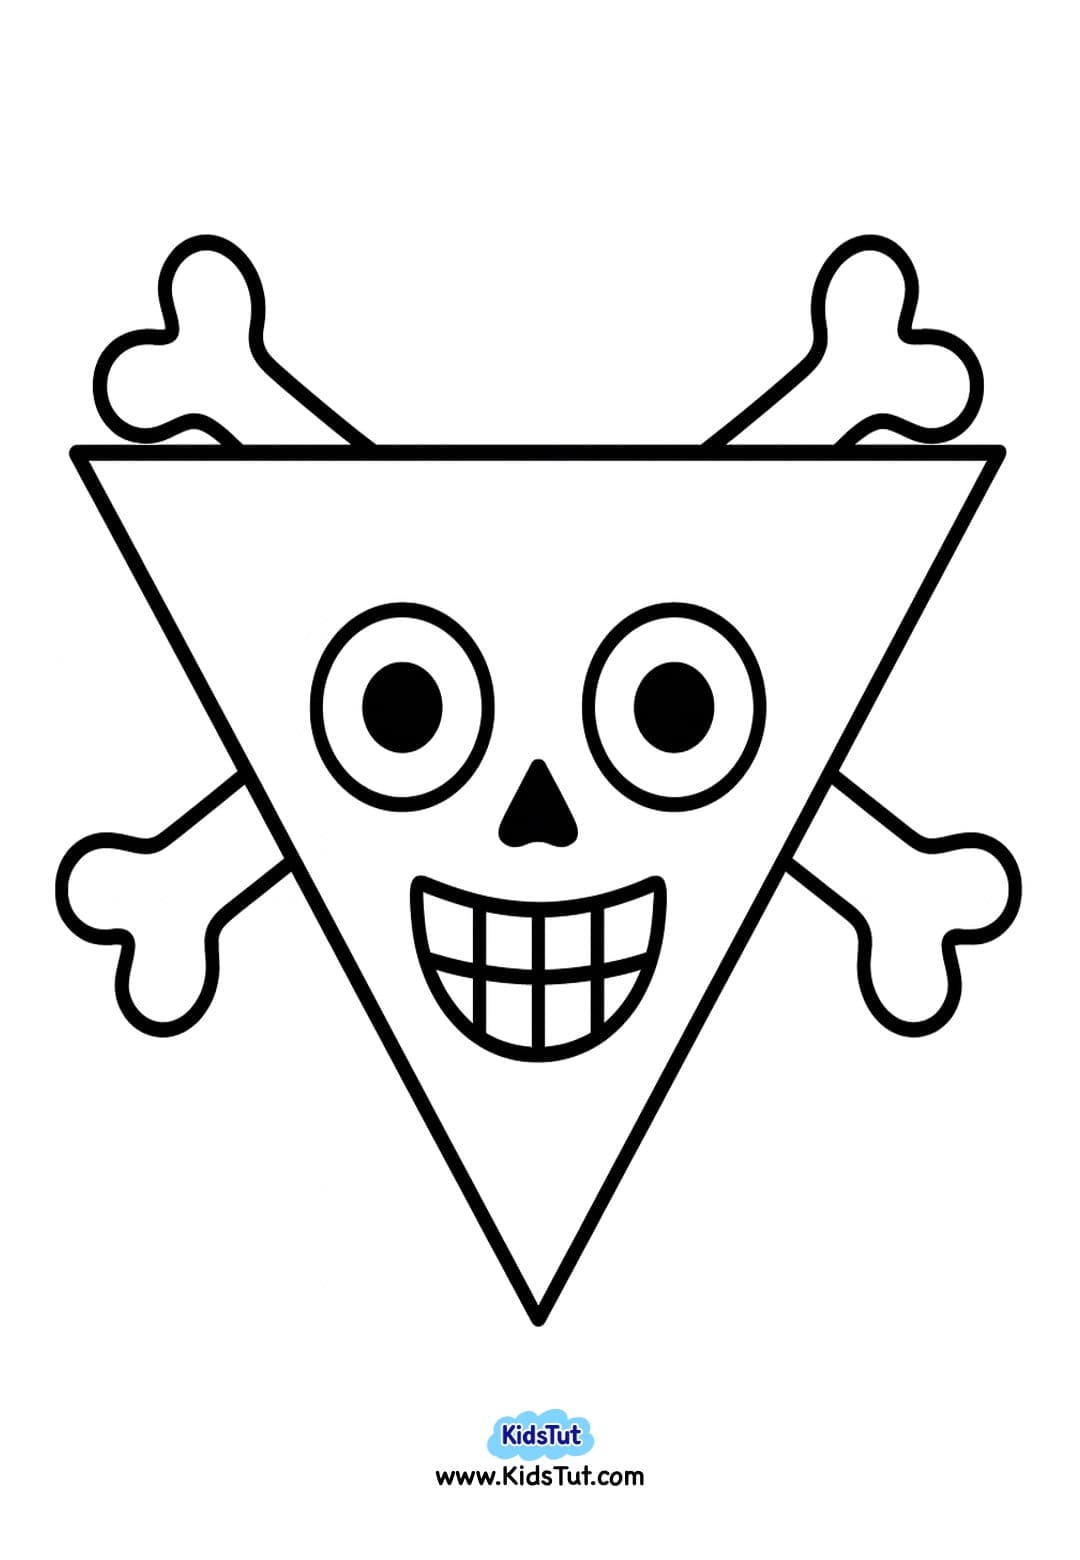
The printable Halloween banner templates include fun characters such as ghosts, pumpkins, witches, monsters, bats, spiders, mummies, and more. Kids can color each banner with their favorite Halloween colors and then connect them with yarn or string to create a long garland.
This Halloween paper garland craft for kids is perfect for preschool, kindergarten, elementary school, homeschool, Halloween parties, or classroom decorating. You can make one long garland or several smaller ones to hang around your Halloween display.
What You Need
- Printable Halloween banner templates
- White printer paper
- Colored paper (optional)
- Crayons
- Oil pastels
- Colored pencils or markers
- Scissors
- Glue
- Hole punch
- Yarn, thin rope, ribbon, or string
- Craft board, bristol board, or cardboard (optional)
How to Make a Halloween Paper Garland
1. Print the Halloween Banner Templates
- Choose your favorite Halloween character banner templates and print them onto white sheets of paper.
- You can also print the templates directly onto colored paper if you want an easy way to add color to the banners.
2. Color the Halloween Banners
- If you printed the templates on white paper, color each Halloween character using crayons, oil pastels, colored pencils, or markers.
- Try classic Halloween colors such as orange, purple, green, black, yellow, and white, or let children choose their own colorful combinations.
- Coloring the white printable templates is a fun option because children can make every Halloween character look different.
3. Cut Out the Banners
- Once the coloring is finished, carefully cut along the outside outline of each triangular banner to separate it from the sheet.
- Continue until you have prepared all the Halloween characters you want to include in your garland.
4. Make the Banners Stronger
- This step is optional, but it is helpful if you want to make a stronger and more durable Halloween garland.
- Glue each finished paper banner onto craft board, bristol board, or thin cardboard.
- Keep them aside and let the glue dry completely. Then, carefully cut away the extra board around each banner, following its outside shape.
5. Punch the Holes
- Use a hole punch to make two small holes near the top corners of each banner.
- Try to place the holes in similar positions on every banner so they hang evenly.
6. Prepare the Garland
- Cut a long piece of yarn, thin rope, ribbon, or string.
- Make it long enough to hold all your Halloween banners, with some extra length at both ends for hanging.
7. Attach the Halloween Banners
- Thread the yarn or string through the holes in each banner.
- Add the characters one at a time and gently move them along the string. Leave a small, even space between each banner.
- You can arrange the Halloween characters in any order you like. Mix pumpkins, ghosts, monsters, witches, bats, spiders, and other designs to make a fun and colorful display.
8. Hang and Display
- Once all the banners are attached, your Halloween paper garland is ready to display.
- Hang it across a classroom wall, bulletin board, door, window, party area, or Halloween display. You can also make several garlands and hang them together for a bigger Halloween decoration.
Benefits of This Halloween Garland Craft for Kids
- Develops cutting skills – Cutting around the banner shapes gives children practice using scissors.
- Strengthens fine motor skills – Coloring, cutting, punching holes, and threading yarn exercise little hands and fingers.
- Improves hand-eye coordination – Kids carefully color, cut, and thread each banner onto the string.
- Encourages creativity – Children can choose their own colors and arrange the Halloween characters however they like.
- Builds color recognition – Kids can explore Halloween colors such as orange, purple, green, yellow, black, and white.
- Practices simple threading skills – Putting yarn through the punched holes is a fun hands-on activity.
- Introduces Halloween characters – Children can have fun with familiar Halloween pictures such as ghosts, pumpkins, witches, bats, monsters, and spiders.
- Creates a handmade decoration – Kids can proudly display their finished garland at home or in the classroom.
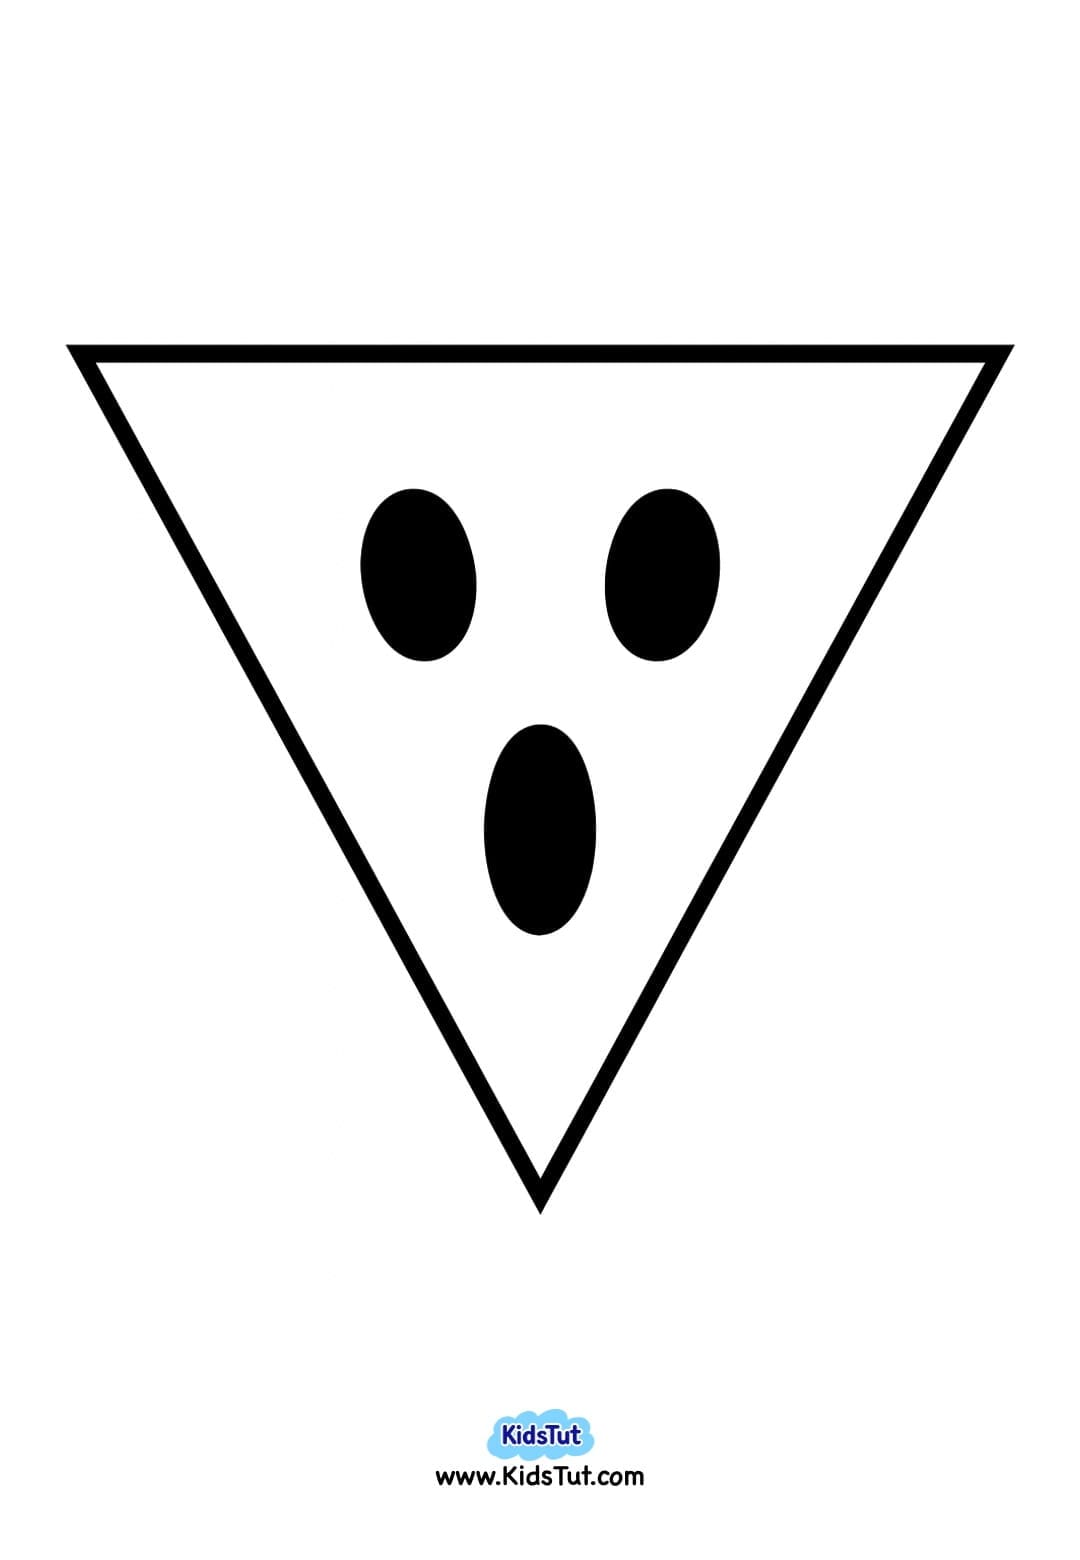
Ghost Banner Template:
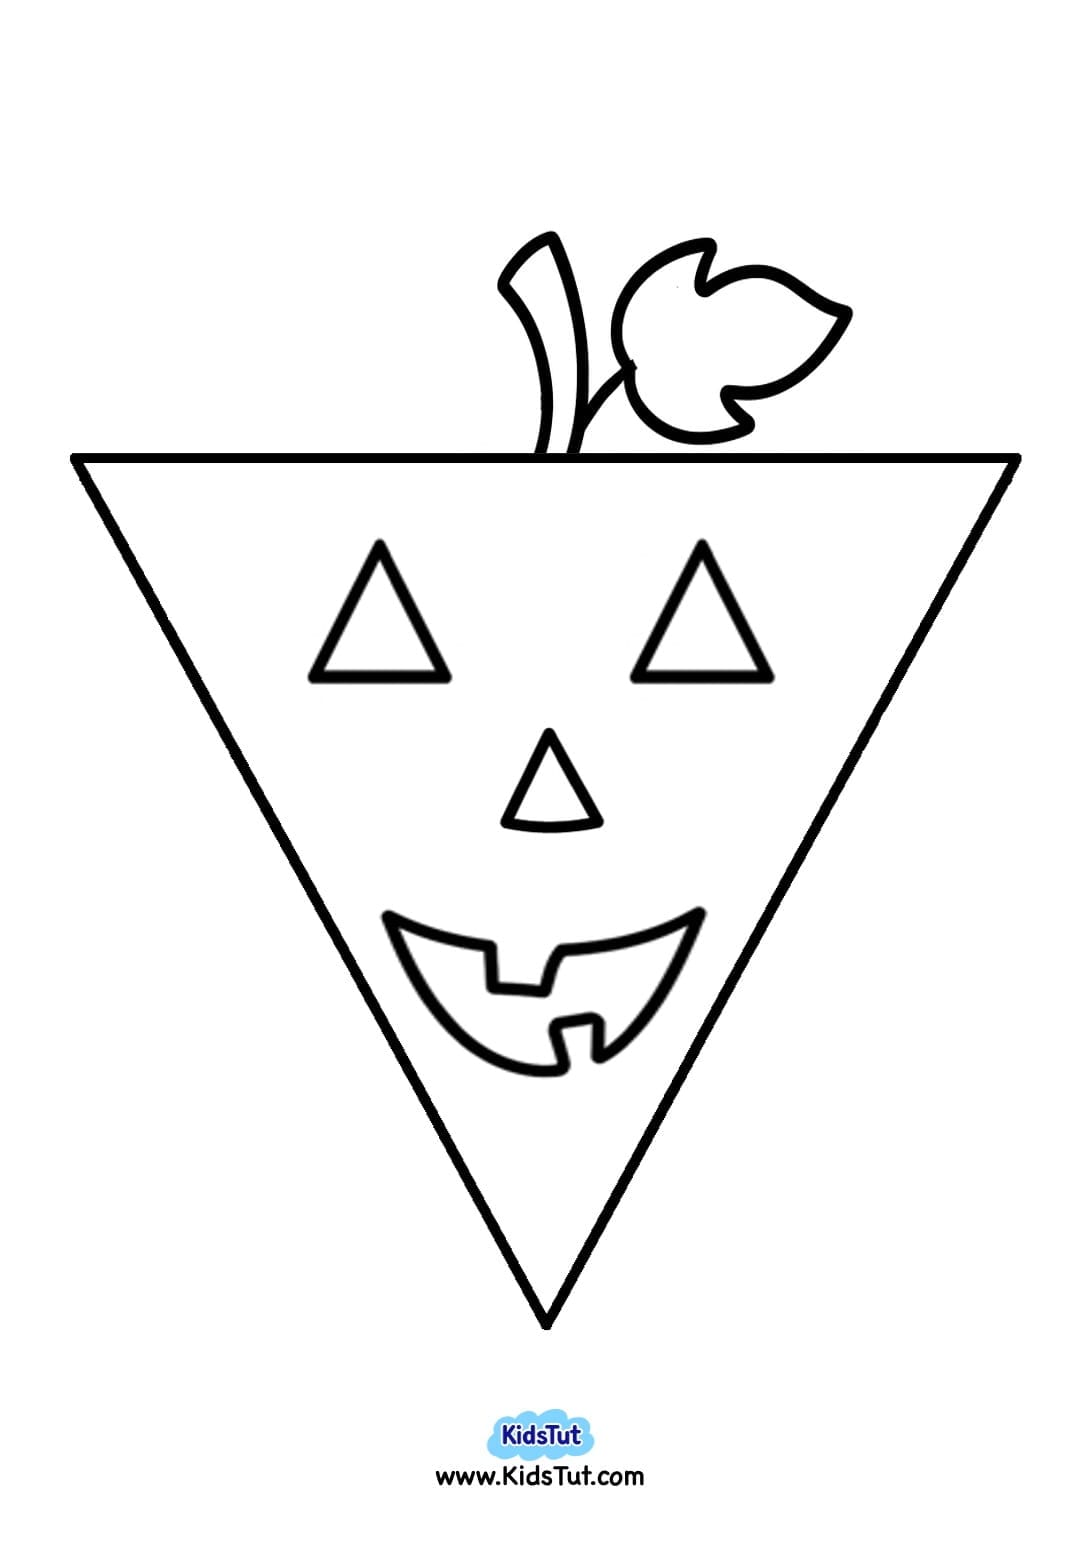
Pumpkin Banner Template:
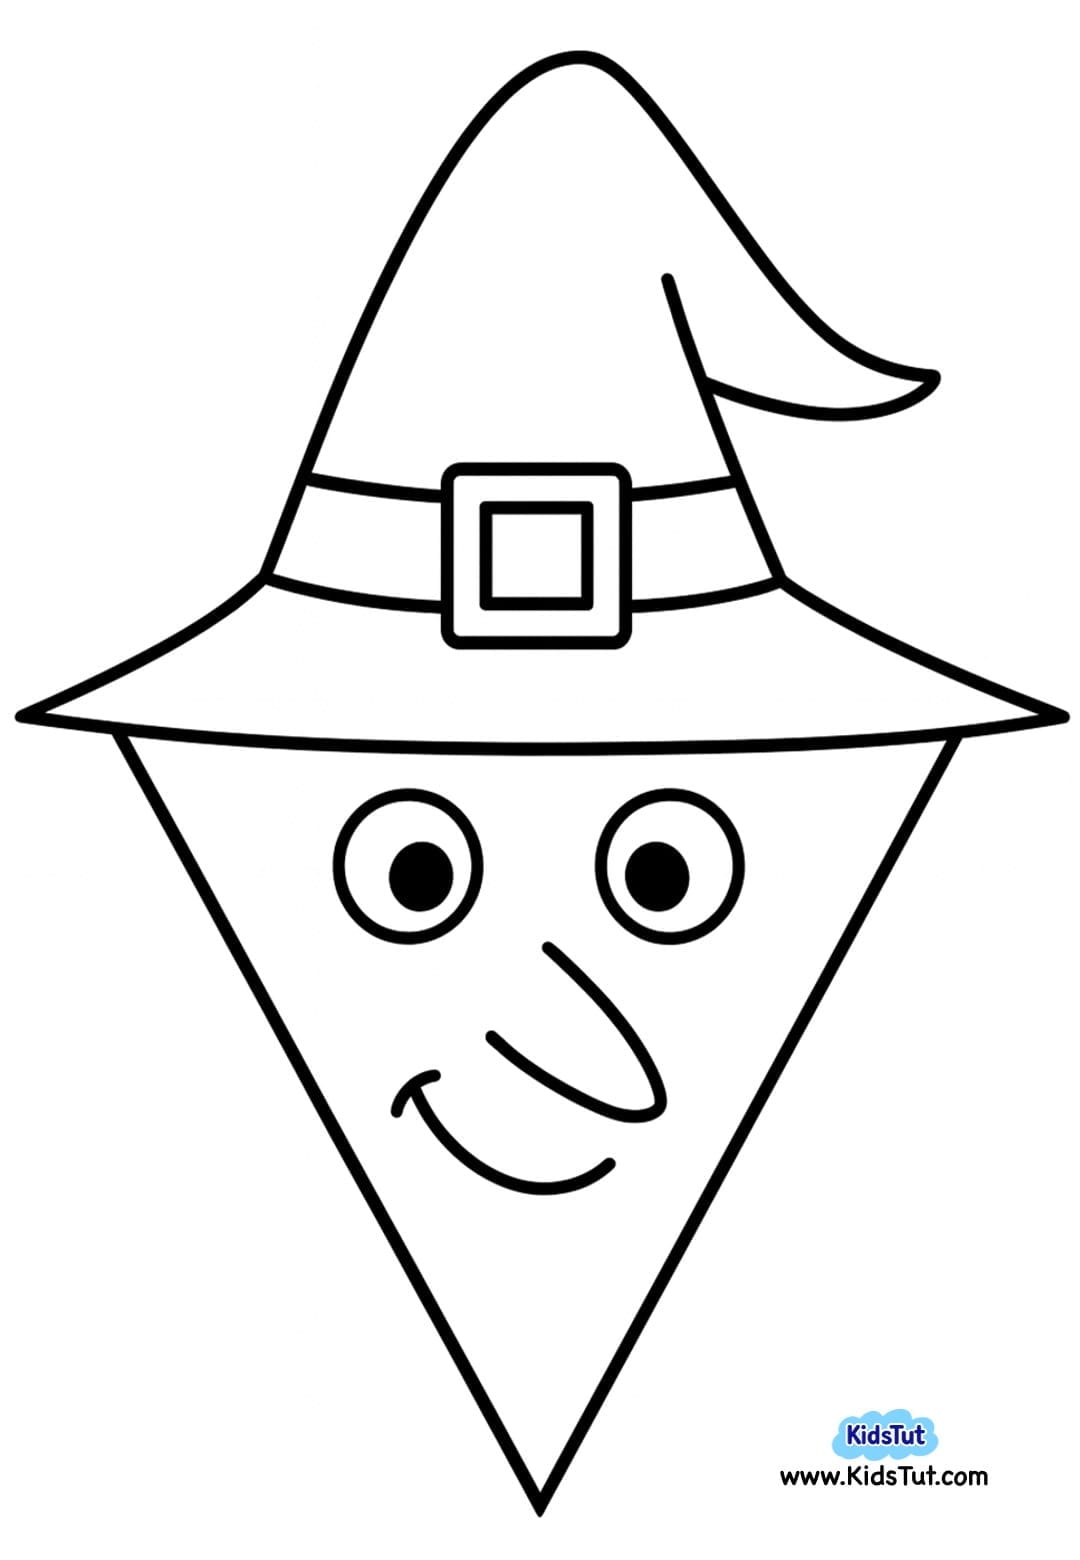
Witch Banner Template:
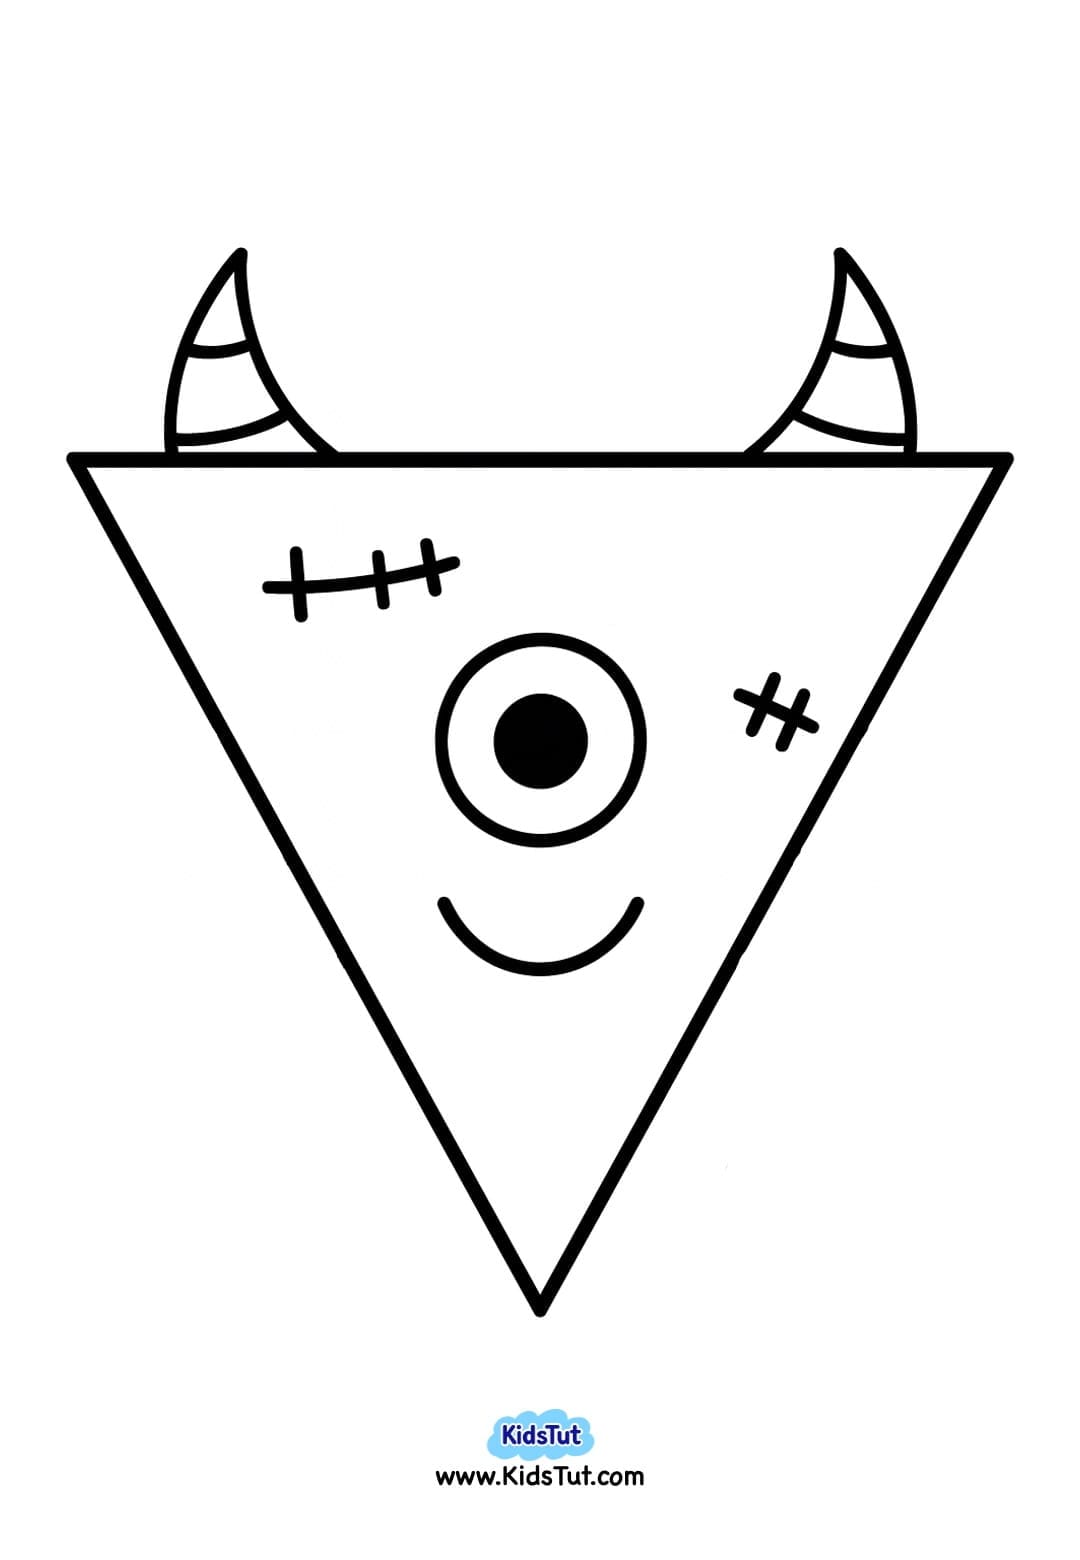
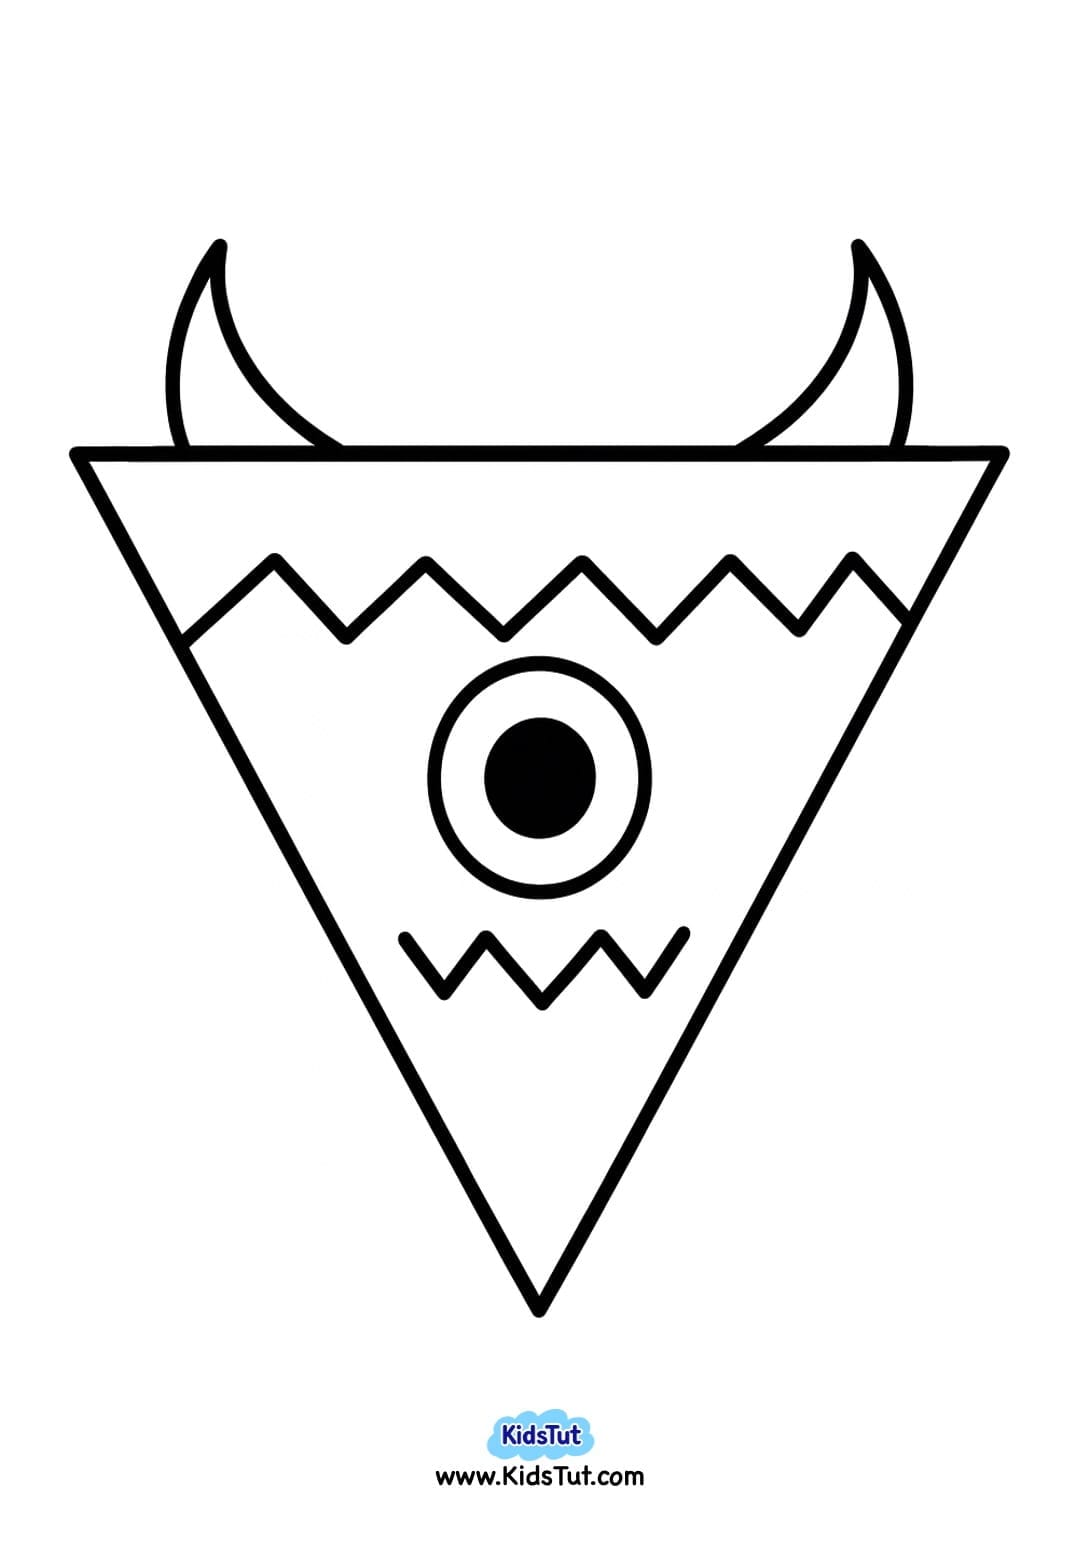
Monsters Banner Template:
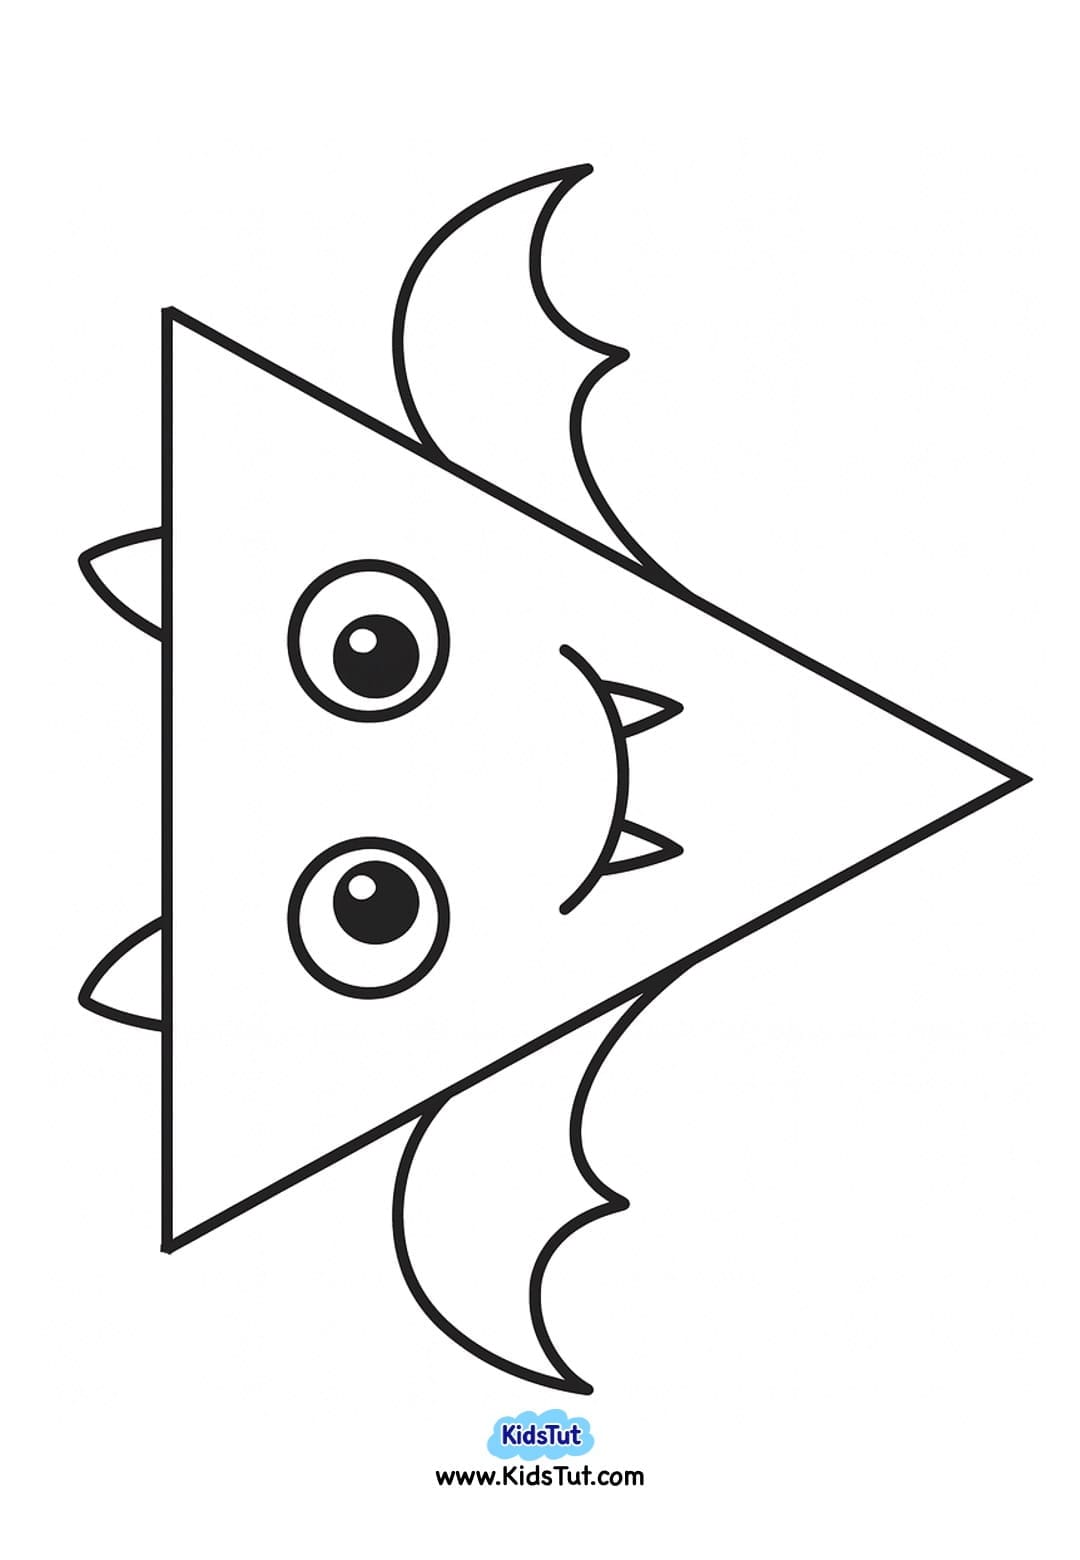
Bat Banner Template:
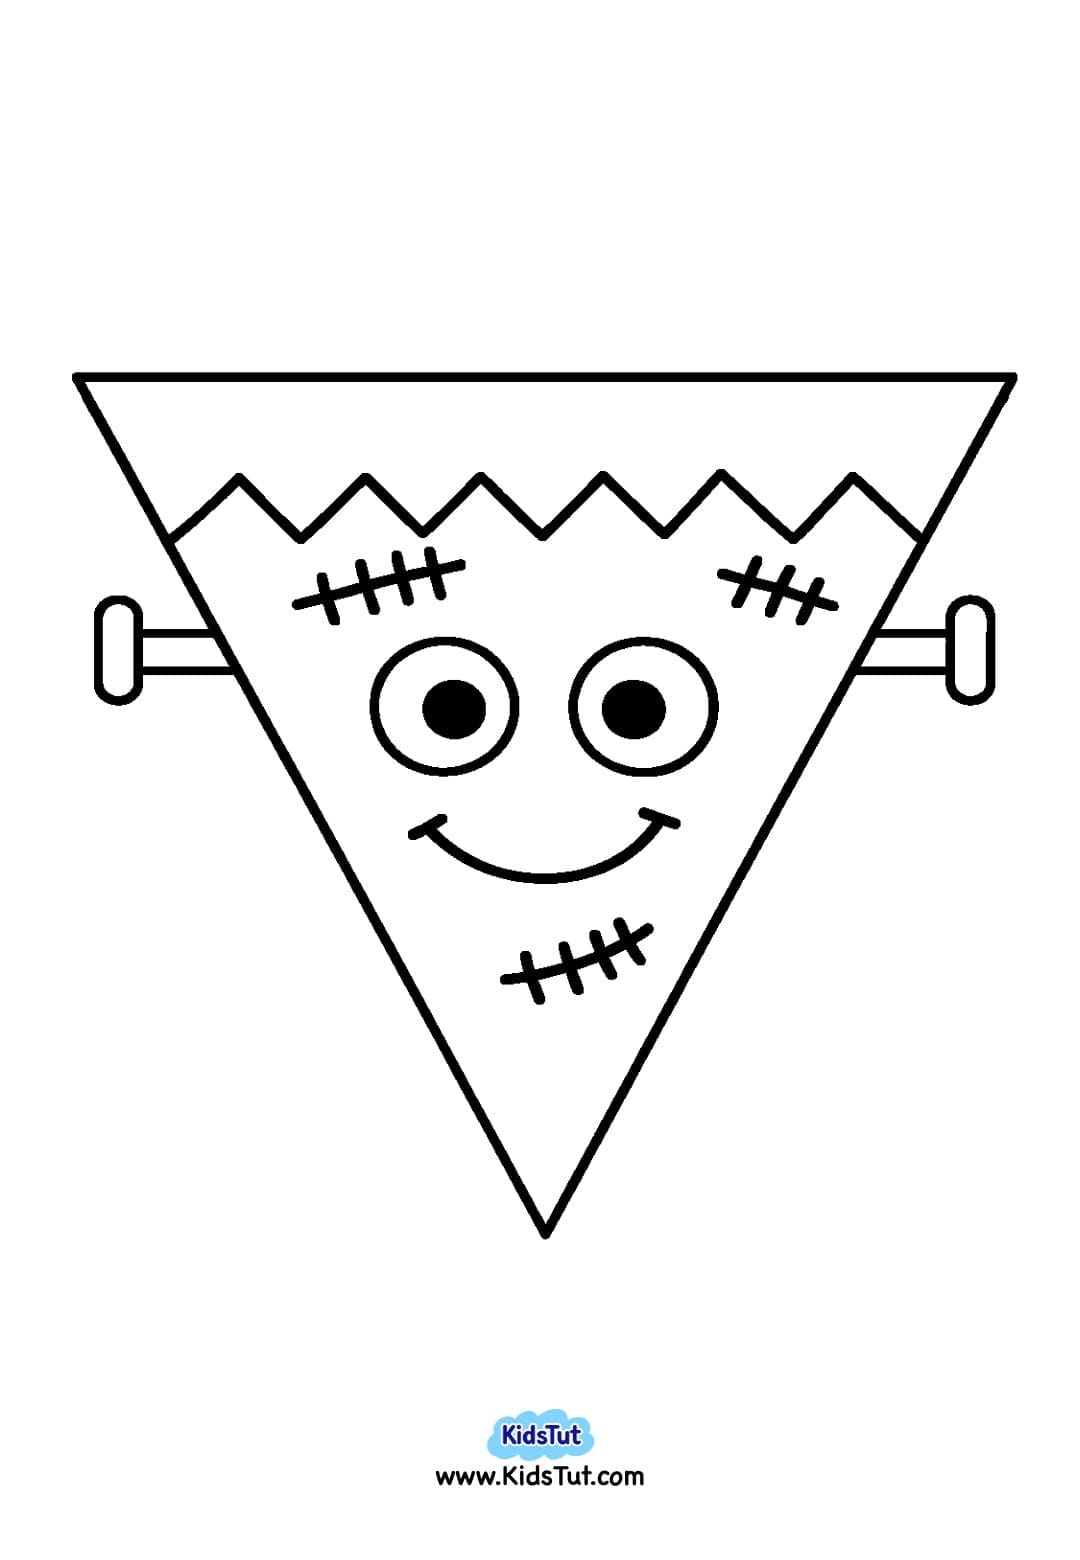
Frankenstein Banner:
Vampire Banner:
Mummy Banner:
Witch Cat Banner:
Skeleton Banner:

Click here to get the FREE PDF template: Download (Printable)