Easy Christmas Dot Painting Activity for Kids to Print
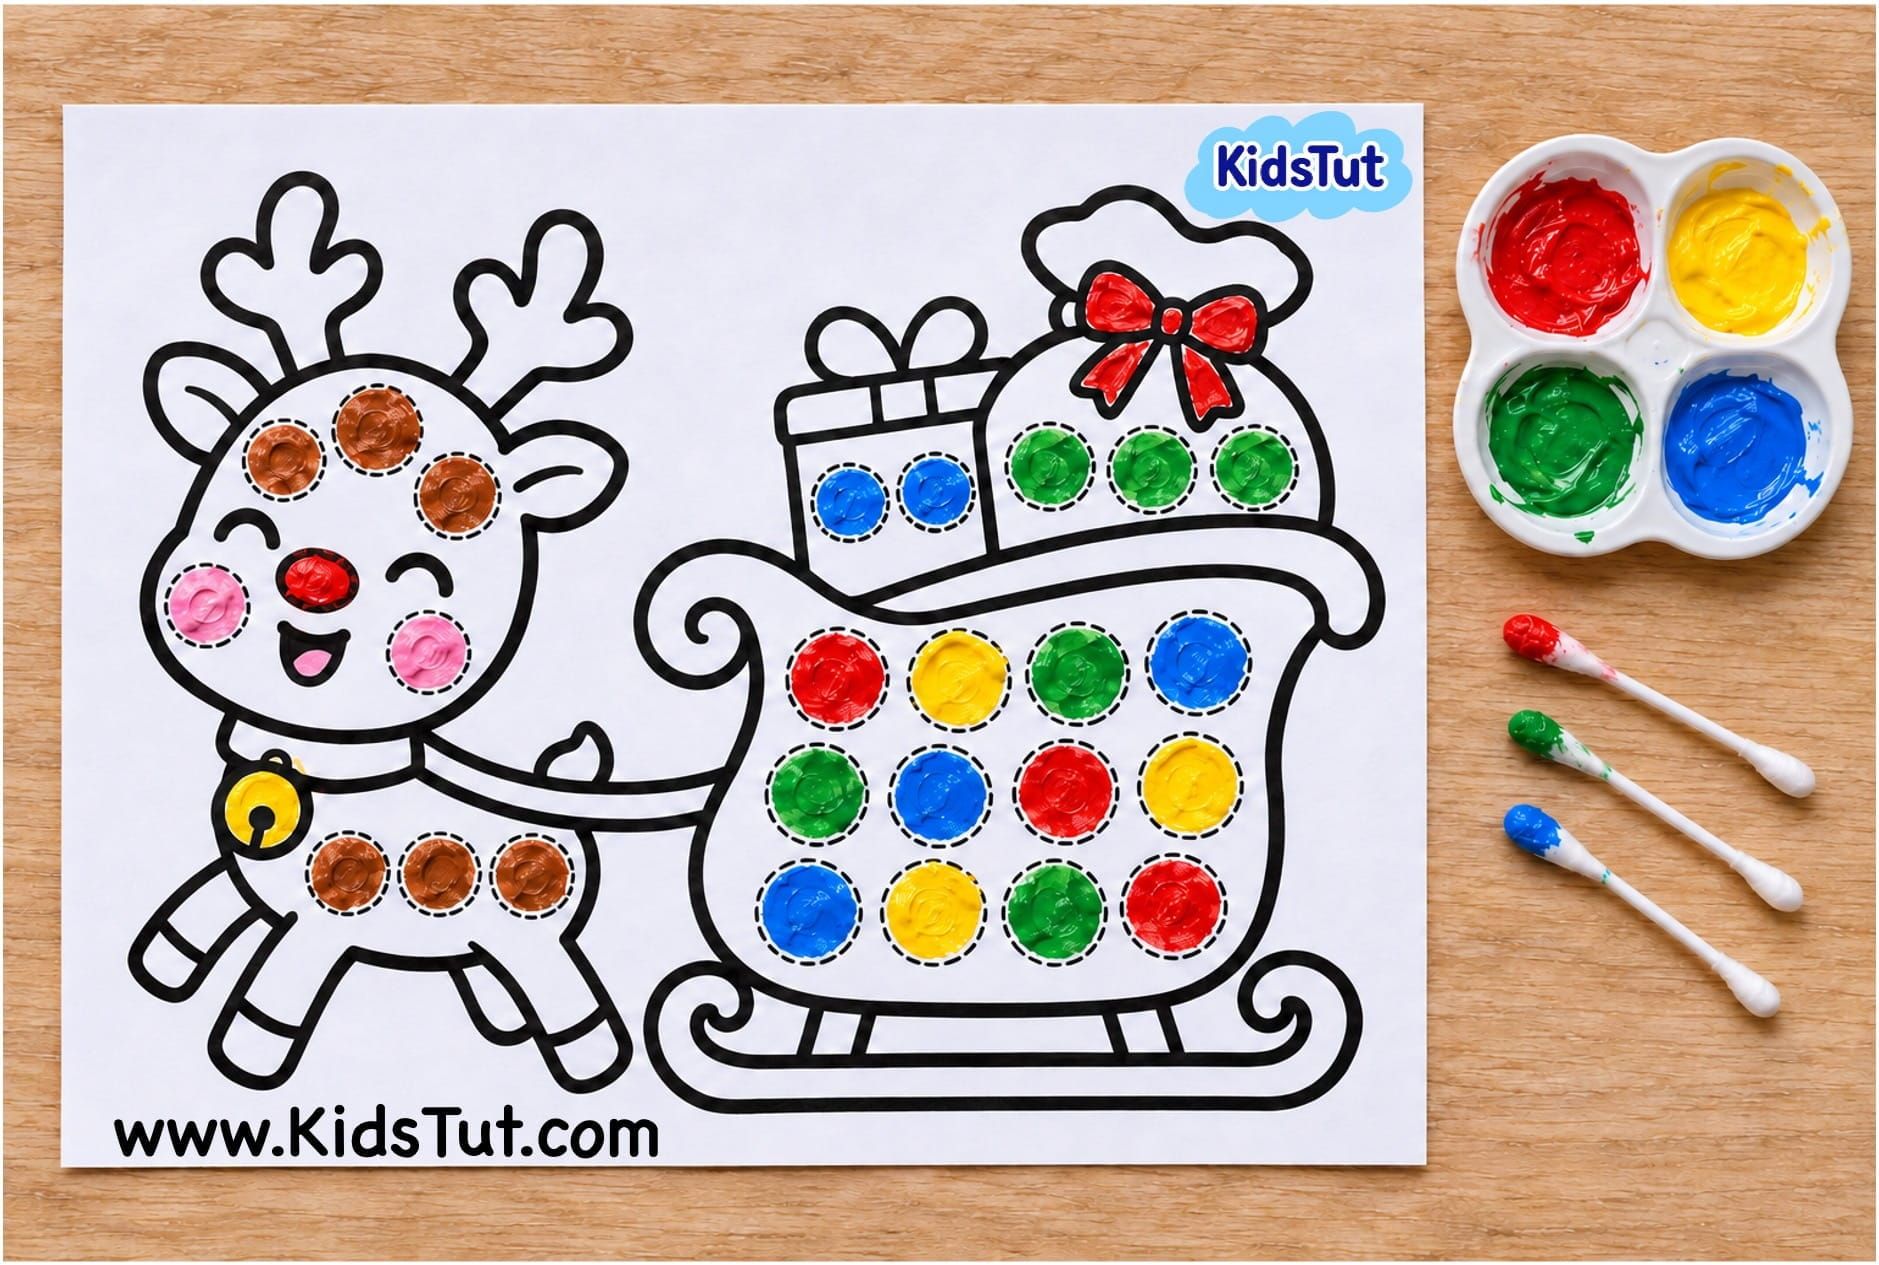
Looking for a fun and easy Christmas painting activity for kids? This Easy Christmas Dot Painting Activity for Kids to Print is a wonderful way to enjoy holiday crafting using colorful paints, cotton swabs, and printable Christmas dot painting pages.
This easy Christmas dot painting activity is perfect for preschool, Pre-K, kindergarten, homeschool, and classroom Christmas activities. It helps children practice fine motor skills, hand-eye coordination, color recognition, and concentration while enjoying a fun holiday art project.
What You Need
- Printable Christmas dot painting pages
- White A4 paper
- Tempera paint or liquid watercolors
- Cotton swabs (Q-tips)
- Pencil with an eraser (optional)
- Small round sponge dabbers (optional)
- Paint palette or small paint containers
- A little water (if needed)
- Paper towels or wipes
- Crayons, markers, or colored pencils (optional)
How to Make Christmas Dot Painting Art
Step 1: Choose and Print Your Christmas Picture
- First, choose your favorite Christmas dot painting page from the printable templates provided below.
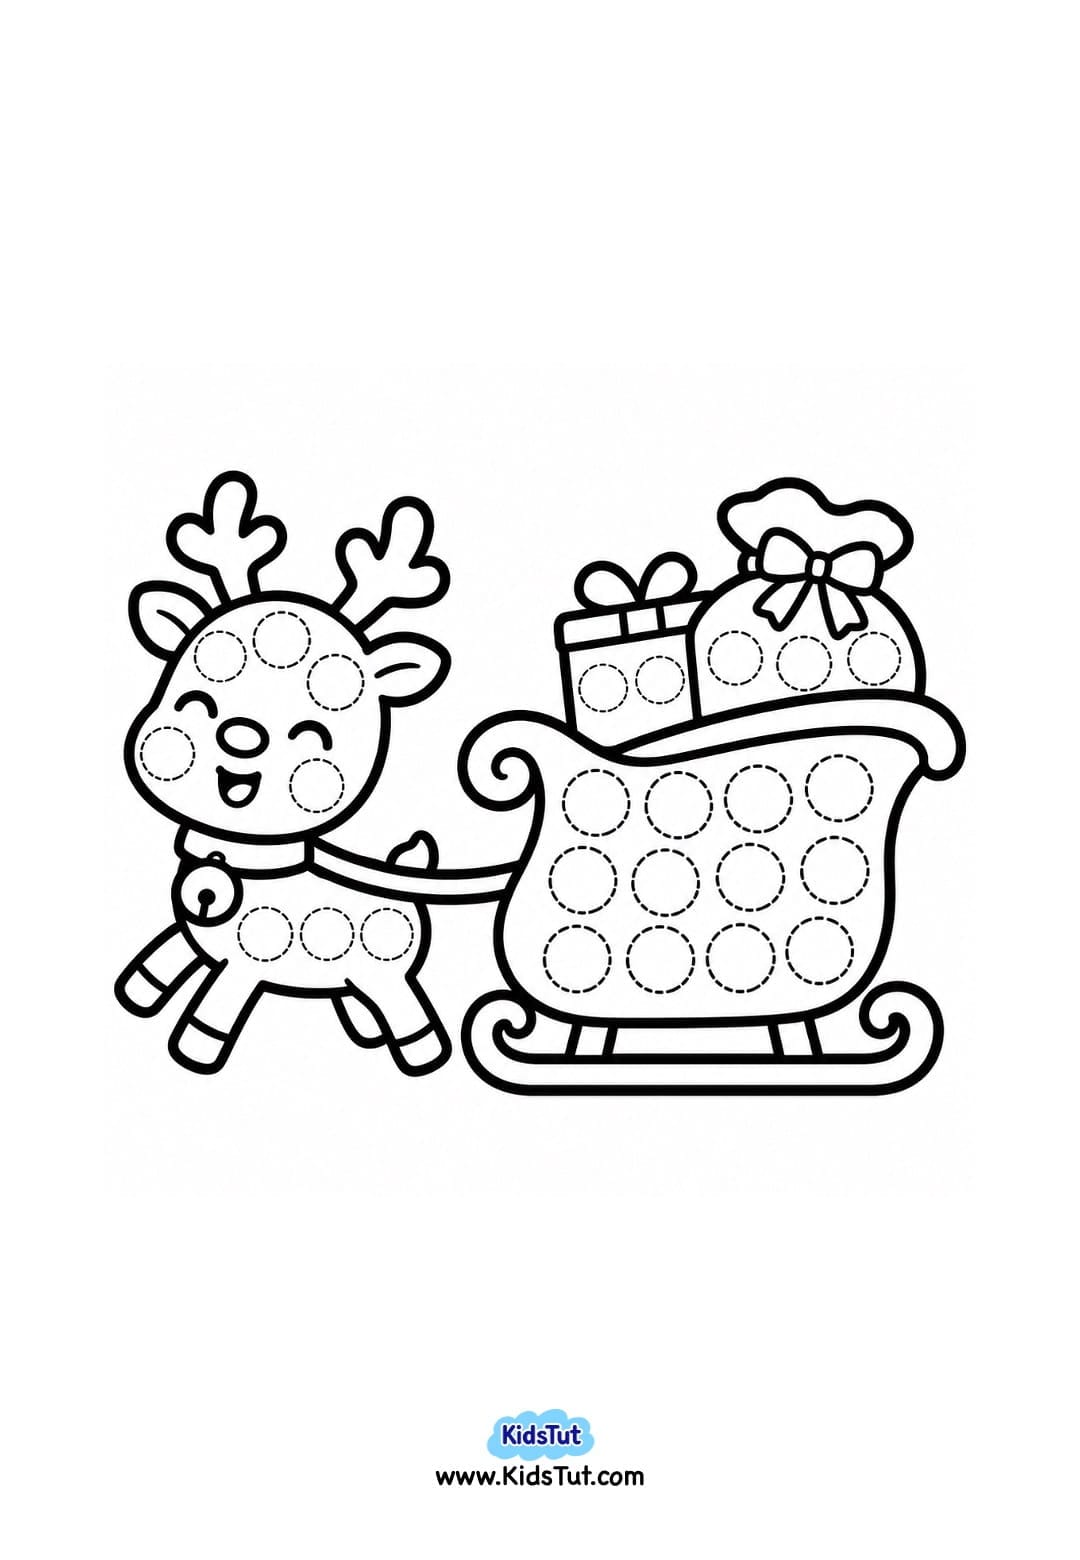
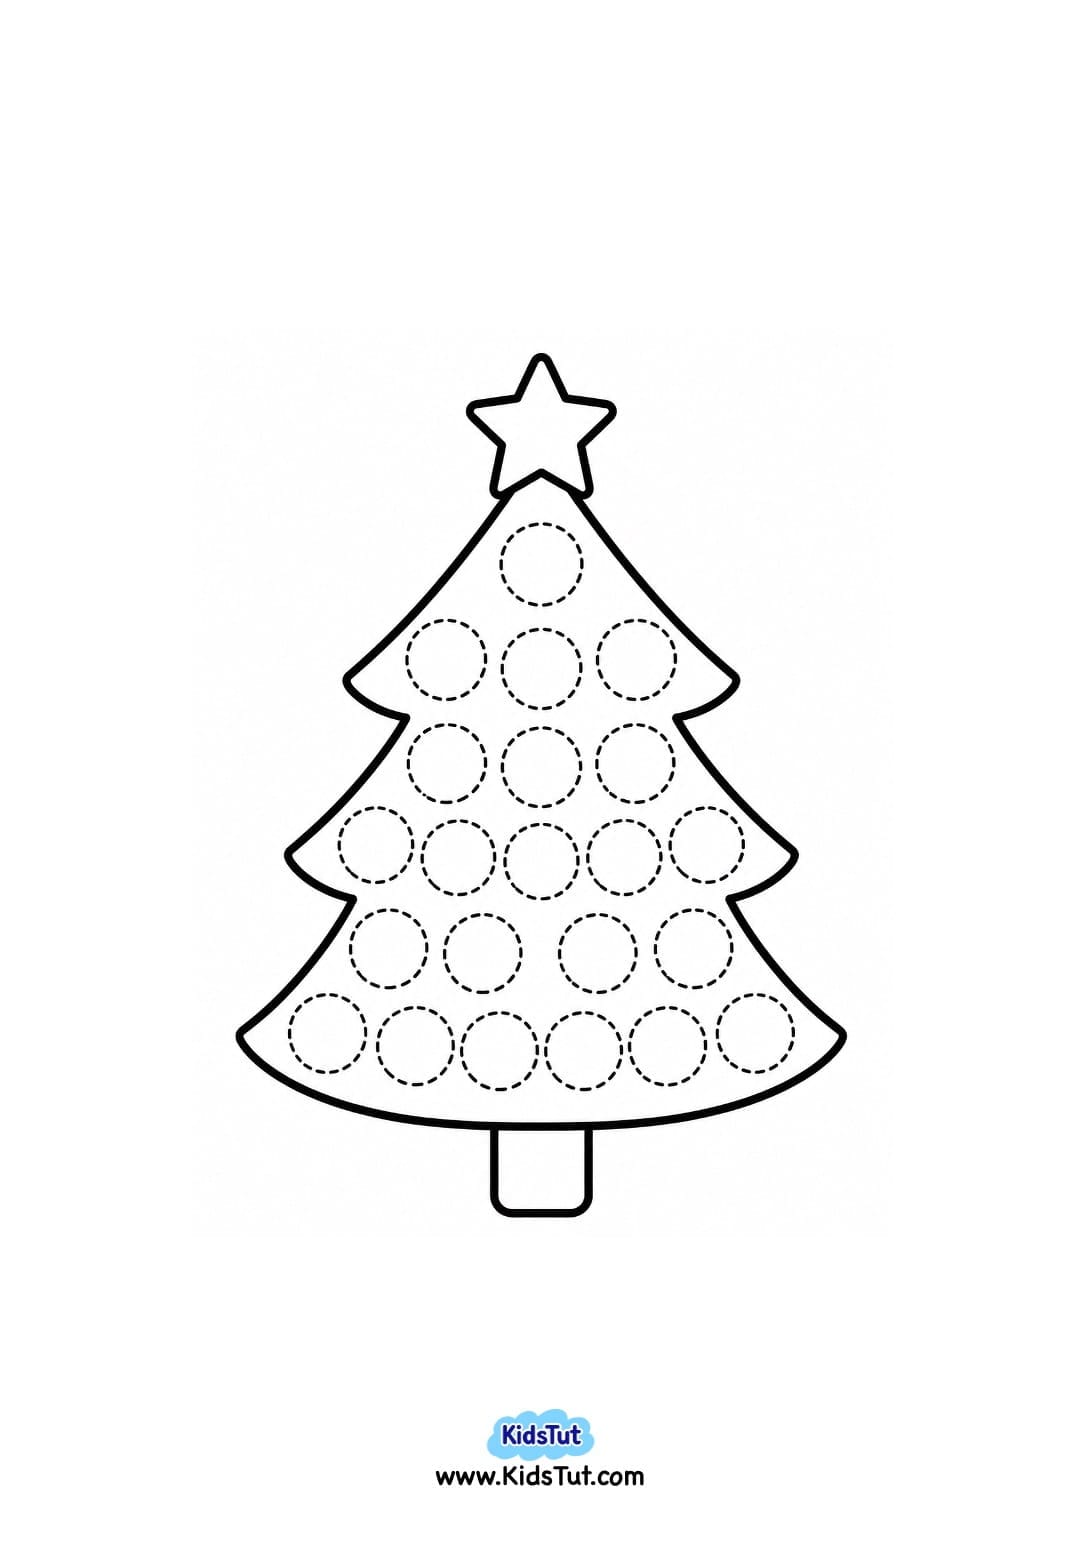
- You can select a Christmas tree, reindeer, Santa Claus, snowman, Christmas stocking, gift box, or another fun Christmas picture.
- Print your selected template on a white A4 sheet.
- You can also print several different Christmas pictures and let children choose their favorites.
Step 2: Prepare the Paint
- Next, prepare the colorful paints for your Christmas dot painting activity.
- Tempera paint is a great choice for children's paper crafts. Liquid watercolors can also work, although they may spread more easily on thin paper.
- Choose bright Christmas colors such as red, green, yellow, blue, orange, purple, and brown.
- Pour a small amount of each color into a paint palette or separate paint containers.
Check the paint thickness before starting:
- If the paint is too thick: It may leave a sharp peak when you lift your dotting tool. Add one or two drops of water and mix gently until the paint becomes smooth.
- If the paint is too watery: It may spread outside the printed circles. Use less water or choose slightly thicker paint.
- If the paint is just right: It should make a small, round dot without spreading too much.
Try making a few practice dots on scrap paper before starting the activity.
Step 3: Choose Your Dot Painting Tool
- Now choose a tool for making colorful paint dots.
You can use:
- Cotton swabs (Q-tips): Great for making small, neat dots.
- Pencil erasers: The round eraser end of a pencil can create clear circular dots.
- Fingertips: Children can use their fingertips to make colorful fingerprint dots.
Choose a tool that matches the size of the printed circles on your Christmas picture.
Step 4: Dip the Tool into the Paint
- Take your selected dot painting tool and gently dip its round end into the prepared paint.
- Make sure the tool has enough paint to create a clear dot, but avoid picking up too much.
- If needed, gently remove extra paint on the edge of the palette.
Step 5: Fill the Printed Circles with Colorful Dots
- Now take your printed Christmas dot painting page.
- Look at the small circles inside the Christmas picture.
- Gently press your paint-covered tool inside one printed circle to create a colorful dot.
- Lift the tool straight up without dragging it across the paper.
- Continue making dots until all the printed circles are filled.
- Children can use different colors to make their Christmas pictures bright and beautiful.
- Encourage children to place each paint dot inside the printed circle without going outside the outline.
Step 6: Add Extra Colors and Details
- Once the printed circles are filled, children can add extra details to their Christmas pictures.
- They can use crayons, markers, or colored pencils to color any remaining parts of the picture.
- For example, they can color a Christmas star yellow, a reindeer's antlers brown, or Santa's hat red.
- This step is optional, so children can keep their artwork simple or decorate it further.
Step 7: Let the Painting Dry
- After completing the dot painting, carefully place the paper on a flat surface.
- Keep it aside and let the paint dry completely.
- Avoid touching or moving the paper too much while the paint is wet.
Step 8: Display Your Christmas Dot Painting
- Once the paint is completely dry, your beautiful Christmas dot painting is ready!
- You can display the finished artwork on a classroom wall, Christmas bulletin board, or at home.
- You can also arrange several completed Christmas dot painting pages together to create a colorful Christmas art display.
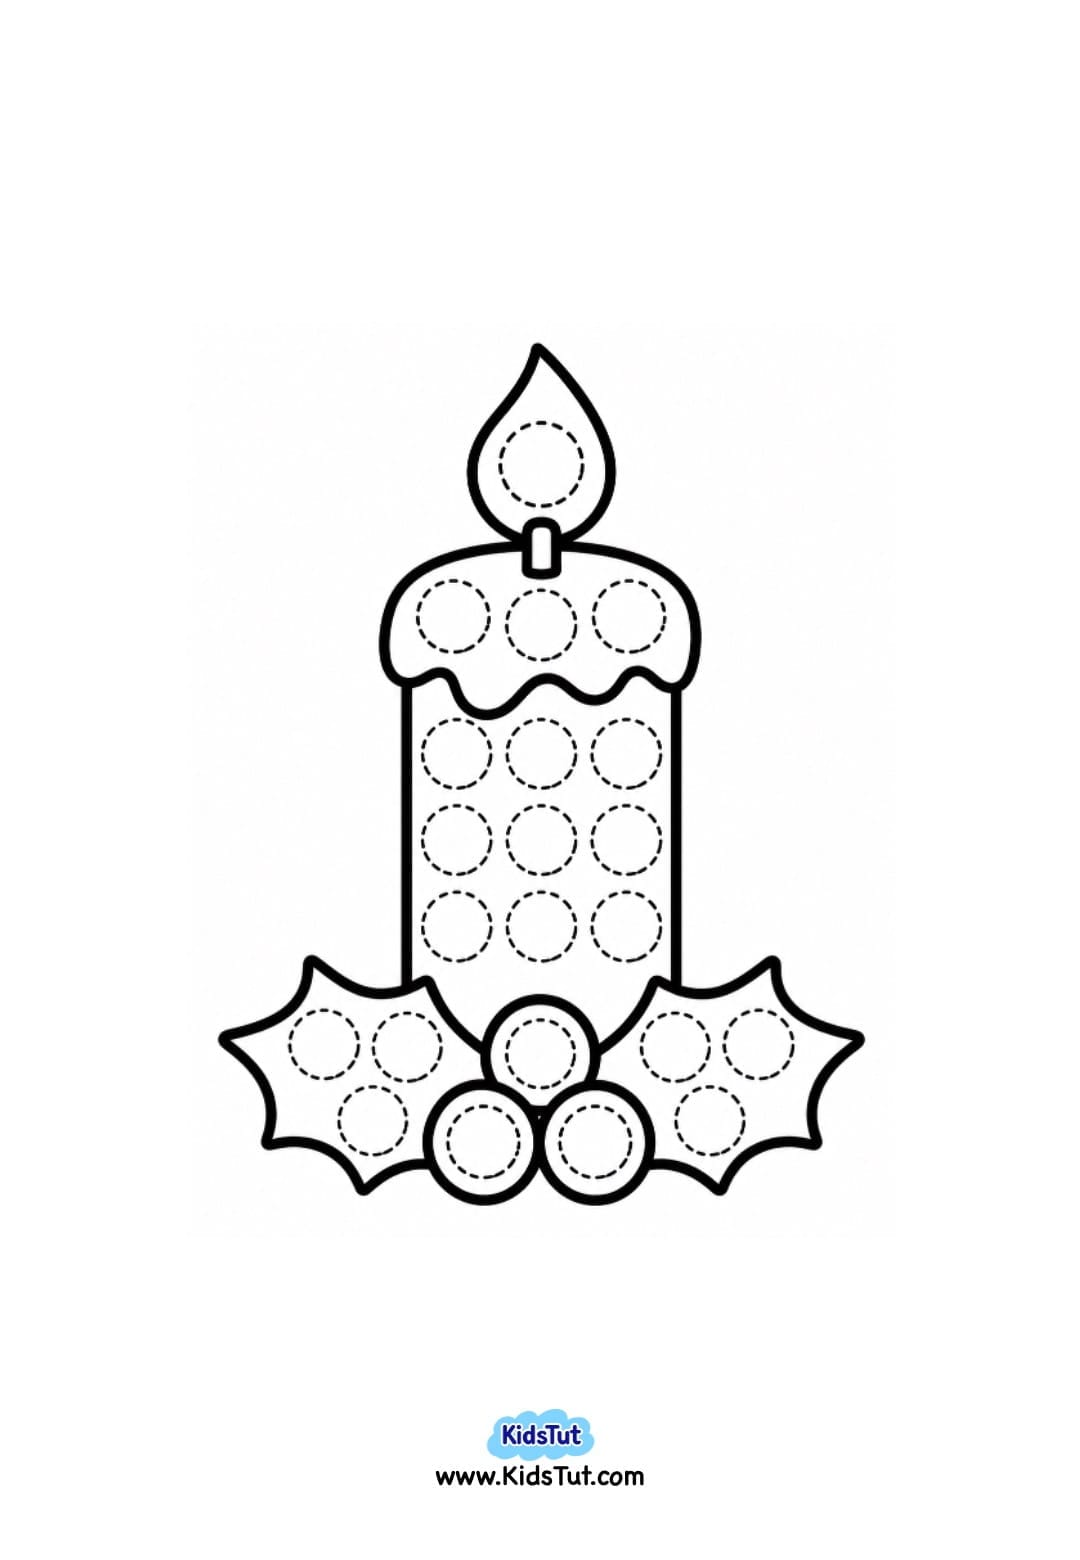
Christmas Dot Painting Activity Templates:
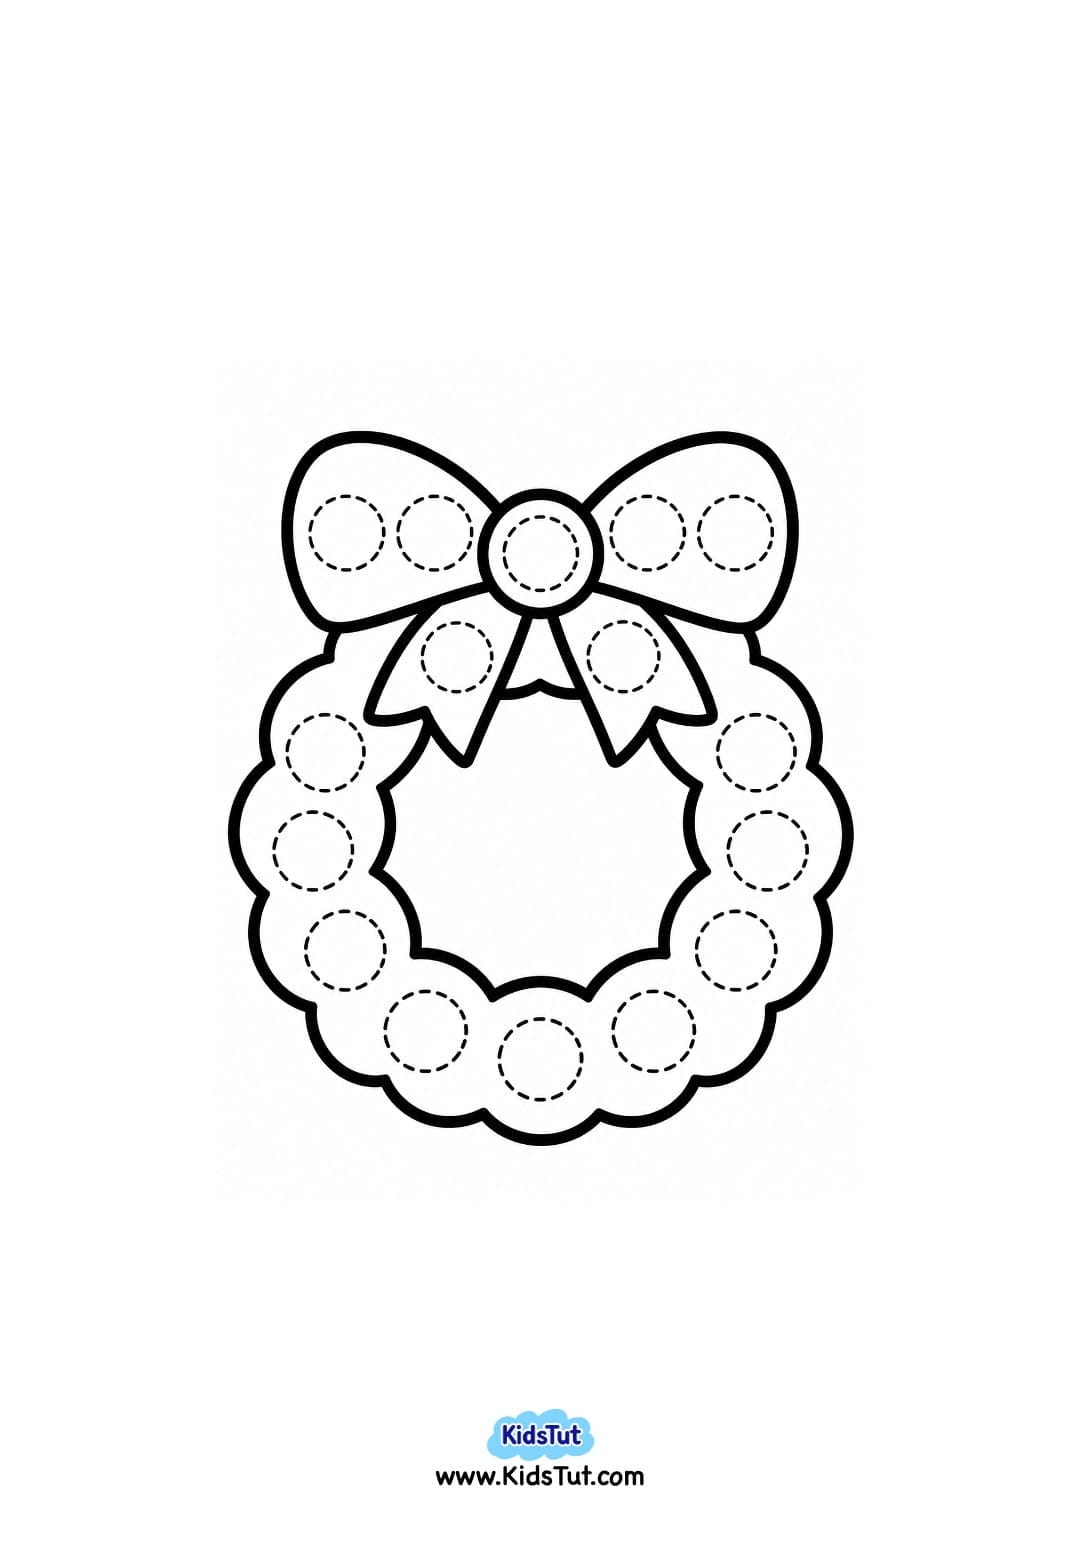
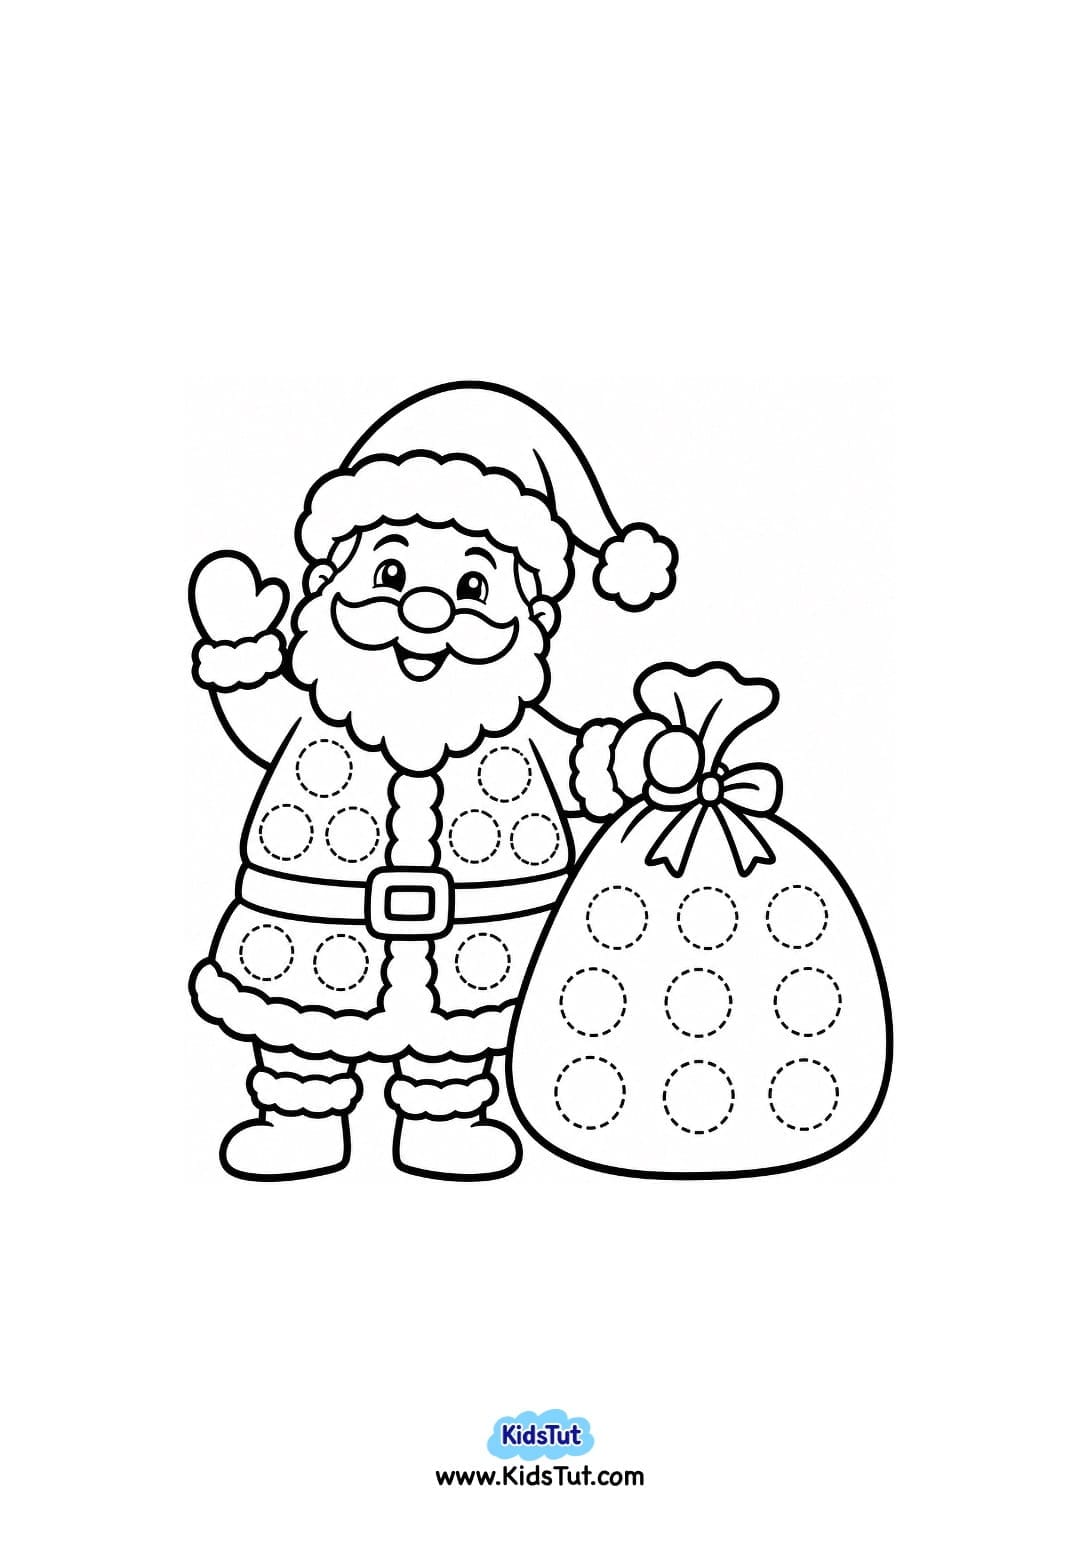
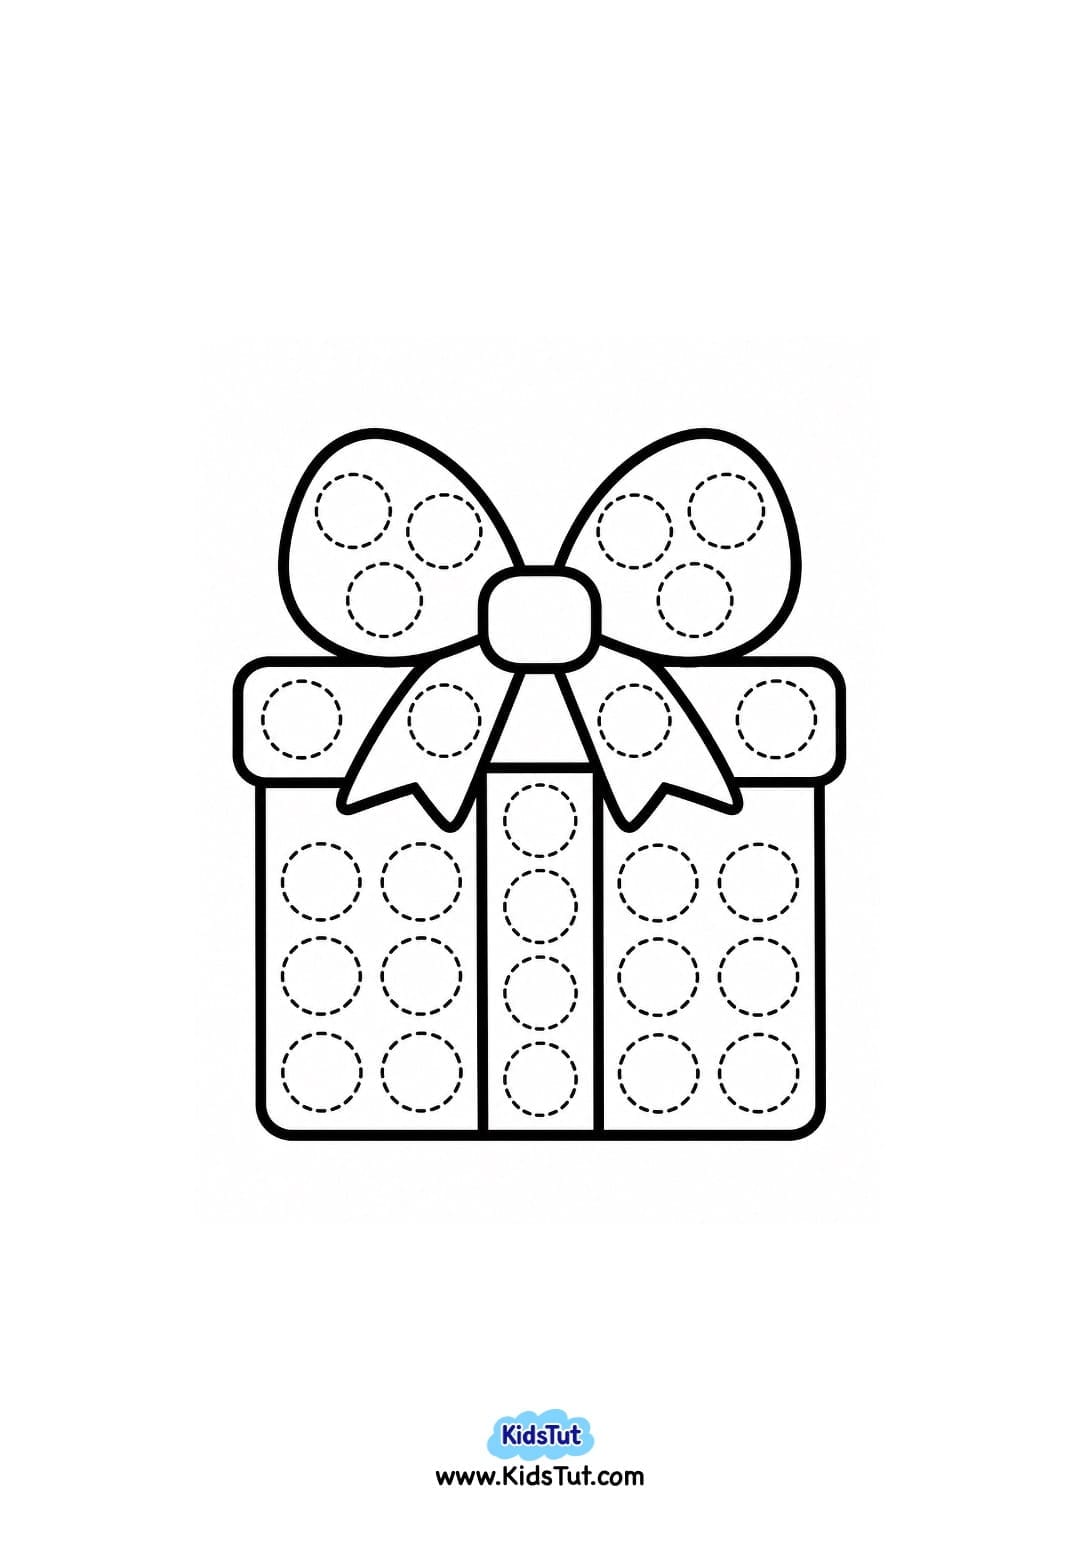
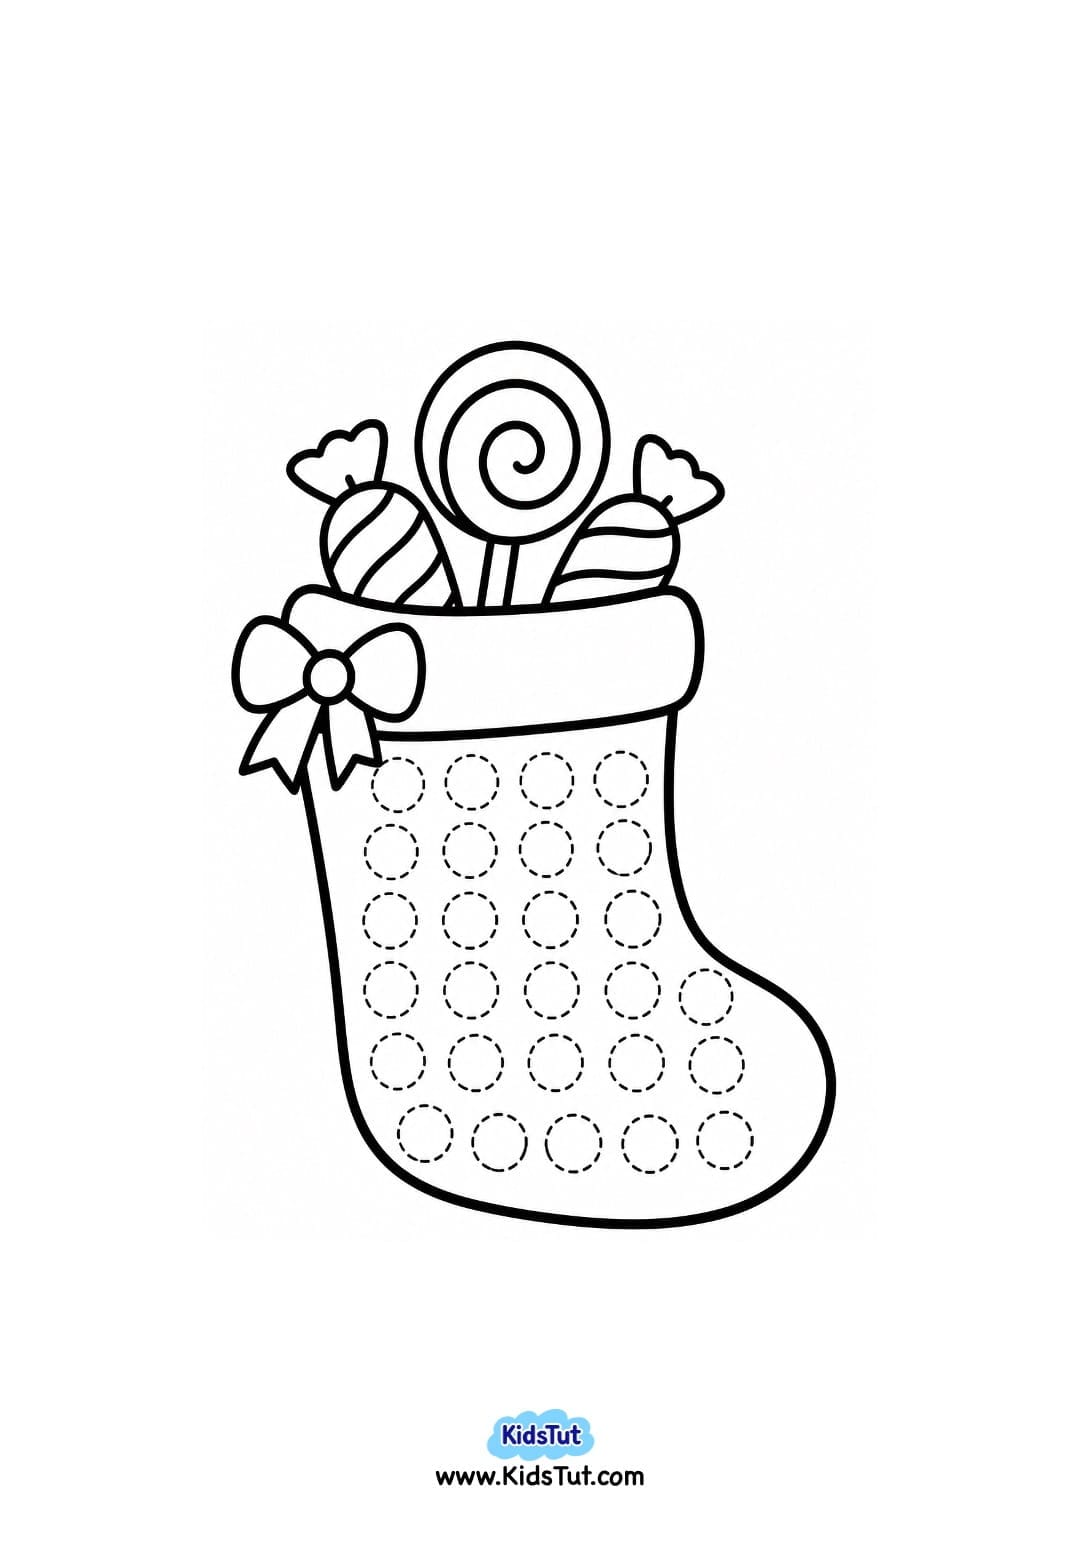
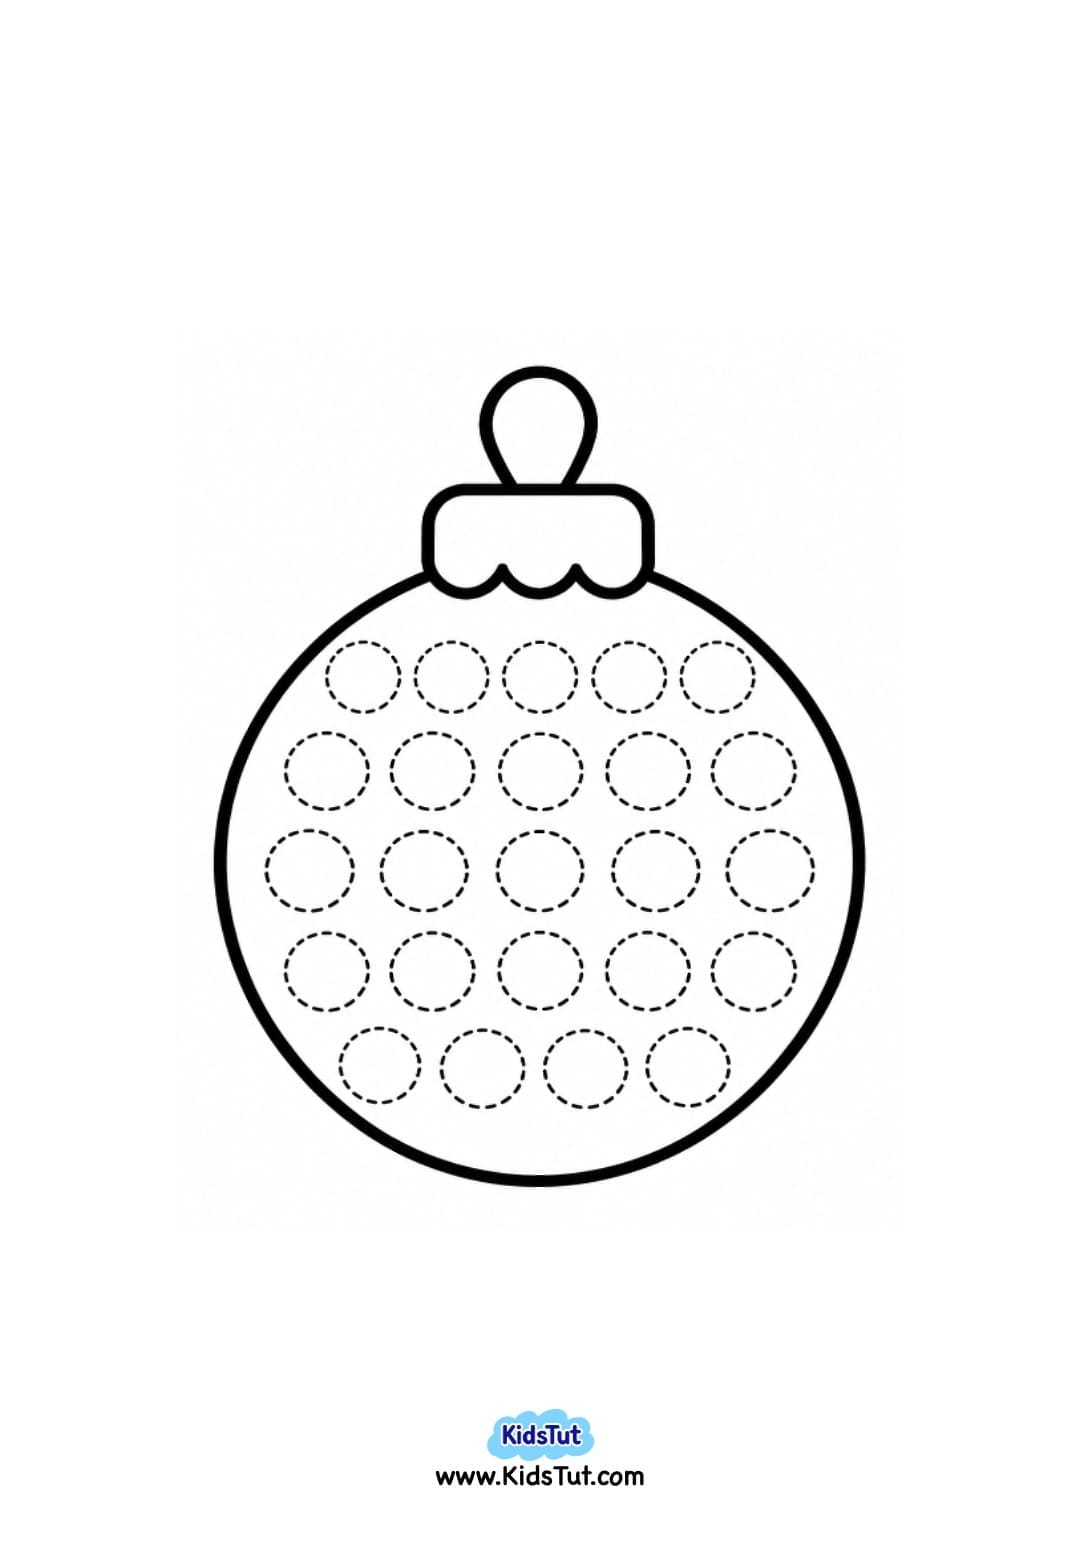
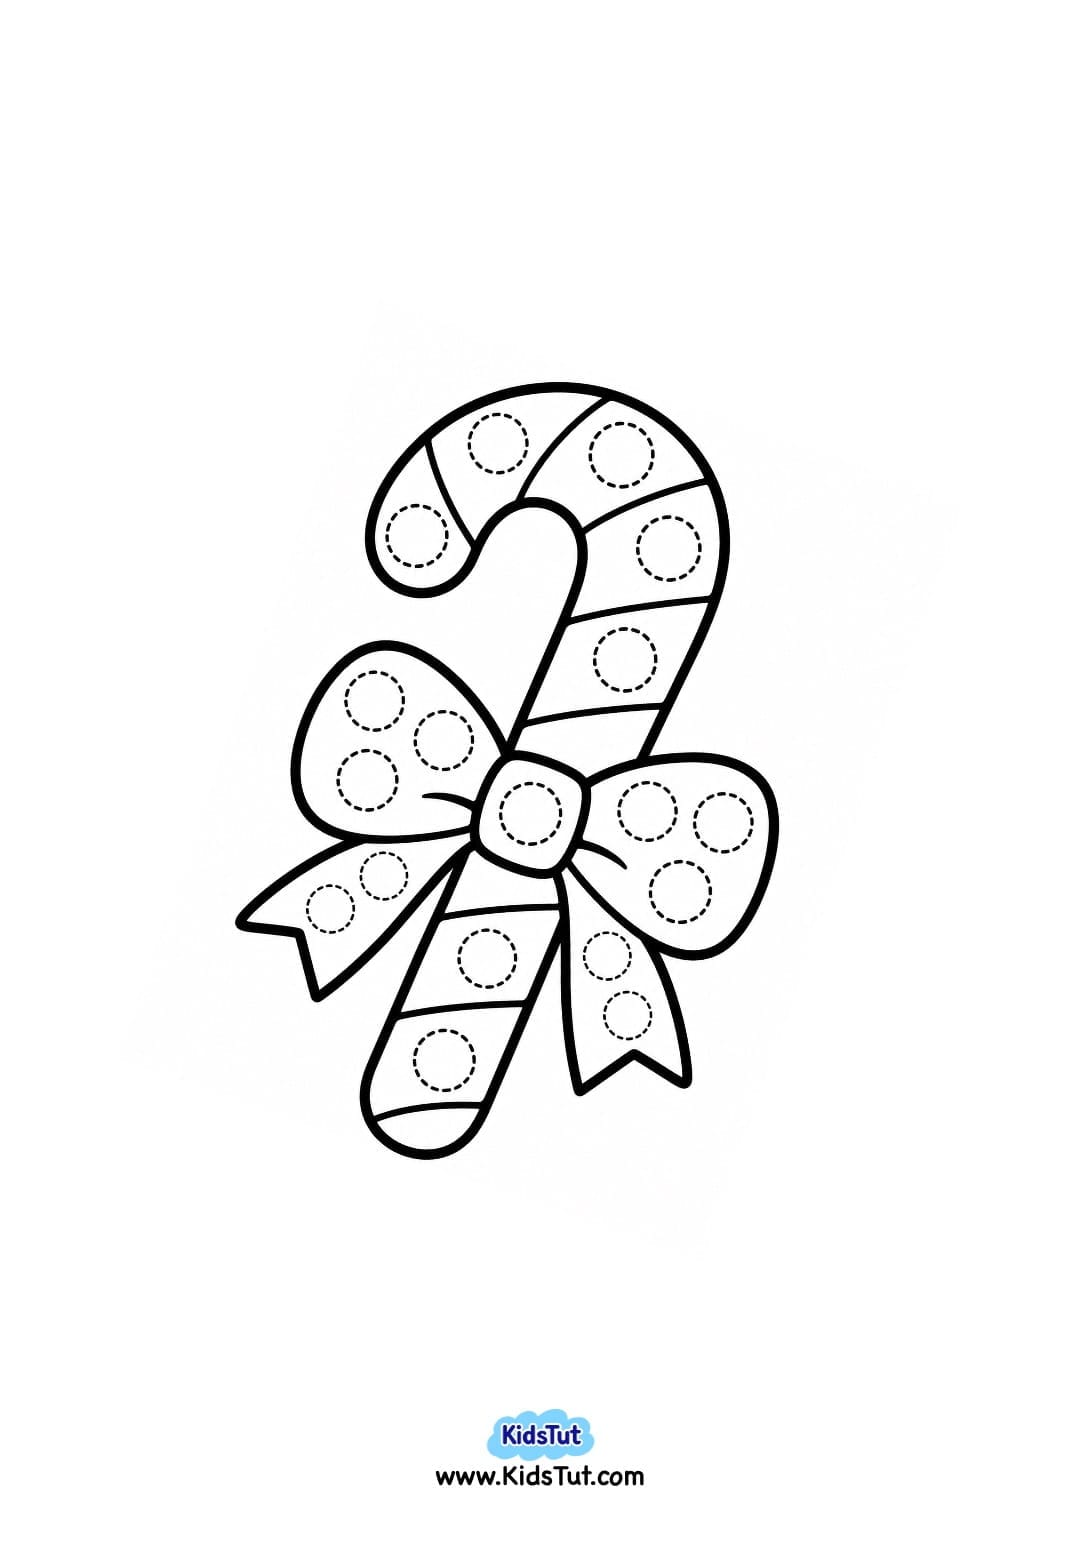
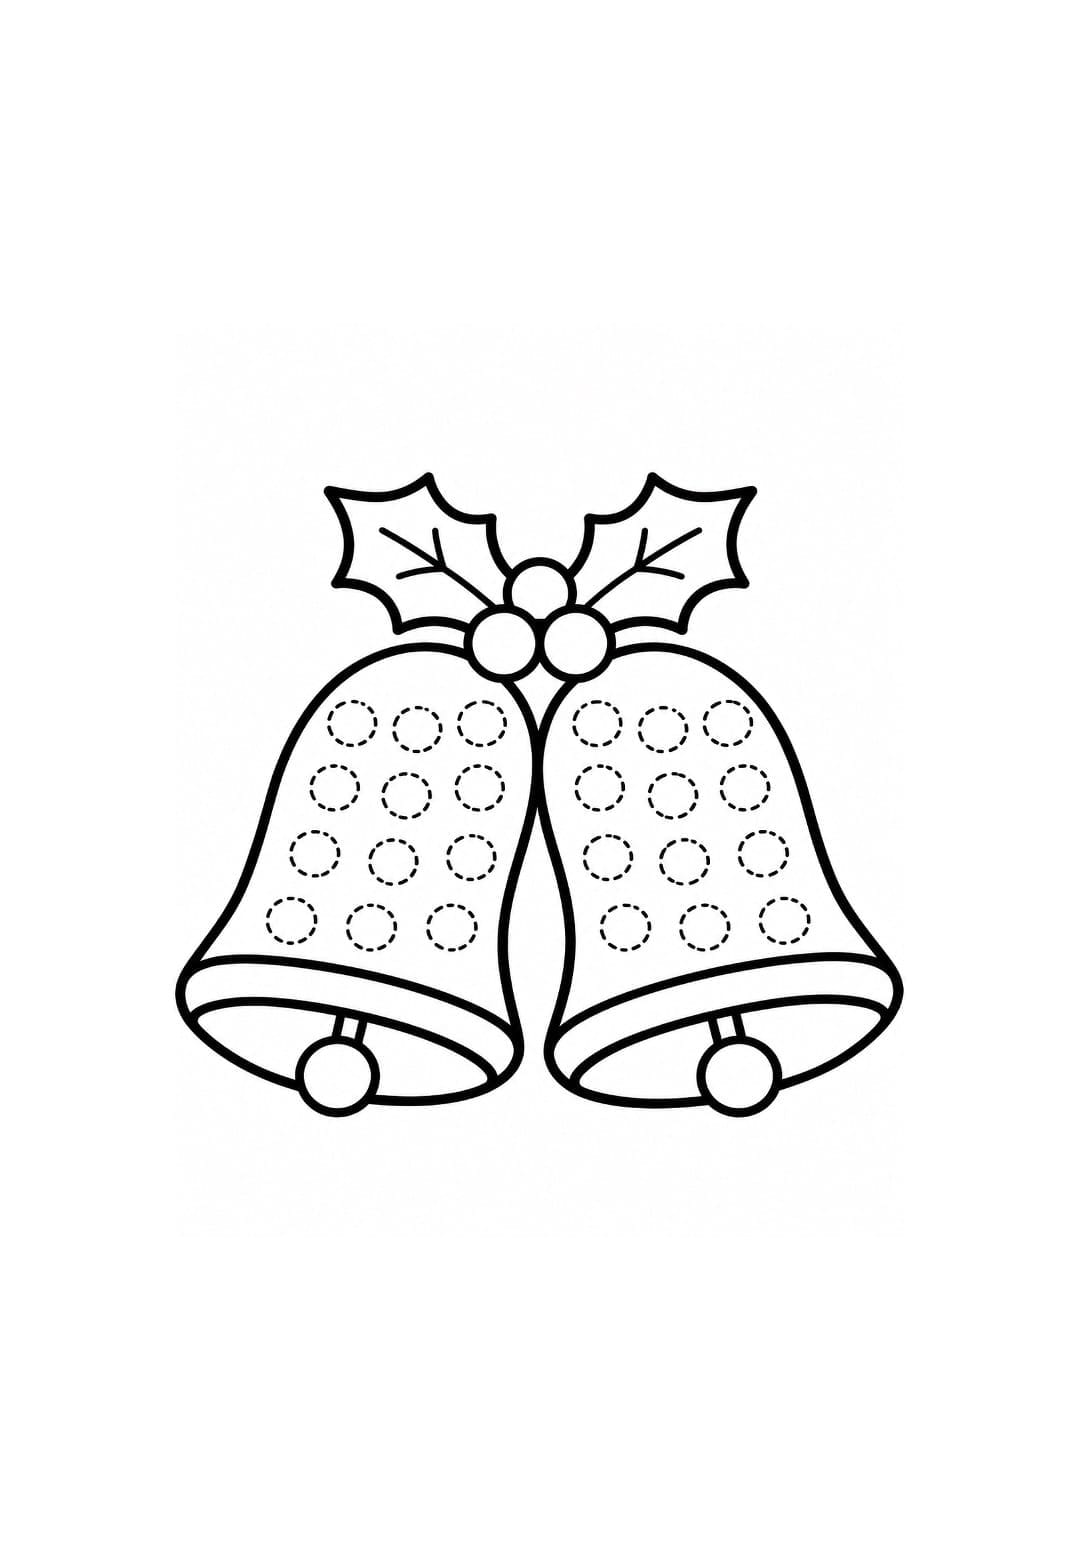
Benefits of Christmas Dot Painting Activities for Kids
These easy Christmas dot painting printables are not only fun but also help children develop important early learning skills.
- Encourages creativity – Children can choose their favorite colors and create their own Christmas dot painting designs.
- Develops fine motor skills – Holding cotton swabs, pencil erasers, or other dotting tools helps strengthen small hand and finger muscles.
- Improves hand-eye coordination – Kids practice placing paint dots carefully inside the printed circles.
- Supports pre-writing skills – Making small, controlled dots helps children develop hand control needed for early writing.
- Teaches color recognition – Children learn to identify, choose, and match different paint colors.
- Introduces shapes and patterns – Filling circles and creating colorful patterns helps children explore basic shapes and simple sequences.
- Builds concentration – Children practice focusing on one circle at a time until their picture is complete.
- Improves finger control – Using small dotting tools encourages careful hand movements and a stronger grip.
- Introduces Christmas themes – Kids become familiar with Santa Claus, reindeer, Christmas trees, snowmen, stockings, and other holiday pictures.
- Builds confidence – Children feel proud when they complete and display their colorful Christmas artwork.
Fun Ways to Use Christmas Dot Painting Printables
These printable Christmas painting pages can be used in different ways at home or in the classroom.
- Christmas Art Center: Add the printable pages, paints, and cotton swabs to your classroom art center.
- Preschool Fine Motor Activity: Let children practice making dots inside the circles using cotton swabs or fingertips.
- Christmas Bulletin Board: Display all the finished dot painting pictures together.
- Holiday Classroom Activity: Give each child a different Christmas picture to paint.
- Christmas Art Display: Arrange the completed pages on a wall to create a colorful holiday gallery.
- Home Christmas Activity: Enjoy a simple painting session with children during the Christmas holidays.

Click here to get the FREE PDF template: Download (Printable)