Today, we are going to create a cute polar bear. So you can create this polar bear using some materials that you can easily find. Apart from the polar bear, you can create other animals using the various templates given below. So let’s see how to make this cute winter craft activity.
Things You Need:
- Colored paper (blue works great for winter)
- Printed templates (optional)
- Black markers
- Cotton pads or white paper circles
- Cotton balls or cotton pieces
- Googly eyes
- Glue stick
- Scissors
Steps to Make Your Polar Bear:
- Display your polar bear — Once everything is dry, hang it up or share it with friends!
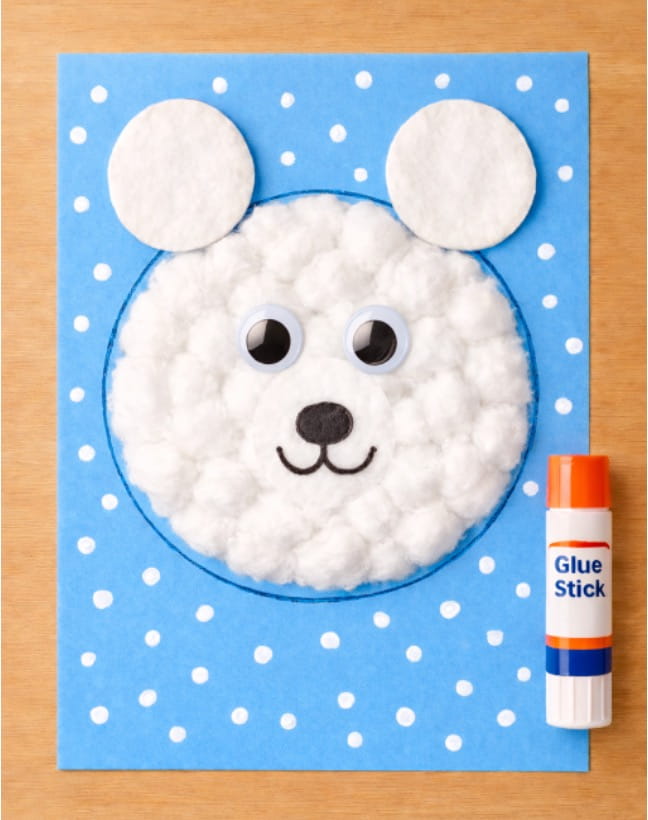
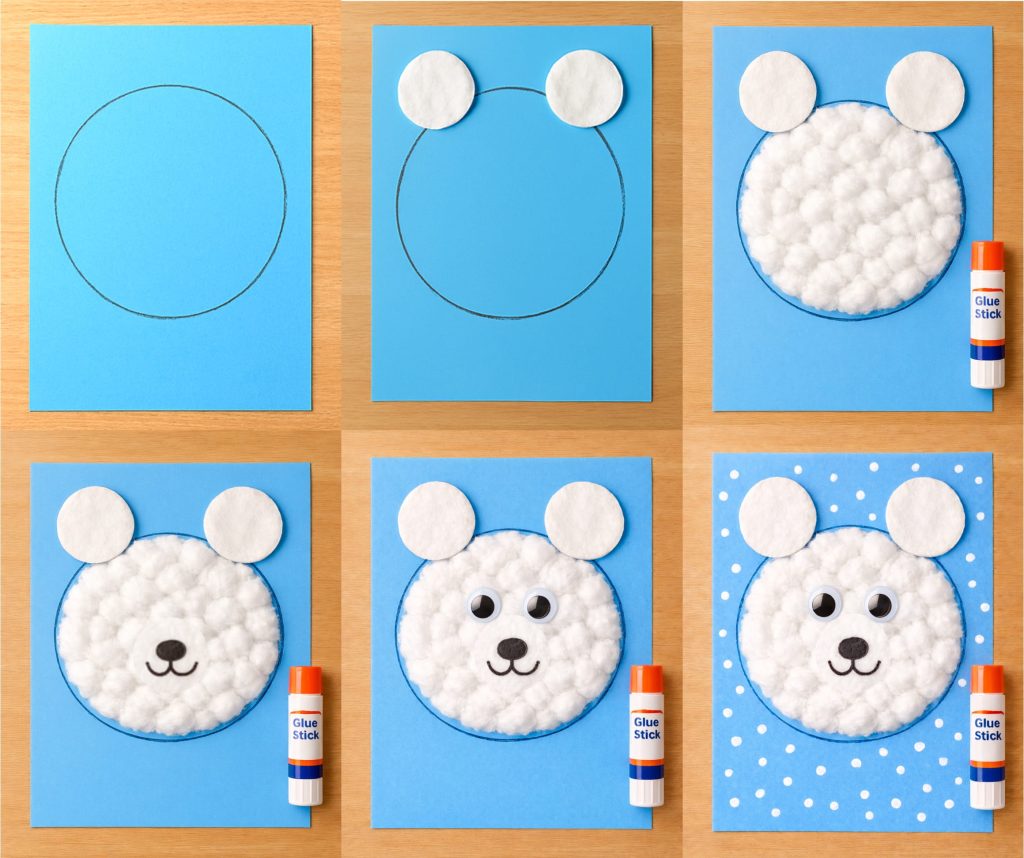
- Prepare the background — Take a blue or any winter-colored A4 sheet.
- Draw the bear’s face — Use a black marker to draw a big circle in the center of the paper.
- Add ears — Stick two cotton pads (or white paper circles) on top of the circle, one on each side, to make the bear’s ears.
- Fill the face — Apply glue inside the circle and press cotton balls or pieces of cotton to fill it in.
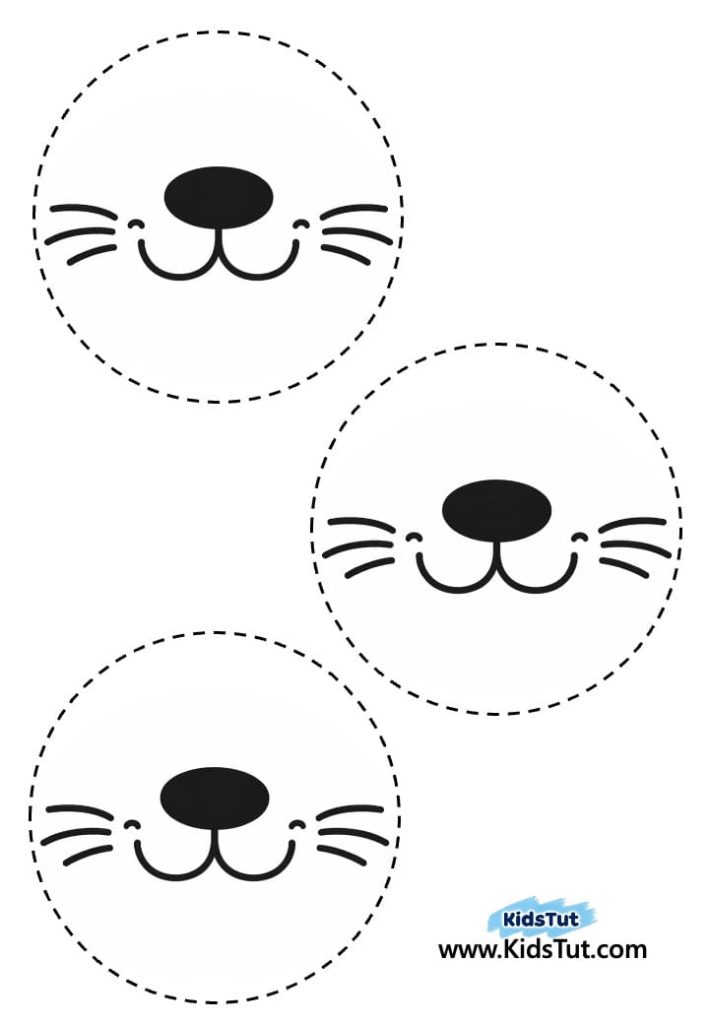
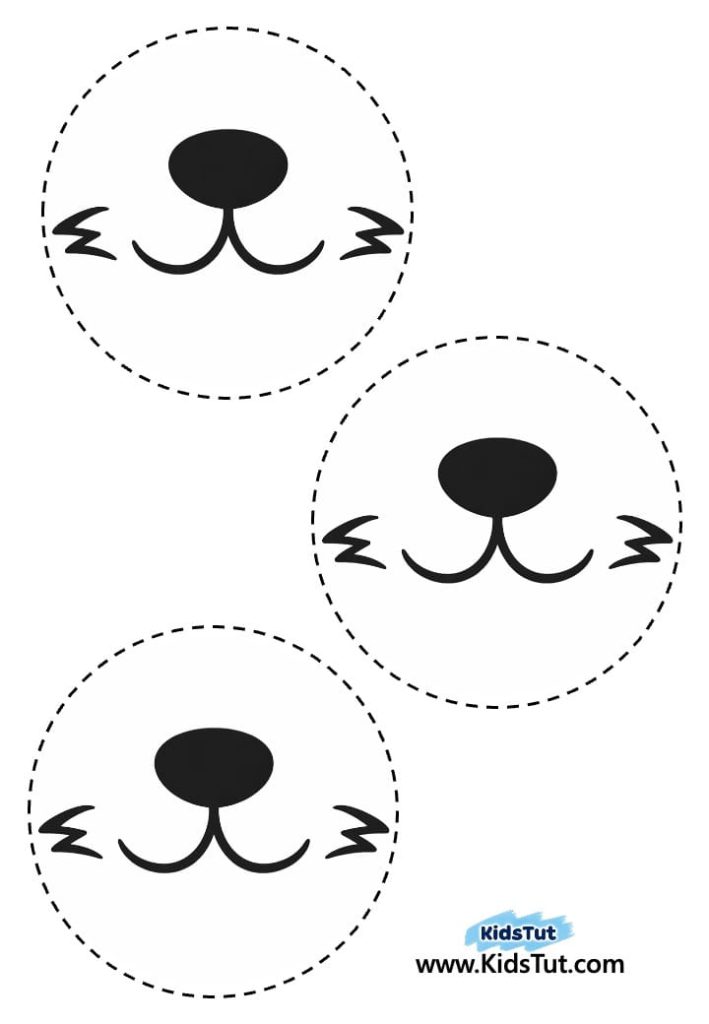
- Make the facial features —
Option 1: Use a small piece of cotton wool and draw the bear’s mouth and nose on it, then glue it to the center of the face.
Option 2: Cut a small circle from white paper using a template, draw the mouth and nose, and glue it in place.
- Add eyes — Glue two googly eyes above the mouth and nose. Now your bear’s face is complete!
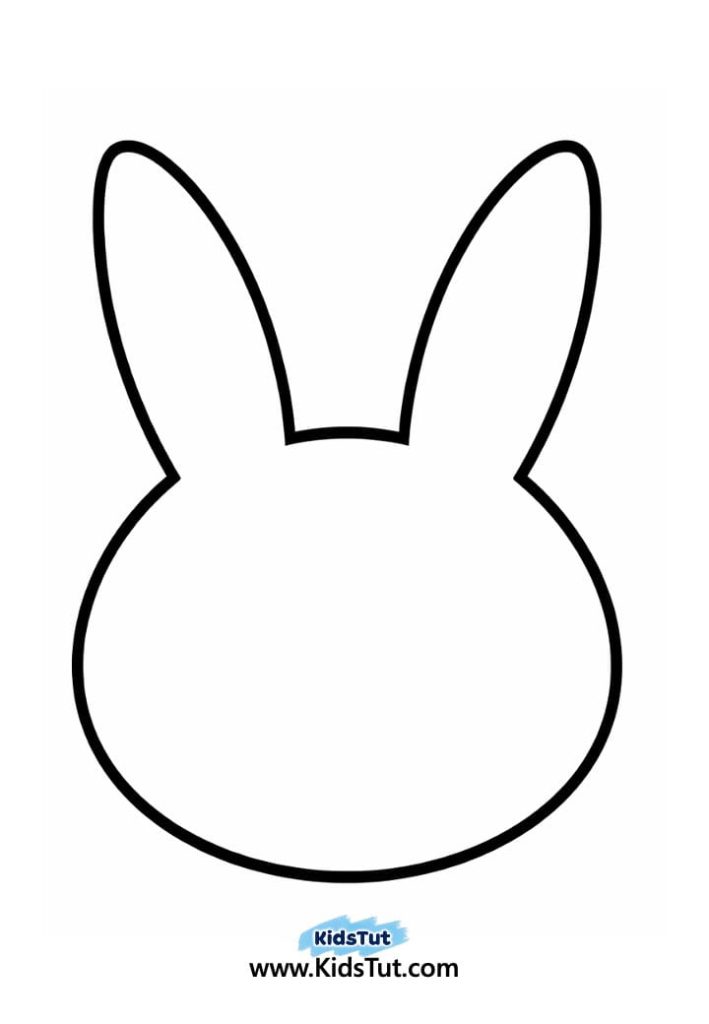
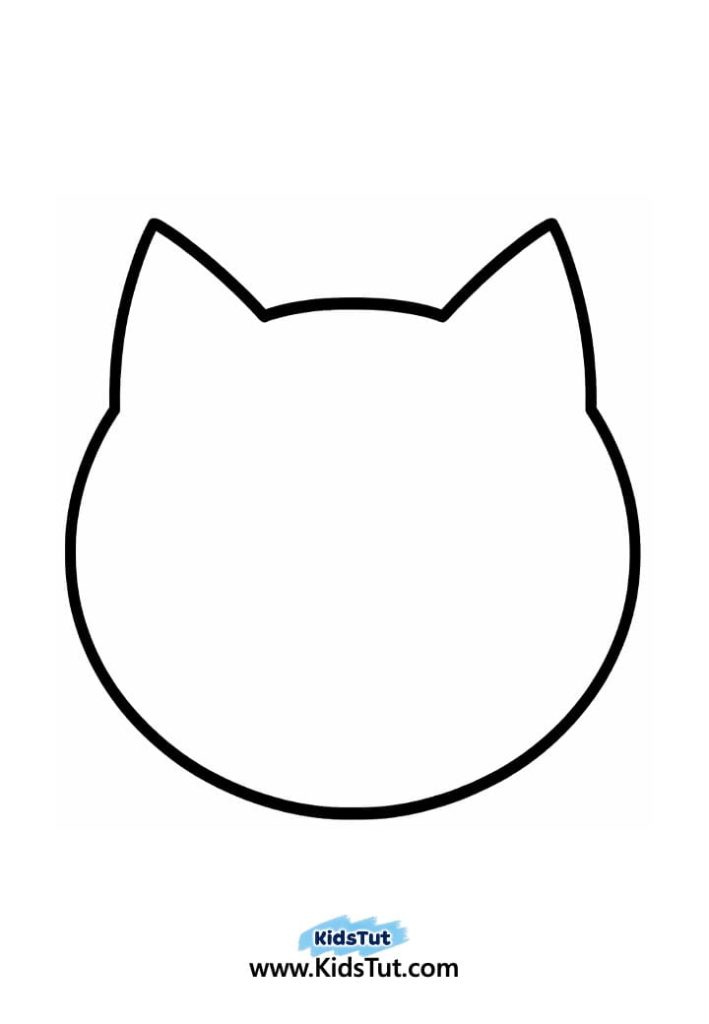
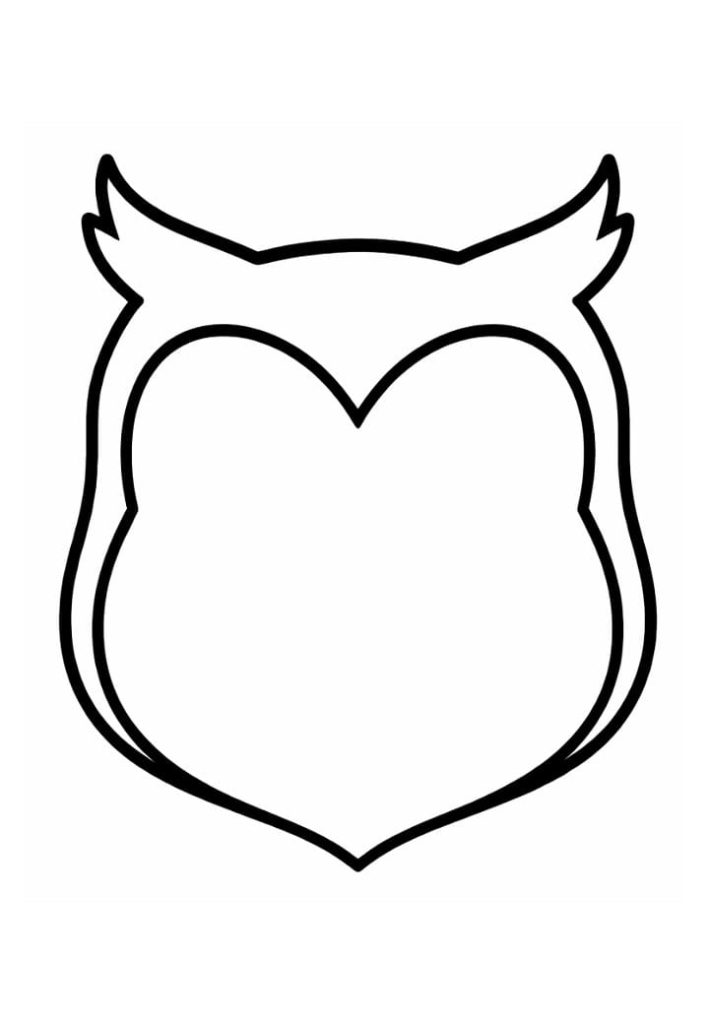
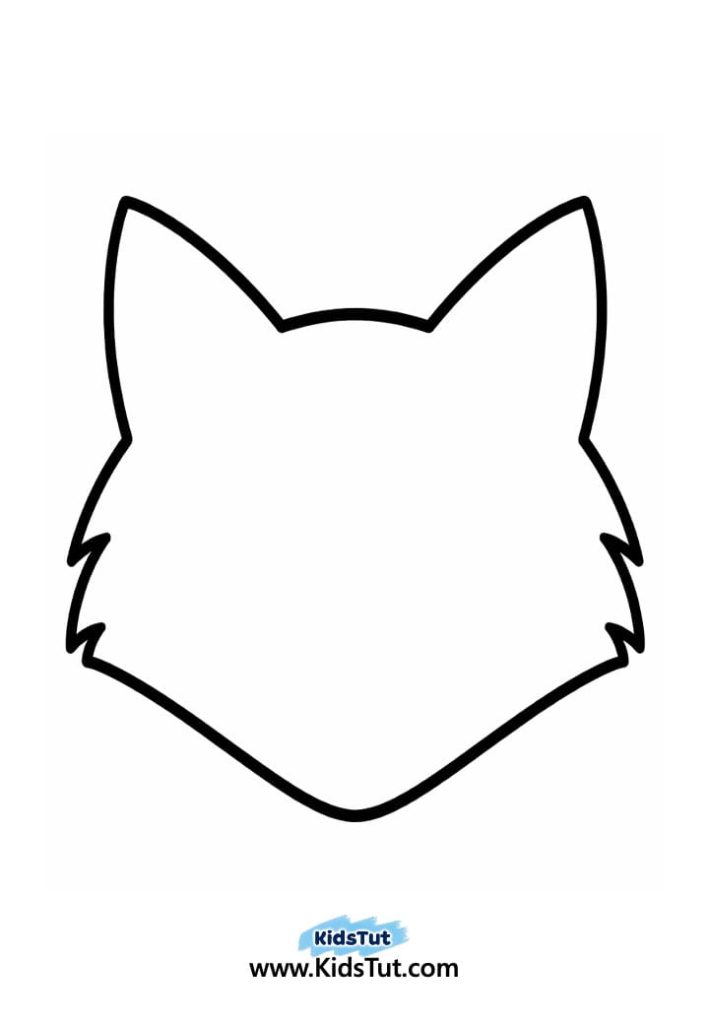
How to Make Another Animal Craft
- Choose and print an animal image — Pick any animal you like and print it out.
- Cut it out — Carefully cut the animal face and separate it from the paper.
- Prepare the background — Take a piece of colored paper, such as blue or another winter-themed color.
- Paste the animal face — Glue the cut-out face onto the colored background.
- Add cotton texture — Stick cotton balls or pieces of cotton onto the animal’s face to make it fluffy.
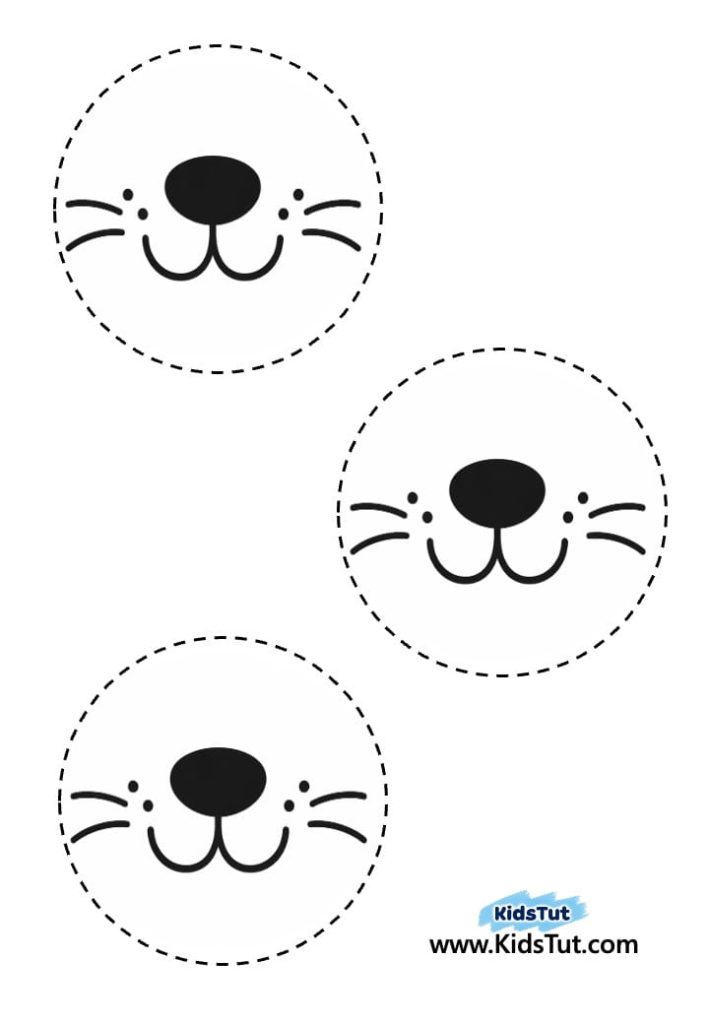
- Create facial features — Print the given facial features on white paper, cut them out, and paste them in the middle of the cotton-covered face.
- Add eyes — Glue two googly eyes above the facial features.
Substitutes You Can Use
- Cotton pads → White paper circles work just as well.
- White paint → Try white pencils or chalk for snowy dots.
- Templates → Children can draw the shapes themselves on the coloring sheet. This makes it more creative and suitable for kids.
- Nose → Cut and glue a small black paper circle, or use a black pom-pom ball.
- Mouth → Glue a piece of black string into the mouth shape, or simply draw it with a black marker.
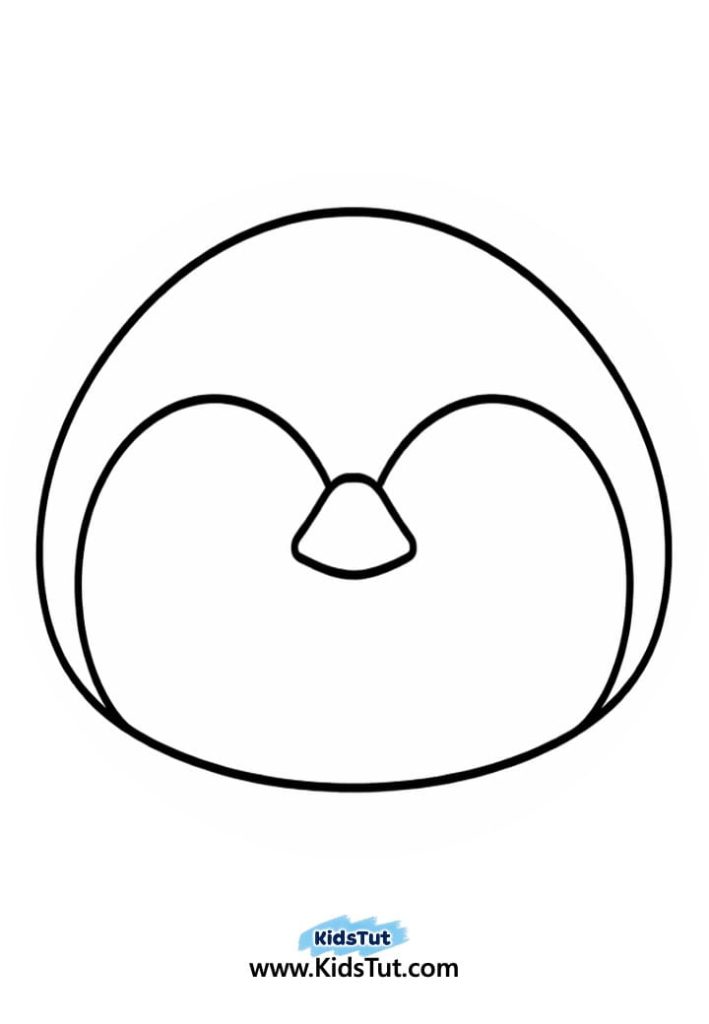
Templates:
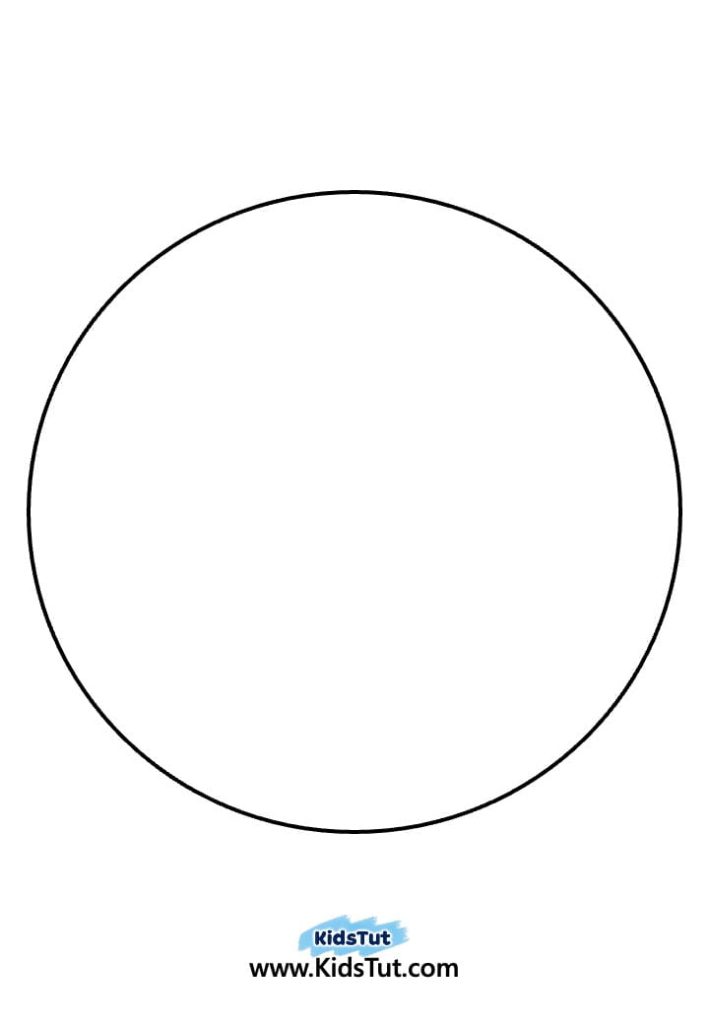
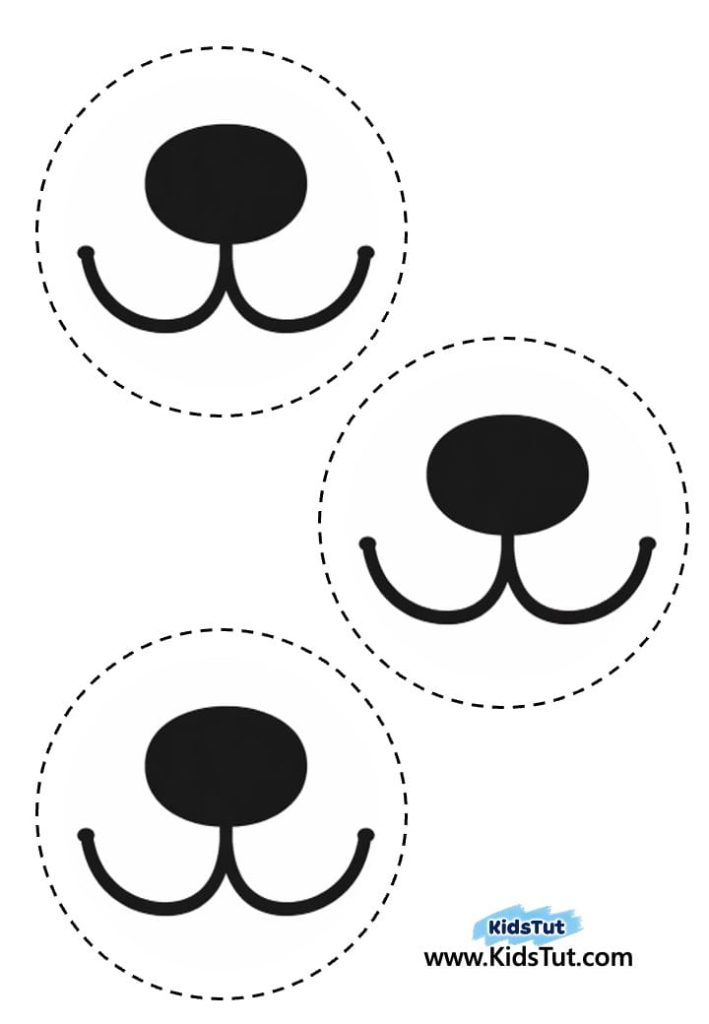

Click here to get the FREE PDF template: Download ( Printable )