This early childhood education stage is, therefore, the opportune moment to lay the foundation for literacy in children who are soaring in search of curiosity. Additionally, introducing them to the enchanting world of alphabet letters becomes the first step toward mastering the art of reading and writing. By guiding them through the tactile experience of tracing lowercase letters on dashed paper, we not only nurture their progression in literacy skills but also enhance language and fine motor abilities. Also, join us as we embrace this perfect opportunity to unlock the gateway to literacy for our young learners. So, learn and enjoy with our alphabet letter tracing worksheets.
*** You have the option to download the PDF file from this location. – Download
Explore more amazing Letter Tracing Worksheets for Kids:
Letter Tracing Worksheets for kids in uppercase – See More
Letter tracing worksheets for kids: The First Foundation of Literacy
The first step in building literacy for young children is, therefore, introducing the alphabet and helping them practice writing its letters. However, children need to develop flipping skills before introducing the alphabet. Also, Pre-writing assignments, in turn, gradually familiarize children with writing letter shapes. Additionally, children should start writing letters only after they have properly developed their pre-writing skills. So, you can discover prewriting assignments on this site to familiarize kids with drawing various shapes. By providing these Letter tracing worksheets and guiding children to reference them, you can effectively lead them through the fundamental steps of literacy.
Letter tracing worksheets for kids: 26 Worksheets for Lowercase Letters
These Letter tracing worksheets provide children with 26 worksheets to practice spelling by tracing the 26 lowercase letters of the English alphabet. Also, These pages arrange the letters of the English alphabet—A, B, C, D, E, F, G, H, I, J, K, L, M, N, O, P, Q, R, S, T, U, V, W, X, Y, Z—so that each page represents one letter.
Each page focuses on a single English letter, allowing children to learn correct letter formation following the rules. Additionally, they can enjoy coloring a picture that begins with that particular English letter.
Likewise, nine dashed-line letters help children practice writing each letter within nine boxes and allow them to get accustomed to proper letter formation. Then, you can find more information about these Letter Tracing Worksheets below.
Letter tracing worksheets for kids: Writing and Coloring the Letters
Then, let’s see how the above Letter Tracing Worksheets present each of the 26 letters to you.
Letter “a”
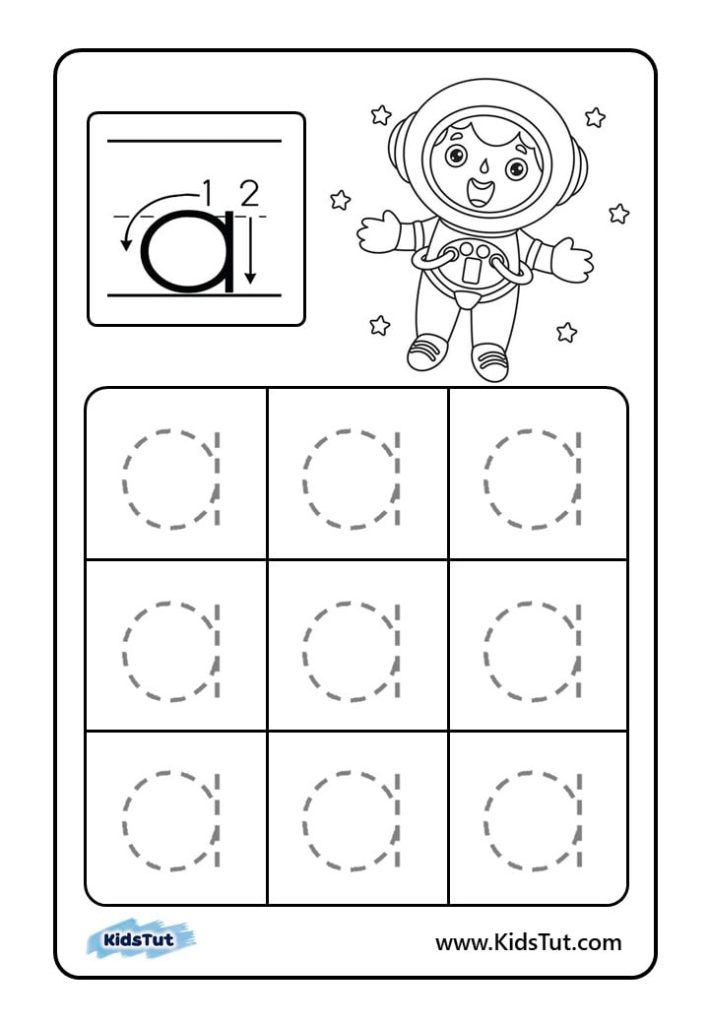
Firstly, you can see the simple letter “a” on the first assignment page. Write this letter between the middle rule and the bottom rule, starting with the circle part and then adding the backslash part. So, Teach the children to write simple letters correctly on the rules in this way. Also, Astronaut is a word that starts with that letter. So, there is an image of an astronaut to color here. Then direct the children to write the simple letter “a” correctly along the lines.
Letter “b”
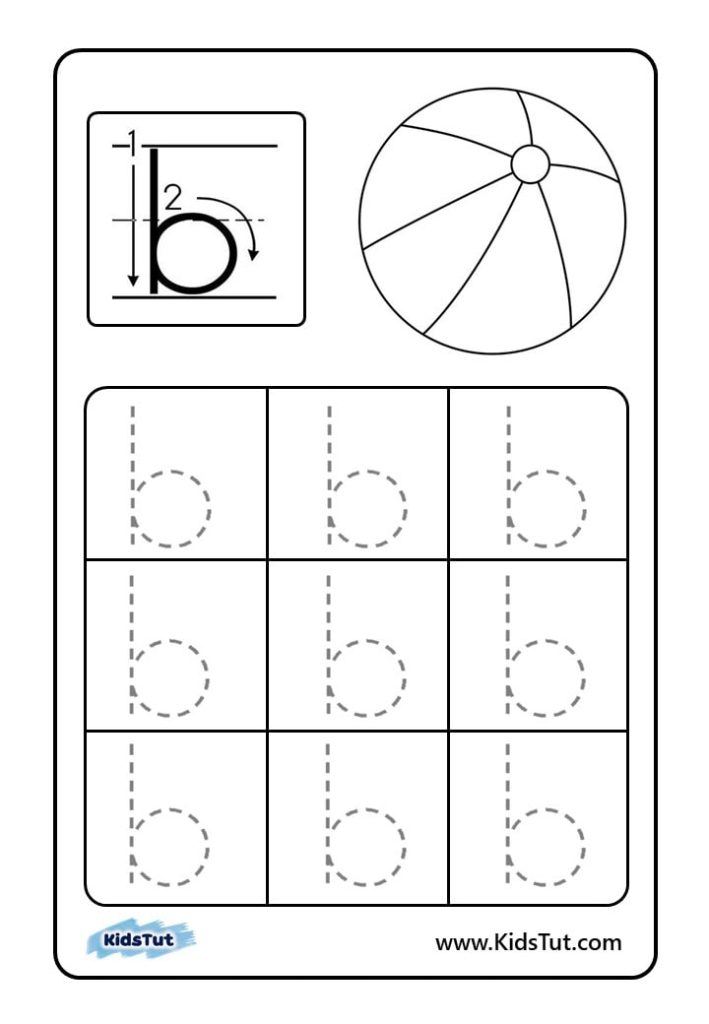
The second letter is the letter “b”. To begin, write the letter ‘b’ between the top rule and the bottom rule. Firstly, draw a straight line from the top rule to the bottom rule. Then, draw a half circle on the rule between the middle rule and the bottom rule to the right of the straight line drawn first. Later, color the picture corresponding to balls, a word starting with the letter “b”. Finally, write the simple letter “b” correctly along the dashed lines.
Letter “c”
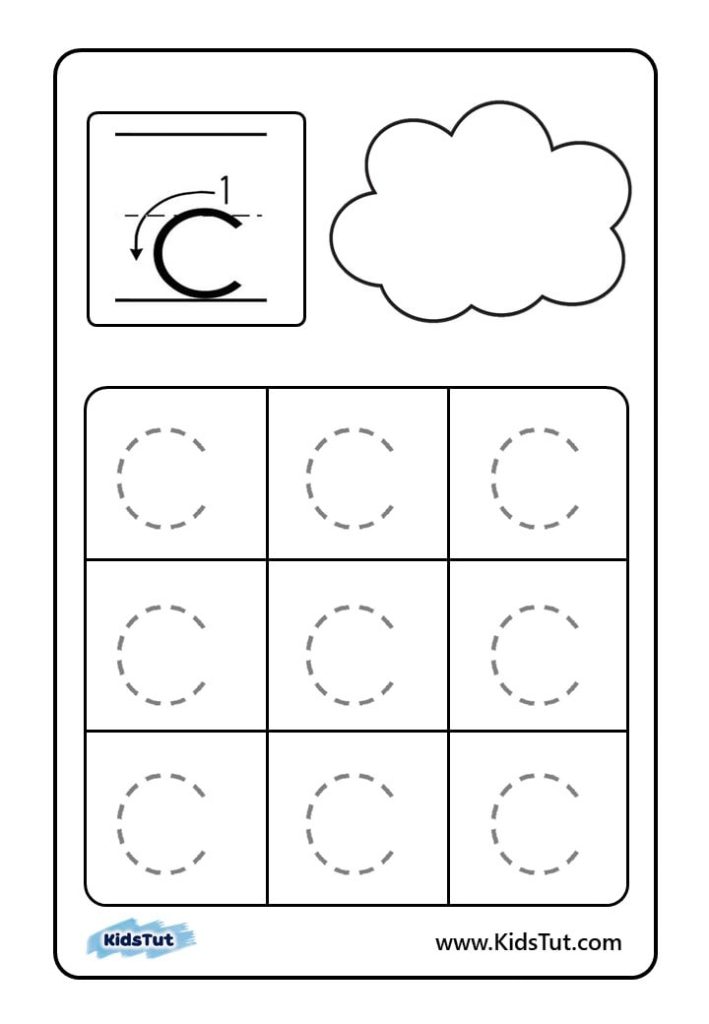
The third letter is the letter “c.” Firstly, color the cloud picture starting with the letter “c.” After that, write the simple letter “c” between the middle rule and the lower rule. Also, It writes from top to bottom like a half curve turned to the right. Finally, write the simple letter “c” along the dashed lines.
Letter “d”
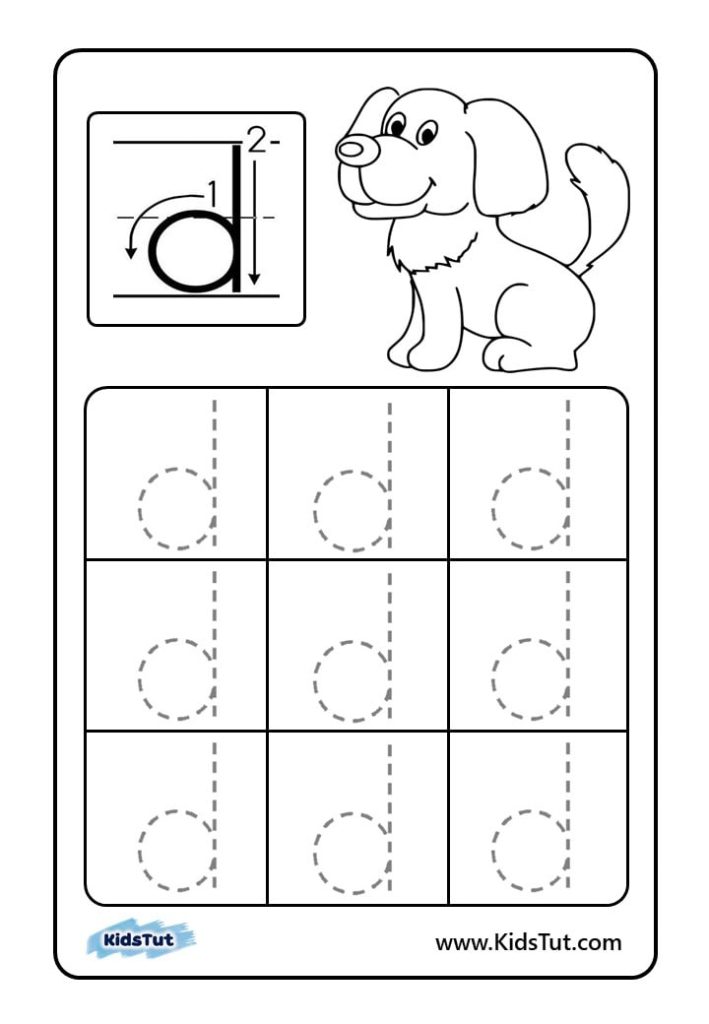
The fourth letter is “d”. Write the letter “d” in the opposite direction of the letter “b. First, draw a straight line between the top and bottom rulers, then draw a semi-curve to the left between the middle and bottom rulers. Also, Write the simple letter “d” along the given dashed lines. Then, Color the picture of the dog, a word starting with the letter “d”.
Letter “e”
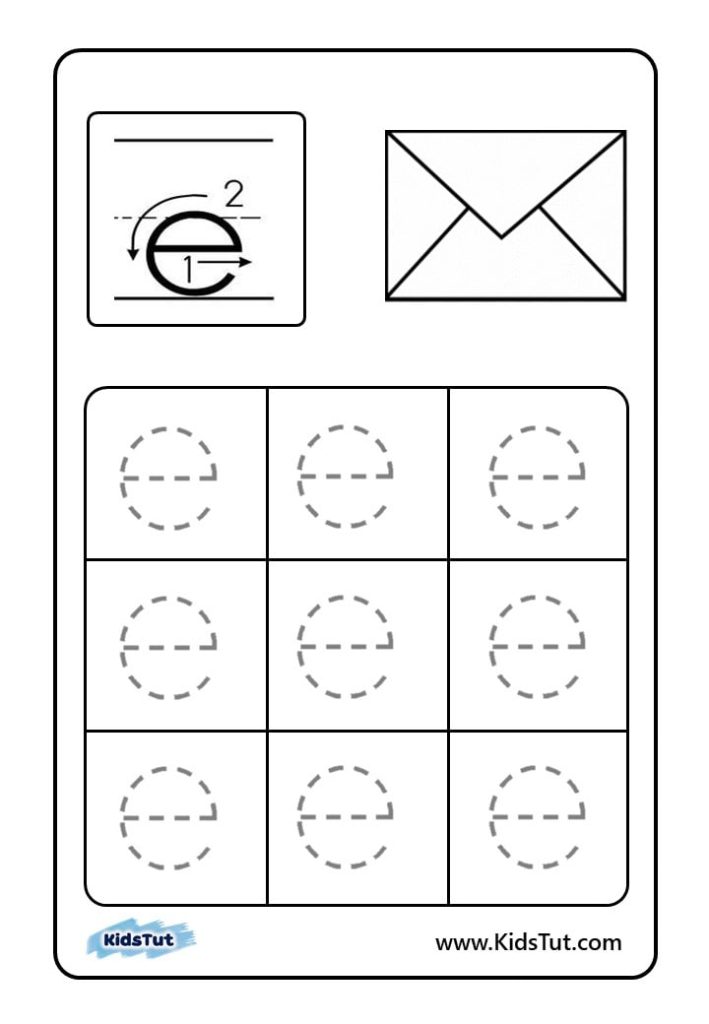
The fifth letter is the letter “e.” At first, write the simple letter “e” only between the middle ruler and the lower ruler. Later, draw a horizontal short line between the middle and lower rulers, parallel to those rulers. Then, draw a semi-curve downward from the end of that short vertical line. Finally, write the simple letter “e” along the dashed lines given in this way. Also, Color the picture of the envelope, a word starting with the letter “e.”
Letter “f”
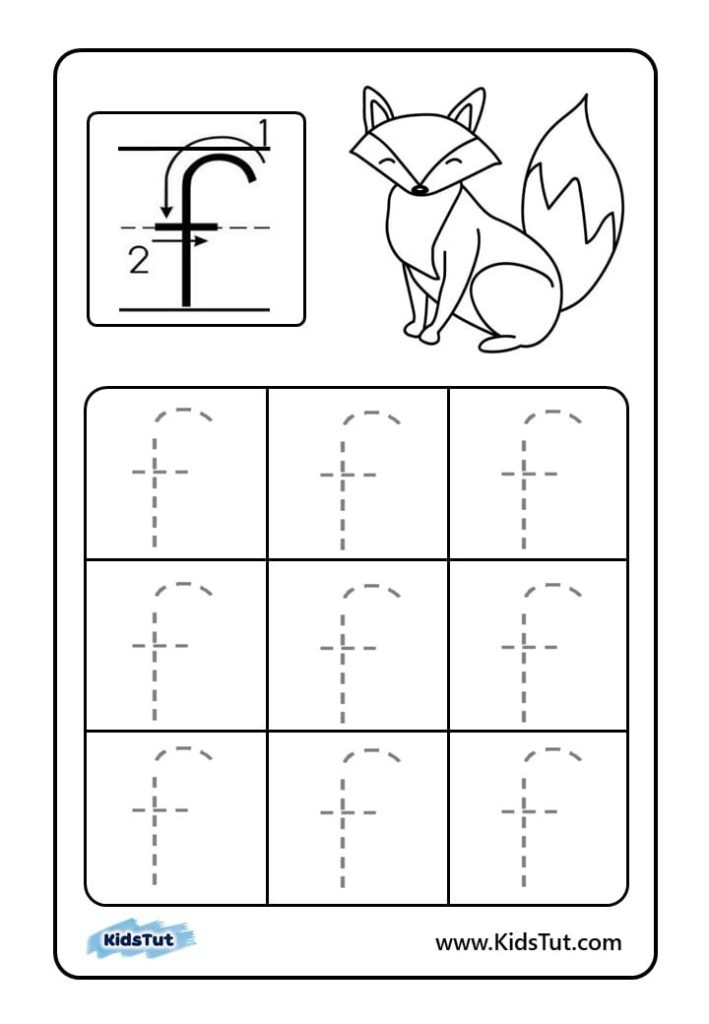
The sixth letter of the alphabet is the letter “f.” First, color the picture corresponding to the word “Fox,” a word that starts with the letter “f.” Then, write the letter “f” from the upper rule to the lower rule. Also, One part of the letter “f” forms a hook from the upper rule to the lower rule. Finally, draw a short horizontal line across the middle rule.
Letter “g”
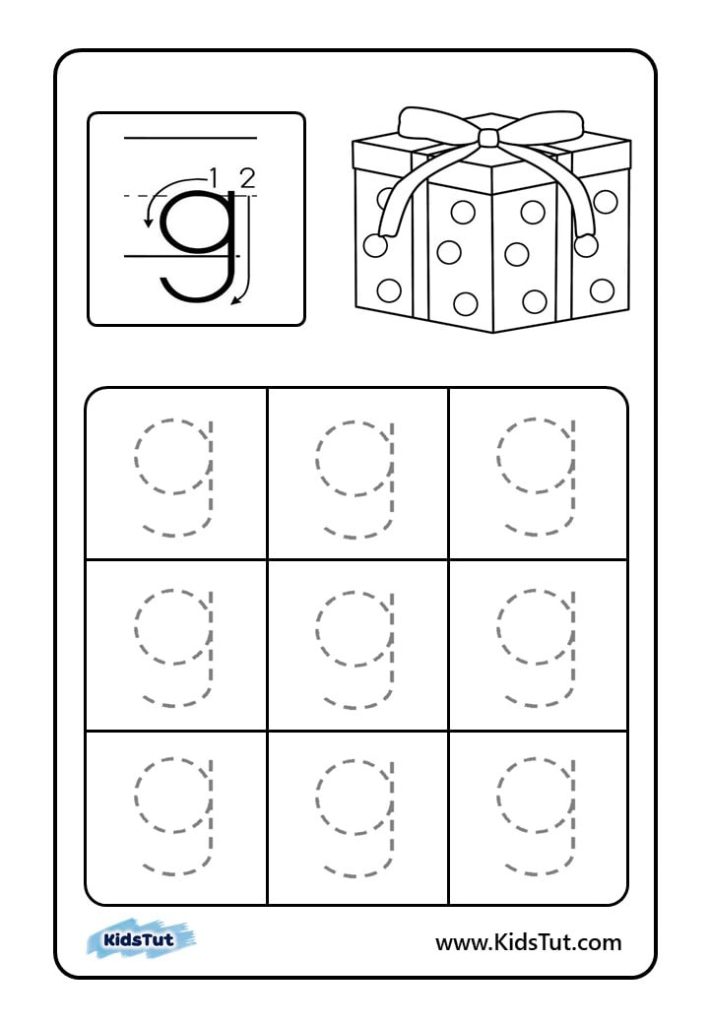
The seventh letter is the letter “g”. So, you write a simple “g” down from the middle ruler to the lower ruler. Furthermore, write the circular part of the letter “g” between the middle ruler and the lower ruler. Then, write a hook shape pointing downwards to the left, starting from the middle rule and passing the lower rule downwards. Color a gift starting with the letter “g”.
Letter “h”
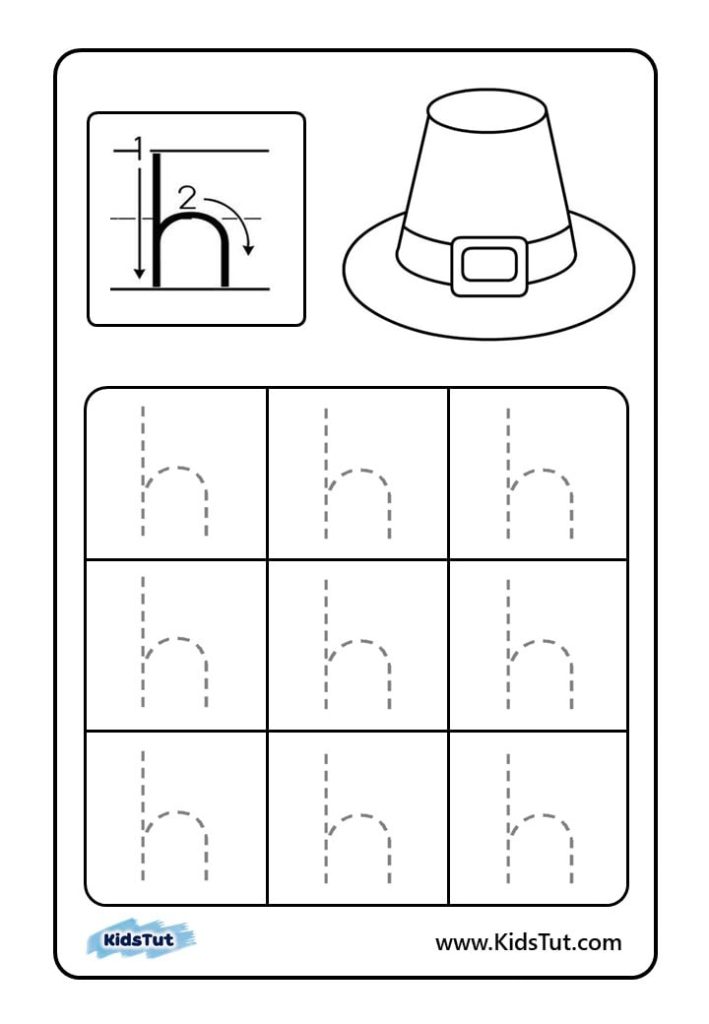
The eighth letter is the letter “h.” Firstly, color the picture represented by the word “hat,” a word beginning with the letter “h.” Next, write the letter “h” above the lines. Then, write the simple “h” from top to bottom. Finally, draw the straight line of the letter “h” from the upper rule to the lower rule, and write the semicircular part between the middle rule and the lower rule.
Letter “i”
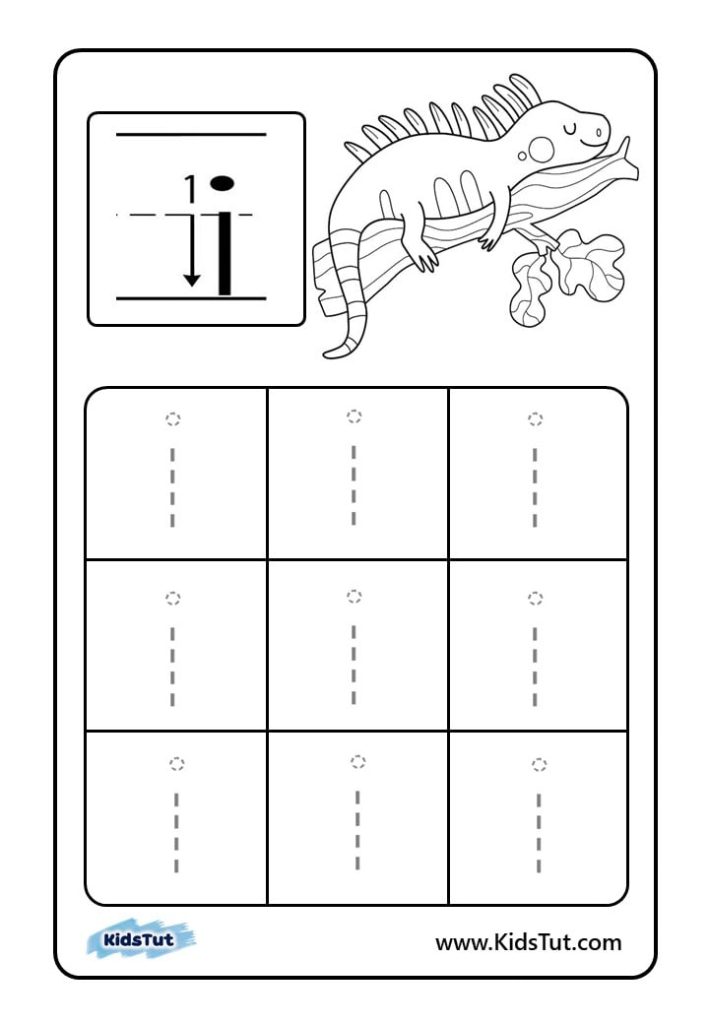
The ninth letter, “i,” appears on the ninth page. First, a simple “i” is an easy-to-write letter written between the middle rule and the lower rule. Next, draw a straight line between the middle and bottom lines and place a small dot just above it. Then, write the letter “i” along the given lines. Finally, color the iguanas starting with the letter “i.”
Letter “j”
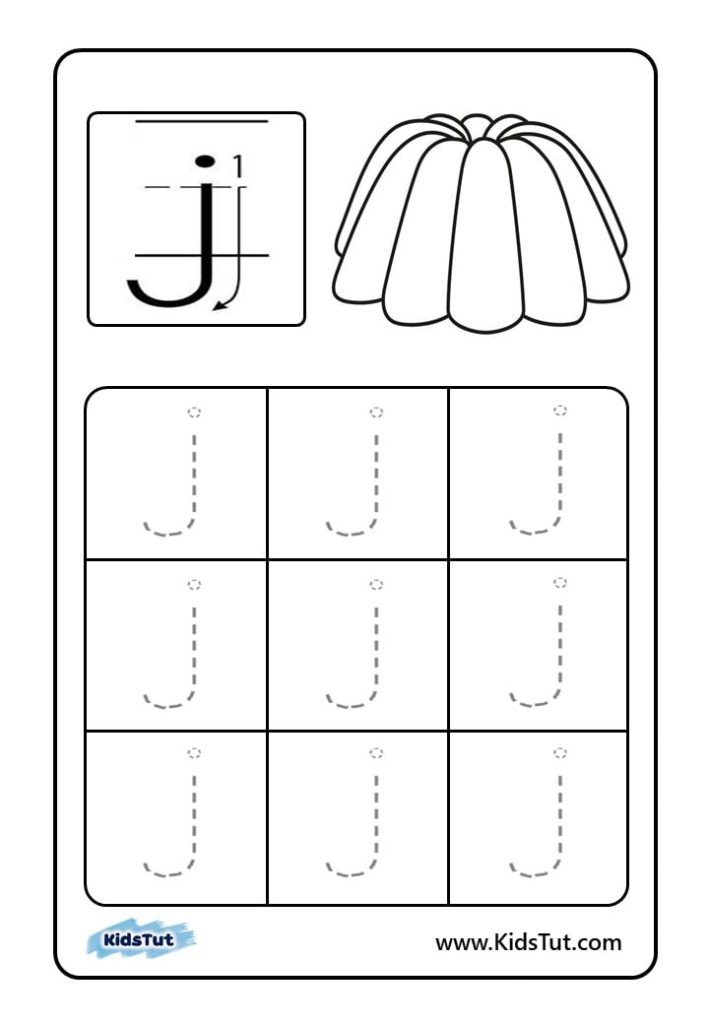
Now let’s see what the tenth letter is. That is the letter “j”. Children write a simple letter “j” in the shape of a hook, starting from the middle ruler and passing past the lower ruler. Then, they place a small dot just above the middle ruler. Write along the given letters like this. Color the jelly picture starting with the letter “j”.
Letter “k”
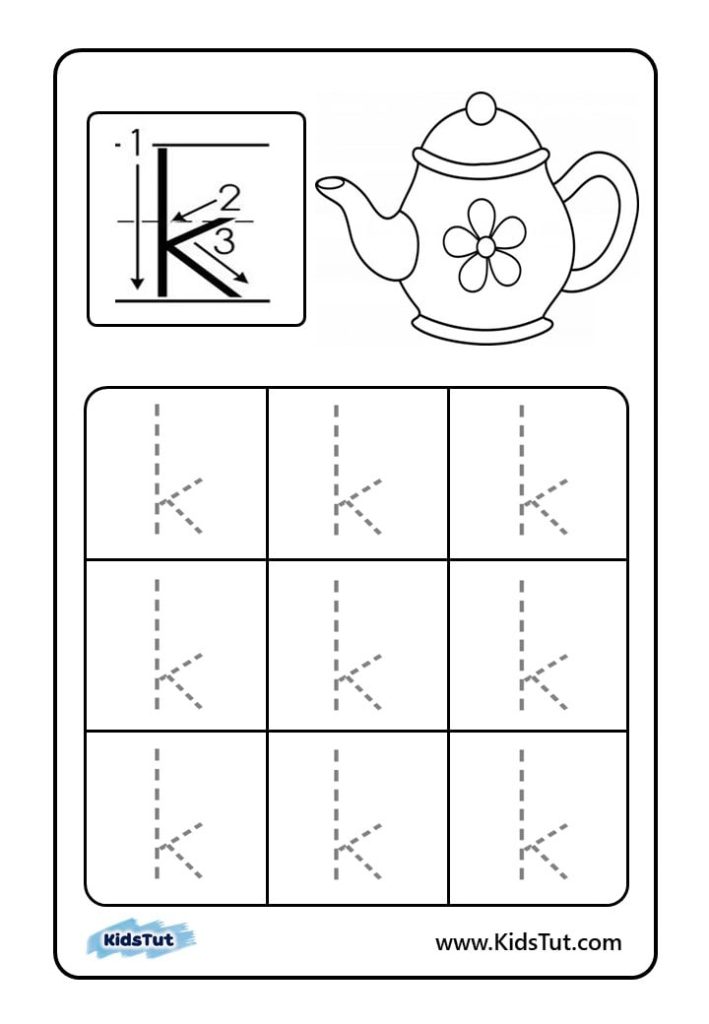
Next, let’s see how to write a simple letter “k”. Draw a straight vertical line from the top ruler to the bottom ruler. Then draw two lines from the middle rule to the bottom rule as shown in the image. In this way, write the simple letters “k” along the dashed lines. Color the kettle.
Letter “l”
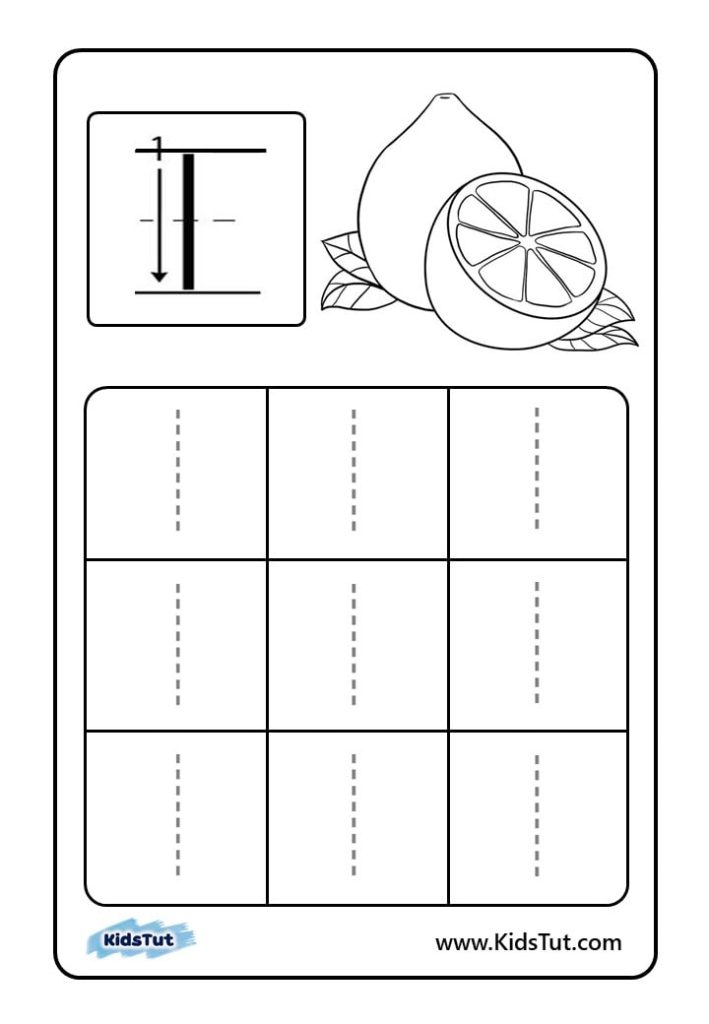
“L” is the twelfth letter of the alphabet. Color the lemon with the letter “l”.Writing the simple letter “l” is very easy. You write it as a vertical line from the upper ruler to the lower ruler.
Letter “m”
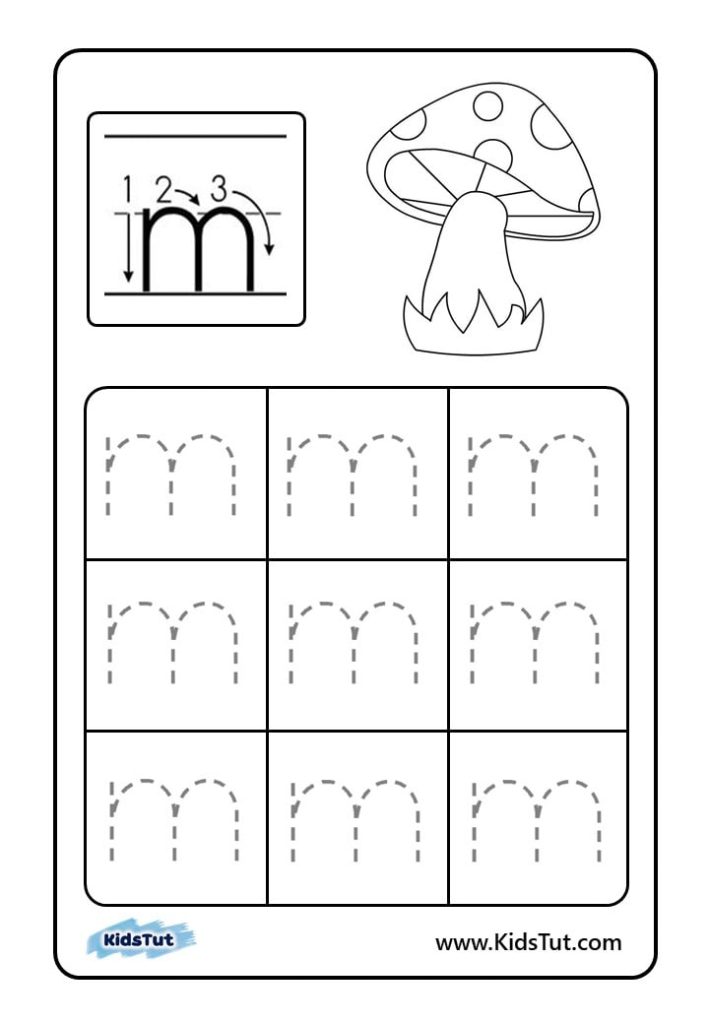
Color the mushroom with the letter “m”. The letter “m” is written between the middle and lower rules. First, draw a vertical line from the middle rule to the bottom rule. Second, draw two downward-facing curves from the middle ruler to the lower ruler to write the simple letter “m”.
Letter “n”
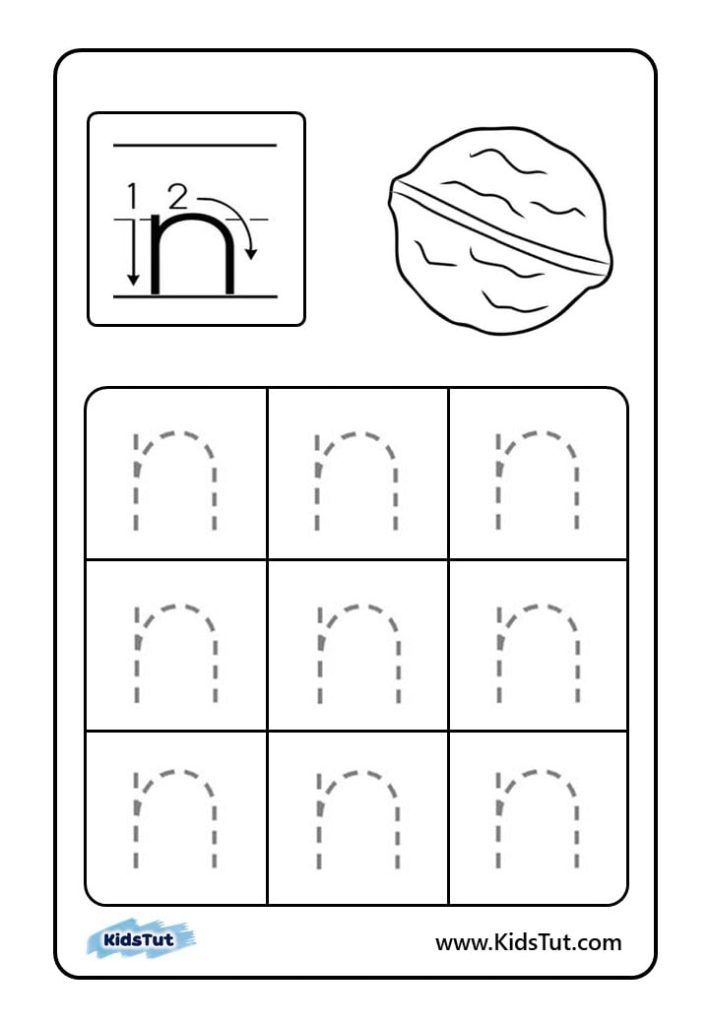
Simple “n” is written in the same way as M in the middle rule between the lower rule. Writing “n” requires a vertical line and one curved semicircle.
Letter “o”
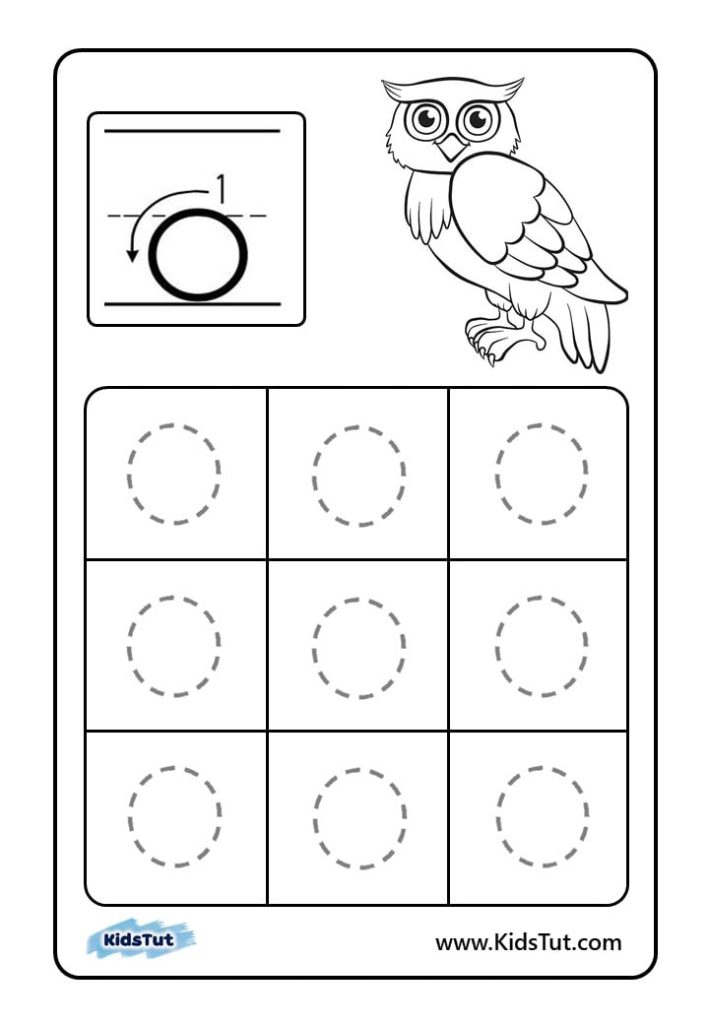
The letter “o” is the fifteenth letter of the alphabet. It is very easy to write. The simple letter “o” is written as a circle between the middle and lower lines. Color the owl with the letter “o”.
Letter “p”
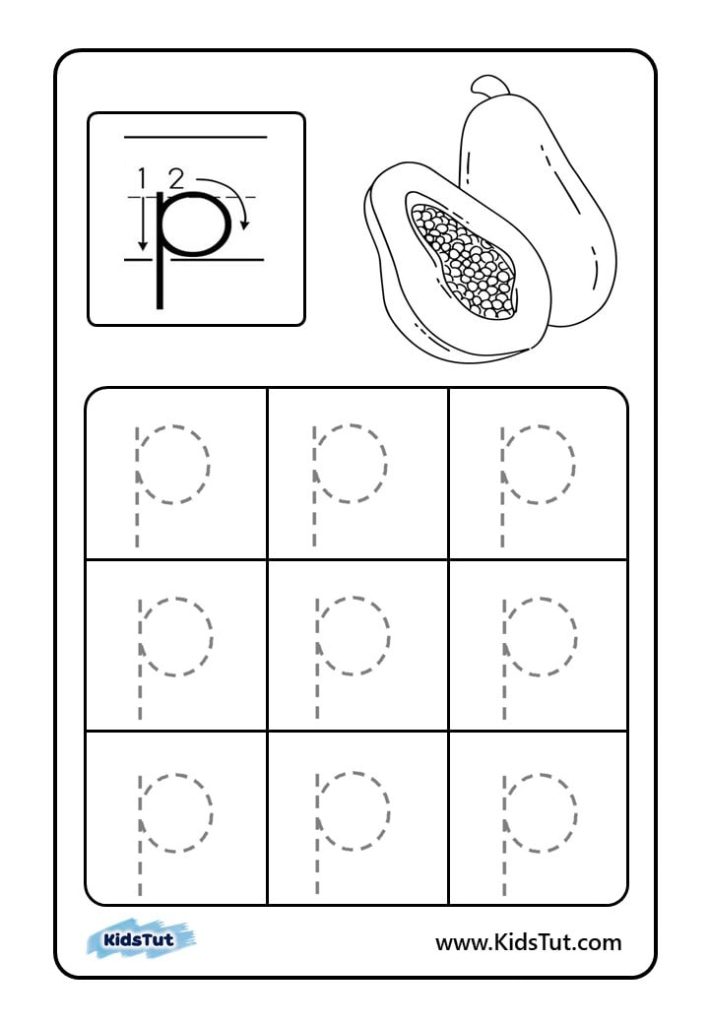
The letter “p” is the letter after the letter “o”. In writing the simple letter “p”, a circle is drawn between the middle rule and the lower rule, and a vertical line is drawn from the middle rule past the lower rule.
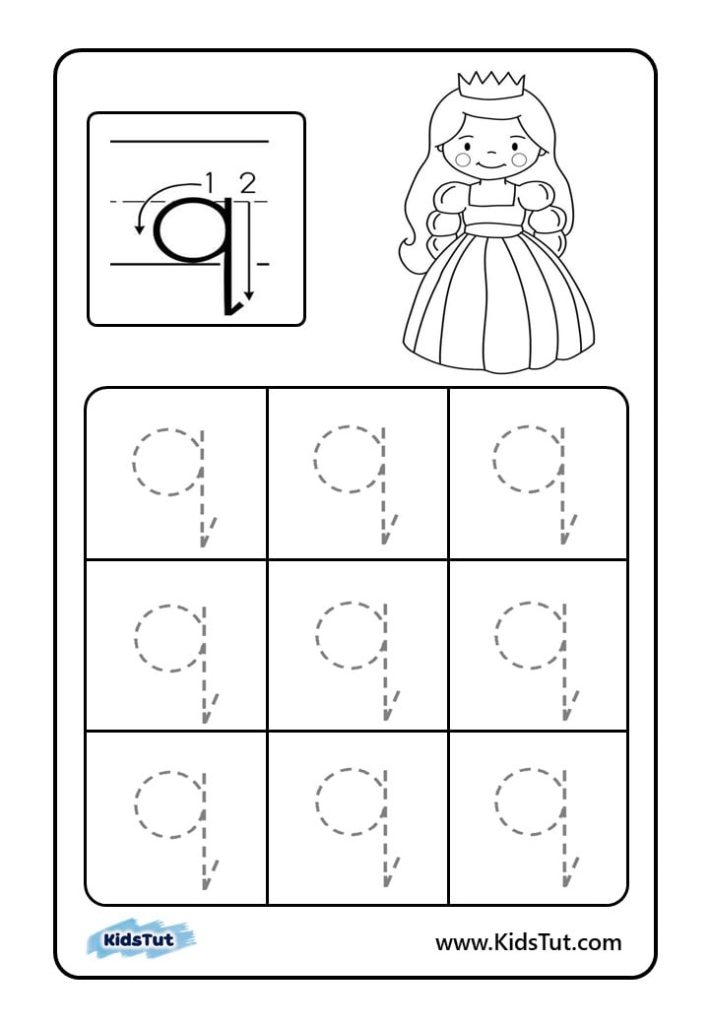
Letter “q”
“q” is the next letter. Color the Queen from the letter “q”. A simple “q” is written on the opposite side of the letter “p”. A short dash has also been added to the end of the vertical line of the letter “q”.
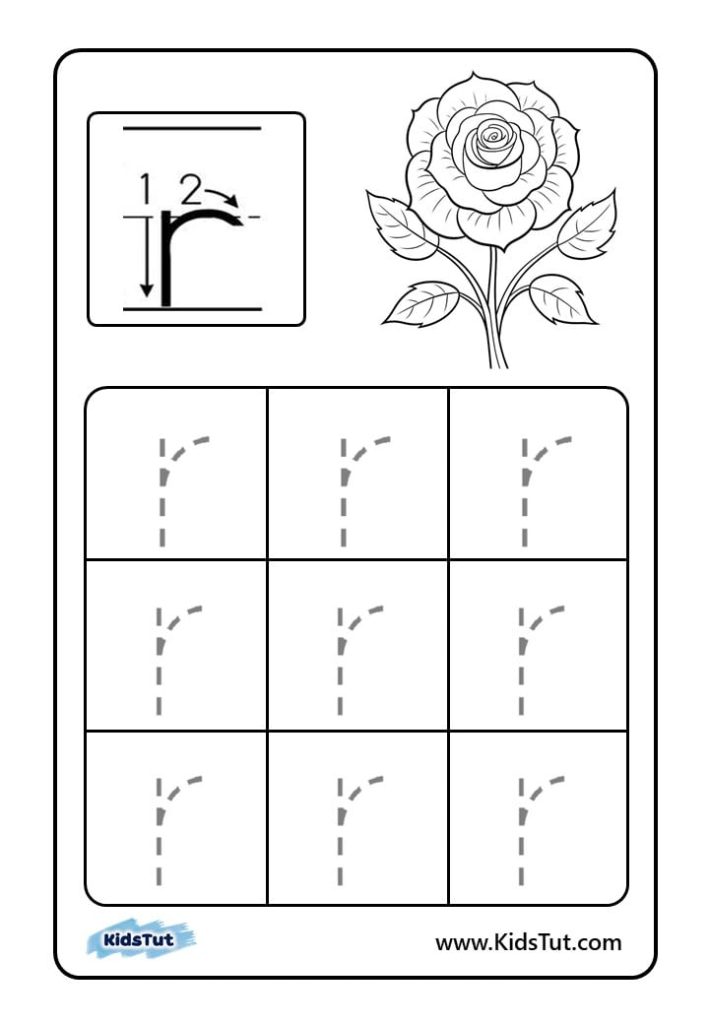
Letter “r”
A simple “r” is written between the middle and lower rules. Draw a vertical line between the middle and bottom rules, and then connect a small hook shape to the middle rule to the vertical line. Practice writing the simple letter “r” along the lines like this.
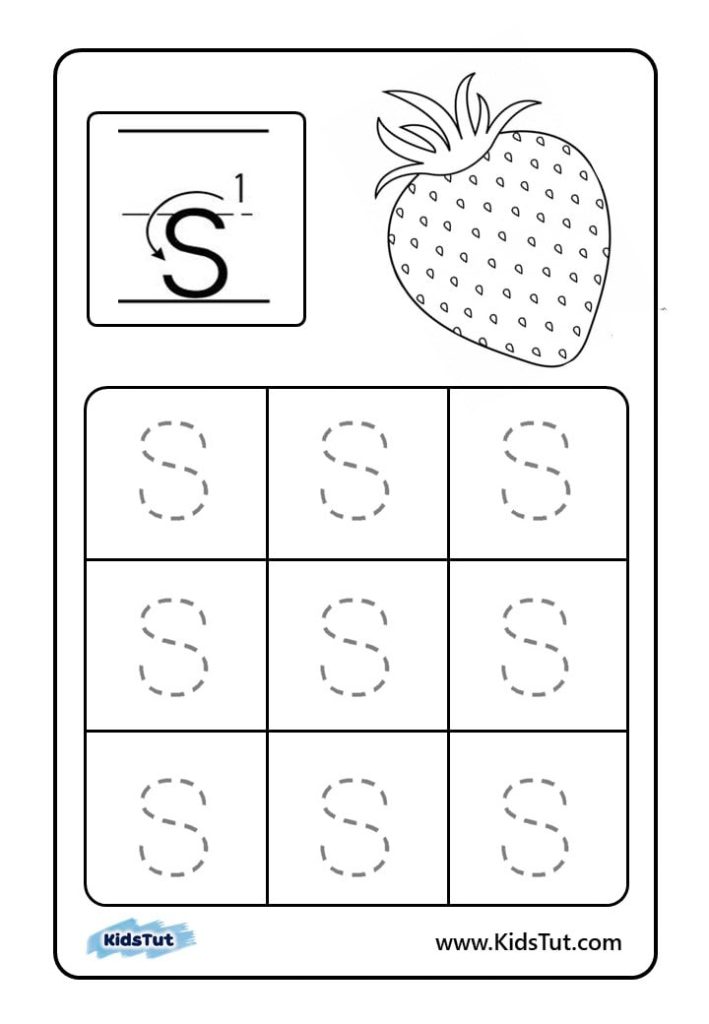
Letter “s”
Let’s look at the letter “s” next. Simple “s” is a curved shape that runs from the middle rule to the bottom rule. Get used to writing the simple letter “s” as on page 19 above.
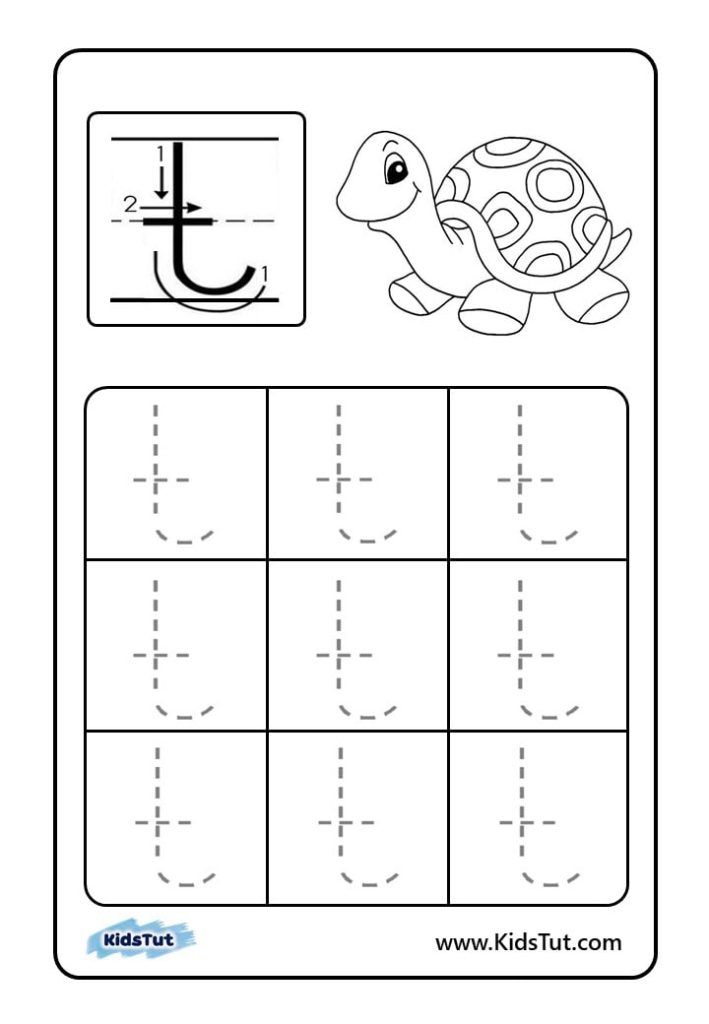
Letter “t”
The 20th letter of the alphabet is the letter “t”. The letter “t” shape is the opposite of the letter “f” shape. Draw a hook shape from the top ruler to the bottom ruler, and draw a short horizontal dash along the middle ruler.
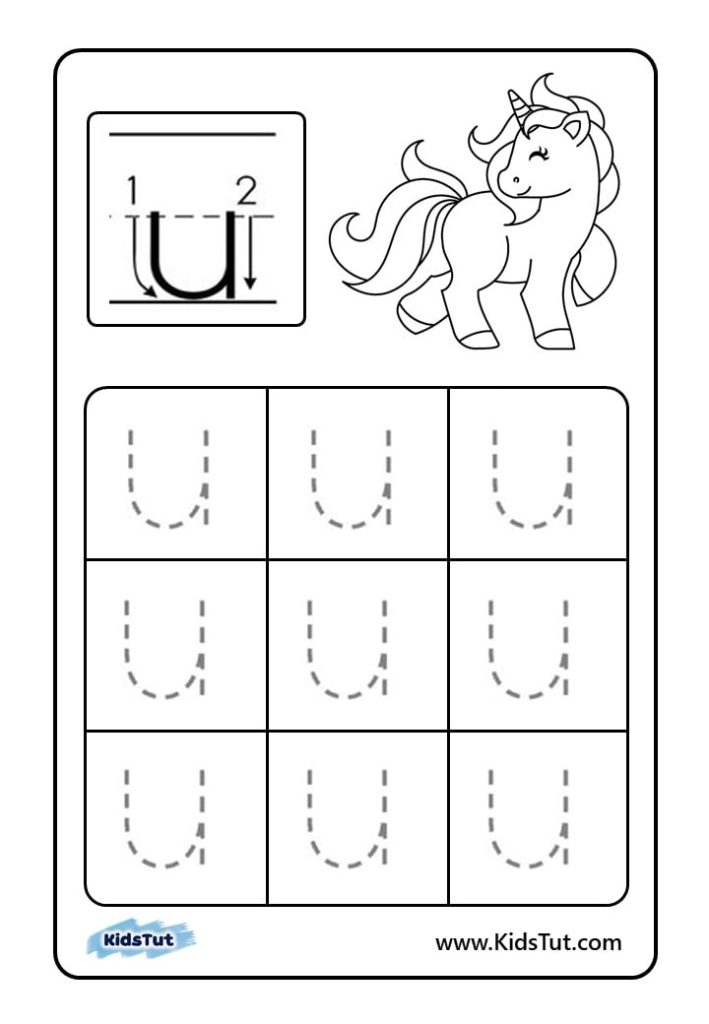
Letter “u”
The letter “u” is the letter after the letter “t”. Color the unicorn with the letter “u”. The simple “u” letter consists of an upside-down half circle from the upper to the lower line and a short line from the middle rule to the lower rule connected to the back of the circle.
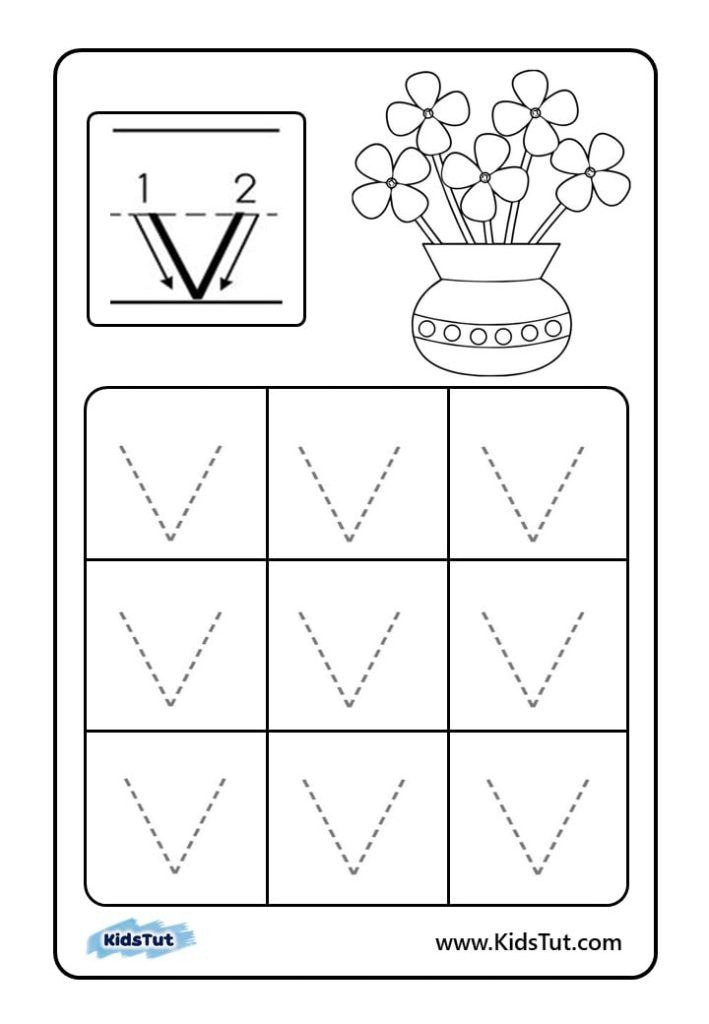
Letter “v”
“v” is the next letter. The letter “v” is two intersecting slashes written between the middle and the underline. Color the pot with the letter “v”.
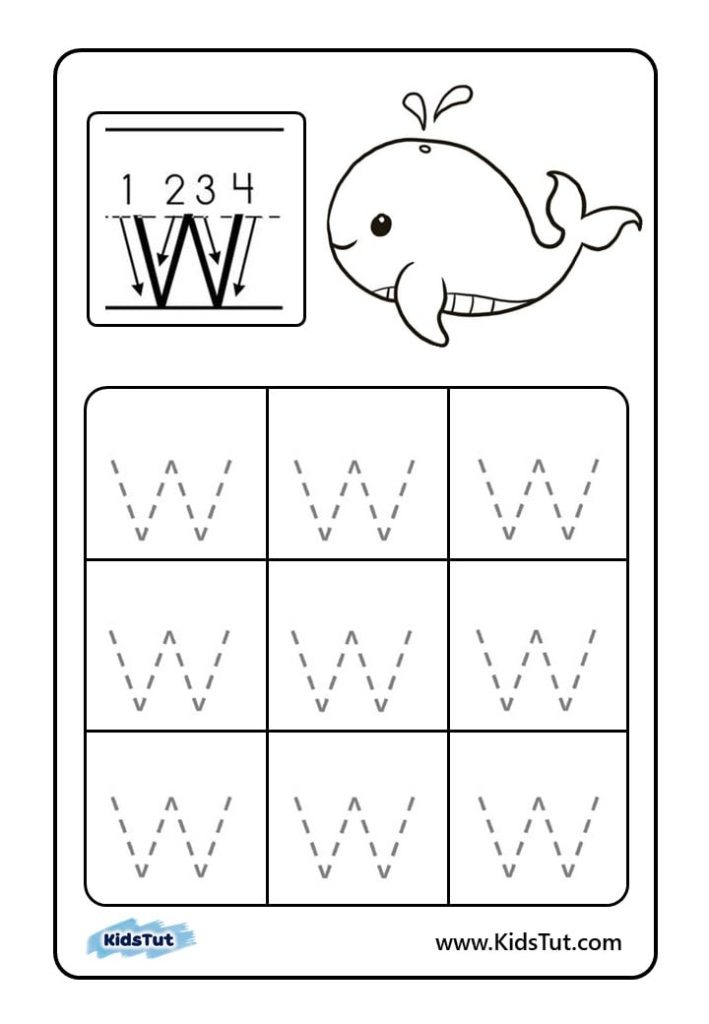
Letter “w”
Let’s see how to write the simple letter “w”. The letter “w” is written from the middle rule to the lower rule. It is written with two letters “v” joined together. Look at page 23 above and write the letter W correctly.
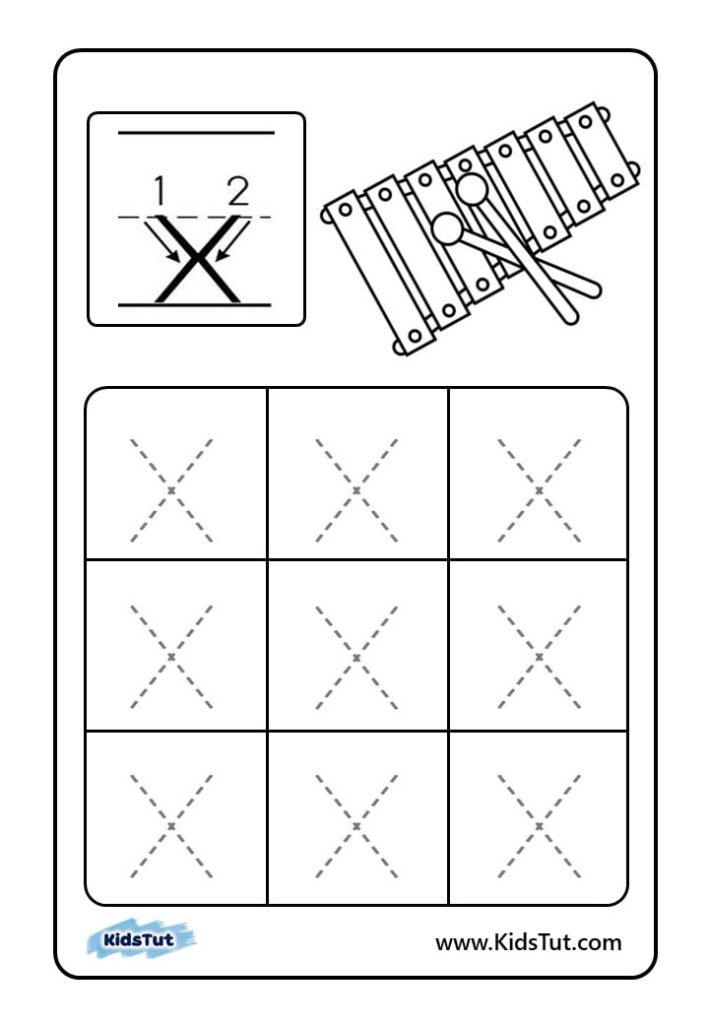
Letter “x”
The letter “x” is written with two crossed lines crossing each other. A simple “x” is only written between the middle ruler and the lower ruler.
Letter “y”
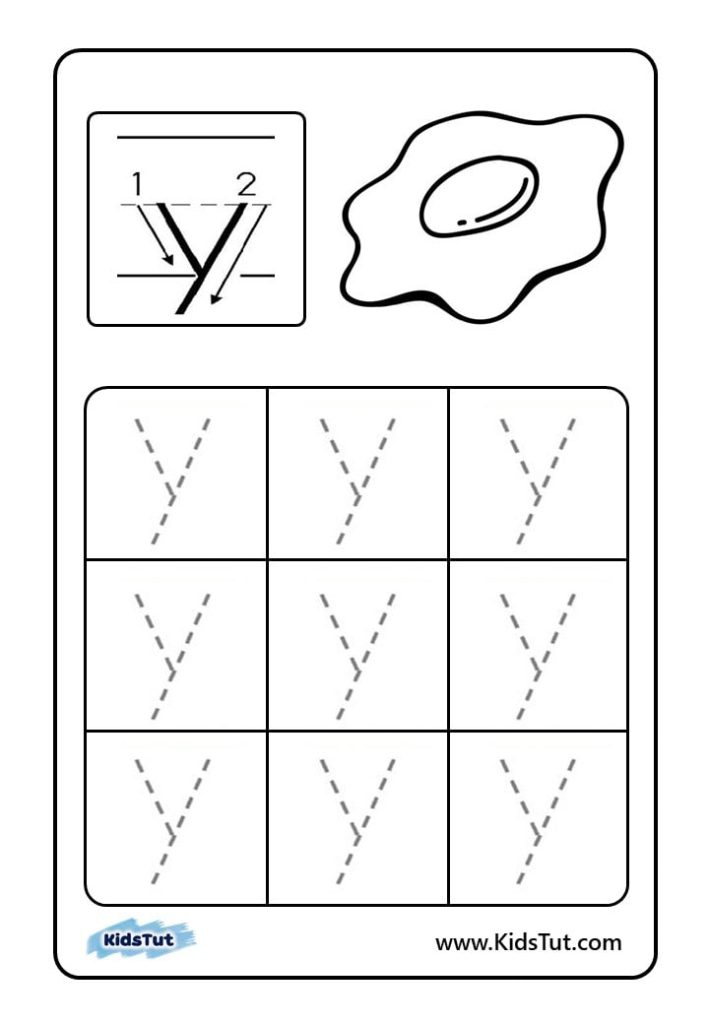
The “y” letter is the twenty-fifth letter. A simple “y” is written starting from the middle rule and passing the lower rule. First, write a vertical line from the middle rule to the bottom rule. Second, starting from the middle ruler and passing the lower ruler, draw a cross line next to the first line.
Letter “z”
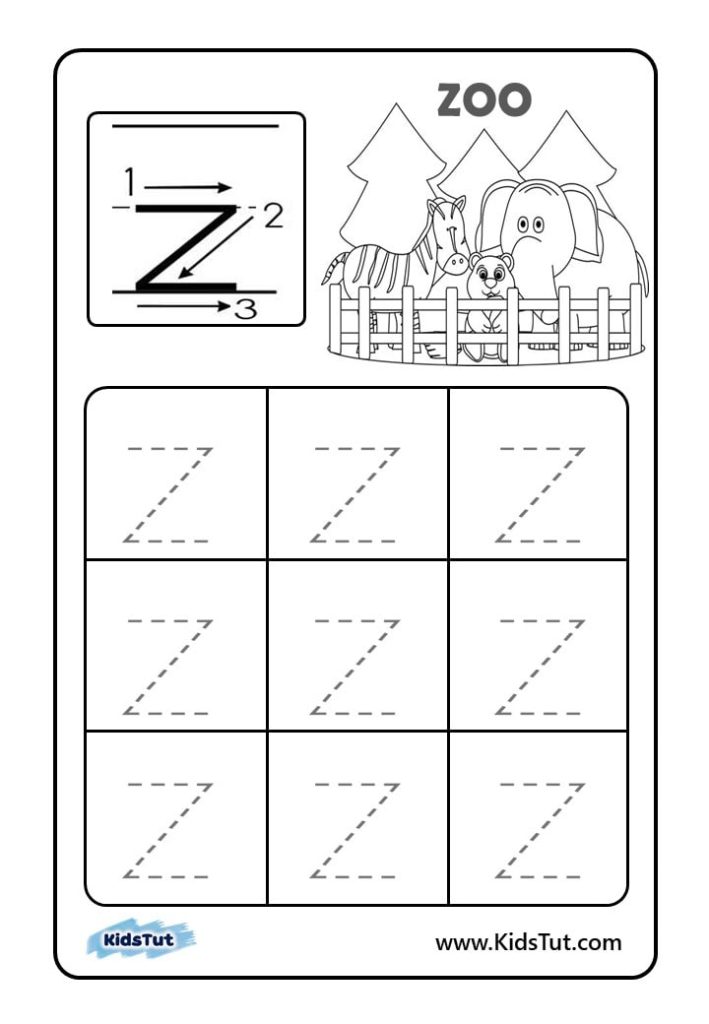
The last and 26th letter of the alphabet is the letter “z”. A simple “z” is written in the middle of the ruler between the lower ruler. First, draw a short horizontal line along the middle ruler. Second, write a cross from the end of the line to the rule. Draw a short horizontal line along the bottom rule from where the diagonal line is. Practice writing the letter “z” like this.
Good luck to all the little ones, helping them get accustomed to writing all 26 simple letters of the alphabet!
