Fun Tissue Paper Mosaic Art Ideas for Kids
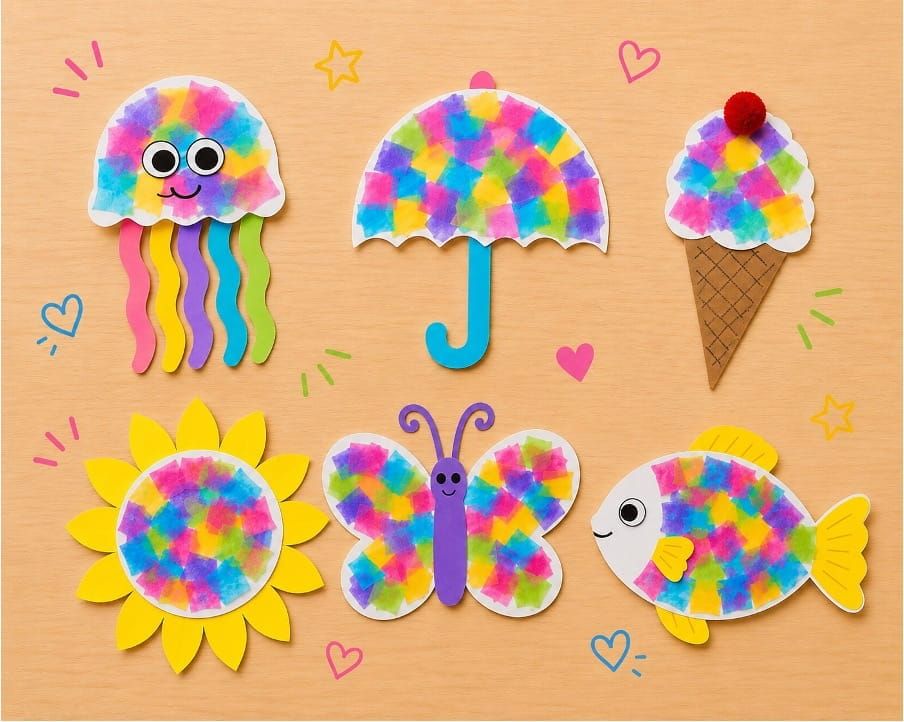
Summer is the best time for colorful crafts! 🌞 With tissue paper mosaics, kids can tear, cut, and paste bright pieces to make amazing pictures like ice cream, fish, butterflies, and more. These crafts are simple, playful, and perfect for classrooms or at home.
What You Need
- Printed templates (ice cream, fish, butterfly, jellyfish, umbrella, sun/flower)
- Colored sheets (brown, yellow, red, etc.)
- White craft board
- Tissue paper in bright colors
- Scissors
- Glue stick
- Crayons or markers
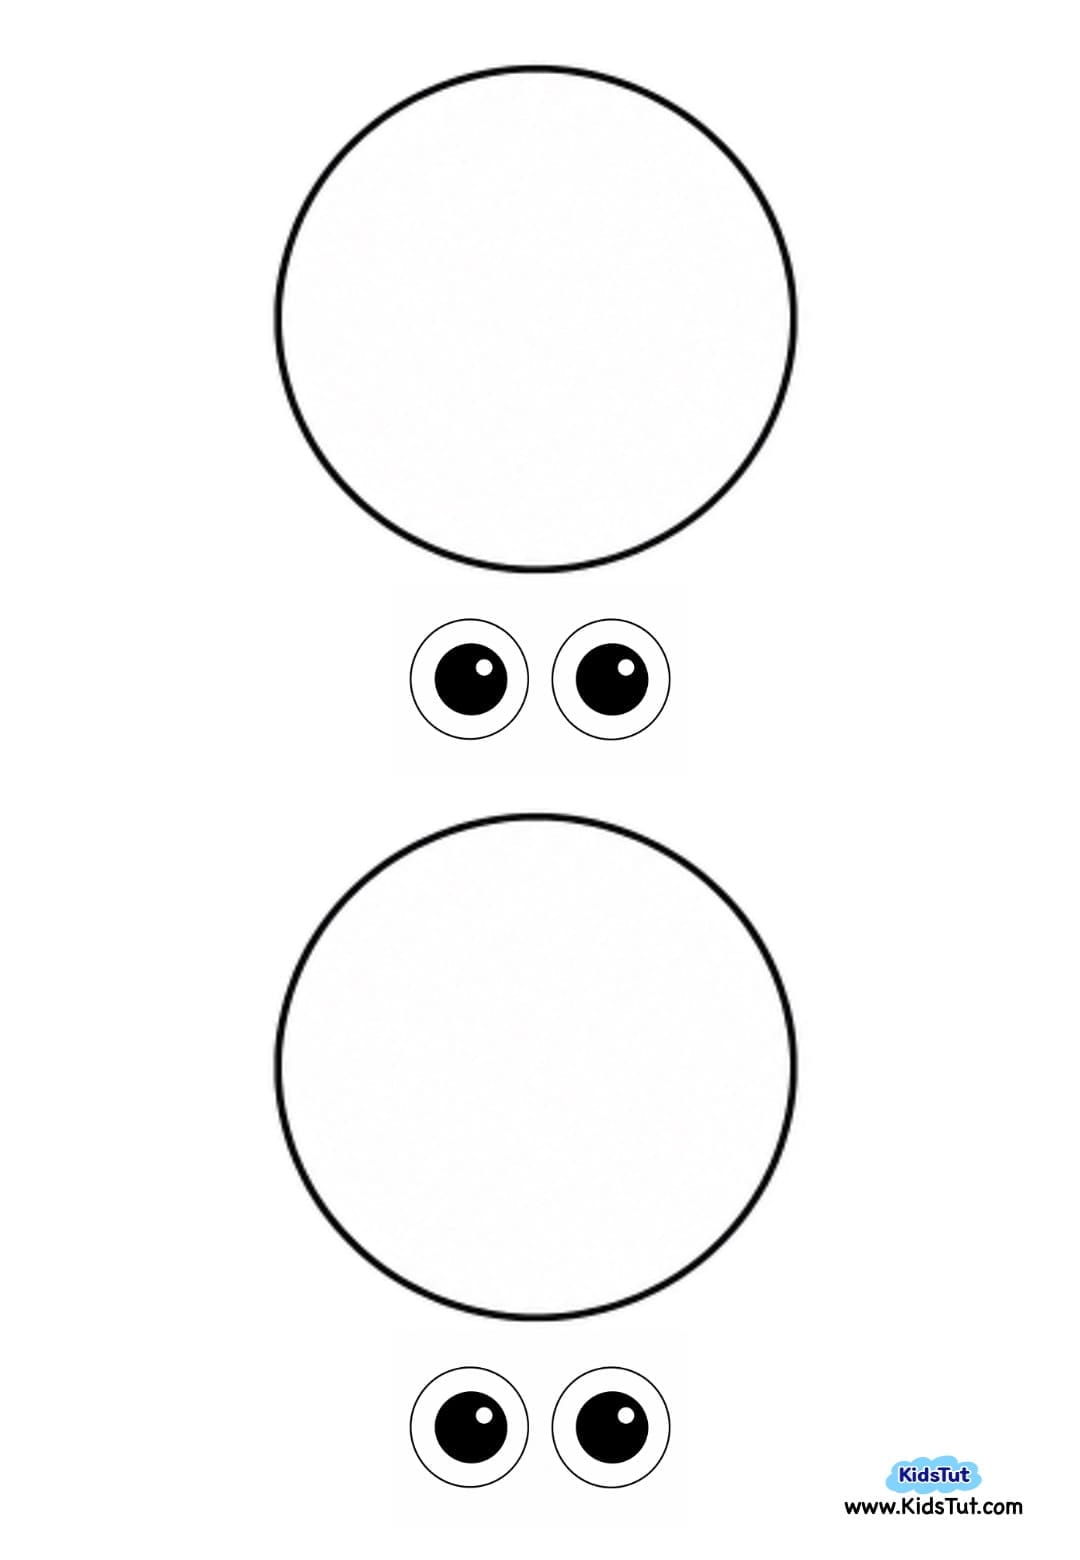
- Googly eyes (optional)
- Ribbon or yarn (optional for hanging)
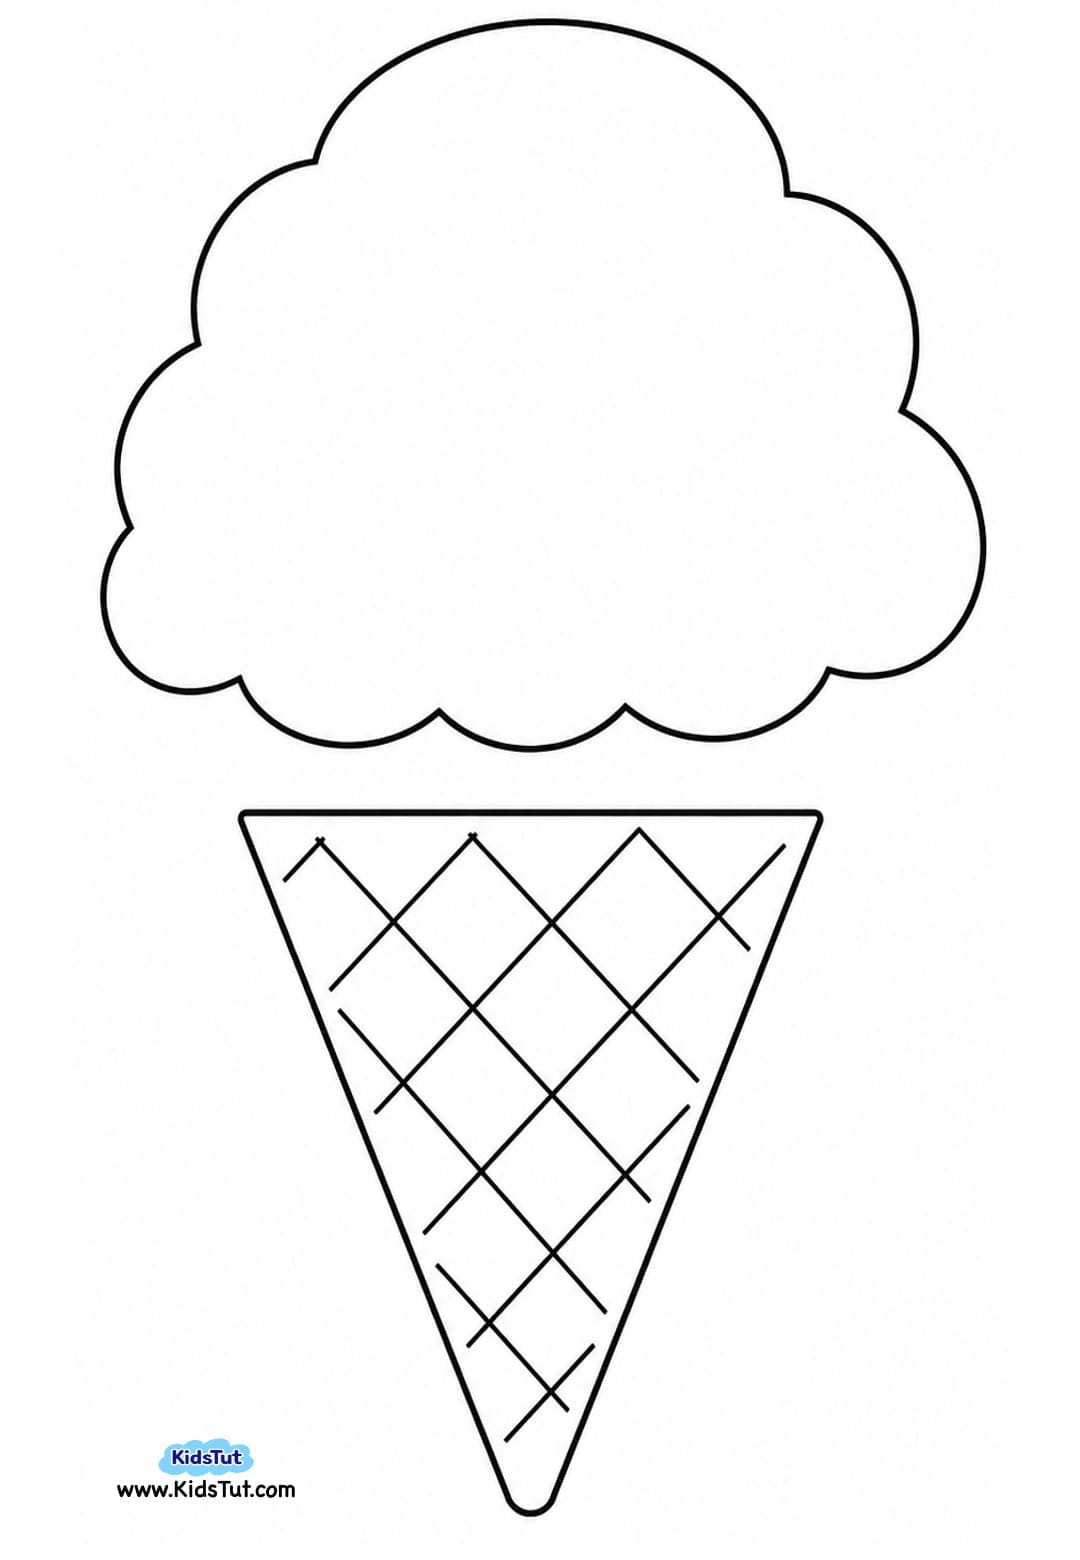
Ice Cream Tissue Mosaic
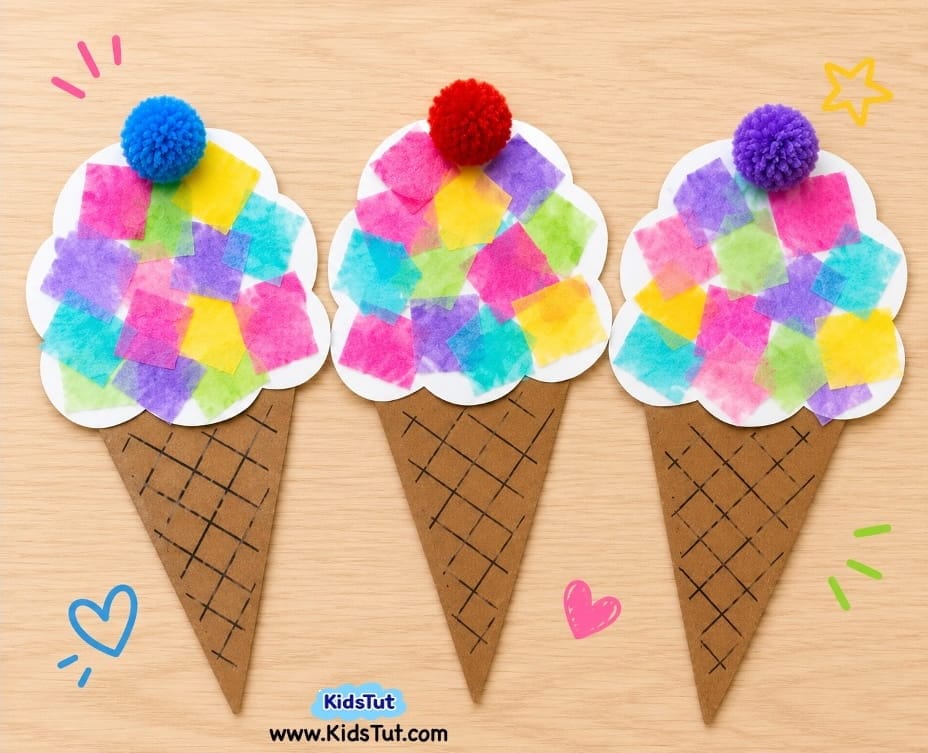
How to make:
- Print the cone on brown paper and the scoop on a white craft board.
- Cut colorful tissue into small pieces.
- Paste tissue pieces on the scoop, let dry, then attach the cone.
Templates:
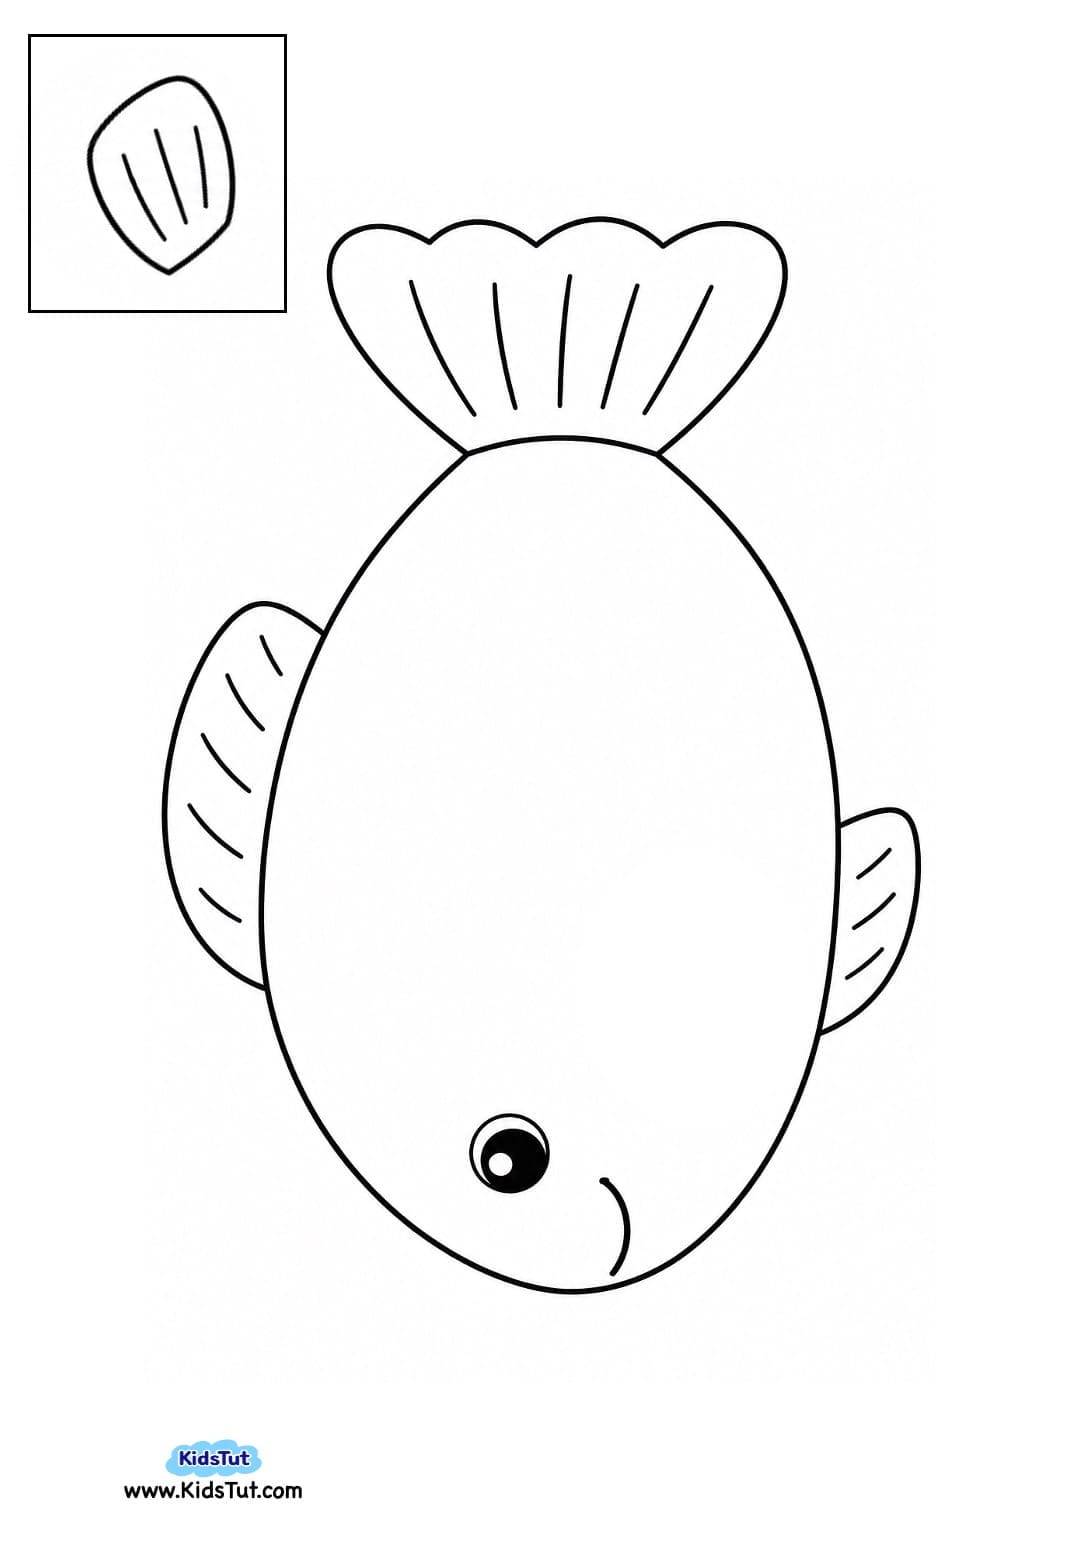
Fish Tissue Mosaic
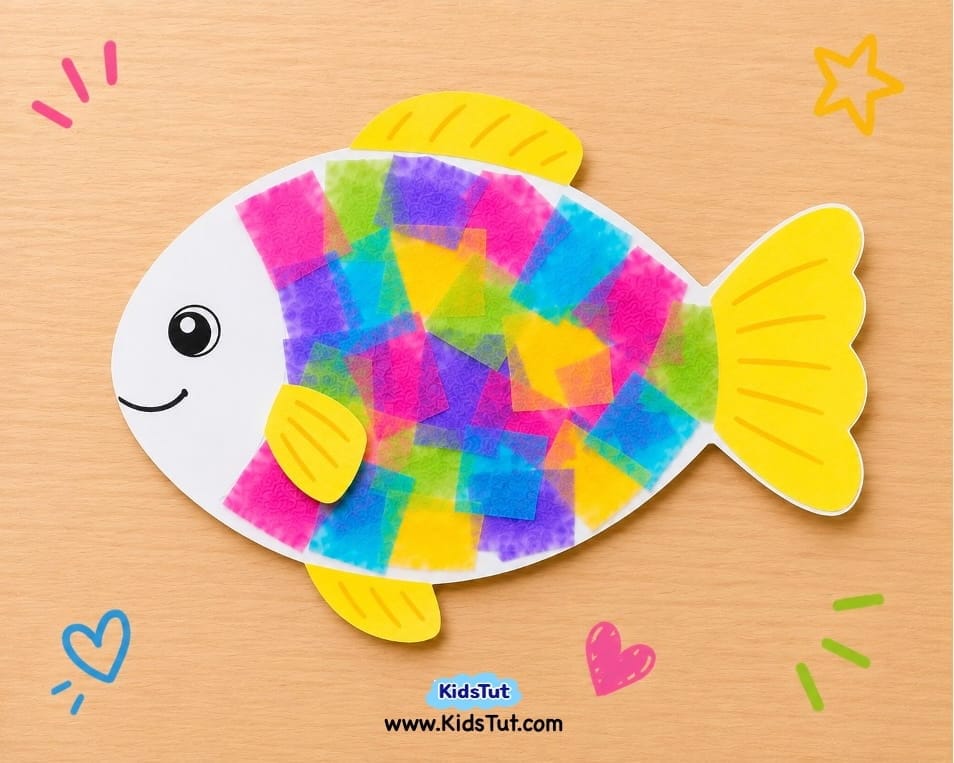
How to make:
- Print and cut the fish shape from the white craft board.
- Color fins yellow.
- Paste tissue pieces on the fish's body.
- Add extra fin shapes for detail.
Templates:
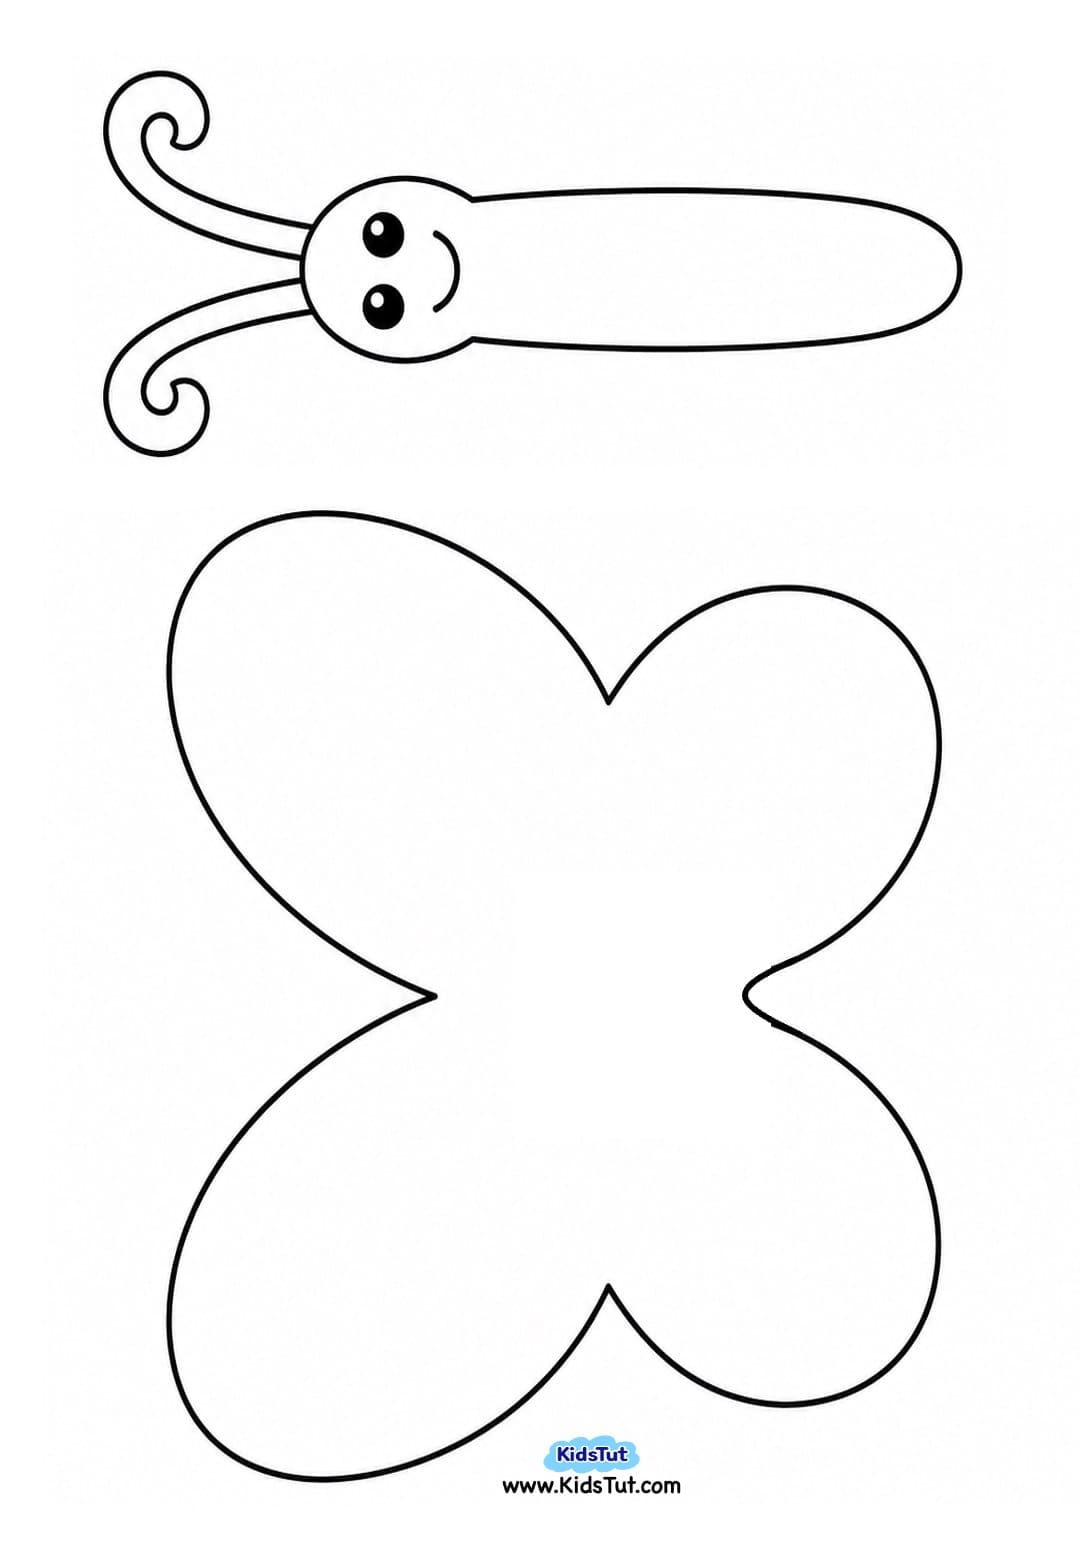
Butterfly Tissue Mosaic
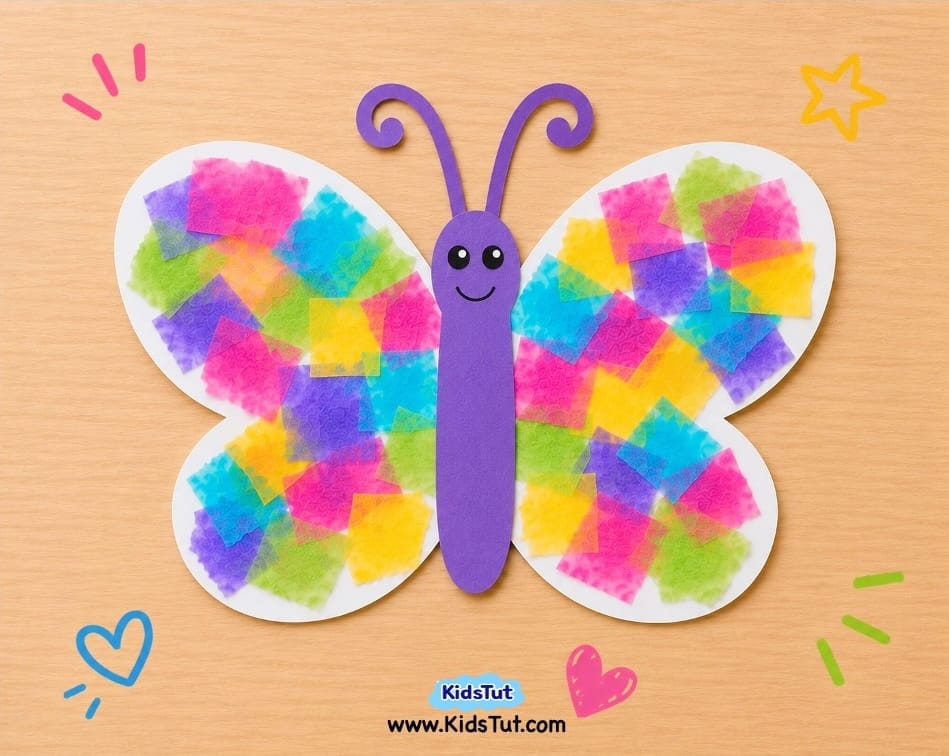
- Print and cut butterfly wings from a white craft board.
- Decorate with colorful tissue pieces.
- Paste the butterfly body in the center.
Templates:
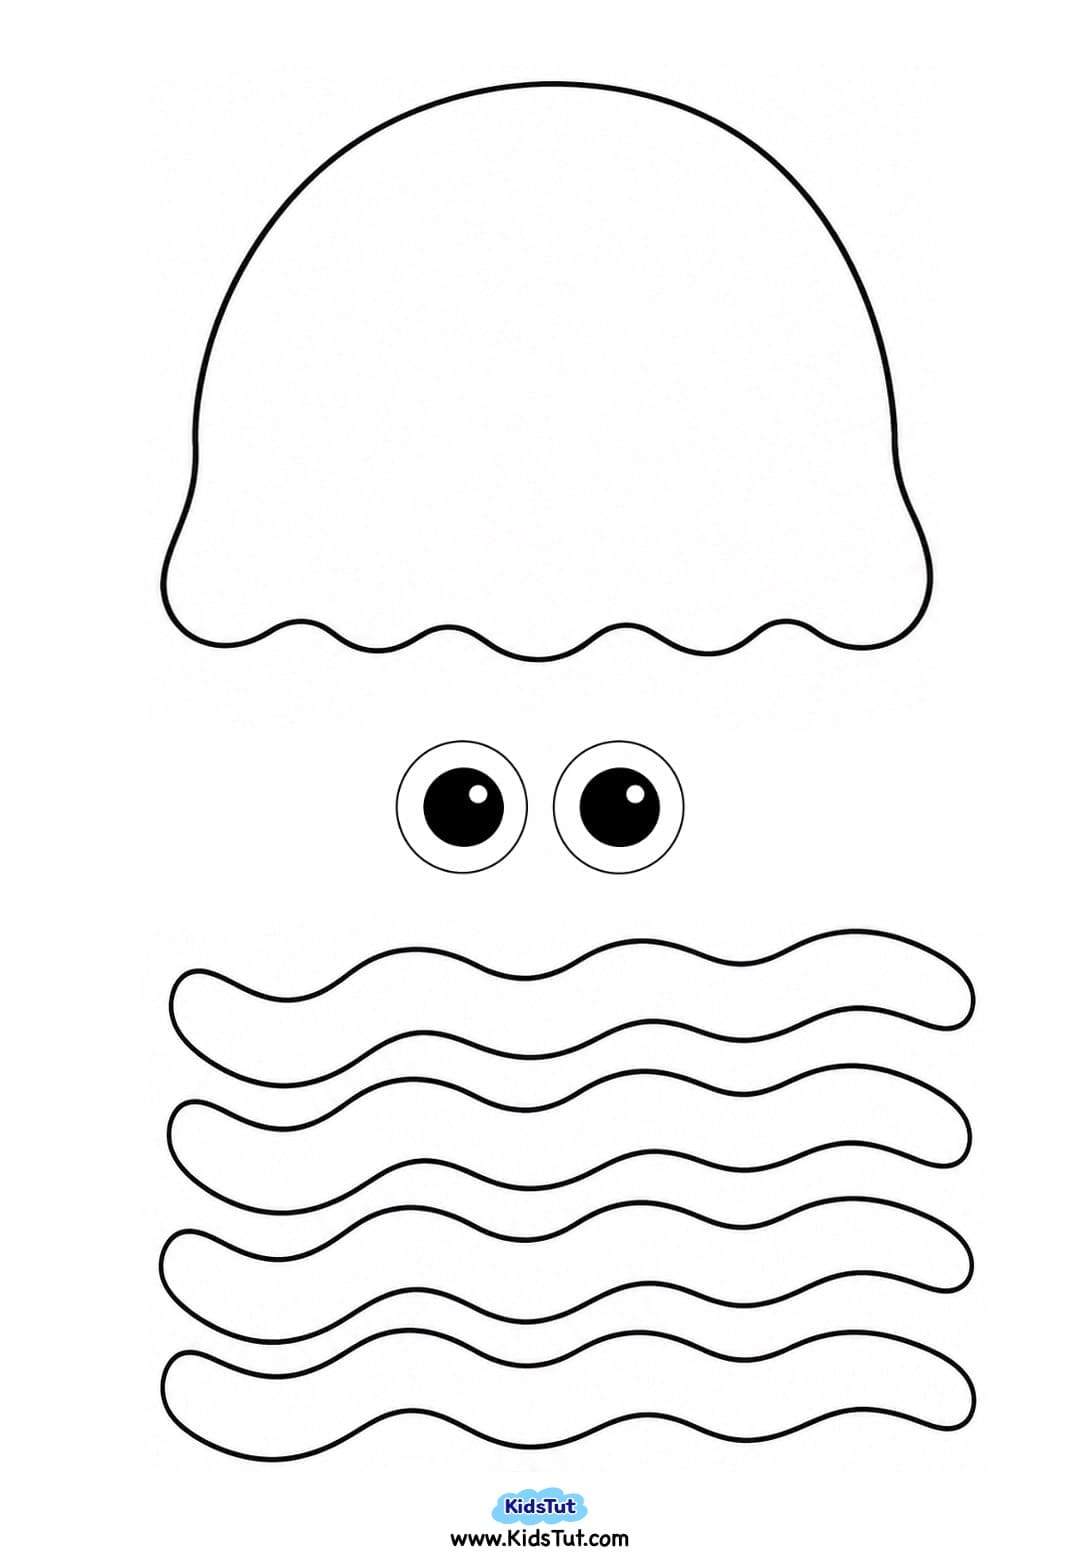
Jellyfish Tissue Mosaic
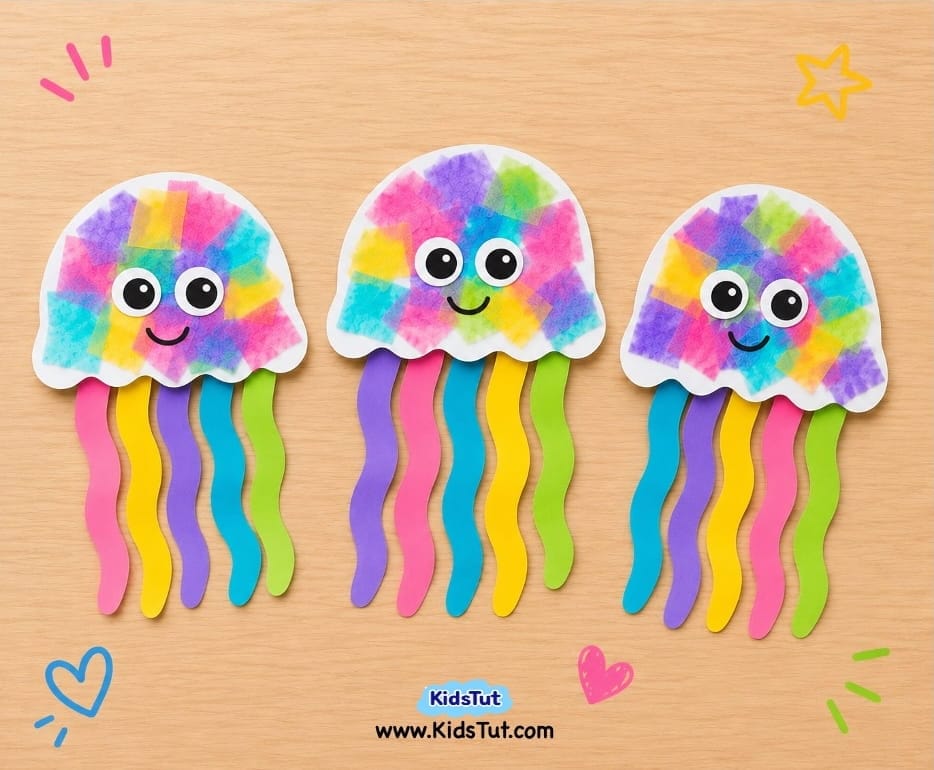
How to make:
- Print and cut the jellyfish head from the board.
- Paste tissue pieces on the head.
- Add eyes and a mouth.
- Attach tentacles made from colored paper strips.
Templates:
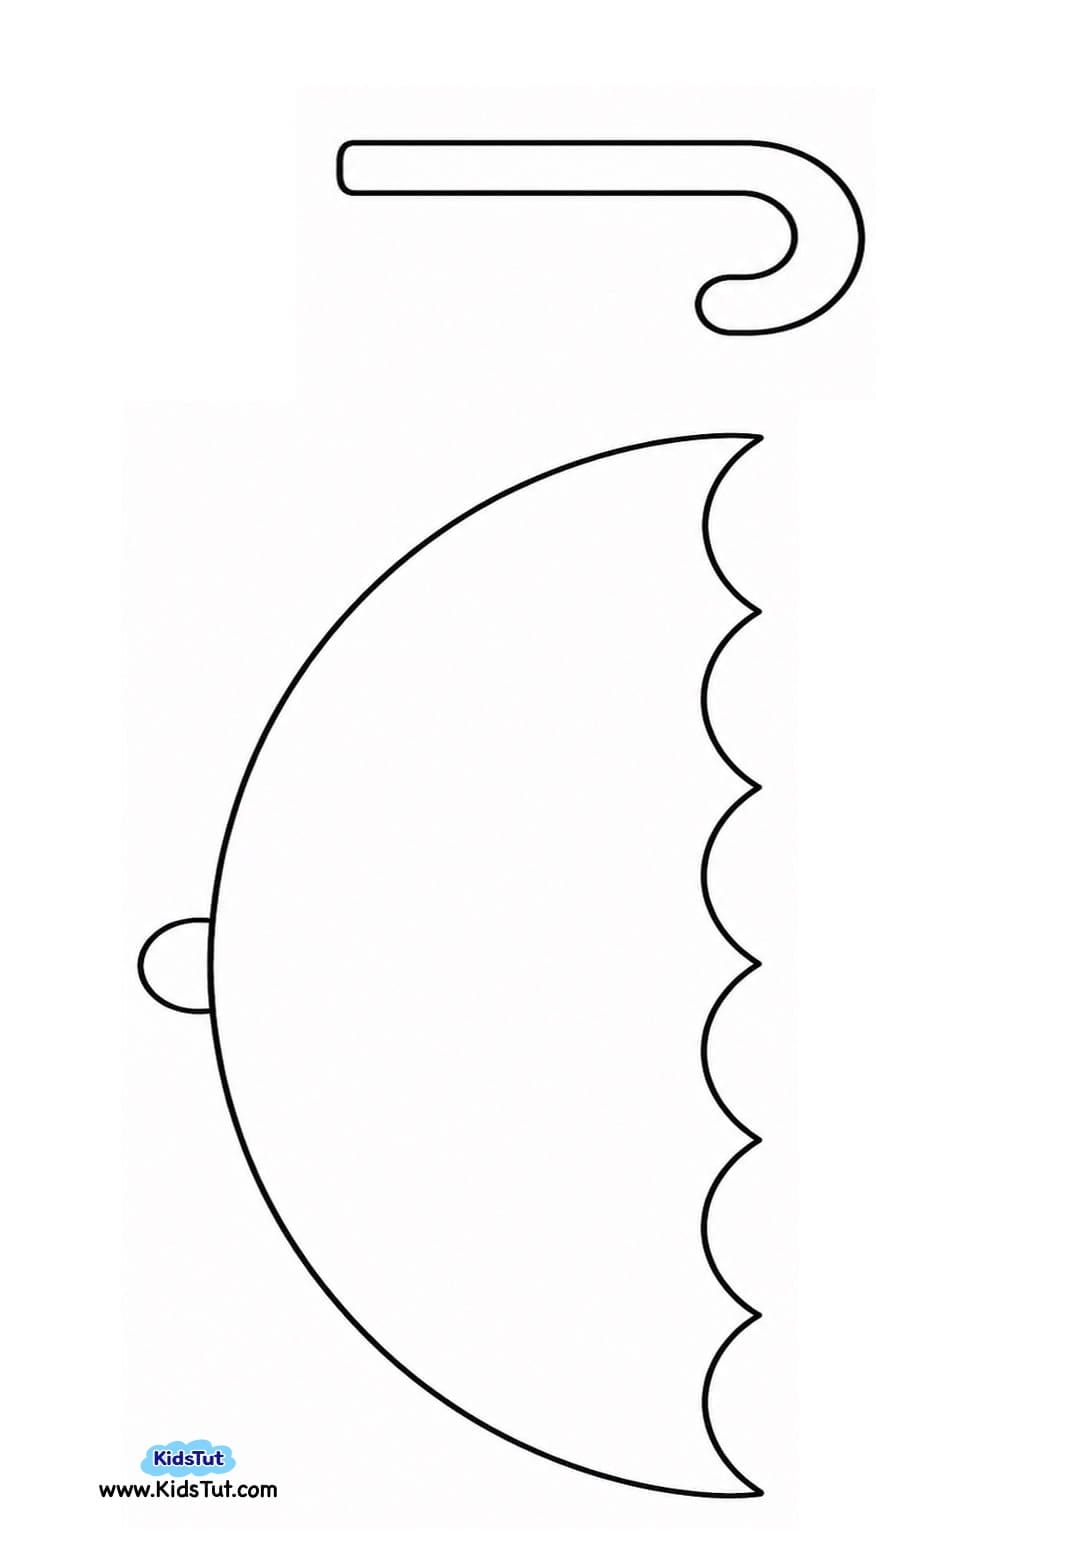
Umbrella Tissue Mosaic
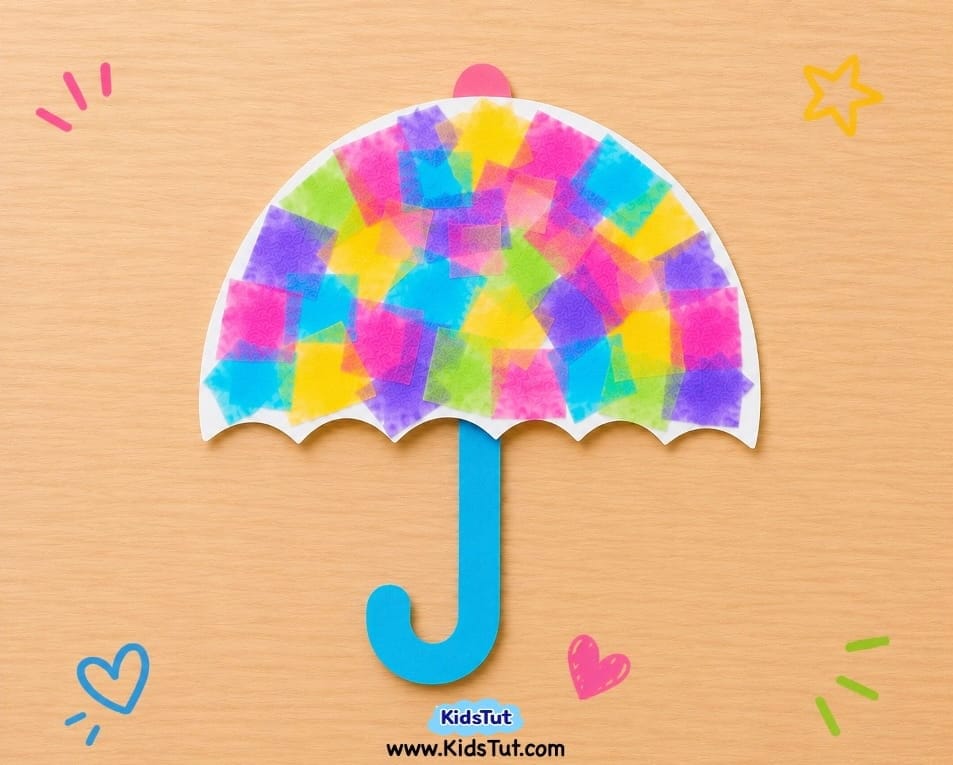
How to make:
- Print and cut the umbrella top from the board.
- Decorate with tissue pieces.
- Paste the handle at the bottom.
Templates:
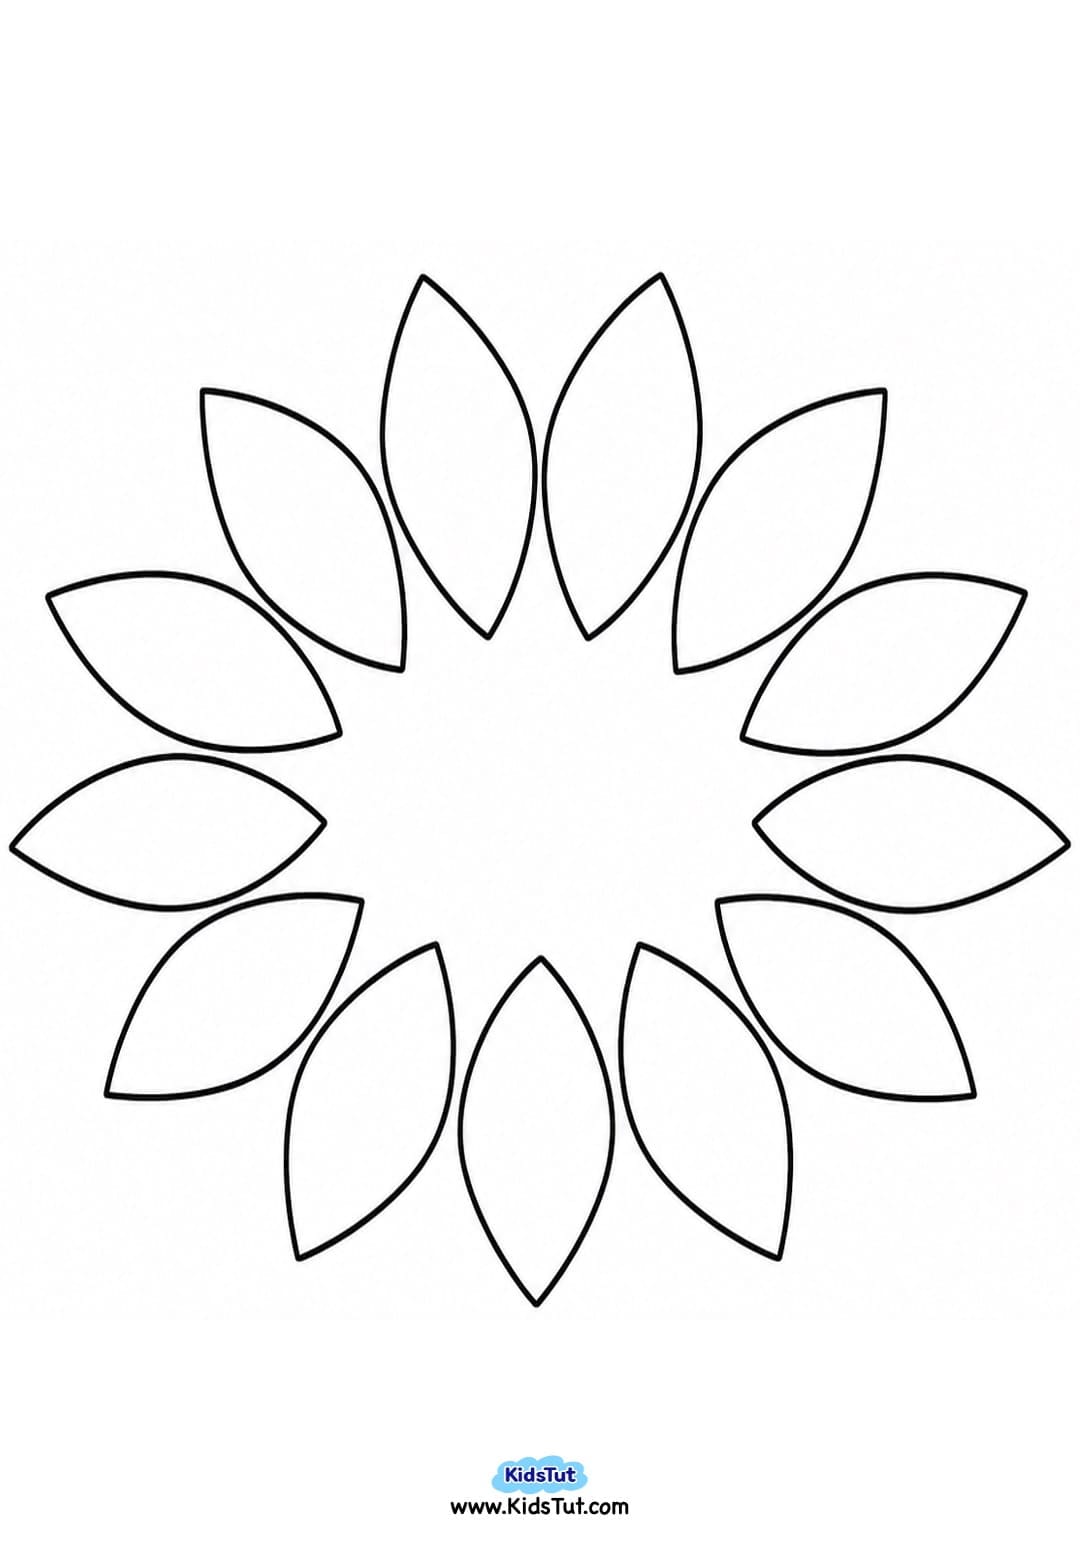
Sun/Flower Tissue Mosaic
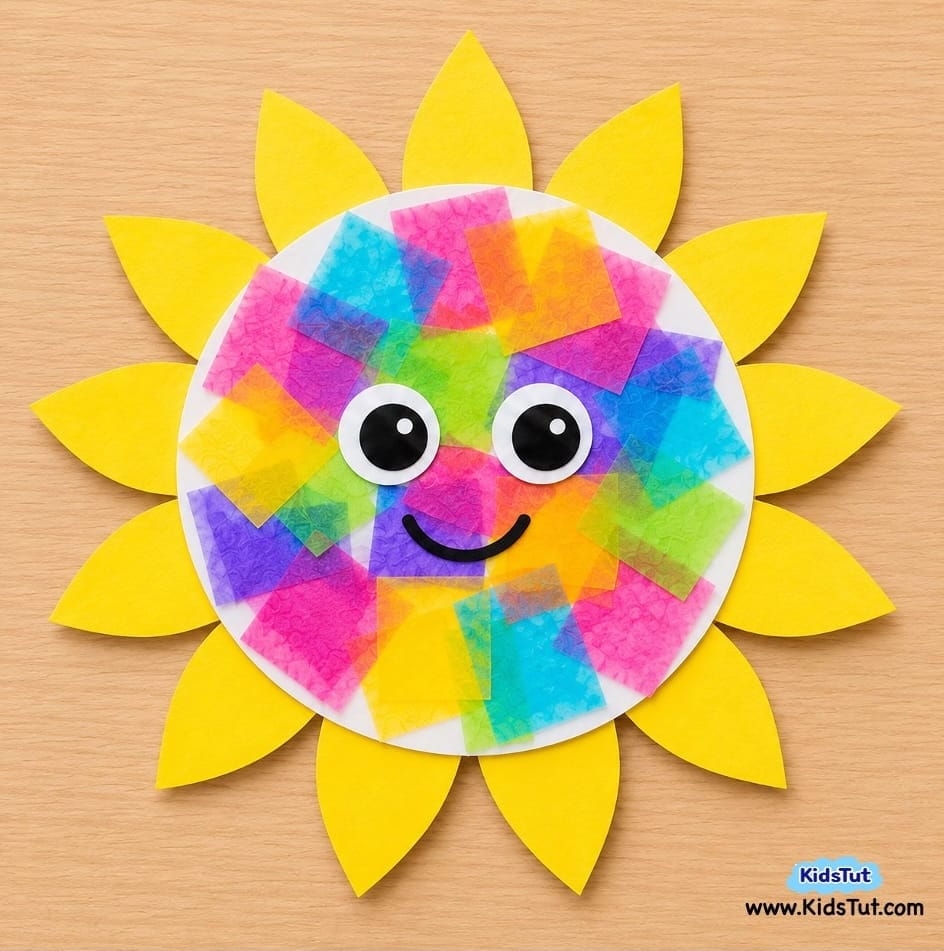
How to make:
- Cut a circle from the board and paste tissue pieces inside.
- Print and cut petals from yellow paper.
- Arrange petals around the circle to make a flower or sun.
Templates:

Click here to get the FREE PDF template: Download ( Printable )