Fun Classroom Pencil Crafts for Kids
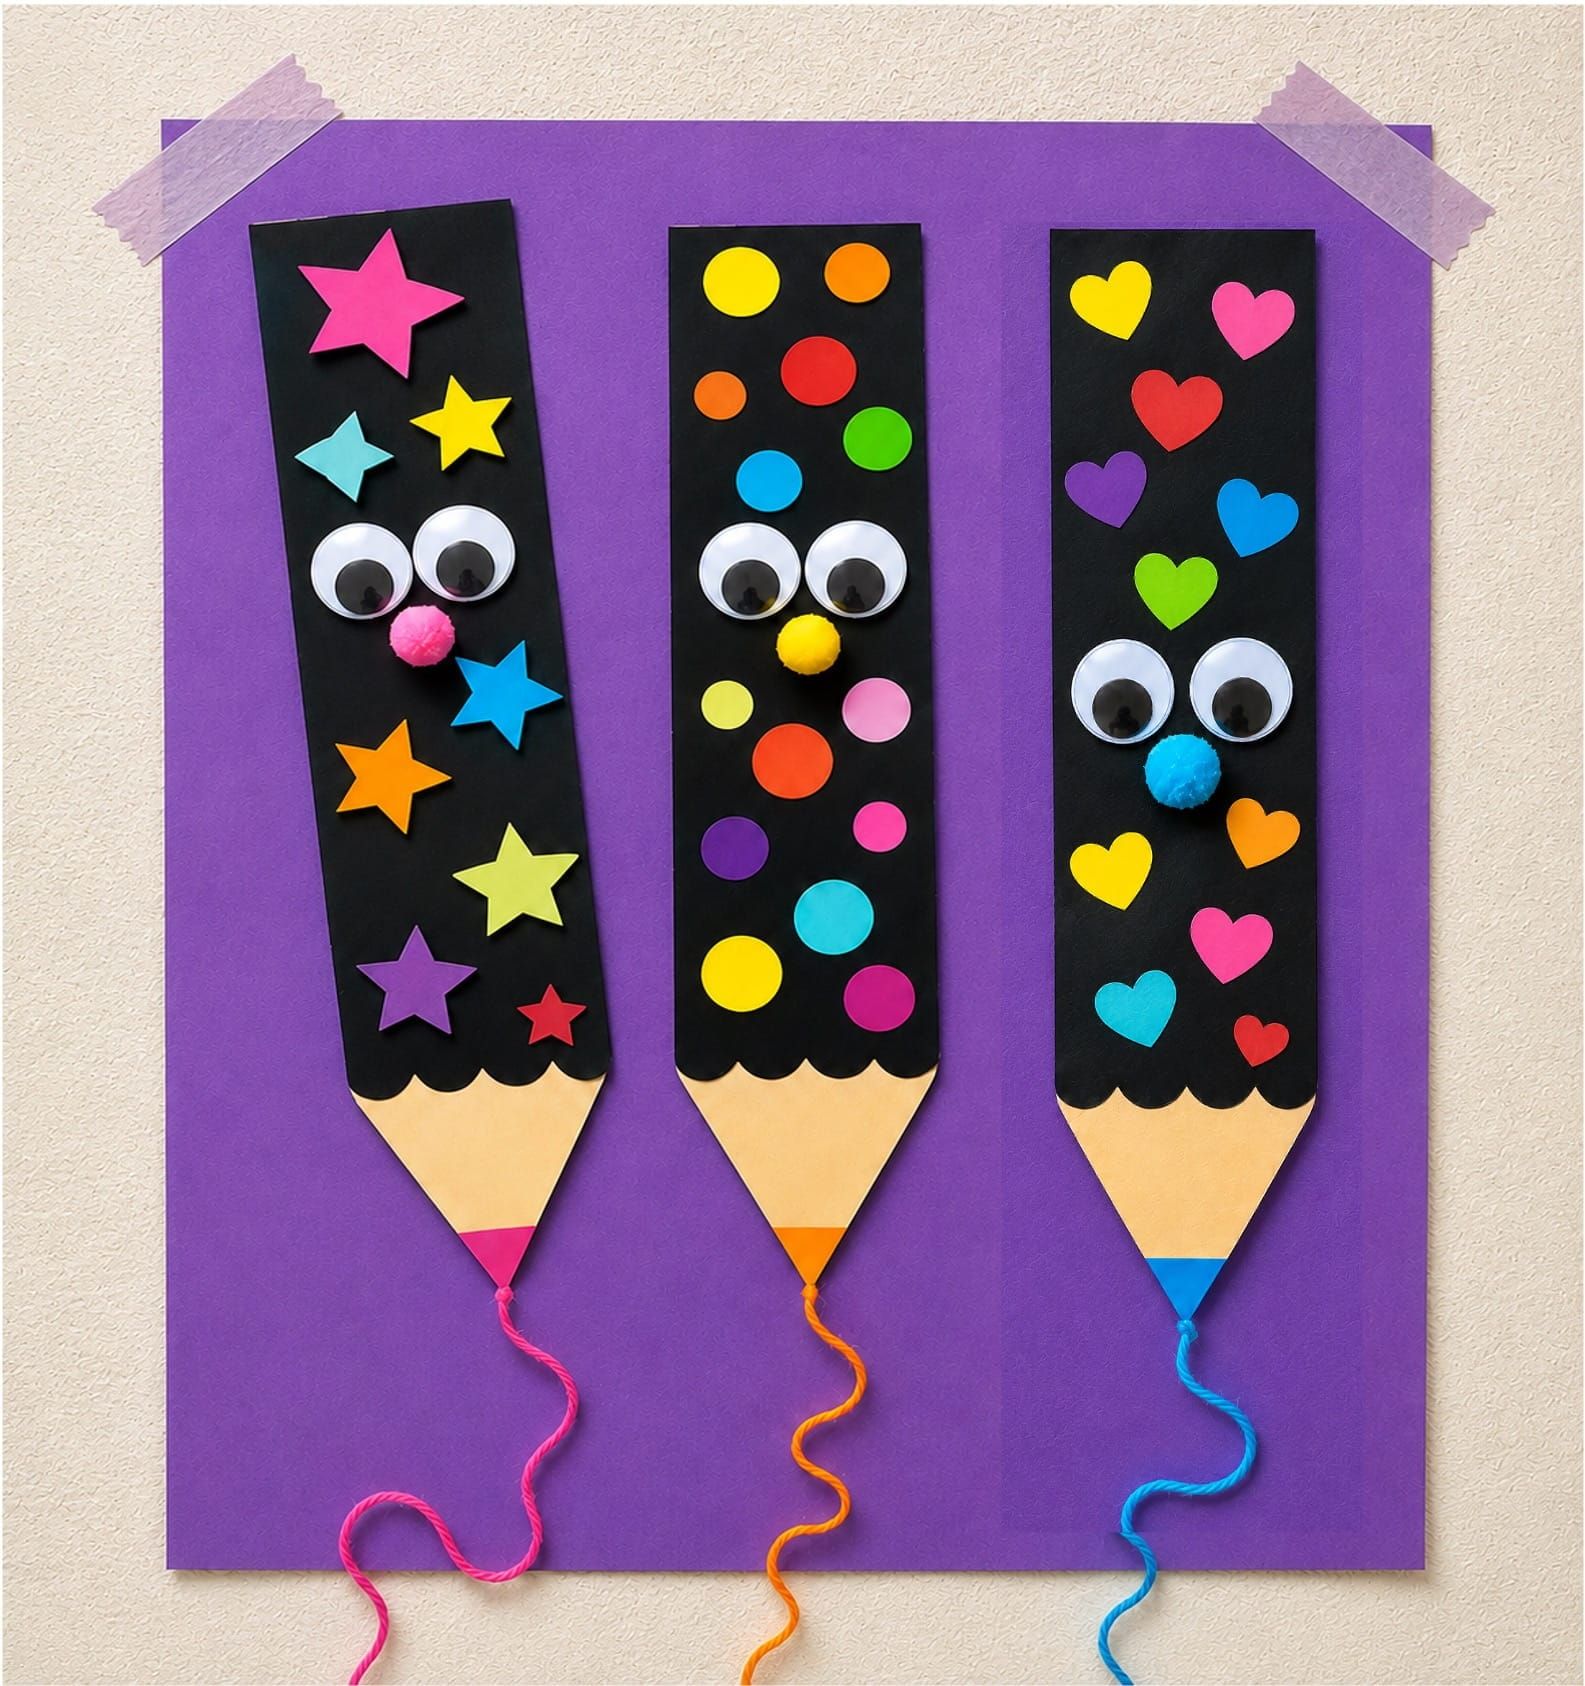
Pencils aren’t just for writing; they can become cheerful classroom characters! This craft turns simple paper cutouts into colorful pencil friends decorated with stars, circles, and hearts. Kids will love adding faces, yarn lines, and playful features to make their pencils come alive.
What You Need
- Black sheets (for pencil body templates)
- White or light brown paper (for triangle tips)
- Colored paper (stars, circles, hearts)
- Crayons, markers, or paints
- Scissors
- Glue
- A3 background sheet (any color)
- Colored acrylic yarn
- Googly eyes
- Pom‑pom balls
How to Make (Method 1)
- Print templates:
- Use black sheets for pencil bodies (blank, no patterns).
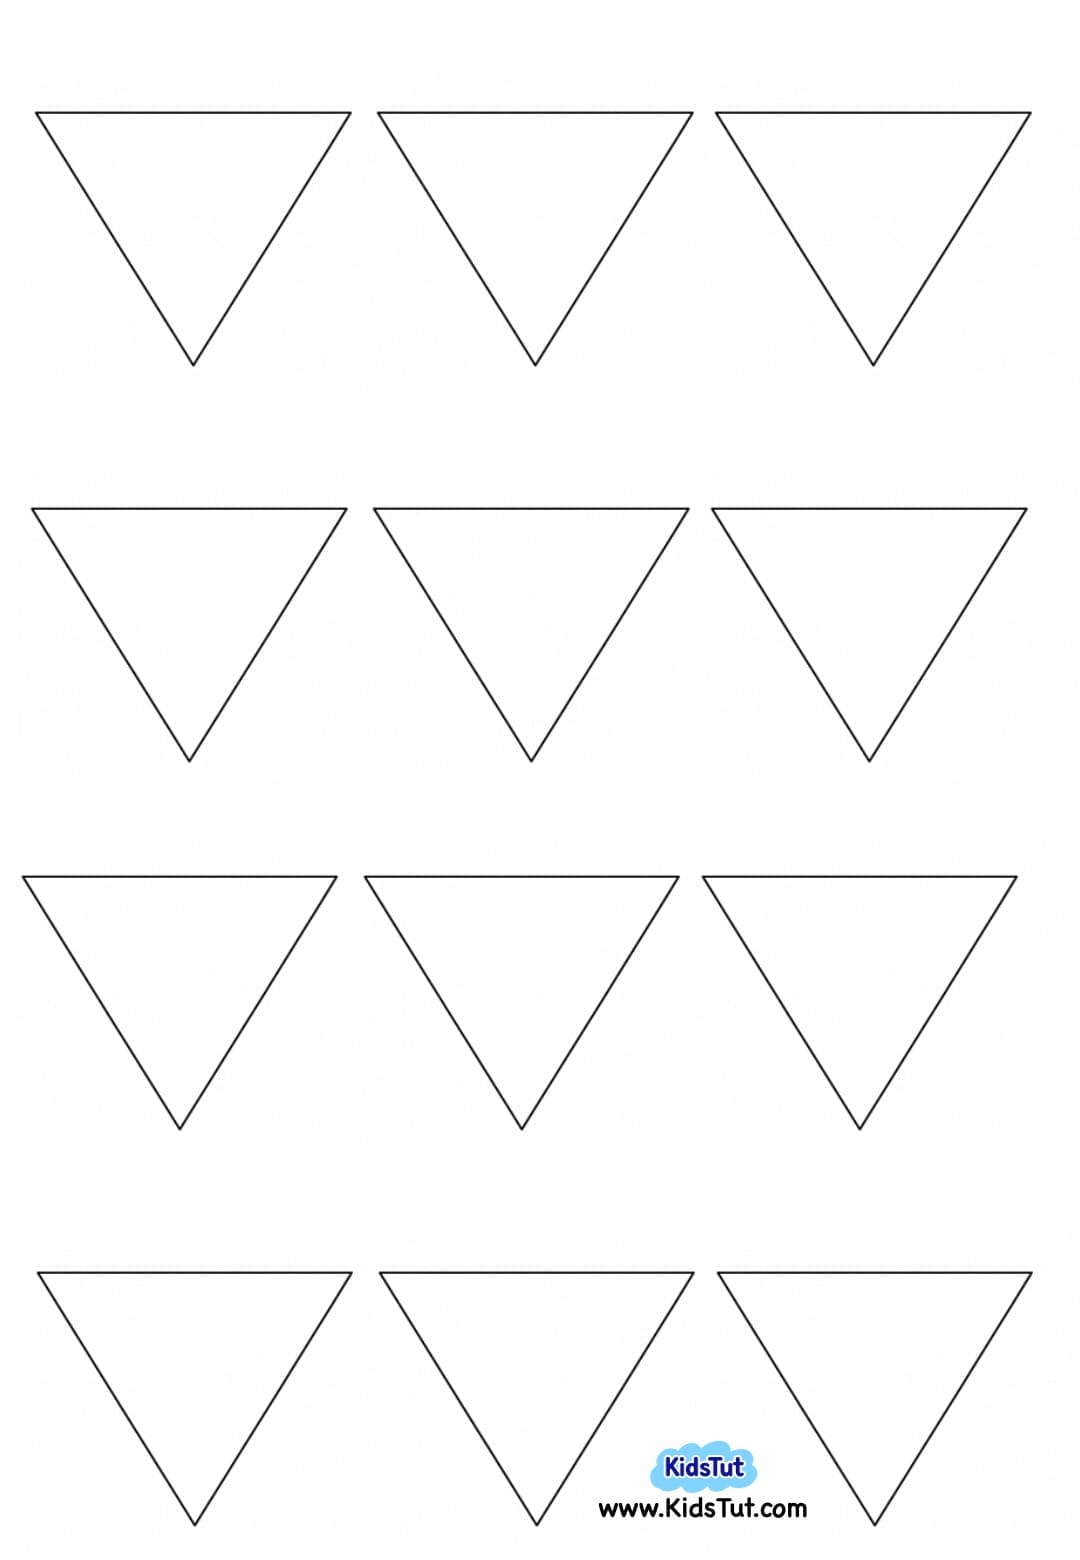
- Use white or light brown paper for triangle tips.
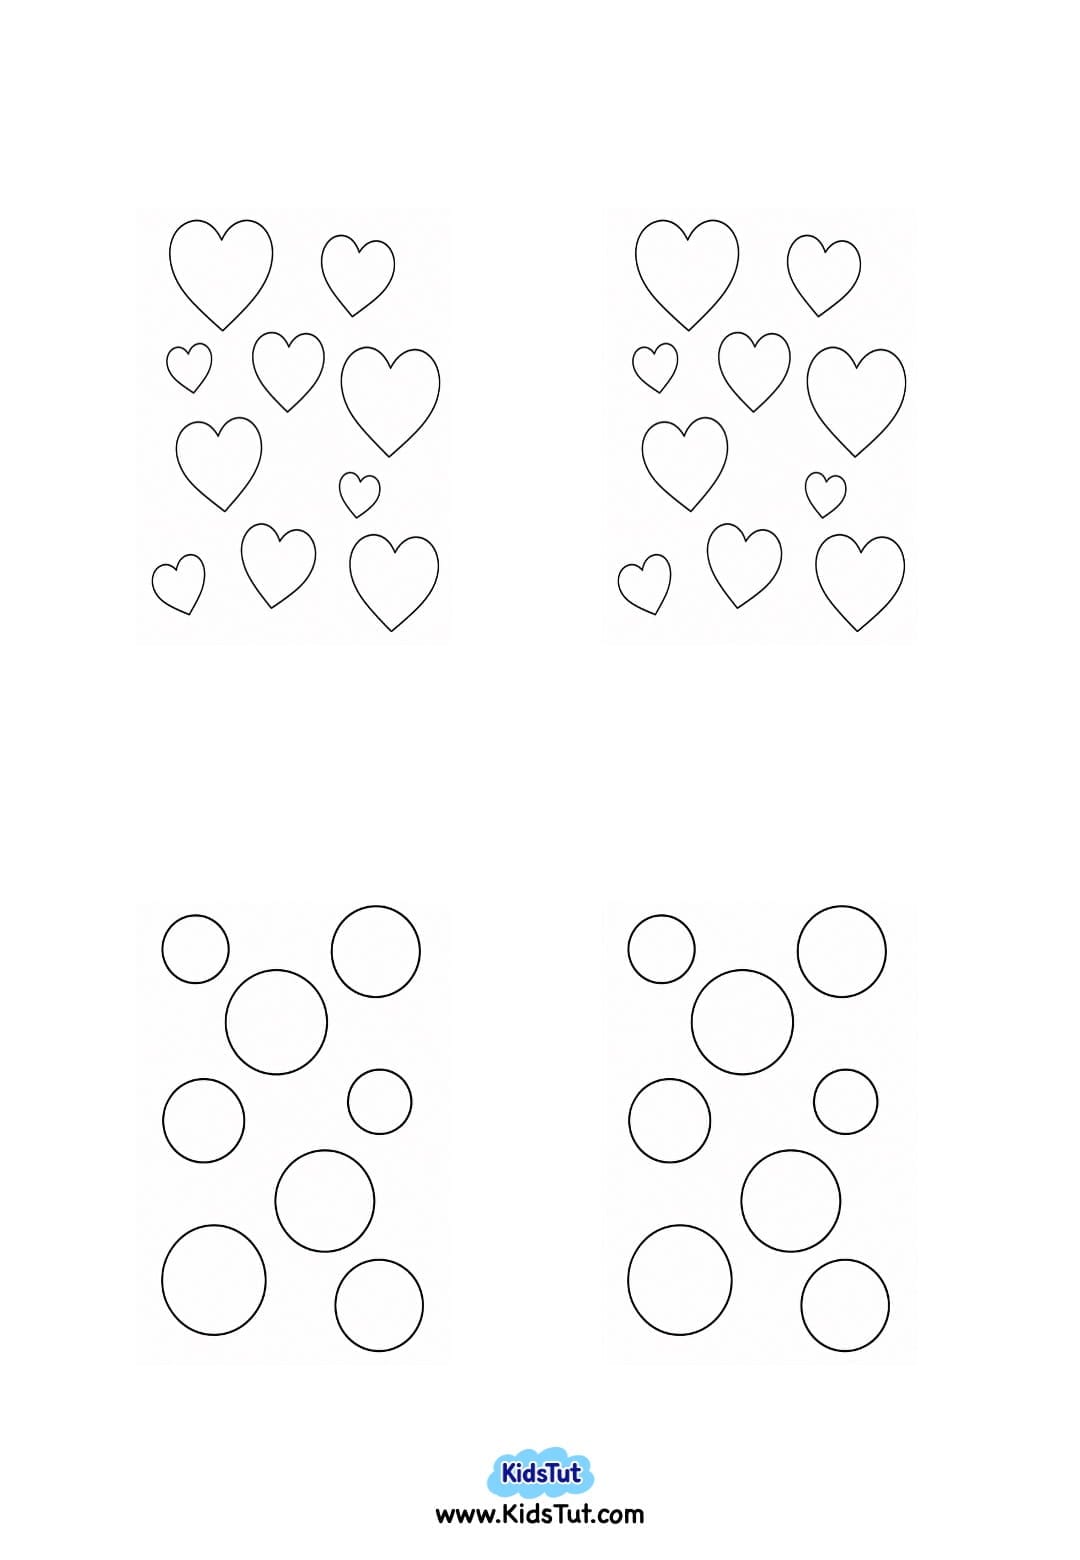
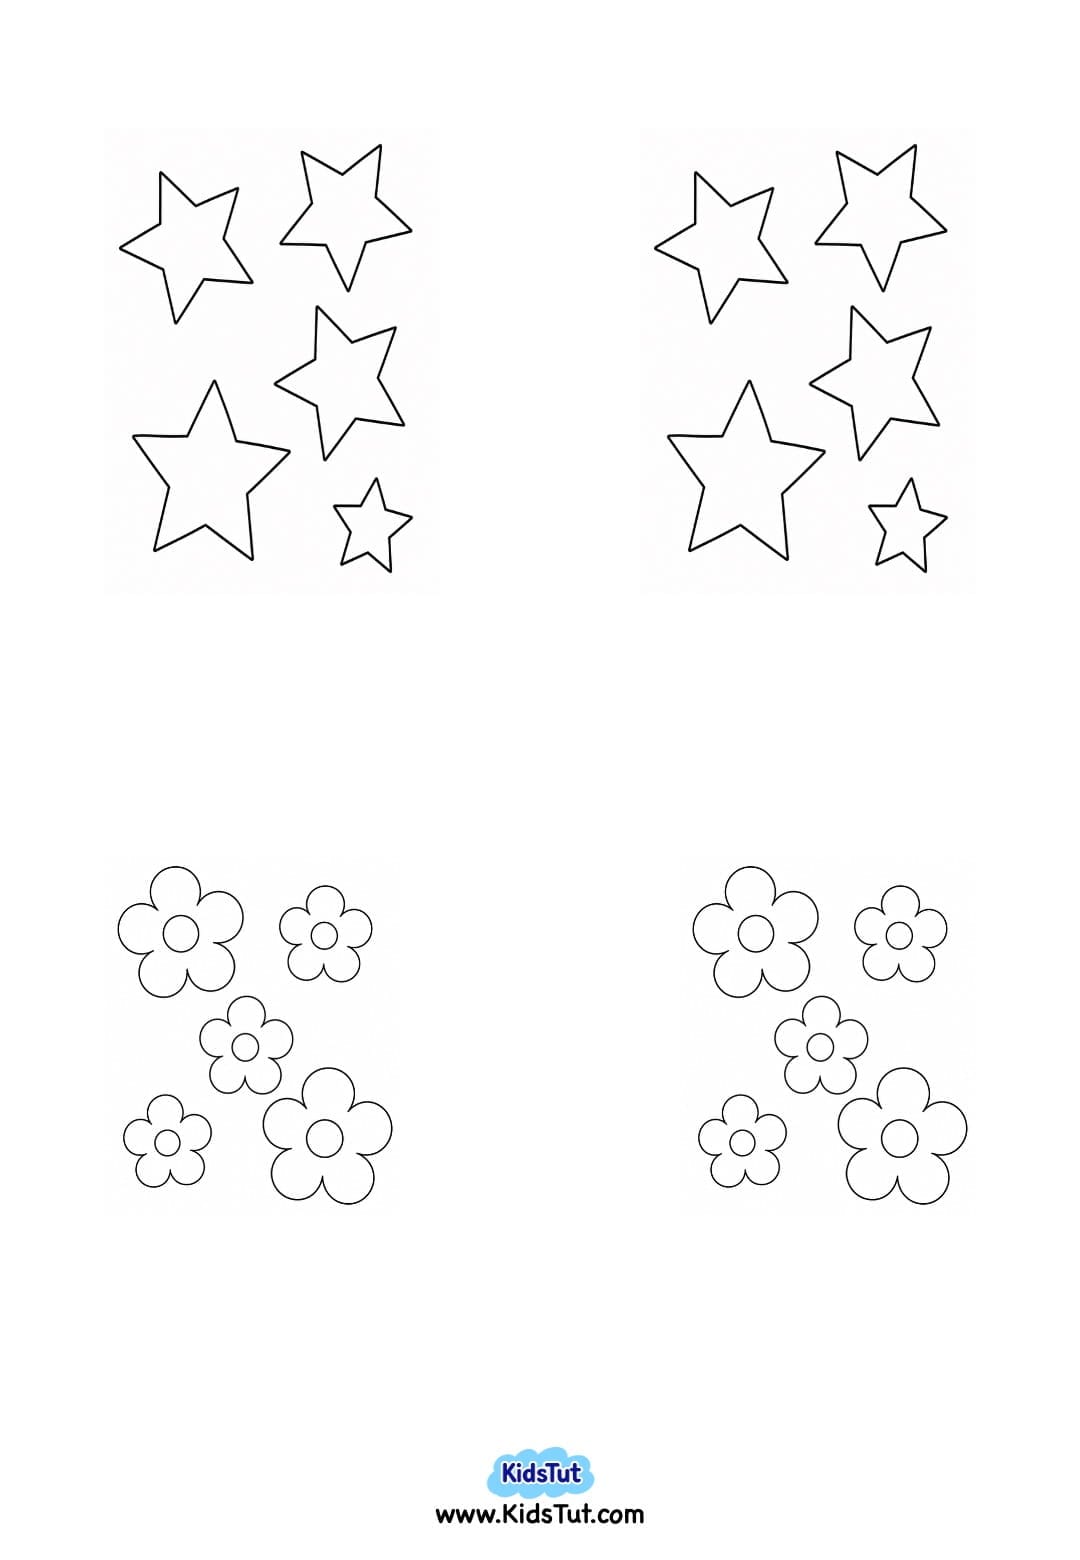
- Use colored paper for shapes (stars, circles, hearts).
- Cut out all templates neatly along the outlines.
- Decorate pencils:
- Take three pencil bodies and paste the shapes to decorate them.
- Make pencil tips:
- Color the narrow bottom of each triangle with a marker.
- Attach the triangle to the bottom of each pencil body.
- Prepare background:
- Take an A3 colored sheet for the background.
- Paste the three decorated pencils onto it.
- Add yarn lines:
- Select colored acrylic yarn to match the triangle tip color.
- Paste yarn at the bottom of each pencil in a wavy line, like a drawing trail.
- Make faces:
- Add googly eyes and a pom‑pom ball for the nose.
- Now your pencils have fun character features!
- Display:
- Let the craft dry and hang it on the classroom wall.
✅ Special Note: You can use stickers like dot stickers, star stickers, or any shapes, dot painting, or draw patterns to decorate the pencil instead of shape cutouts.
🌟 Benefits
- Boosts creativity – Kids design their own pencil decorations.
- Improves motor skills – Cutting, coloring, and pasting build coordination.
- Encourages classroom fun – Brightens walls with cheerful pencil characters.
- Supports imagination – Kids add faces and features to make each pencil unique.
- Simple group activity – Perfect for teamwork in class.
How to Make (Method 2)
This method is even simpler because the pencil body already has patterns printed on it. Kids just need to color, paste, and decorate. No extra cutting of shapes!
- Print pencil patterns:
- Use templates with pencil bodies already designed.
- Color pencils:
- Decorate the bodies with crayons or markers.
- Add bright colors to make them cheerful.
- Make pencil tips:
- Color the narrow bottom of each triangle and attach the triangle to the bottom of each pencil body.
- Prepare background:
- Take a dark color sheet (A3 size is best).
- This makes the pencils stand out.
- Paste pencils:
- Arrange and paste your colored pencils on the background.
- Add yarn lines:
- Paste colored yarn at the bottom of each pencil in wavy lines, like drawing trails.
- Make faces:
- Add googly eyes and pom‑pom balls for noses.
- Display:
- Let the craft dry and hang it proudly in the classroom.
Templates:
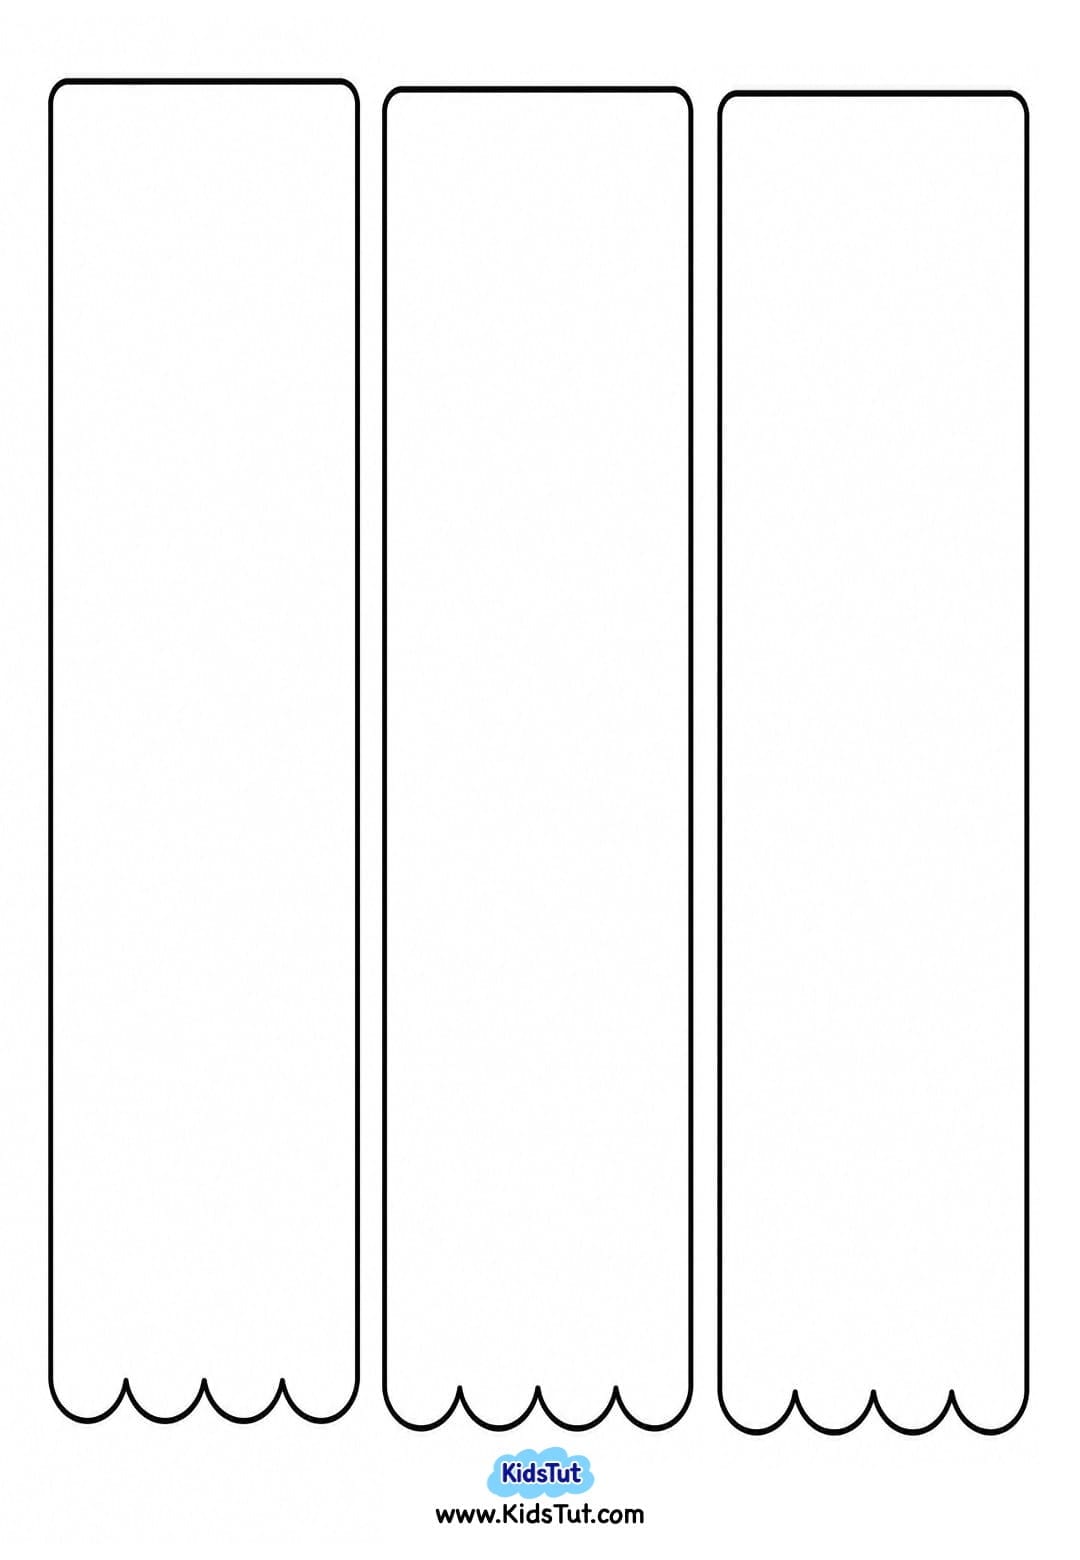
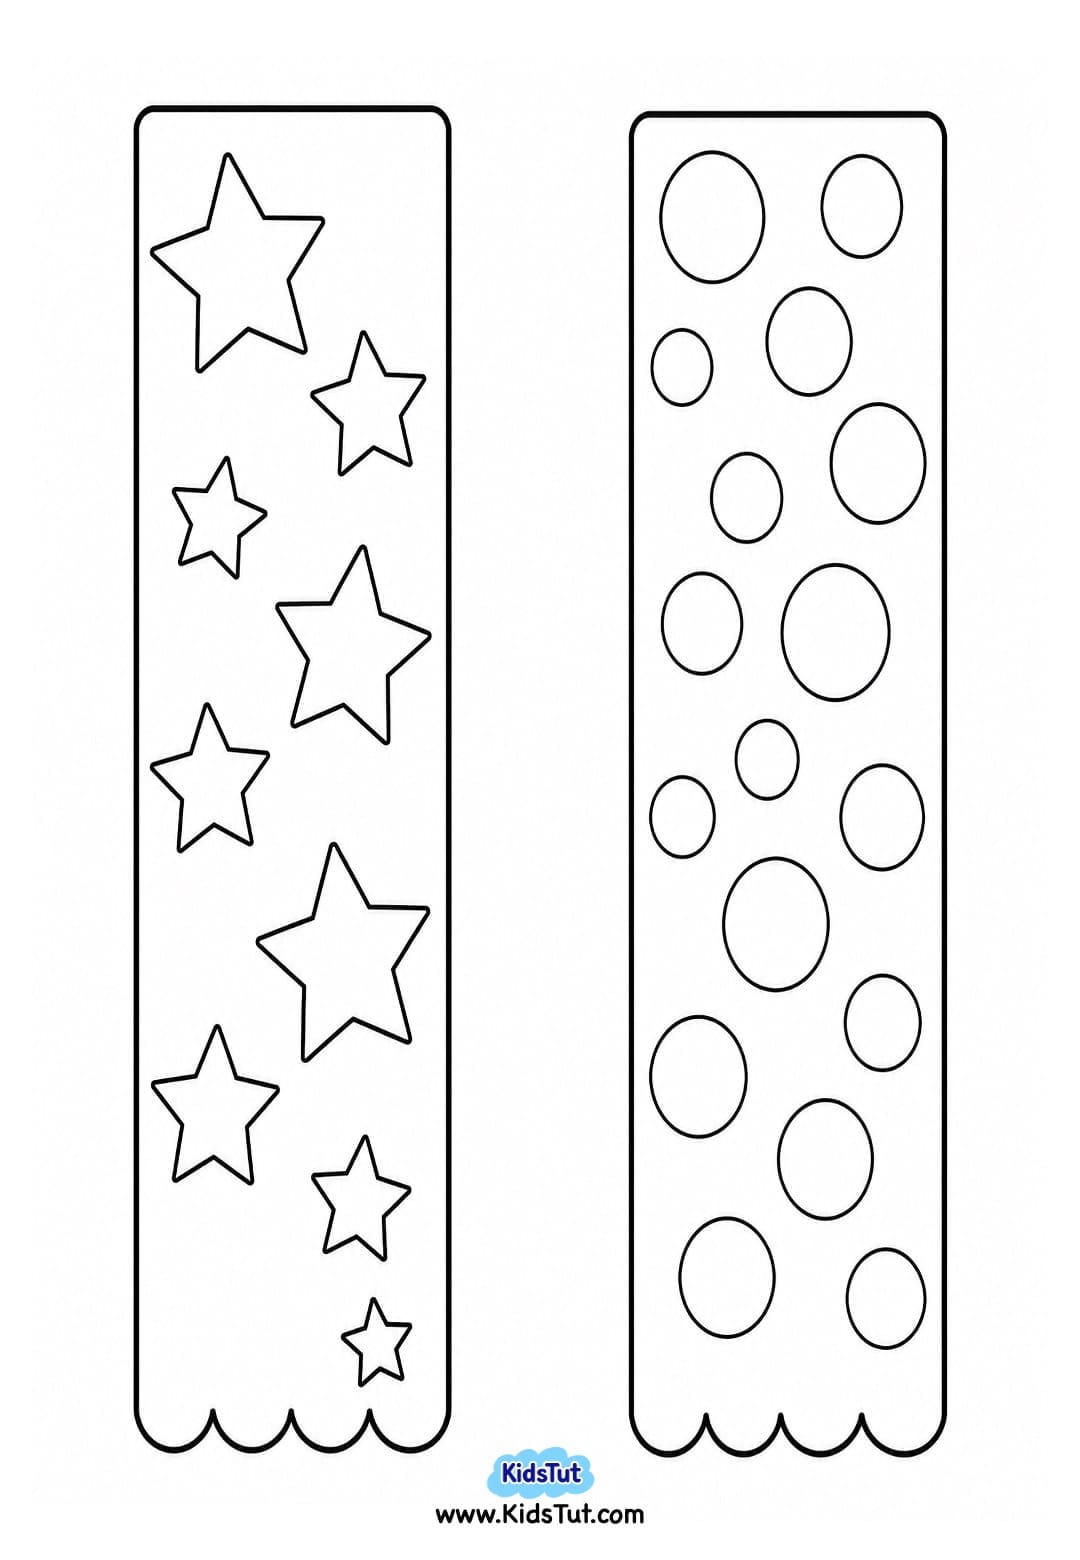
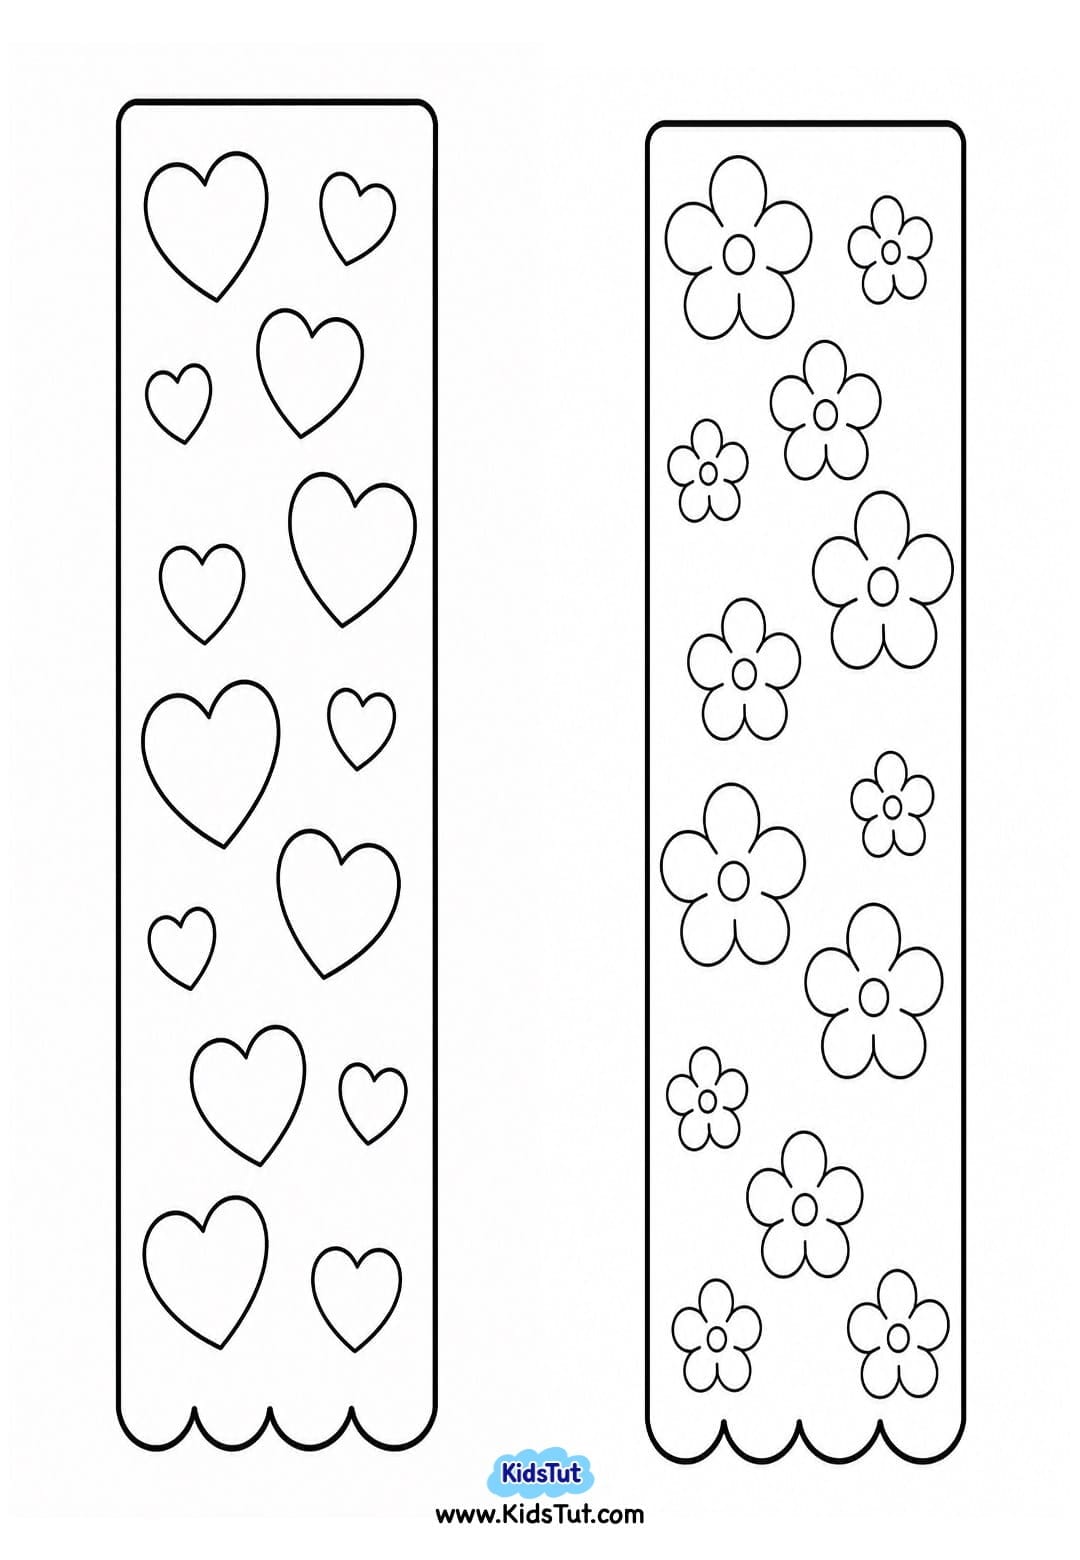

Click here to get the FREE PDF template: Download (Printable)