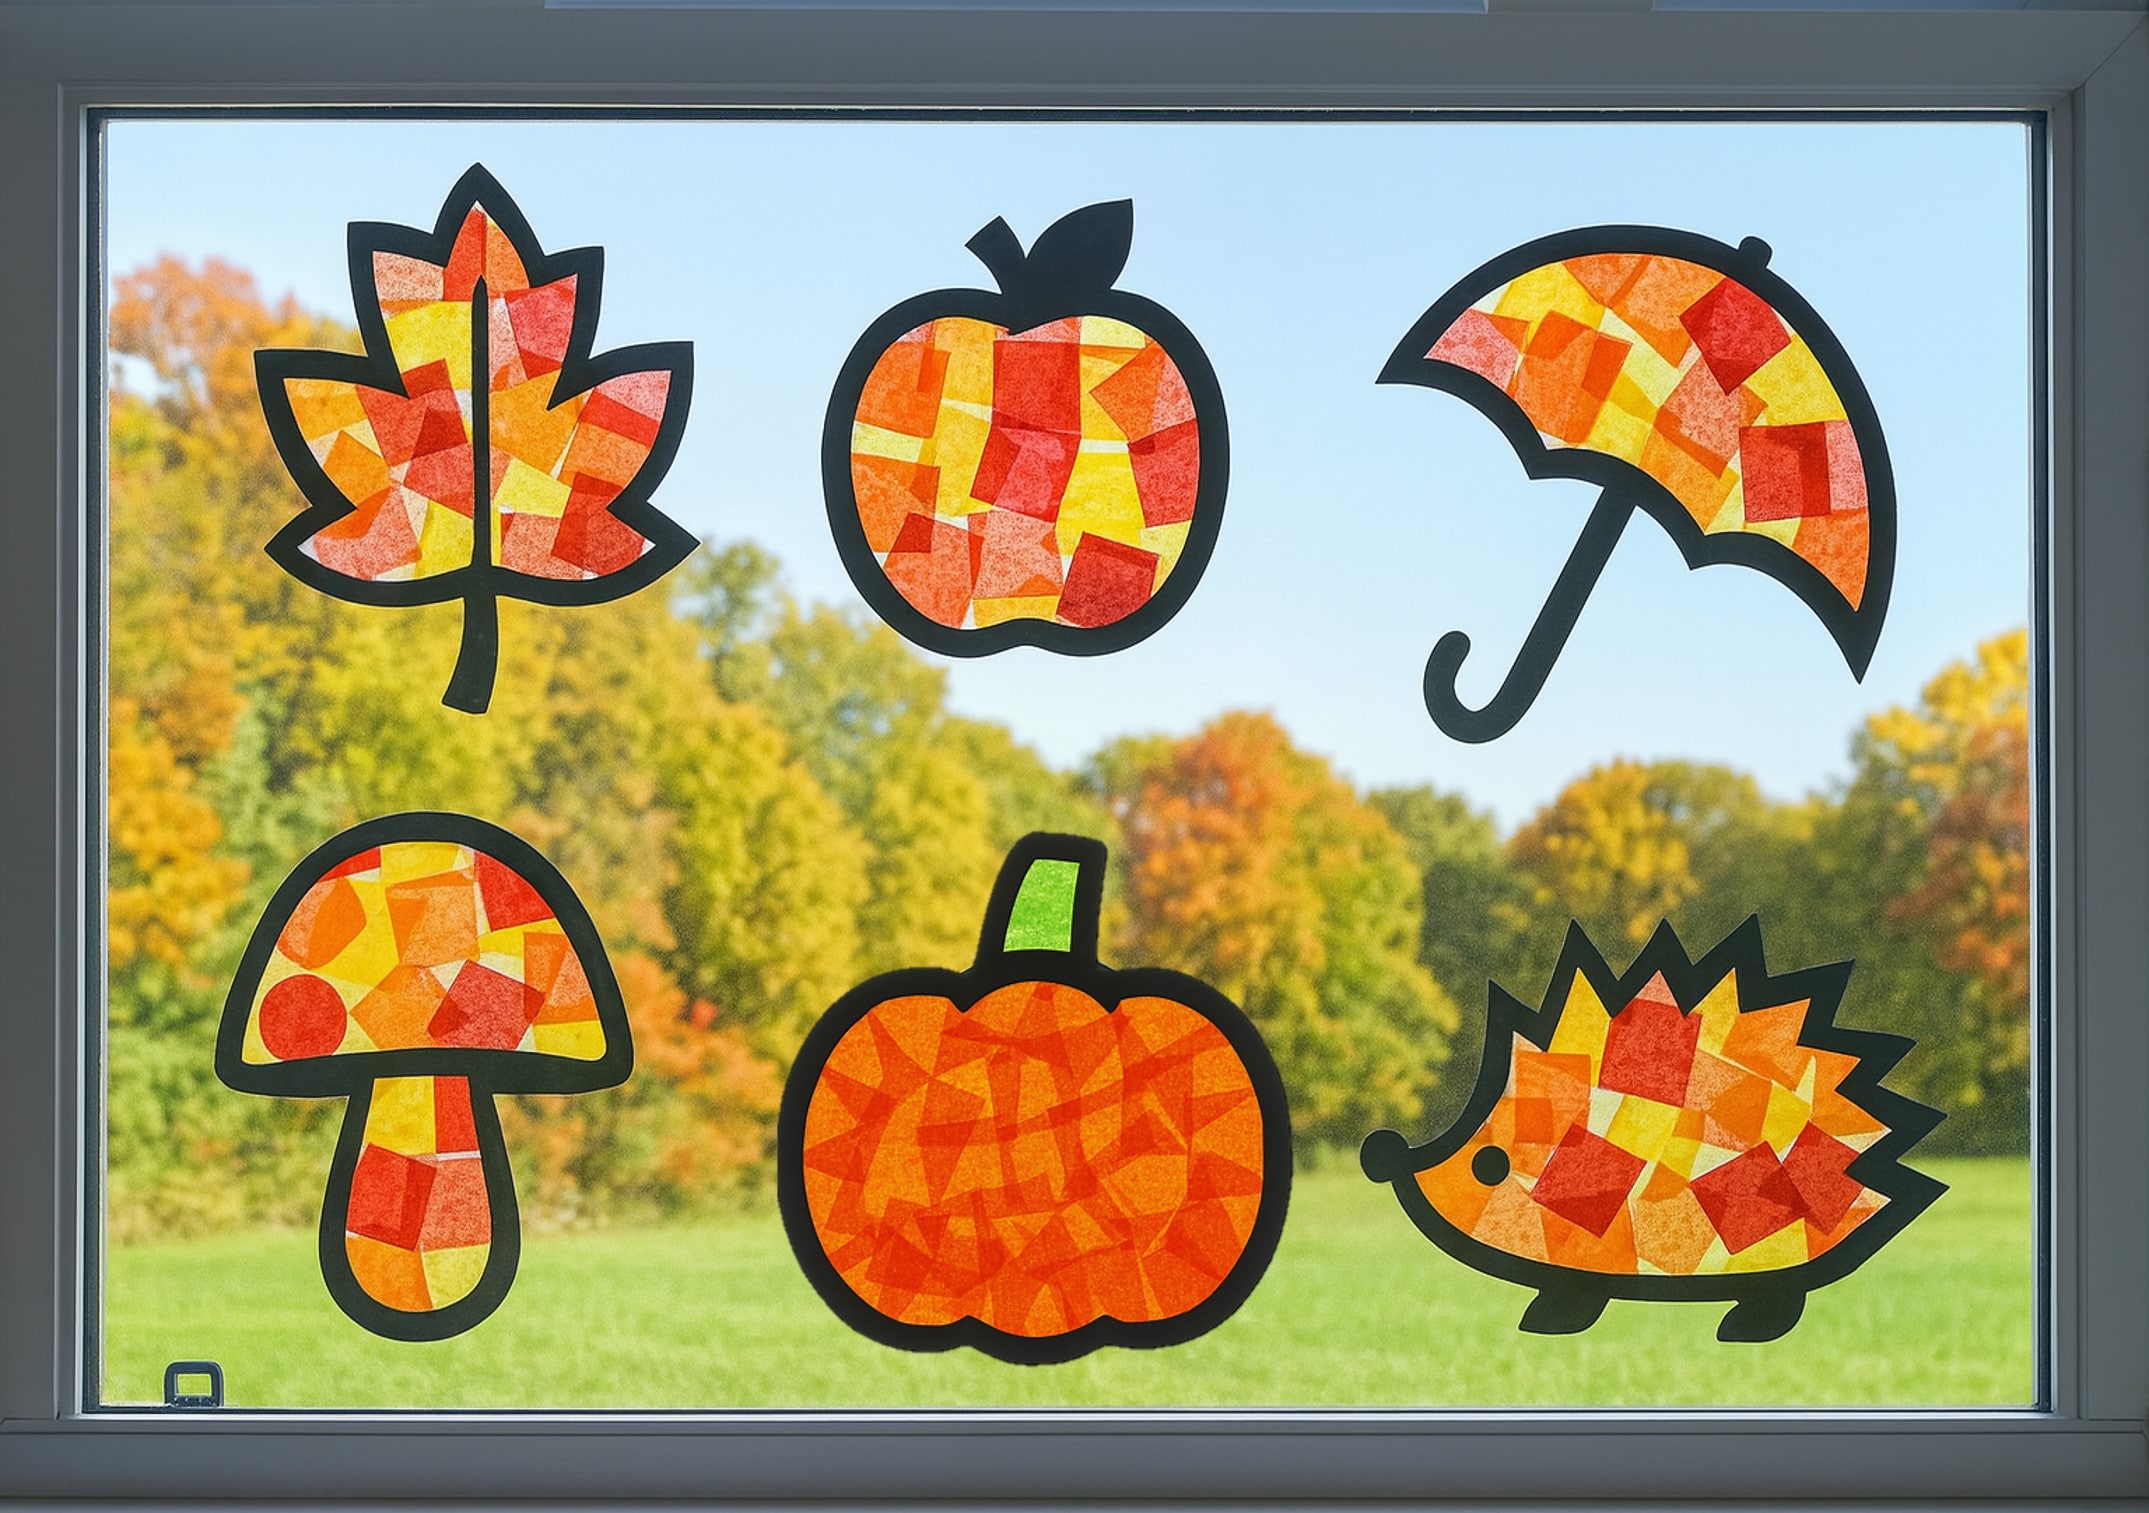
Welcome all kids to this Fall Suncatcher Craft!! Fall is the season when green leaves turn yellow, red, orange, and brown. where Pumpkins, apples are not only a food also a decoration. Fall is such a magical season. With excitement, this time is the best time to do fun and easy crafts with kids. This Fall Suncatcher craft is easy, fun, and learnable. Since doing crafts develops kids’ early learning, fine motor skills, imagination, and creativity, doing these crafts is very important.
Inside the classroom, at home, we can guide kids in this craft. With few materials and without any cost, we can do this. Therefore for this is pocket friendly, kid-friendly craft.
So, this Fall Suncatcher Craft is a craft that makes a suncatcher, which is a small decorative craft that catches sunlight and reflects. From this, kids can learn about the sun and its advantages. Not only crafting, but also knowledge. With the templates we have provided and the simple step-by-step guidelines, this is easier to do. Even kids did not get bored with this. So, let’s drive through this Fall suncatcher craft!!
How to Make Fall Suncatcher Crafts for Kids
Making a suncatcher is not that stressful. So, We have provided you with ten different templates. it makes this easier. So, you have to collect a few materials before anything. This helps the activity run smoothly and keeps kids focused on creating rather than searching for items. As the teacher or parent, having everything ready makes time safe, organized, and enjoyable for everyone. Furthermore, this will help kids to follow the steps easily.
Materials Needed:
- Black & white fall-themed templates (leaf, apple, mushroom, etc.)
- Clear contact paper or laminating sheets
- Colored tissue paper (red, orange, yellow)
- Child-safe scissors
- Glue stick or tape
- Optional: black construction paper for frames
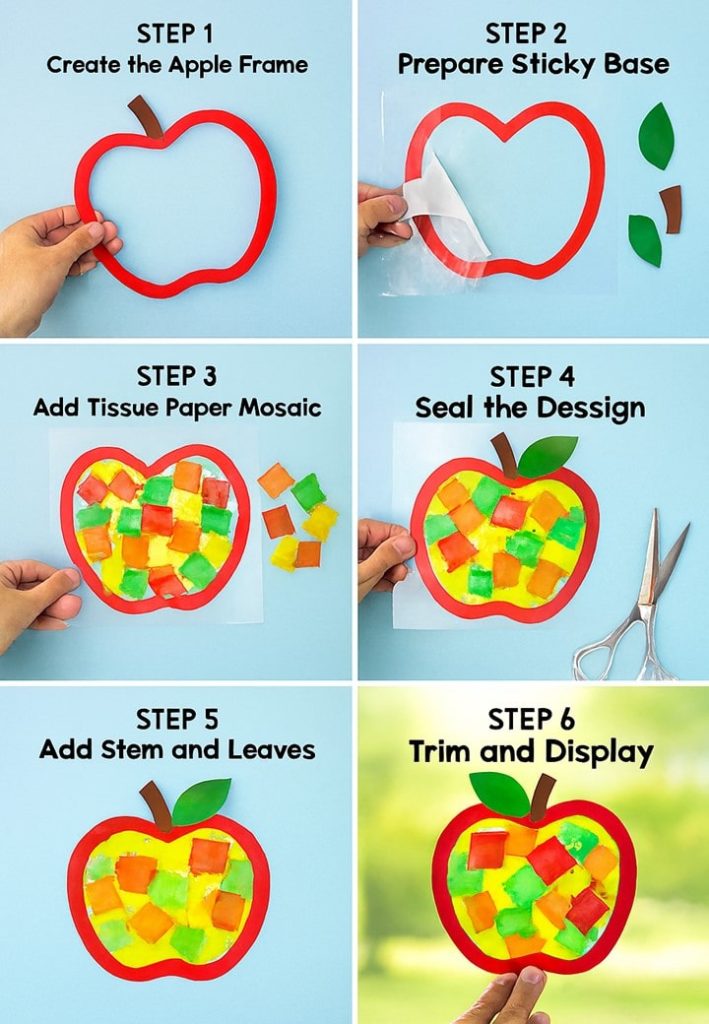
Step-by-Step Instructions:
If you are a teacher, parent, or caregiver, this is an easy craft to keep the kids busy with an activity. Here we have step-by-step guidelines. So, let’s walk through those steps!!
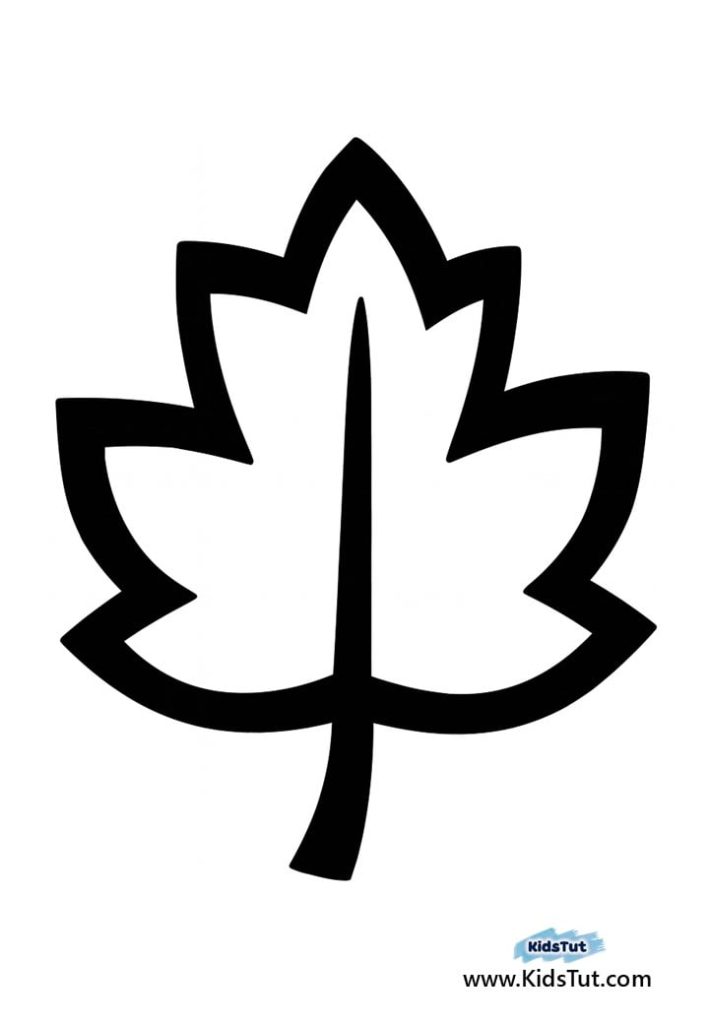
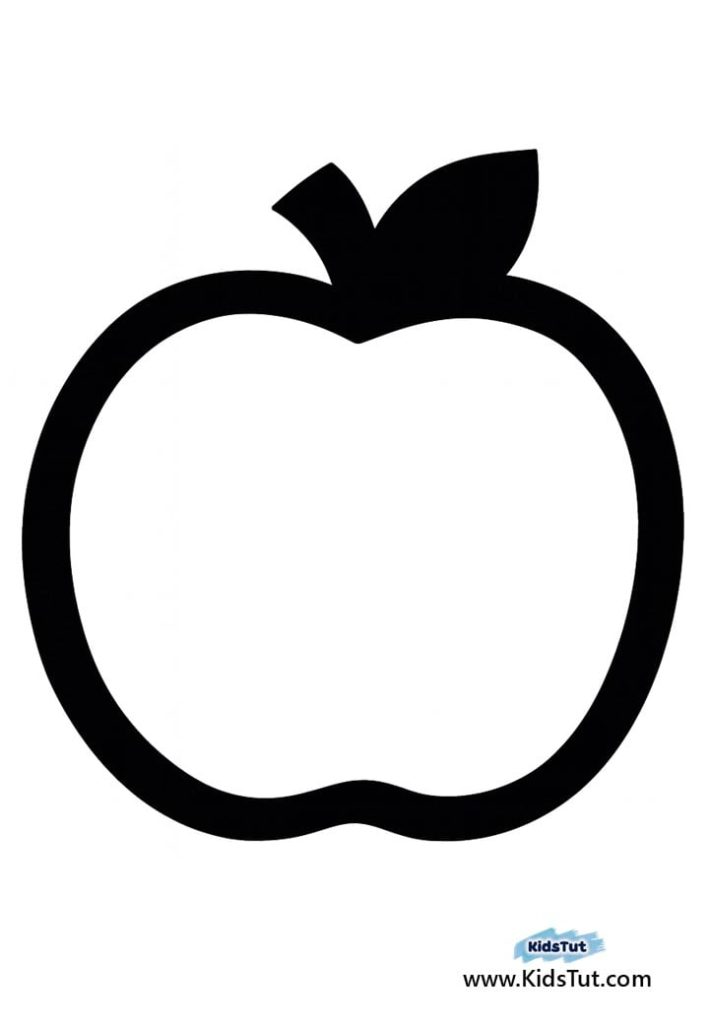
1. Print the Templates
First of all, download the PDF with the templates. Then, get printouts of templates. Make sure to print them on a white sheet. Most importantly, make sure they are Clean and clear. So, we have provided you with ten different templates.
- Maple leaf
- Apple
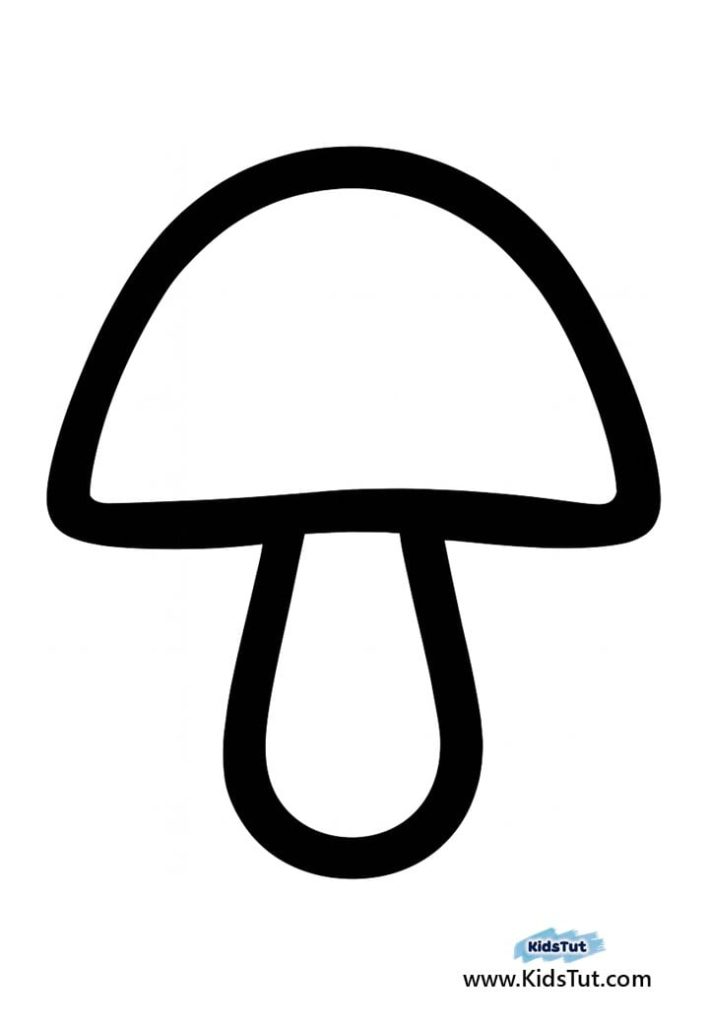
- Mushroom
- Umbrella
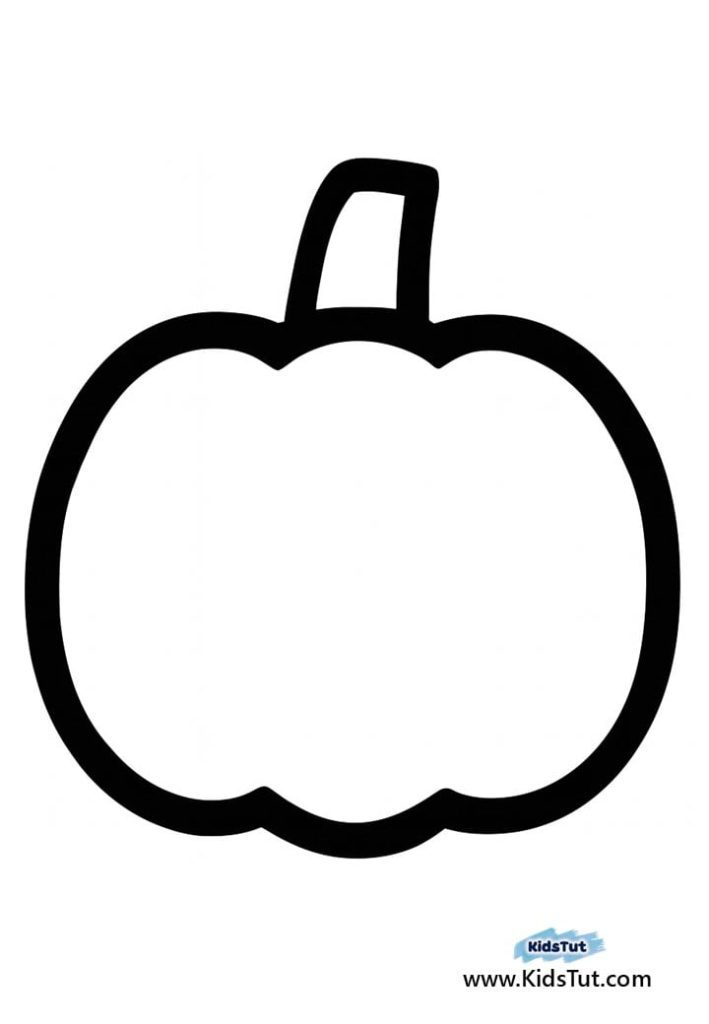
- Pumpkin
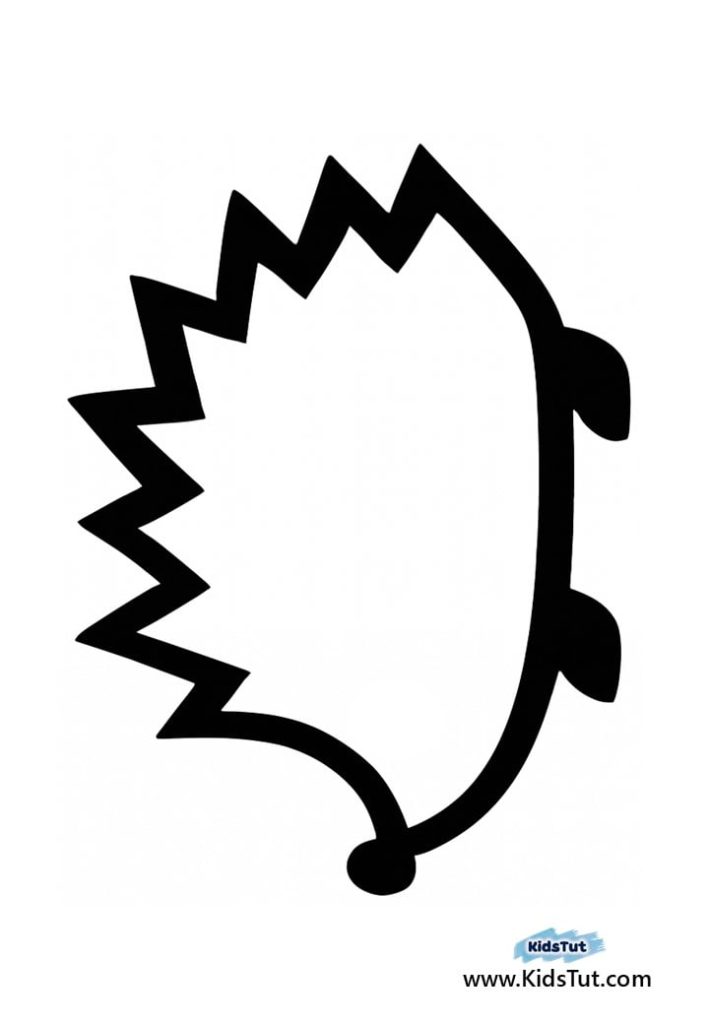
- Hedgehog
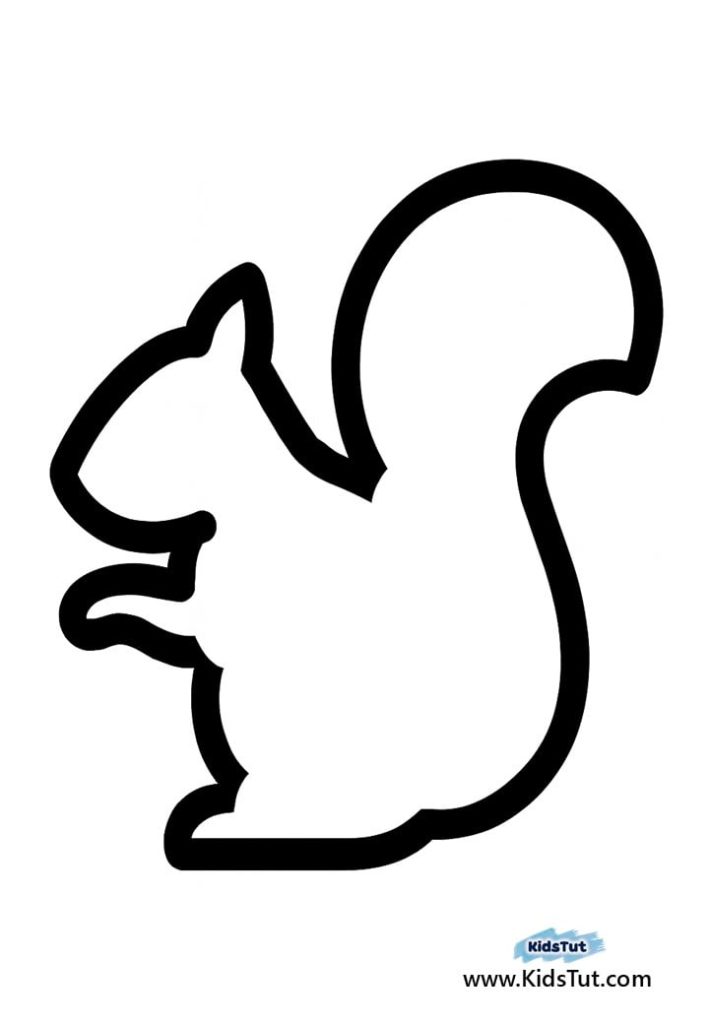
- Squirrel
- Rainboots
- Rain drop
- Tree
So, outlines of these images will be the frame of the suncatcher.
2. Cut Out the Shapes
Then, ask kids to cut out the templates. Be careful with scissors. If you can give them safe scissors, it will be good. Since cutting images develops hand eye coordination, fine motor skills, and patience, let them use scissors carefully. So, help them when help is needed.
3. Prepare the Contact Paper
Then, cut two pieces of clear contact paper that are a bit bigger than your template shape. Now, carefully remove the backing from one sheet and keep it on the table with the sticky side facing upward. This will create a clean surface fie kids to arrange their craft.
4. Fill with Tissue Paper
Now guide kids to cut or tear small pieces of red, orange, and yellow tissue paper. Then, ask them to fill the inside of the image with these colorful pieces. Let kids be free. Encourage them to mix colors, overlapping them to create a stained glass effect. Motivate them to spread the autumn spirit.
5. Seal the Design
After that, take that second contact paper sheet and paste it on top, sticky side down. Now, press it gently to close it like a sandwich. Then, smoothly rub it to stick together, and to push any air bubbles.
6. Trim and Frame (Optional)
Then, trim around the sealed shape, leaving a small border. For extra contrast, glue the finished suncatcher onto black construction paper and cut a frame around it.
7. Display on Windows
Finally, use tape or adhesive dots to stick the suncatchers to a sunny window. Then, watch how the light shines through the tissue paper, making the colors glow beautifully!
Tips for teachers
To make this craft neatly, a teacher’s guide is important. By preparing materials before starting the craft save time. However, Teachers can help kids stay focused and confident
Also, you can teach them about the sun, its advantages, as well as a new vocabulary. About sun rising and sun setting.
Ask them a kids’ poem about the sun, the Fall season.
Meanwhile, ask them how they feel about this craft. These tips help to keep kids focused on the activity. For example: “What do you think about this suncatcher?”
On the other hand, use templates to teach new words. For example :
” Can you name the template that you have?”
“Do you know the name of the animal in this template?” So, this will keep kids engaged with the activity.
However, do not force them or do not make them stress over the craft. So, make sure to be kind and patience.
Final Thought: Fall Suncatcher Craft
Craft activities like making a Fall Sun Catcher are not only fun, but also help kids learn about the world around them. So, they can explore more knowledge. Even from this Fall Suncatcher Craft, they can explore colors, practice fine motor skills, and learn about the sun, Sun rising, and sun setting. Hence, children get both hands on experience and knowledge. Most importantly, this Fall Suncatcher Craft boosts their imagination, curiosity, and patience.
Fall Suncatcher Craft Templates:


**** Click here to get the free PDF template: Download
Let kids explore more knowledge and fun. This is a Fall craft idea for kids https://kidstut.com/arts-and-crafts-ideas-for-kids-fun-umbrella-craft/