Autumn is a fun, colorful season. Not only that, the environment that prepares for autumn is beautiful, but also cold. The way the leaves of the trees change their colors is especially amazing. Because the green tree leaves have now turned red, yellow, orange, and brown. So, in this blog post, we have come up with a great craft idea that will allow children to experience this wonderful leaf change. It is an autumn leaves wreath craft. So get ready to experience these fun fall crafts.
Under the theme of autumn crafts for kids, we will make a craft using autumn leaves. Moreover, this craft is very easy and simple to make. So this design can be used by children of any age.
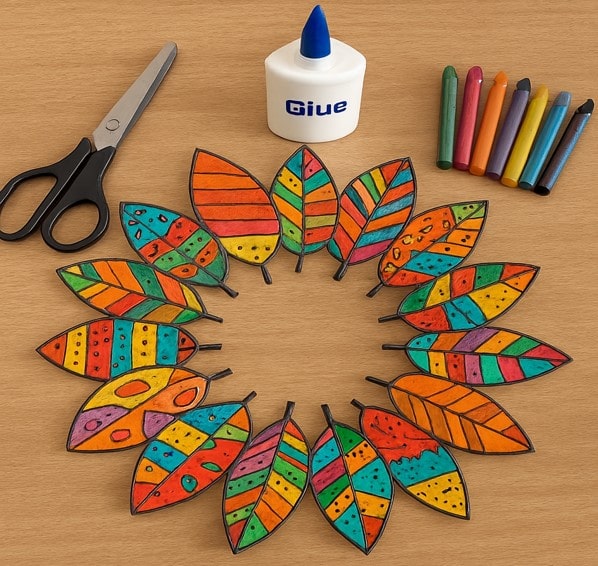
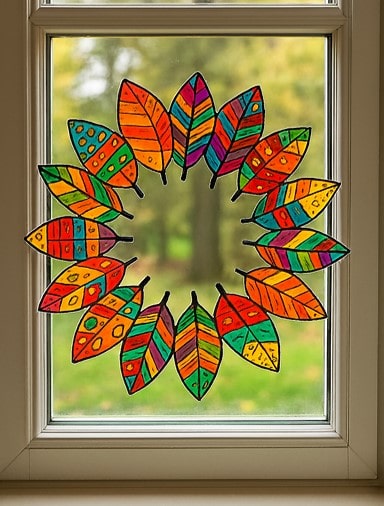
In this craft, children can use paper leaves to create their very own wreath. It’s a great way for them to explore colors, patterns, and shapes while having fun. This is also a home craft experience. These autumn crafts, in particular not only provide fun for children, but also provide various educational opportunities. For example, this craft helps them recognize autumn and learn about colors, shapes, and patterns. Let’s see how to make this Fall Craft Wreath design.
In this activity, I am giving you:
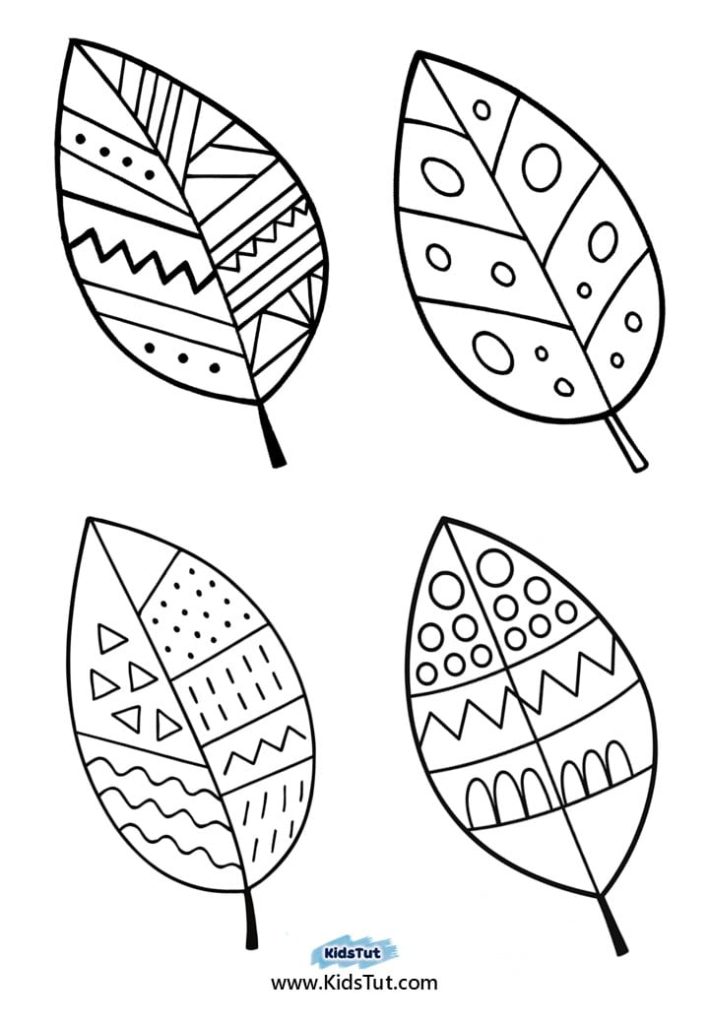
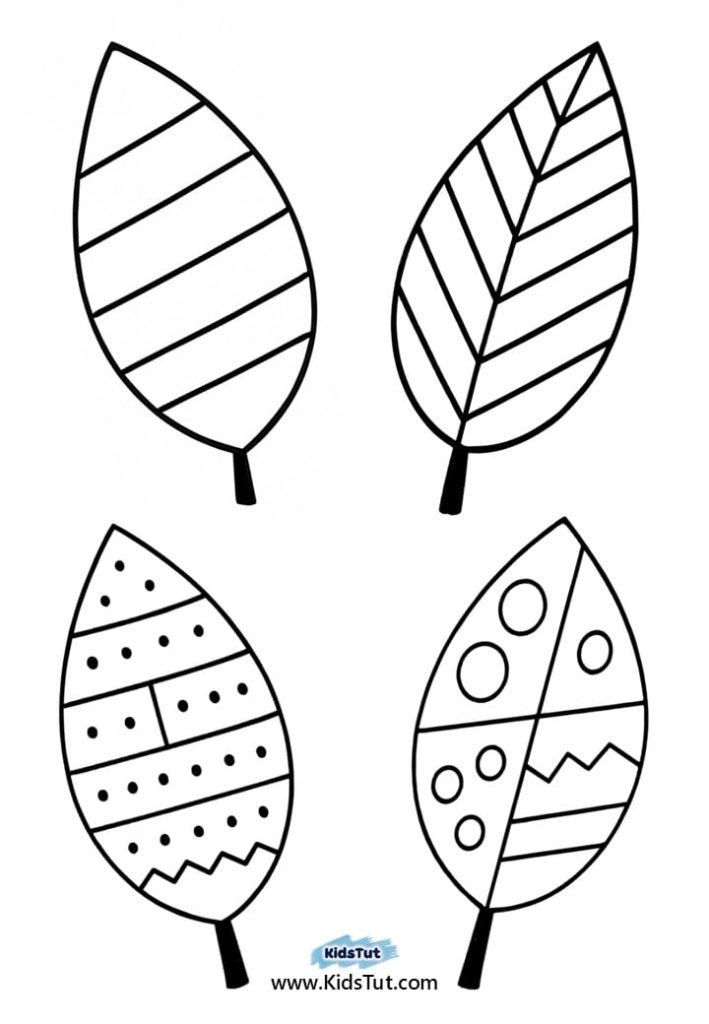
- Free printable leaf templates with patterns for coloring
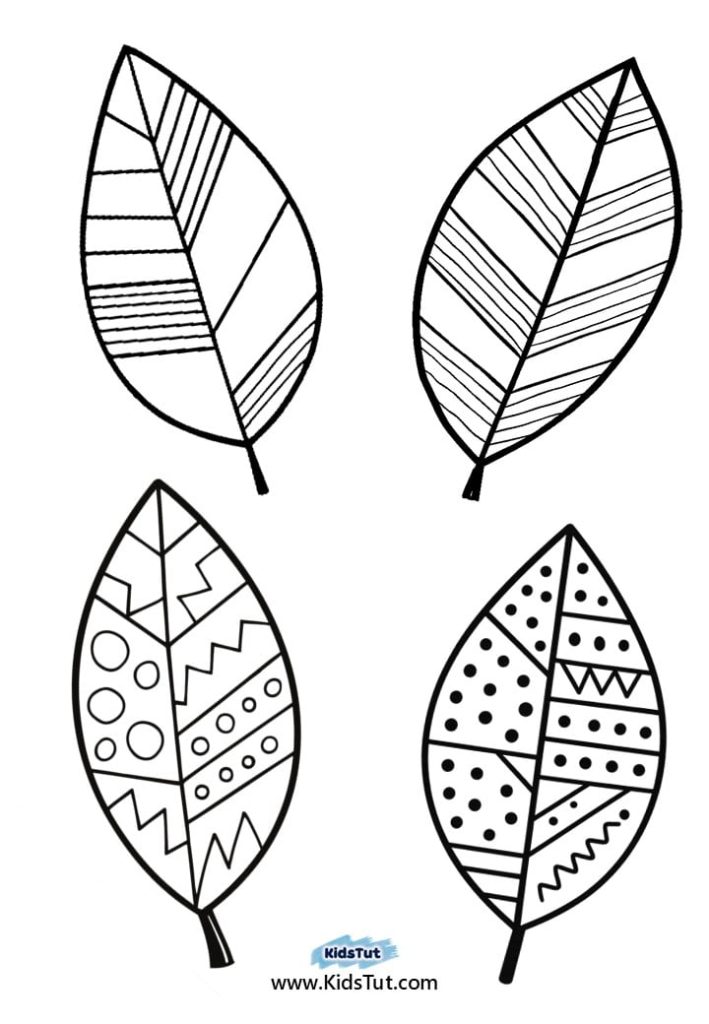
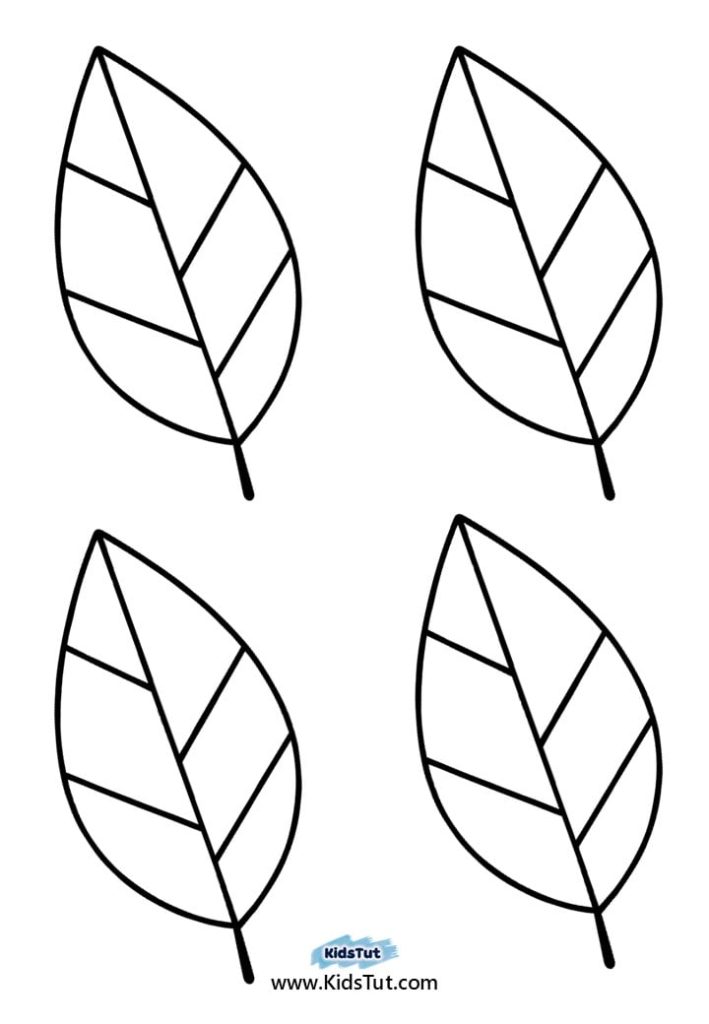
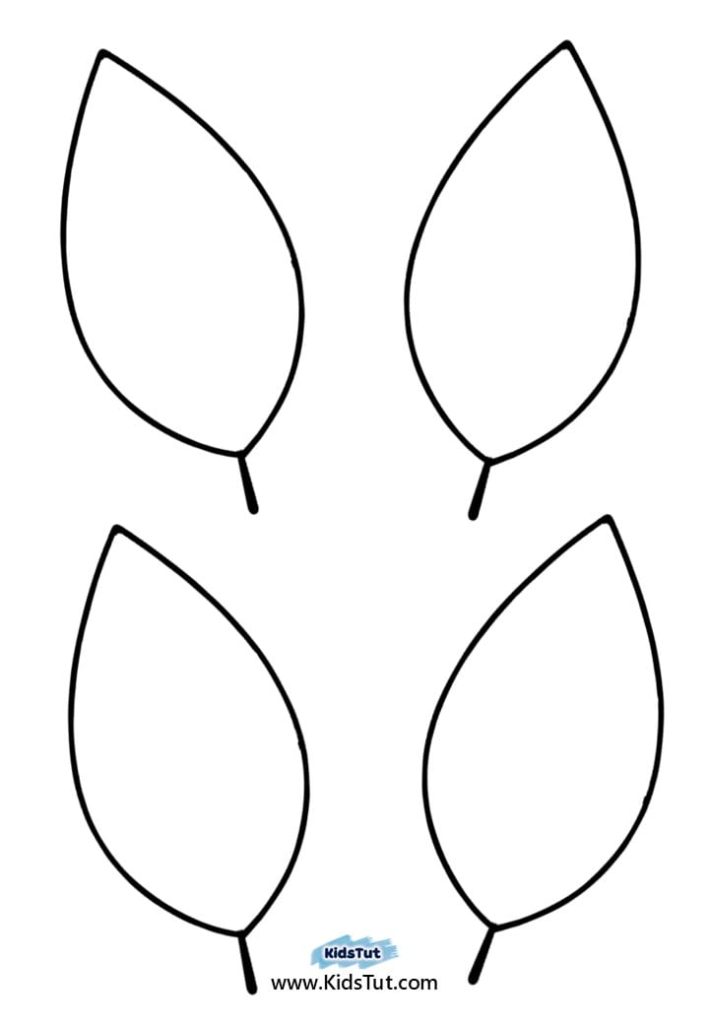
- Blank leaf outlines so kids can draw their own patterns and color.
- Step-by-step instructions for making the wreath
- Free PDF download with all templates and instructions
Why This Craft is Great for Kids:
This autumn wreath craft not only provides fun for children, but also provides many other learning opportunities. Below are some examples of those learning opportunities.
- Practice coloring skills
- Learn about fall colors
- Improve cutting skills
- Use creativity to design patterns
- Learn how to arrange and glue shapes to create something beautiful
Additionally, this fall craft wreath design is a great way to decorate your home or nursery for the fall season. And also, you can display it on a wall, door, or window. So this fall wreath craft will add an Autumn Magic to your home or classroom.
Fall Crafts: What You Need
Here are the simple materials for this craft:
- Printed leaf templates with patterns (from the free PDF)
- Printed blank leaf outlines (also in the PDF)
- White or colored cardstock paper (for the wreath base)
- Scissors
- Glue stick
- Coloring pencils, crayons, or markers
Fall Crafts for Kids: Step-by-Step Instructions
Step 1: Print the Templates
- You will need to download the templates we have provided for you. To do so, go to the PDF file at the link below. Then, you can print the clear templates.
**** Click here to get the free PDF template: Download
- In the PDF file above, you can see the following two types of templates:
1. Patterned leaf templates: for coloring
2. Blank leaf outlines: for children to draw and color their own patterns.
- Use white printer paper for printing. You can use regular paper or thick paper for this.
Step 2: Color the Leaves
- If you have printed out the patterned leaf templates, this is your second step.
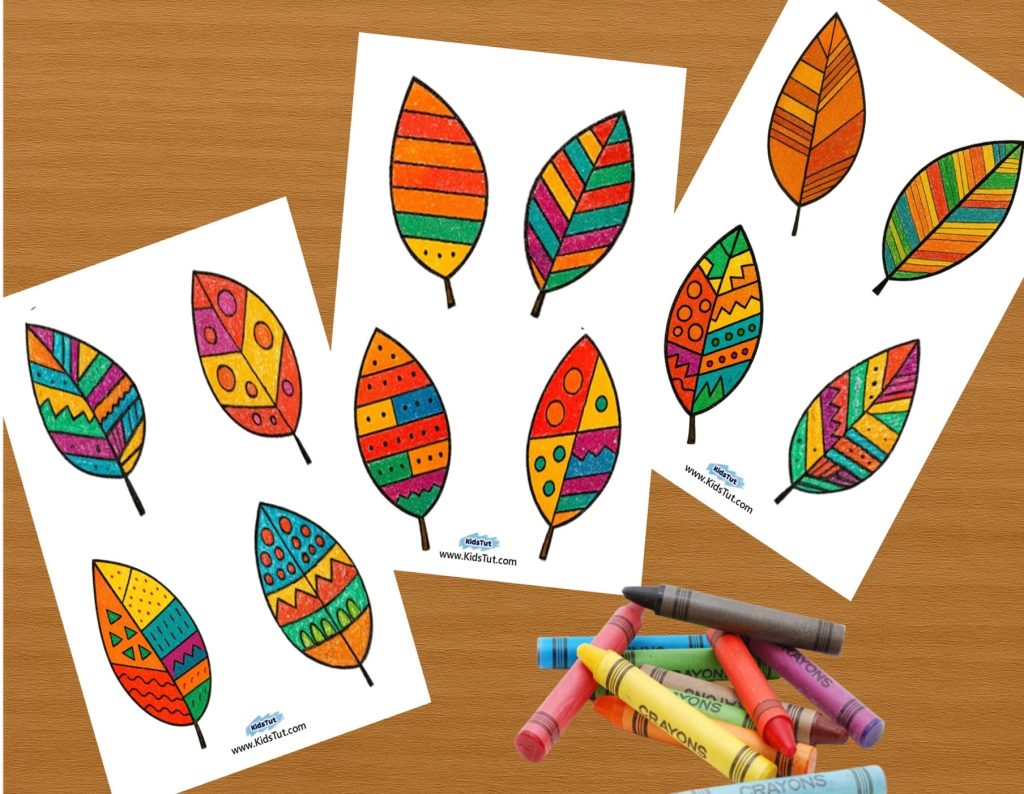
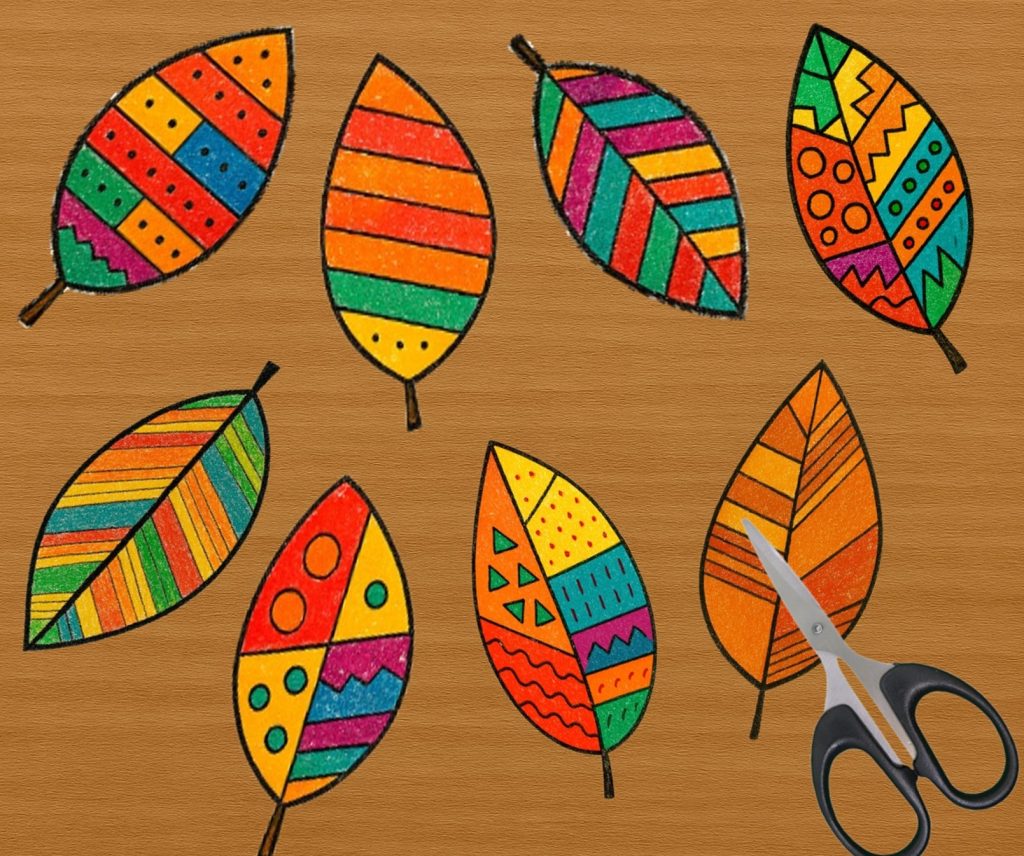
- Let your children color these patterned leaves in different colors.
- And remember to use only autumn leaf colors like orange, brown, red, and yellow.
- If you have printed out blank leaf outline templates, the first thing you need to do is draw patterns on the leaves.
- For this, children can draw their favorite patterns like straight lines, zigzag lines, diagonal lines, shapes, etc.
- Then move on to the coloring step.
- Additionally, children can use pencils, markers, or colored pencils as coloring media when coloring.
Step 3: Cut Out the Leaves
- After coloring, cut the leaves separately.
- Be careful not to damage the shape of the leaves while cutting.
- Also, cut these leaves yourself and give them to the little ones. Or, get them to help you.
Step 4: Make the Wreath Base
- Let’s make a wreath base.
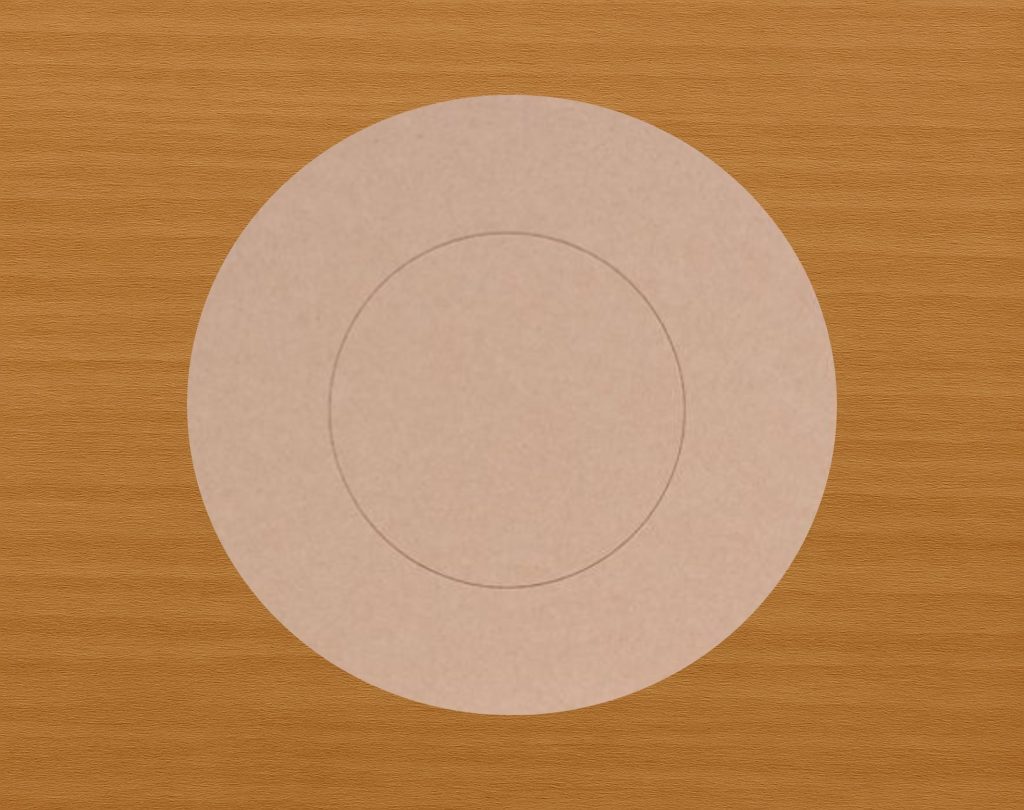
- Take two small plates, one large and one small, and a piece of cardstock.
- First, use the large plate to draw a large circle on the piece of cardstock.
- Then, place the small plate in the center of the large circle and draw a small circle.
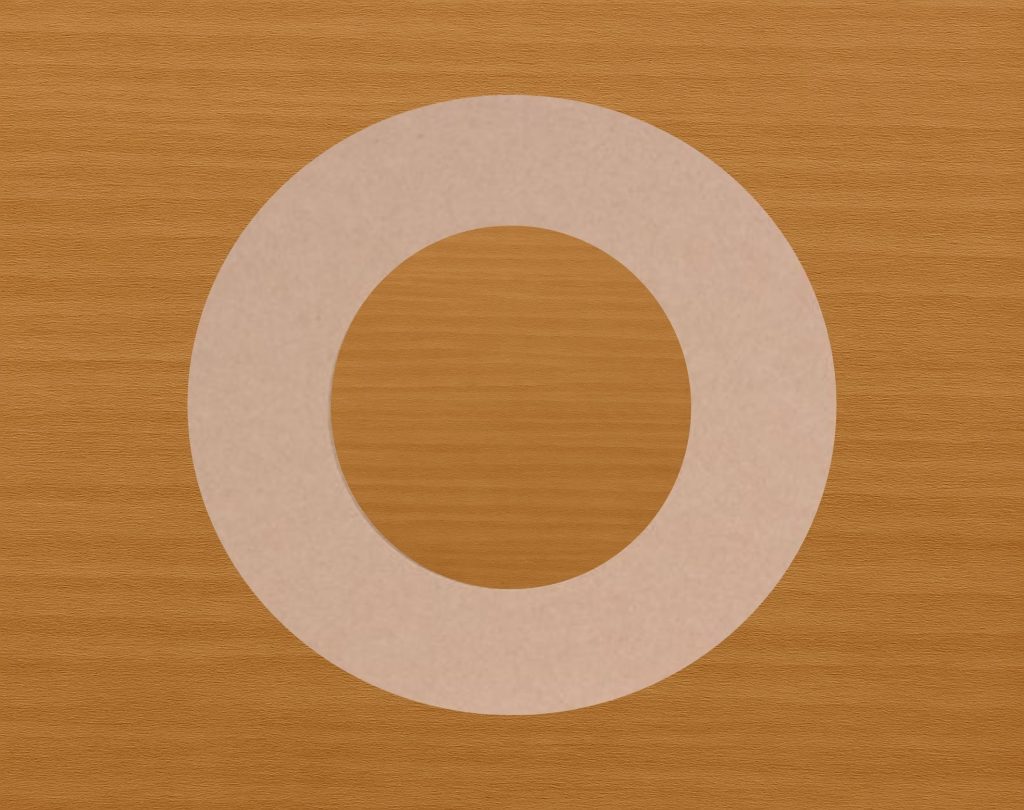
- Now cut around the large circle and remove the rest of the cardstock.
- Then cut out the small circle in the middle of the large circle. So, you will get a ring-shaped piece.
- Use it as the base for this Fall wreath craft.
Step 5: Glue the Leaves
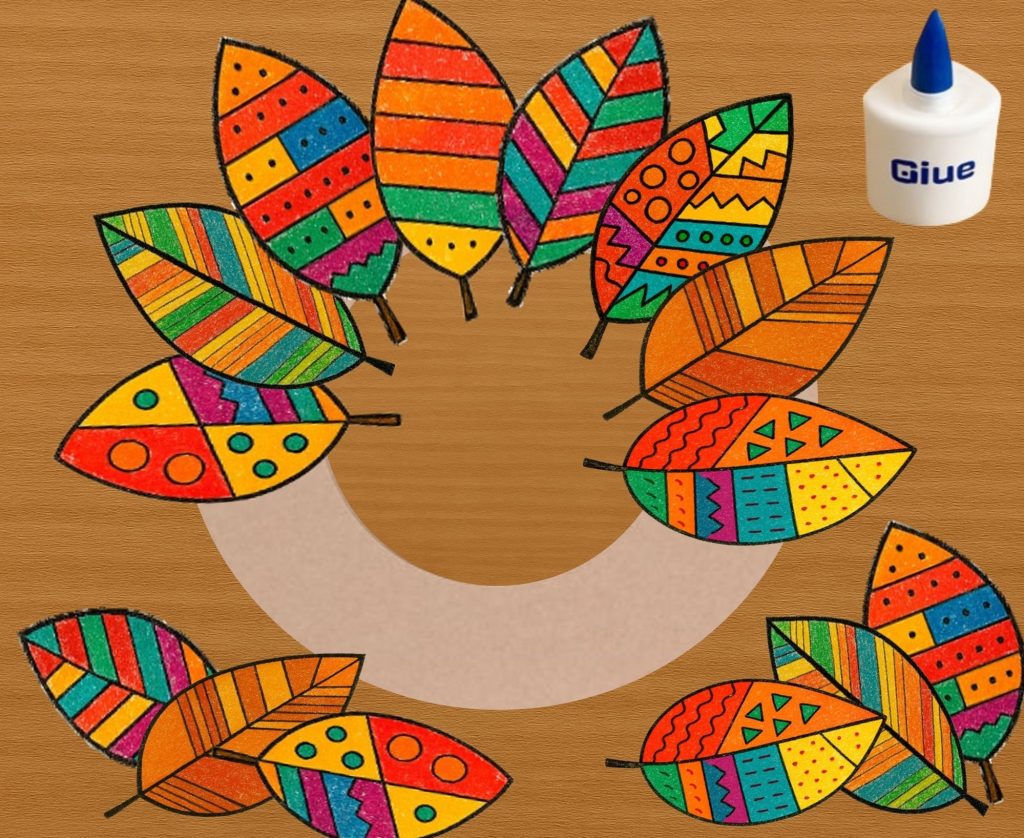
- Glue the leaves you cut around the base.
- Glue them together so that the leaves overlap a little. This will make the wreath look full of leaves.
- Also, for a more attractive look, glue these leaves around the base so that the colors and patterns blend.
- Moreover, glue the leaves so that the base is as invisible as possible.
Step 7: Display Your Wreath
Once the glue is dry, hang the wreath on your door, window, or wall. You can use a ribbon or a string to hang it up.
Learning Benefits of This Fall Crafts:
This activity is perfect for combining fun and learning:
- Fine motor skills – cutting, coloring, and gluing
- Color recognition – learning warm fall colors
- Pattern making – understanding shapes and designs
- Creativity – designing unique wreaths
Fall Crafts for Kids: Other Ideas Using These Leaf Templates
You can also use the same leaf templates for:
- Fall leaf garlands
- Leaf bookmarks
- Leaf collages
- Classroom bulletin boards
So, this craft will help you get creative this fall with your kids. All the templates and instructions you need for that are available for free above. So, have fun this fall with this autumn leaf wreath craft.