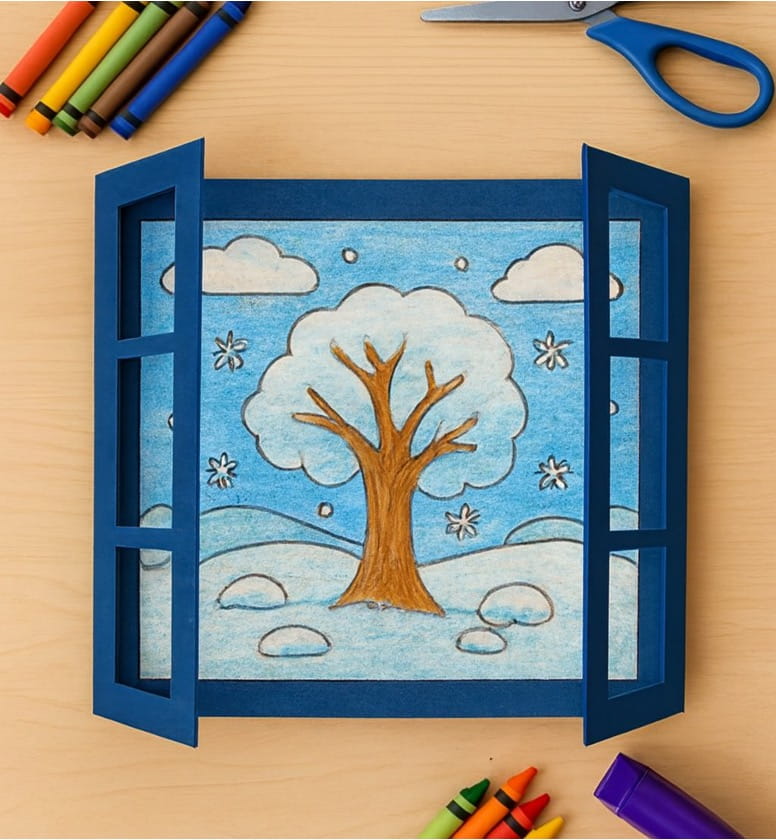
Winter is full of magic, and this craft lets kids bring that snowy wonder indoors. By drawing a simple winter scene and framing it with a paper window, children can imagine looking outside on a frosty day. It’s a creative mix of art and craft—easy enough for little hands, yet beautiful enough to display. With just paper, crayons, and scissors, kids can design their own snowy trees, clouds, and falling snowflakes, making each window scene unique and full of charm.
What You’ll Need:
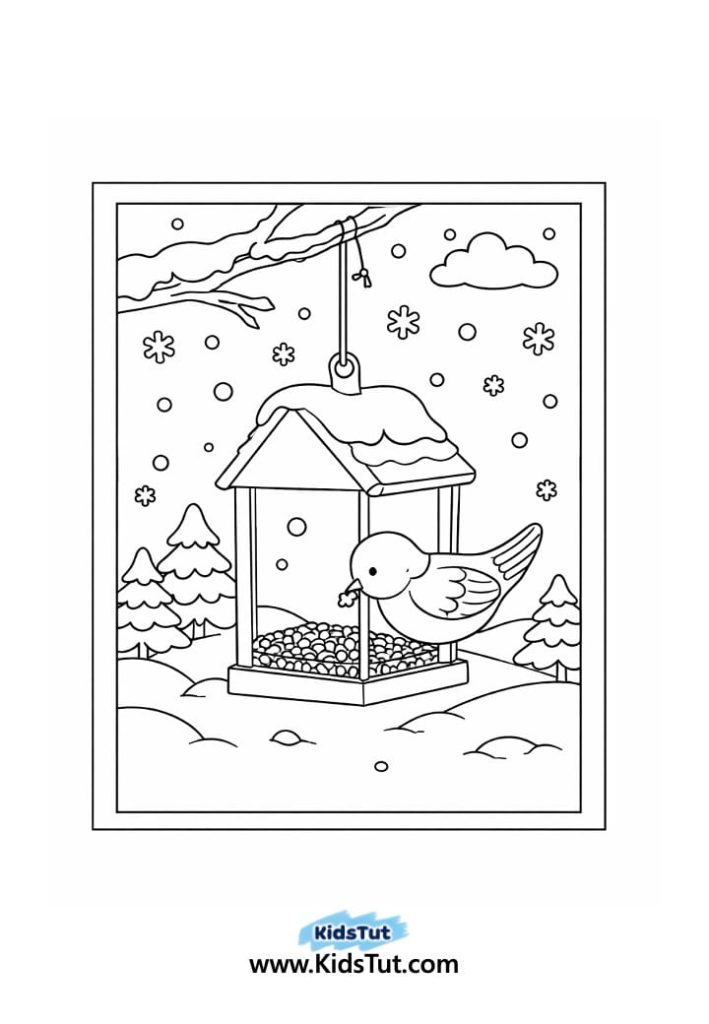
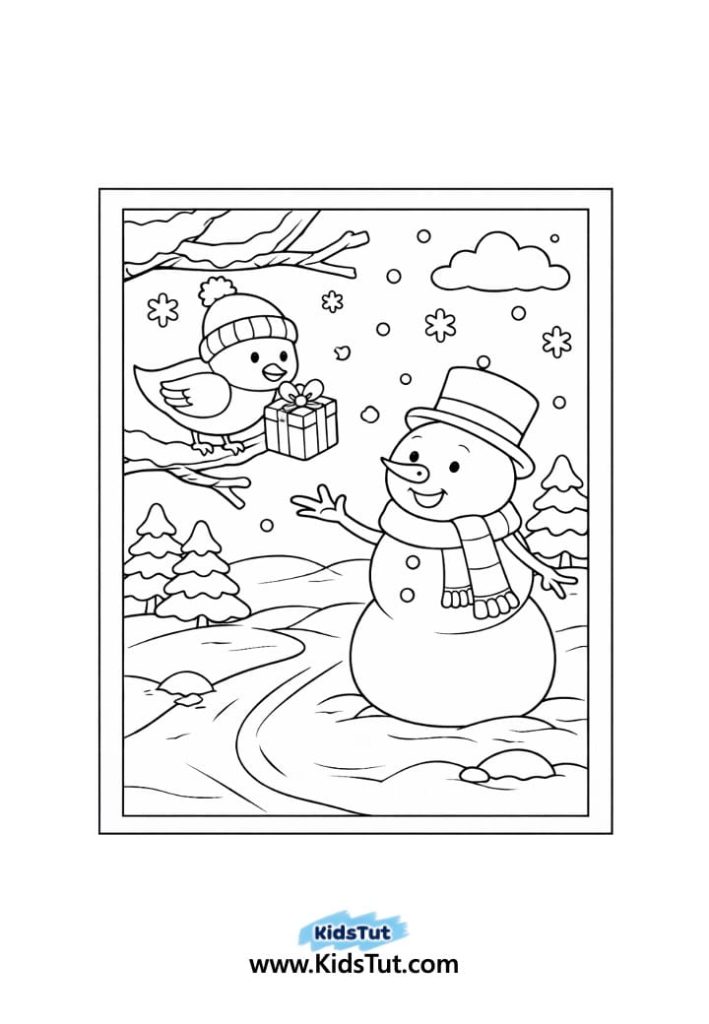
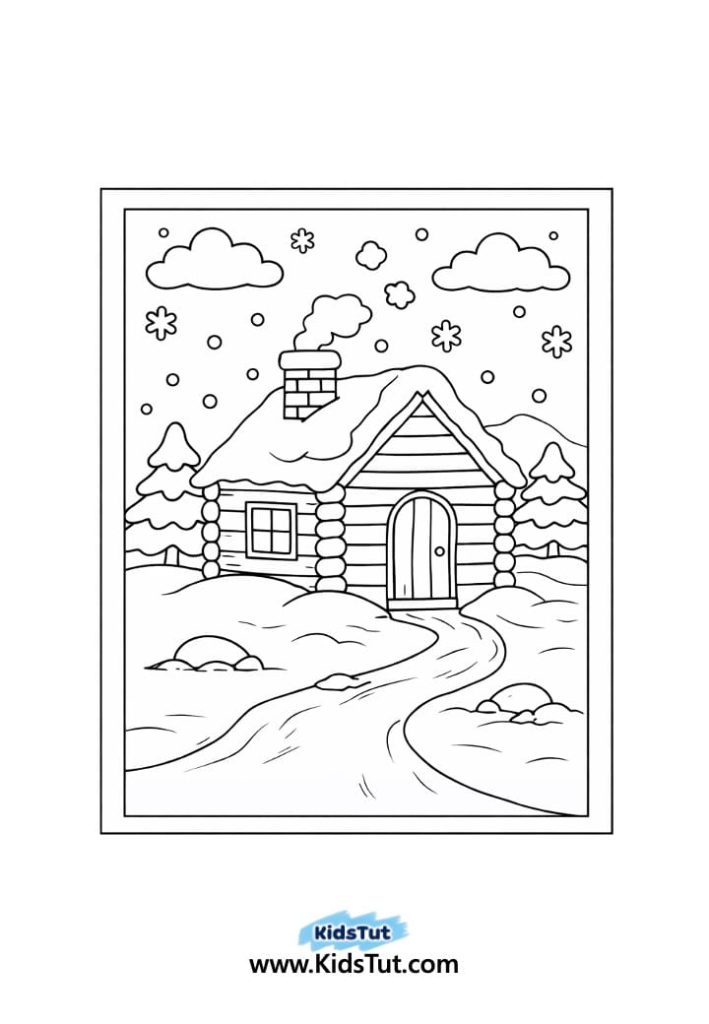
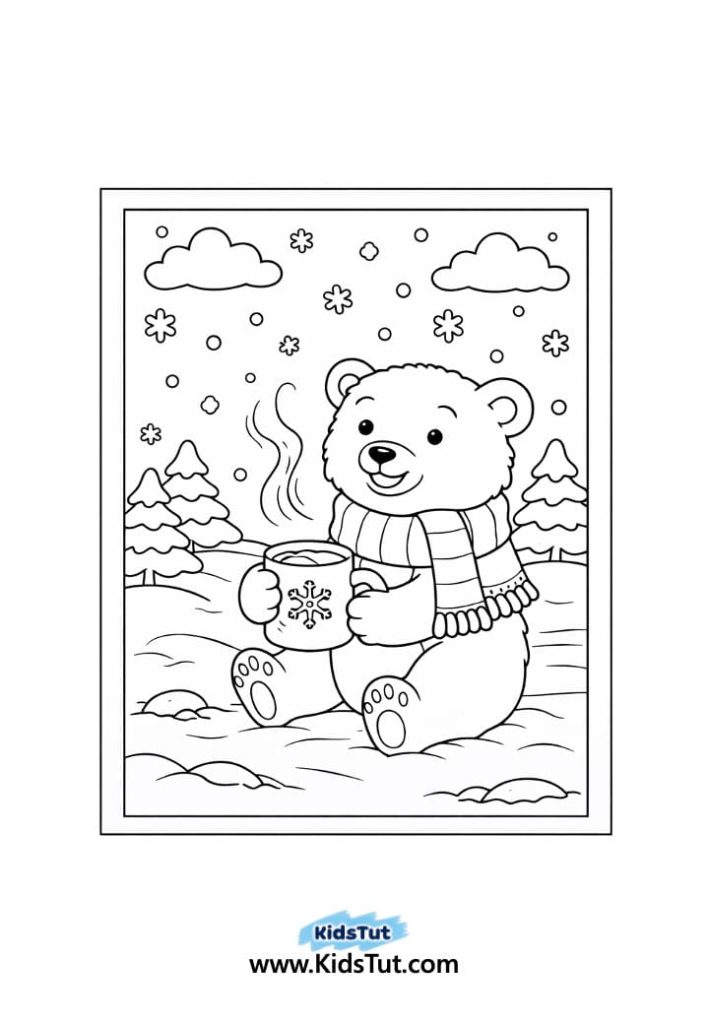
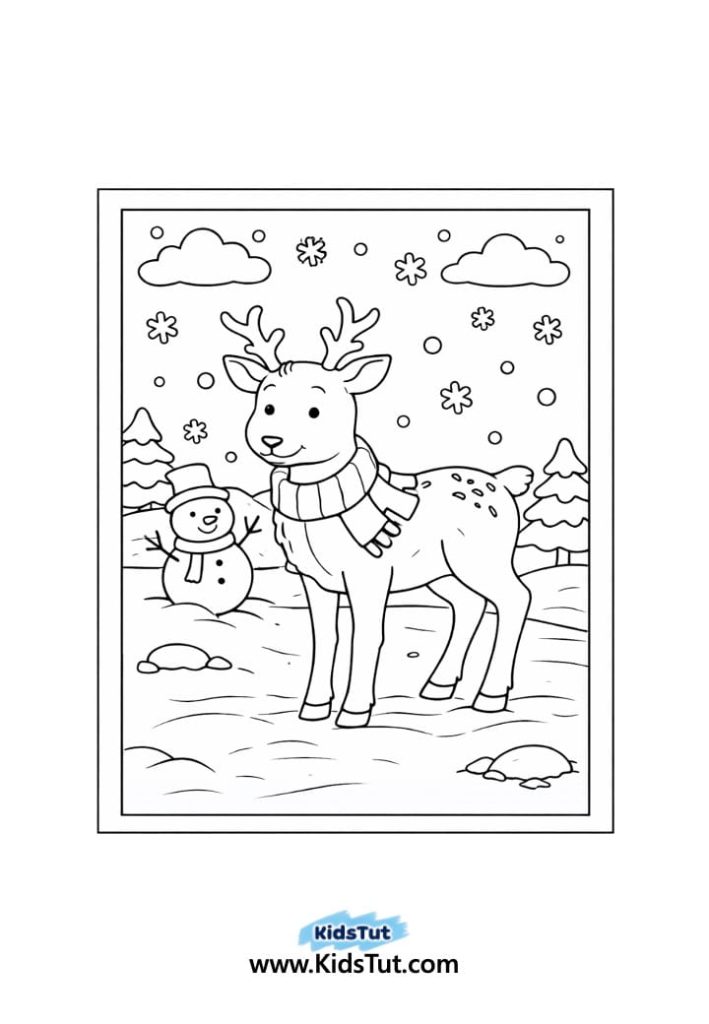
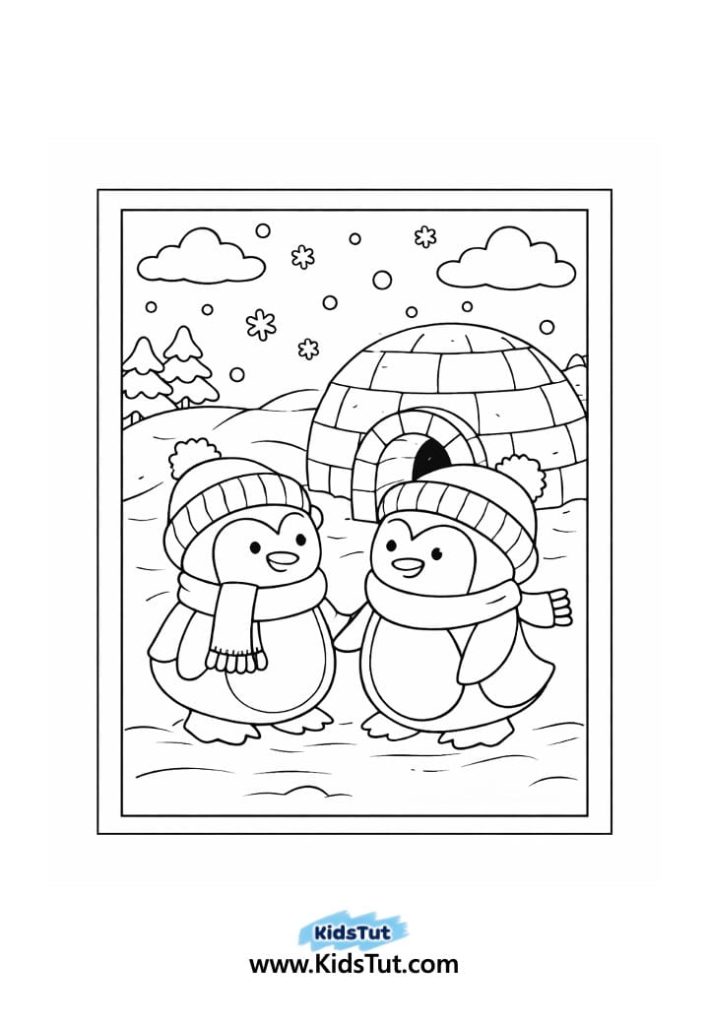
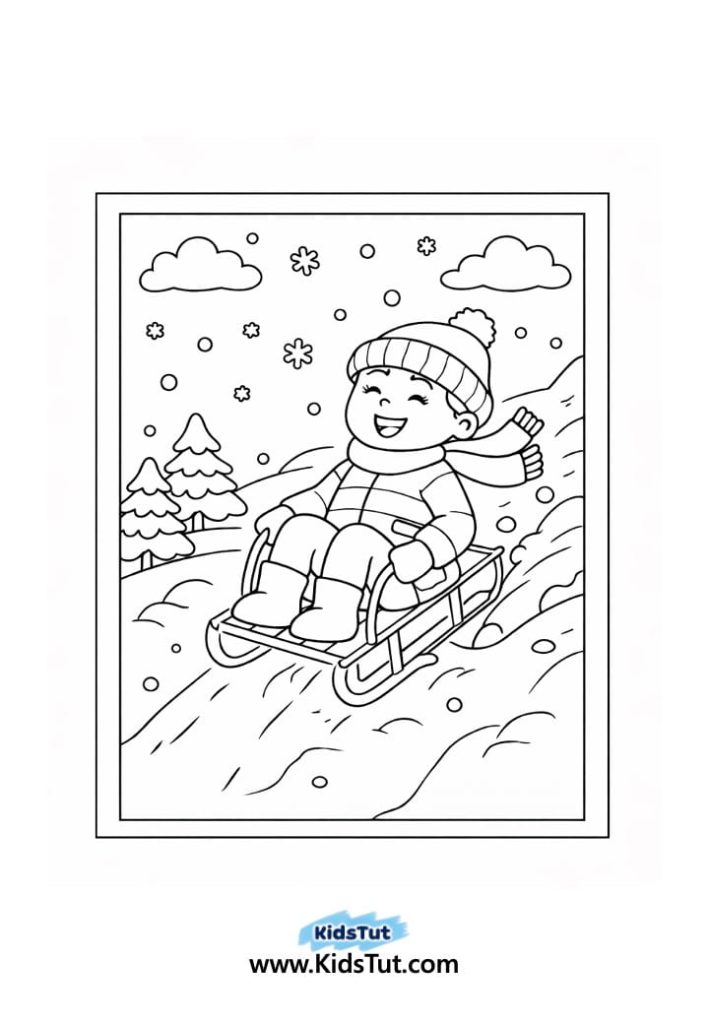
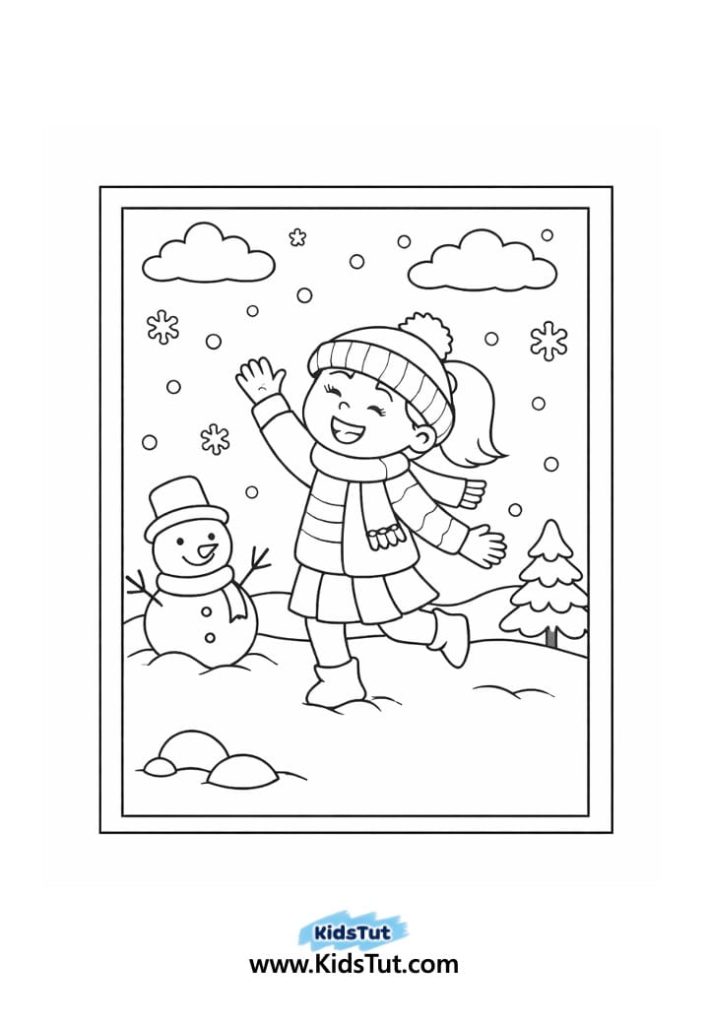
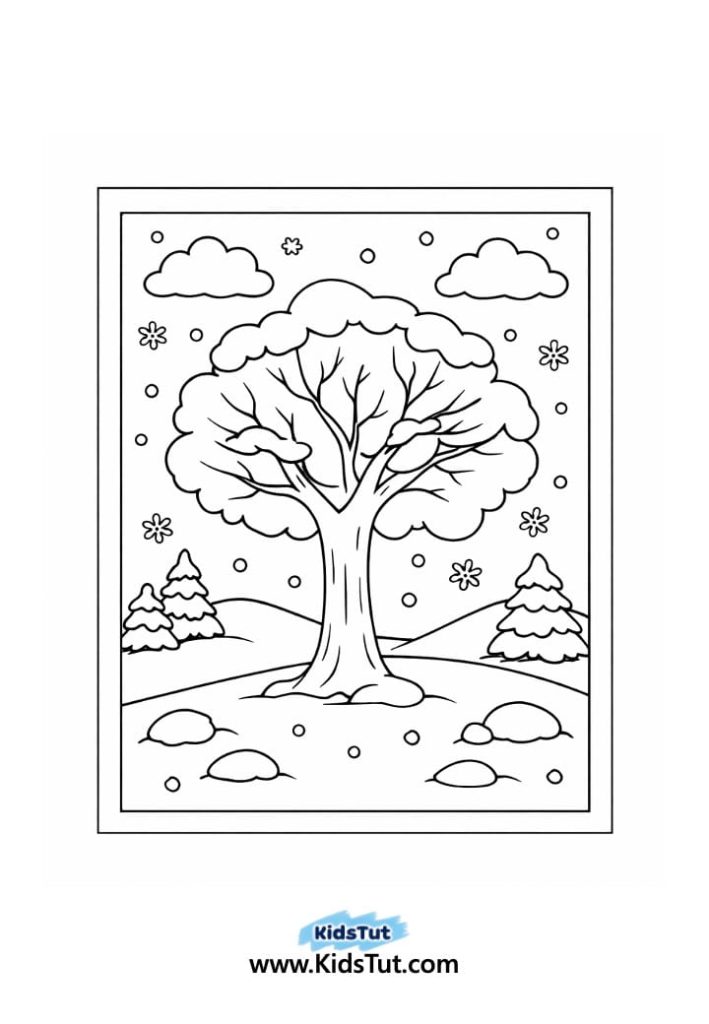
- Printed Winter Coloring Pages (from our free templates)
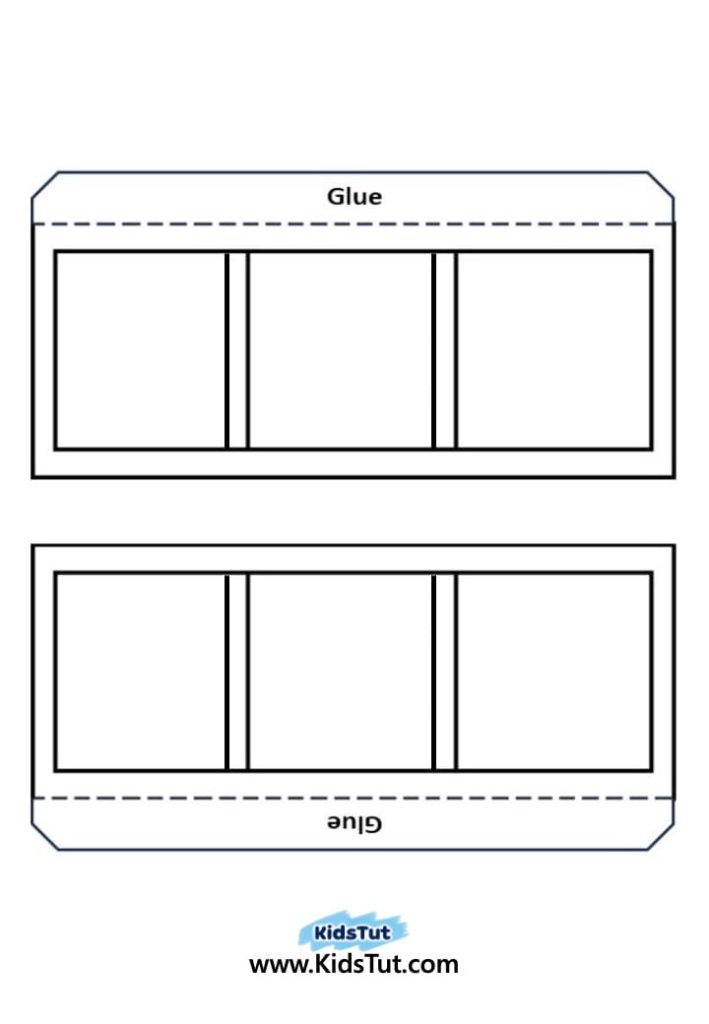
- Printed Window Frame Template
- Crayons, markers, or colored pencils
- Scissors
- Glue stick
- Cardboard or cardstock (for extra strength)
How to Make It:
- Print & Color Start by printing the winter scene and window frame templates. Color them in with your favorite winter scene!
- Cut Out the Pieces Carefully cut around the window frame pieces and the outline of the winter coloring page.
- Add Strength: Glue the colored templates onto cardboard or cardstock. This helps your craft stay sturdy when you cut and glue.
- Glue the Window Frame: Apply glue to the marked glue areas on the window frame pieces.
- Attach the Fall Scene: Flip the fall scene over and press the glued window pieces behind it so the scene shows through the open window.
- Let It Dry: Set your craft aside to dry completely. Then open the windows to reveal your beautiful winter scene!
Templates:


Click here to get the FREE PDF template: Download ( Printable )