Here’s another creative craft experience to add to your winter craft collection. This will be a fresh experience for the kids. So this is not only an easy paper craft, but also an opportunity for children to experience winter in a new way. You can also use this winter craft as a classroom or home decoration. So let’s see how to make this fun craft.
What You Need:
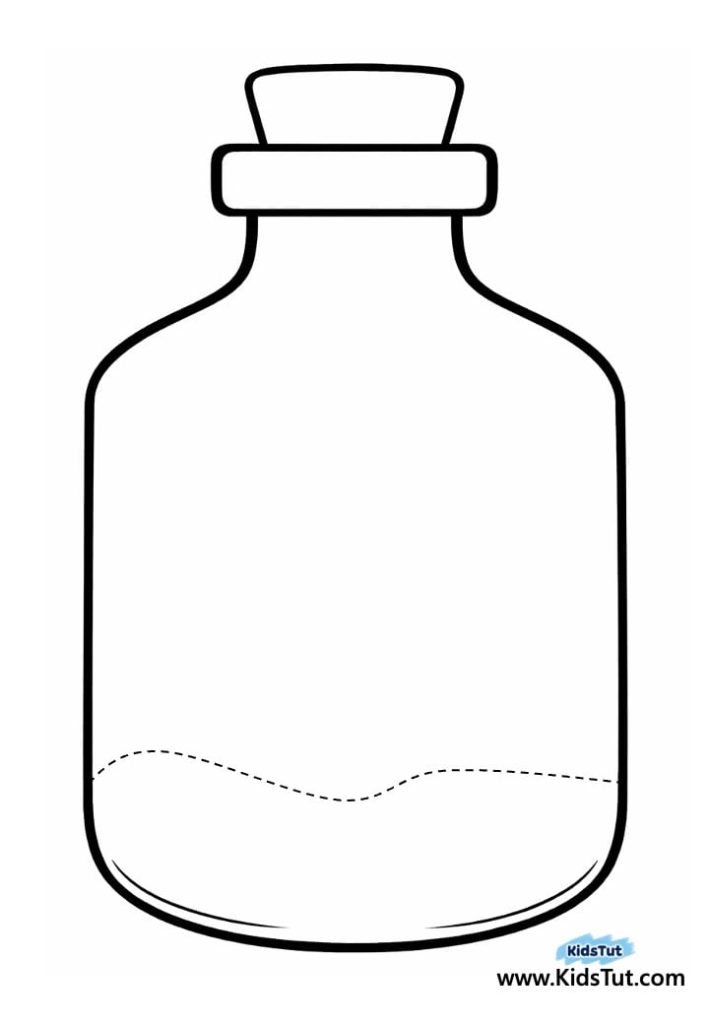
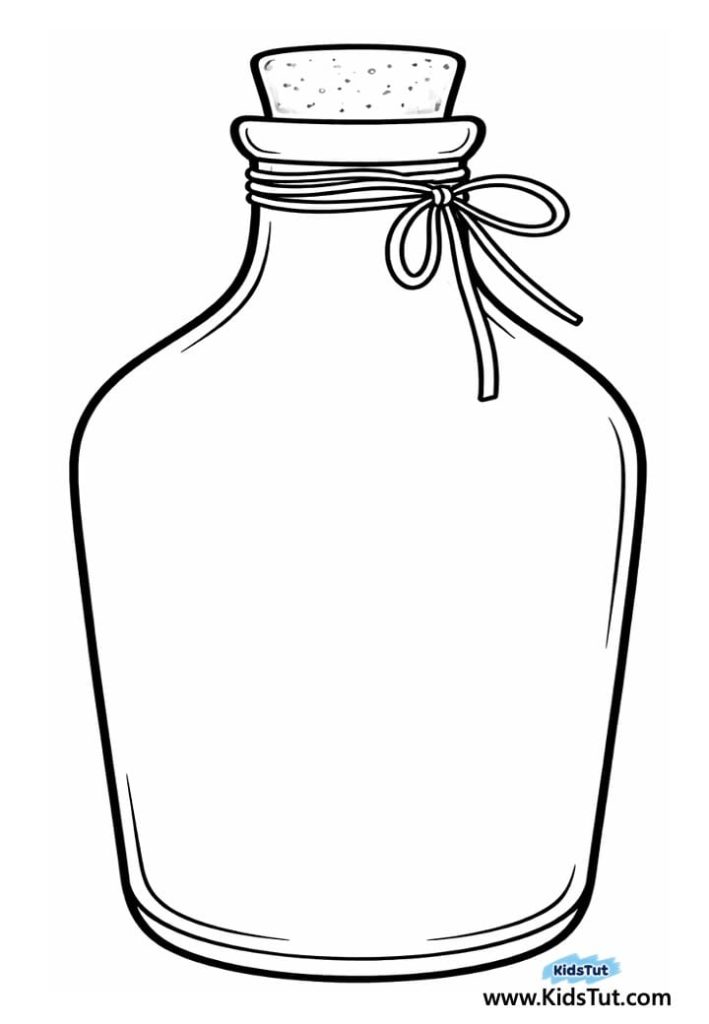
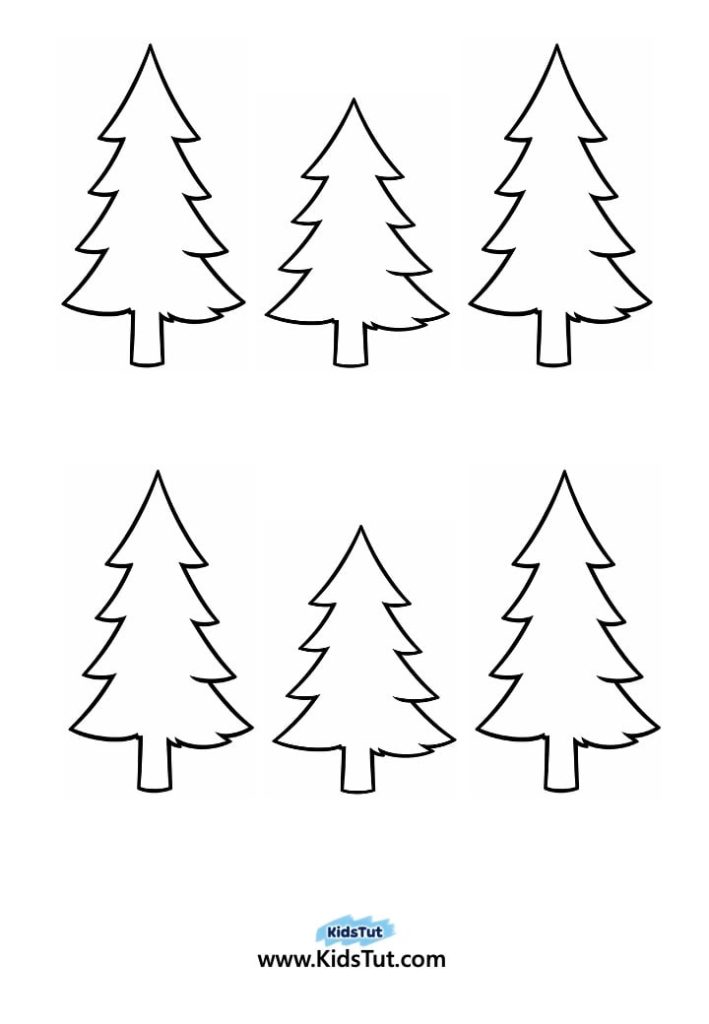
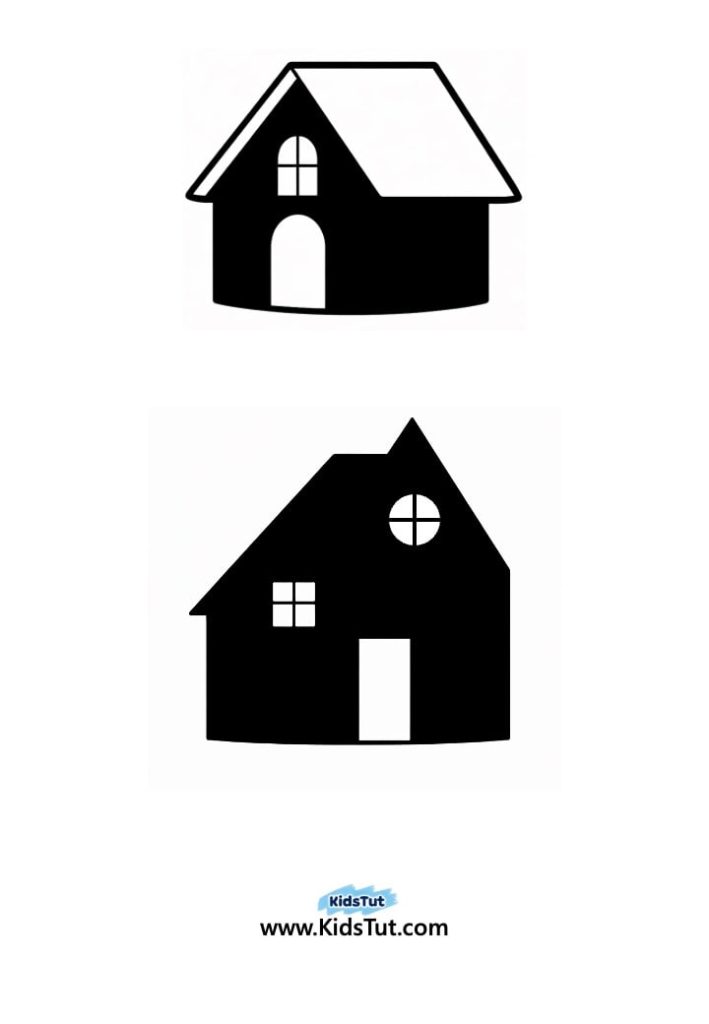
- Printed templates (bottle, trees, houses)
- Paint, markers, or crayons
- Scissors
- Glue
- Star or dot stickers
- Cotton (optional)
- Glitter (optional)
Step-by-Step Instructions:
Step 1: Choose a bottle template and tree/house templates printed on white paper.
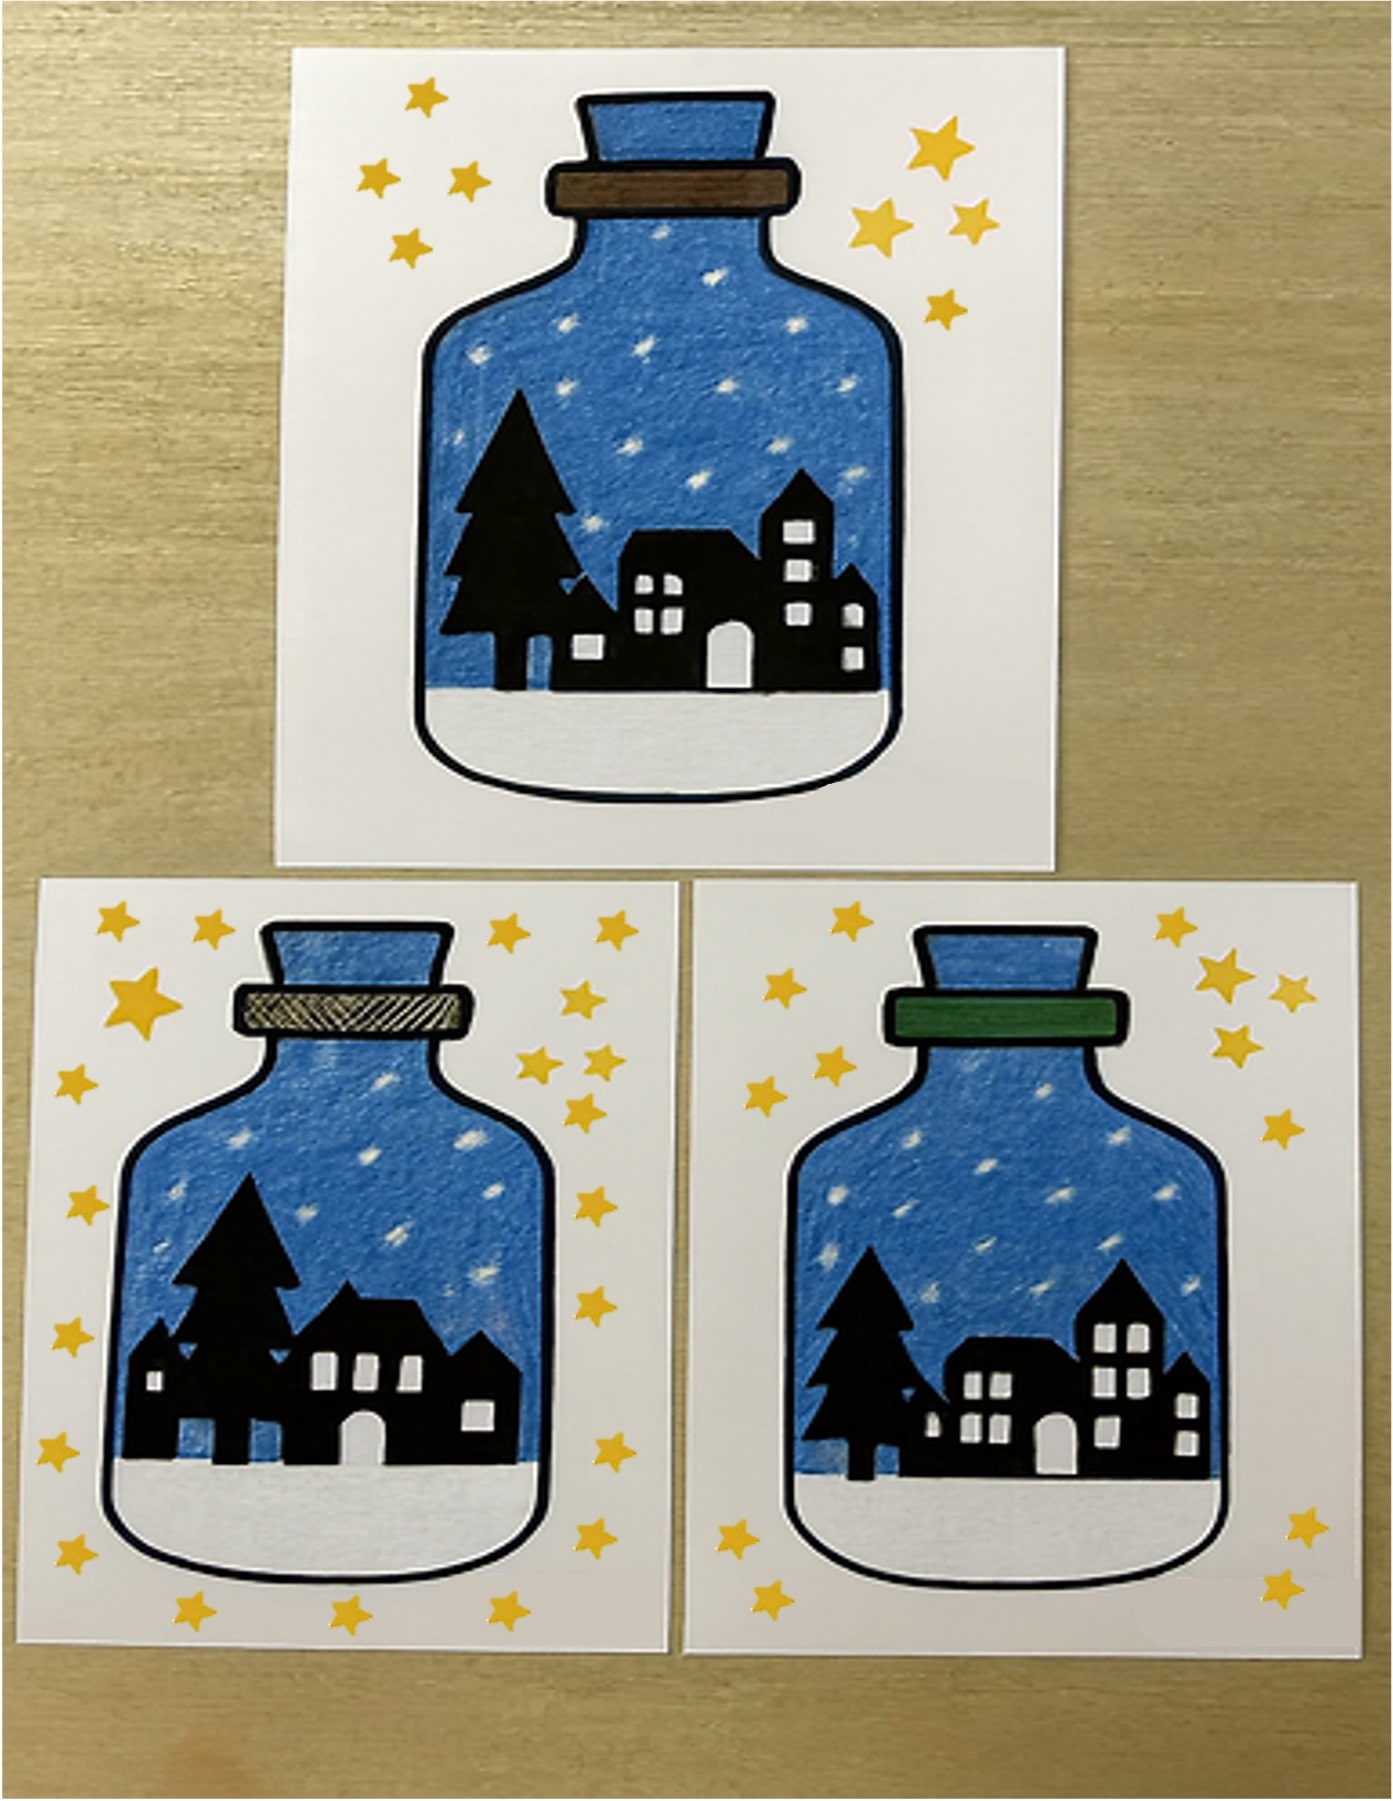
Step 2: Color the top part of the bottle using crayons, markers, or paint. Inside the bottle, create a winter night sky by blending purple, pink, black, white, and blue. Use gentle strokes to blend the colors smoothly. Add white dots to look like falling snow.
Step 3: Color the bottom part of the bottle with white to make the snowy ground.
Step 4: Cut out the trees and houses, then glue them onto the white snowy area inside the bottle.
Step 5: Decorate the background with star or dot stickers to make it look magical.
Step 6: Add extra sparkle!
- Paste cotton on the snowy ground, rooftops, and trees.
- Use glitter lines in the sky for a glowing effect.
- Add small white dot stickers or snowflake stickers to show falling snow.
Step 7: Let it dry and proudly display your finished winter bottle craft! ❄️✨
Templates:


**** Click here to get the free PDF template: Download