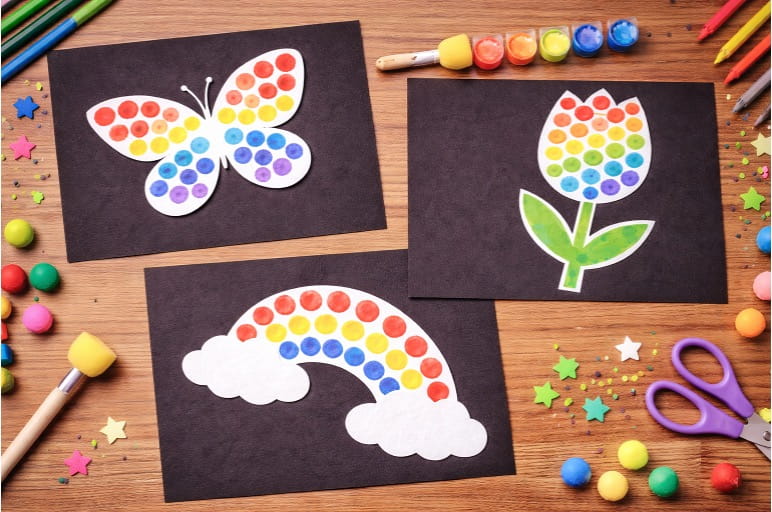
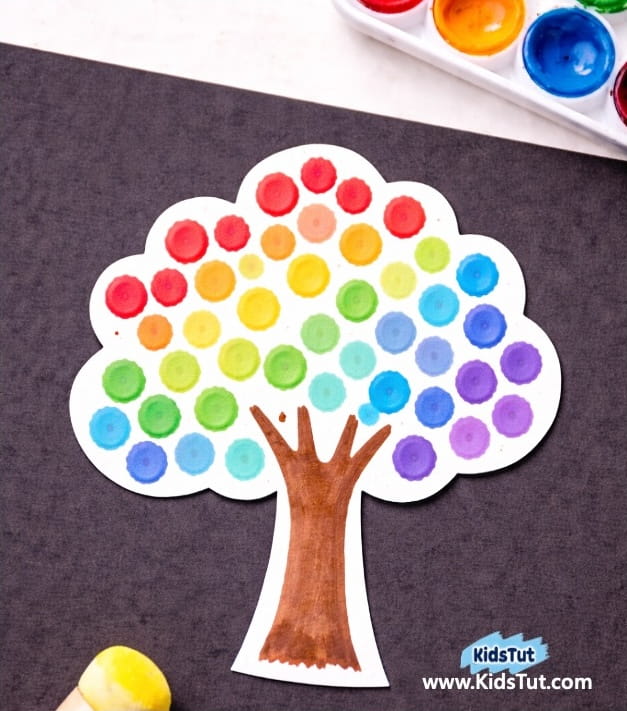
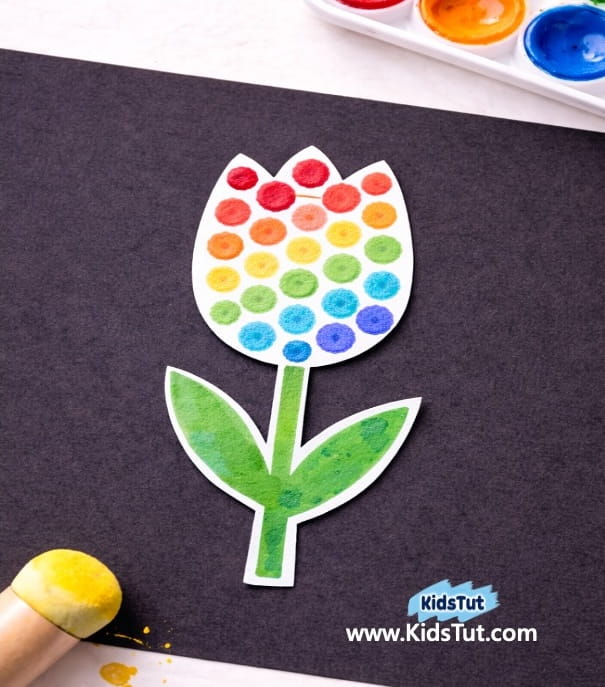
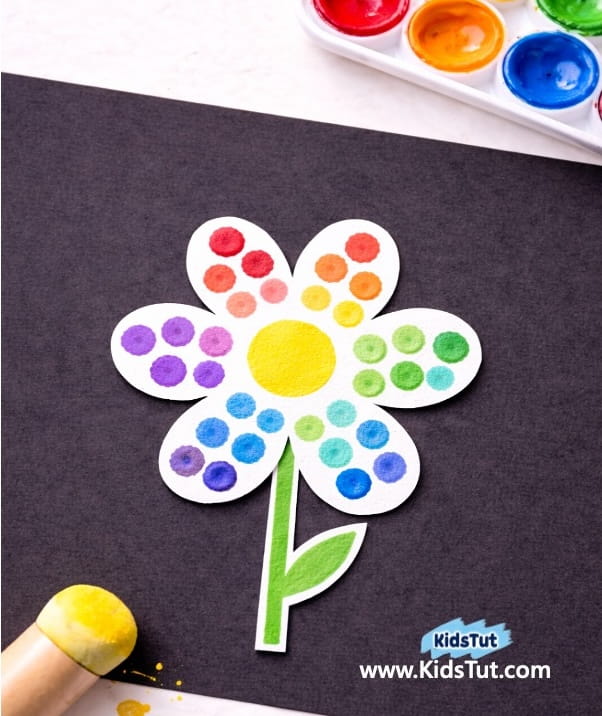
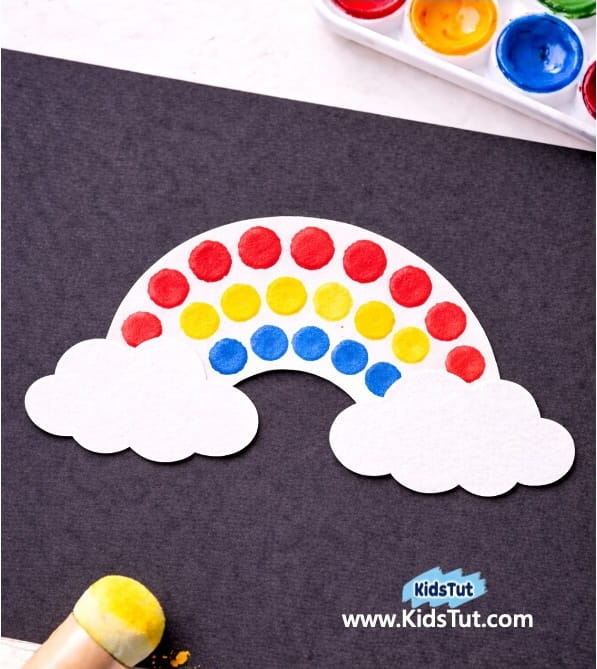
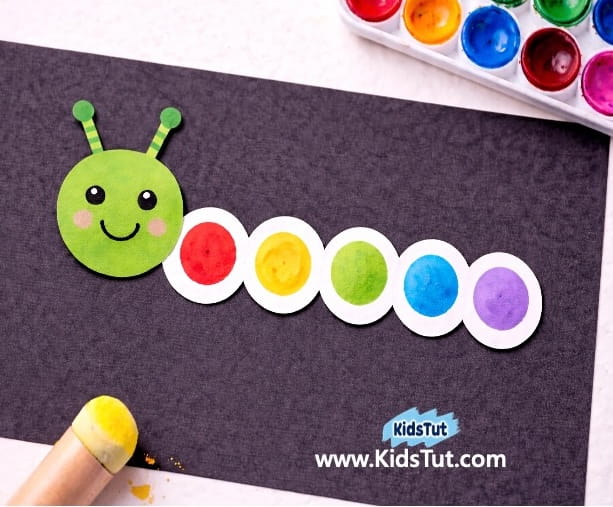
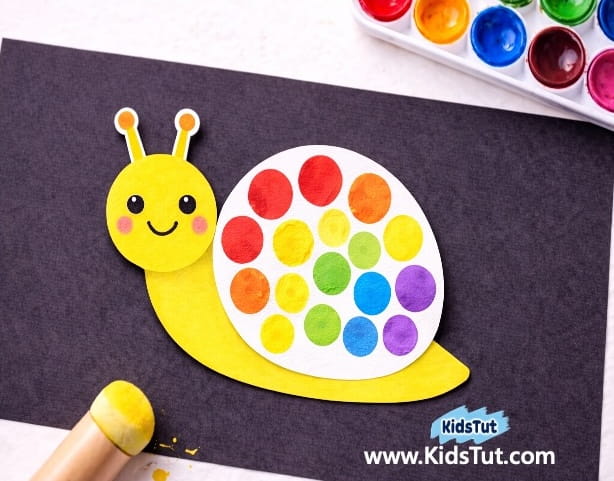
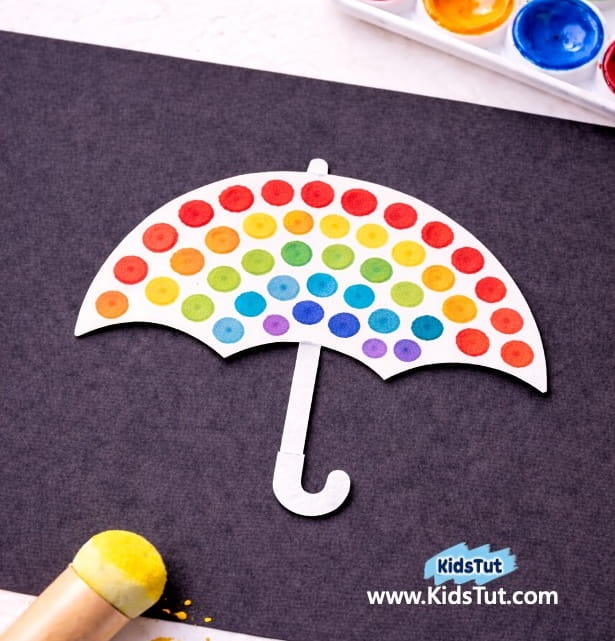
This rainbow dot painting craft is full of bright colors and fun! Kids can use sponge brushes or even everyday items to make colorful dots that turn into butterflies, flowers, rainbows, and more. It’s easy, creative, and perfect for springtime art.
What You Need
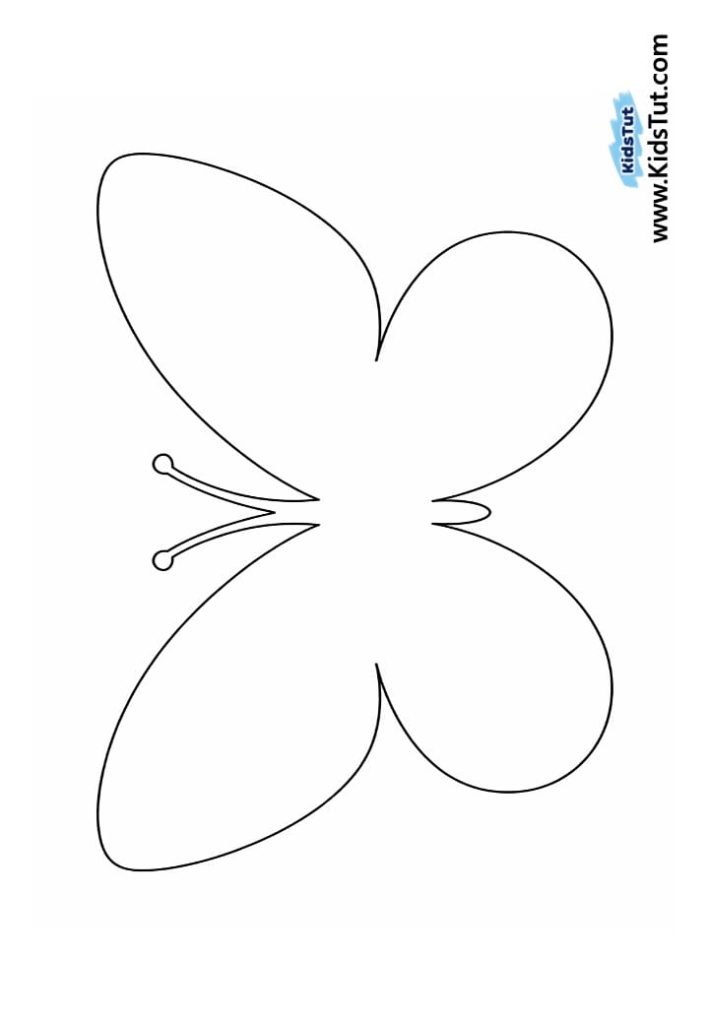
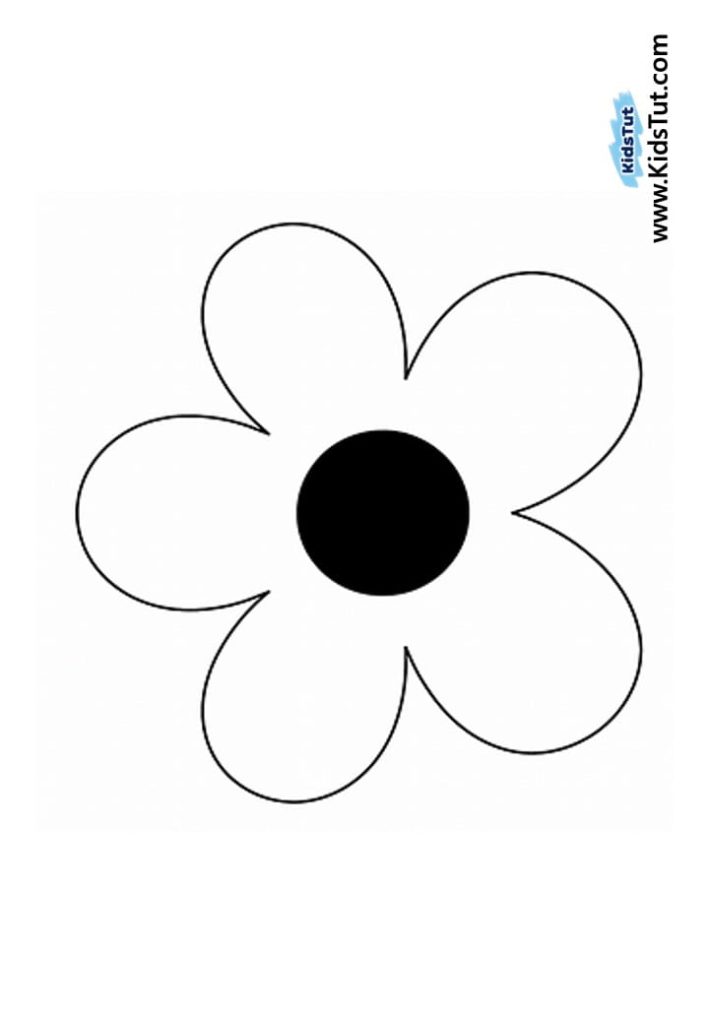
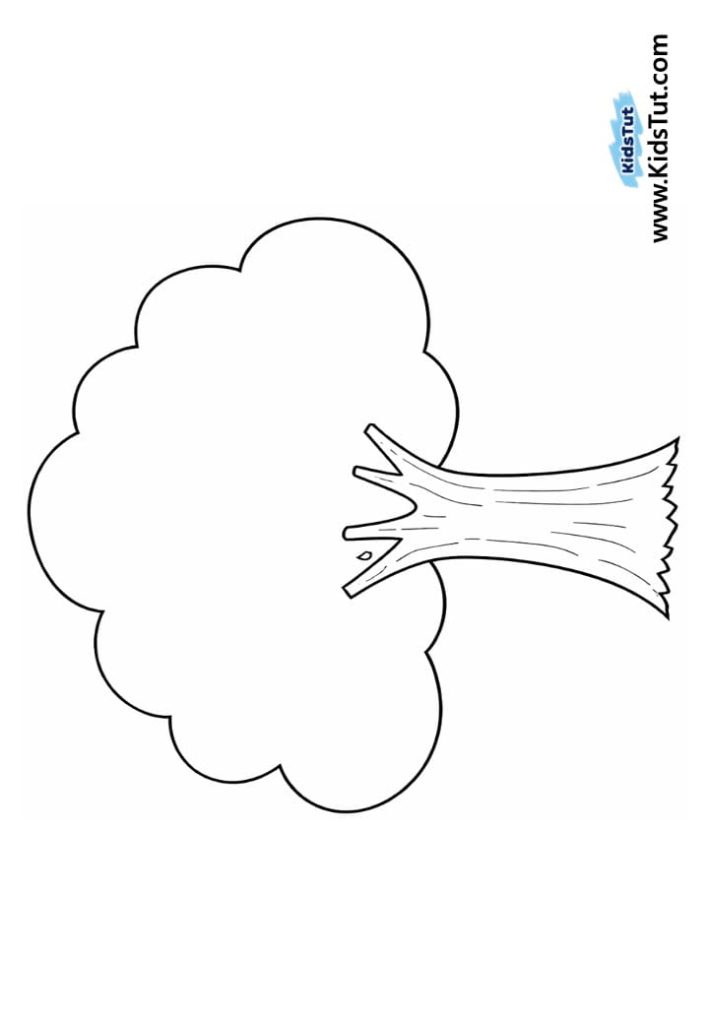
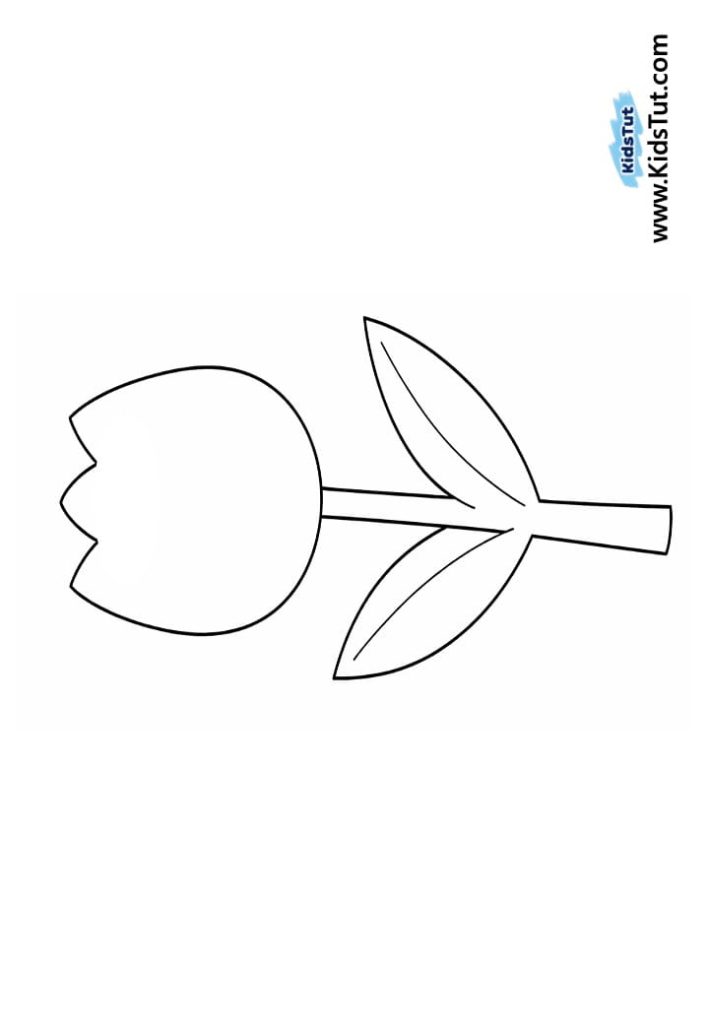
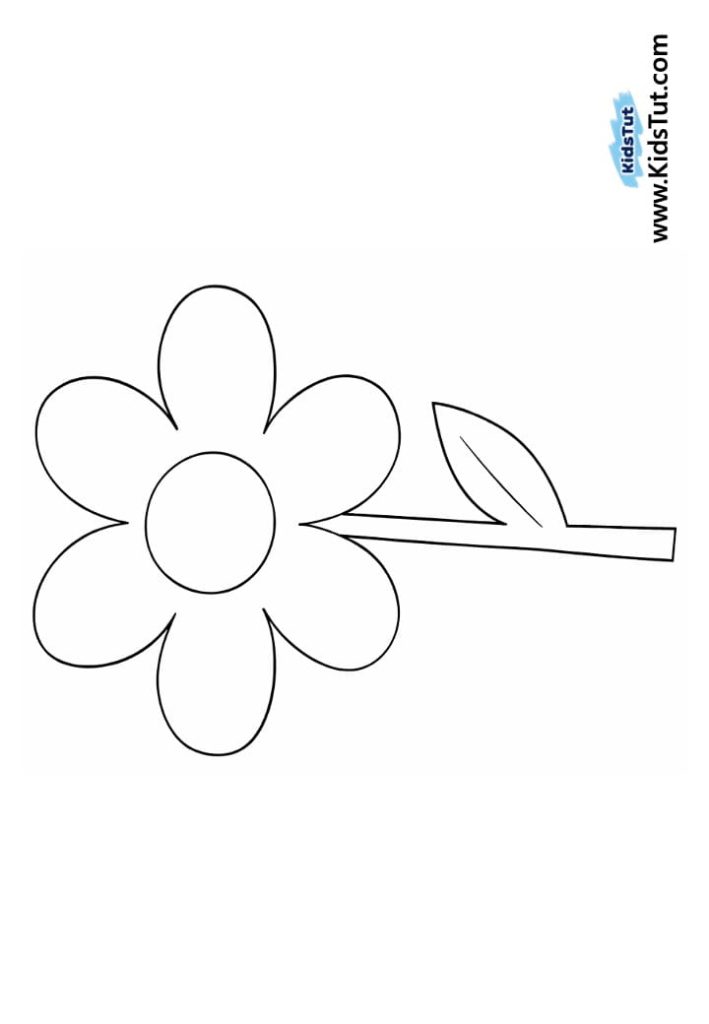
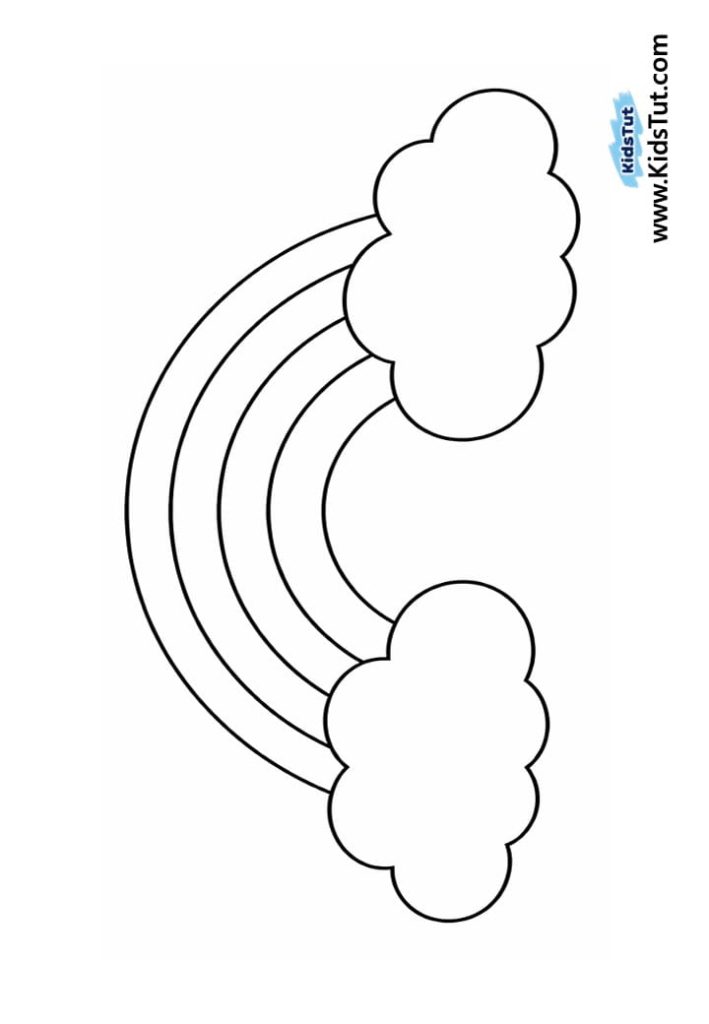
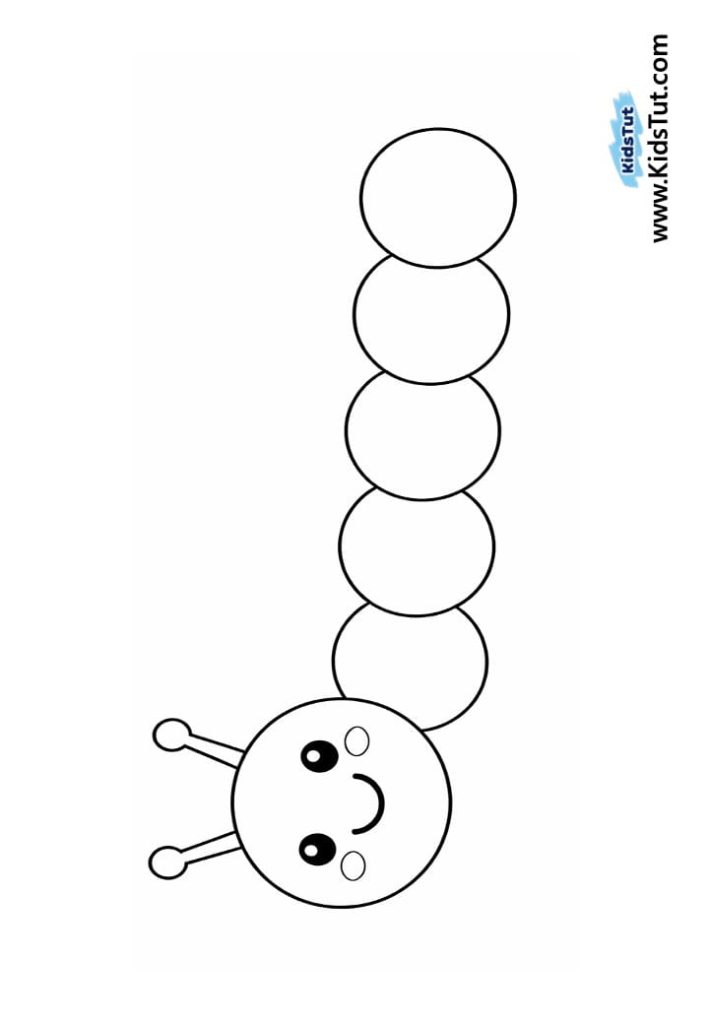
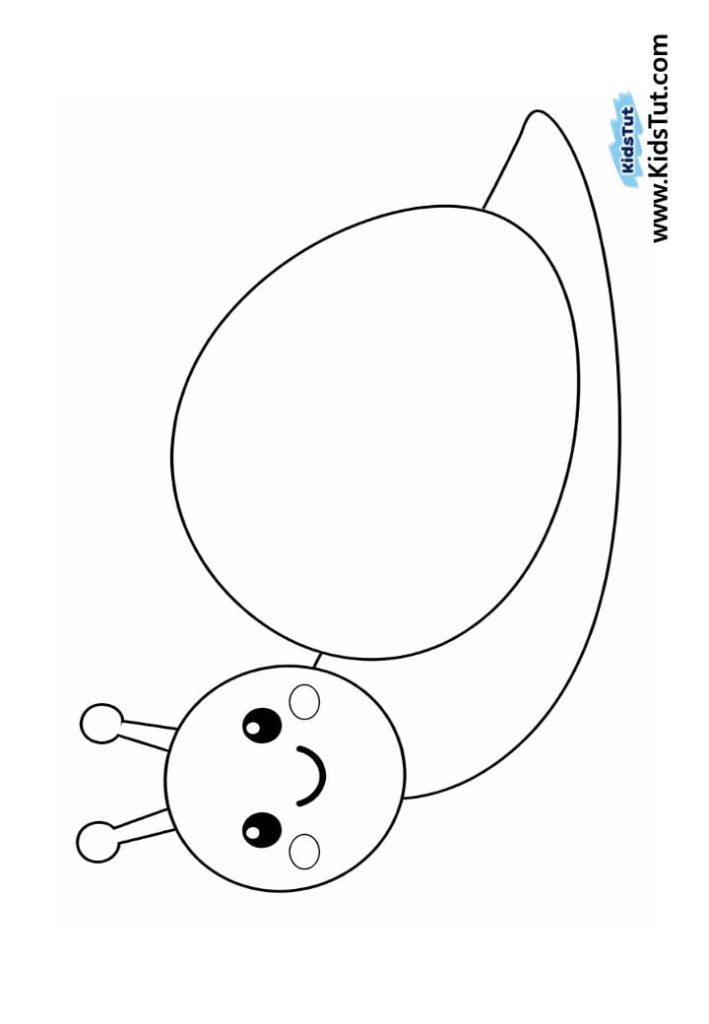
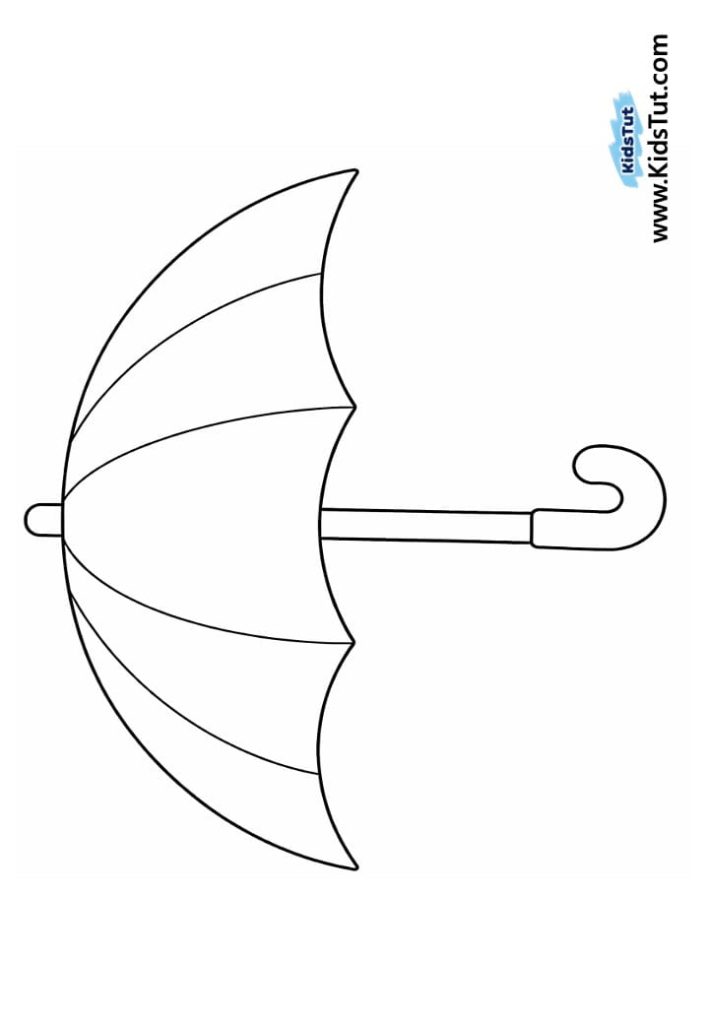
- Printed templates (butterfly, tulip, rainbow, tree, caterpillar, snail, etc.)
- White sheets for printing
- Crayons or markers (optional for small parts)
- Colorful liquid paints
- Round sponge brushes (small, medium, large)
- Scissors
- Glue
- Black sheet for display
How to Make
- Print the templates on white paper.
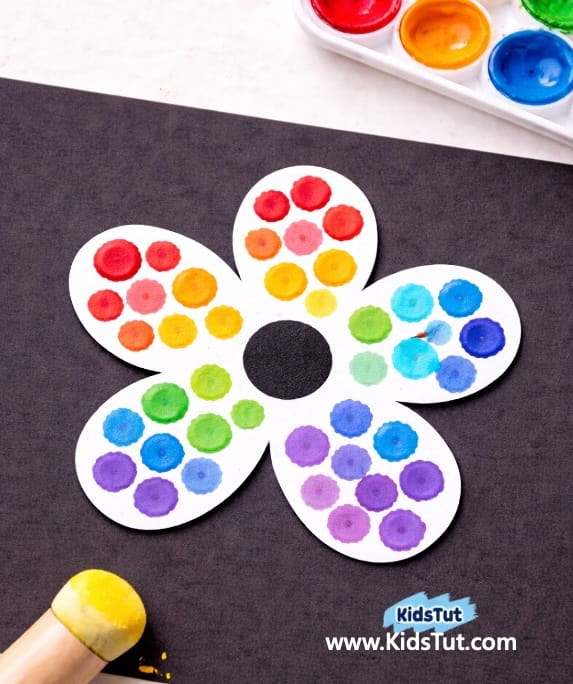
- Color the small parts if you like (e.g., butterfly middle, tree trunk, tulip stem and leaf, daisy stem and leaf, rainbow clouds, caterpillar head, snail body). Or keep them white — that looks nice too!
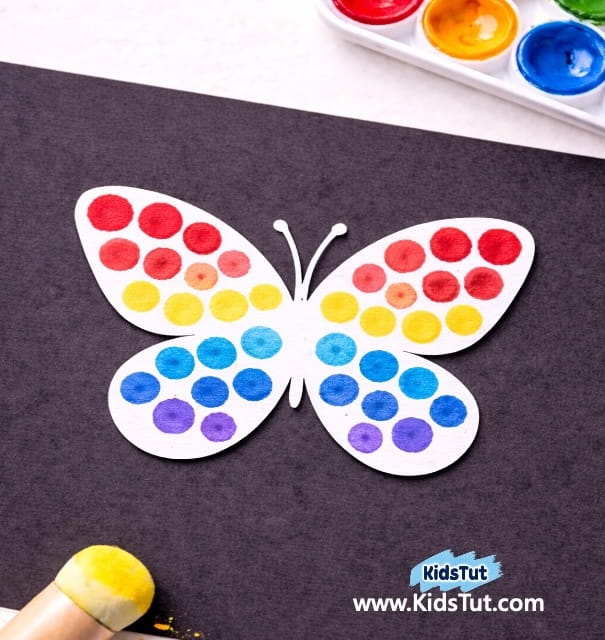
- Get your colorful paints ready. Dip a round sponge brush into one color and gently press dots inside the image parts (e.g., butterfly wings, flower petals, tree canopy, rainbow stripes, caterpillar body, snail shell).
- Use one brush for each color so the colors stay bright and don’t blend.
- Try different brush sizes — small, medium, or large — to match the part of the picture. You can also use Q‑tips, fingers, or even bottle caps to make dots.
- Let the painting dry.
- Carefully cut around the image and paste it on a black sheet for display.
- Hang your rainbow dot painting craft on the wall to show off your colorful spring art!
Templates:
Click here to get the FREE PDF template: Download ( Printable )