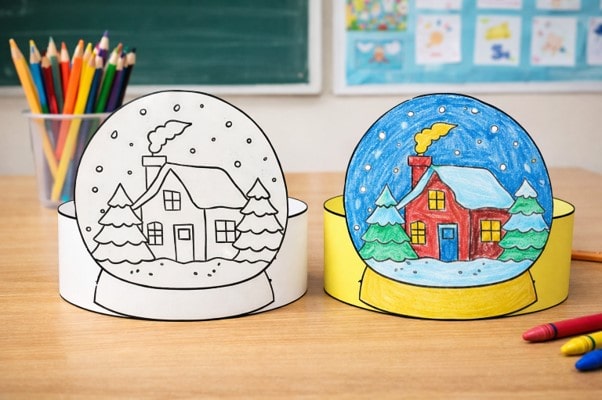
Snow globes are always magical, and now kids can make their own with this easy paper craft! With just a printed template, crayons or markers, scissors, and glue, children can create a colorful winter scene inside a snow globe. It’s a fun way to celebrate the season, decorate the classroom or home, and enjoy some creative time together. Let’s get started and bring a little winter wonder to life!
What You Need:
- Printed templates
- Crayons or markers
- Colored templates (optional for variety)
- Cardboard piece (for backing and strength)
- Scissors
- Glue
- Ribbon, yarn, or string (for hanging)
Optional Extras:
- Glitter
- Stickers
- Beads
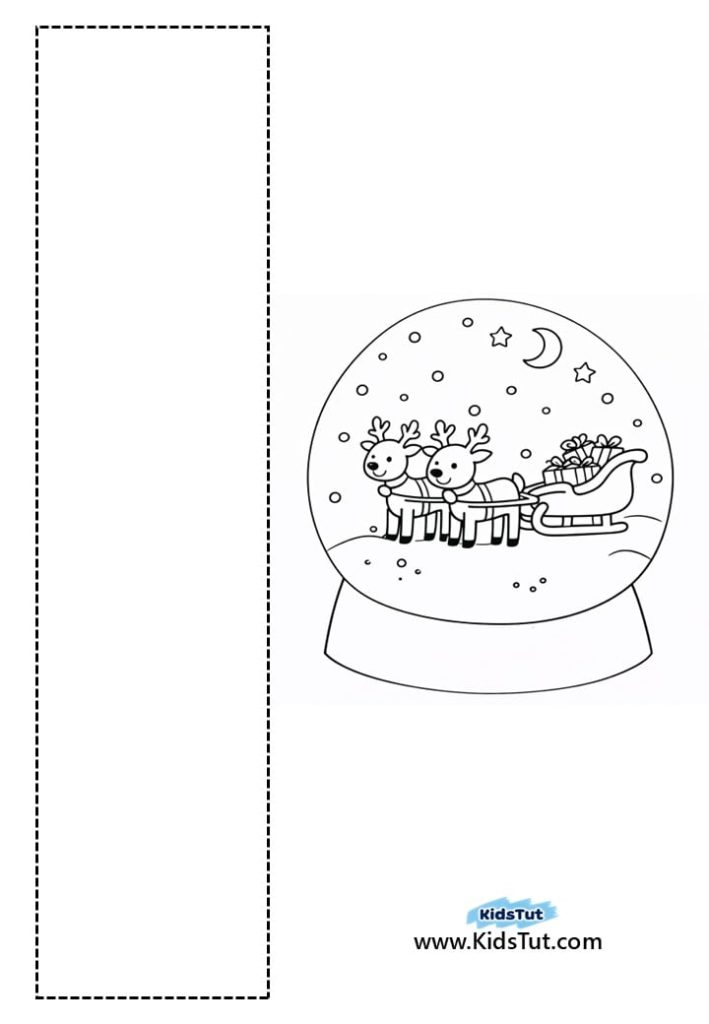
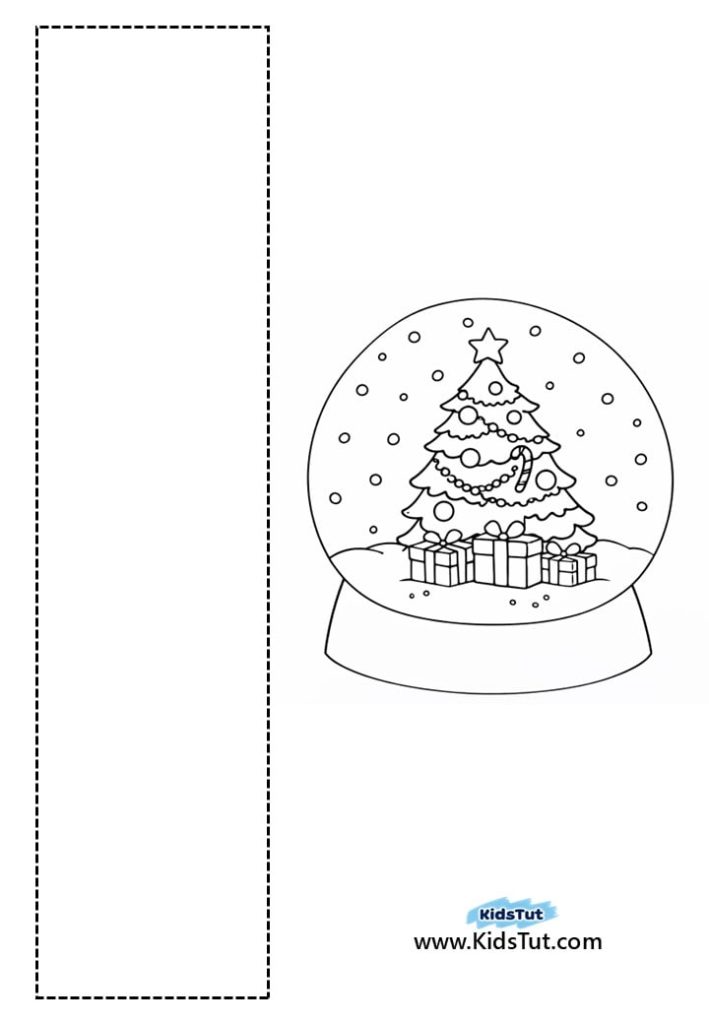
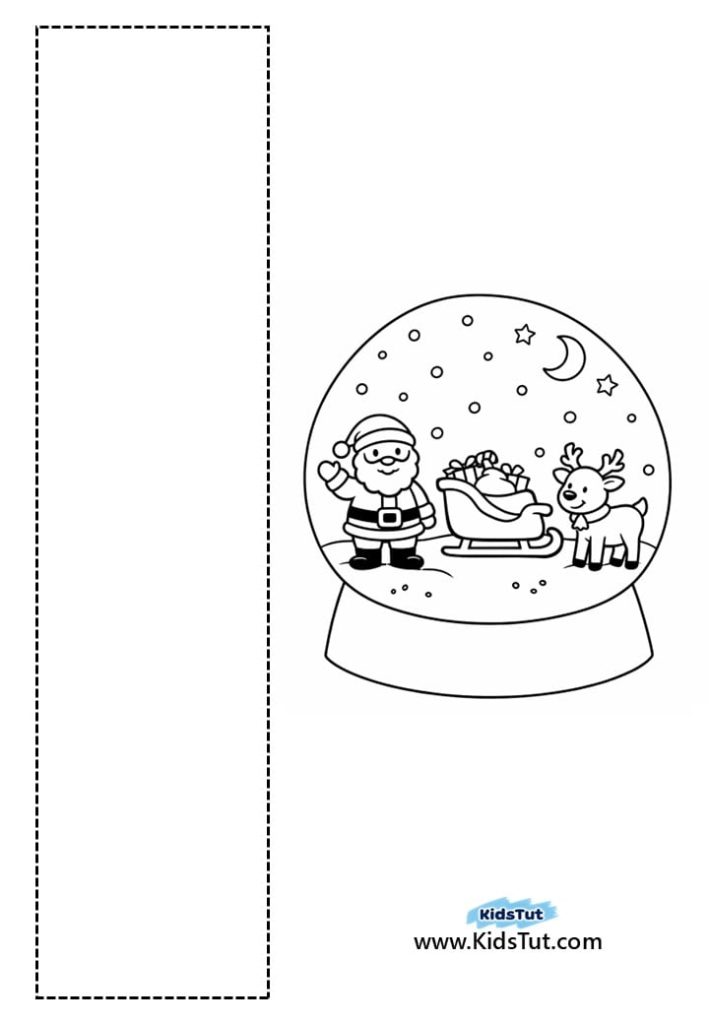
How to Make a Paper Snow Globe Craft
- Step 1: Print the template on white paper.
- Step 2: Color the paper strip and snow globe picture using crayons, markers, or any coloring tools you like.
- Step 3: Cut out the strip and the snow globe image separately.
- Step 4: Paste the paper strip onto cardboard for added strength.
- Step 5: Glue the snow globe image in the center of the strip.
- Step 6: Connect and attach both ends of the strip to form a ring.
- Step 7: Place your snow globe ring on a flat surface so it can stand up and proudly display your winter craft!
Templates:
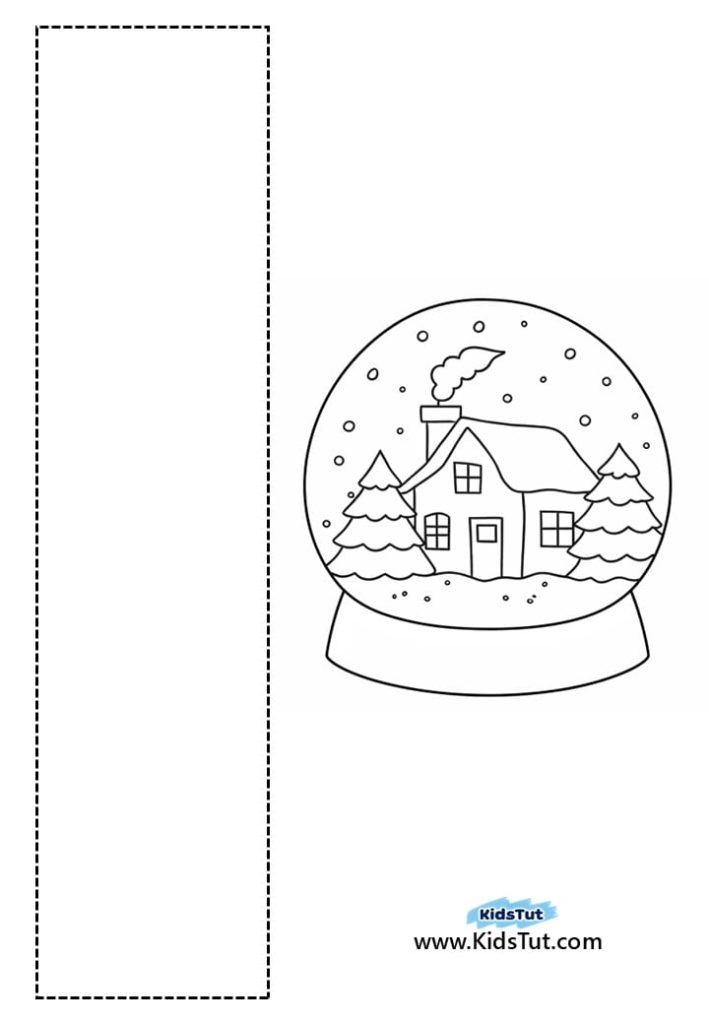
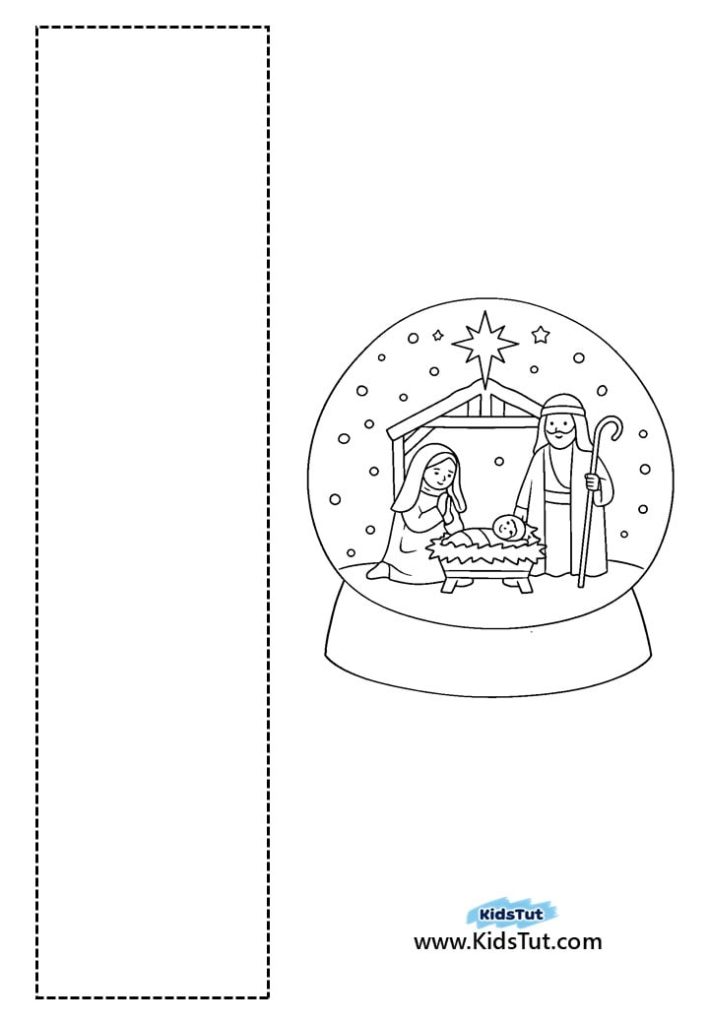

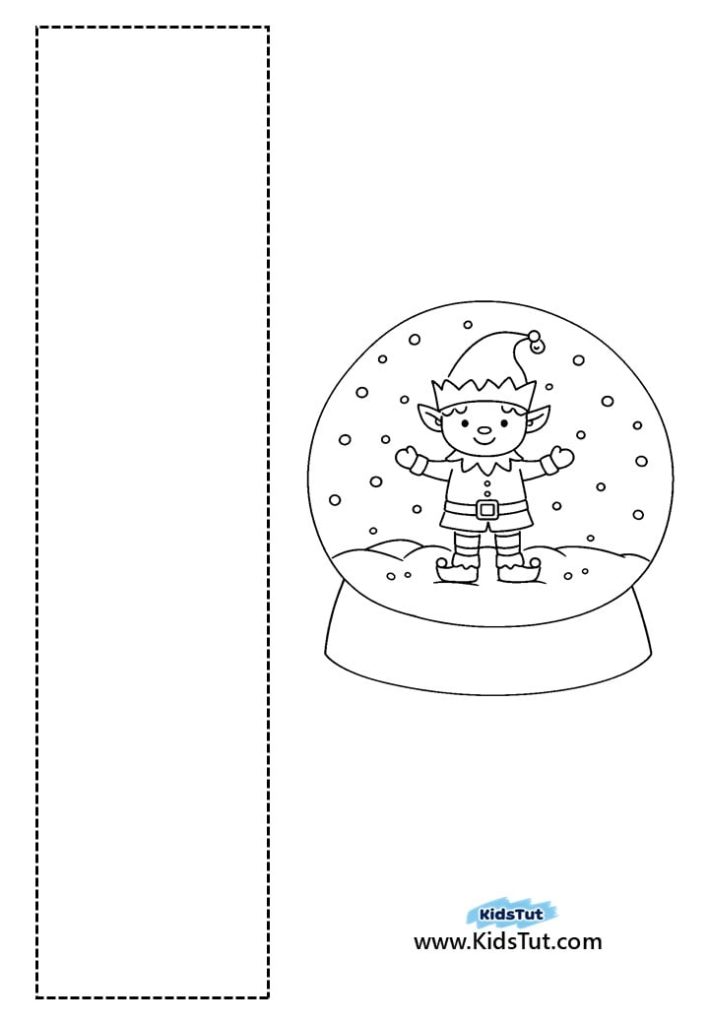


**** Click here to get the free PDF template: Download