Crafting is a learning method that helps children develop many skills. Therefore, it is very important to provide children with a variety of craft learning activities that are educationally, socially, and environmentally compatible. That’s why we created this easy leaf craft. Although we created this activity to coincide with the fall season, you can use it with your children at any time of year. You can provide children with a variety of learning opportunities through this activity. For example, you can introduce colors, counting, and pattern recognition.
So, for this project, you only need a few easy-to-find items. The items you need are listed below. We have also provided you with the instructions and templates you need. Then, kids can start creating this easy leaf craft.
Supplies You’ll Need to make Easy Leaf Craft
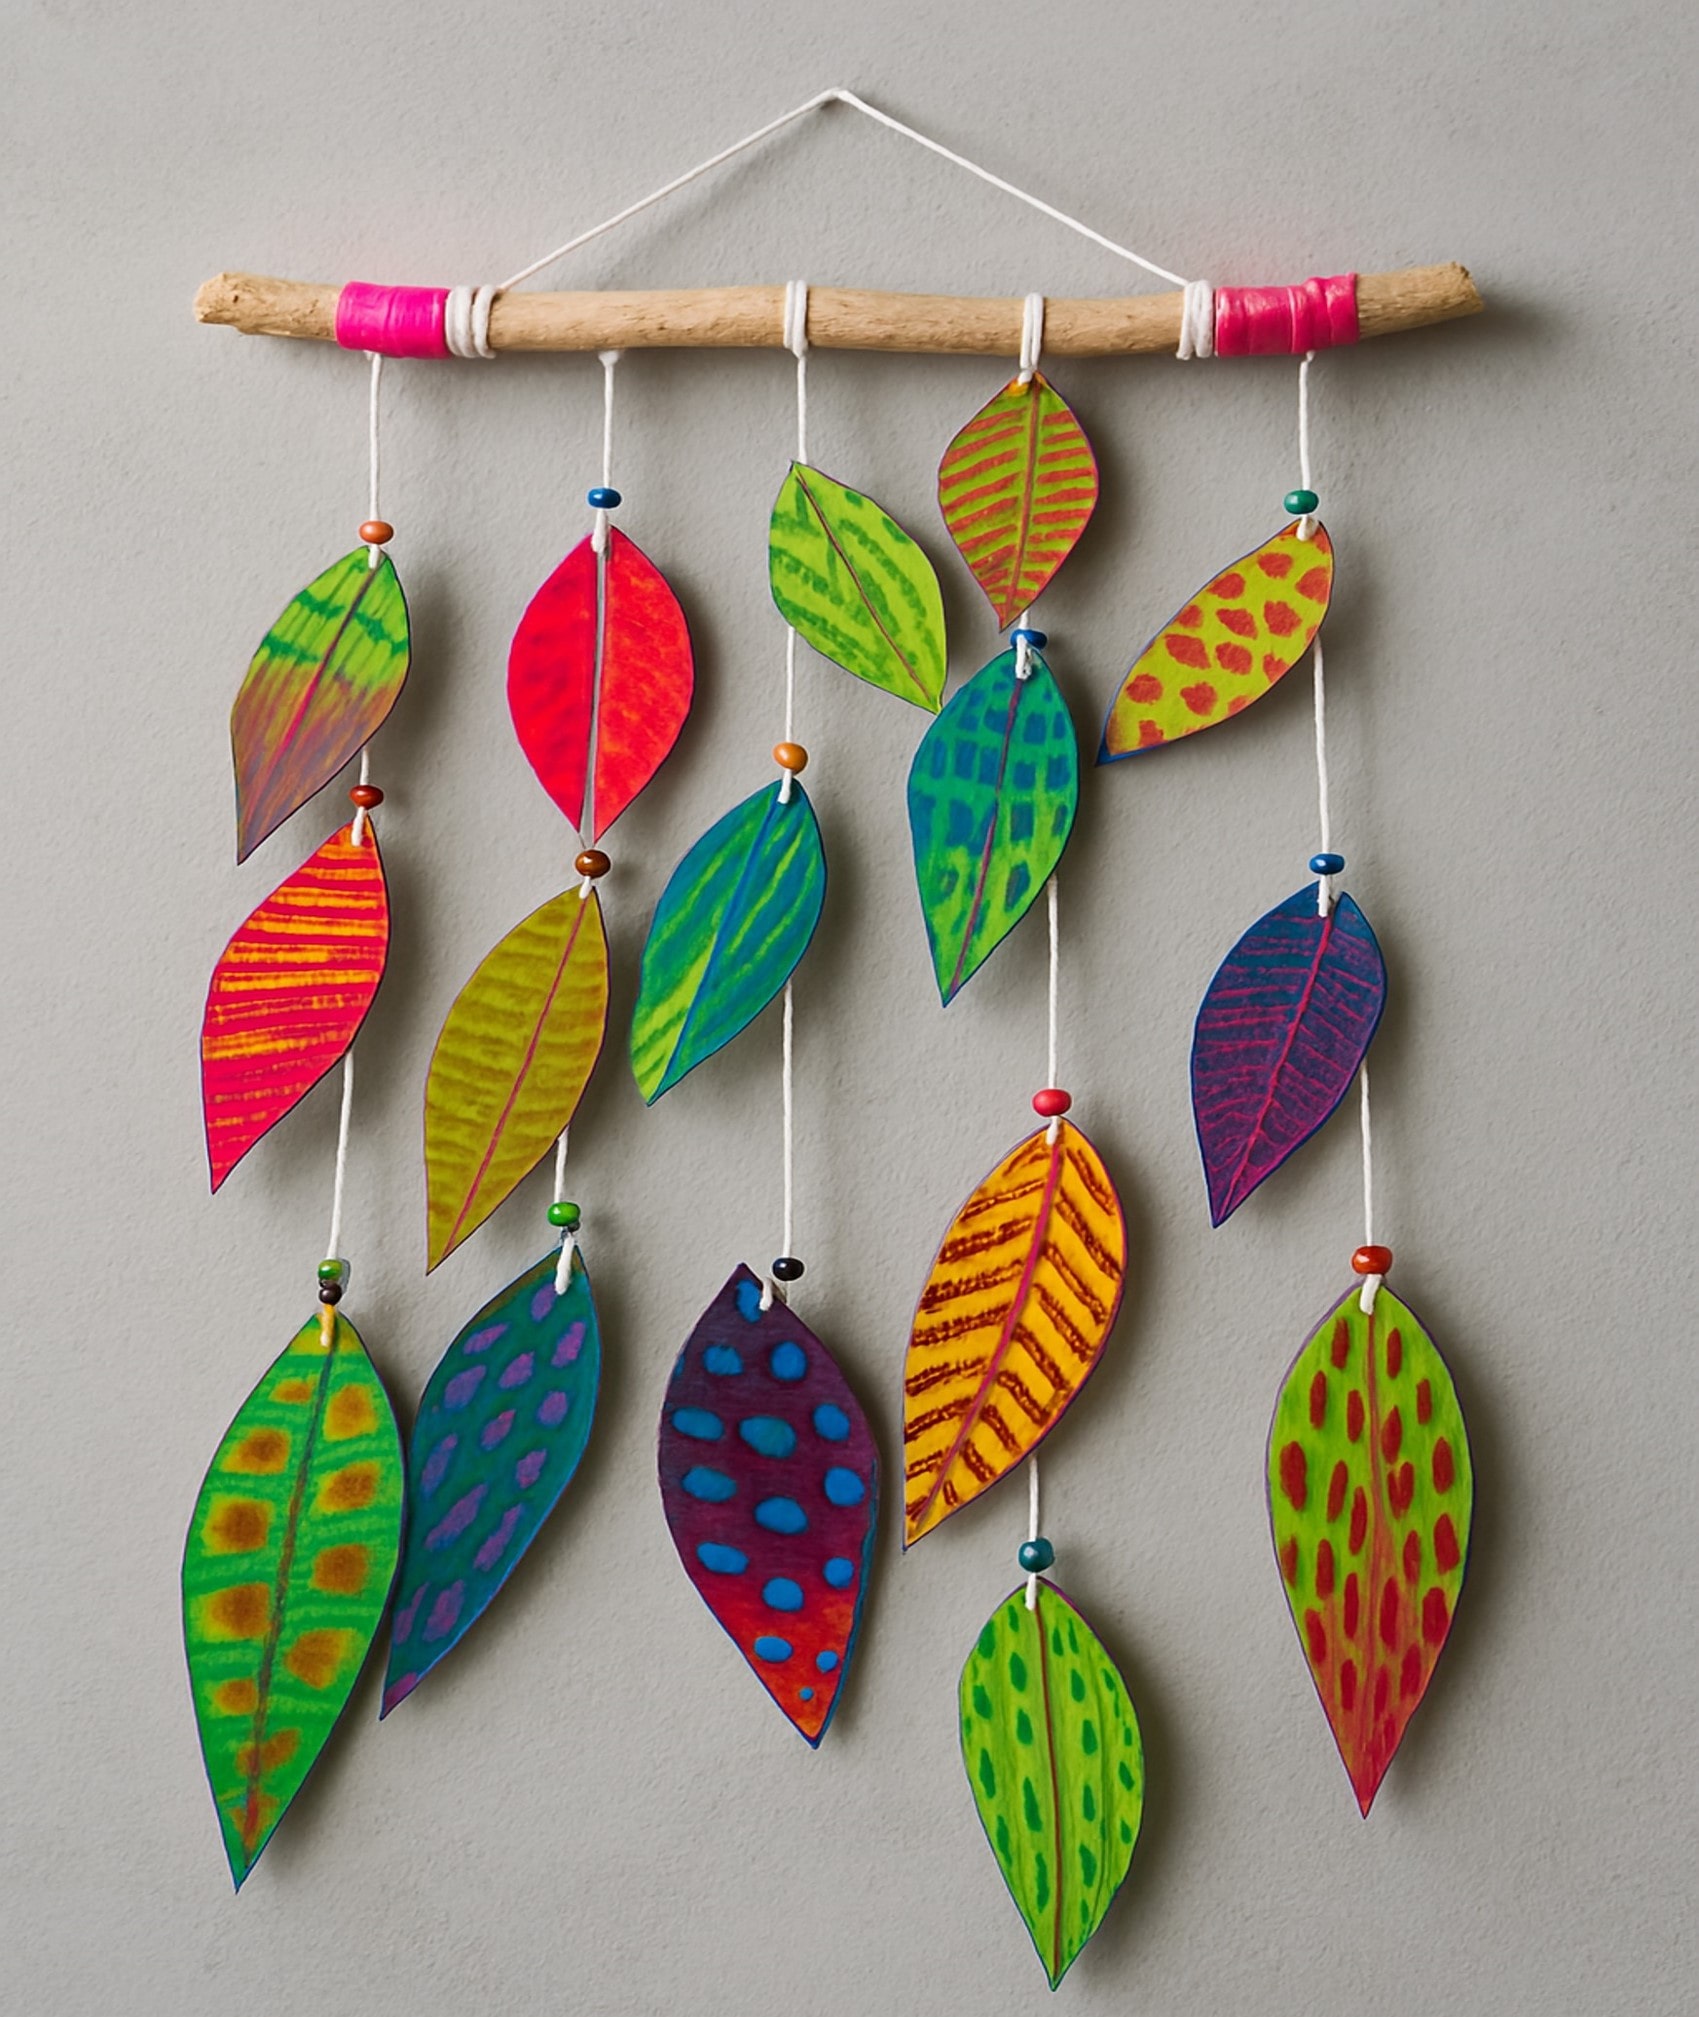
Initially, we need some materials for this activity. First, let’s have a simple idea about this Easy Leaf Craft. So, this is an activity where we cut and color a picture of a leaf and design it with the kids’ creative minds. Then hanging them. Just that!!
Then we are coming to the part of what we need for this Easy Leaf Craft activity:
- White or colored cardstock (for strong leaves)
- Crayons, colored markers, or paint
- Scissors
- String or yarn
- A stick, wooden dowel, or straw (to hang the leaves)
- Glue or tape
- Small beads (optional, for decoration)
Let’s go through this craft!!
Step-by-Step Instructions for Easy Leaf Craft
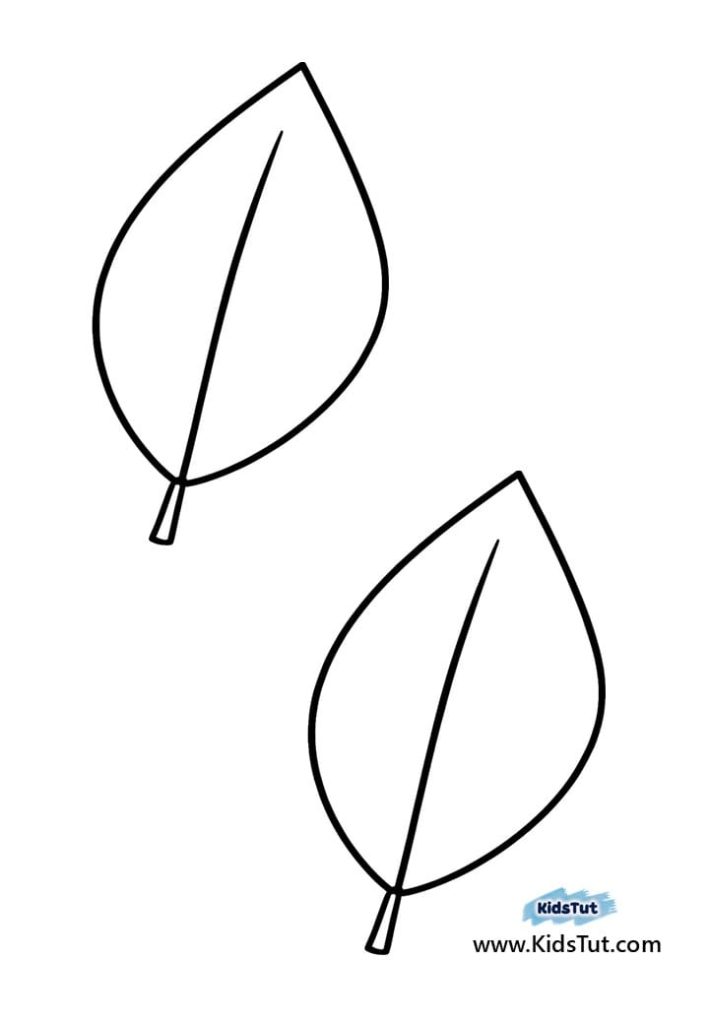
Step 1: Draw or Print Leaf Templates
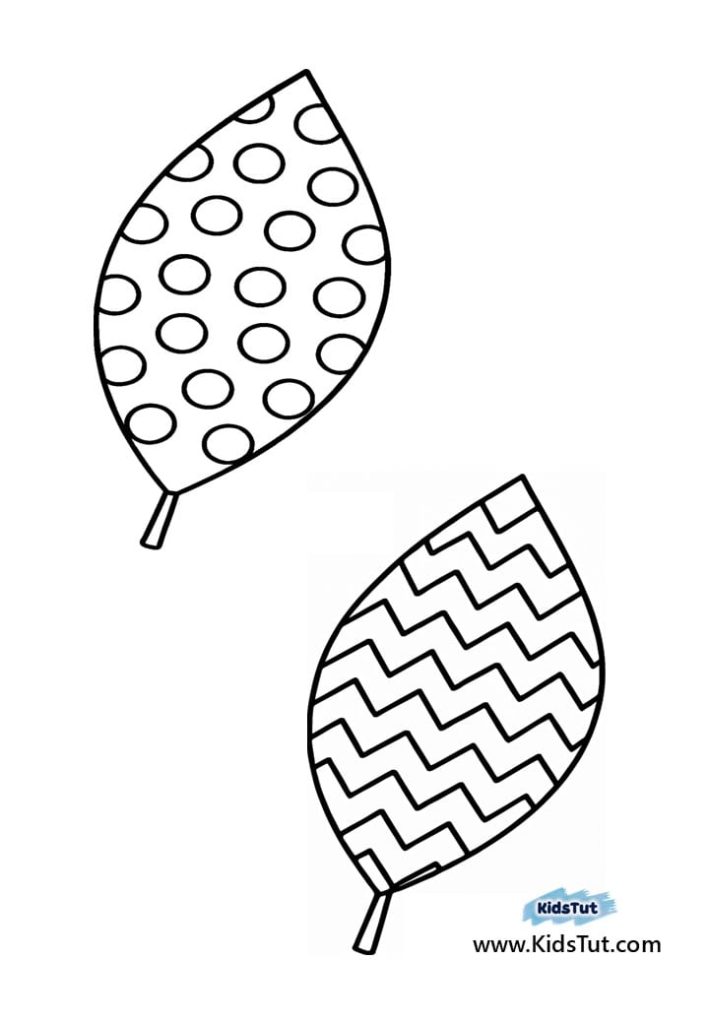
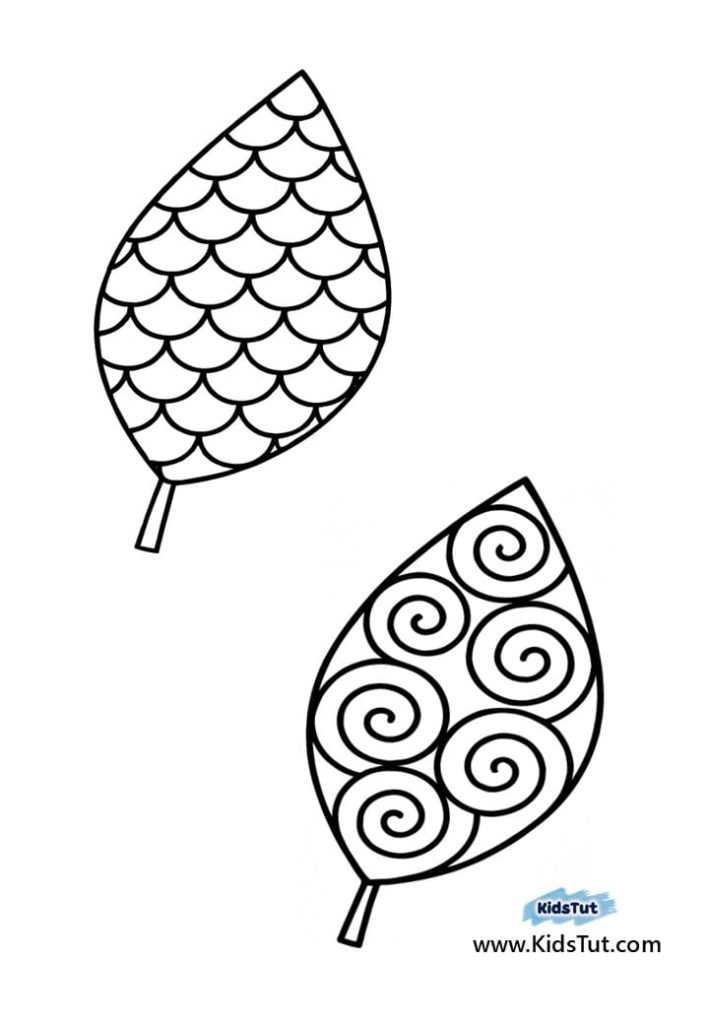
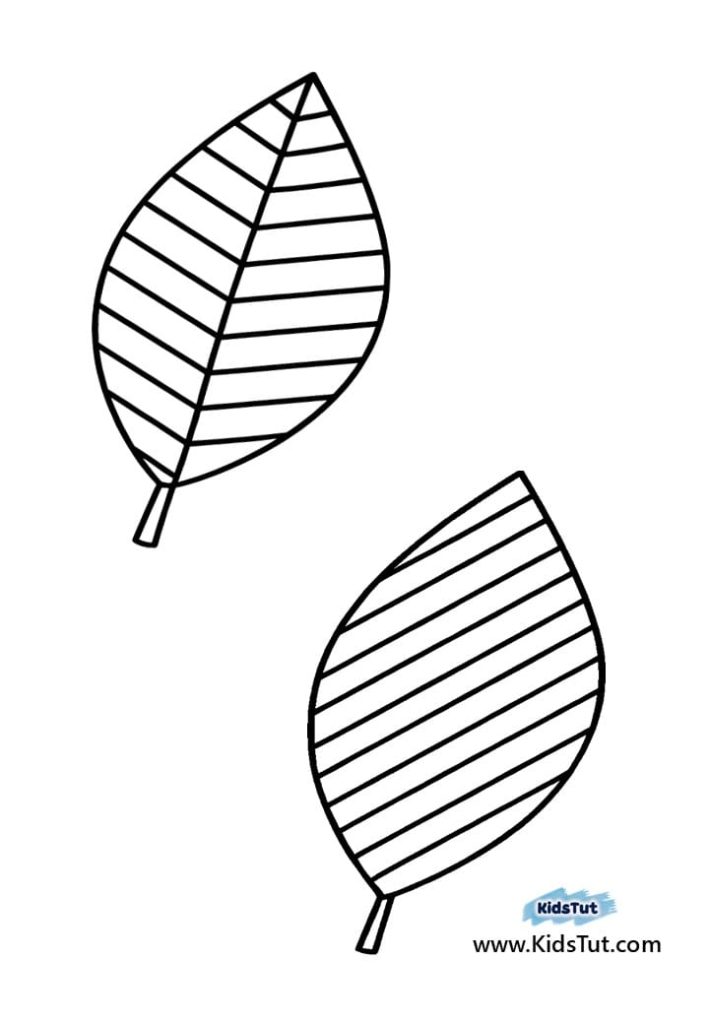
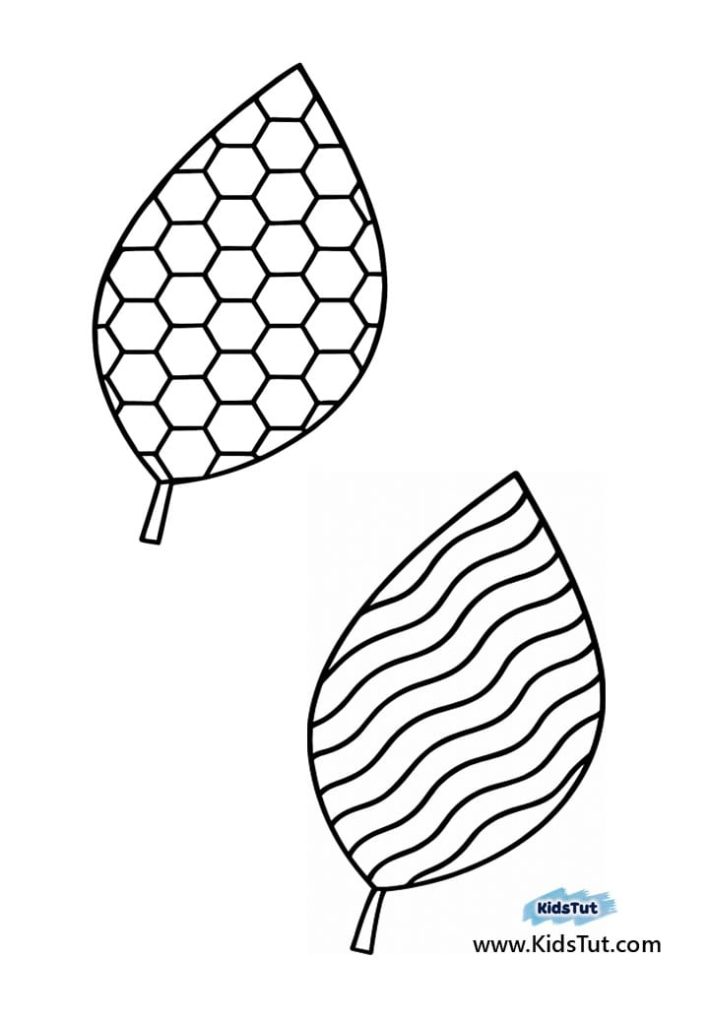
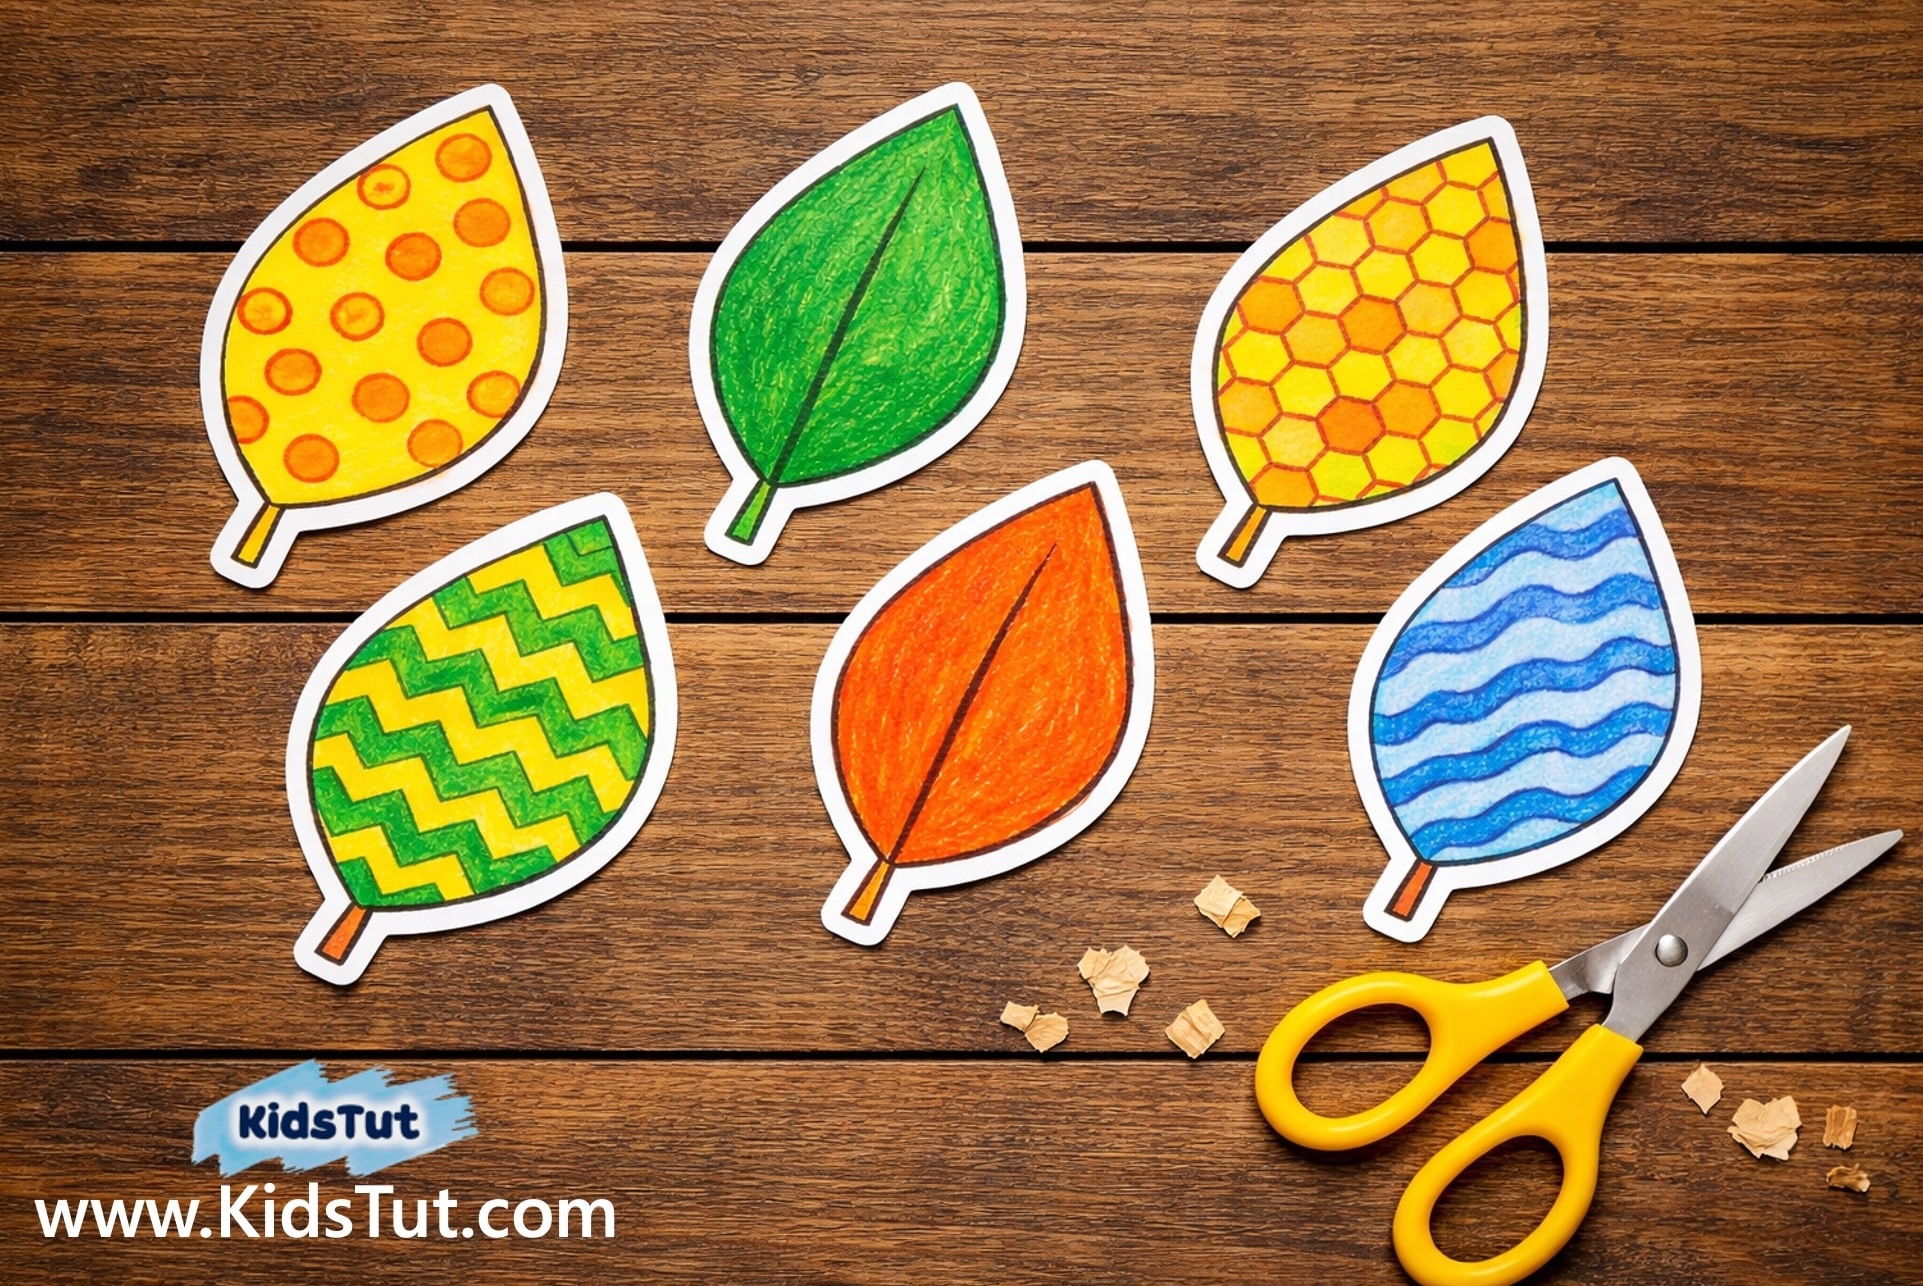
- Since we have provided the templates, it’s not a big issue. All you have to do is download the PDF that we have provided and print the templates. Most importantly, we have provided leaves with patterns and also without.
- You can provide without pattern (blank) leaf templates to make children more creative and active. At that time, children will have to draw new patterns on blank leaves. Then follow the steps below.
- If you can’t print out the templates, you can draw leaves on white paper and draw patterns on them.
- In addition, we are doing this craft with kids, so remember to draw it or print it clearly and big!!
**** Click here to get the free PDF template: Download
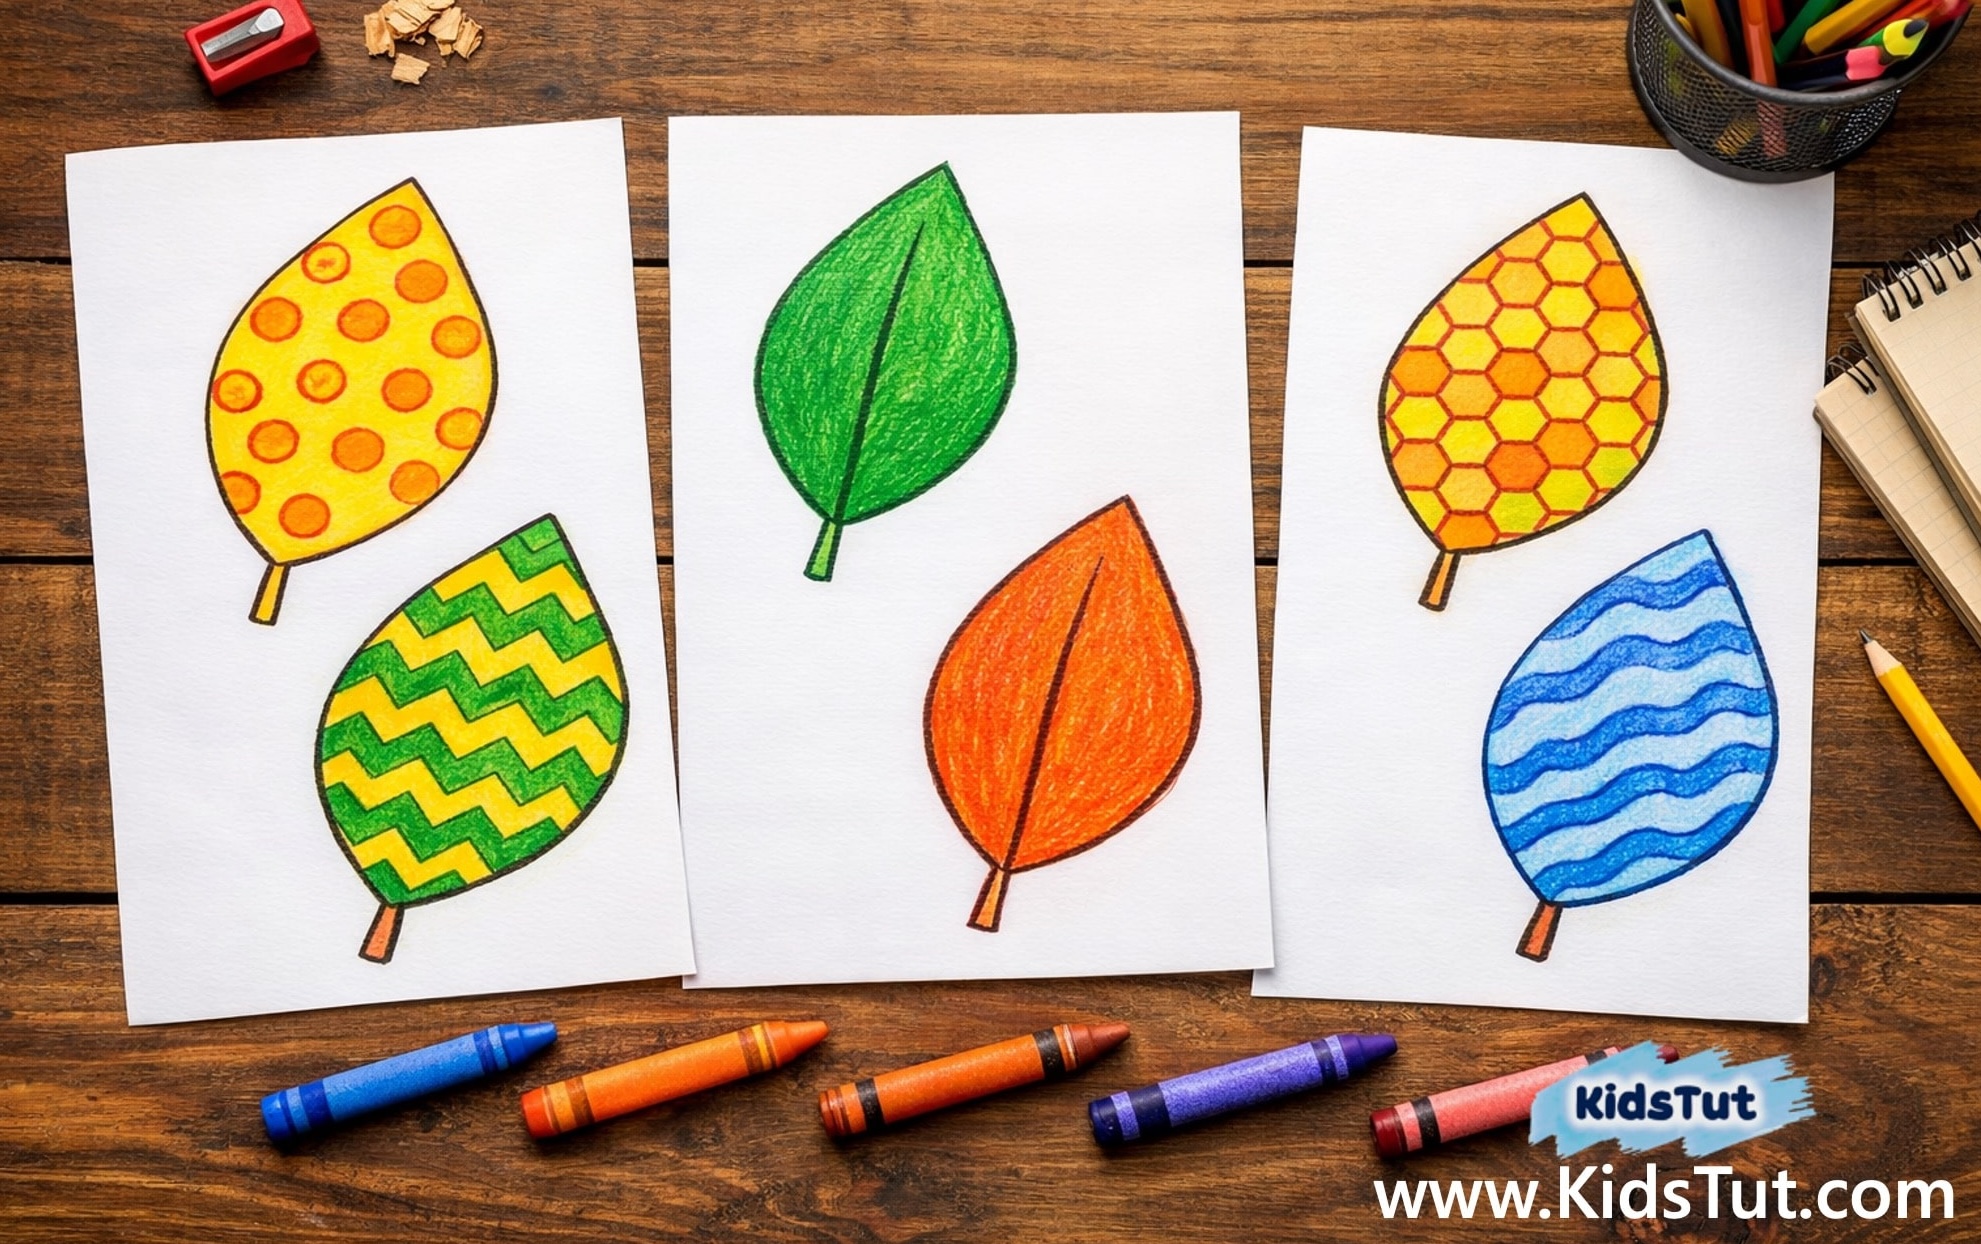
Step 2: Color the Leaves
- First of all, what we have to do is color the leaves. Let kids color it with their favorite colors, and motivate them to use bright colors. This develops the skill of creative thinking and making correct decisions.
- You can use pencils, markers, colored pencils, or paints to color these leaves. However, use a coloring medium that is easy for your children and you to use.
Step 3: Cut Out the Leaves
- Now the children need to cut out each leaf separately from the printed sheets. Cut carefully without damaging the shape of the leaves.
- Then, ask them to cut the leaves. Use the previous word for this. “Now we have to cut the leaves along the outline of the leaves.” This is a very effective teaching method!!
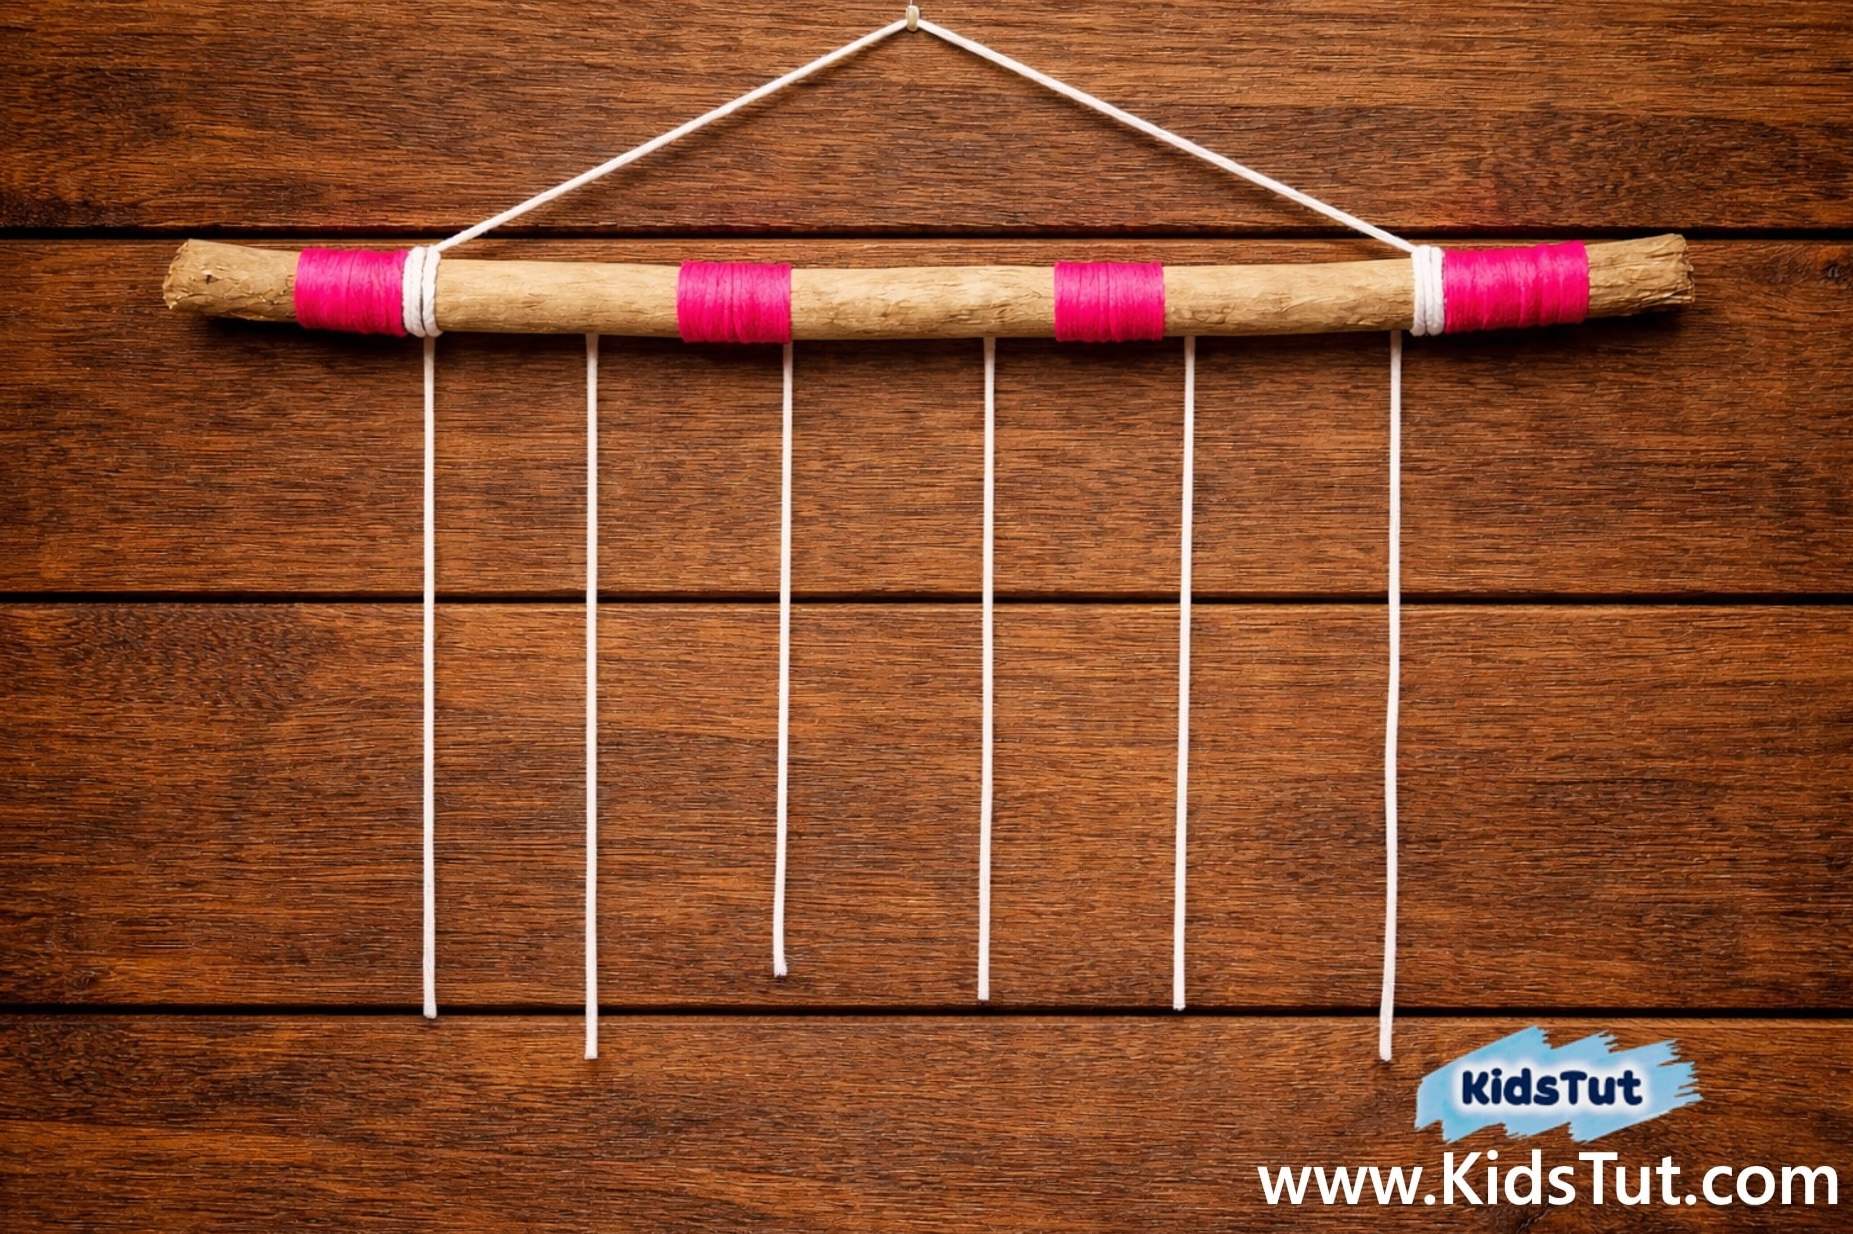
Step 4: Prepare the Hanging Stick
- Next, take whatever you can easily find: a stick, a plastic tube or cardboard tube, or a small piece of plastic pipe.
- Wrap your stick with yarn, ribbon, string, colored paper strips, or tape. Also, you can cover the whole stick, just the two ends, or only certain spots. It’s up to you how you want to decorate it. So, this step gives your stick a bright and beautiful look.
- This will be the top piece of your wall hanging, the part that holds everything together!!

Step 5: Attach Strings
- After that, cut several pieces of string or yarn in different lengths to make your wall hanging more interesting.
- Next, tie each piece evenly along the stick, leaving space between them so they can hang freely. Make sure all the strings hang down neatly; they’ll form the base for your beautiful decoration!
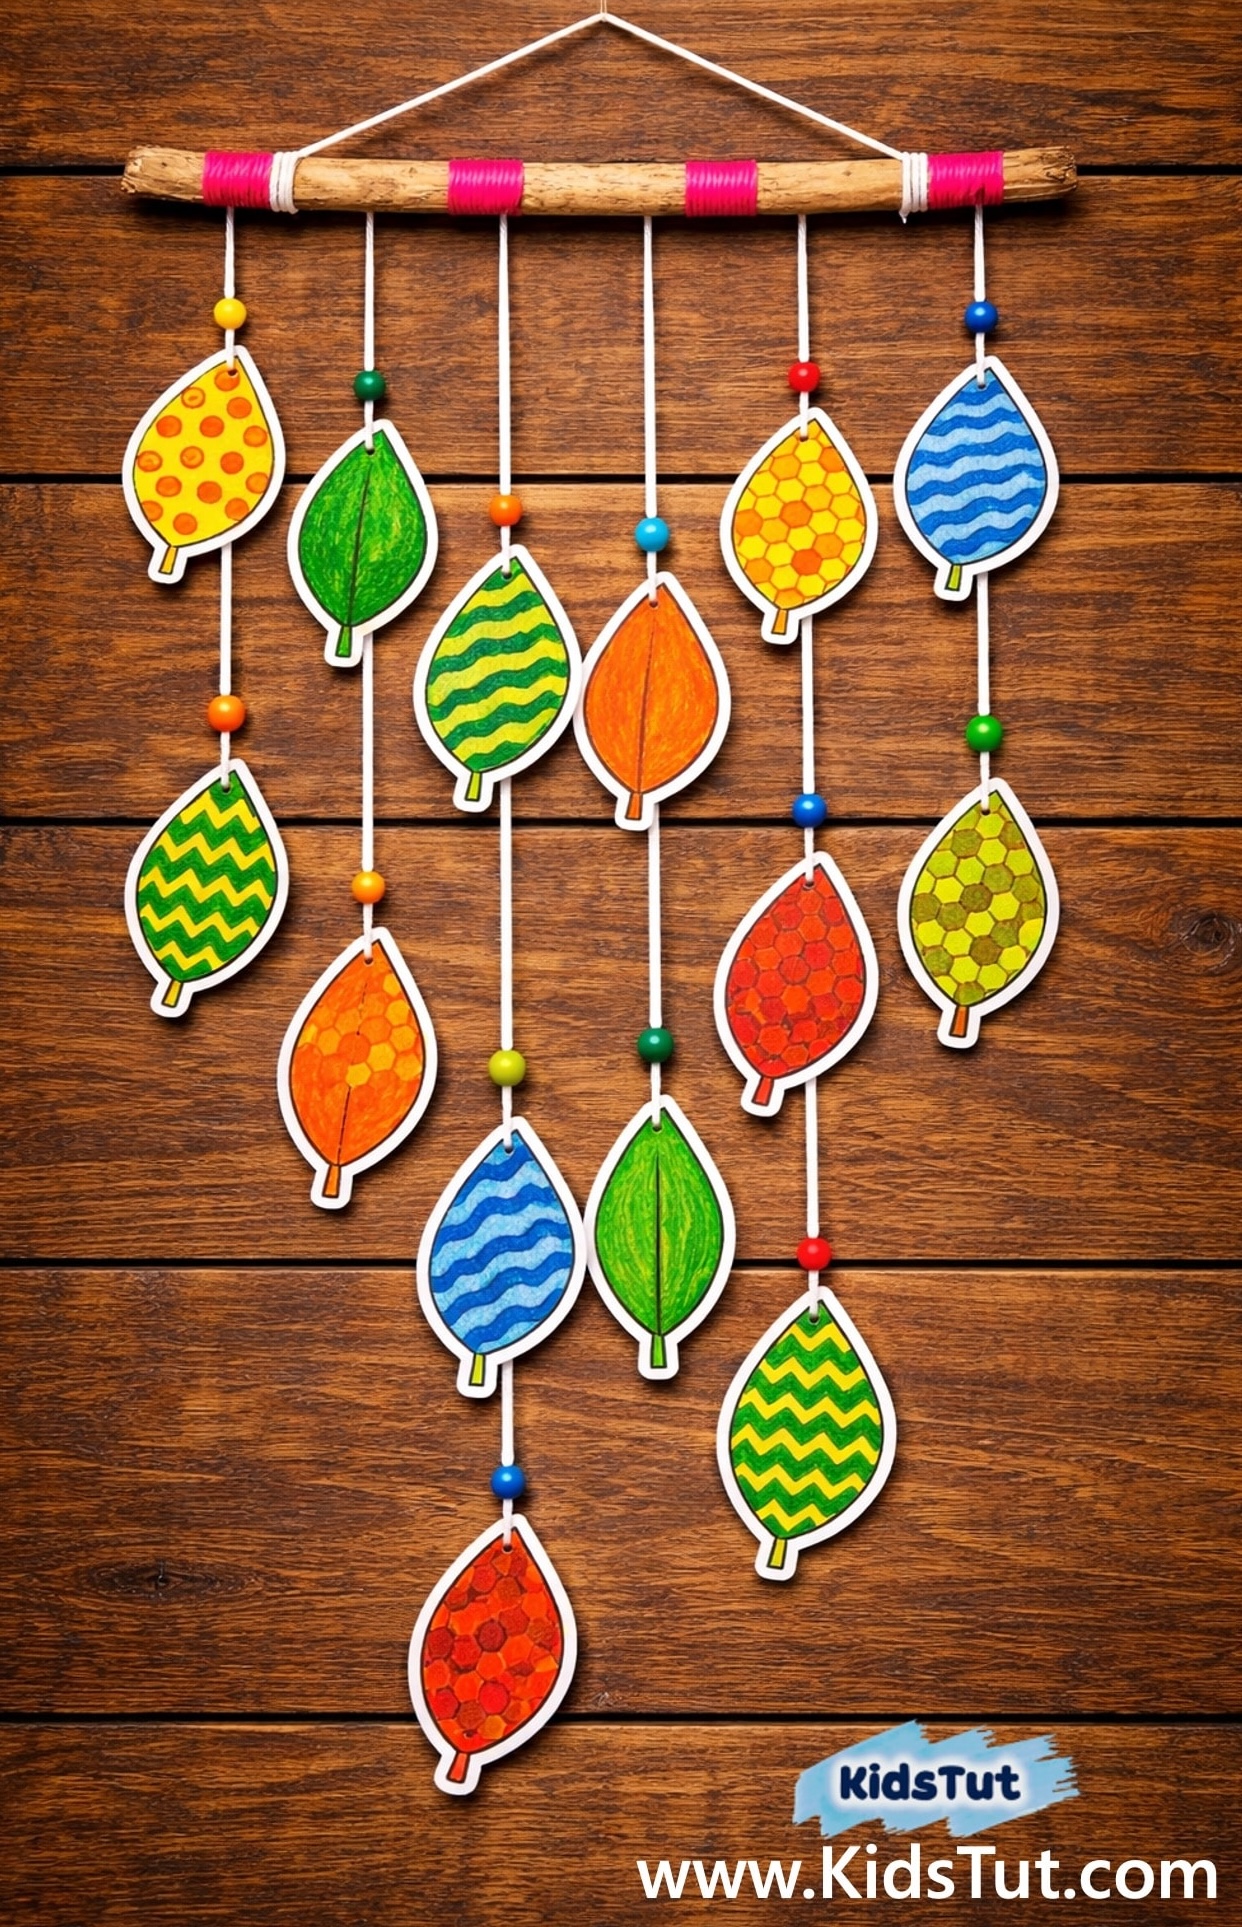
Step 6: Add the Leaves
- Next, it’s time to decorate your hanging strings!
- Next, punch a small hole at the top of each paper leaf, or simply tape the string to the back if that’s easier.
- Then attach the leaves one by one to the hanging strings. You can place them at different heights to make it look more natural and fun!!
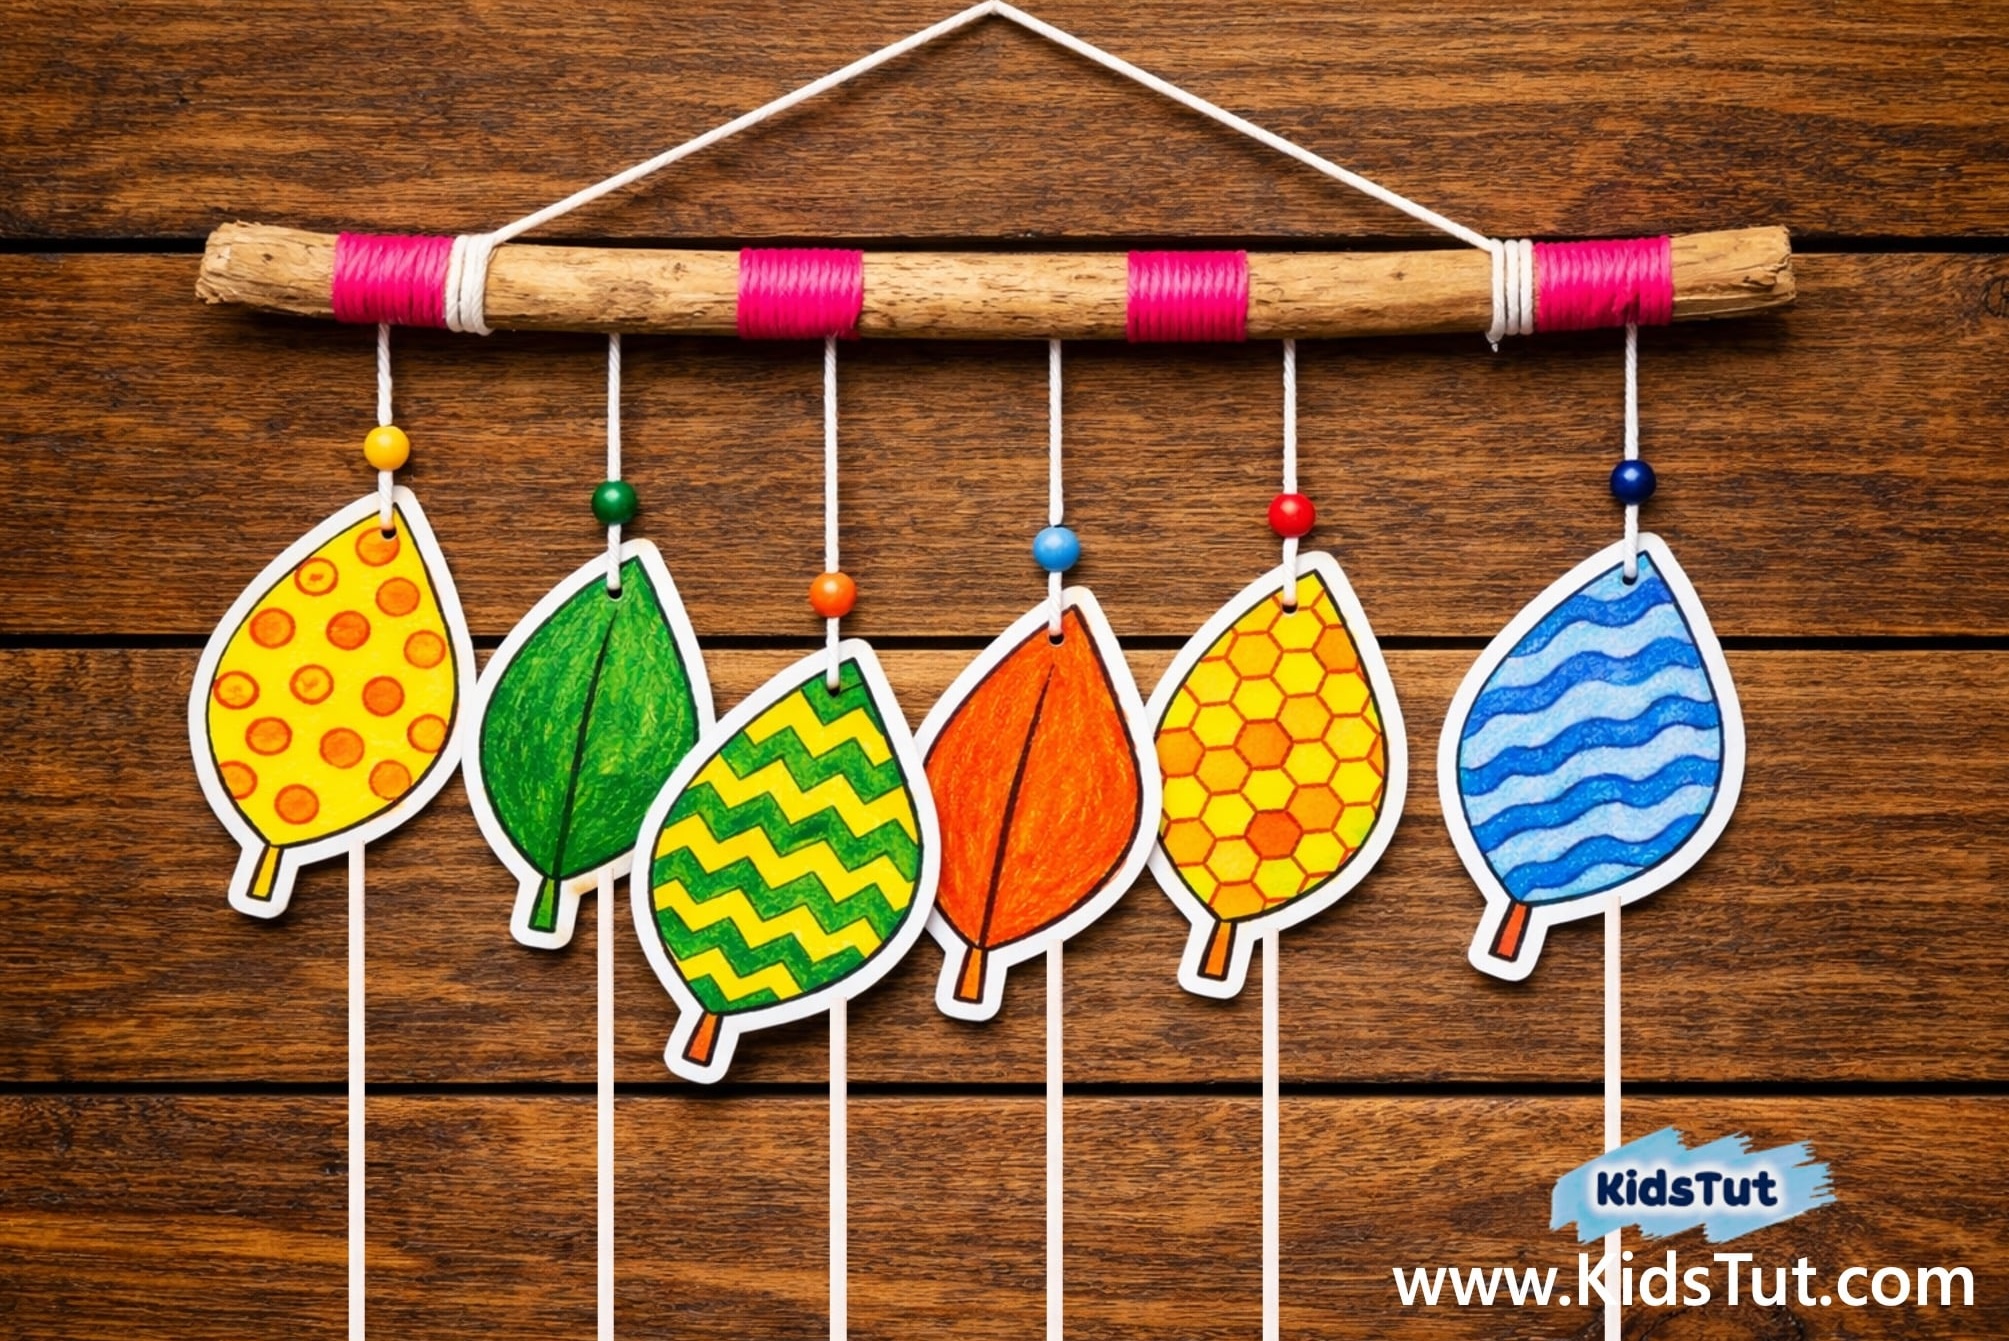
Step 7: Hang and Enjoy
- Finally, tie another piece of string to the top of the stick to make a hanger. Now your beautiful leaf wall hanging is ready!
- Then, hang it on a wall, window, or door to brighten up any space and show off your wonderful creation.
Tips for Parents and Teachers:
1. This Easy Leaf Craft engages kids and develops their soft skills. So kids’ minds are excited.
2. Most importantly, use new words to teach them since they can develop their vocabulary. Hence, teach them the parts of a leaf in a fun way!! – for example, “Tip”, “Midrib”, “Margine”, “Vein.”
3. Additionally, give them a chance to observe a real leaf after the activity. Then, let them touch it and feel it. Then ask them questions and teach them, for example: “Can you see the big line in the middle? That’s the midrib.”
Furthermore,
- Use fall colors like orange, yellow, red, and brown for a seasonal look.
- Try rainbow leaves for a bright and cheerful decoration.
- Add glitter glue or sequins for extra sparkle.
- Hang it in the classroom, hallway, or playroom for a fun display.
- Make it a holiday craft by using themed colors (red and green for Christmas, pastel colors for spring, etc.).
Templates: