Labor Day is a special holiday that honors all the hardworking men and women who serve our communities every single day. It’s the perfect time to introduce children to the idea of work, service, and community helpers in a way that is fun, creative, and easy to understand. One of the best ways to do this is through Labor Day crafts!
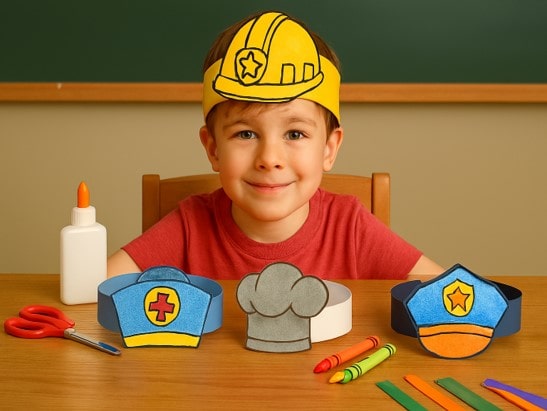
In this activity, we are going to make community helpers’ hats. Kids can create their own paper hats for different jobs like doctors, firefighters, chefs, police officers, and more. It’s not just a craft – it’s also a way to help kids appreciate the roles people play in keeping our world safe, healthy, and happy.
This “Helper’s Hat Fun” activity is designed to be simple, enjoyable, and educational. Children can cut, color, and glue their way to learning about community helpers while celebrating Labor Day in a creative way.
Labor Day Crafts: Materials You Need
First of all, get an idea of what these Labor Day Crafts!! This is simply making a hat using the templates that we have been given.
This Labor Day crafting activity is very simple and requires only basic supplies. Here’s what you will need:
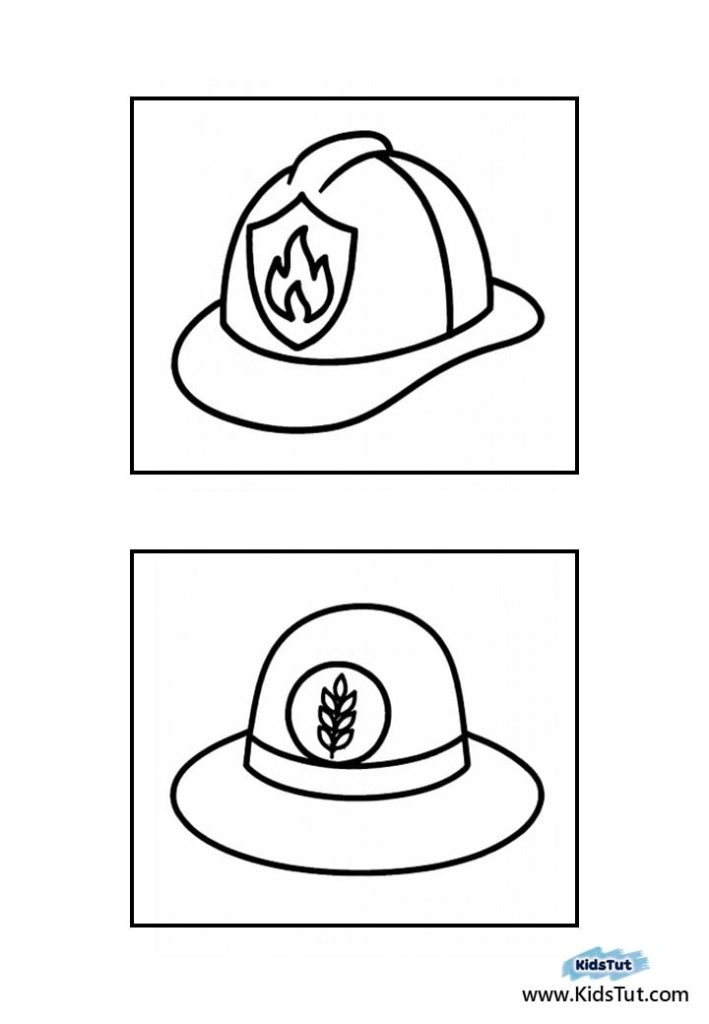
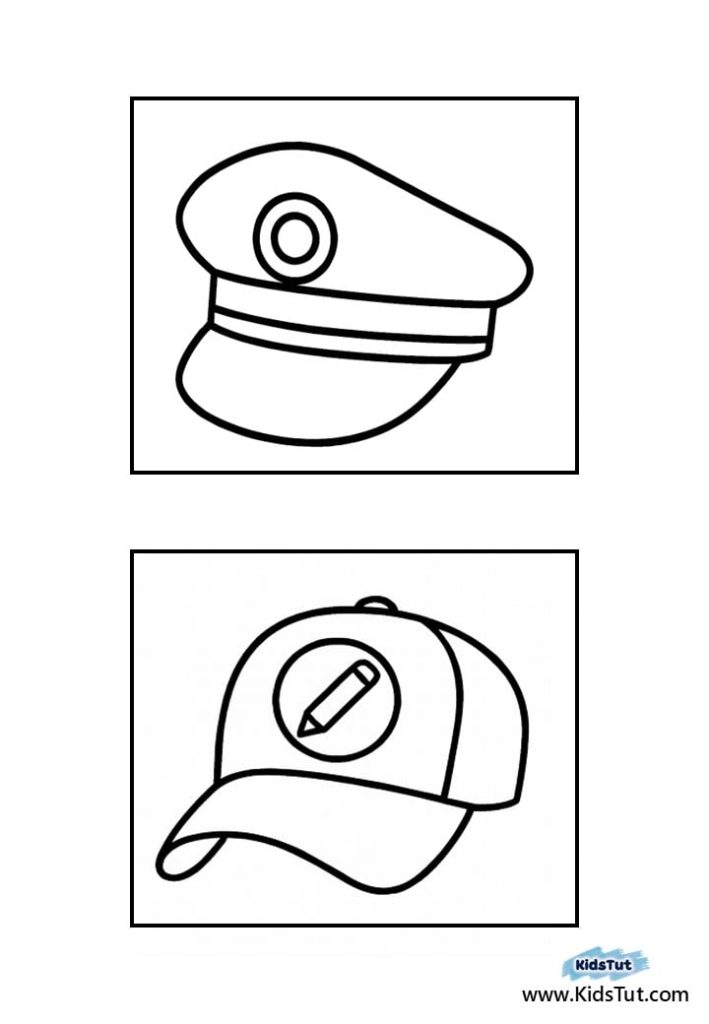
- Printable hat templates (10 different hats for community helpers).
- White A4 paper or cardstock for printing.
- Scissors (kid-friendly, with rounded tips).
- Crayons, colored pencils, or markers.
- Glue stick or tape.
- Long strips of cardboard or construction paper (for making the headband).
Optional items:
- Stickers, glitter, or other decorations to make the hats extra fun.
Finally, grab the things and let this happen.
Labor Day Crafts: Step-by-Step Instructions
Here, we are sharing all the simple and clear steps to create this fun, colorful, and easy Labor Day Craft!! Follow along carefully, enjoy each step, and let your creativity shine.
This activity is not only exciting but also helps kids practice focus, coordination, and imagination while having a great time.
Step 1: Print the Hat Templates
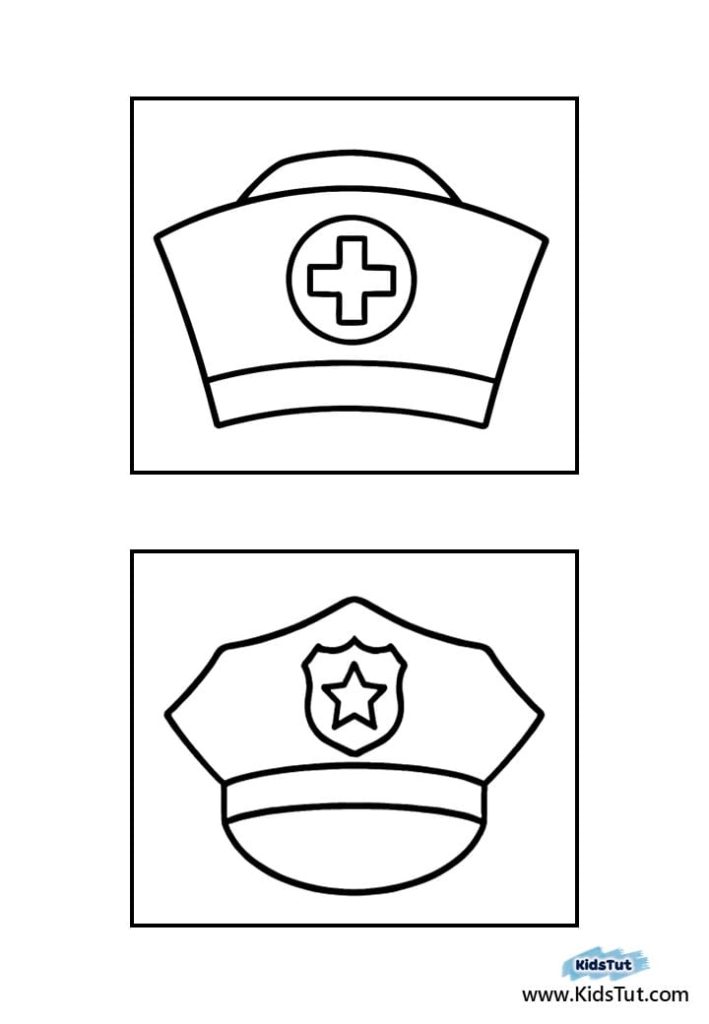
To begin the Labor Day Crafts activity, start by printing out the 10 different hat designs we have provided. Each design represents a unique community helper, such as:
- Nurse
- Police officer
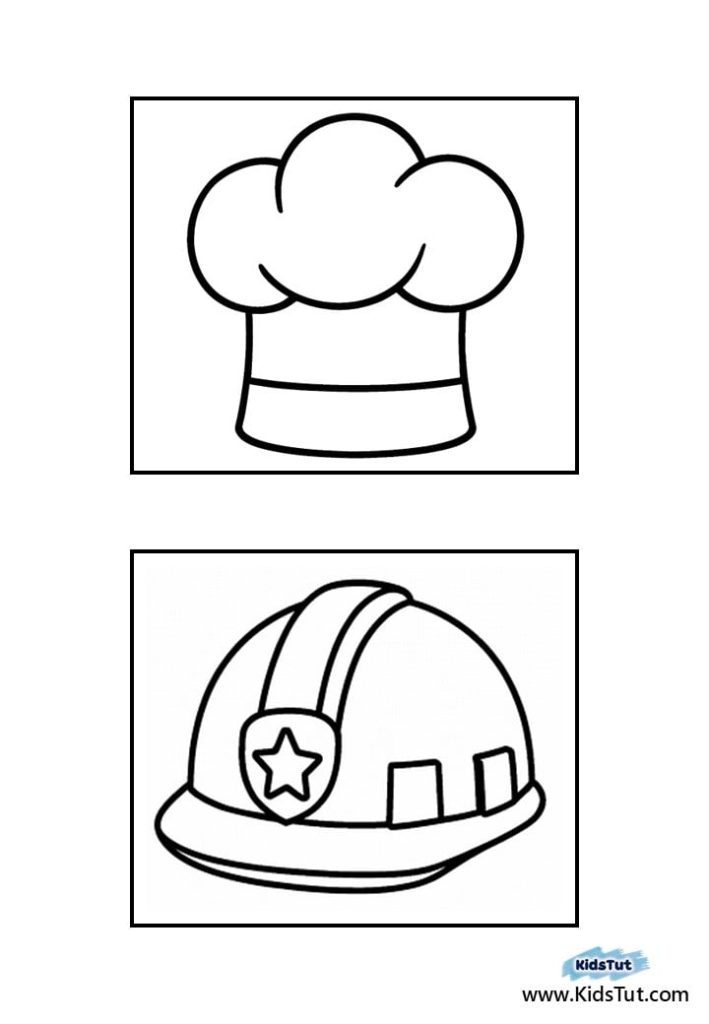
- Chef
- Construction worker
- Police officer
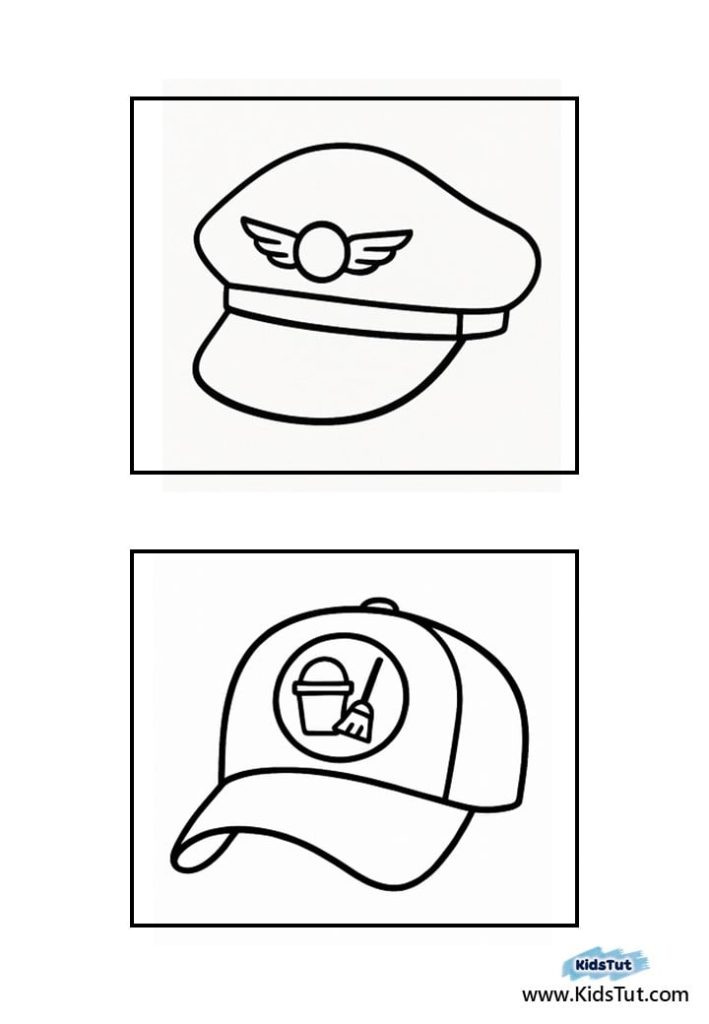
- Pilot
- Mail carrier
- Firefighter
- Farmer
- Driver
- Teacher
Later, gather all the materials your child needs. By starting with these designs, children can choose which helper they want to be, allowing them to explore different jobs, spark their imagination, and get excited about the hands-on crafting ahead. These templates are simple and outline-style, so kids can color them in any way they like. Finally, they used to wear this hat, so let them create their own!!
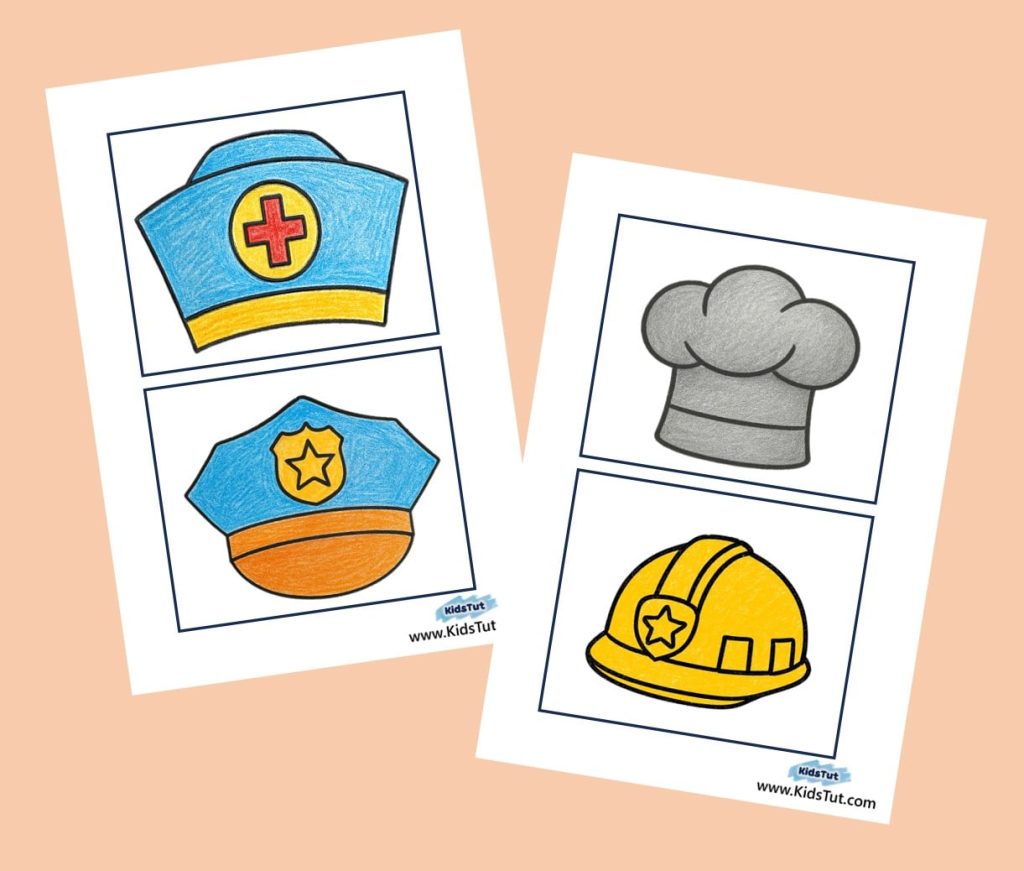
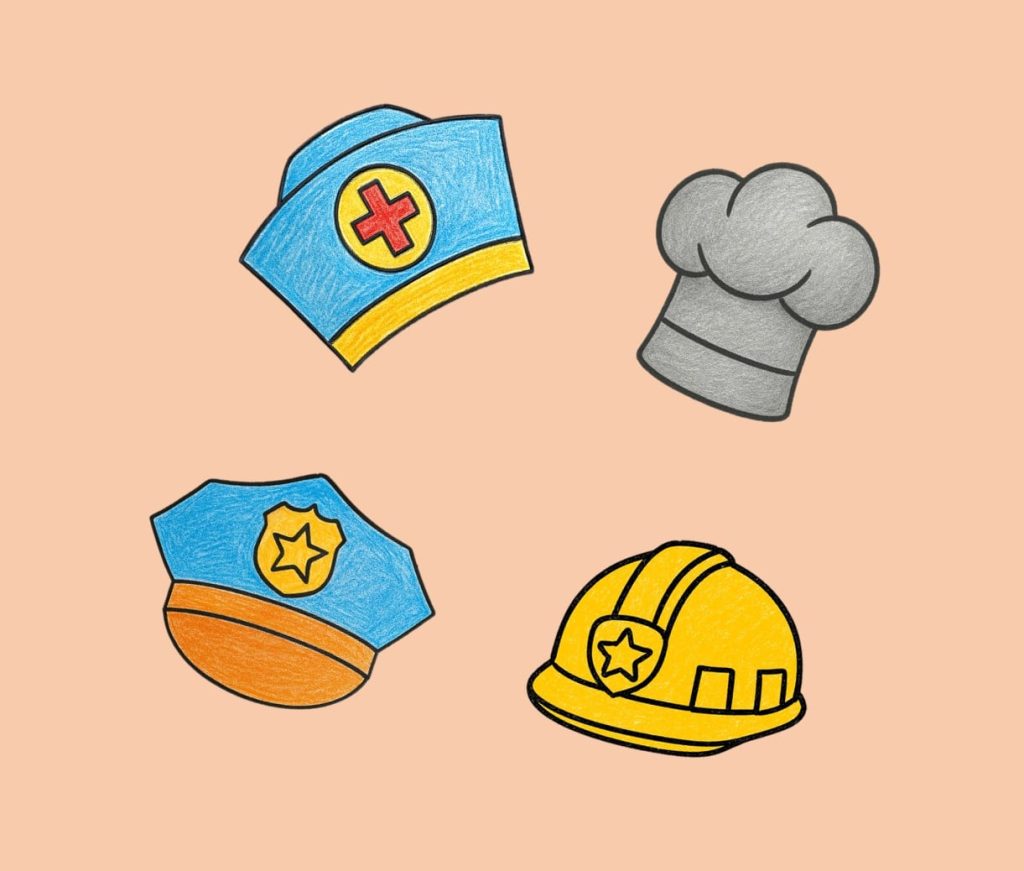
Step 2: Color the Hats
Next, give each child crayons, markers, or colored pencils and let them decorate the hats. Meanwhile, encourage them to use realistic colors or even get creative by adding patterns and designs. This develops creativity and imagination.
For example:
- A police hat can be colored blue with a shiny badge.
- A chef hat can stay white but decorated with food stickers or colorful stripes.
- A firefighter’s hat can be bright red with yellow details.
This step lets kids express themselves while also learning what the hats represent. Meanwhile, build a discussion with them about how these people are helpful to our day-to-day life!! Making a Labor Day Craft by knowing the idea.
Step 3: Cut Out the Hats
Then, the hats are colored, carefully cut out along the outlines. Most importantly, Younger children may need help with this step, while older kids can practice their scissor skills.
independently. Cutting activities help kids develop several important skills, not just how to use scissors!!
They develop:
- Fine Motor Skills
- Hand-eye coordination
- Concentration and Focus
- Planning and Control
Making a Labor Day Craft is not only a craft, it’s a secret tool that develops skills too
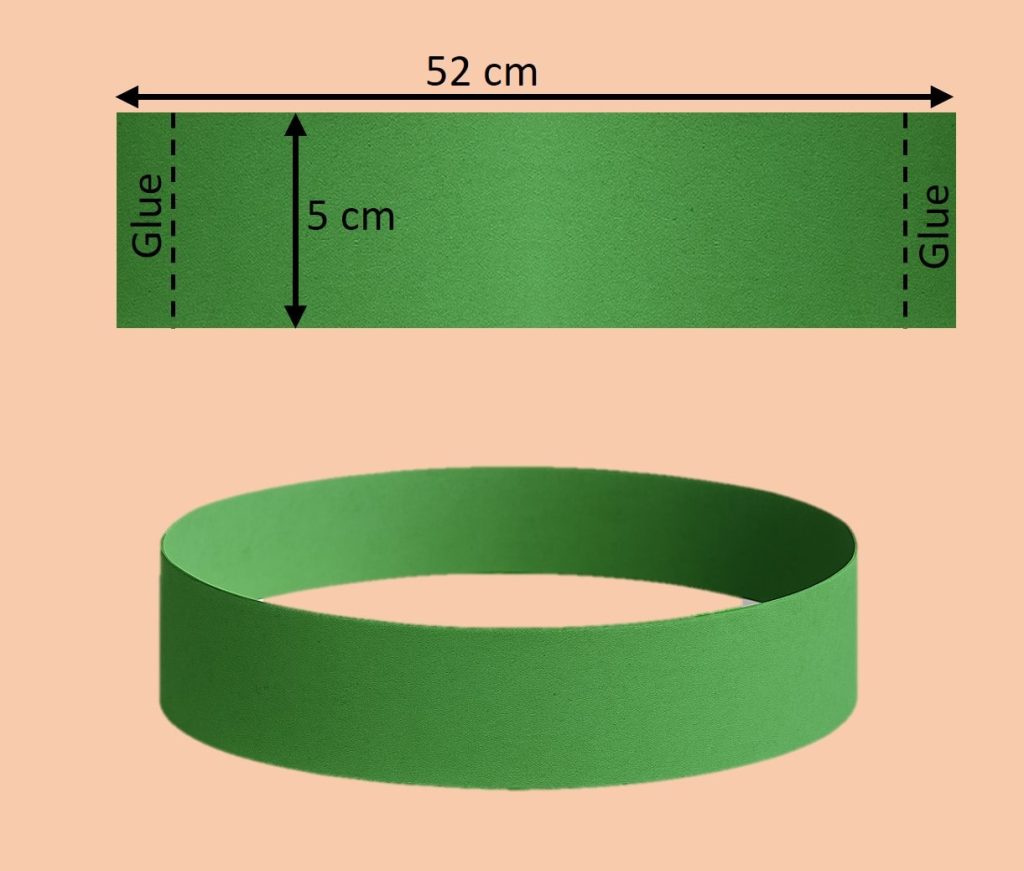
Step 4: Make the Headband
Next, take a strip of cardboard or construction paper and measure it around the child’s head to ensure a comfortable fit. Then trim any excess, then secure the ends together with glue or tape to form a circular band. After all this band will serve as the base for the hat.
Through this step, kids learn and develop several important skills. For example:
- Measuring and estimation
- Following instruction
- Creativity and problem solving
Labor Day Crafts making kids follow steps!!
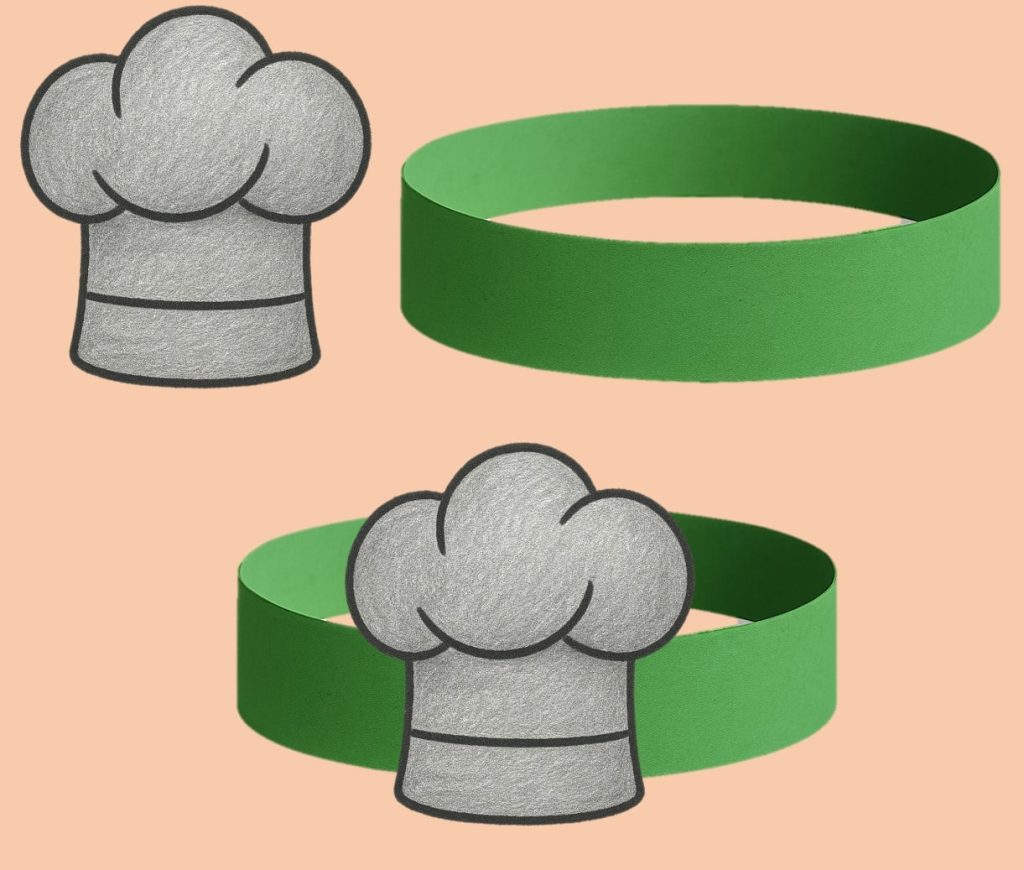
Step 5: Attach the Hat
Next, carefully glue or tape the hat design to the front of the headband. First, position it so that it is perfectly centered. Then, press down gently to make sure it sticks securely. After that, check that all edges are attached properly so the hat looks neat and stays in place. Finally, let it dry for a few minutes if you are using glue, and admire your creative Labor Day crafts!!
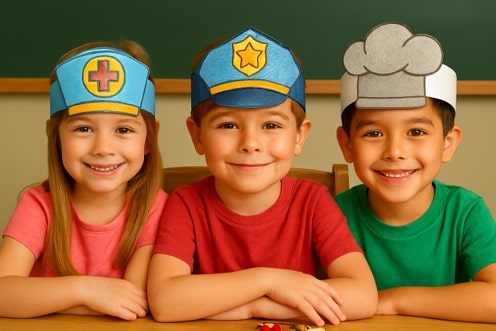
Step 6: Wear and Play!
Once the glue has fully dried, children can proudly wear their hats and immediately start pretending to be different helpers. For example, they can role-play various jobs, act out fun scenes, or even organize a little “community helpers parade” at home or in the classroom. This way, they not only enjoy imaginative play but also learn about teamwork, creativity, and important roles people play in their community.
Labor Day Crafts: Finally thought
Labor Day Crafts, like “Helper’s Hat fun” activity, are more than just arts and crafts; they are opportunities for children to explore imagination, learn about community roles, and develop important skills such as creativity, fine motor control, and teamwork. By combining fun and learning, kids gain a deeper appreciation for the people who make our communities safe, healthy, and happy, all while enjoying a hands-on, memorable experience!!
Click here to get the free PDF template: Download
More headband Craft activities for kids:
Halloween headband for kids: Visit
Easy Fall Crafts Paper Crowns: Visit