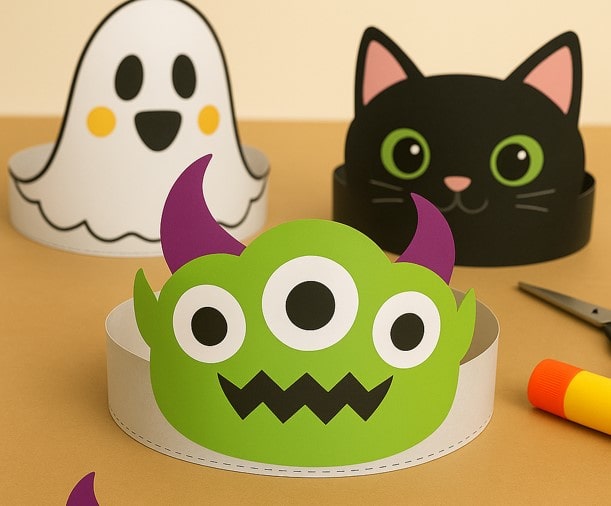
Are you ready to celebrate Halloween? So, let’s make headbands for the kids to wear on Halloween? Each of these headbands can be customized for kids. And on Halloween, they can also celebrate with their favorite Halloween character. So let’s see how to make these fun Halloween headbands.
Materials You Will Need:
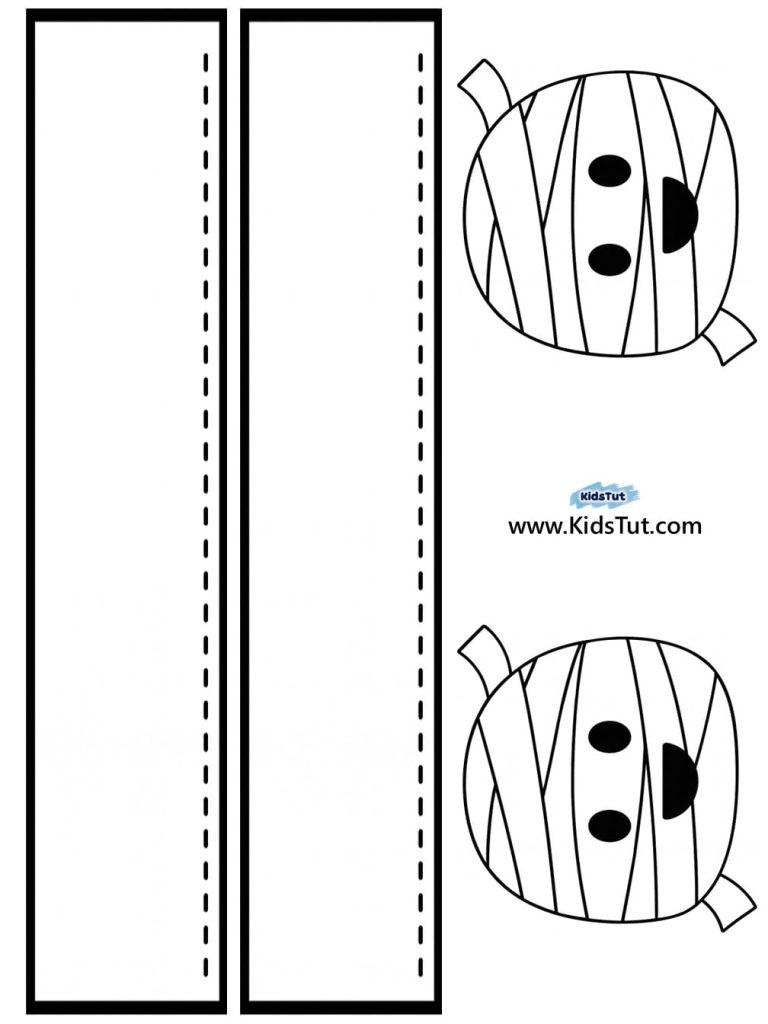
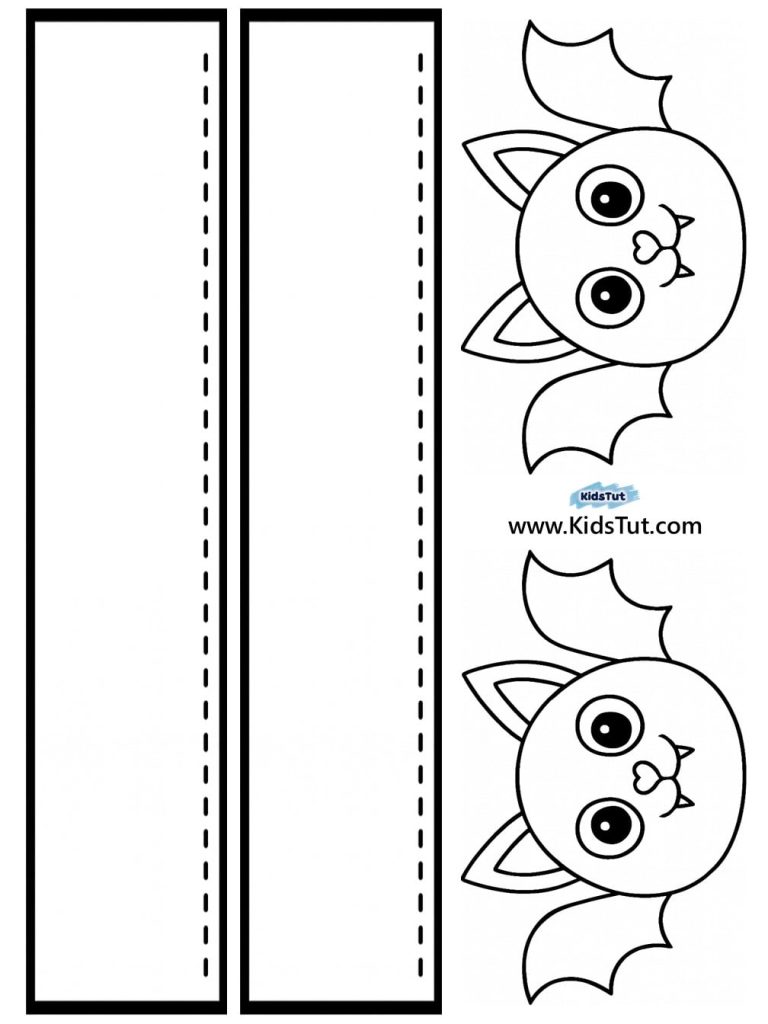
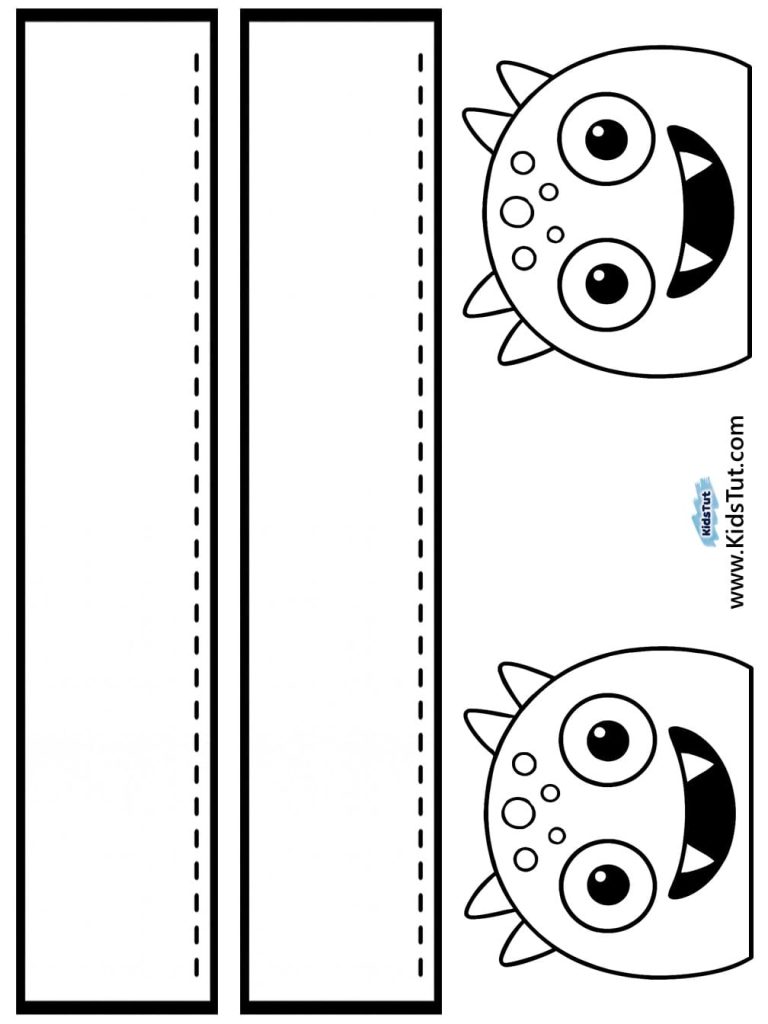
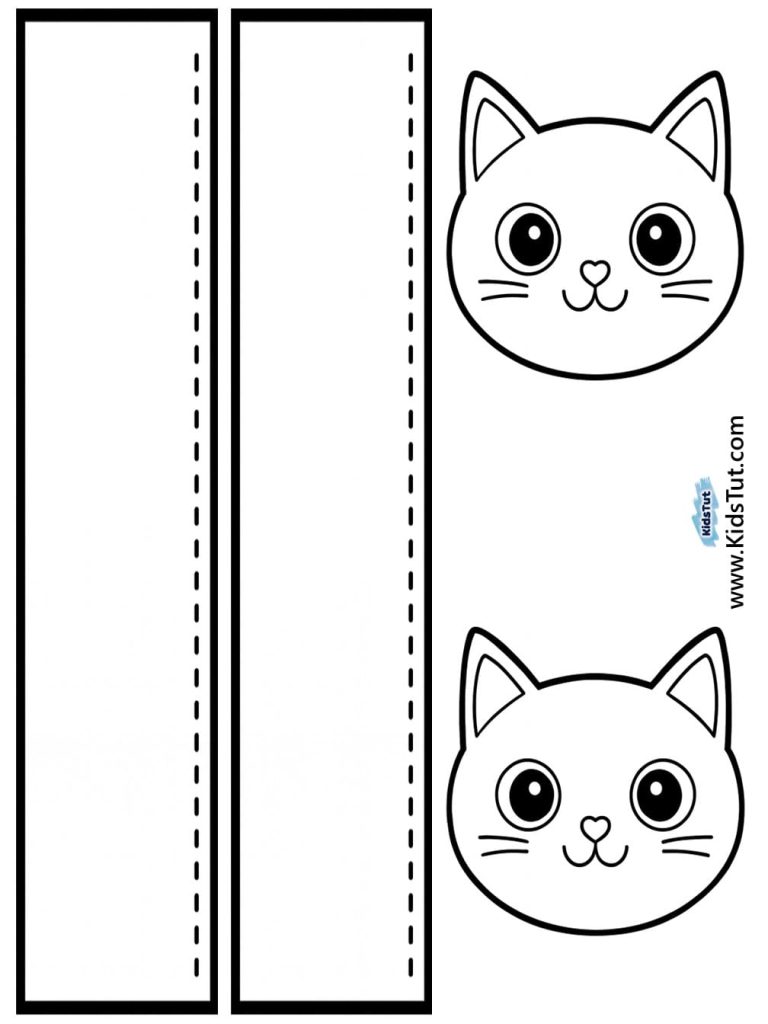
- Printed templates – Monster, bat, ghost, cat, etc.
- Cardstock or cardboard – For sturdy headbands
- Crayons or markers – For coloring the characters
- Scissors – Child-safe if kids are helping
- Glue or tape – To attach the character to the band
How to Make Halloween Headbands
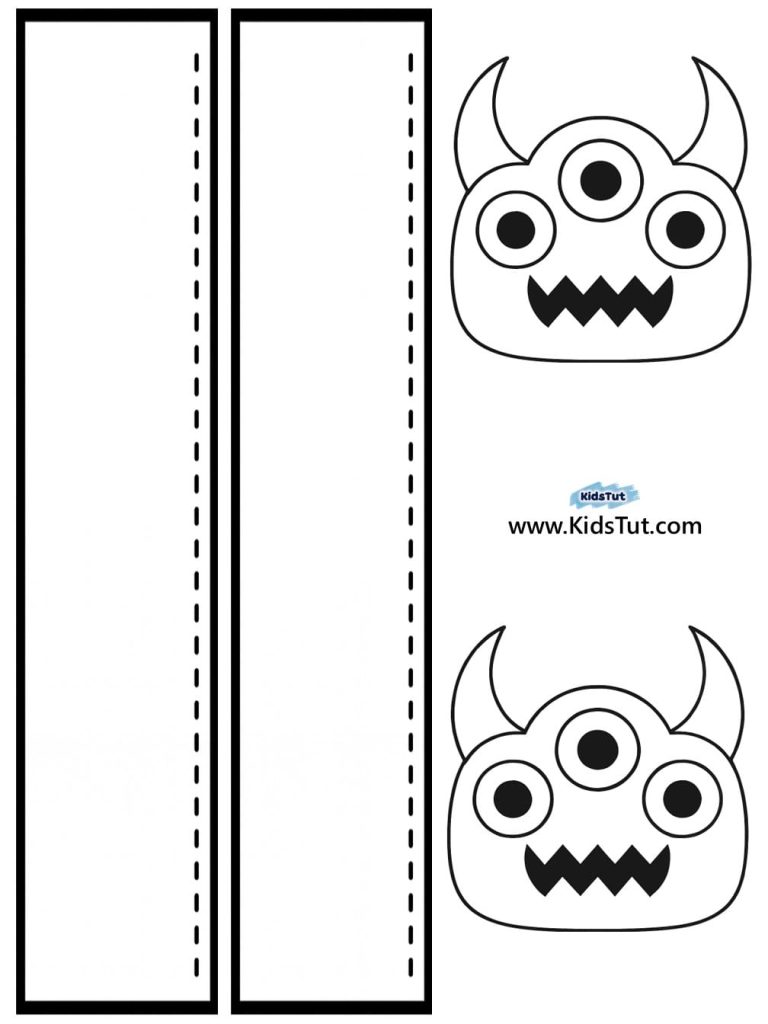
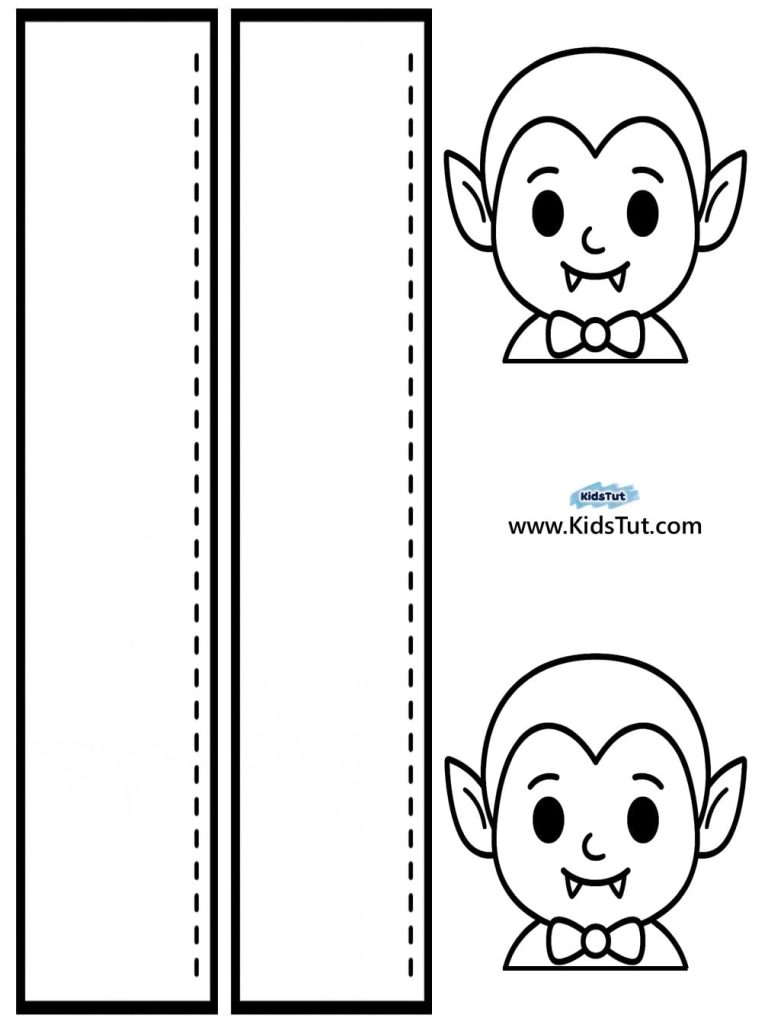
- Step 01: Print the provided templates — both the headband base and the Halloween character images.
- Step 02: Color the characters using crayons or markers. Choose fun, festive colors to match the Halloween theme!
- Step 03: Create the headband base. Use the template strip or cut a strip from cardboard. Measure to fit each child’s head. If the strip is too short, attach an extra piece to extend it.
- Step 04: Carefully cut out the colored character images.
- Step 05: Glue the character image to the center of the headband base.
- Step 06: Join the ends of the headband base to form a circle. Now kids can wear their headbands and enjoy a fun Halloween celebration!
Templates:
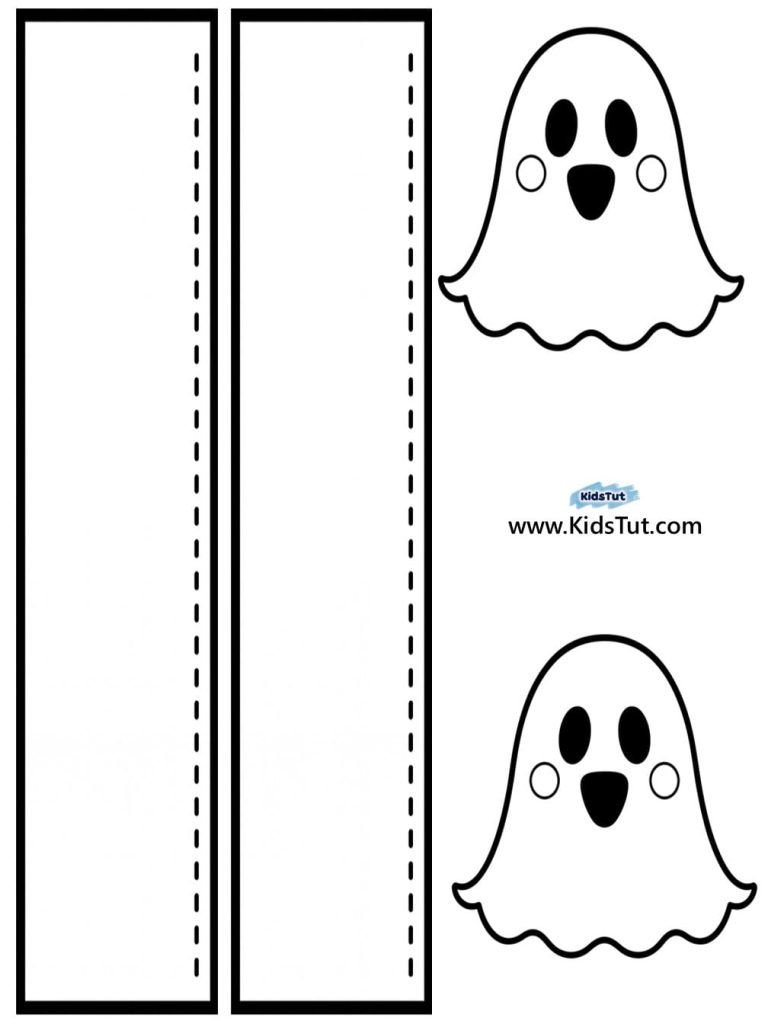
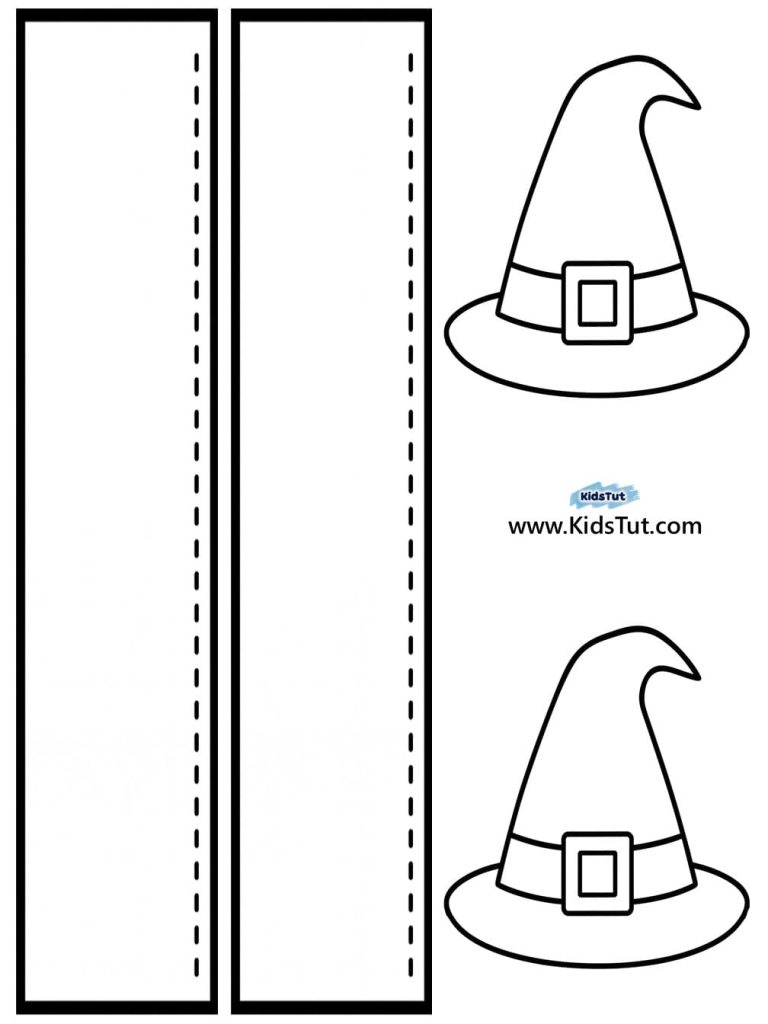
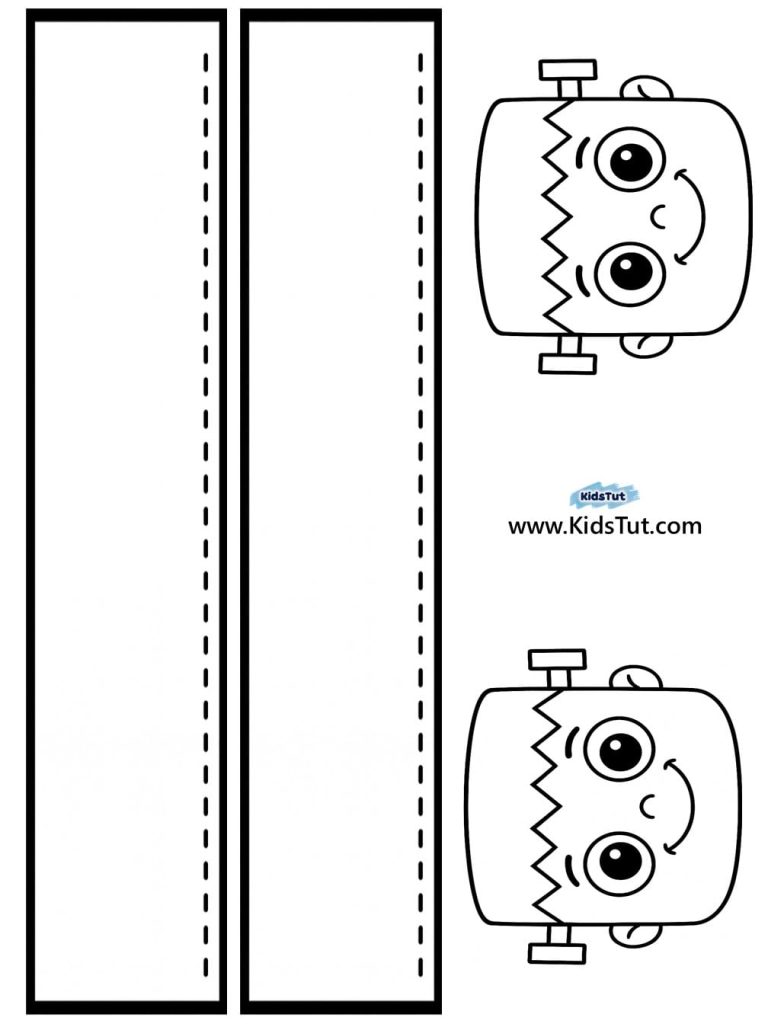

**** Click here to get the free PDF template: Download