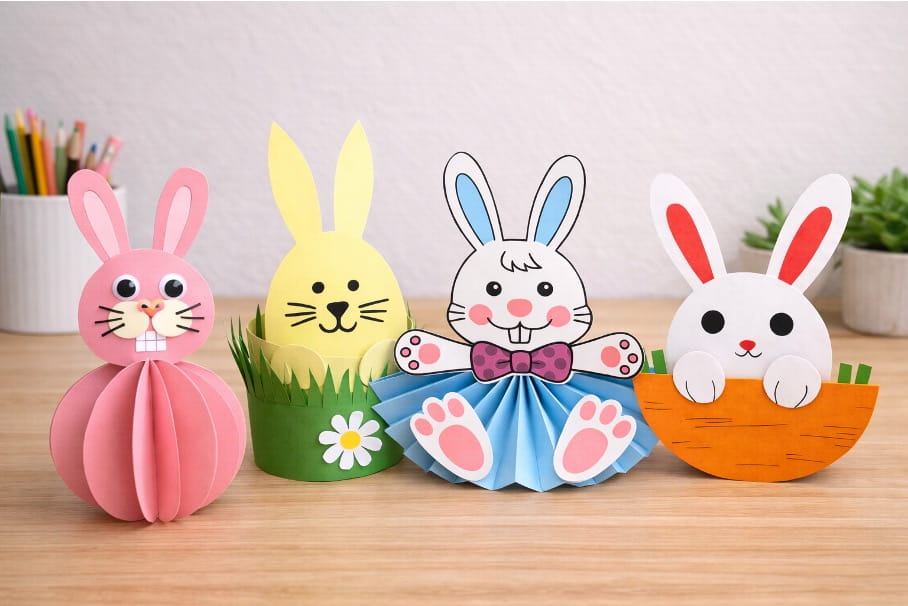
Easter is the perfect time to make cute bunnies that bring smiles and fun! These easy paper crafts are full of bright colors and playful designs, and kids will love creating their own bunny friends. With just paper, scissors, glue, and crayons or markers, children can fold, cut, and decorate to make adorable bunny shapes.
Crafting these bunnies is not only fun but also helps kids practice creativity and hands‑on skills. Once finished, the paper bunnies can be used as decorations, gifts, or even little Easter surprises to share with family and friends.
What You Need
- Colored papers
- White papers
- Crayons or markers
- Glue
- Scissors
- Googly eyes
- Yarn, string, or ribbon
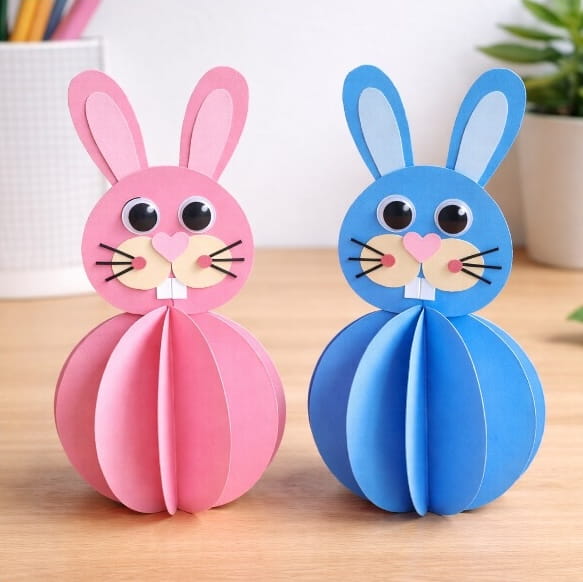
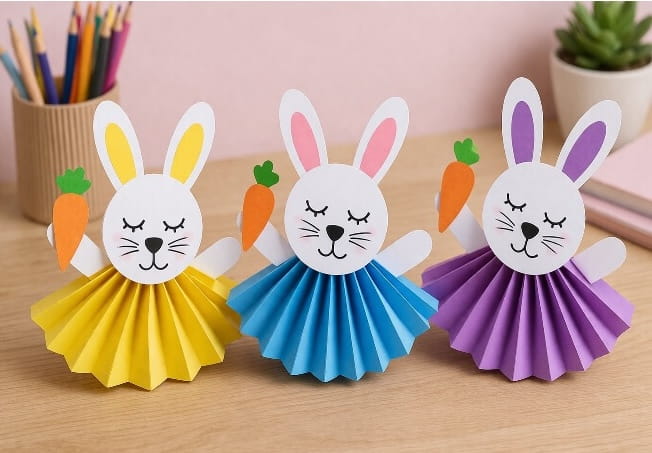
01. Paper Circle Bunny Craft for Kids:
How to Make:
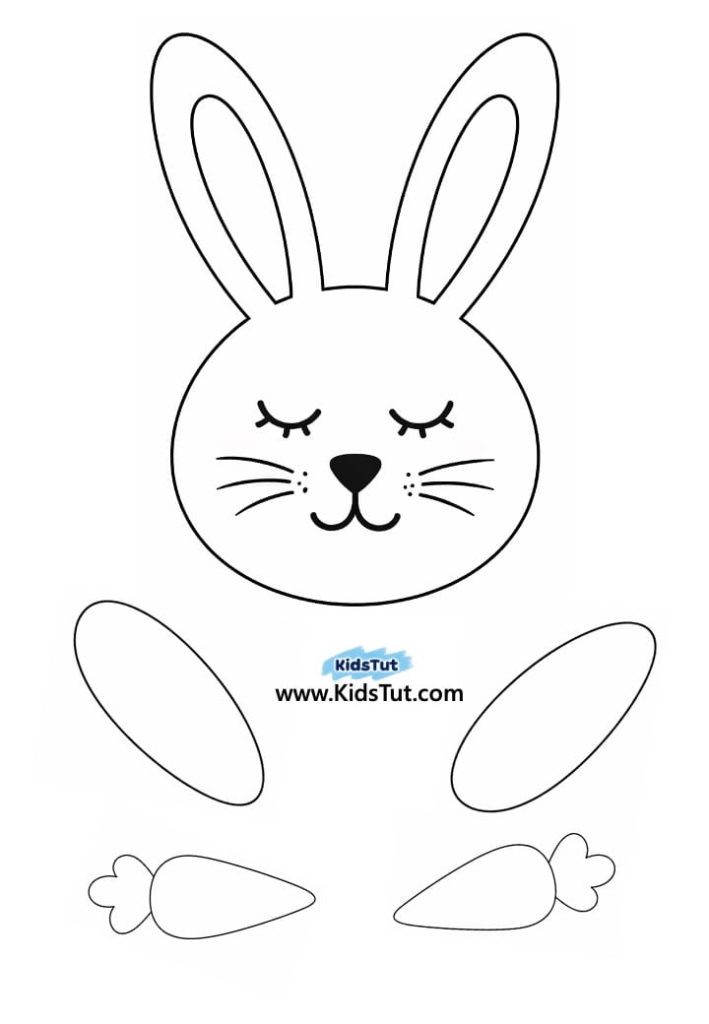
- Print the templates
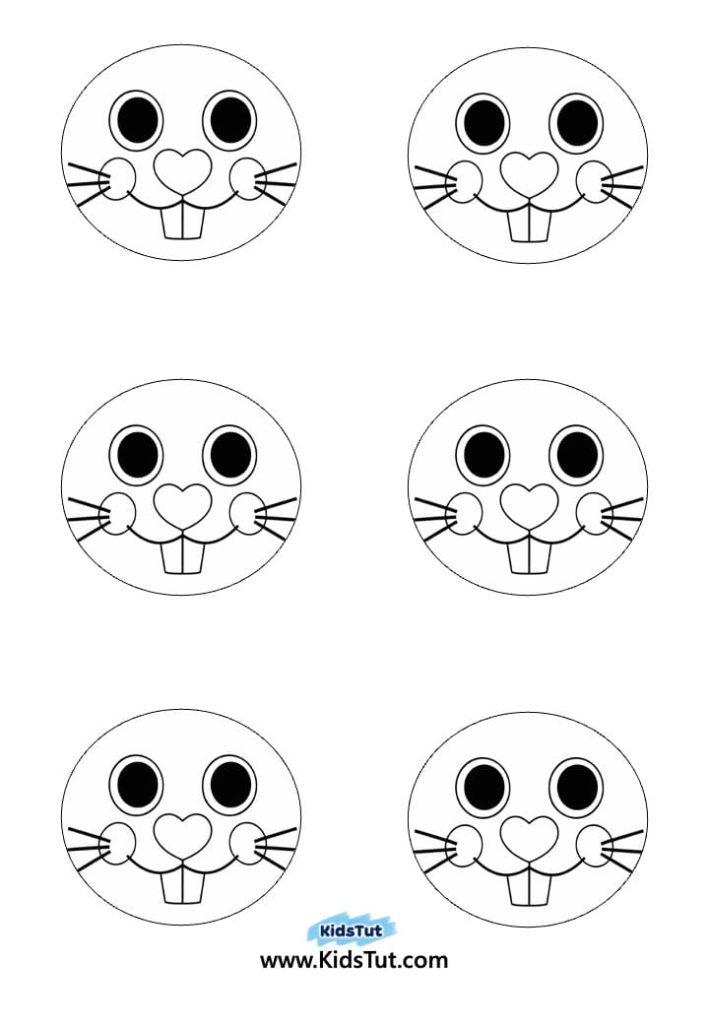
- Print the face features template on white paper.
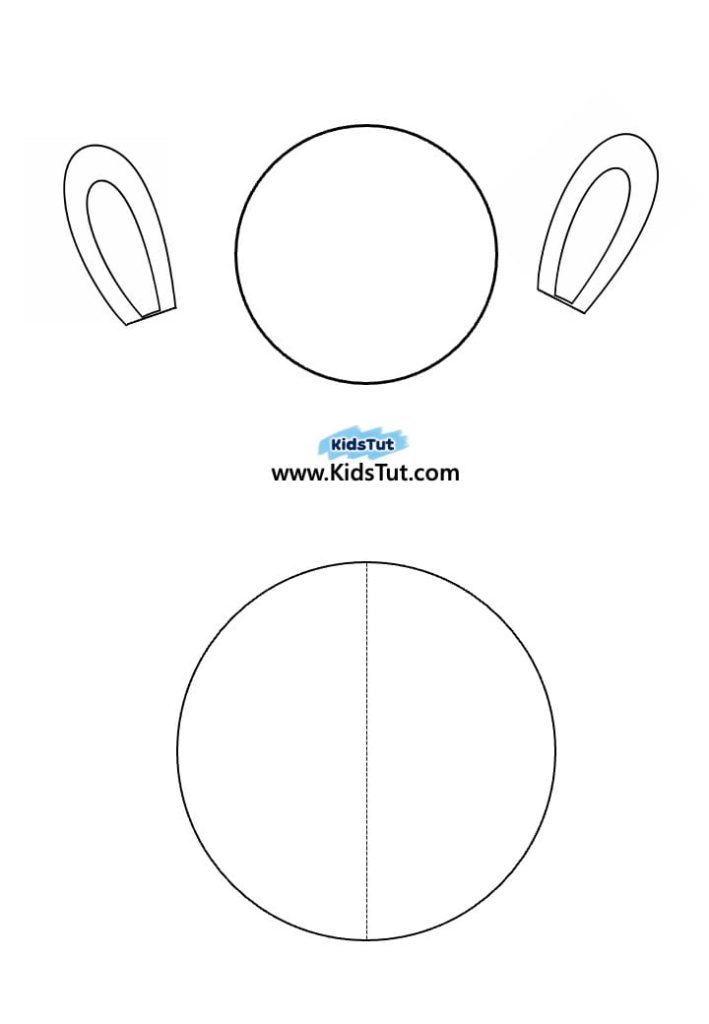
- Print all circles and ears on colored paper.
- Make the bunny face
- Color the face features using crayons or markers.
- Cut out the small circle and paste the features onto it.
- Or, use googly eyes, a paper nose, teeth, cheeks, and yarn or black paper strips for whiskers.
- Glue everything together to make the bunny face.
- Paste the colored ears on top.
- For the inner ear, cut a smaller shape from another colored paper using the ear template and paste it inside.
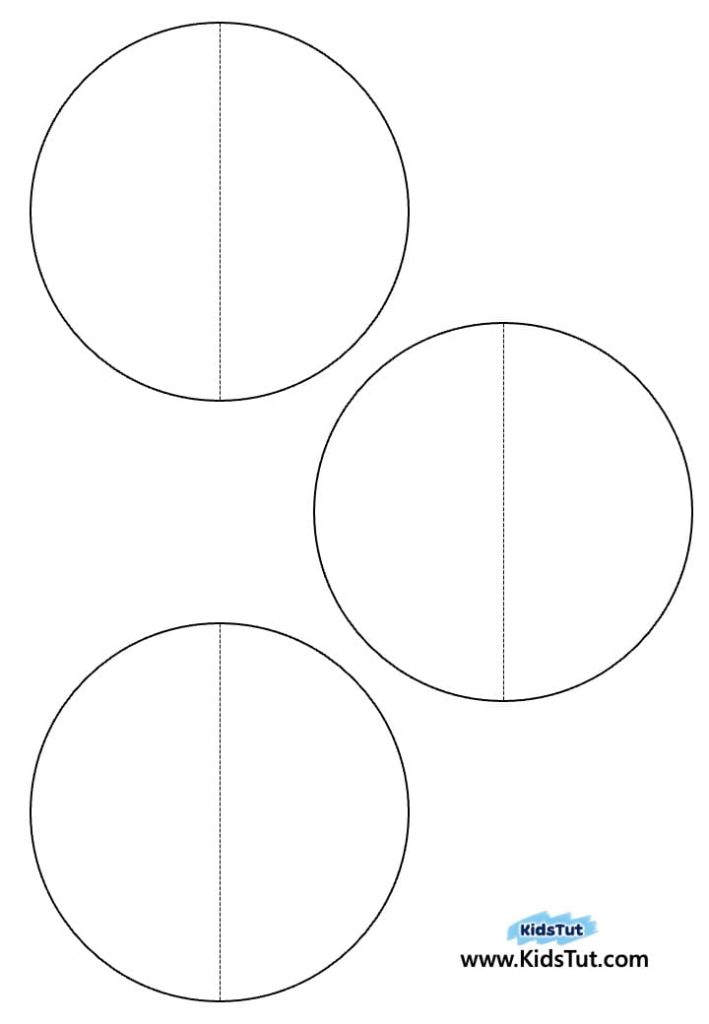
- Make the bunny body
- Cut out all the big circles separately.
- Fold each circle along the dashed line to make half circles.
- Glue the half circles together one by one to form a round ball shape.
- Attach the face
- Paste the bunny face with ears onto the ball body.
- Finish and hang
- Add a string at the top to hang your bunny decoration.
Templates:
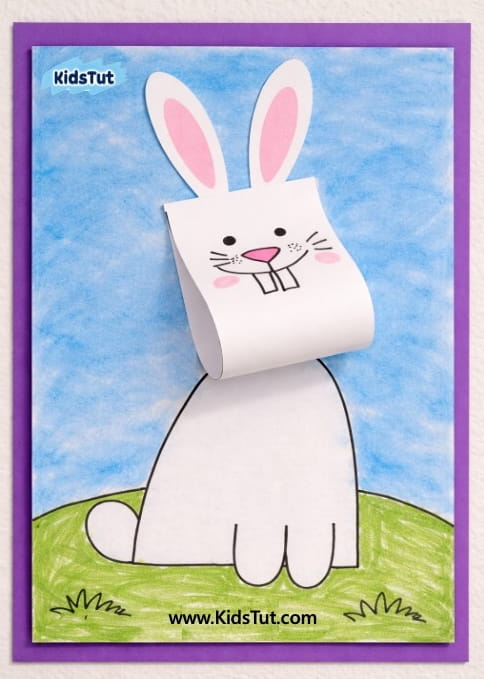
02. Pop‑Up Easter Bunny Craft
How to Make:
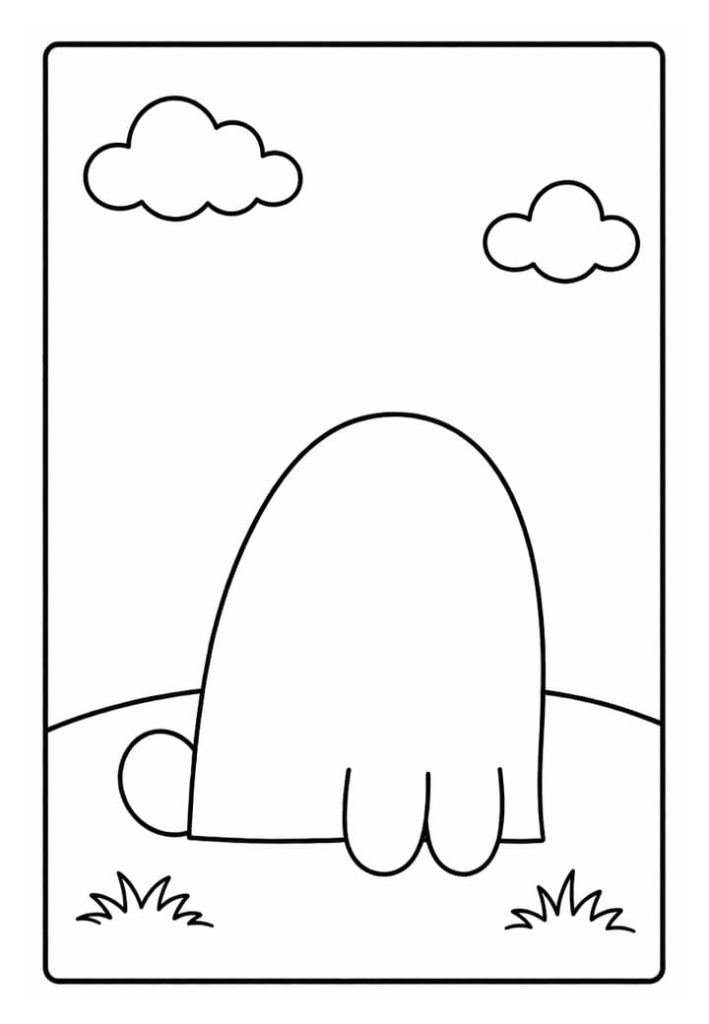
- Print the templates
- Print the two pages on white paper.
- One page has the background with the bunny body.
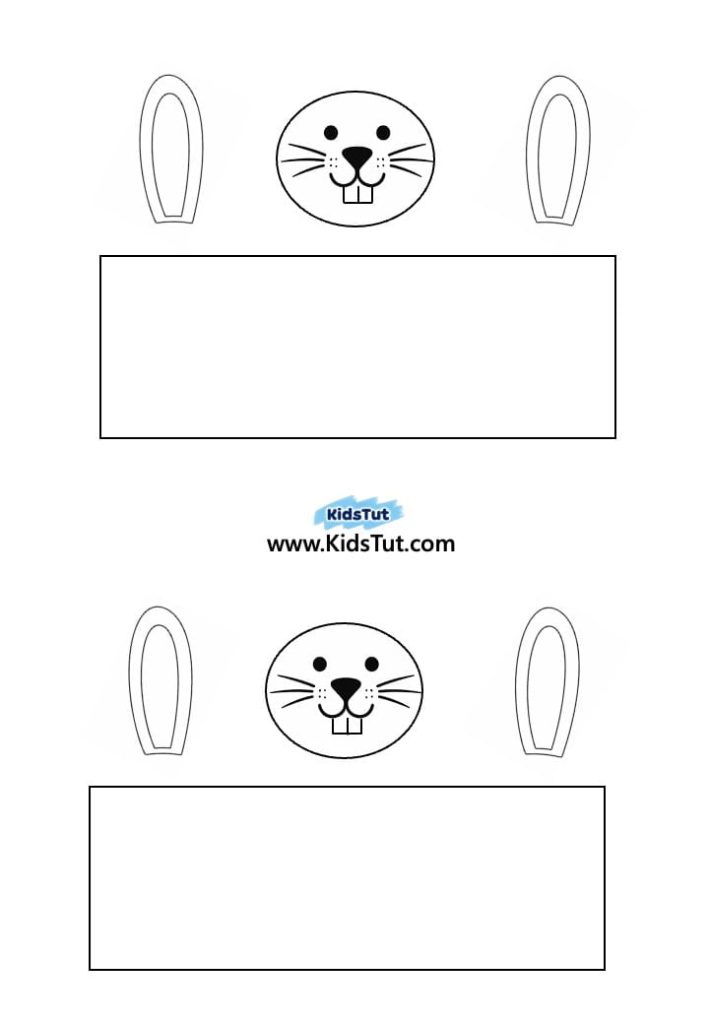
- The other page has the strip, bunny face, and ears.
- Color the templates
- Use crayons or markers to color the background page.
- Color the bunny’s facial features and the inner parts of the ears on the second page.
- Cut out the pieces
- Cut out the strip, bunny face, and ears separately.
- Make the pop‑up strip
- Fold the strip by touching the ends together (no fold line needed).
- Glue the ends together to form a loop.
- Create the bunny face
- Paste the face features onto the small circle.
- You can also draw your own bunny face instead of using the template.
- Glue the ears on top of the face.
- Attach the face to the body
- Paste the face with the strip onto the bunny body on the first page.
- Finish and display
- Write your name at the bottom.
- Let it dry and proudly display your pop‑up bunny craft!
Templates:
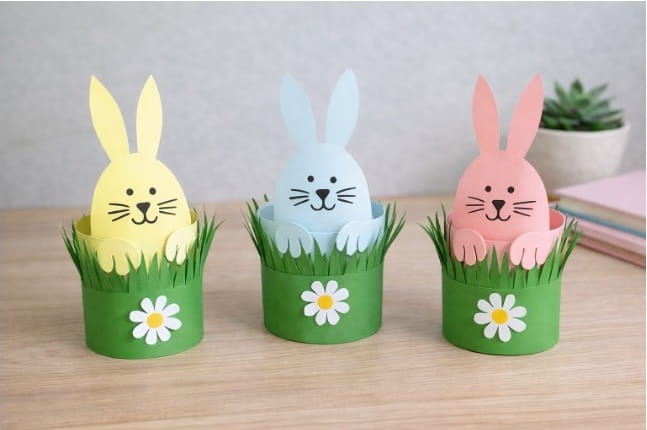
03. Bunny in Grass Crown Craft:
How to Make:
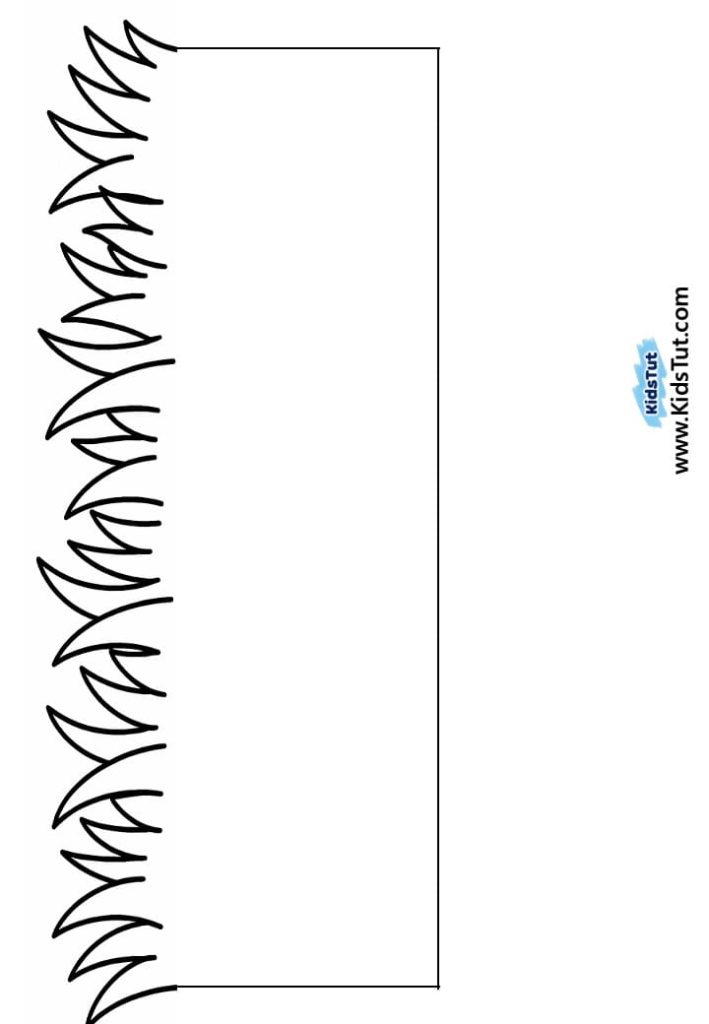
- Make the grass crown
- Print the grass template on colored paper.
- Cut it out and fold it around like a crown.
- Glue the ends together to make a circle.
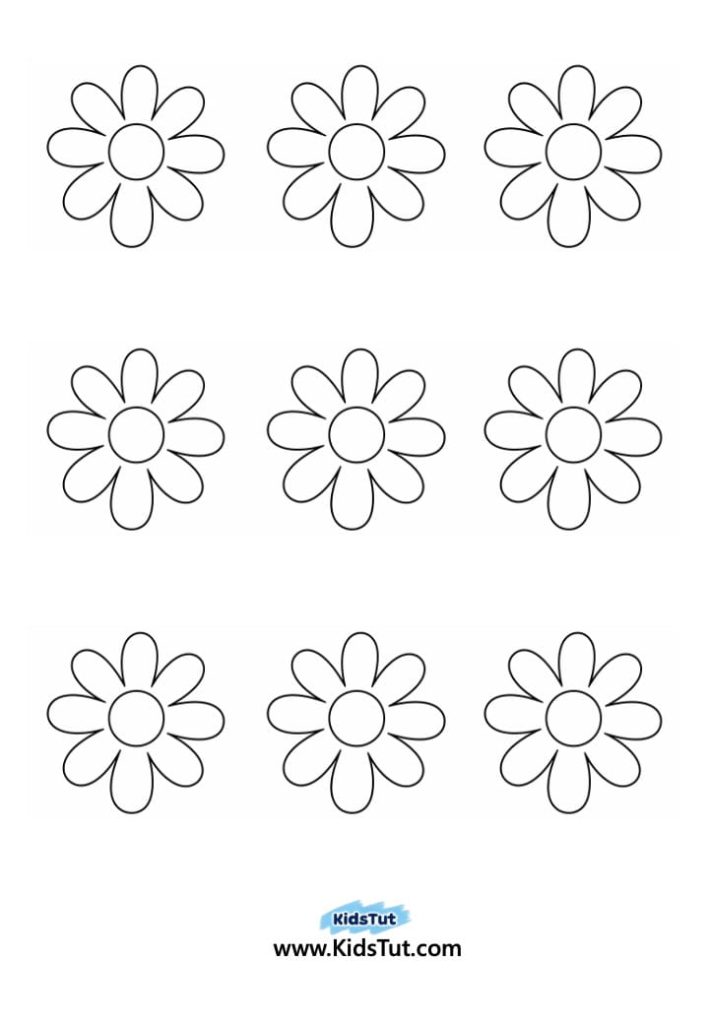
- Add flowers
- Print flower templates on colored paper or white paper.
- If you use white, color it with crayons or markers.
- Cut out the flowers and paste them around the bottom of the grass crown.
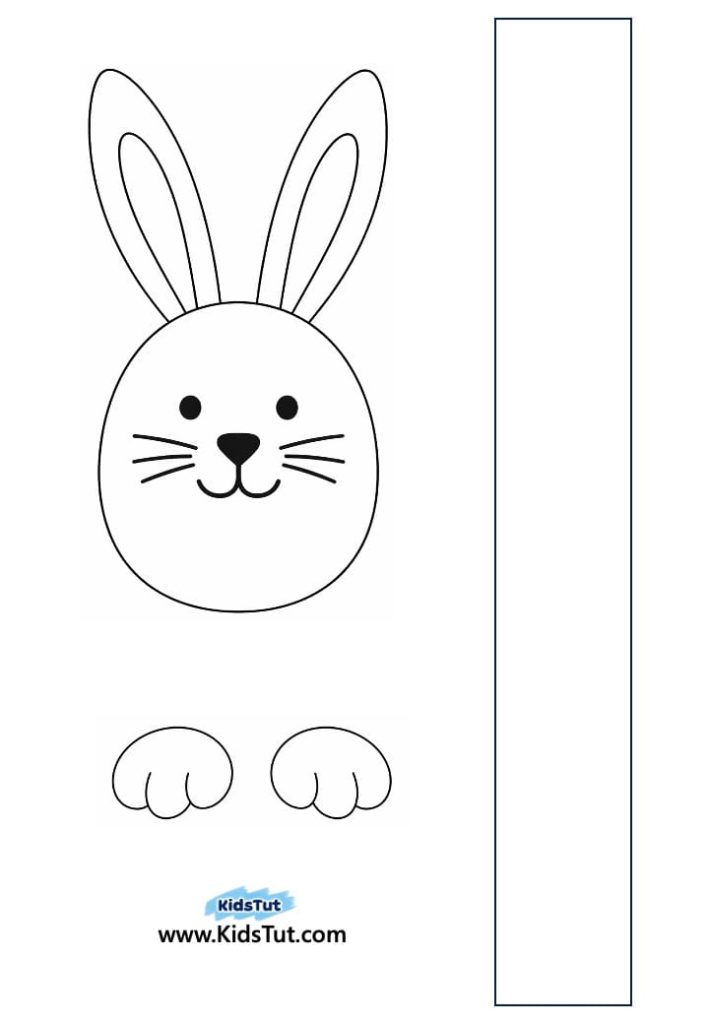
- Create the bunny parts
- Print the bunny face with ears, a paper strip, and feet on colored paper.
- Cut them out separately.
- Make the bunny ring
- Fold the paper strip into a crown shape and glue the ends together to form a ring.
- Paste the bunny face and feet onto the front of the ring.
- Add the ears on top of the face.
- Put it all together
- Place the bunny ring inside the grass crown.
- If it doesn’t hold perfectly, use glue to secure it.
- Finish and display
- Place your bunny in the grass crown on your desk or shelf to show off your Easter craft!
Templates:
04. Fan Bunny with Carrot Craft
How to Make:
- Make the fan body
- Take half of a colored A4 sheet.
- Fold it back and forth like an accordion (fan).
- Glue both sides together to form a round fan shape.
- Prepare the bunny parts
- Print the bunny face, hands, and carrot on white paper.
- Color them with crayons or markers.
- Cut them out neatly.
- Build the bunny
- Paste the bunny face onto the fan body.
- Paste the hands on both sides of the fan.
- Attach one carrot to a hand so it looks like the bunny is holding it.
- Finish and display
- Attach a ribbon or yarn at the top, and hang your bunny decoration.
Templates:
05. Bow Tie Fan Bunny Craft
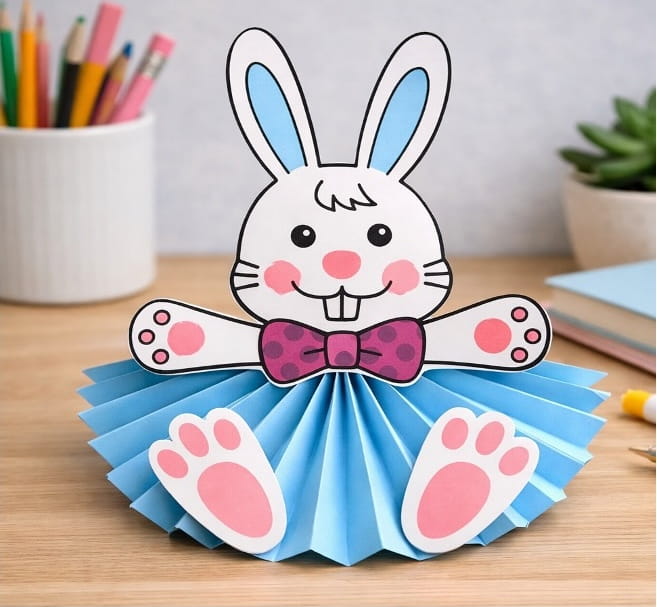
How to Make a Bow Tie Fan Bunny
- Make the fan body
- Take a colored A4 sheet.
- Fold it back and forth like an accordion (fan).
- Glue both sides together to form a round fan shape.
- Prepare the bunny parts
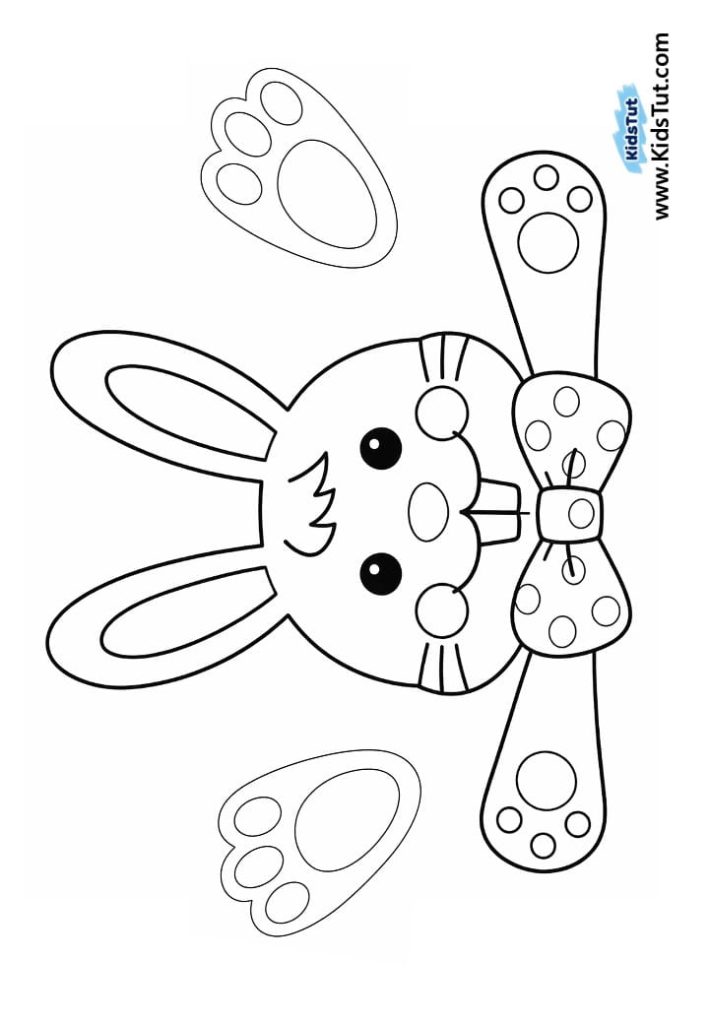
- Print the template with bunny face, hands, feet, and bow tie.
- Color them using crayons or markers.
- Cut out each piece neatly.
- Build the bunny
- Paste the bunny face on top of the fan body.
- Add feet to the bottom.
- Finish and display
- Let the glue dry.
- Place your bunny craft on a desk or shelf for decoration.
Templates:
06. Paper Plate Bunny Face Craft
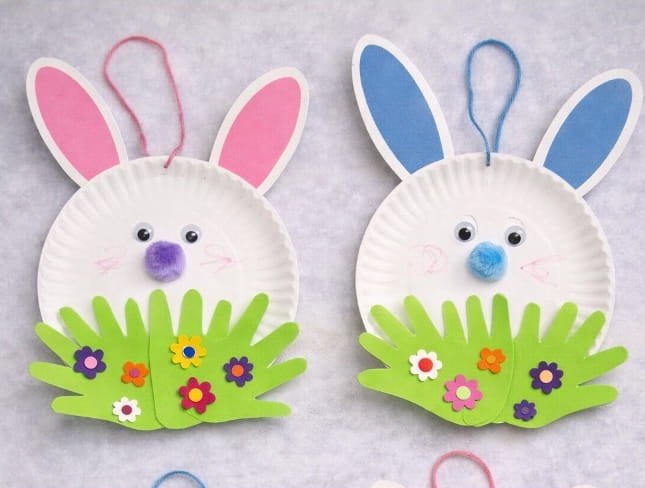
How to Make:
- Prepare the plate
- Take a white paper plate.
- Paste googly eyes and a colored pom pom ball for the nose.
- Print and color the templates
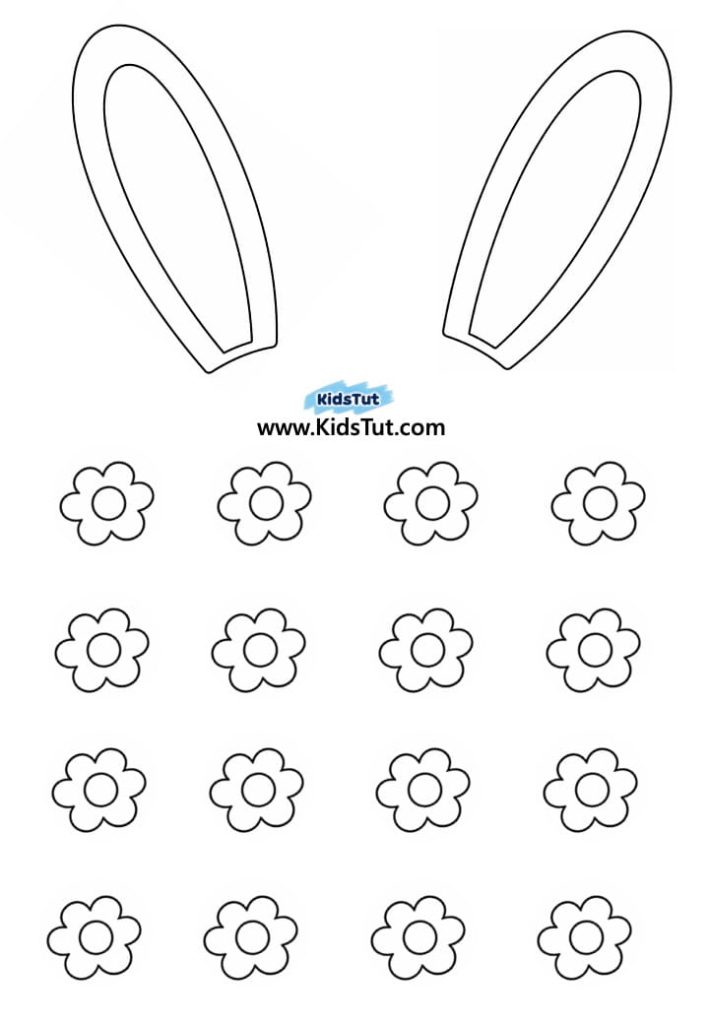
- Print the ears and flower templates on white paper.
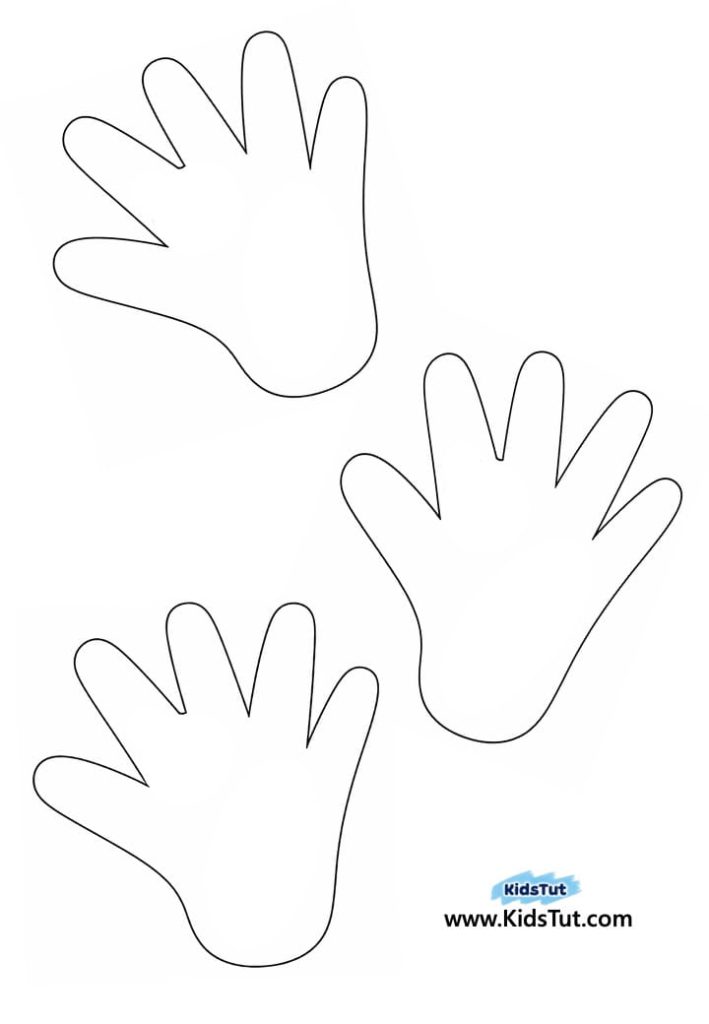
- Print the hand template on green paper.
- Color the ears and flowers using crayons or markers.
- Cut out the pieces
- Cut out the ears, flowers, and hands separately.
- Build the bunny
- Paste the green hands at the bottom of the paper plate.
- Paste the colored flowers inside the hands.
- Paste the colored ears at the top of the paper plate.
- Finish and display
- Attach a yarn loop at the top of the plate and hang your bunny craft.
Templates:
07. Cardboard Tube Bunny Craft:
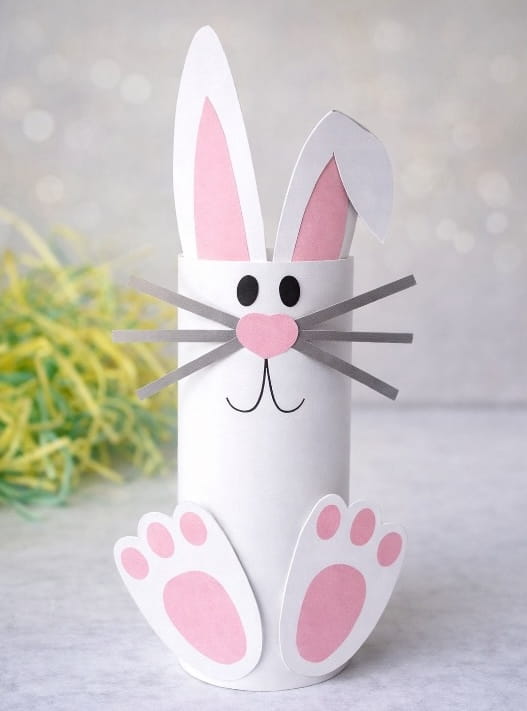
How to Make a Cardboard Tube Bunny
- Prepare the tube
- Take a cardboard tube or toilet paper roll.
- Cover it with white paper or paint it white.
- Print and color the bunny parts
- Print the given bunny face features, ears, and feet templates.
- Color them using crayons or markers.
- Cut out each piece neatly.
- Build the bunny
- Paste the bunny face on the front of the tube.
- Add the ears at the top.
- Paste the feet at the bottom.
- Finish and display
- Let the glue dry.
- Place your bunny craft on a desk or shelf for decoration.
Templates:
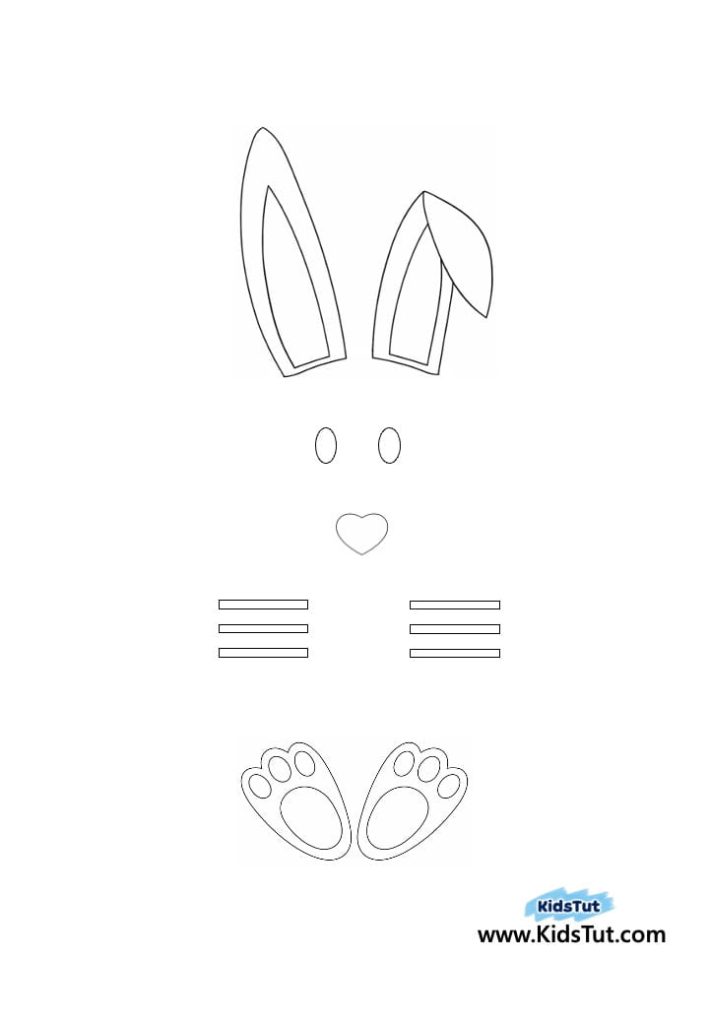
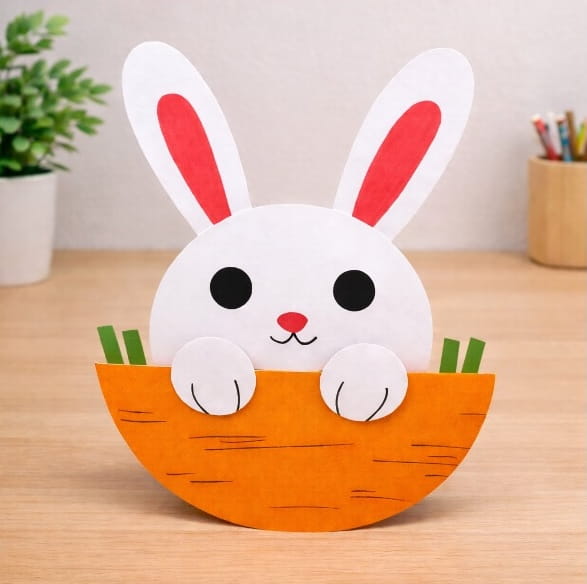
08. Carrot Bunny Peek‑Out Craft:
How to Make:
- Print and color the templates
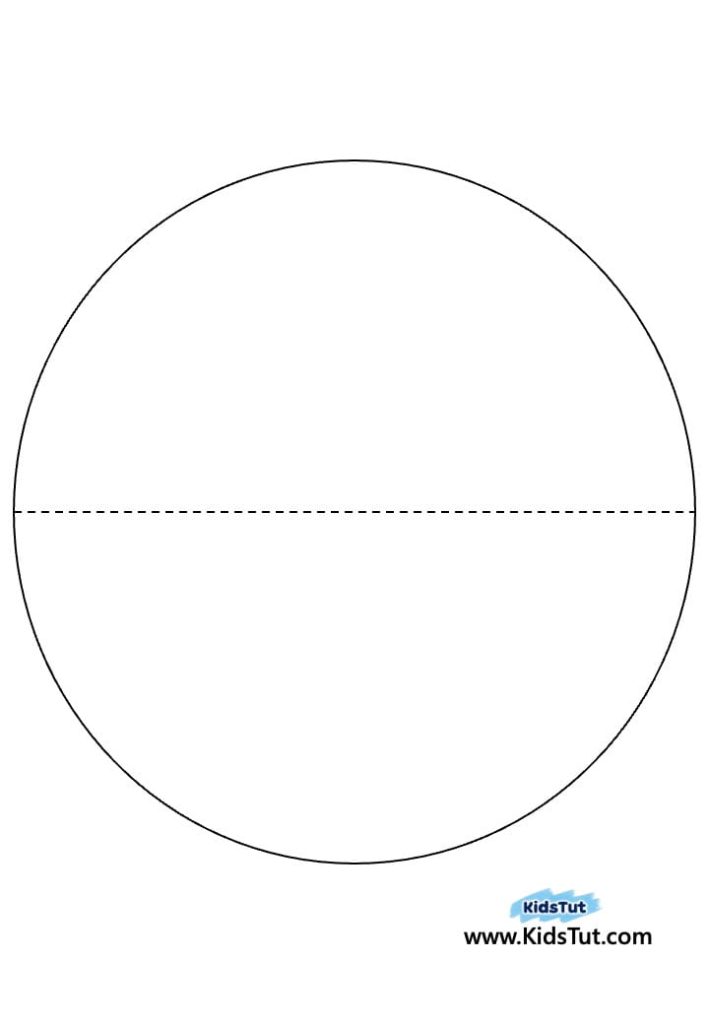
- Print the circle page on orange paper.
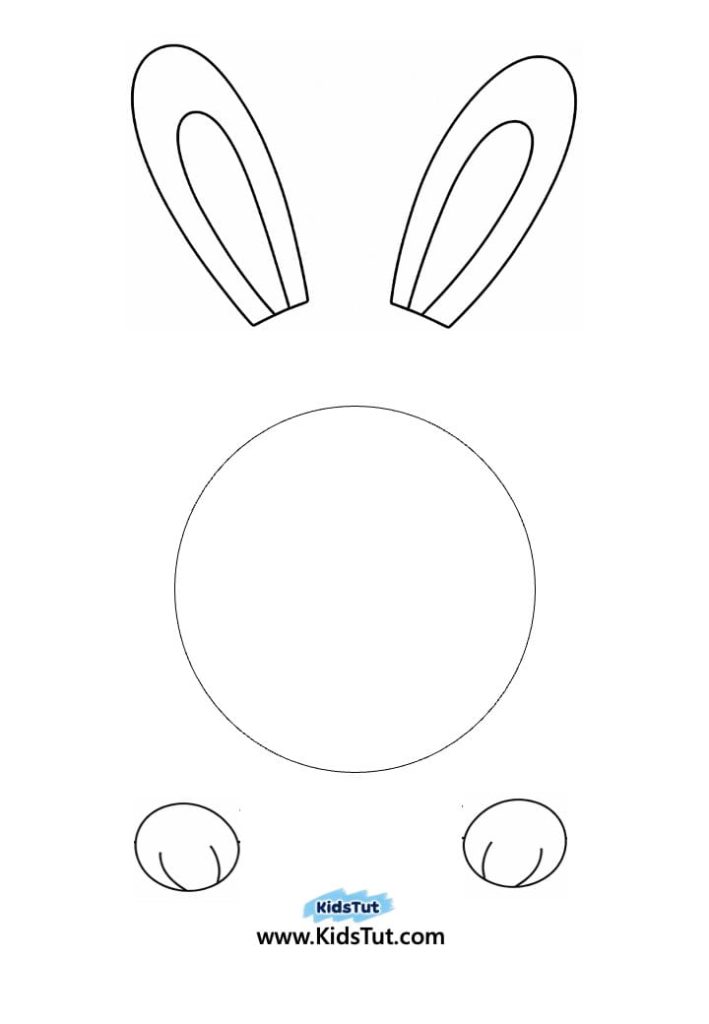
- Print the bunny body parts page on white paper.
- Draw and color the bunny face features inside the small circle.
- Color the inner parts of the ears.
- Cut out all the pieces separately.
- Make the carrot
- Take the orange circle and fold it along the line.
- Cut out small green strips and paste them at the top of the folded circle to make carrot leaves.
- Build the bunny
- Paste the bunny face behind the middle of the orange carrot.
- Attach the ears to the top of the face.
- Paste the feet at the bottom front of the face.
- Finish and display
- Let the glue dry.
Templates:
Click here to get the FREE PDF template: Download ( Printable )