Easy Christmas Paper Strip Crafts for Kids to Make
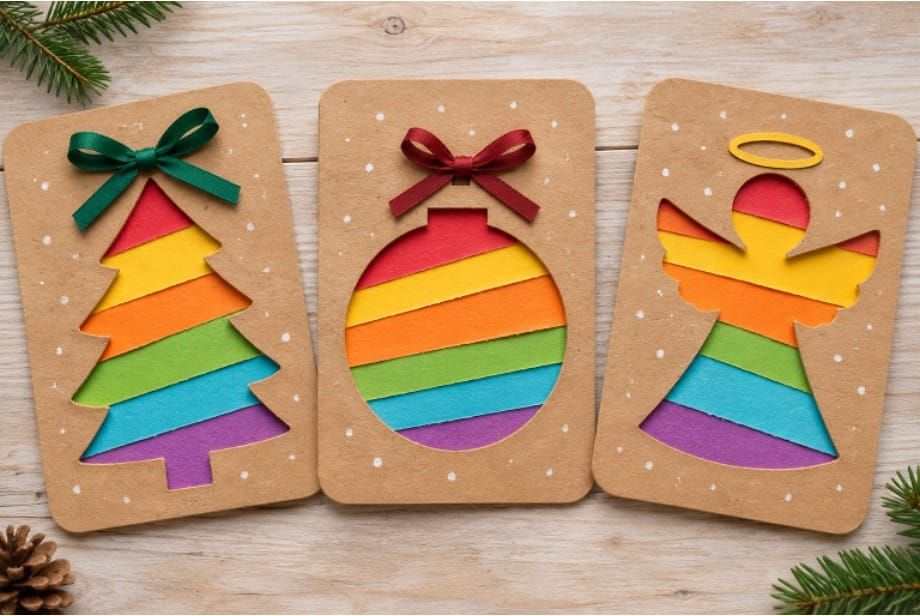
Looking for a fun and colorful Christmas craft for kids? These Easy Christmas Paper Strip Crafts for Kids are a wonderful way to create beautiful holiday decorations using colorful paper strips, cardboard, and printable Christmas templates.
These Christmas paper strip crafts for kids are perfect for kindergarten, elementary school, homeschool, and classroom Christmas activities. They are easy to prepare with adult help, use simple materials, and give children a fun way to explore colors, shapes, and creativity.
You can use the finished crafts as Christmas cards, invitation cards, classroom decorations, or handmade holiday gifts.
What You Need
- Printable Christmas shape templates
- Printable rectangular board base template
- Brown kraft cardstock, thin cereal-box cardboard, or another suitable craft board
- Colorful construction paper
- White or colored paper for the back cover
- Pencil
- Ruler
- Child-safe scissors
- Craft knife or paper cutter (adult use only)
- Glue or double-sided tape
- White paint
- Cotton swabs (Q-tips)
- Colorful ribbons or bows (optional)
- Printable stars, angel halos, or other Christmas decorations (optional)
How to Make Christmas Paper Strip Crafts
Step 1: Prepare the Cardboard Base
- First, choose a suitable board for your Christmas craft.
- You can use brown kraft cardstock, thin cereal-box cardboard, matte board, or another type of sturdy craft board.
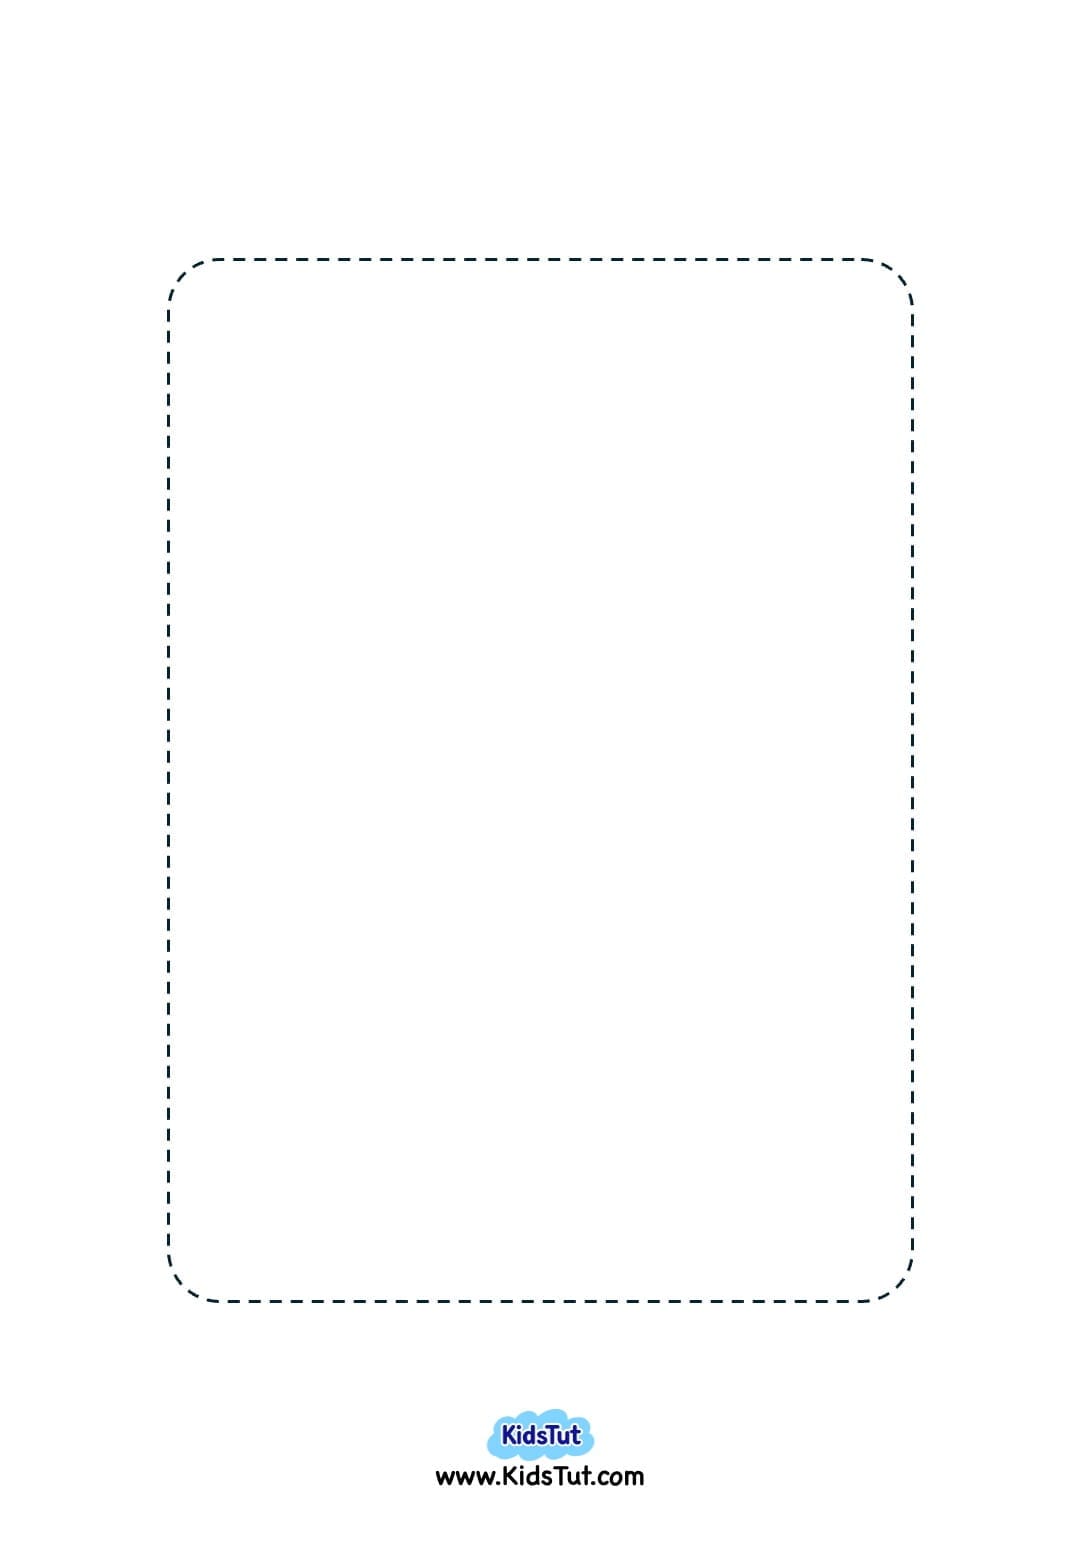
- I have provided a printable rectangular base template to help you make the correct shape and size.
- Print the base template on a sheet of paper. Then, use it to measure and cut a matching rectangle from your chosen board.
- You can also make your own rectangular base using a ruler and pencil.
Step 2: Choose and Print the Christmas Shape
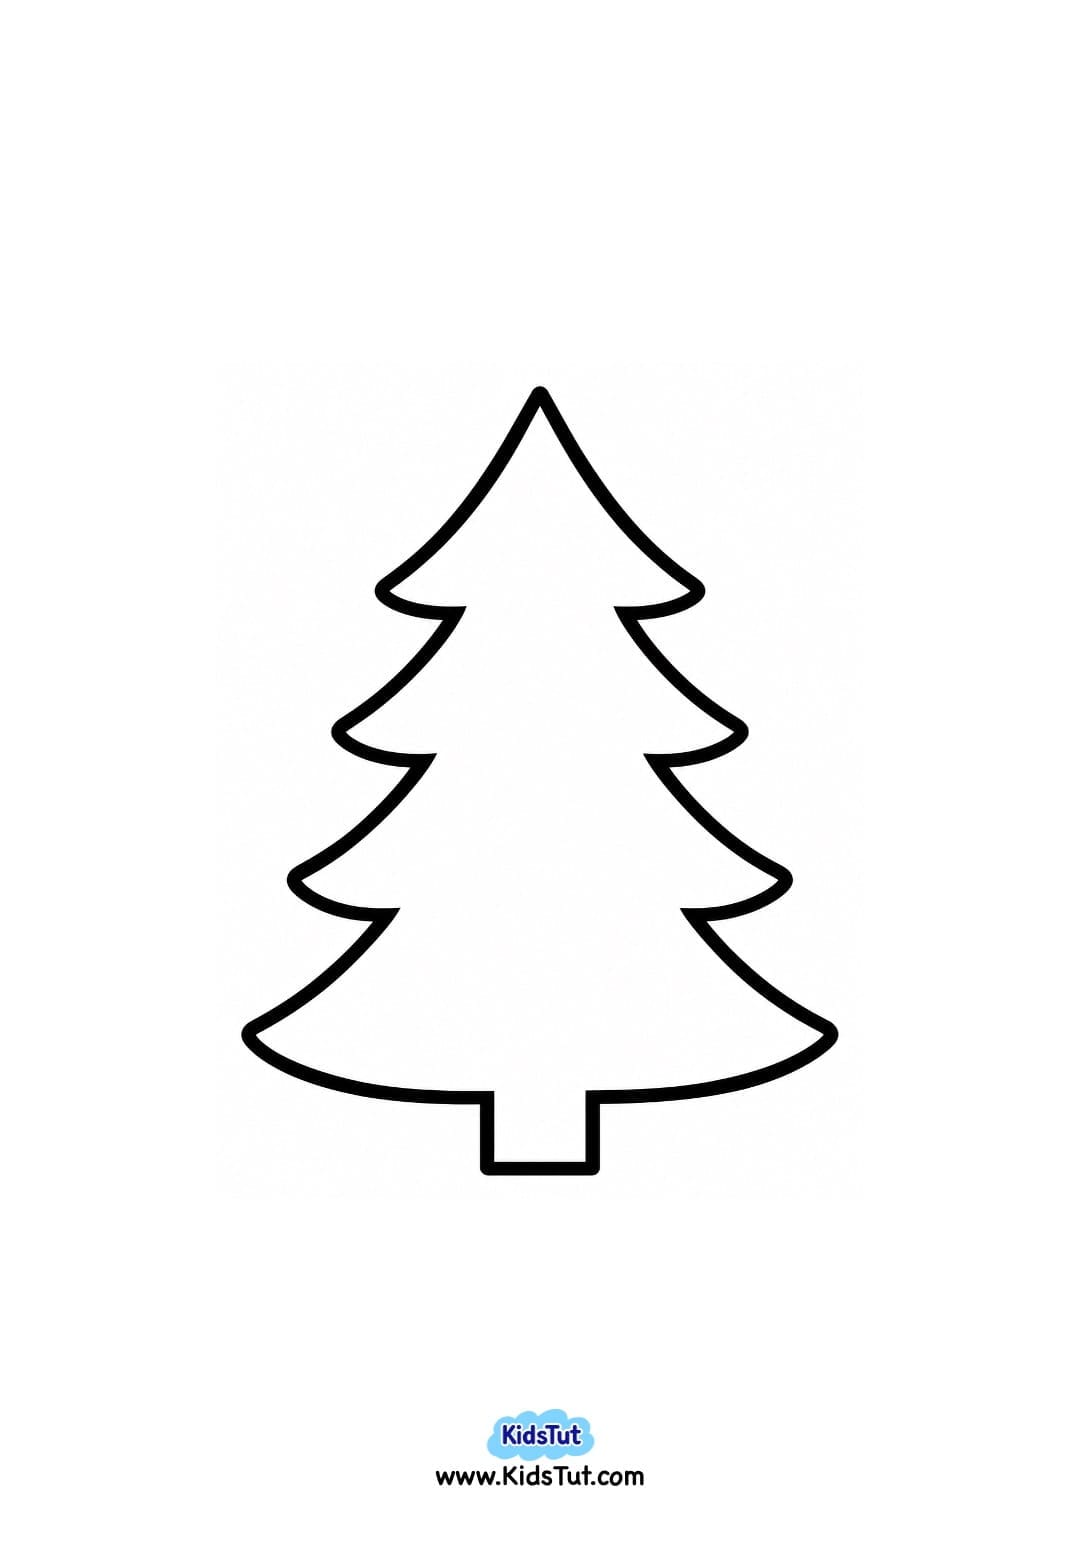
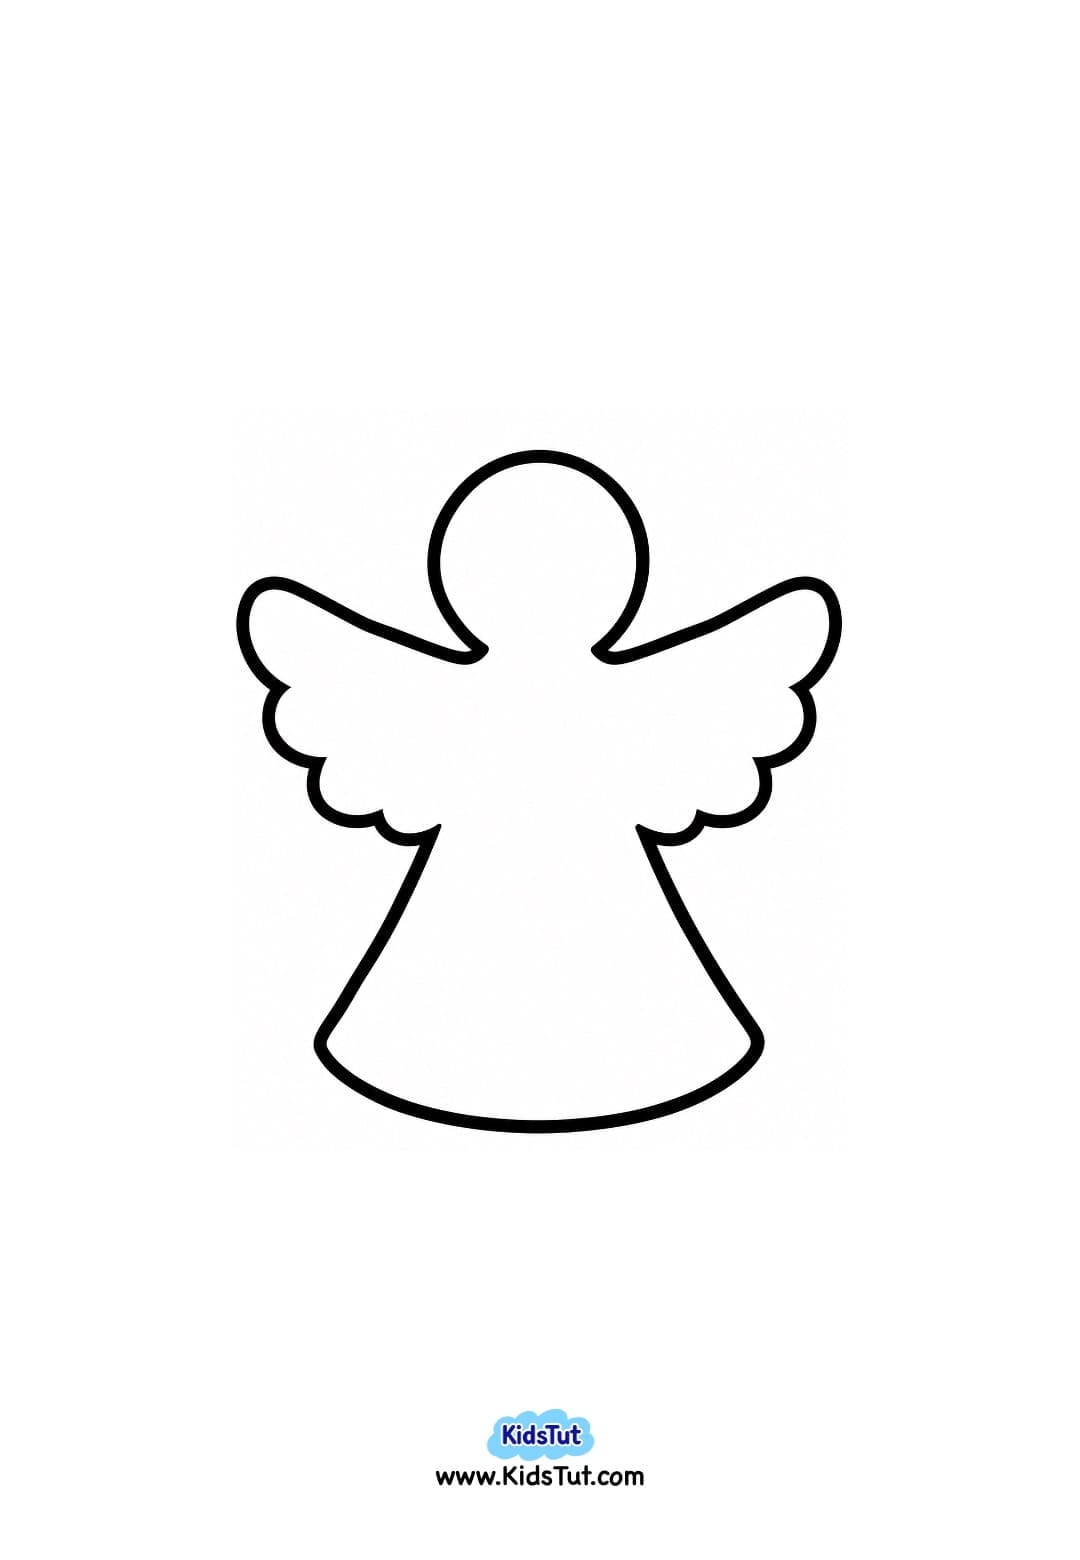
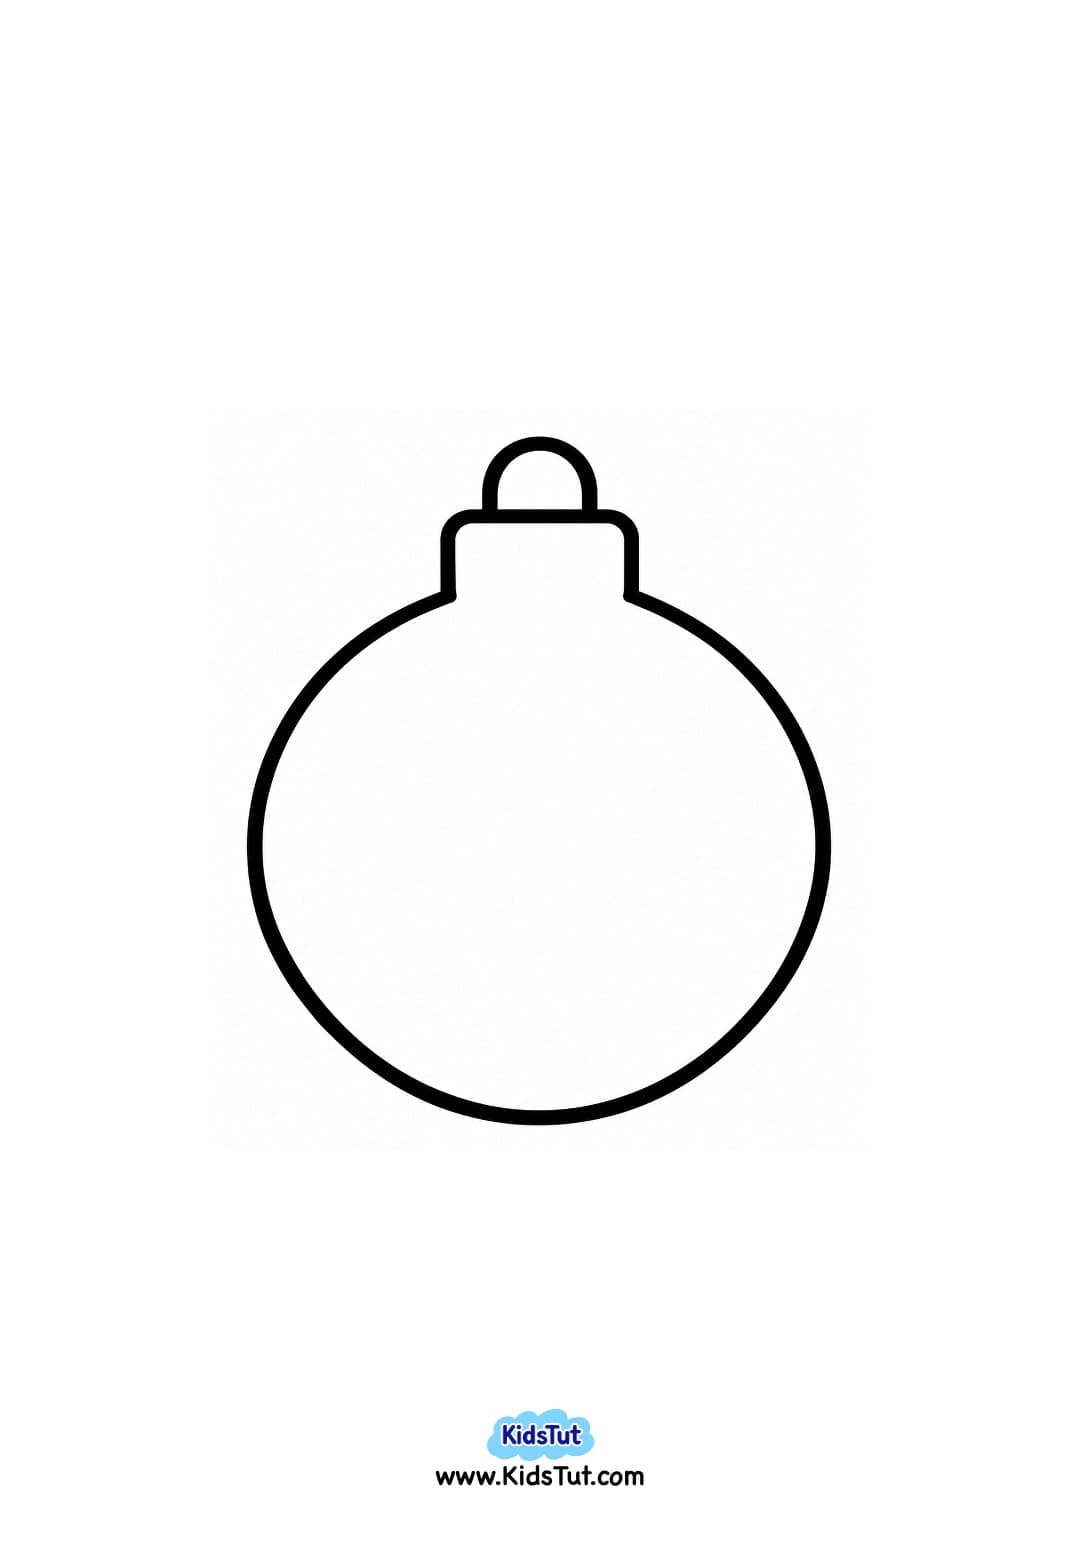
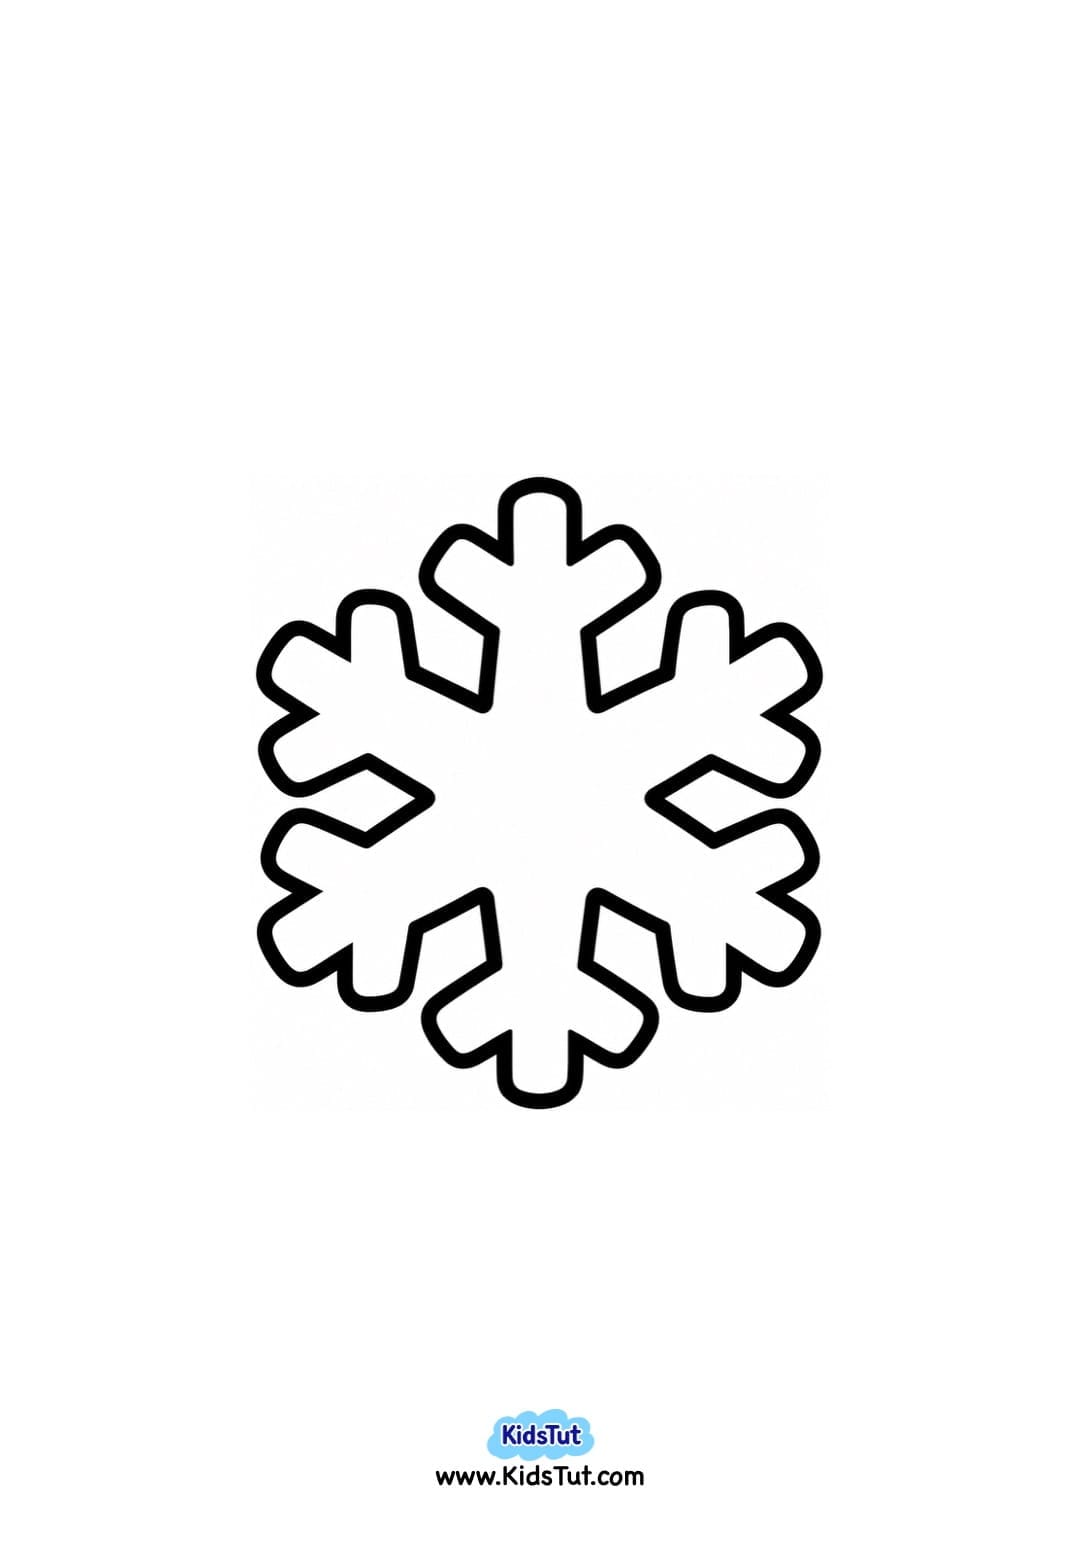
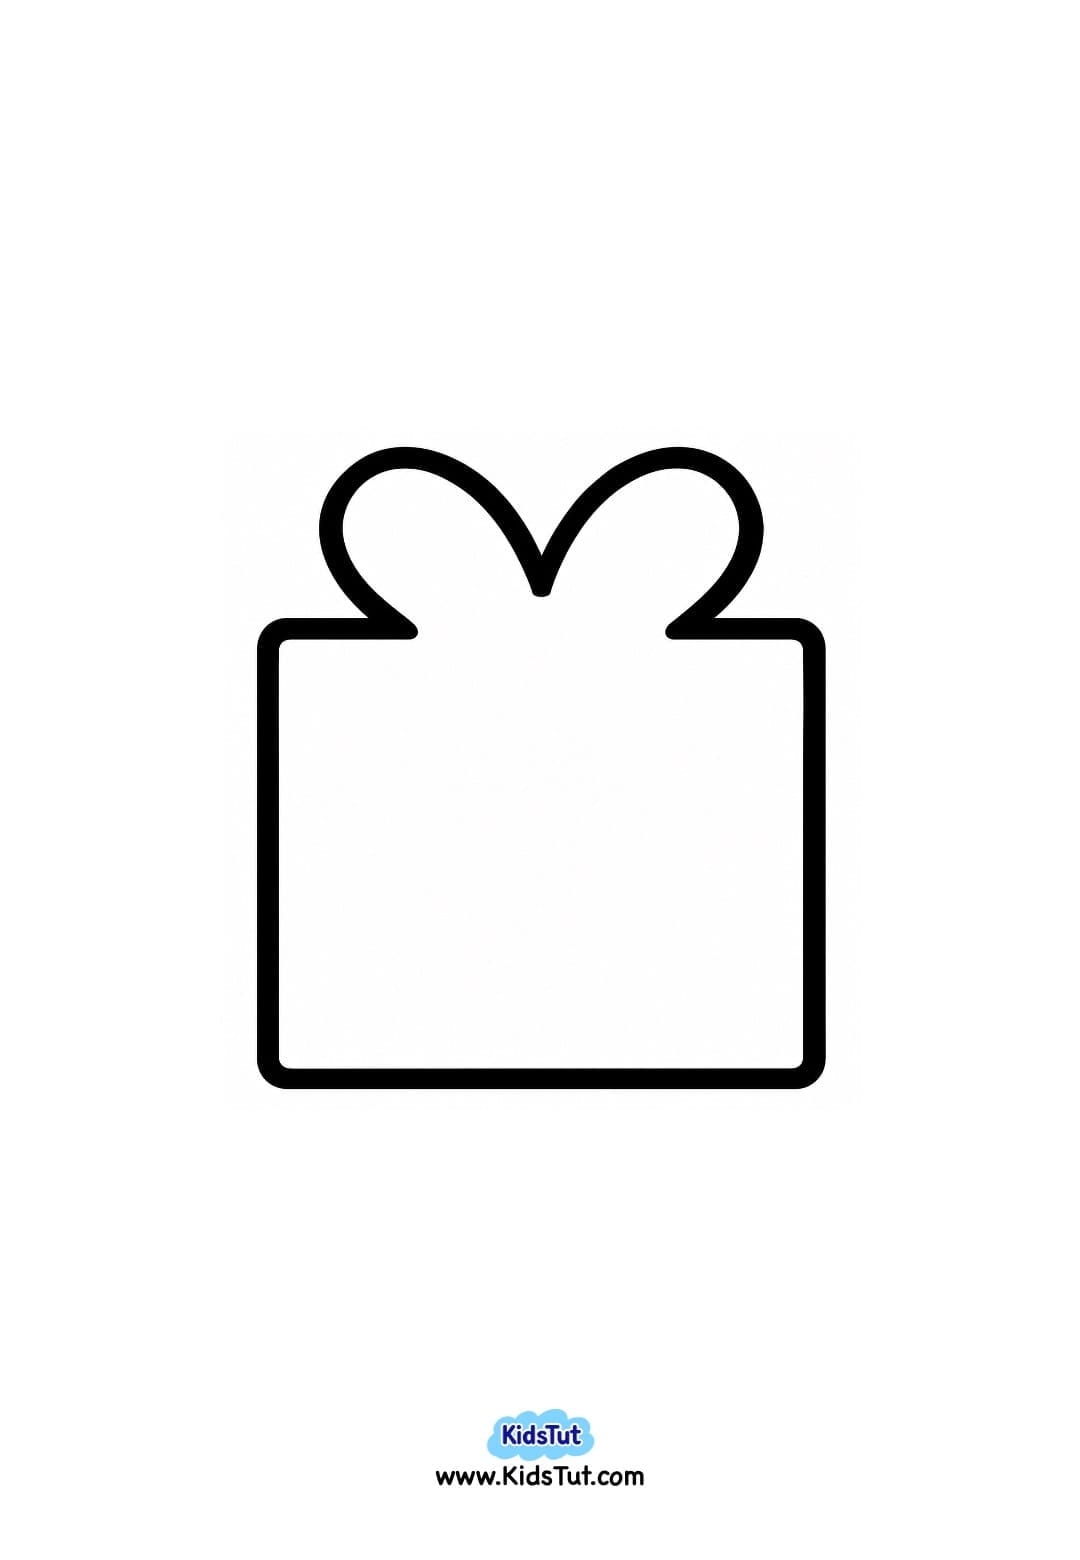
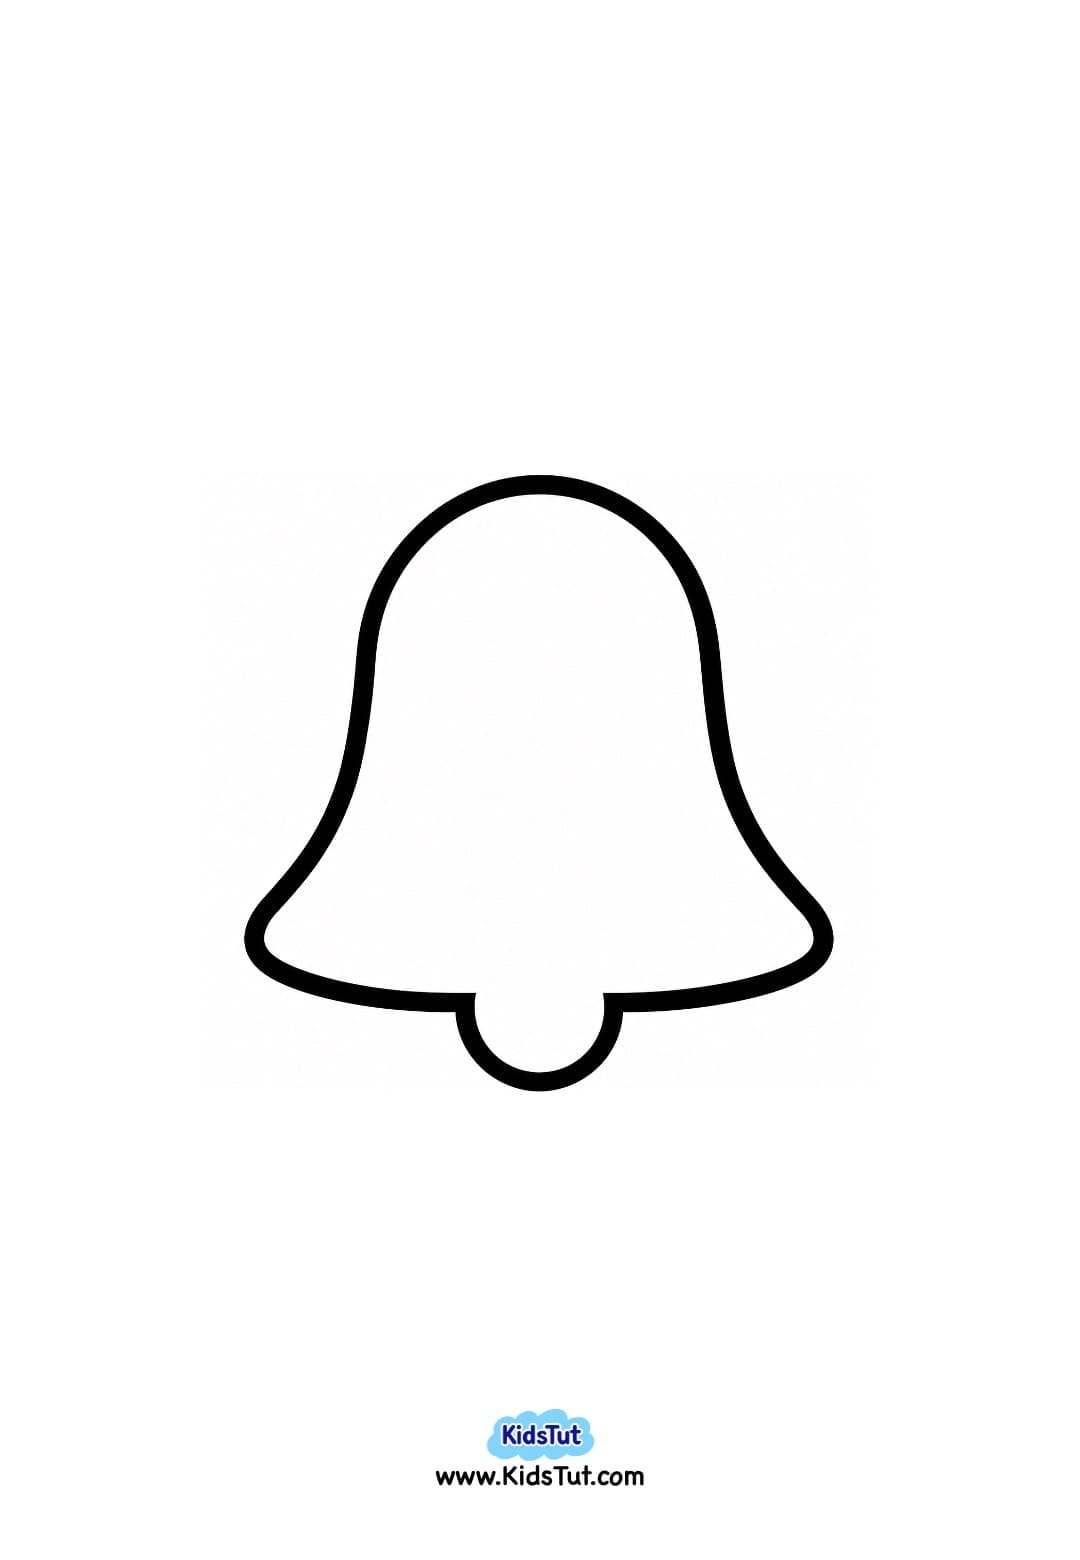
- Next, choose your favorite Christmas shape template from the provided printables.
- You can select a Christmas tree, Christmas bauble, angel, or another festive design.
- Print your selected Christmas shape on a white sheet of paper.
- Carefully cut around the outside outline to separate the shape from the printed sheet.
Step 3: Draw the Christmas Shape on the Board
- Take your prepared rectangular cardboard base and place it on your table.
- Position the Christmas shape cutout in the middle of the board.
- Make sure there is enough space around the shape to keep a strong cardboard border.
- Use a pencil to carefully trace around the outside outline of the Christmas shape.
- Then, remove the paper template.
- Now you will have the Christmas shape drawn in the center of your cardboard base.
Step 4: Cut Out the Christmas Shape
- Carefully cut along the pencil outline using a craft knife or paper cutter.
- Remove the middle Christmas shape from the board to create an empty opening.
- Important: This step should be completed by an adult because cutting the middle section of cardboard requires a sharp craft knife.
- Be careful not to damage the surrounding cardboard border.
- Now your Christmas shape frame is ready!
Step 5: Prepare the Colorful Paper Strips
- Take several sheets of colorful construction paper.
- Choose bright colors such as red, orange, yellow, green, blue, and purple.
- Use a ruler and pencil to mark paper strips of equal width.
- Carefully cut along the marked lines to make several colorful paper strips.
- You can use different colors or repeat your favorite colors to create a beautiful pattern.
Step 6: Paste the Paper Strips Behind the Shape
- Turn your cardboard frame over so the back side is facing up.
- Take your colorful paper strips and arrange them behind the Christmas-shaped opening.
- You can place the strips horizontally, diagonally, or in another pattern you like.
- Apply glue along the back of the cardboard around the opening and attach the paper strips one by one.
- Make sure the paper strips overlap slightly so there are no empty gaps between them.
- Continue adding colorful strips until the entire Christmas shape opening is covered.
- You can arrange the colors in any order to create your own beautiful Christmas design.
Step 7: Trim the Extra Paper Strips
- Once all the paper strips are attached, turn the craft over and check your design.
- Make sure the colorful strips completely fill the Christmas shape.
- Then, turn the craft back over.
- Carefully cut away any extra paper strip ends that extend beyond the outside edges of the cardboard base.
- Keep the edges neat and clean.
Step 8: Cover the Back of the Craft
- To make your Christmas craft stronger and give it a neat finish, you can cover the back.
- Cut another piece of cardboard, cardstock, or colored paper to match the size of your rectangular base.
- Apply glue around the back edges of the craft and attach the second piece over the paper strips.
- Gently press it into place.
- This will help hold the paper strips securely and cover the glued areas.
Step 9: Add White Snow Dots
- Now turn your craft over so the front side is facing up.
- Take a cotton swab (Q-tip) and dip one end into white paint.
- Gently press the cotton swab onto the cardboard background to make small white dots.
- Continue adding white dots around the Christmas shape to create a beautiful falling snow effect.
- Try to spread the dots evenly without covering the colorful paper strip design.
Step 10: Add Extra Christmas Decorations
- You can also add extra decorations to make your Christmas craft look more festive.
Here are a few simple ideas:
- Ribbon Bow: Make a small bow using colorful ribbon and glue it above the Christmas shape.
- Paper Star: Cut out a yellow star and paste it at the top of a Christmas tree.
- Angel Halo: Use a yellow paper halo cutout and attach it above the angel shape.
- Colorful Stickers: Add small Christmas stickers around the cardboard background.
- Simple Design: Leave the craft without extra decorations to show off the colorful paper strips.
Children can choose their favorite decorations and create different designs.
Step 11: Let It Dry and Display
- Once you finish decorating, keep your Christmas paper strip craft aside and let the glue and paint dry completely.
- Now your beautiful Christmas paper strip craft is ready!
- You can use it as a Christmas card, invitation card, classroom decoration, or handmade holiday gift.
Christmas Paper Strip Craft Templates:
Rectangular base template
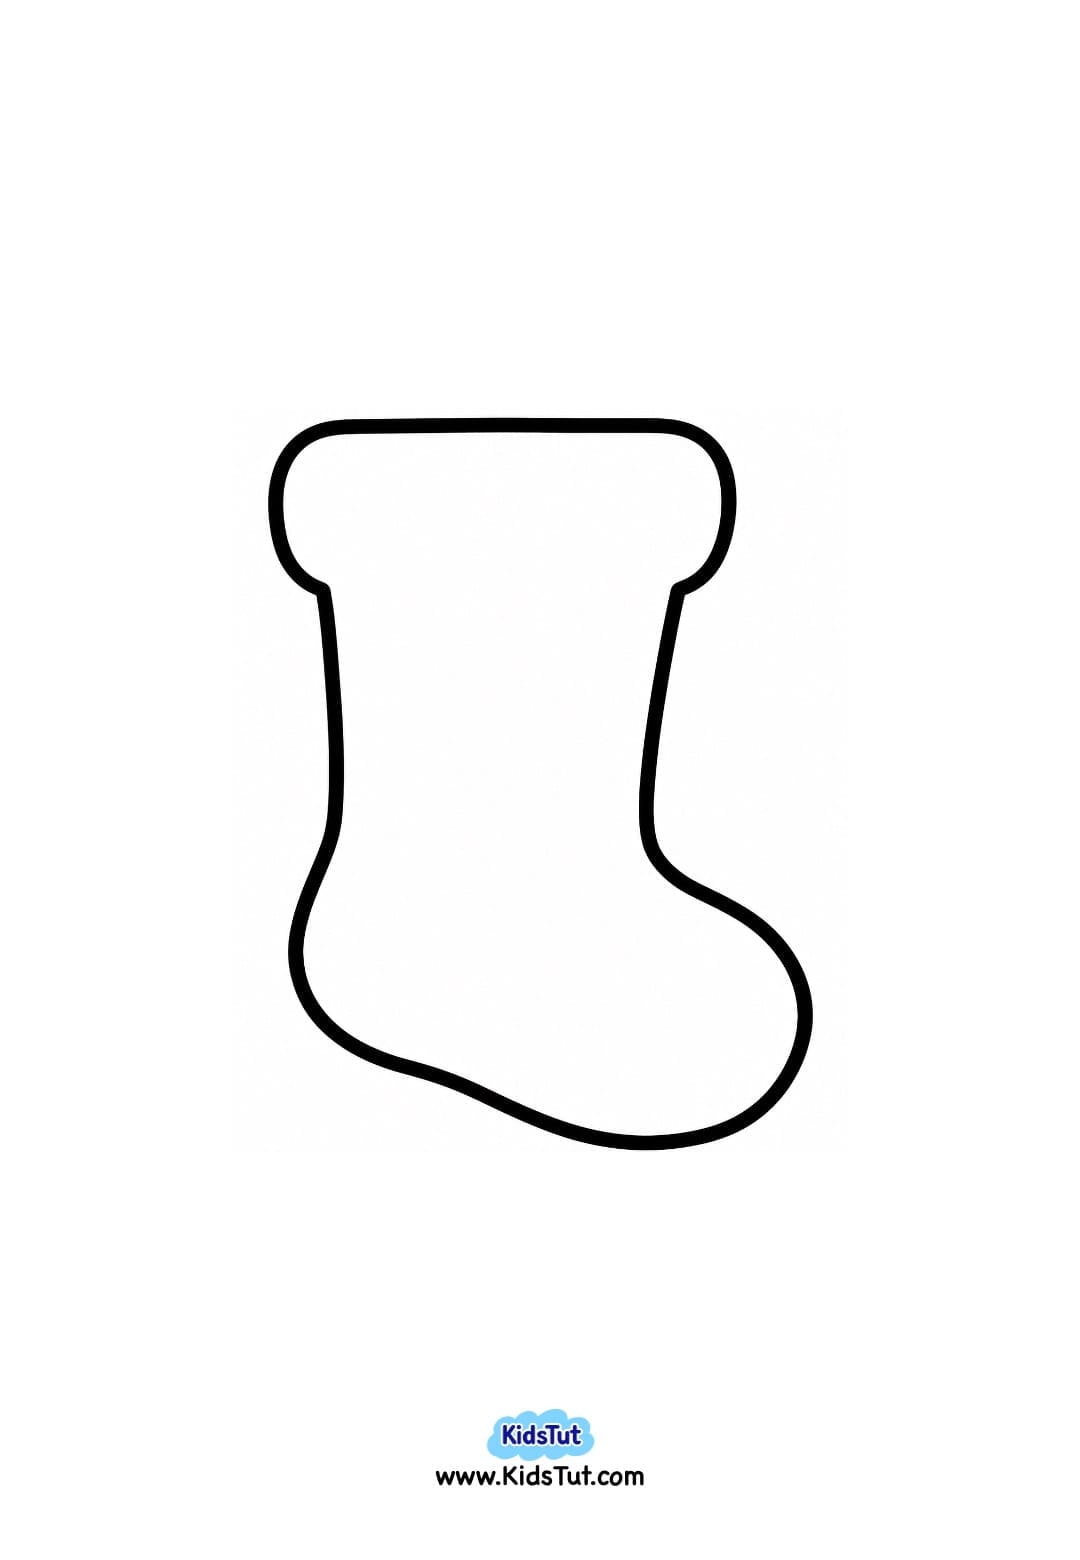
Christmas shape templates:

Benefits of Christmas Paper Strip Crafts for Kids
These easy Christmas paper crafts are not only fun but also help children develop important early learning skills.
- Develops cutting skills – Children practice cutting straight paper strips and preparing simple paper shapes.
- Improves fine motor skills – Arranging, gluing, and pressing paper strips help strengthen little hands and fingers.
- Builds hand-eye coordination – Kids carefully place the paper strips behind the Christmas-shaped openings.
- Encourages creativity – Children can choose different colors, patterns, and decorations for their crafts.
- Teaches color recognition – Using colorful construction paper helps children identify and match different colors.
- Introduces shapes – Kids explore Christmas trees, circles, angels, and other simple shapes.
- Develops pattern-making skills – Arranging paper strips in different color orders helps children learn about patterns.
- Improves planning skills – Children learn how to arrange paper strips and cover the empty spaces without leaving gaps.
- Introduces Christmas themes – Kids become familiar with Christmas trees, baubles, angels, and other holiday decorations.
- Encourages teamwork – Children can share paper strips, glue, and decorations while making crafts together.
- Builds confidence – Kids feel proud when they finish and display their colorful handmade Christmas crafts.
Fun Ways to Use Your Christmas Paper Strip Crafts
Once your crafts are completely dry, you can use them in different ways.
- Christmas Cards: Use the finished paper strip designs as the front of handmade Christmas greeting cards.
- Christmas Invitation Cards: Add invitation details to the back or inside of a folded card.
- Classroom Decorations: Display the finished crafts on classroom walls, doors, or bulletin boards.
- Christmas Art Display: Arrange several different Christmas paper strip crafts together to create a colorful holiday display.
- Handmade Christmas Gifts: Give the finished crafts to family members or friends as special handmade Christmas gifts.

Click here to get the FREE PDF template: Download (Printable)