Looking for fun holiday activities for kids? These easy Christmas crafts are a great way to keep little hands busy while spreading festive cheer. With bright templates, cute designs, and simple step‑by‑step instructions, children can make their own decorations—like Christmas trees, stars, and snowflakes. Perfect for home or classroom, these crafts bring joy, creativity, and a touch of holiday magic to every project.
What You’ll Need:
- Printed templates
- Crayons or markers
- Scissors
- Glue
How to make:
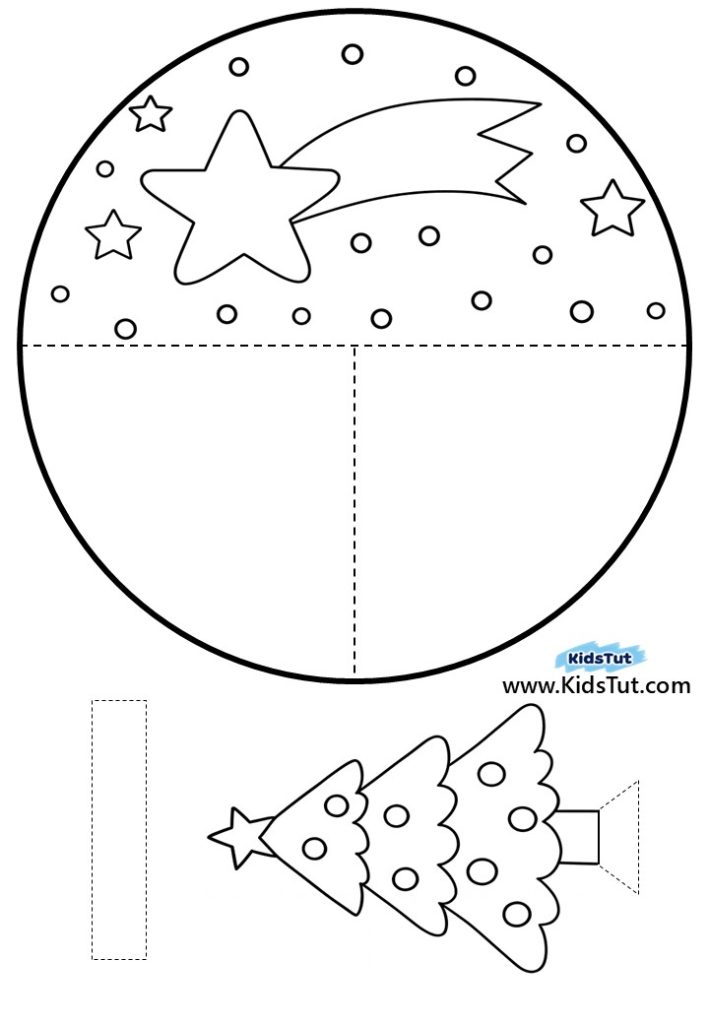
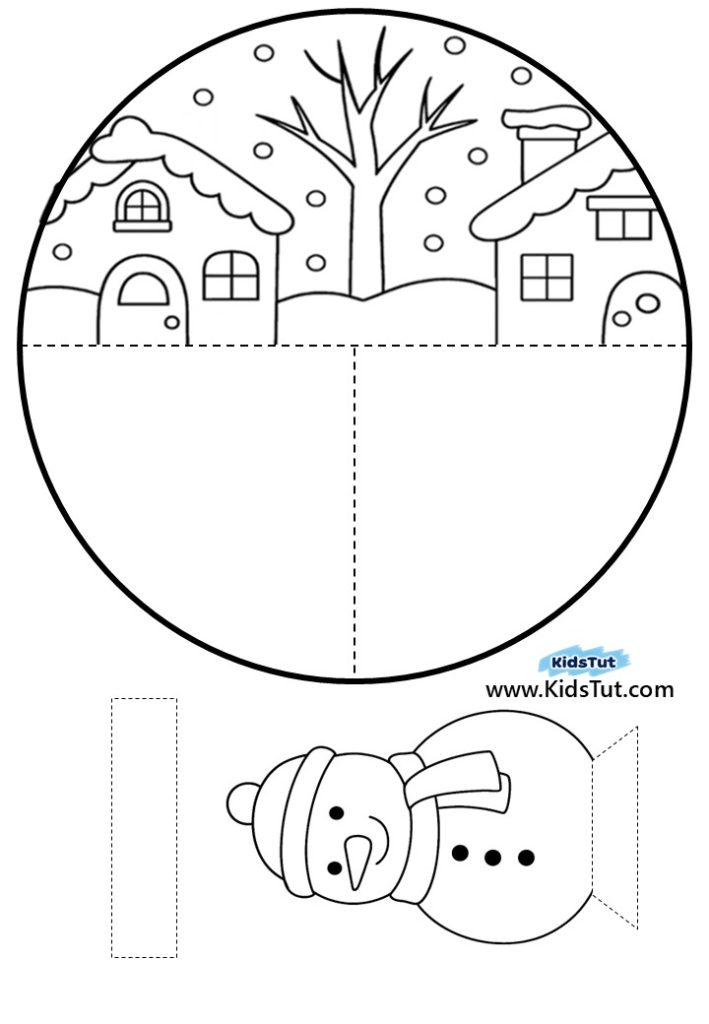
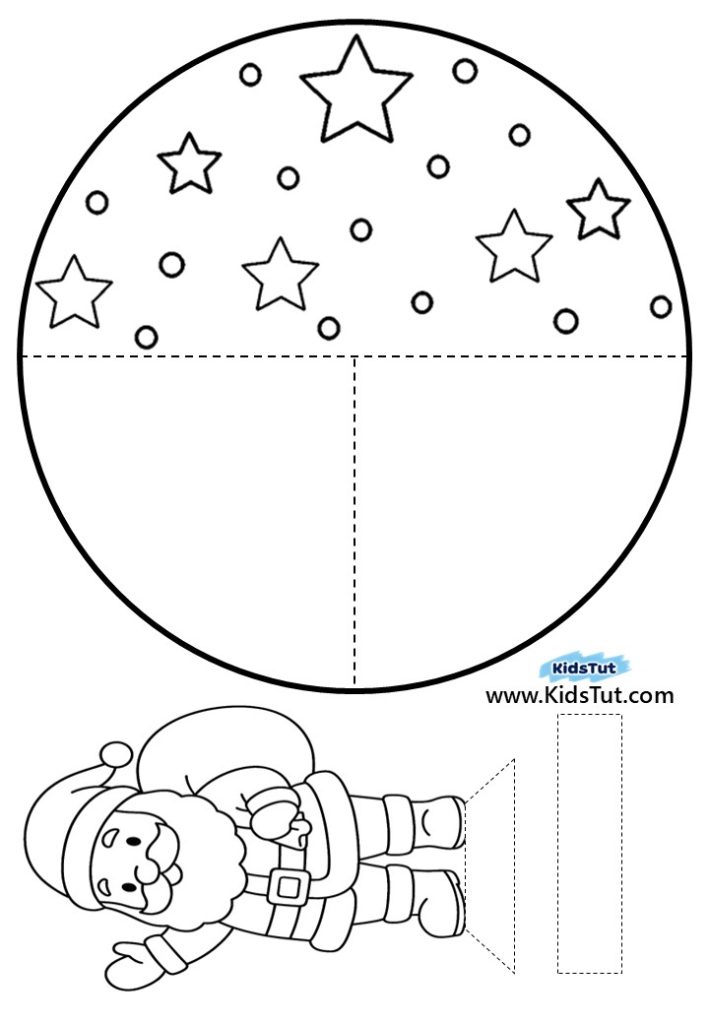
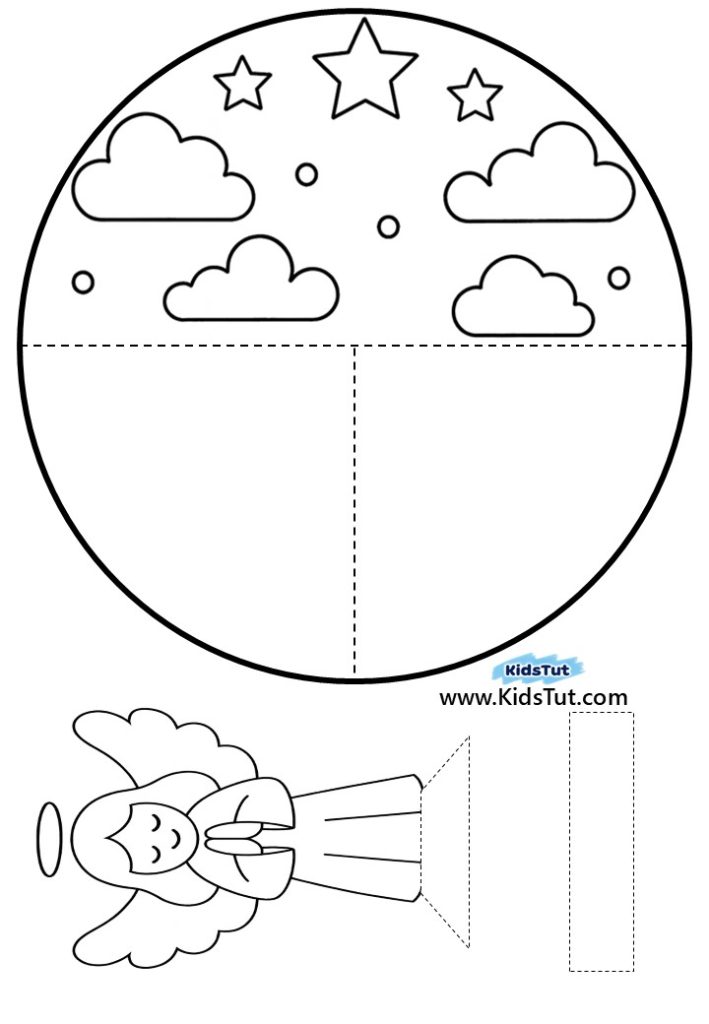
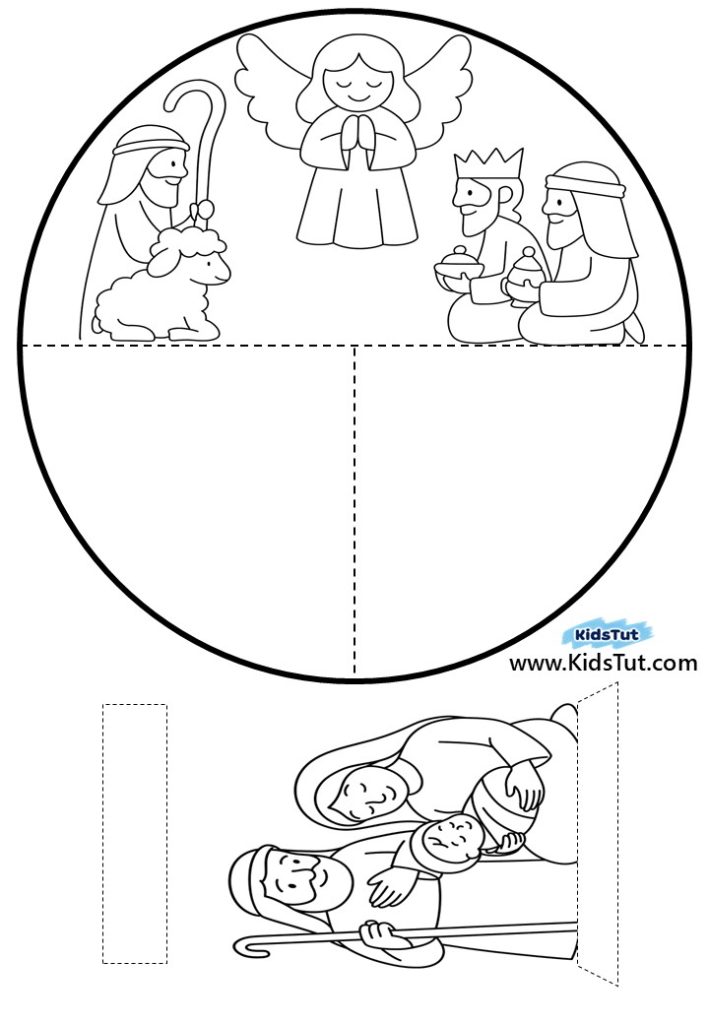
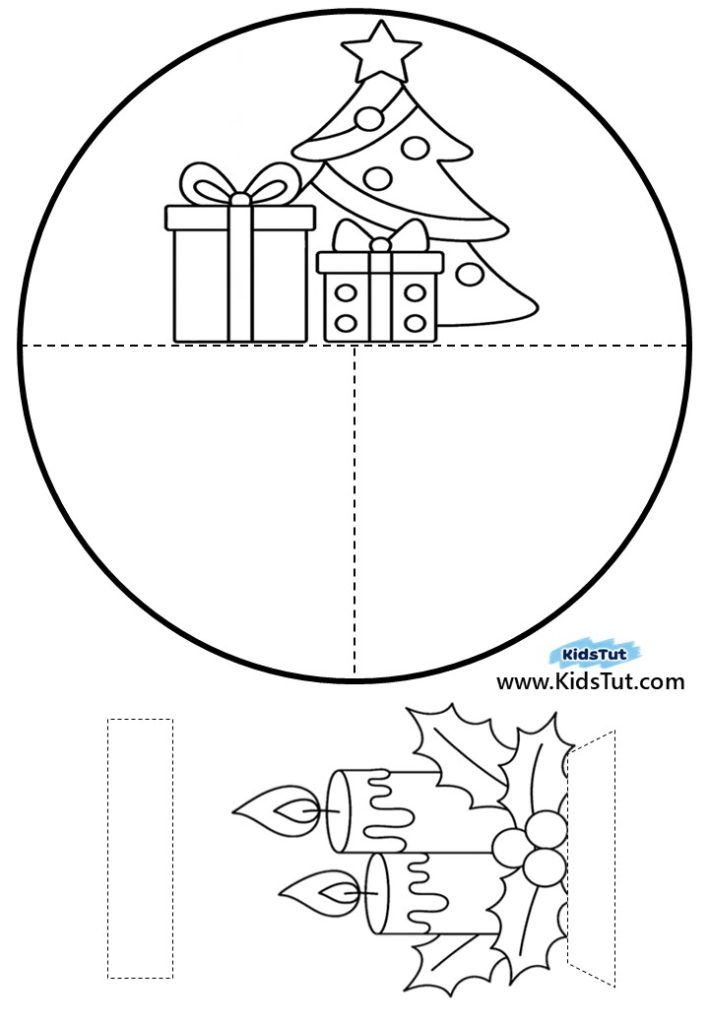
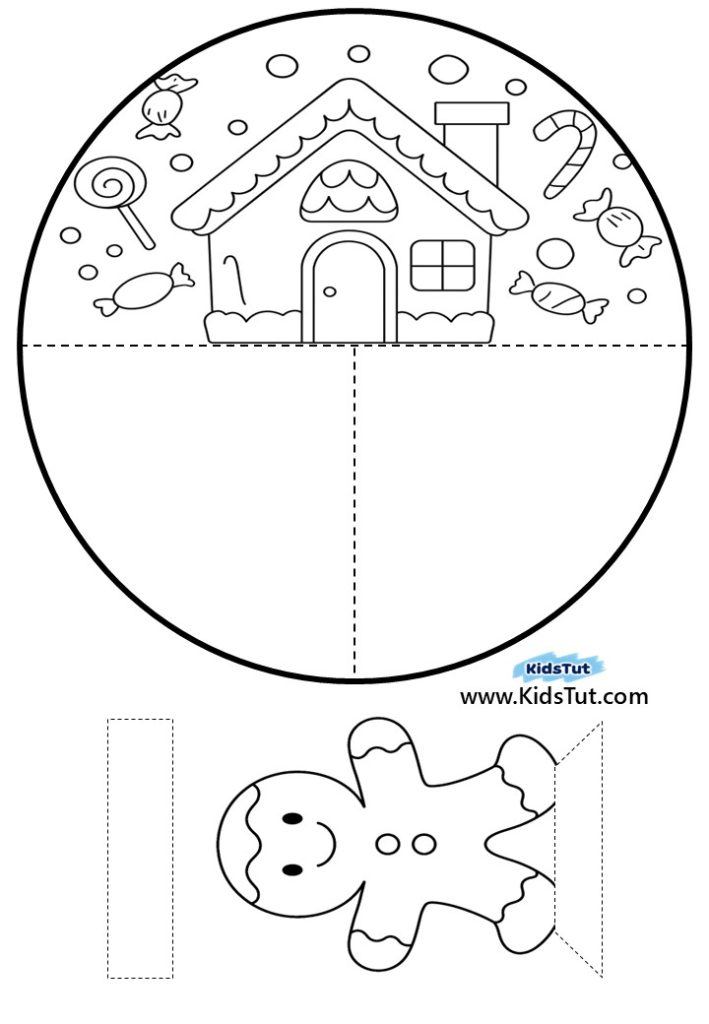
Step 1: Choose your favorite Christmas scene and print it out on a white sheet of paper.
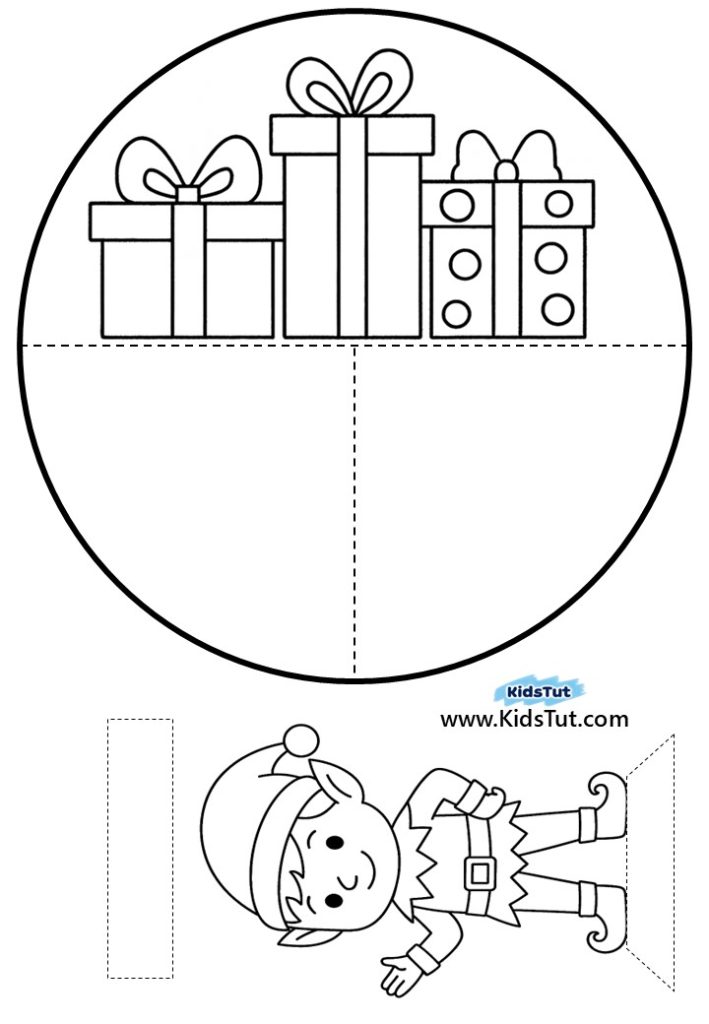
Step 2: Now it’s time to color! Use crayons or markers to decorate your template. You only need to color the background on one half of the circle, plus the Christmas image (like the Christmas tree, snowman, Santa) on the other part of the template.
Step 3: Now cut out each of your template images separately.
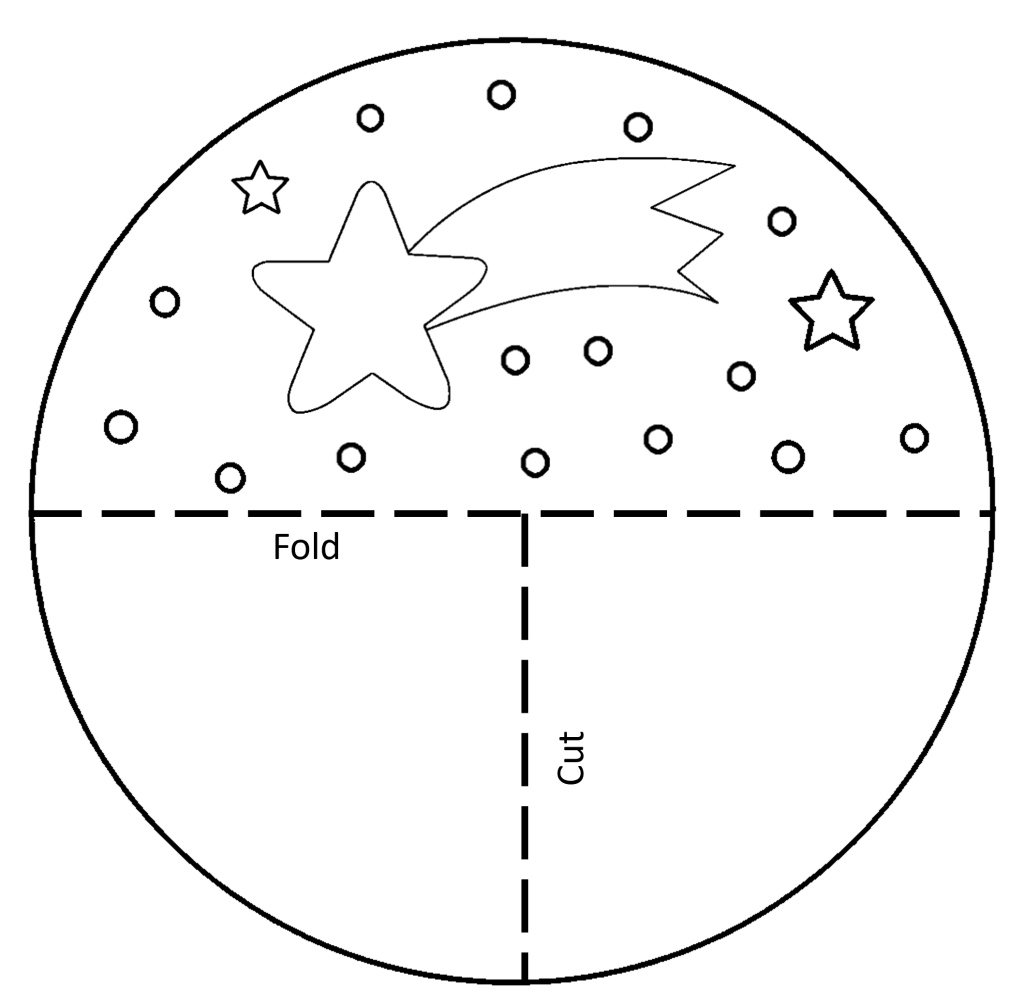
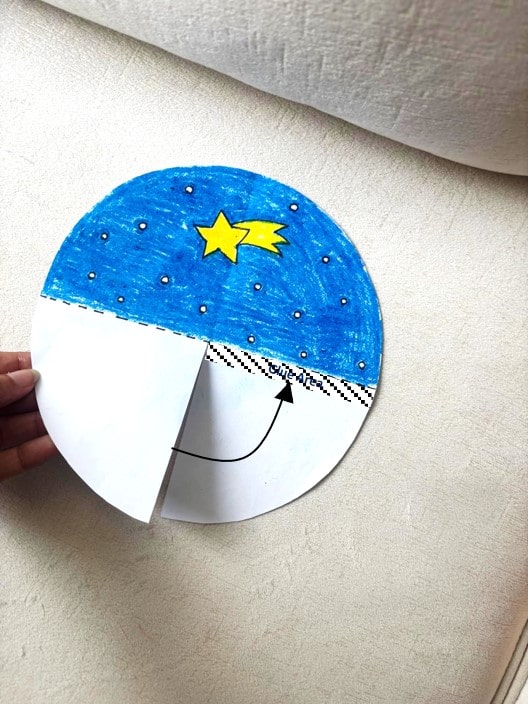
Step 4: Take the circle image and look closely—you’ll see two dashed lines. One is the folding line, and the other is the cutting line. Carefully cut along the cutting line only.
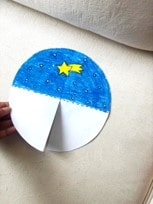
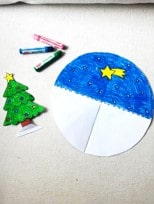
Step 5: Now it’s time to attach the two half circles. Look at the image—you’ll see a marked glue area. Apply glue there. Then, follow the arrow shown in the picture: gently place the cut-out section so it lines up with the cutting line and sticks to the glue area.
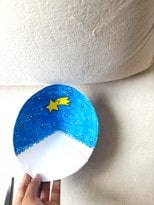
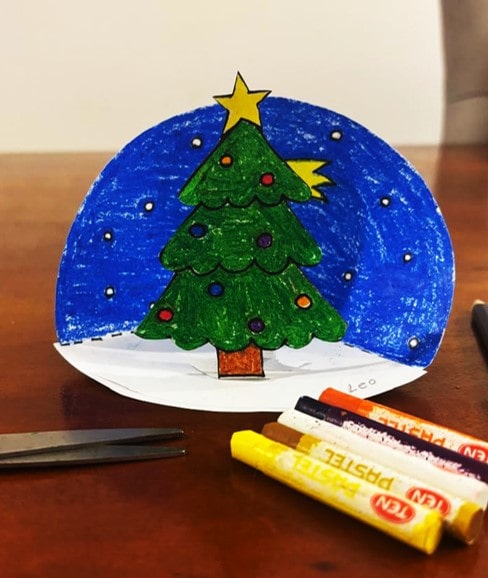
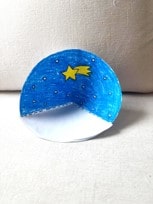
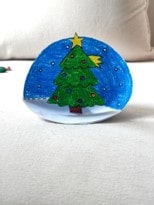
Step 6: After that, your paper craft should look like the one shown below. It’s now ready to stand up and show off your festive scene!
Step 7: Now take another colored Christmas image and apply glue to the marked glue area. Carefully place it in the center of your paper craft and press gently to stick it down.
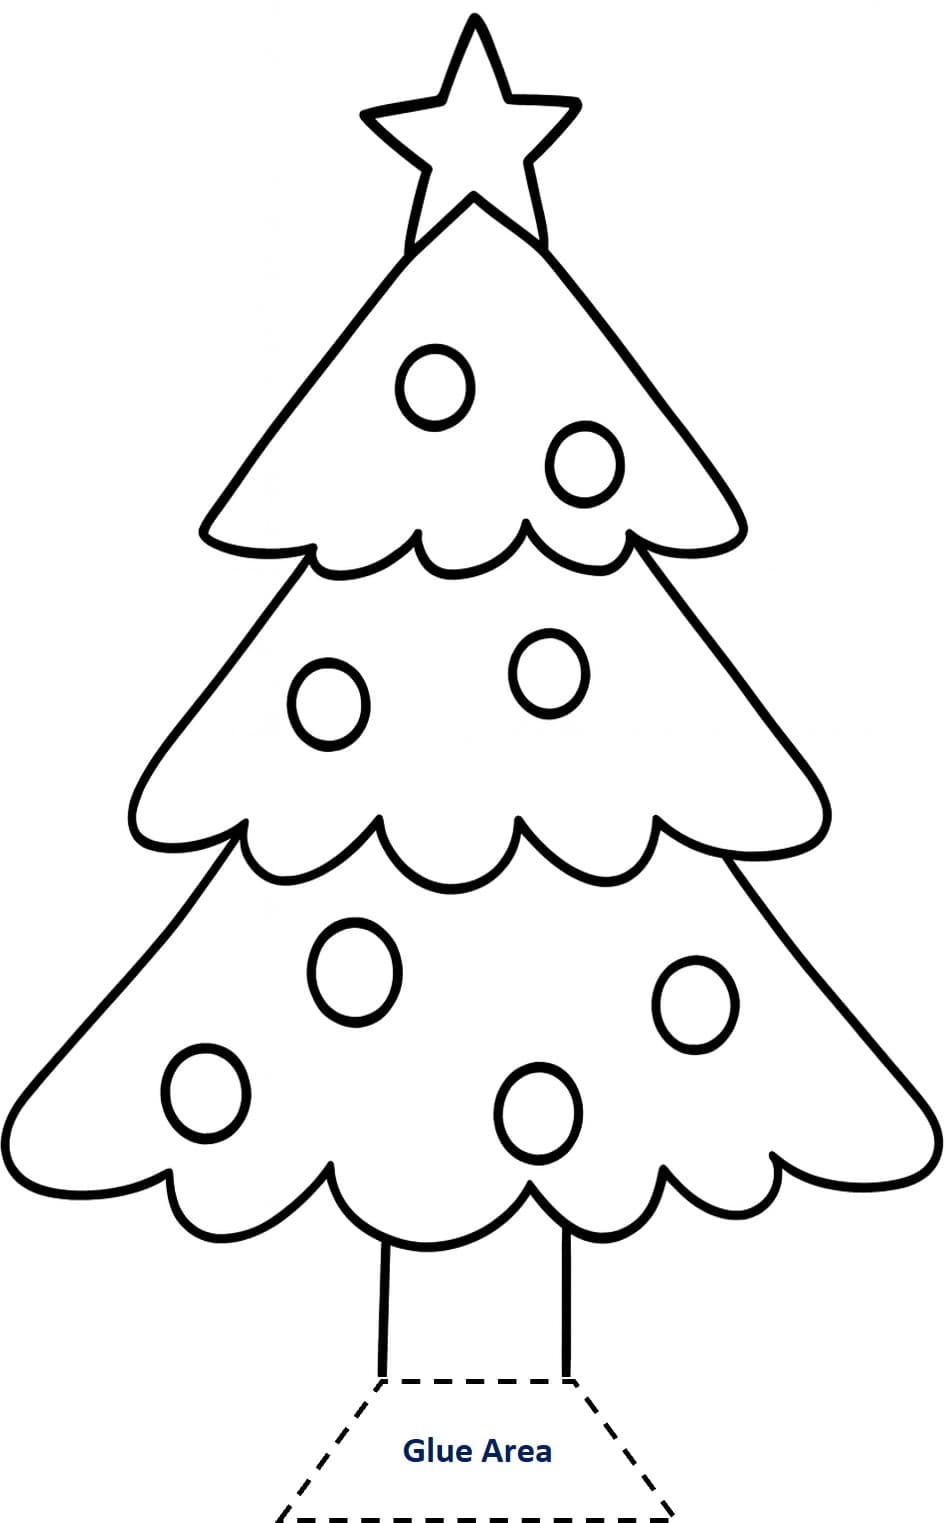
Step 8: If your pasted image needs help standing upright, use the paper strip provided. Just apply glue and stick it behind the image to support it like a stand.

Step 9: Now your craft is ready to show off! Display it proudly at home or in the classroom—it’s full of holiday cheer and creativity.
Templates:

**** Click here to get the free PDF template: Download