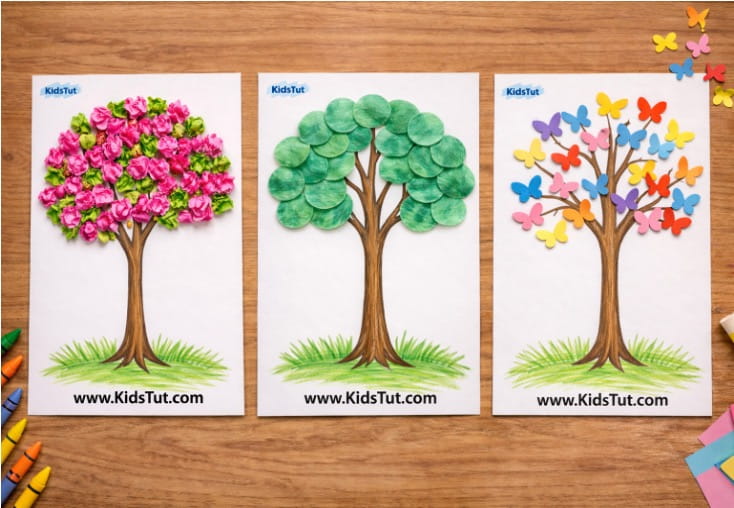
Tree crafts are a fun and easy way for kids to play, learn, and get creative! With just a few simple supplies like paper, crayons, glue, and colors, children can make their own beautiful trees in many different styles. flower trees, leaf trees, fruit trees, or even fingerprint trees. These activities help kids enjoy art while learning about nature, colors, and shapes. Best of all, every tree turns out unique and adorable, ready to display proudly at home or in the classroom.
Tree Templates:
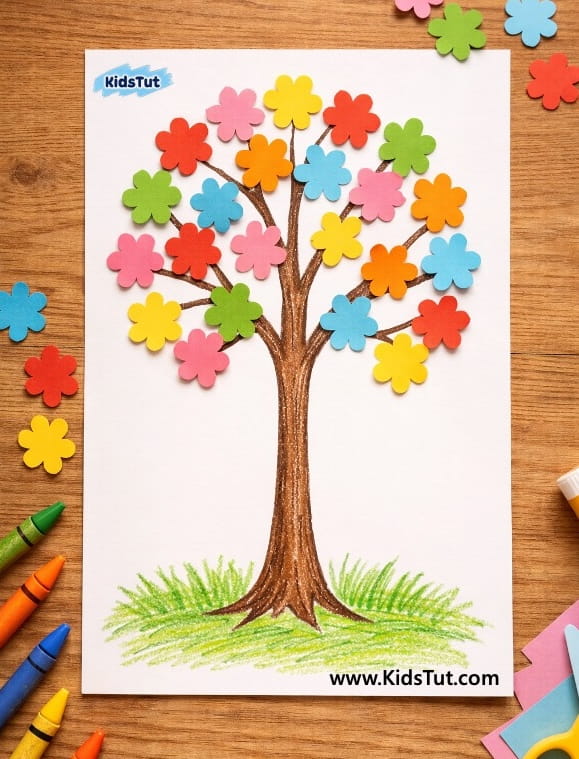
Colorful Flower Tree Craft for Kids
What You Need:
- Colored papers
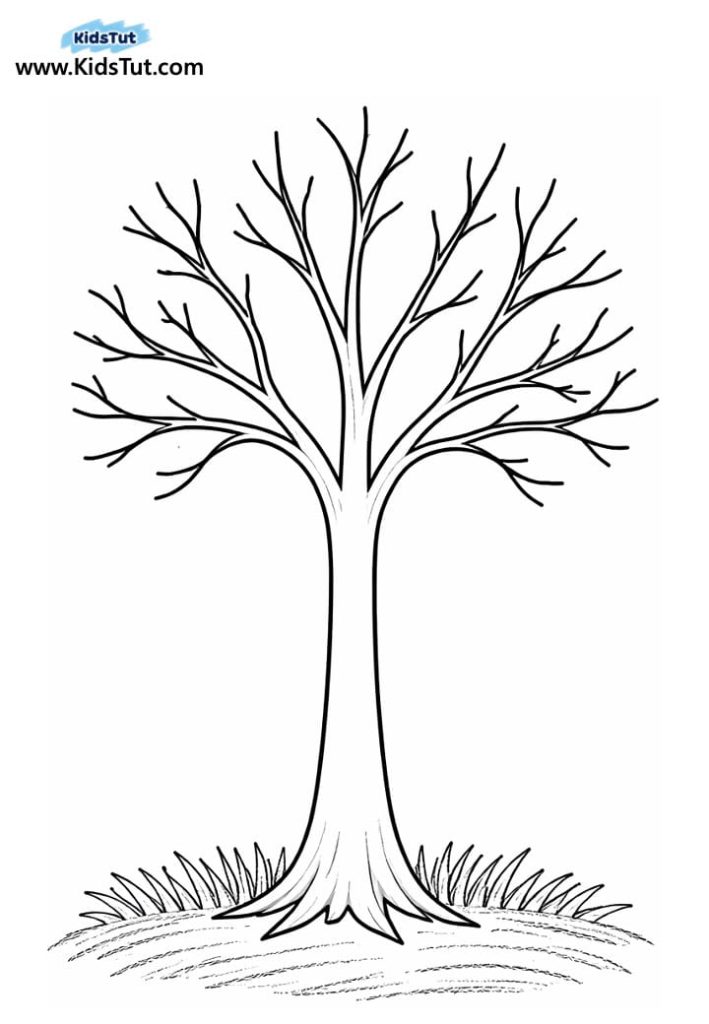
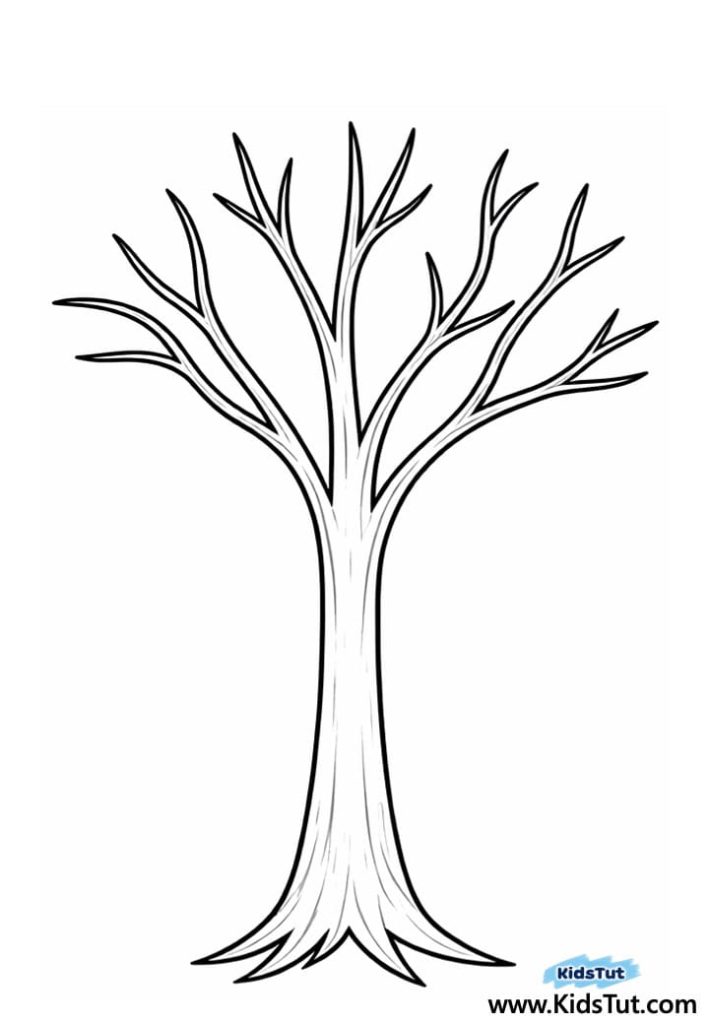
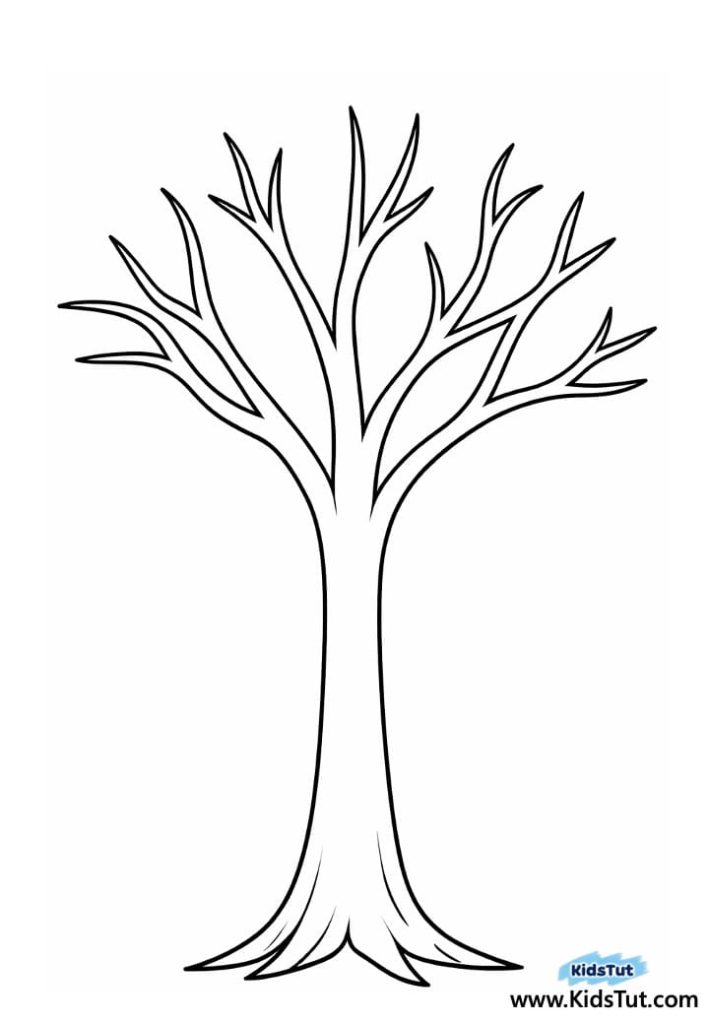
- Tree trunk template
- Crayons or markers
- Glue stick
- Scissors
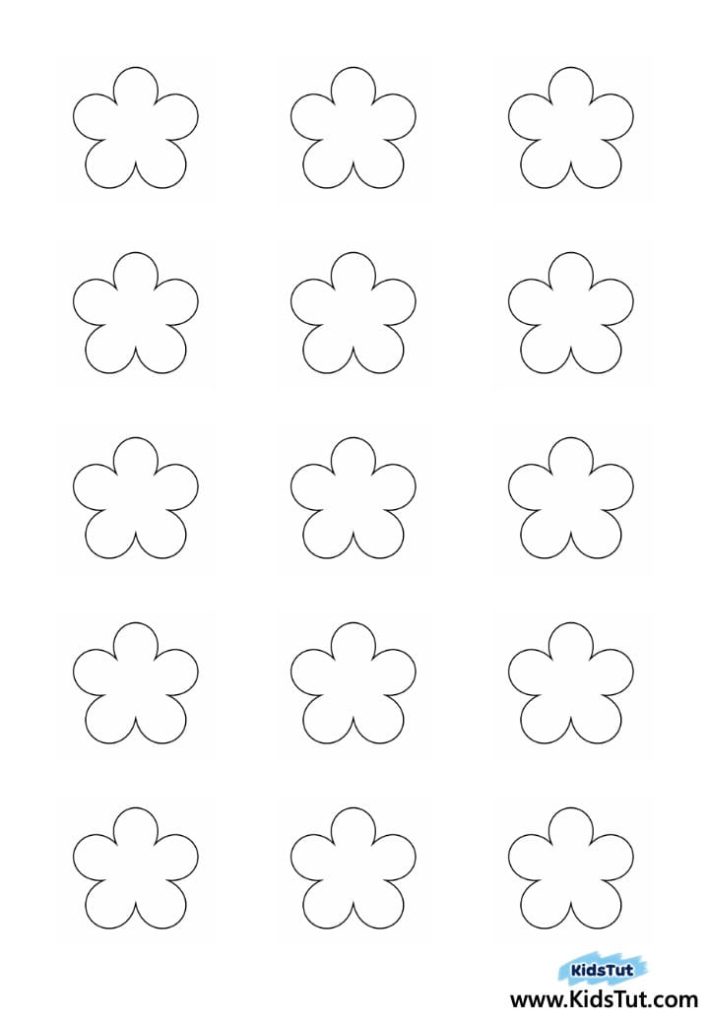
Templates:
How to Make:
- Print the tree trunk on a white sheet. Color it brown and draw some grass under the trunk using crayons.
- Cut out flowers from the colored papers. If you like, you can use the given flower templates to make it easier.
- Paste the flowers onto the tree branches with glue to decorate your tree.
- Display your craft
Colorful Butterfly Tree Craft for Kids

What You Need
- Colored papers
- Tree trunk template
- Crayons or markers
- Glue stick
- Scissors
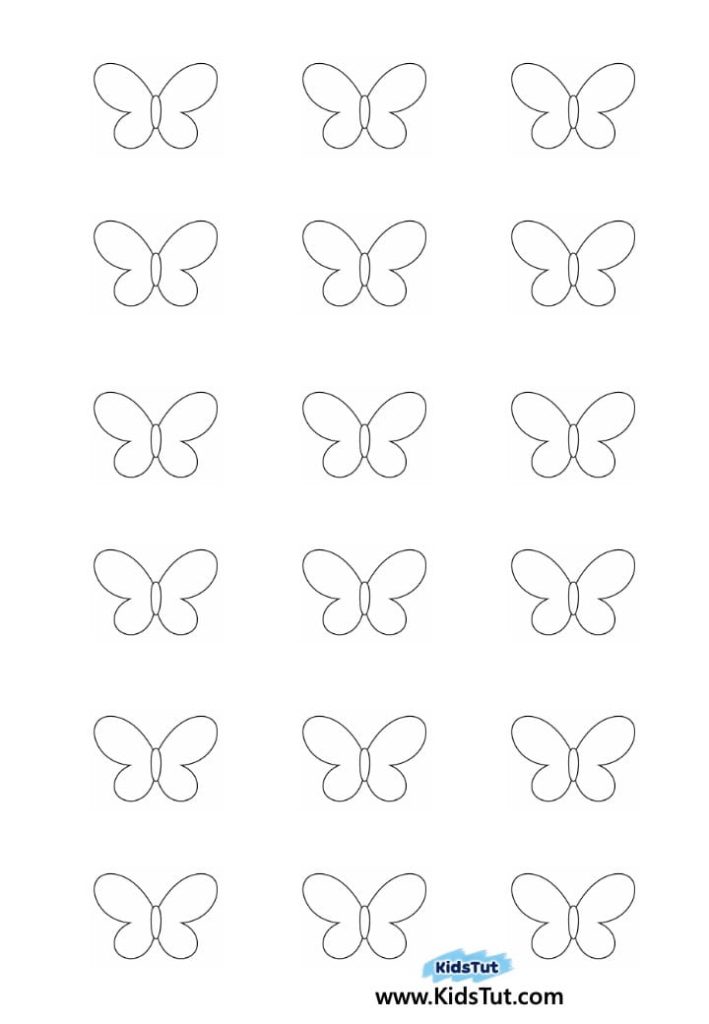
Templates:
How to Make:
- Print the tree trunk: on a white sheet. Color it brown and draw some grass under the trunk using crayons.
- Cut out butterflies: from the colored papers. If you like, you can use the given butterfly templates to make it easier.
- Paste the butterflies: onto the tree branches with glue to decorate your tree.
- Display your craft
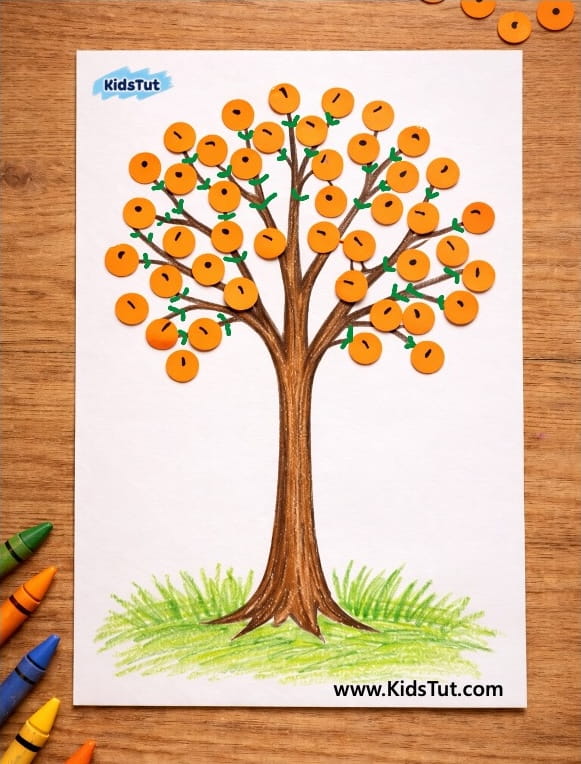
Colorful Flower Tree Craft for Kids DIY Fun
What You Need
- Orange colored papers
- Tree trunk template
- Crayons or markers
- Glue stick
- Scissors
Templates:

How to Make
- Print the tree trunk on a white sheet. Color it brown and draw some grass under the trunk using crayons.
- Cut out circles from the orange colored paper. You can also use the given circle templates if needed.
- Paste the circles onto the tree branches with glue to decorate your tree.
- Add details – Use a black marker to put a small dot on the top of each circle.
- Draw leaves – With a green marker, add leaves around the branches.
- Display your craft – Your bright orange tree is ready to show off!
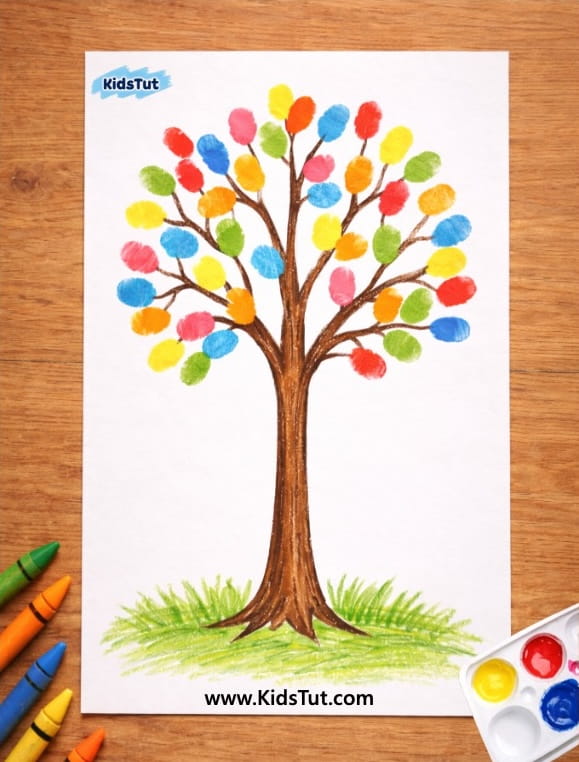
Fingerprint Tree Craft for Kids
What You Need
- Colored papers
- Tree trunk template
- Crayons or markers
- Colorful liquid paints
- Paper plate or wide plate
- Glue stick (optional, if using cutouts)
How to Make
- Print the tree trunk on a white sheet. Color it brown and draw some grass under the trunk using crayons.
- Prepare the paints – Pour different colors onto a paper plate or wide plate for easy dipping.
- Make fingerprints – Ask kids to dip their thumbs into the paint and press them onto the tree branches.
- Keep adding colors – Use different paints to make a multicolored fingerprint tree.
- Display your craft – Once dry, your fingerprint tree is ready to show off!
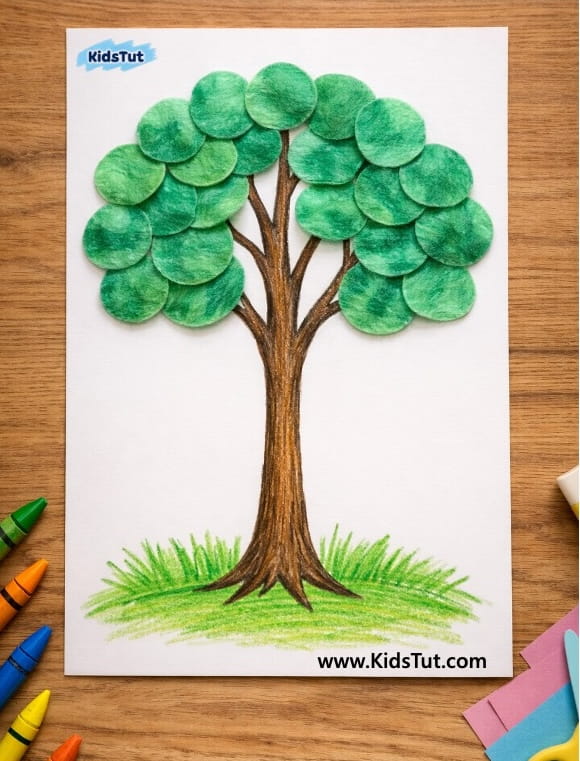
Green Colored Cotton Pad Tree Craft
What You Need
- Colored papers
- Tree trunk template
- Crayons or markers
- Green liquid paint
- Cotton pads
- Glue
How to Make
- Print the tree trunk on a white sheet. Color it brown and draw some grass under the trunk using crayons.
- Prepare the cotton pads – Dip them into green paint to color them.
- Let them dry – Set the painted cotton pads aside until they are completely dry.
- Paste the cotton pads – Glue the dried pads onto the tree branches to form the leafy canopy.
- Display your craft – Your green cotton pad tree is ready.
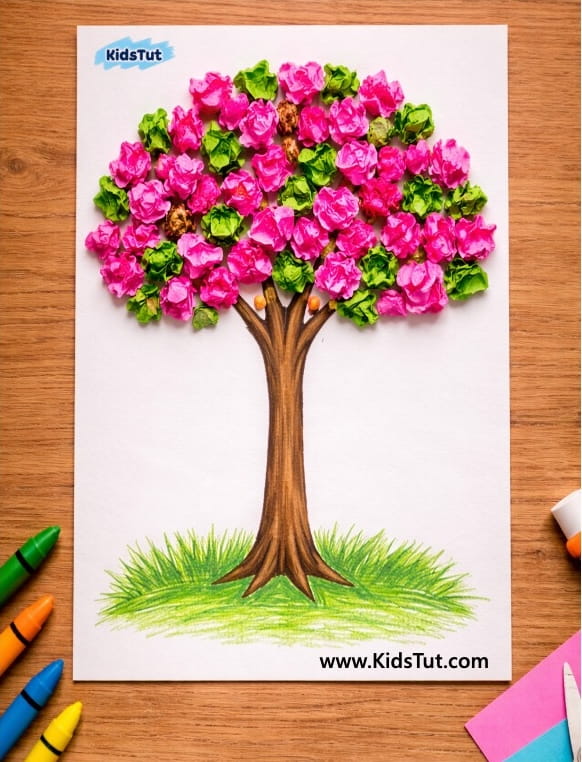
Tissue Paper Flower Tree Craft for Kids
What You Need
- Pink, red, purple, or any flower‑colored tissue papers
- Green tissue papers
- Tree trunk template
- Crayons or markers
- Glue
- Scissors
How to Make
- Print the tree trunk on a white sheet. Color it brown and draw some grass under the trunk using crayons.
- Prepare the tissue paper – Tear the tissue paper into small pieces.
- Crumple the pieces – Roll each piece into little balls to make flowers and leaves.
- Apply glue – Spread glue over the tree canopy area.
- Paste the tissue pieces – Stick the crumpled tissue balls onto the canopy to decorate your tree with colorful flowers and leaves.
- Display your craft – Your tissue paper flower tree is ready.

Click here to get the FREE PDF template: Download ( Printable )