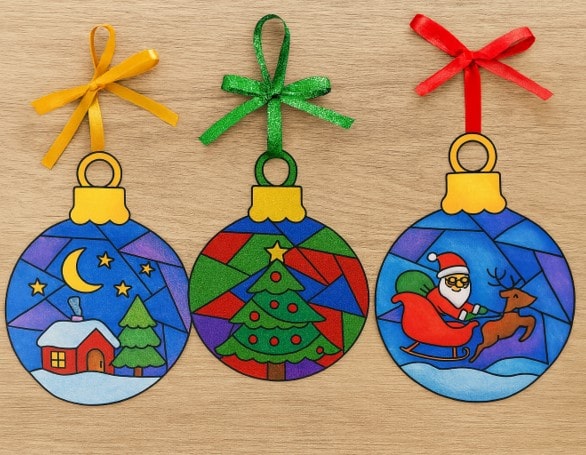
Looking for a festive craft that’s fun, simple, and bursting with color? These DIY Christmas ornaments are perfect for kids of all ages! Whether you’re decorating the classroom, prepping for a holiday party, or just enjoying a cozy afternoon at home, this activity brings creativity and cheer to the season. With crayons, markers, glitter, and paper pieces, kids can design their own ornaments that sparkle with personality.
What You’ll Need
- Printed ornament templates (or blank circles on cardstock)
- Crayons (bright and bold colors work best)
- Washable markers
- Child-safe glue
- Glitter (fine or chunky)
- Small paper pieces (cut from colored paper or magazines)
- Safety scissors
- Ribbon or yarn for hanging
- Optional: laminator or clear tape for durability
How to Make Them
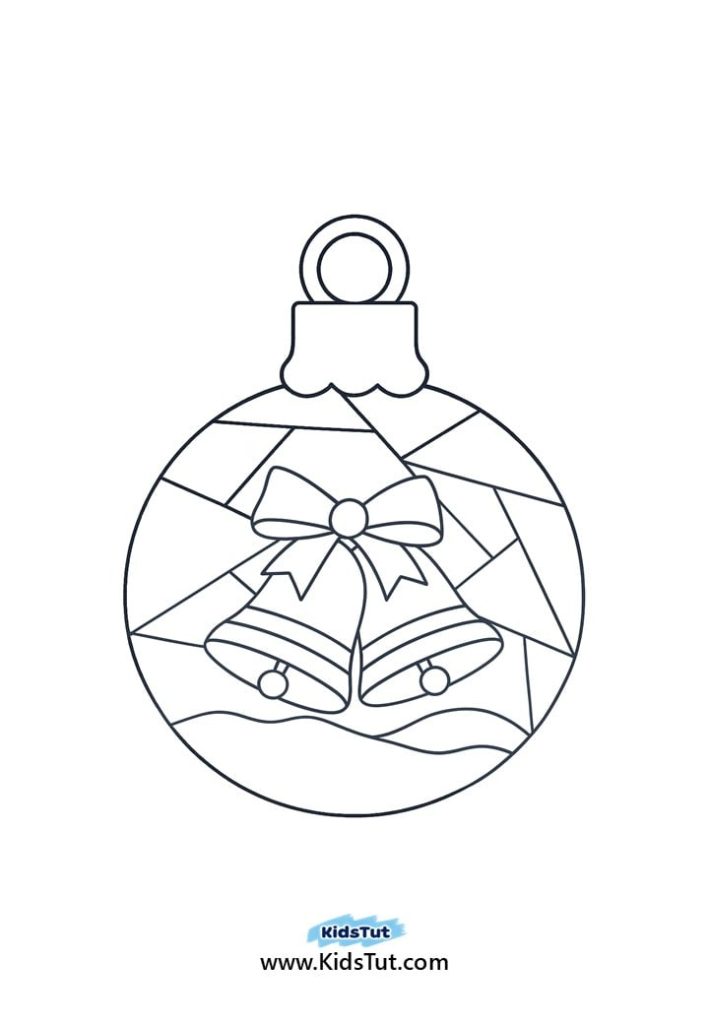
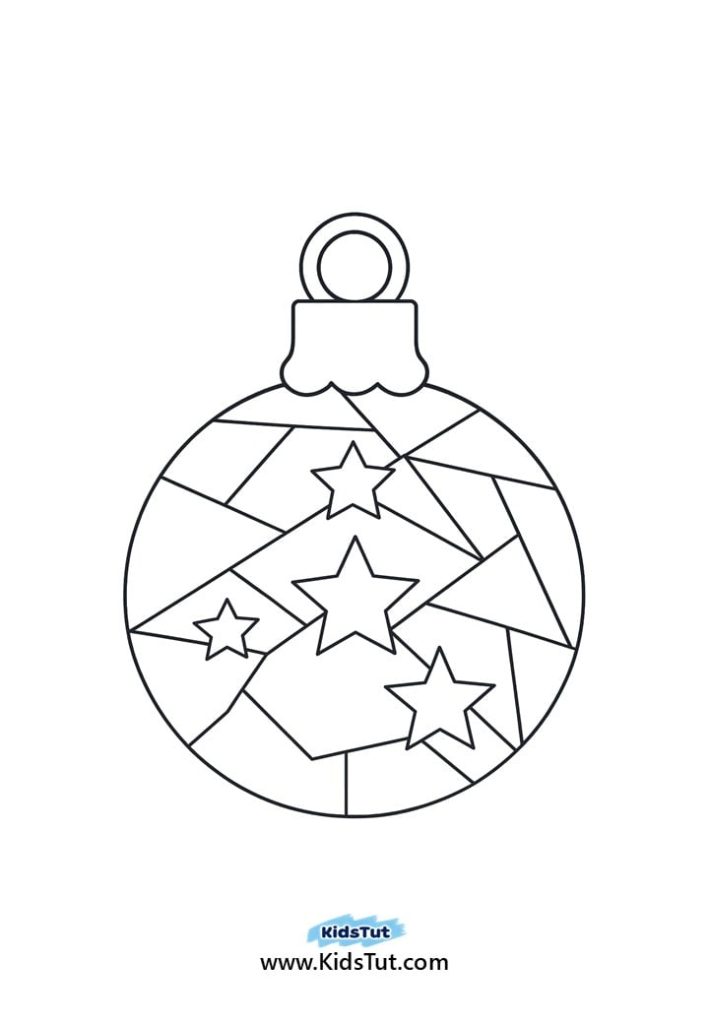
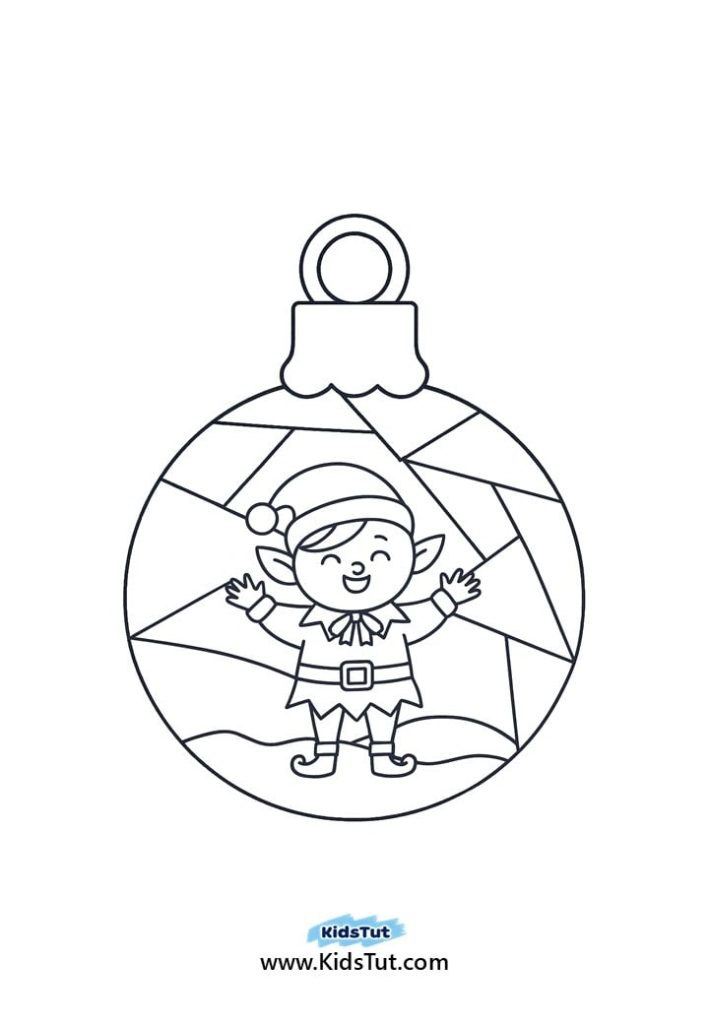
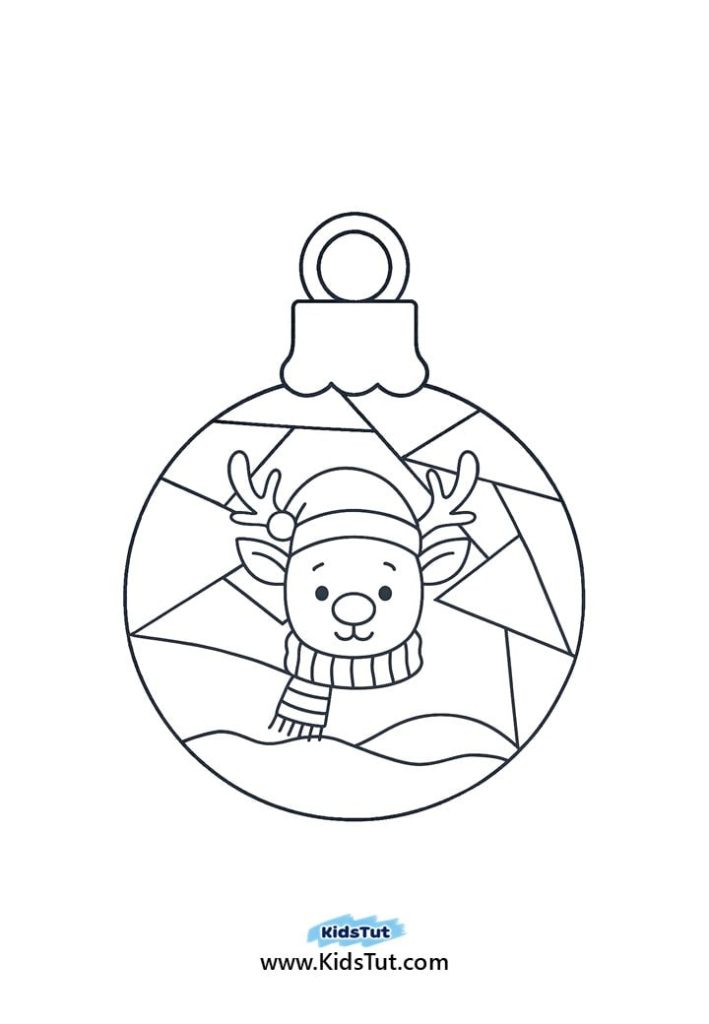
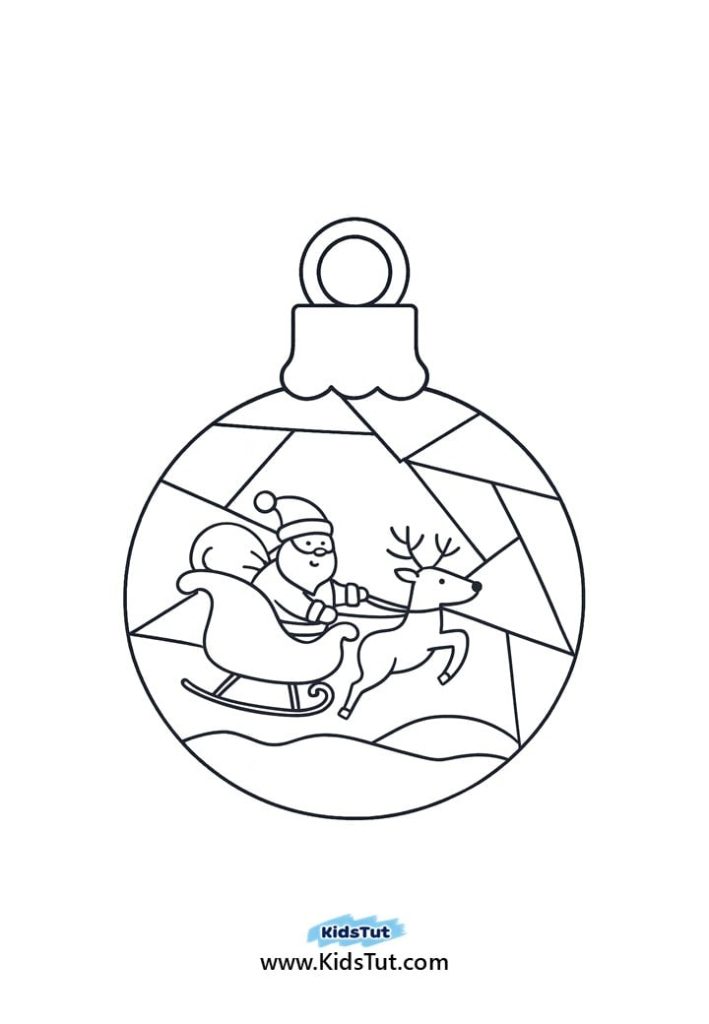
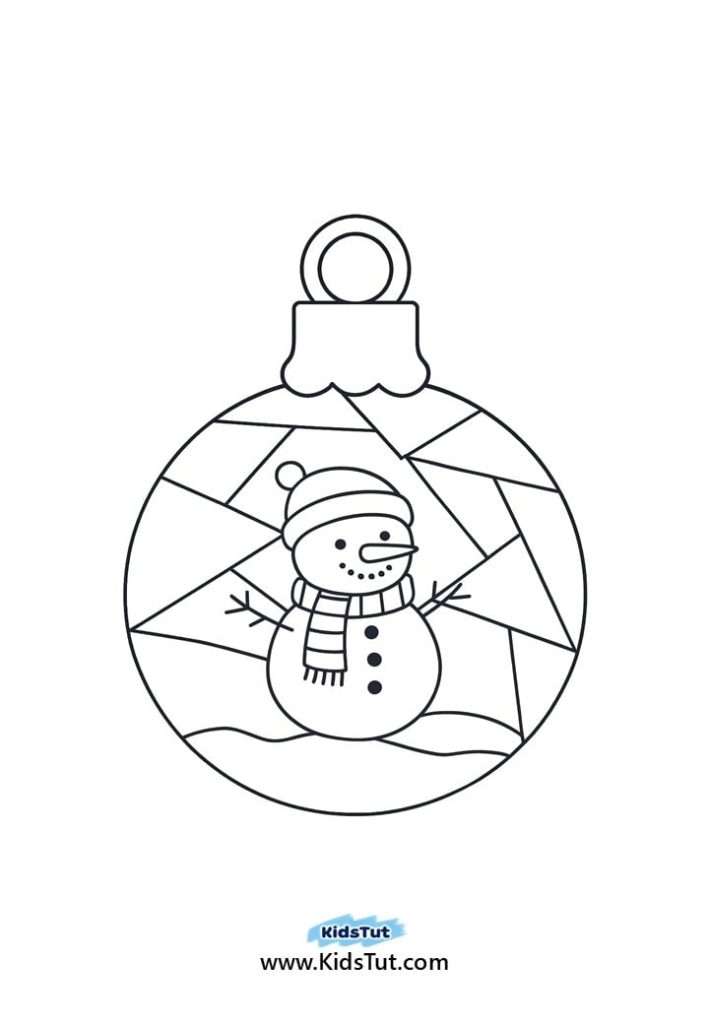
- Choose a Template: Pick a festive ornament design—trees, stars, snowflakes, or stained-glass patterns all work well.
- Color the Base: Use crayons or markers to fill in the design. Crayons give a soft, handmade texture, while markers add bold pops of color.
- Add Sparkle: Apply glue to selected areas and sprinkle glitter for a magical touch. Let it dry completely.
- Decorate with Paper Pieces: Cut small shapes (stars, hearts, triangles) from colored paper and glue them onto the ornament for extra flair.
- Cut and Hang Carefully cut out the ornament. Tape or glue a ribbon loop to the top so it’s ready to hang on the tree or wall.
Tips for Coloring & Decorating
- Crayons: Use layered strokes for richer color. Press lightly for soft shading, or harder for bold impact.
- Markers: Outline first, then fill in to avoid streaks. Great for defining edges and adding contrast.
- Glitter: Apply glue in small sections and shake off excess. Use a tray or paper underneath to catch spills.
- Paper Pieces: Pre-cut shapes make it easier for younger kids. Mix textures—try foil paper or tissue for variety.
Templates:
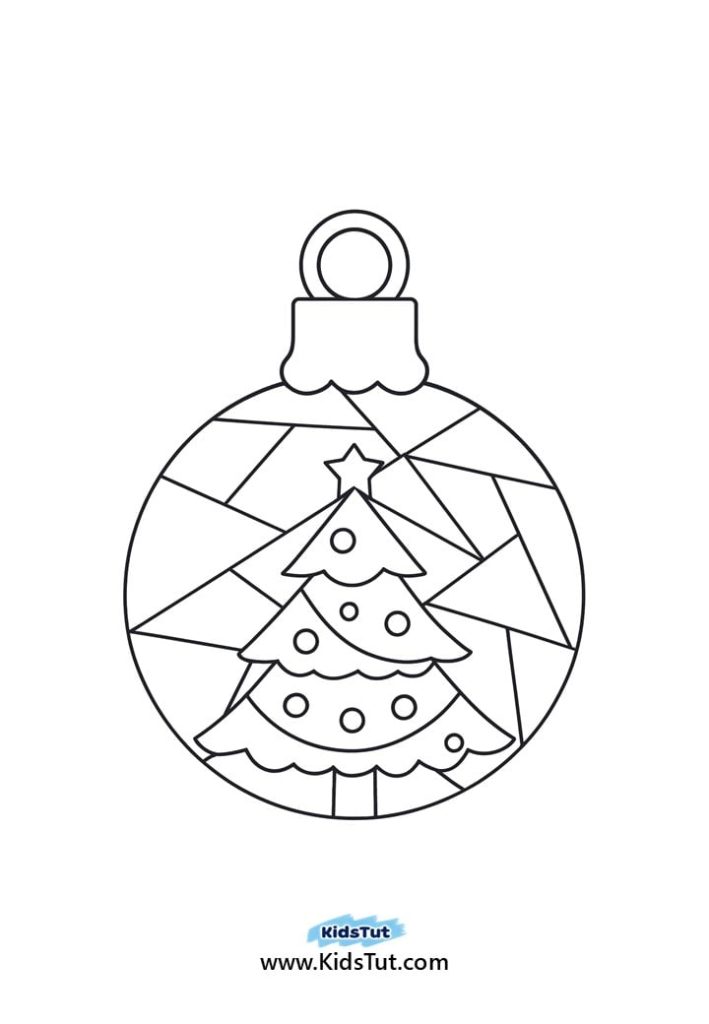
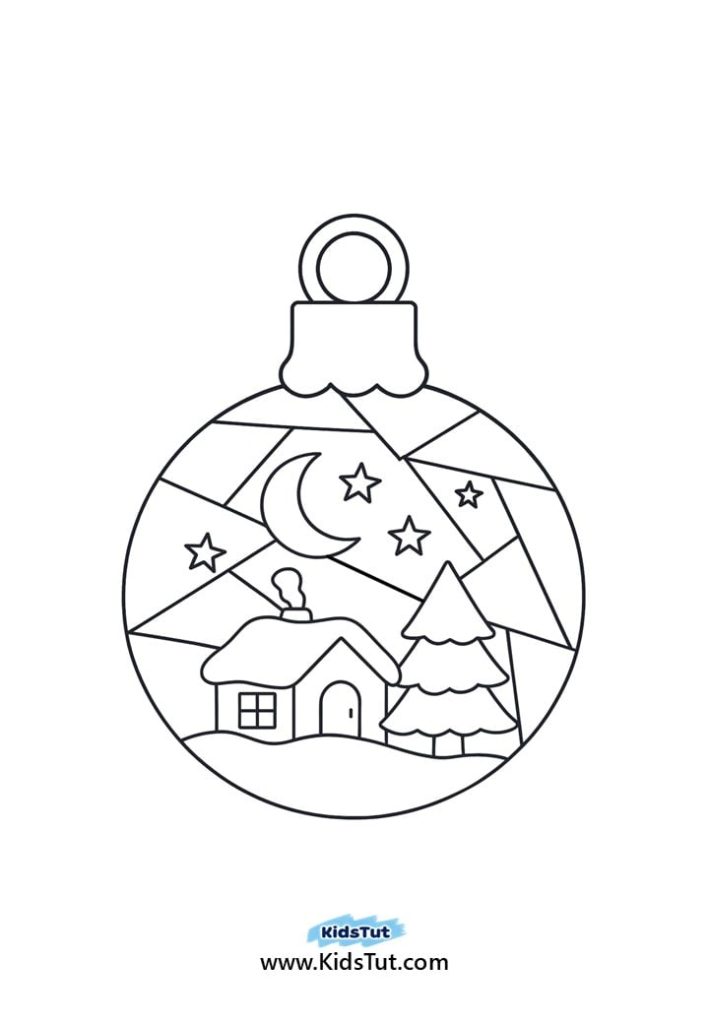
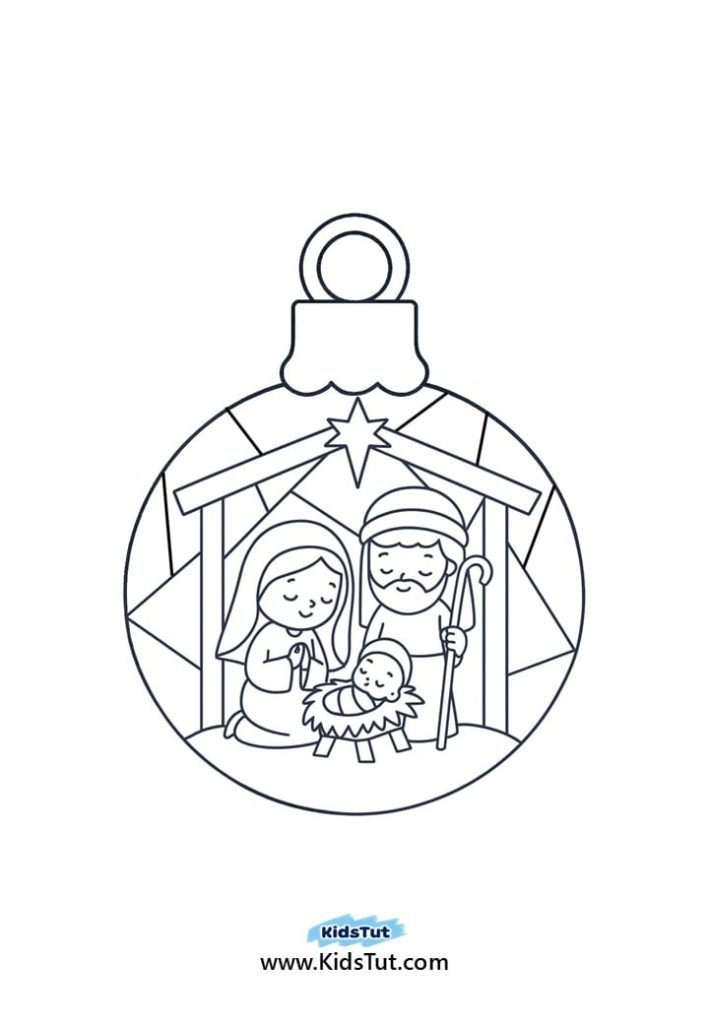

**** Click here to get the free PDF template: Download