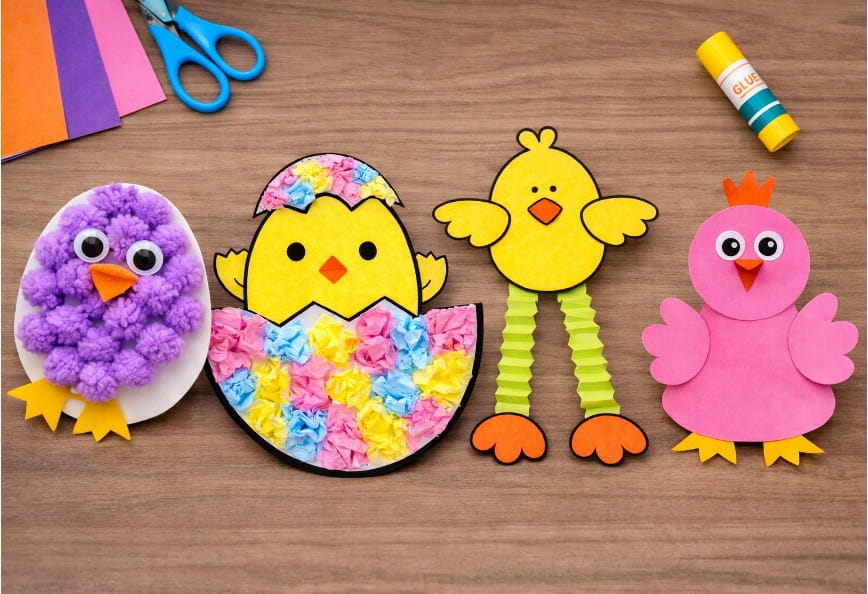
Easter is such a happy time, full of bright colors, cute animals, and fun crafts! Making your own little chicks is a great way for kids to enjoy the season. These DIY Easter chick crafts are easy to do with paper, crayons, glue, and a few simple supplies. Each chick can look different. Some can peek out of eggs, some can have funny legs, and some can be fluffy and round. It’s all about using your imagination, adding lots of color, and having fun while creating decorations that will make your home or classroom feel cheerful for Easter.
What You Need
- Printed templates (chick, egg, or bunny parts)
- Colored papers
- Tissue papers
- Crayons or markers
- Scissors
- Glue stick
- Googly eyes
- Pom‑pom balls
- Dot stickers
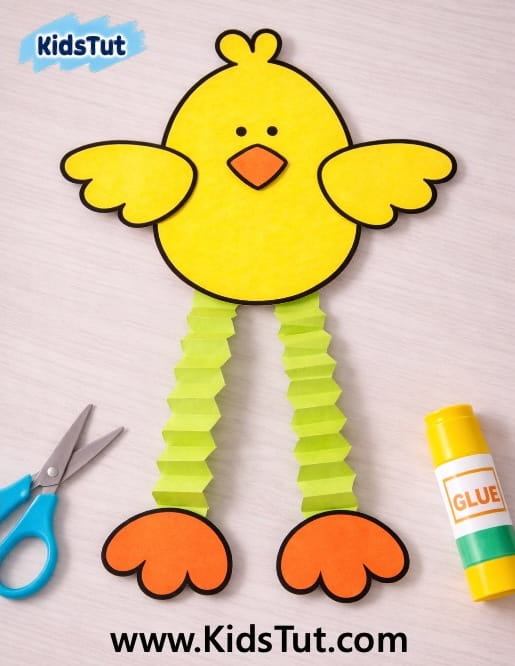
01. Springy Leg Easter Chick Craft:
How to Make:
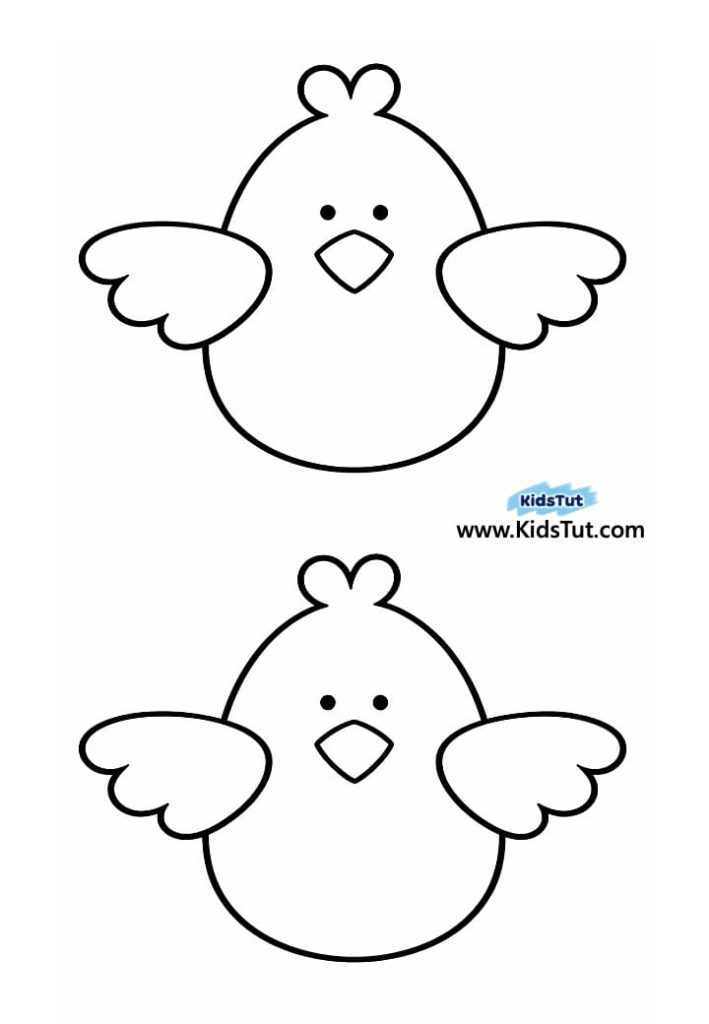
- Print and color
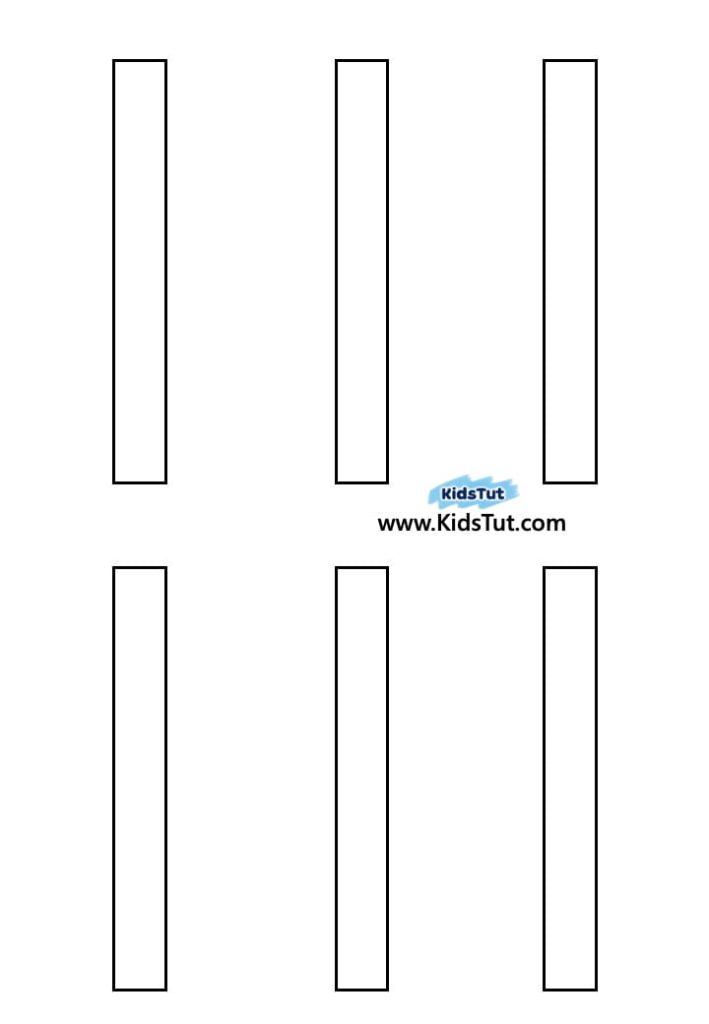
- Print the bird body, two rectangle strips, and two feet on colored sheets.
- Color the beak with crayons or markers.
- Cut out all the pieces separately: one bird body, two rectangles, and two feet.
- Make the springy legs
- Take the two rectangular strips.
- Fold each one back and forth in an accordion pattern.
- Unfold them slightly so they look like springs.
- Attach the legs
- Glue the two folded rectangles to the bottom of the bird’s body.
- Paste the feet at the ends of the rectangular strips.
- Let the glue dry.
- Add a hanger
- Punch a hole at the top of the bird’s head.
- Attach a string or yarn.
- Display your chick
- Hang your springy leg chick on the wall.
Templates:
02. DIY Cone Easter Chick Craft:
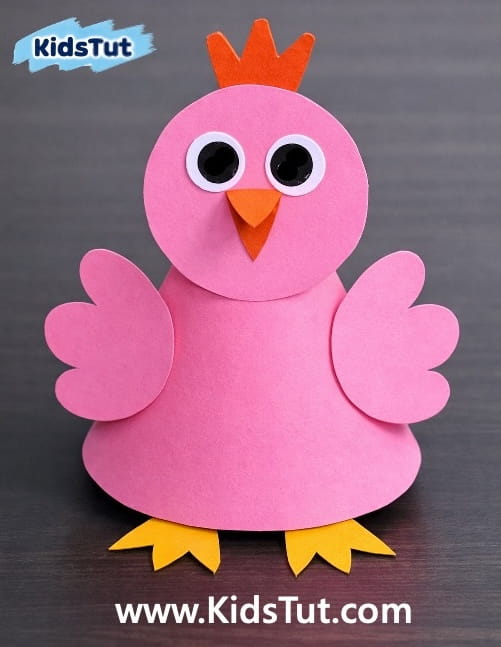
How to Make:
- Print and color
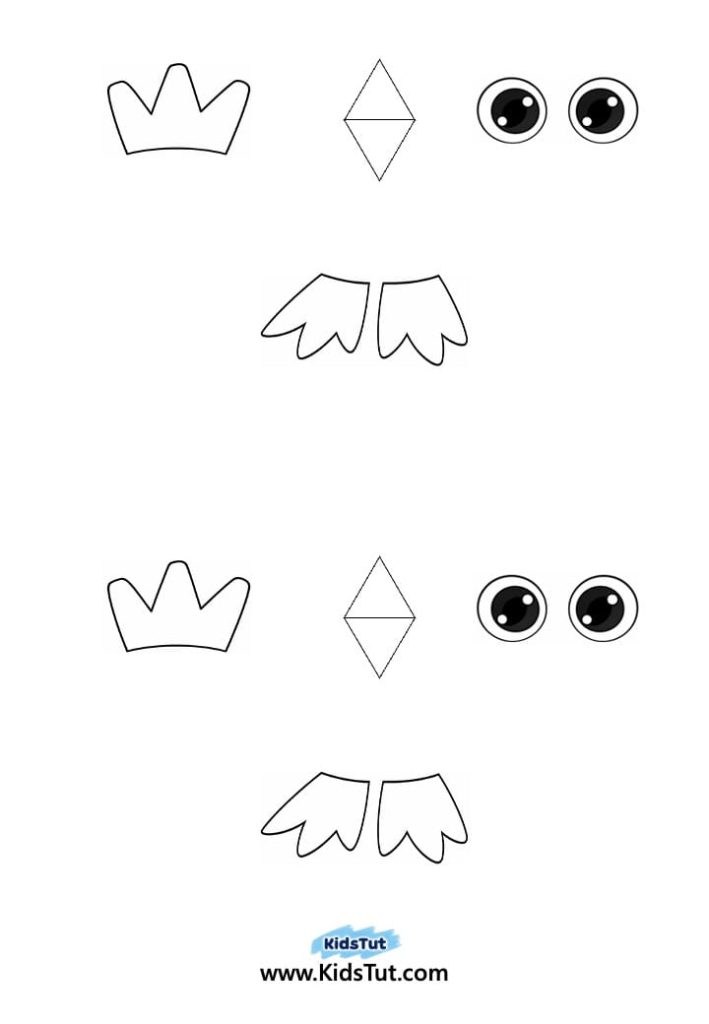
- Print all the templates: beak, eyes, comb, and feet on white paper.
- Color them with crayons or markers.
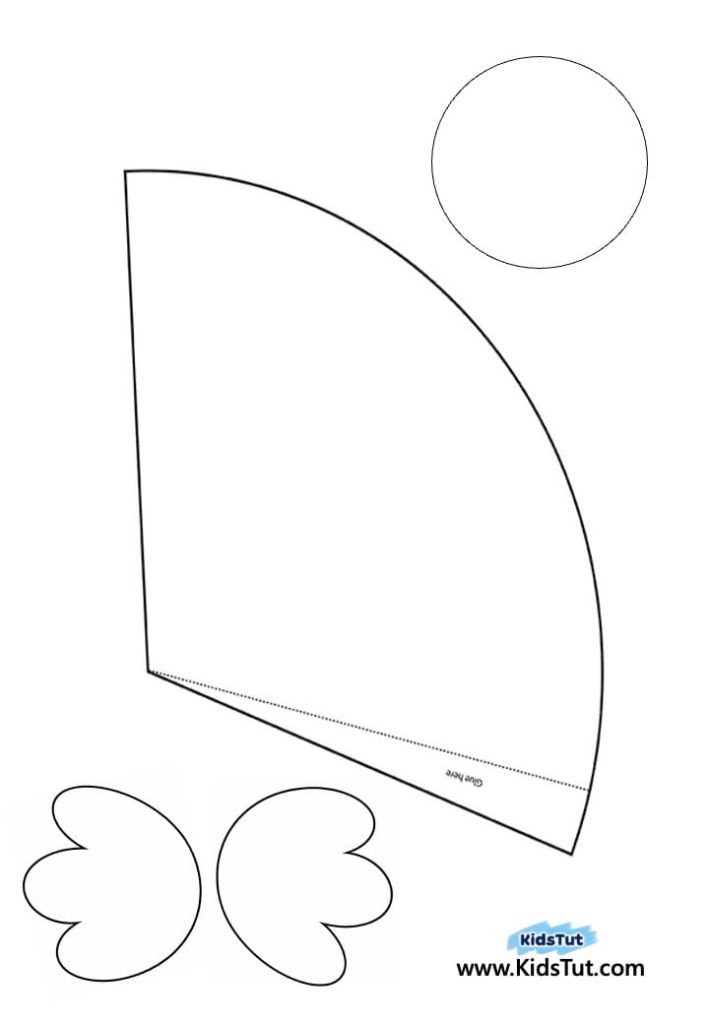
- Print the cone and wings page on colored paper.
- Cut out the pieces
- Carefully cut out each template: cone, circle face, wings, feet, beak, eyes, and comb.
- Make the cone body
- Take the cone template.
- Apply glue to the marked glue area.
- Curve the paper and attach the two ends to form a 3D cone.
- Build the face
- Take the circle cutout.
- Paste the eyes, beak, and comb on it to make the chick’s face.
- Attach the face to the top of the cone body.
- Add wings and feet
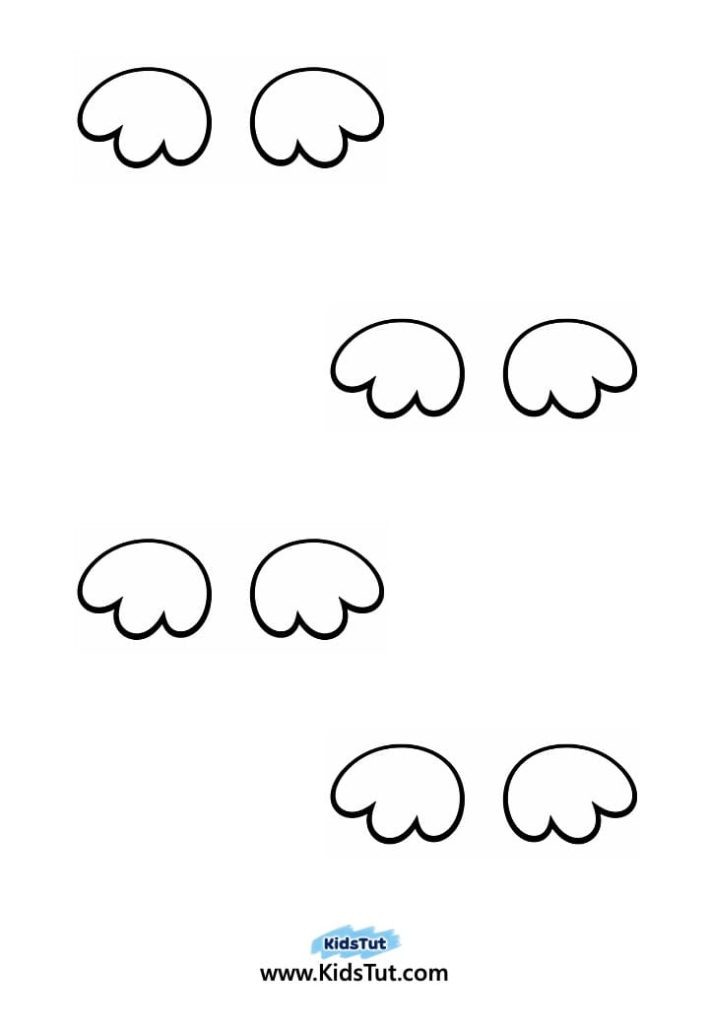
- Paste the wings on both sides of the cone.
- Attach the feet at the bottom of the cone.
- Display your chick
- Place your cone chick on a desk or shelf.
Templates:
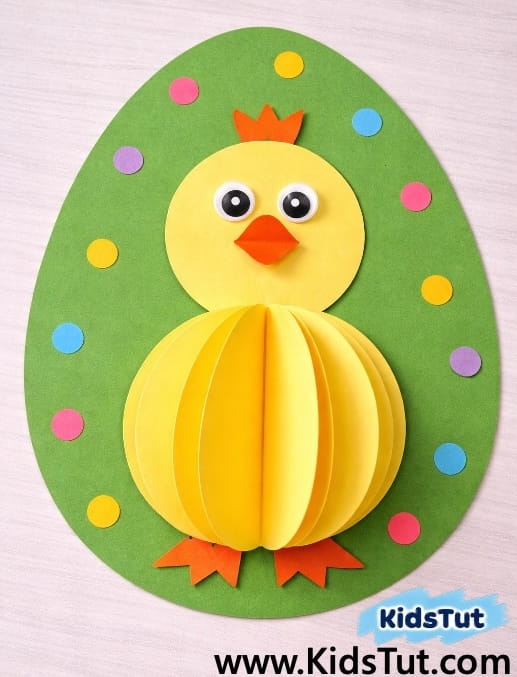
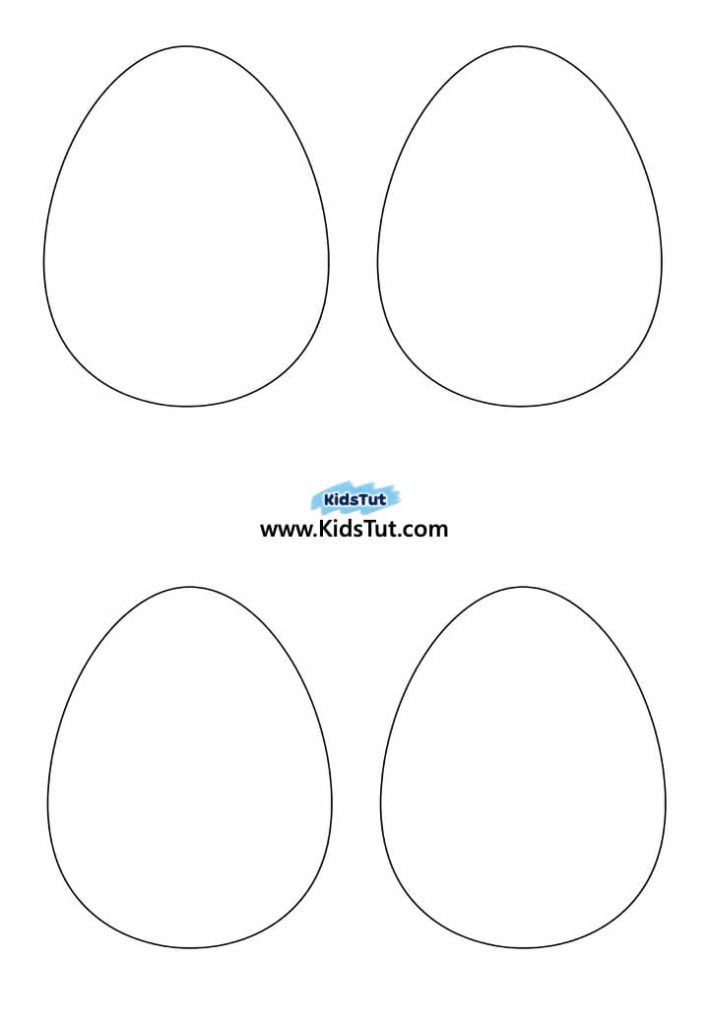
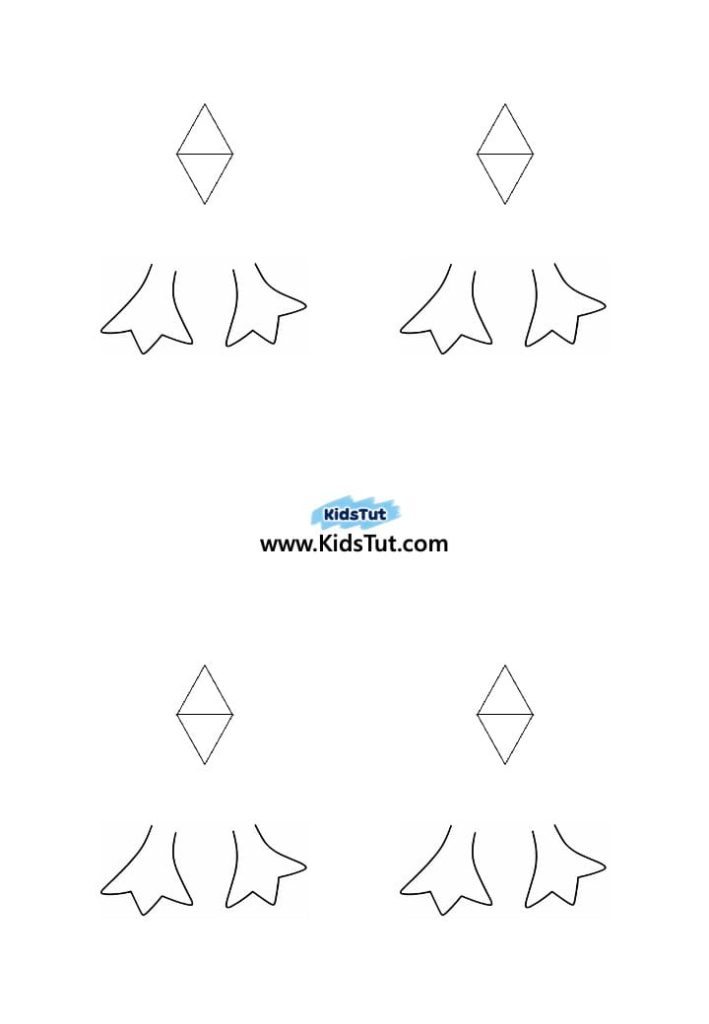
03. DIY Easter Egg Chick Craft:
How to Make:
- Print and color
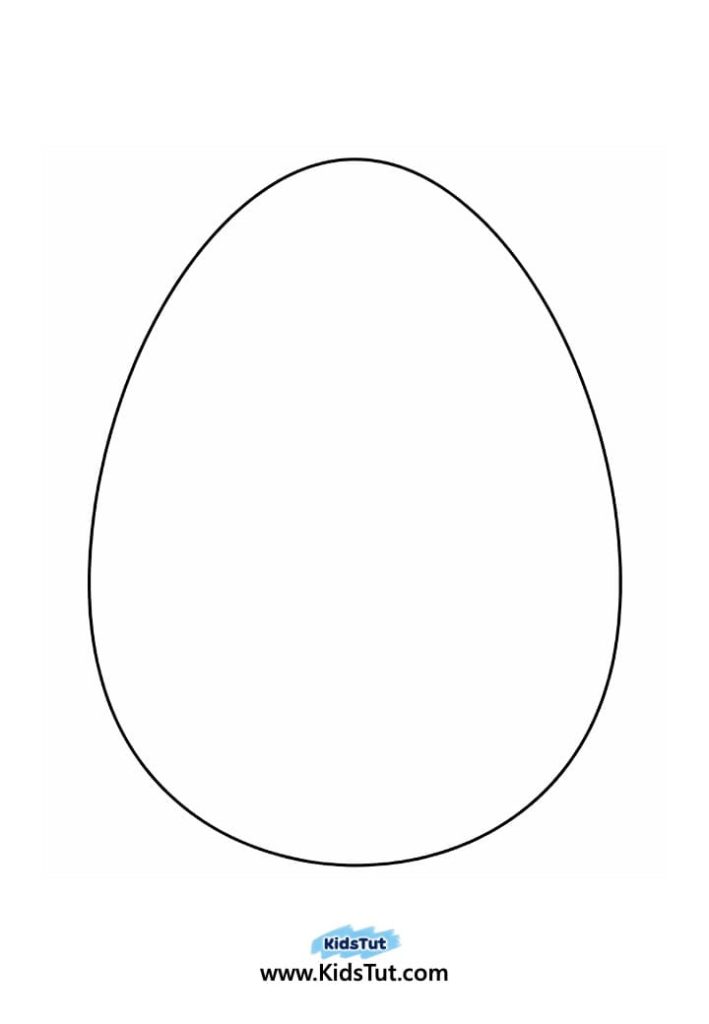
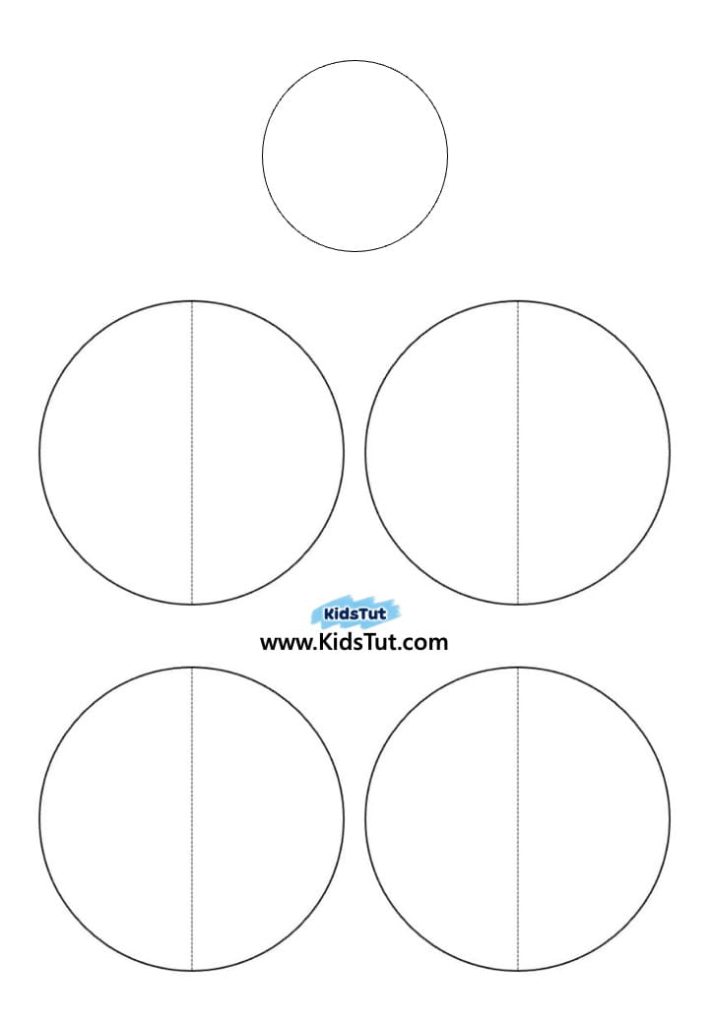
- Print the egg, big circles, and small circle templates on colored paper.
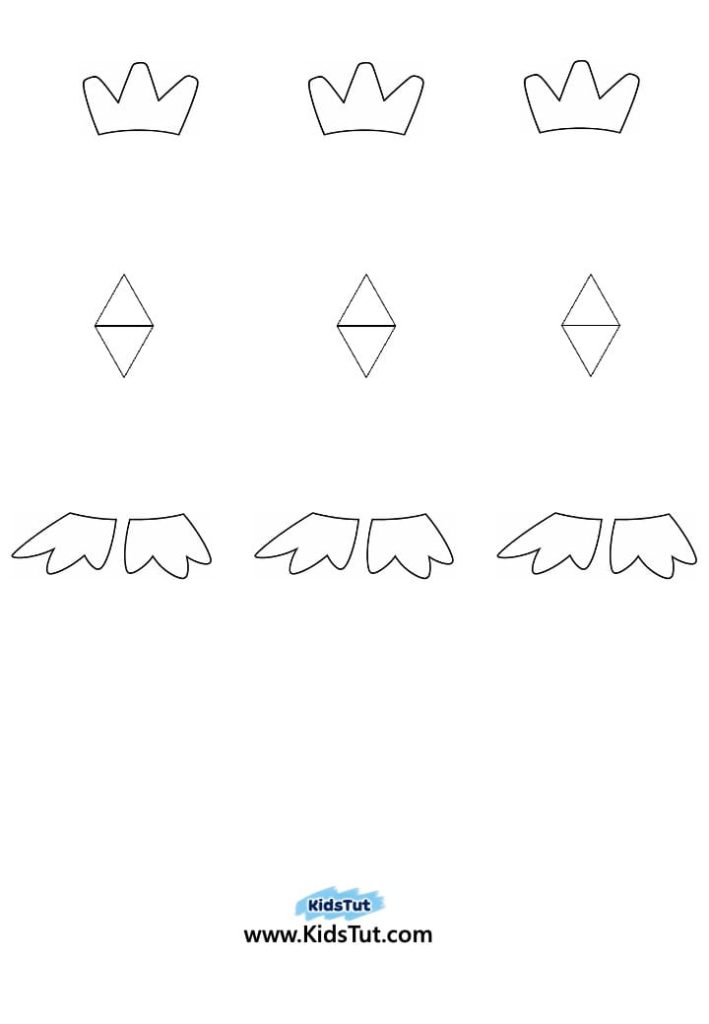
- Print the comb, beak, and feet on white paper.
- Color them with crayons or markers.
- Cut out the pieces
- Carefully cut out all the templates: egg shape, circles, comb, beak, and feet.
- Make the chick’s face
- Paste the small circle in the top area of the egg shape.
- Attach the comb, eyes, and beak to the small circle to create the chick’s face.
- Build the 3D body
- Fold each big circle in half.
- Glue one half side of the first circle under the chick’s face on the egg.
- Keep adding the other folded circles, gluing only one half side each time.
- The free halves will puff out together, making a round 3D body.
- Add the feet
- Paste the feet at the bottom of the chick’s body.
- Decorate the egg
- Paste colorful dot stickers or dot stickers around the egg shape.
Templates:
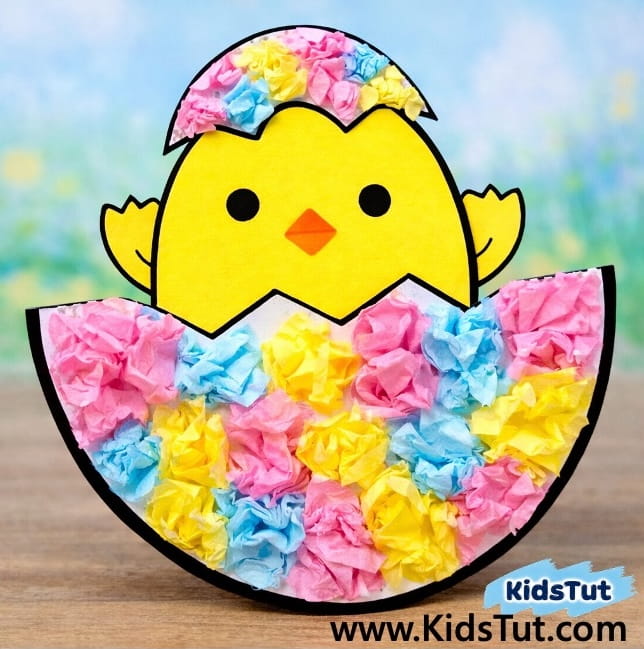
04. DIY Tissue Paper Easter Chick
How to Make:
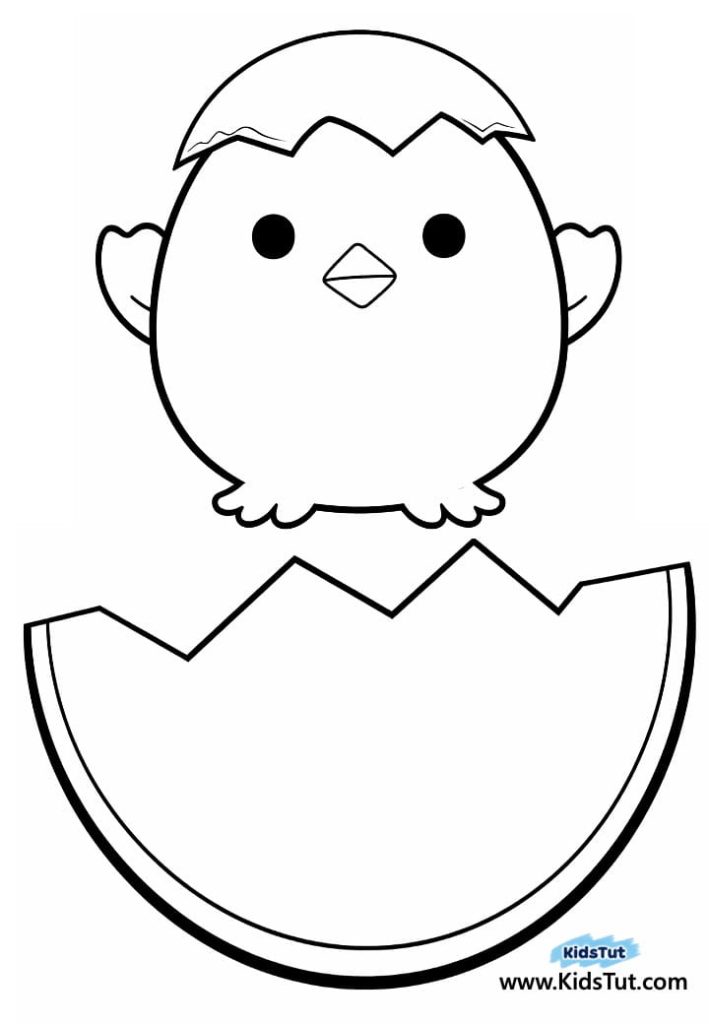
- Print the chick and eggshell on white paper.
- Color chick with crayons or markers.
- Tear colorful tissue paper into small pieces.
- Crumple the pieces and glue them onto the big eggshell part and the top shell above the chick’s head.
- Glue the chick’s bottom part onto the big eggshell.
- Punch a hole at the top, add yarn or string.
- Hang your chick craft for display.
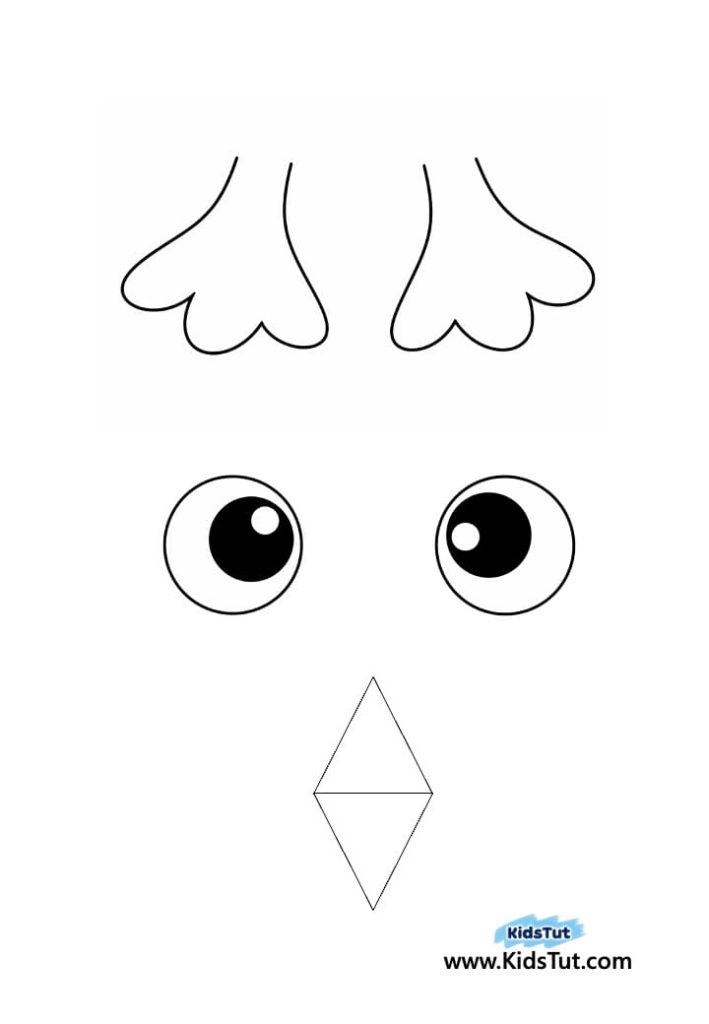
Templates:
05. DIY Accordion Paper Chick:

How to Make:
- Take 2 yellow A4 sheets.
- Fold each sheet in an accordion pattern to make two fans.
- Glue the fans together to form a circular body.
- Color and cut out the printed feet, eyes, and beak.
- Paste them onto the accordion circle.
- Attach yarn or string at the top.
- Hang your chick craft for display.
Templates:
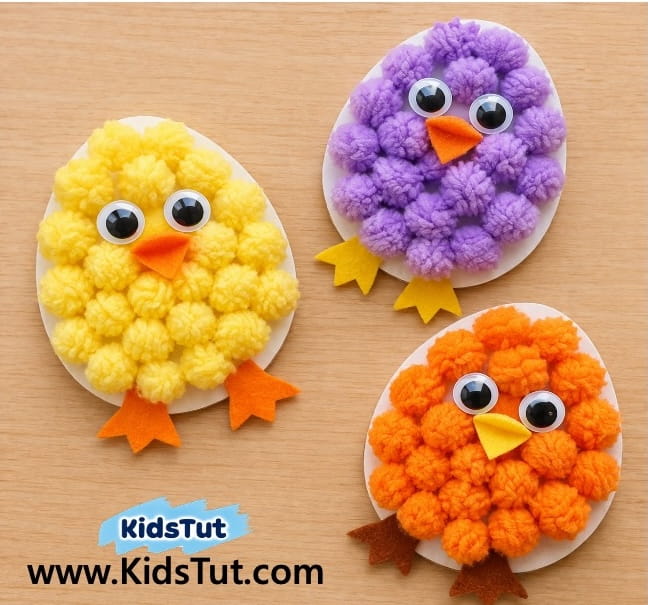
06. Pom‑Pom Easter Chicks:
How to Make:
- Print the egg shape and cut it out of cardboard.
- Glue colorful pom‑pom balls all over the egg shape.
- Print, color, and cut out the beak and feet.
- Paste the beak and feet onto the pom‑pom egg.
- Add googly eyes to the pom‑pom egg to finish the chick’s face.
- Let it dry, then display your fluffy chick craft!
Templates:

Click here to get the FREE PDF template: Download ( Printable )