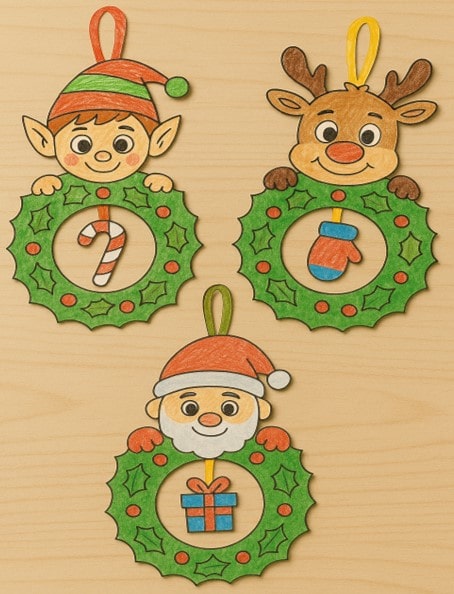
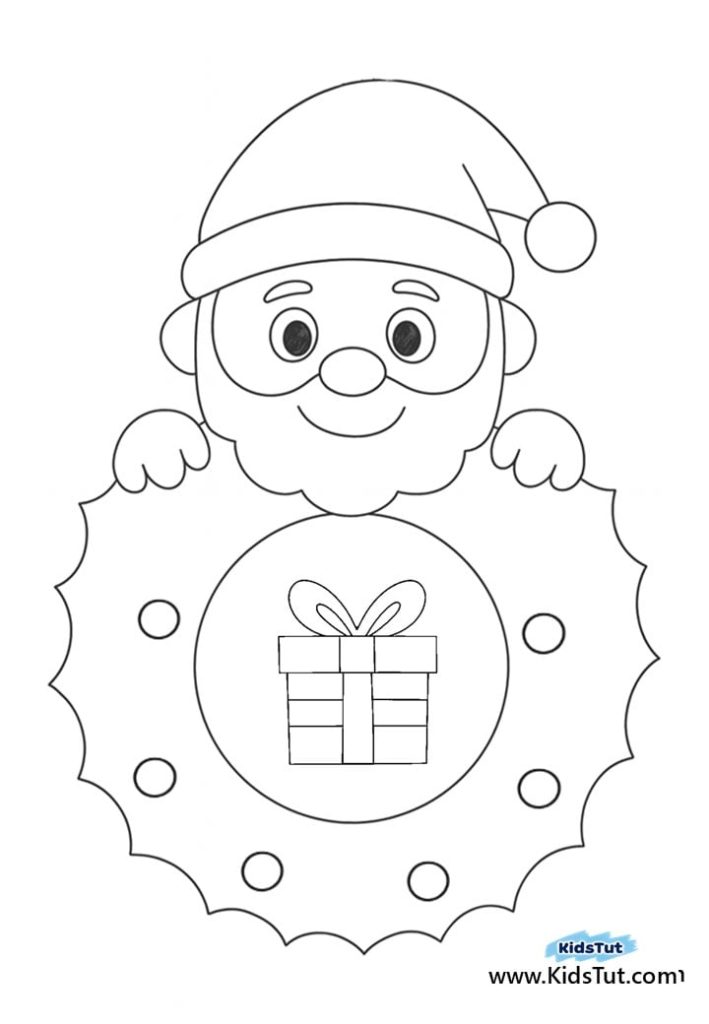
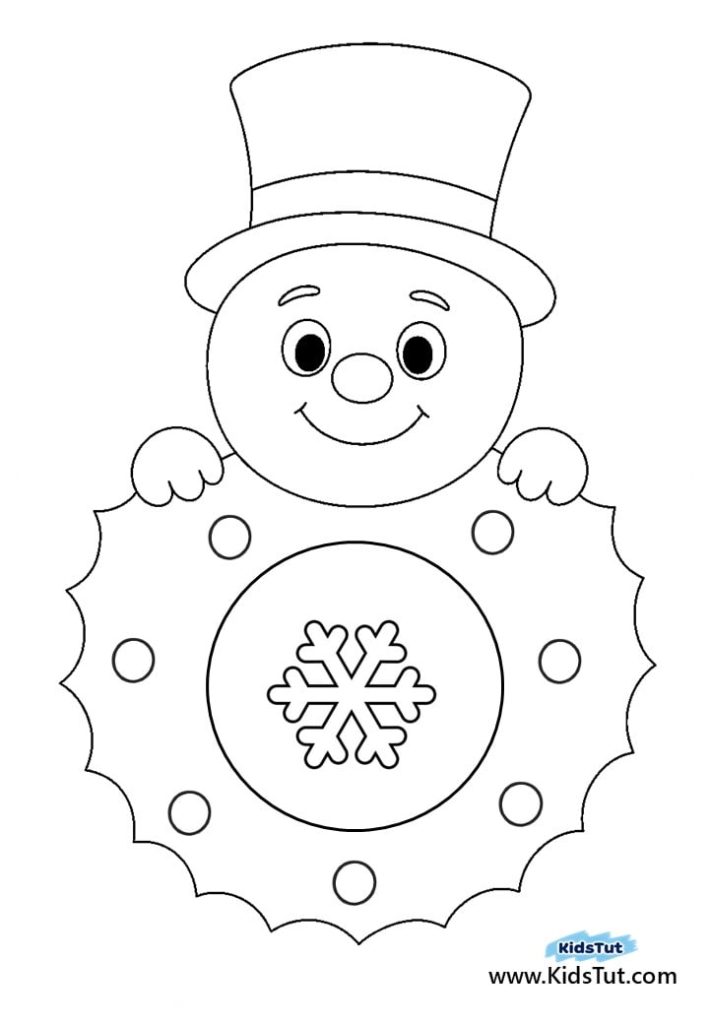
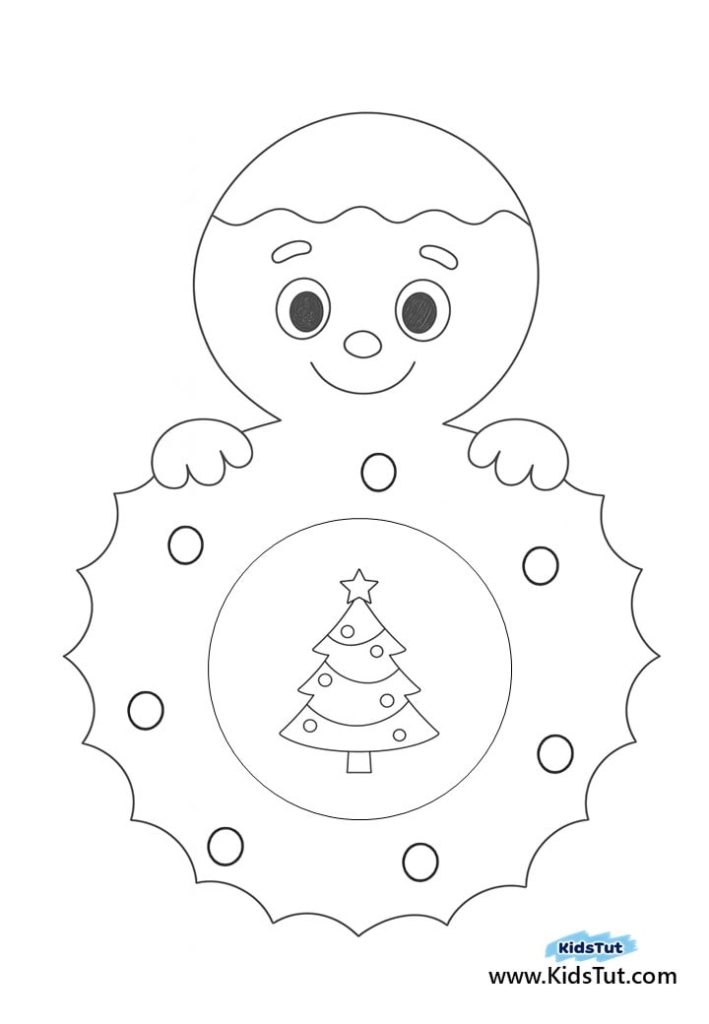
Today, we’re going to make beautiful handmade wreath crafts to decorate our classroom for the holidays! Get ready for a fun experience full of coloring, cutting, and gluing. You can choose your favorite character (Santa, an elf, or a reindeer) and create your own festive Christmas wreath with them. Kids can also boost their creativity by adding extra decorations like glitter, stickers, or ribbons along with the main craft pieces. Let’s see how to make it step by step!
What You Need
- Printed templates
- Cardboard pieces
- Crayons or markers
- Glue
- Scissors
- Yarn, ribbon, or string (for hanging)
- Pom‑pom balls
- Ribbons
- Glitter
- Stickers (for extra decoration)
How to Make Your Christmas Wreath Craft
- Step 1: Choose your favorite character and print the template on white paper.
- Step 2: Color the template using crayons or markers.
- Step 3: Carefully cut out the middle circle of the wreath. Don’t damage the circle with the character inside. It’s needed for the craft.
- Step 4: Paste the wreath shape onto a piece of cardboard and let it dry.
- Step 5: Once dry, cut along the outline to make your wreath shape.
- Step 6: Take the circle part with the character that you cut out earlier. Cut neatly along the character’s outline.
- Step 7: Punch a small hole at the top of the character and attach it to the empty center of your wreath.
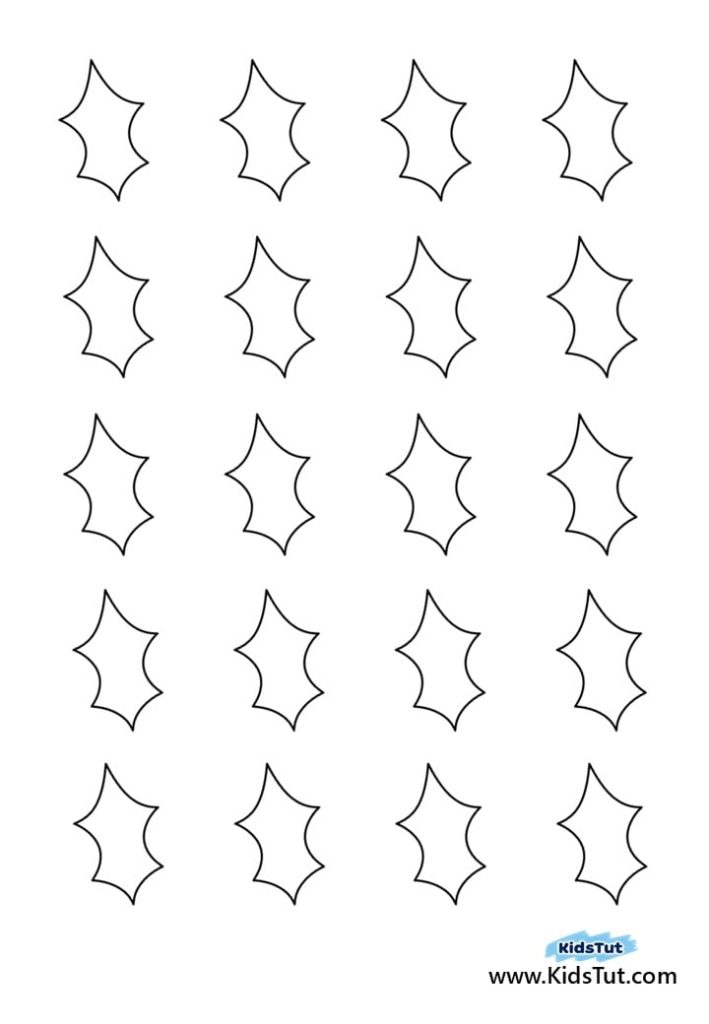
- Step 8: Cut out holly berry leaves and paste them around the wreath ring. Add pom‑pom balls or other decorations to make it festive.
- Step 9: Finally, punch a small hole at the top of the wreath, attach a ribbon or string, and hang it in your classroom!
Templates:
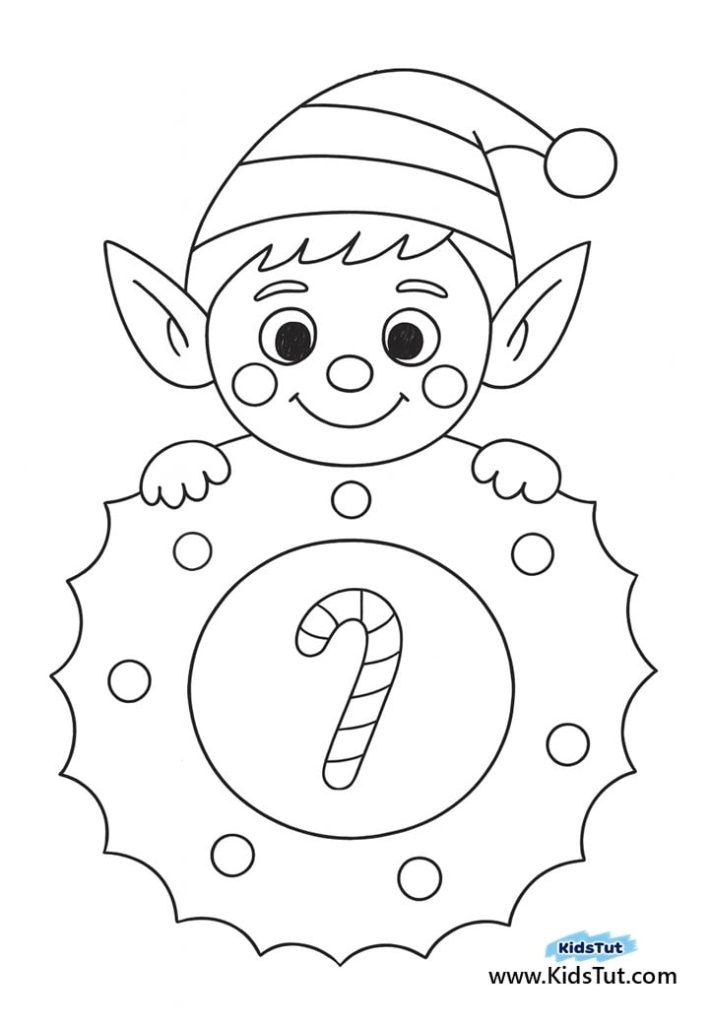
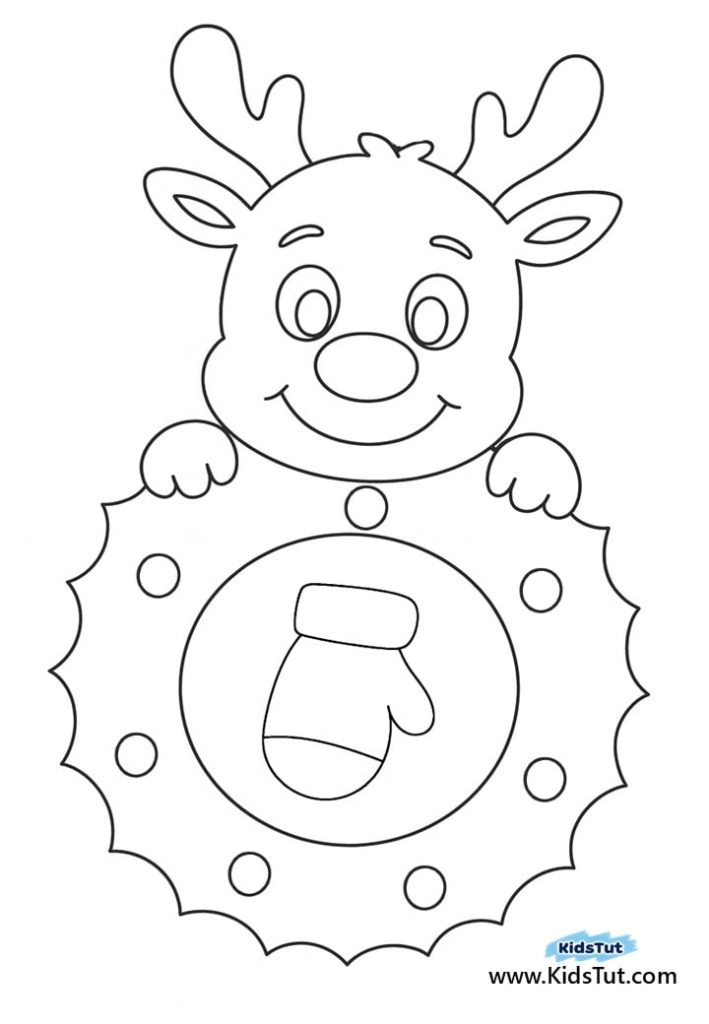
**** Click here to get the free PDF template: Download