
Looking for a festive, hands-on activity that sparks creativity and holiday cheer? These DIY Christmas ornaments are perfect for kids! With simple materials and colorful shapes, children can design their own decorations while practicing fine motor skills and pattern-making. Whether you’re crafting at home or in the classroom, this joyful project brings the magic of the season to life—one ornament at a time.
What You Need:
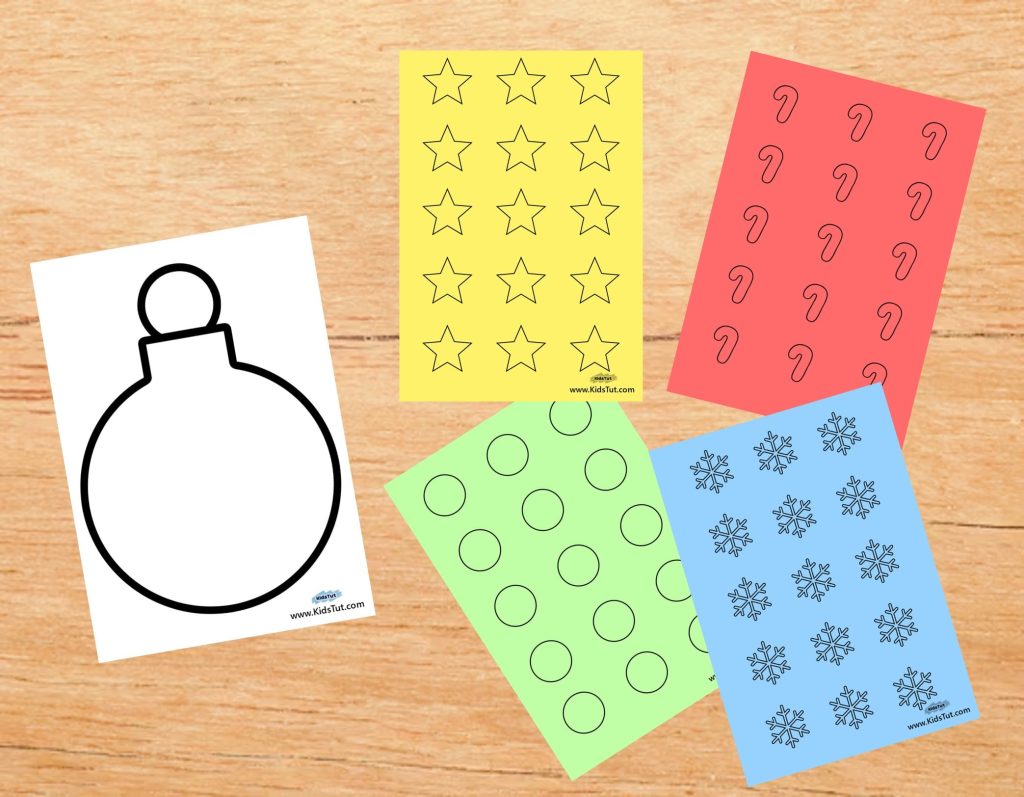
- Printed templates
- White sheet (for printing ornament templates)
- Colored papers (for printing shape templates)
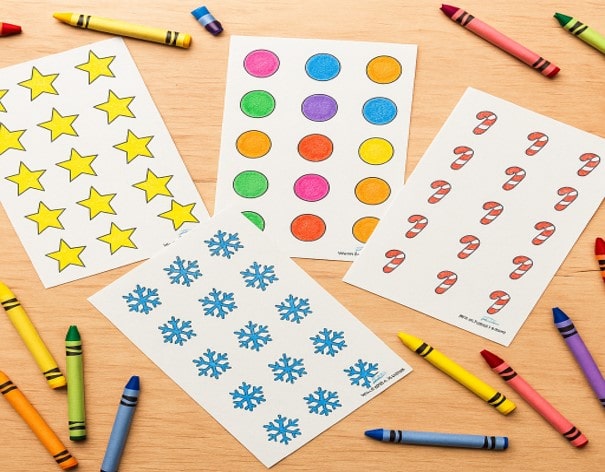
- Crayons/markers (if you want to color shapes)
- Scissors
- Glue
- Clear sticker paper / laminating sheets/tape
- Hole puncher or any tool to punch a hole
- Yarn or ribbon
How to Make:
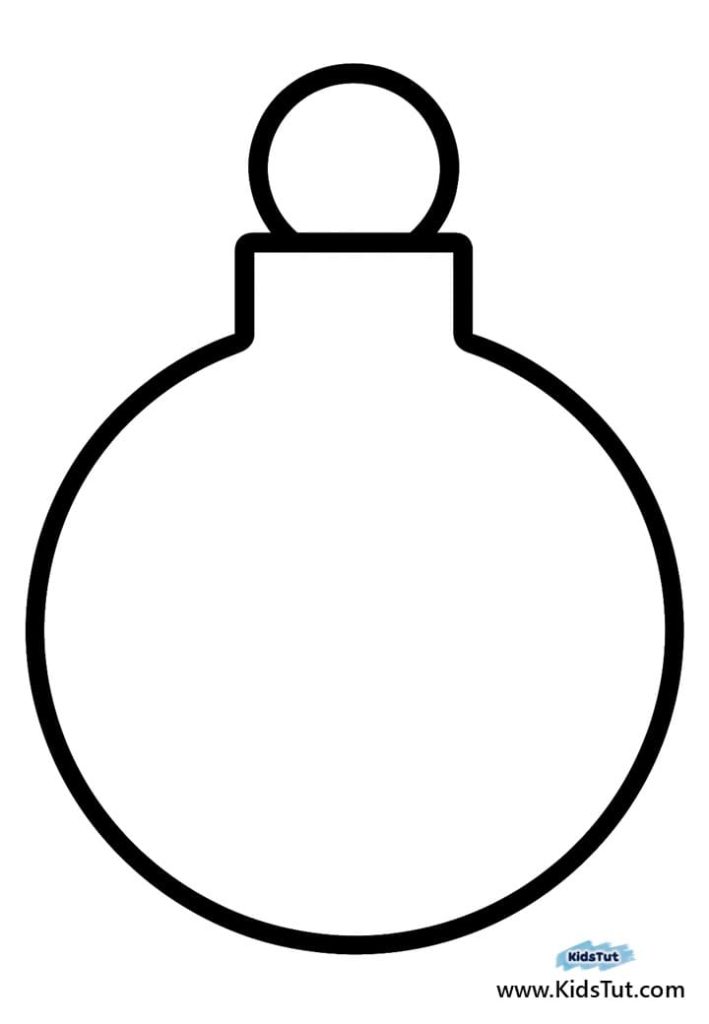
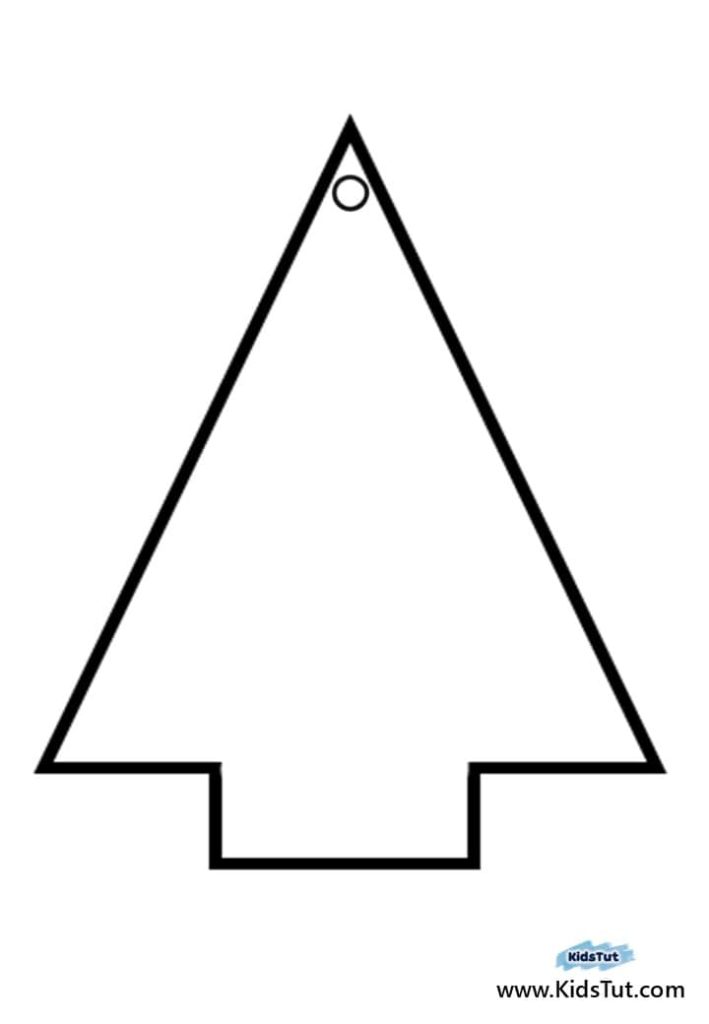
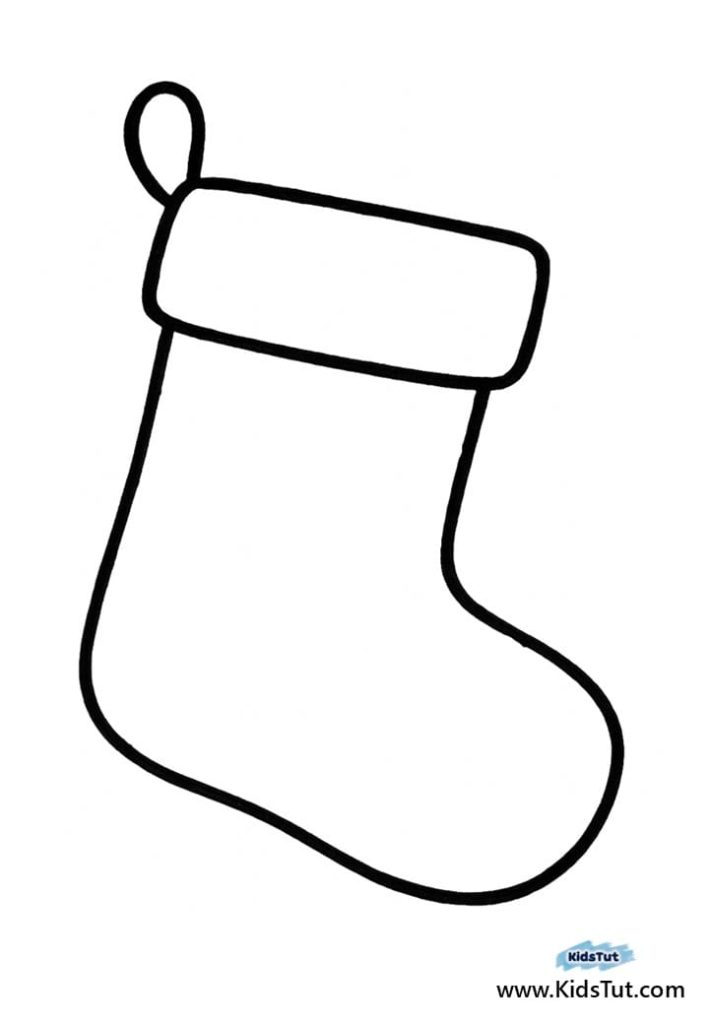
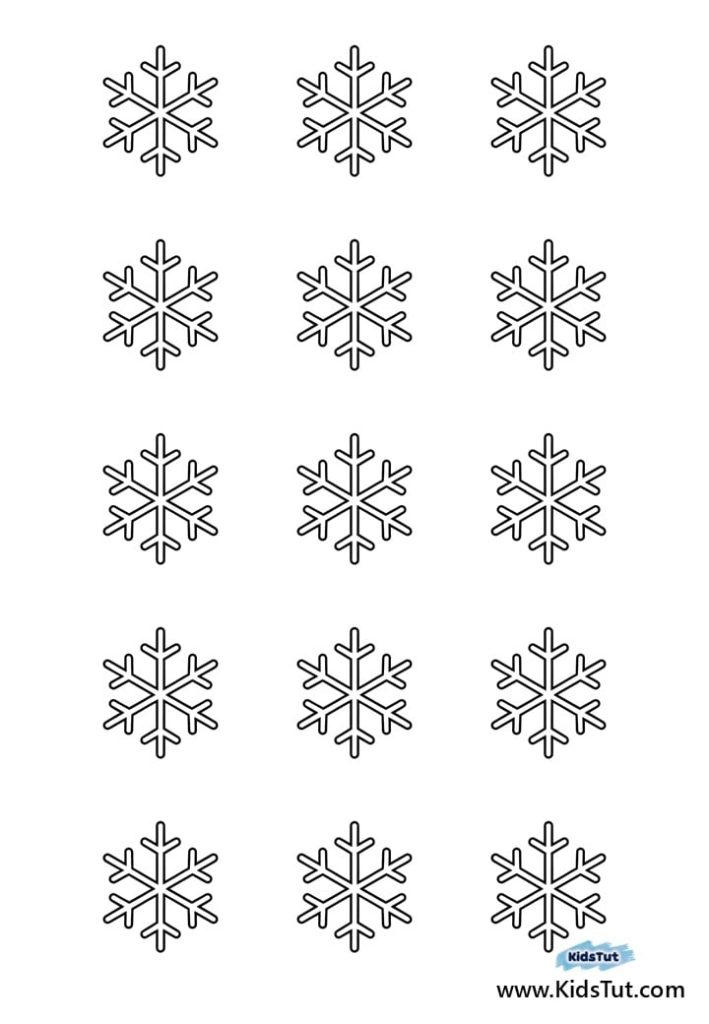
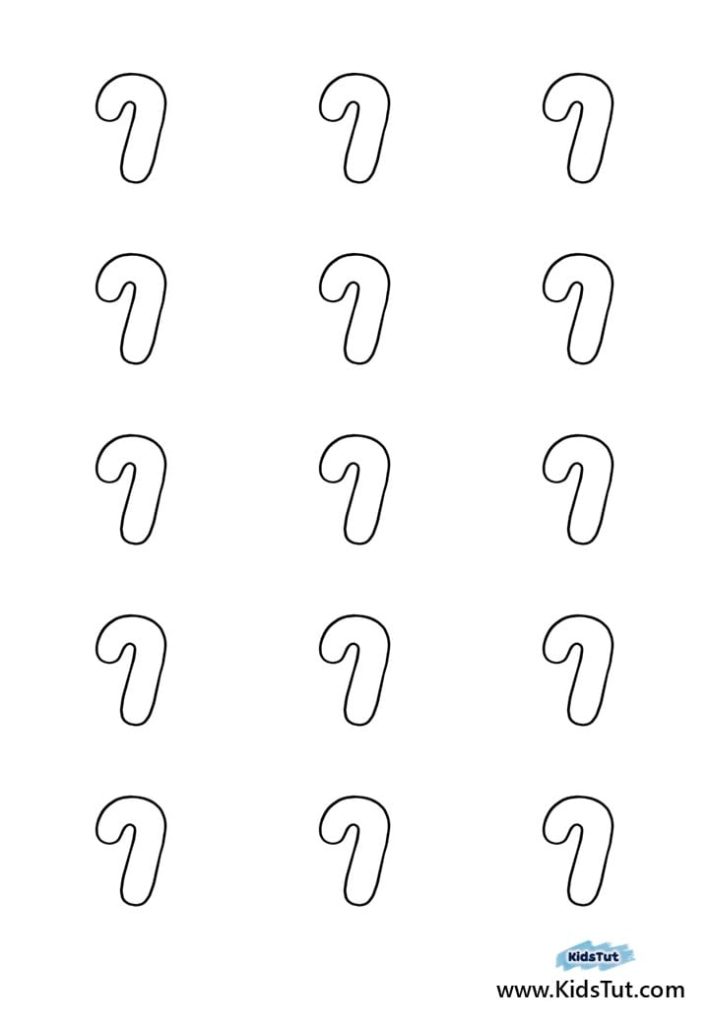
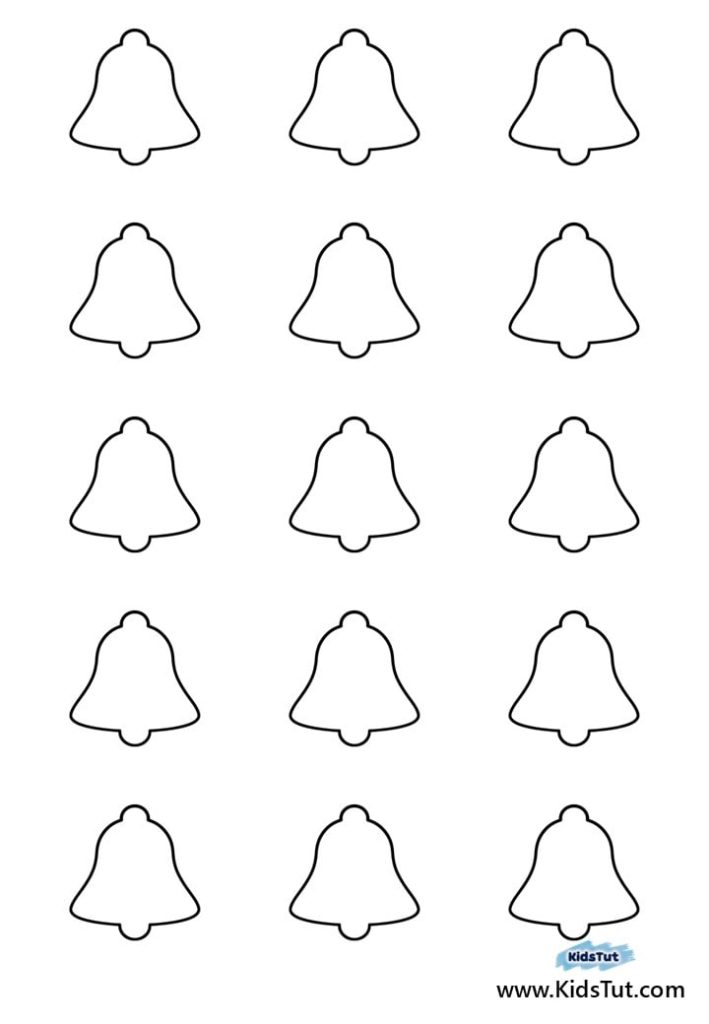
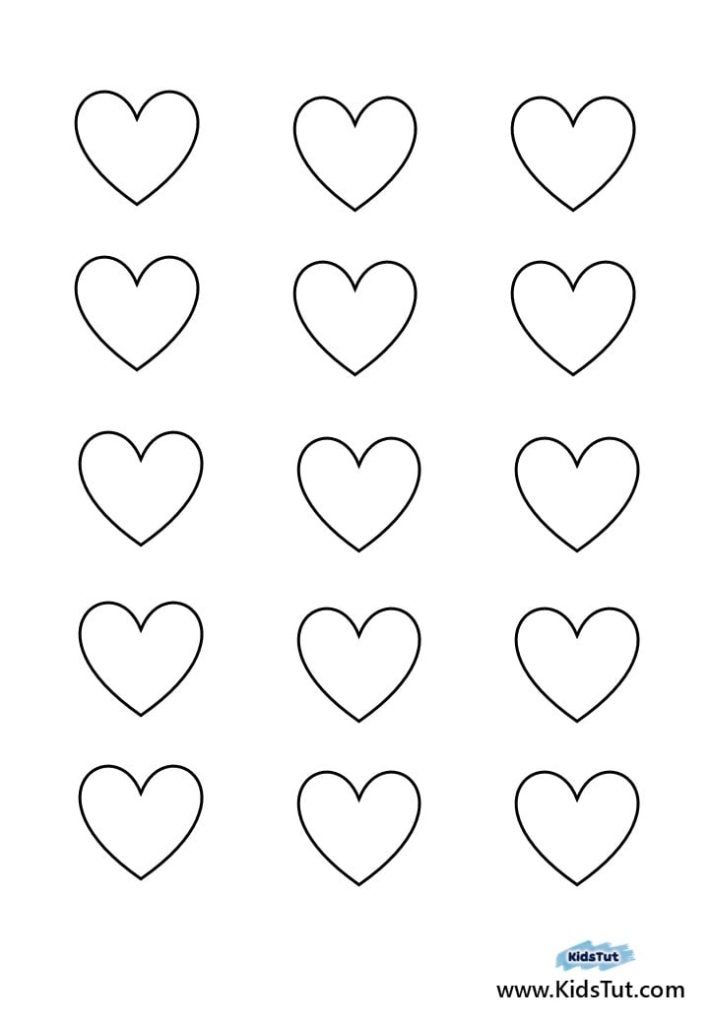
Step 01: Download and print the templates
Choose your favorite ornament shape and print it on white paper. Then print the shape templates (stars, circles, etc.) on colored paper. You can also print them on white paper and let kids color them later.
Step 02: Color the shape templates
If you didn’t print the shapes on colored paper, let kids color them using crayons or markers. Do not color the ornament outline.
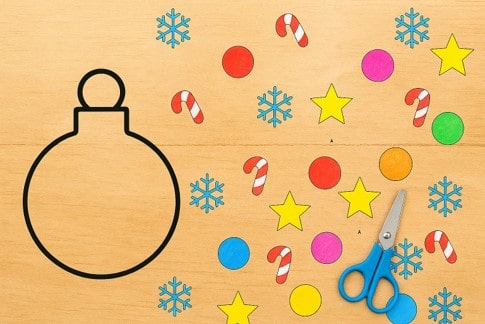
Step 03: Cut out the templates
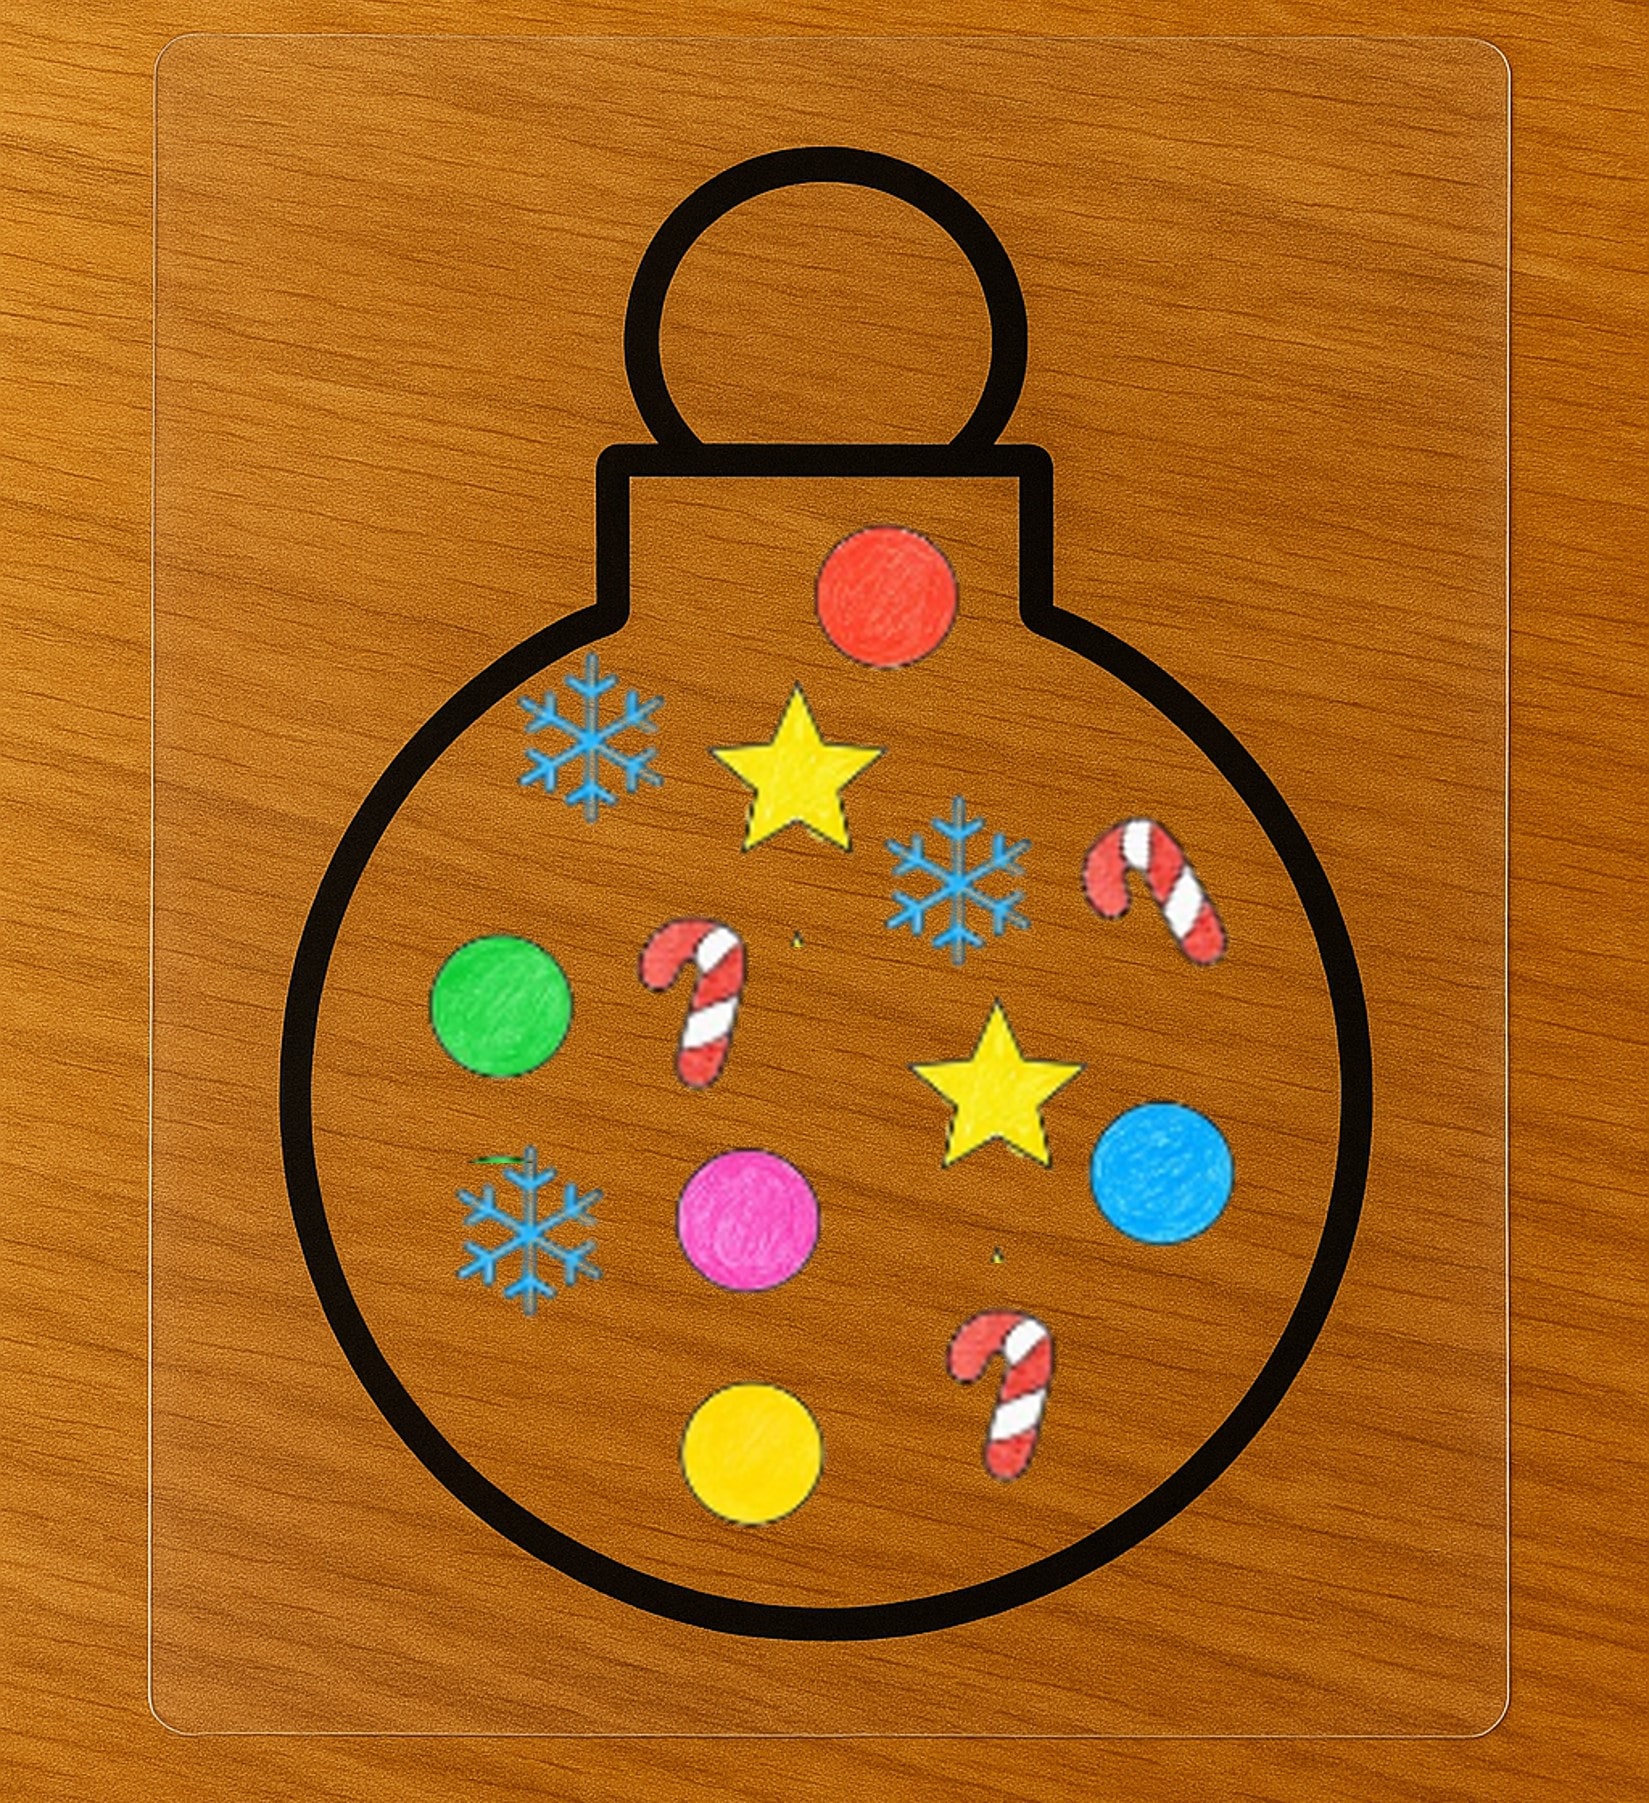
Carefully cut out the colored shapes and the ornament outline. Then cut out the middle part of the ornament, leaving only the outer frame. Be gentle when cutting the inside of the ornament shape.
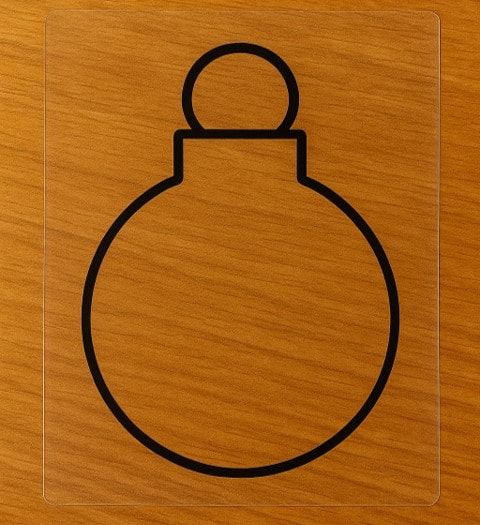
Step 04: Create the transparent look
Place the ornament outline onto clear sticker paper, a laminating sheet, or carefully tape over the back. Clear sticker paper works best for a smooth finish.
Step 05: Paste the colored shapes
Stick the colored shapes inside the ornament outline on the clear surface. Use glue or double-sided tape to arrange them however you like.
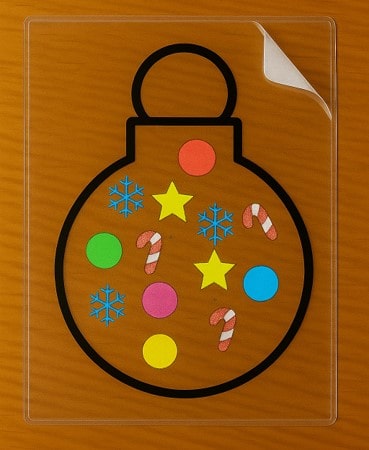
Step 06: Cover and seal your craft
Cover the ornament with another piece of clear sticker paper or laminate it. You can also use tape to seal the top and protect the shapes inside.
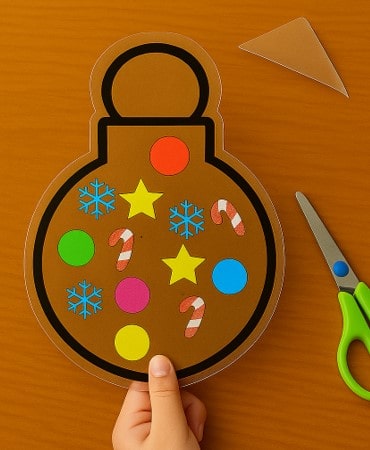
Step 07: Trim and Smooth the Ornament Shape
Carefully cut around the ornament to remove any extra clear sticker paper, laminating sheet, or tape. This helps reveal the clean outline of your ornament. Trim off the excess edges to give your craft a neat, smooth finish that’s ready to hang and shine!
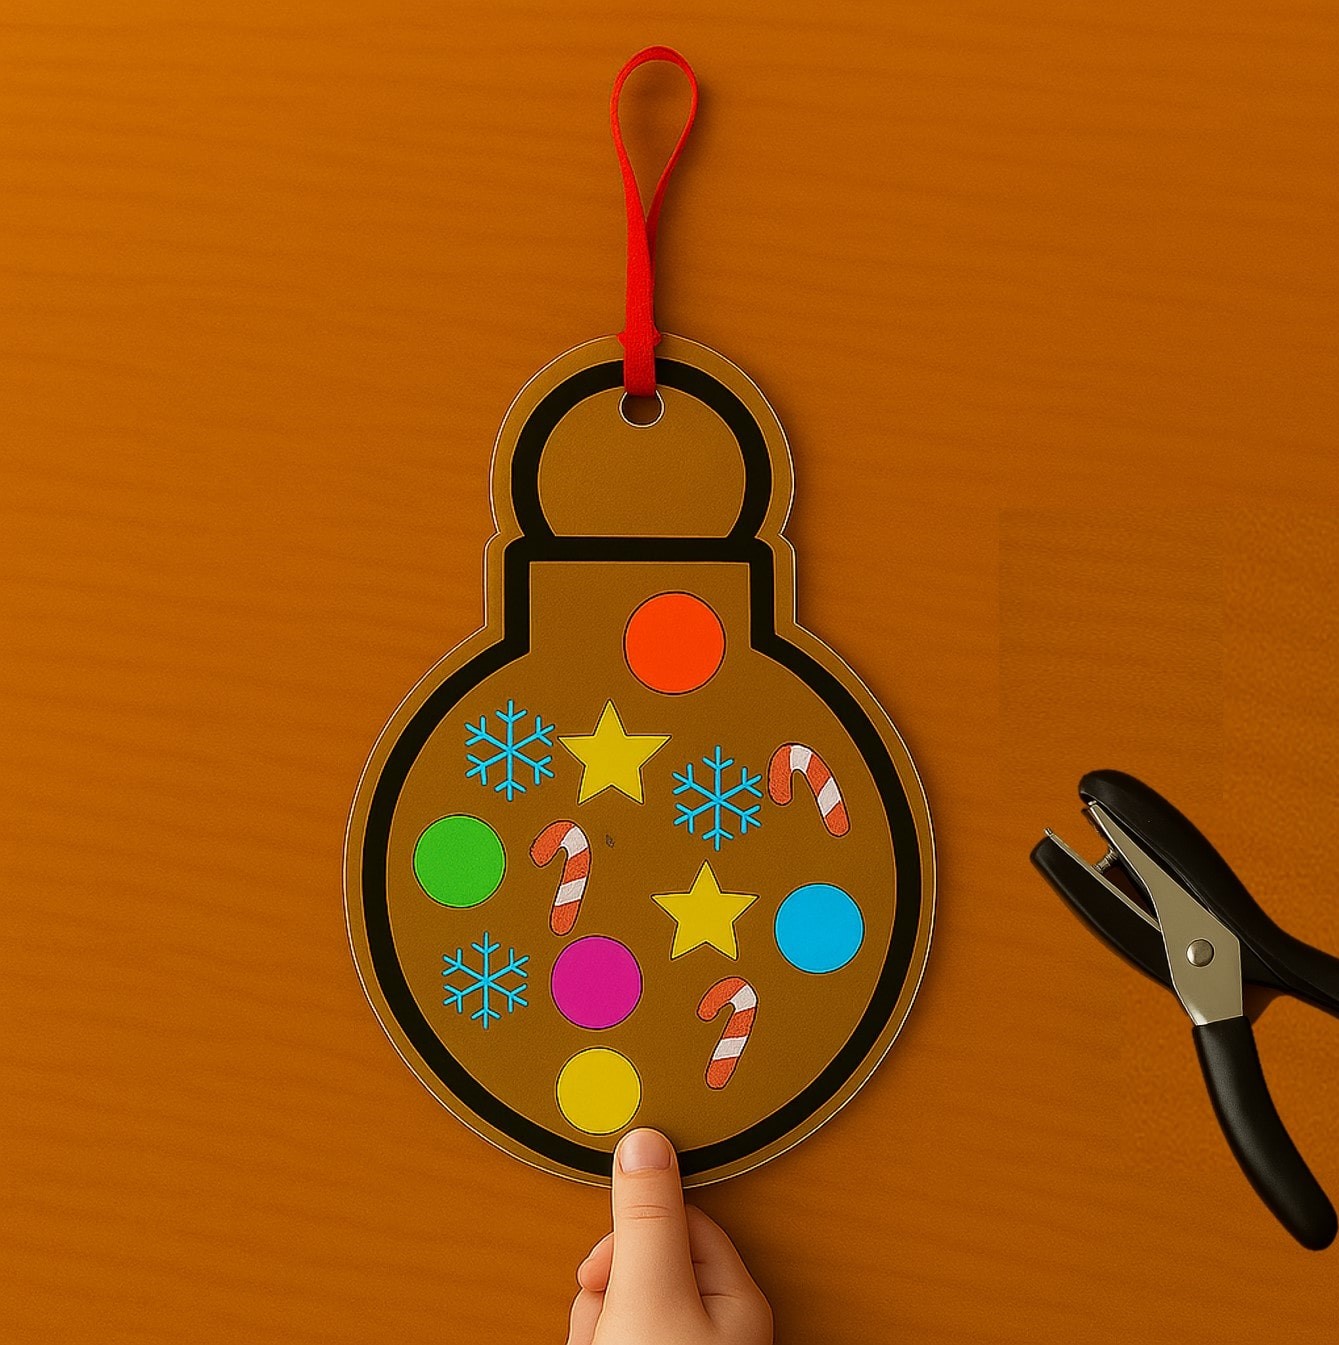
Step 08: Punch a hole, attach yarn, and hang
Punch a hole in the marked spot. Thread yarn, ribbon, or string through it. Now your ornament is ready to hang and decorate your classroom or home!
Templates:


**** Click here to get the free PDF template: Download