DIY Butterfly Wall Art Crafts for Kids
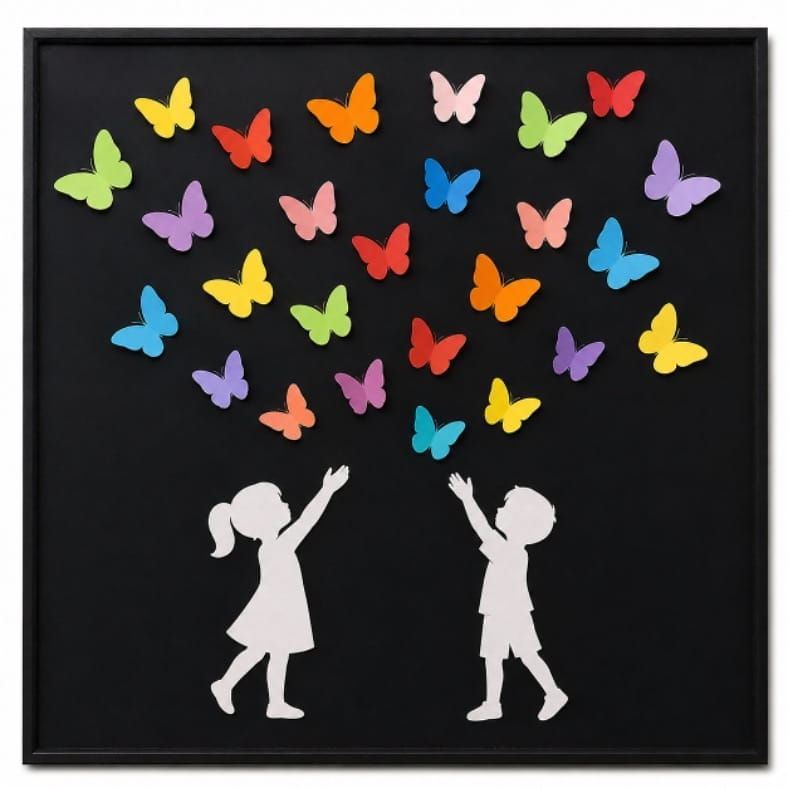
Butterflies bring joy, color, and imagination to any classroom. This craft lets kids create a magical wall art scene with butterflies flying upward from children’s hands. It’s simple, creative, and makes a beautiful welcome decoration for classrooms or play areas.
What You Need
- Large black paper (2 A3 sheets or black demi size)
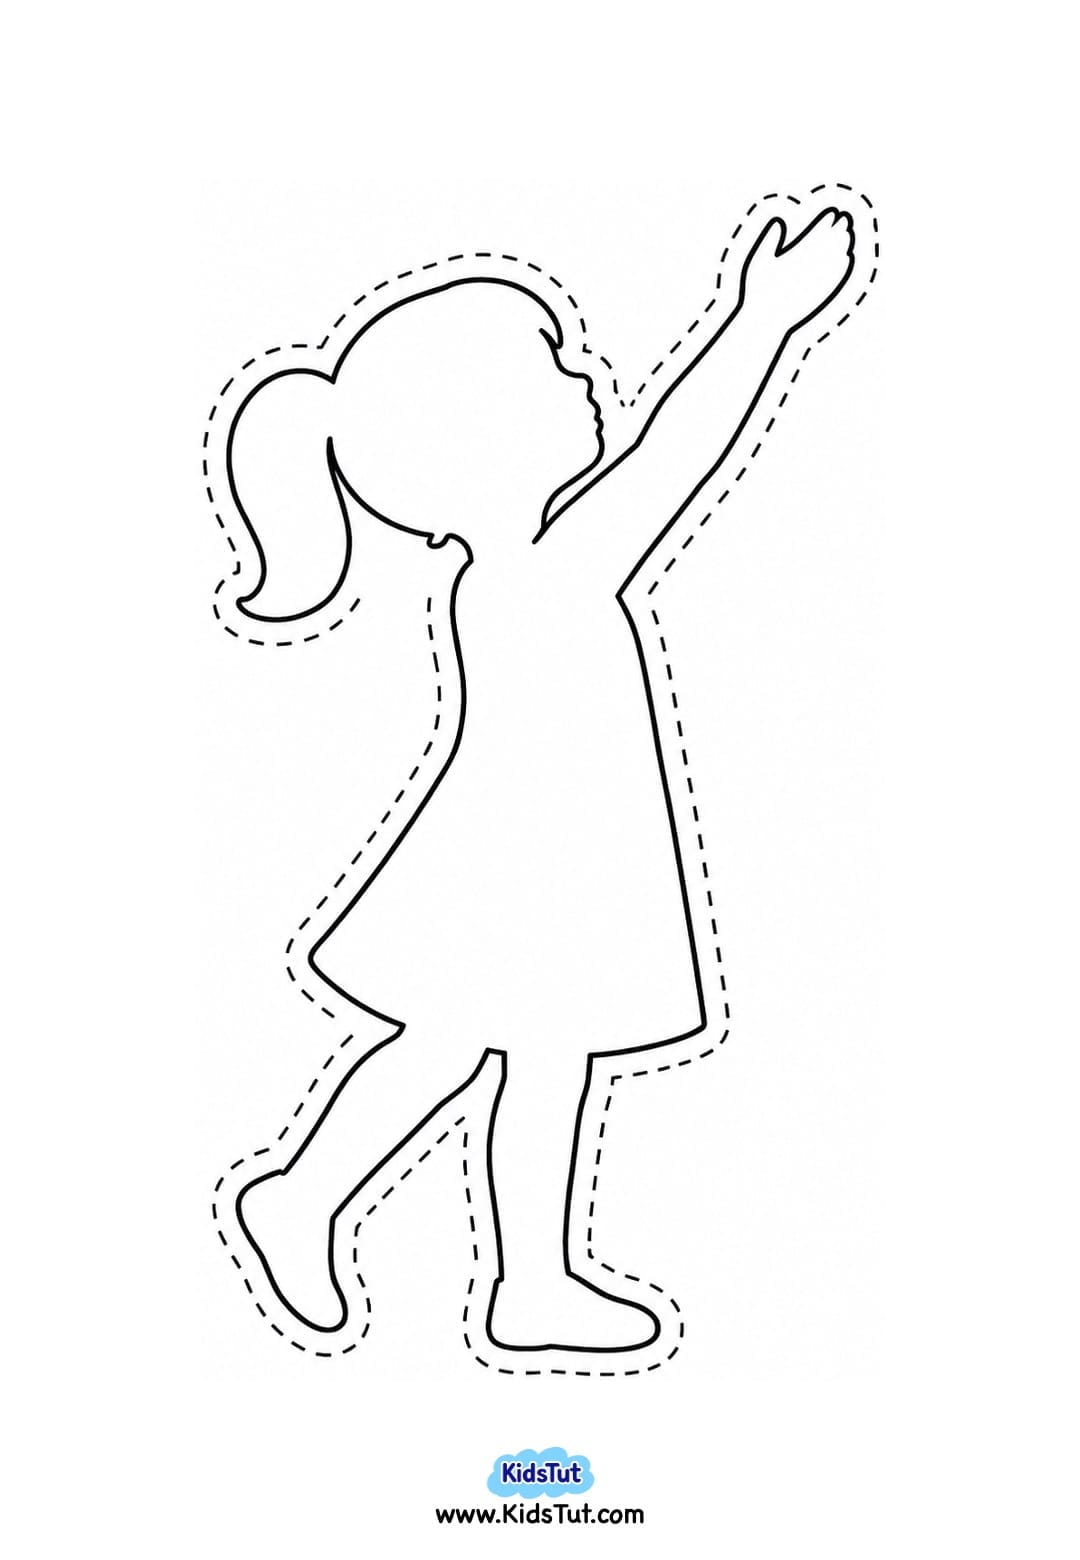
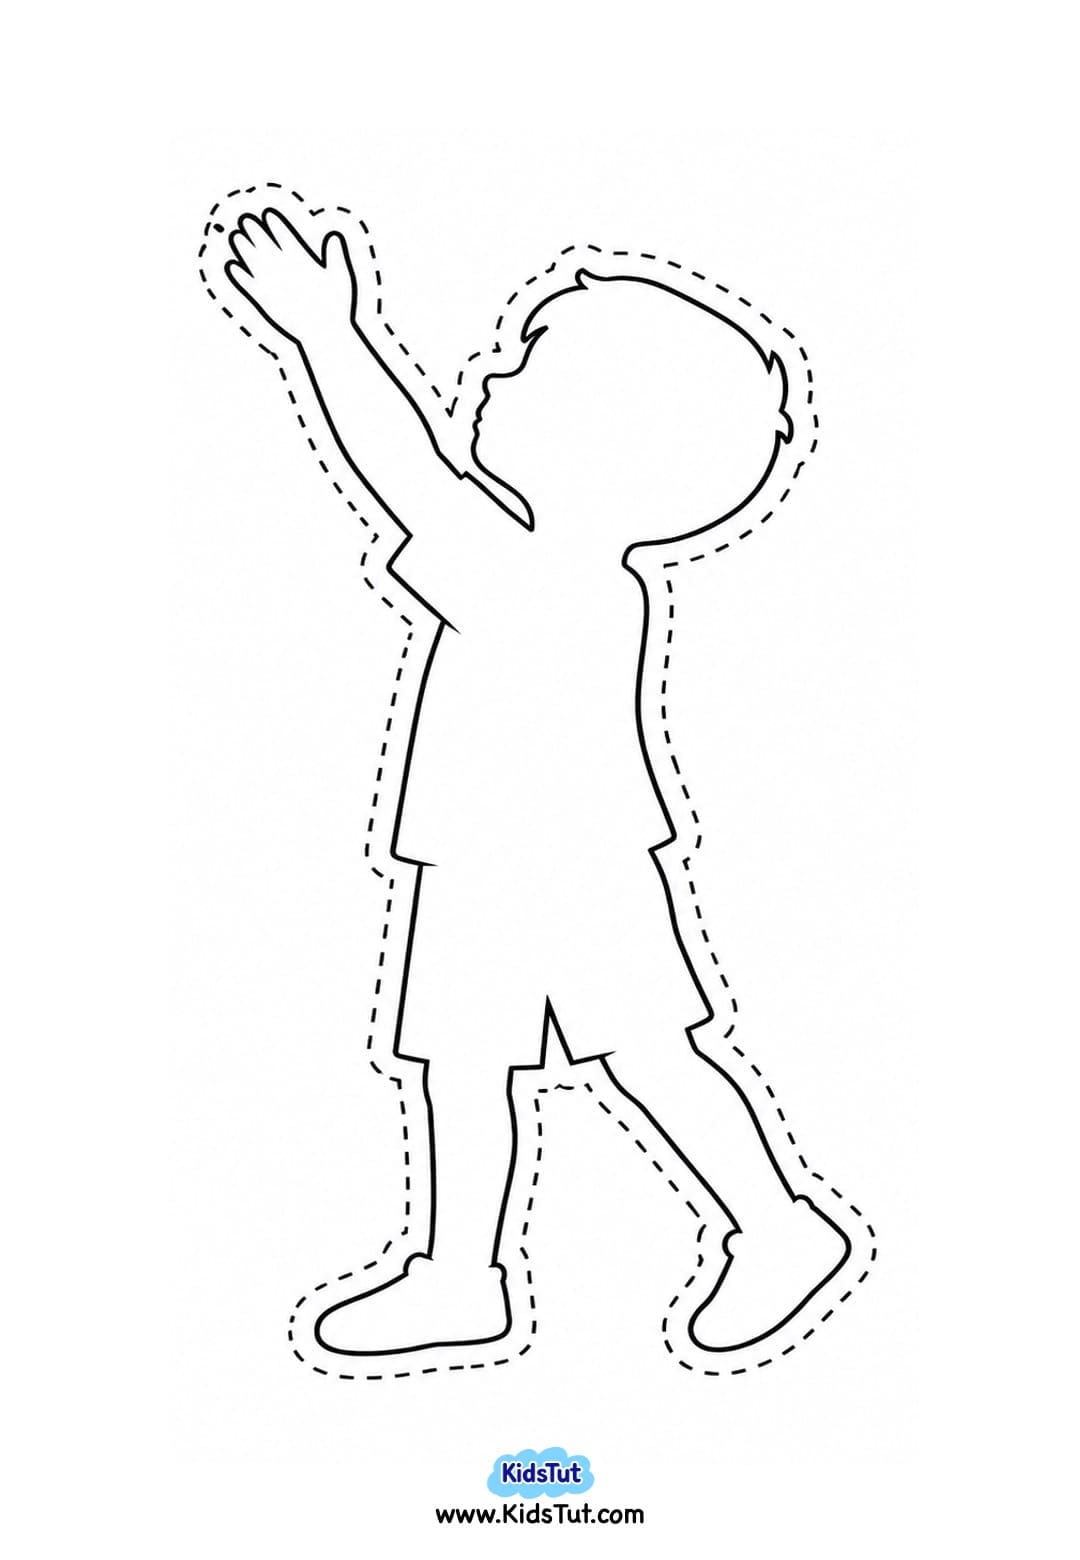
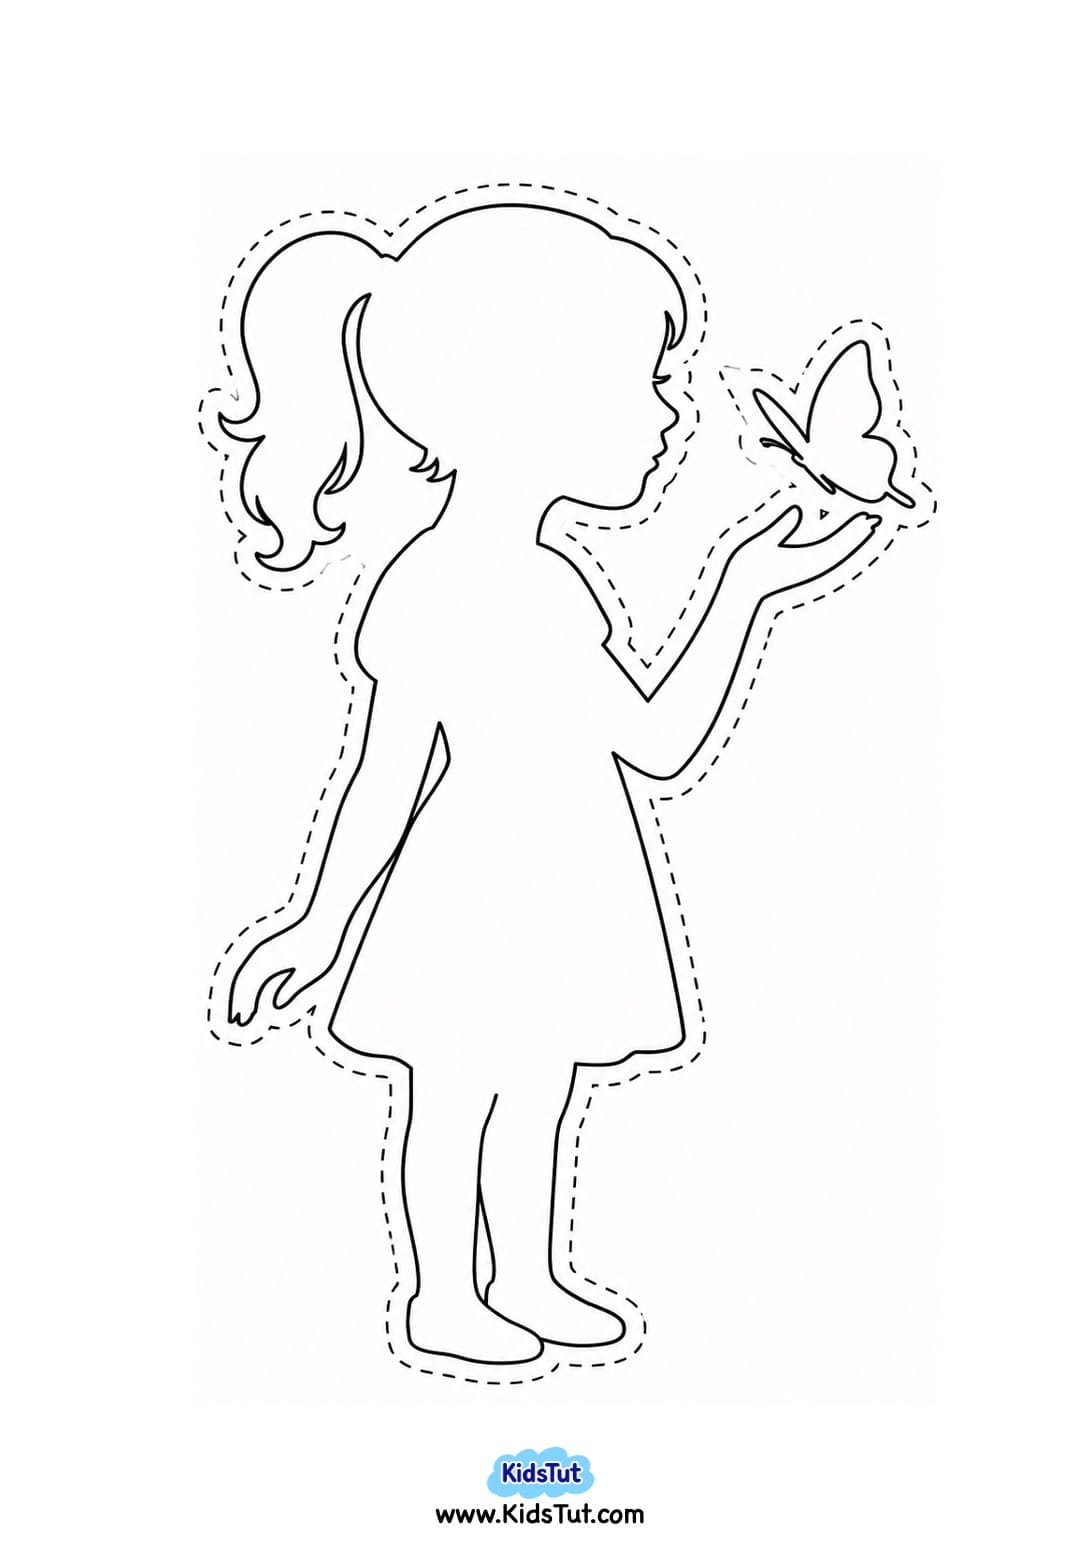
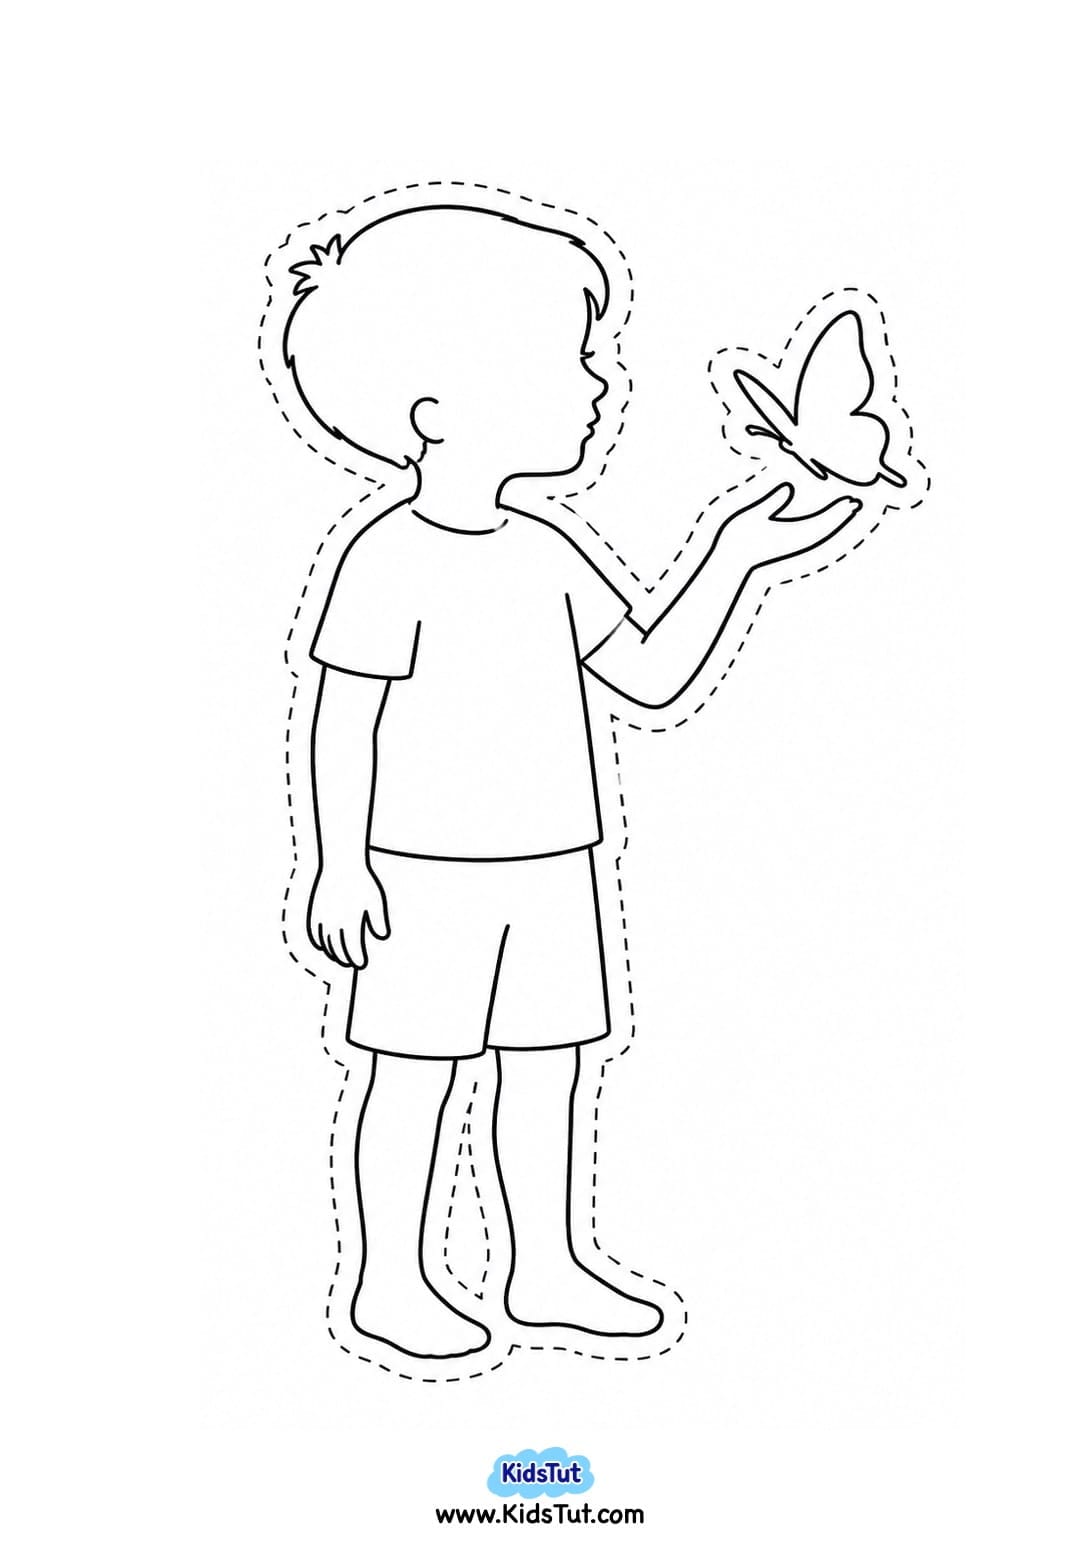
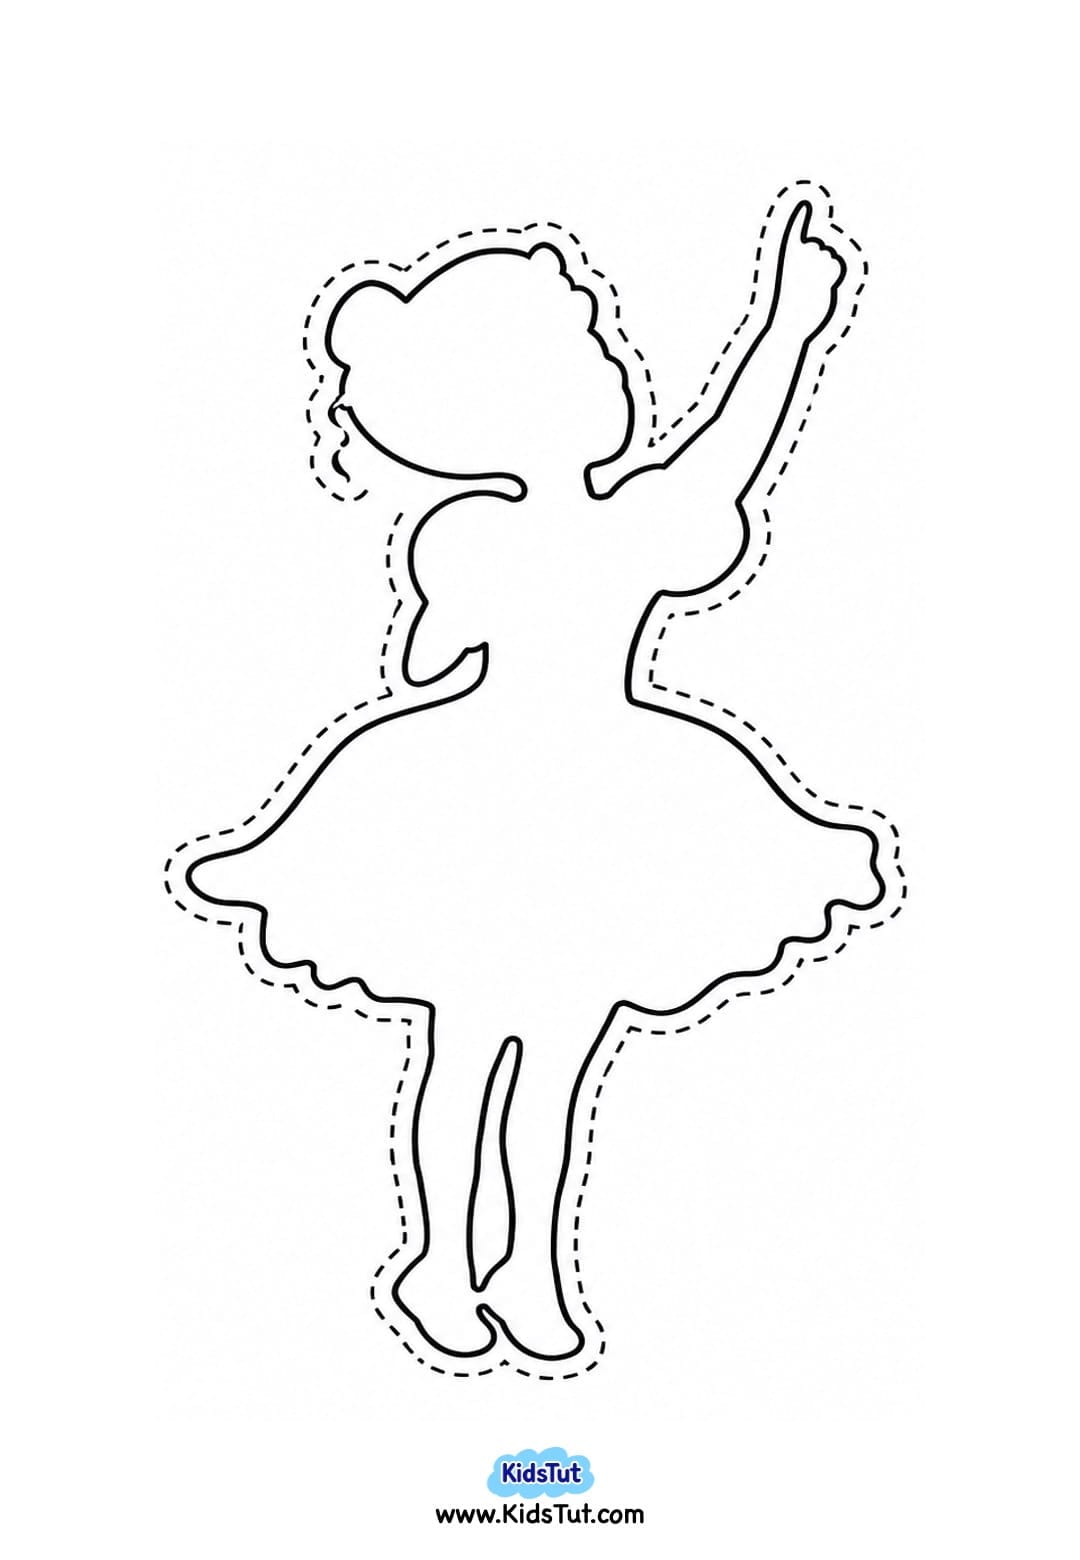
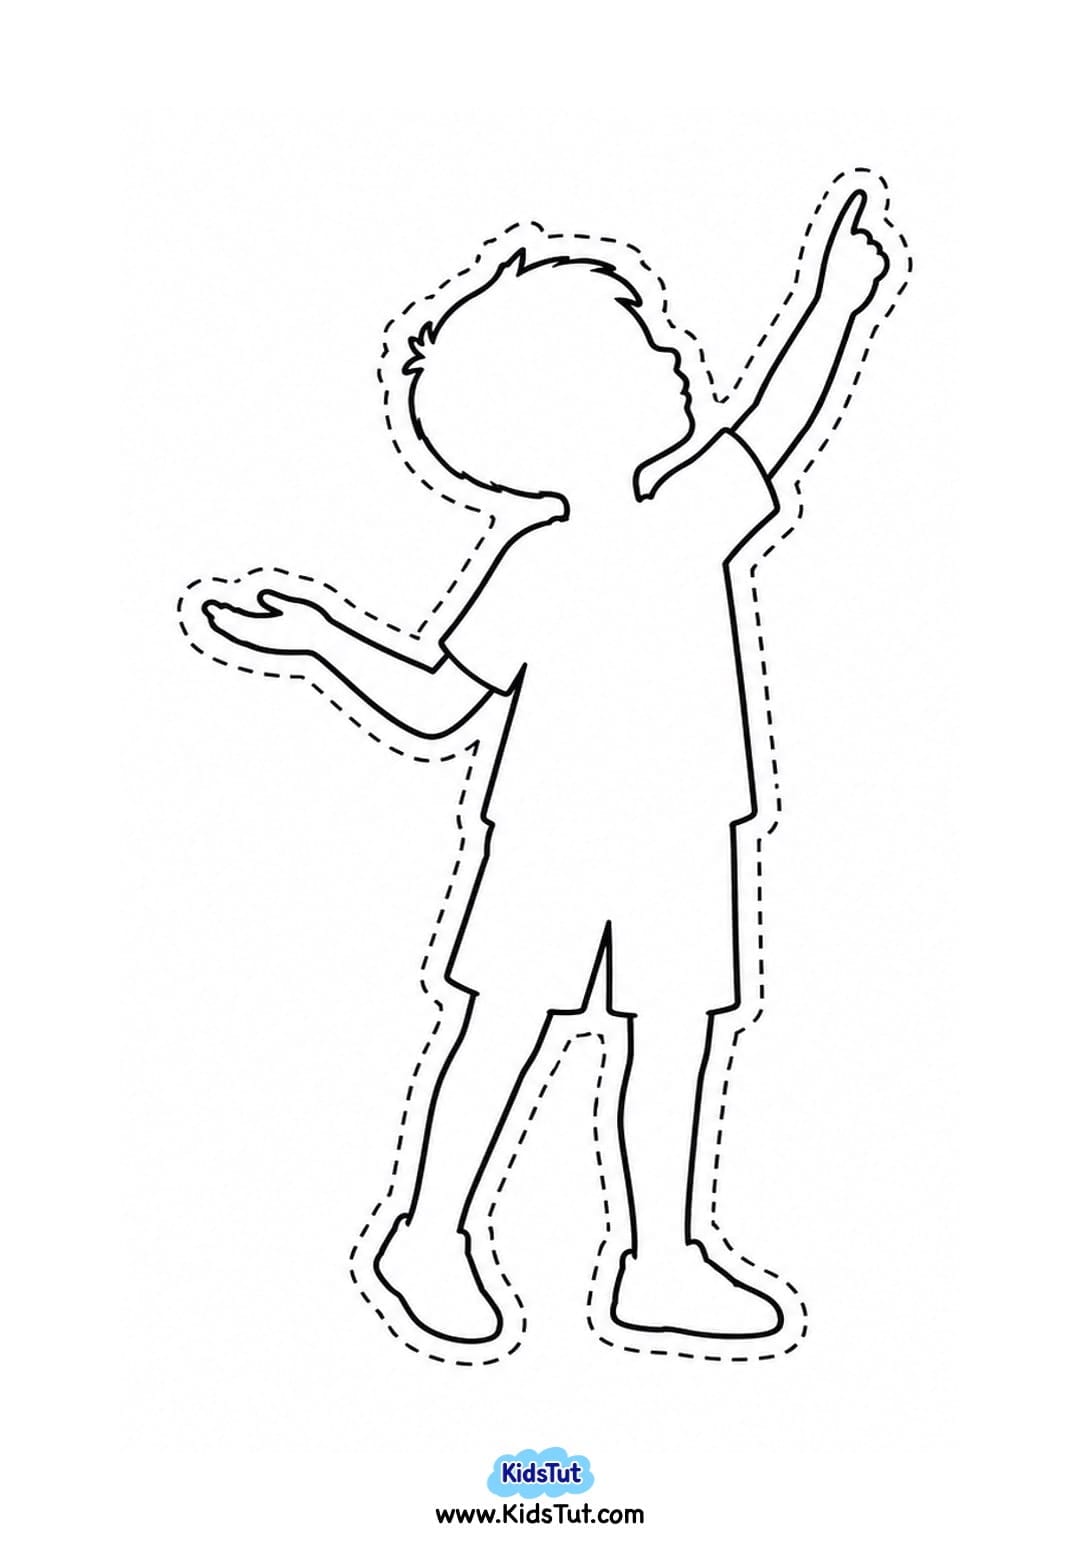
- Printable kid silhouettes (girl and boy)
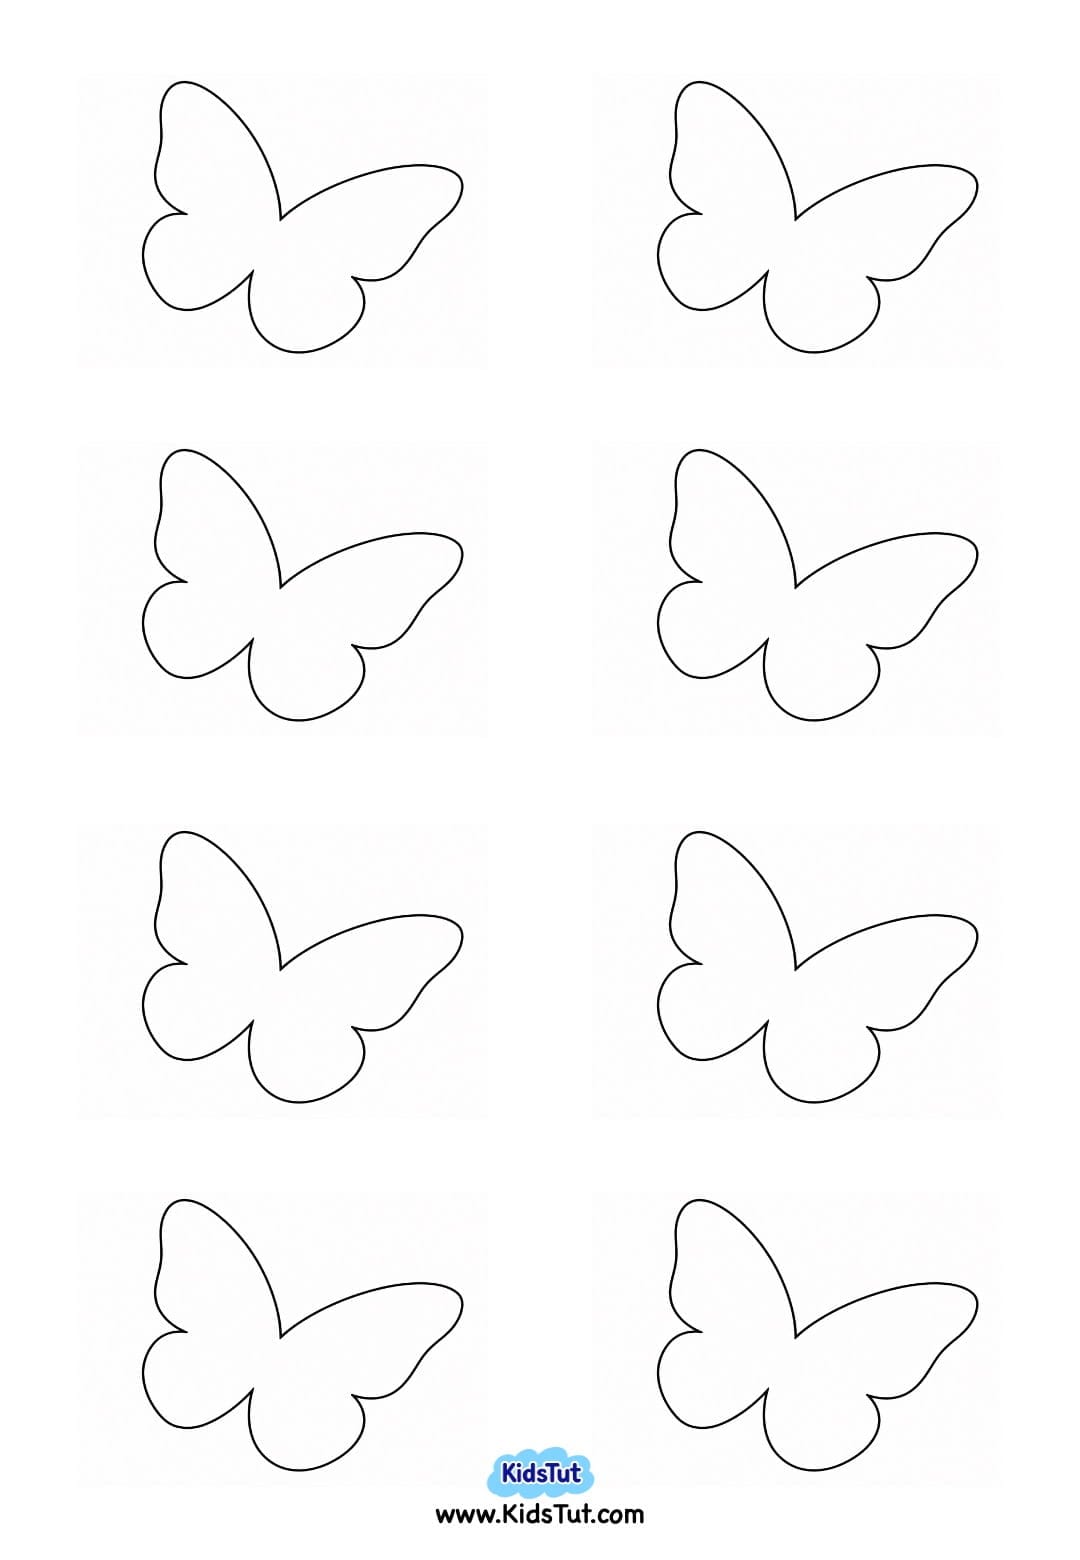
- Printable butterfly templates
- Crayons, markers, or paints
- Scissors
- Glue
How to Make
- Prepare background:
- Use large black paper (about 2 A3 sheets or demi size).
- Paste it on a matching wall space.
- Make kid silhouettes:
- Print kids on white sheets (girl and boy).
- Cut them out neatly.
- Paste them at the bottom of the black background.
- Create butterflies:
- Print butterfly templates and cut them out separately.
- Fold each butterfly along its symmetrical line.
- Apply glue only along the fold line.
- Paste butterflies on the top area of the black background, as if flying upward from the kids.
- Keep wings free without pasting to give a 3D effect.
- Dry and finish:
- Let the craft dry completely.
- Finally, write a welcome message or any classroom message to finish your wall art.
🌟 Benefits
- Boosts creativity – Kids design their own butterfly arrangement.
- Improves motor skills – Cutting, folding, and pasting build coordination.
- Encourages imagination – Children feel like they’re releasing butterflies.
- Bright classroom décor – Adds color and joy to walls.
- Supports teamwork – Perfect for group projects.
Templates:
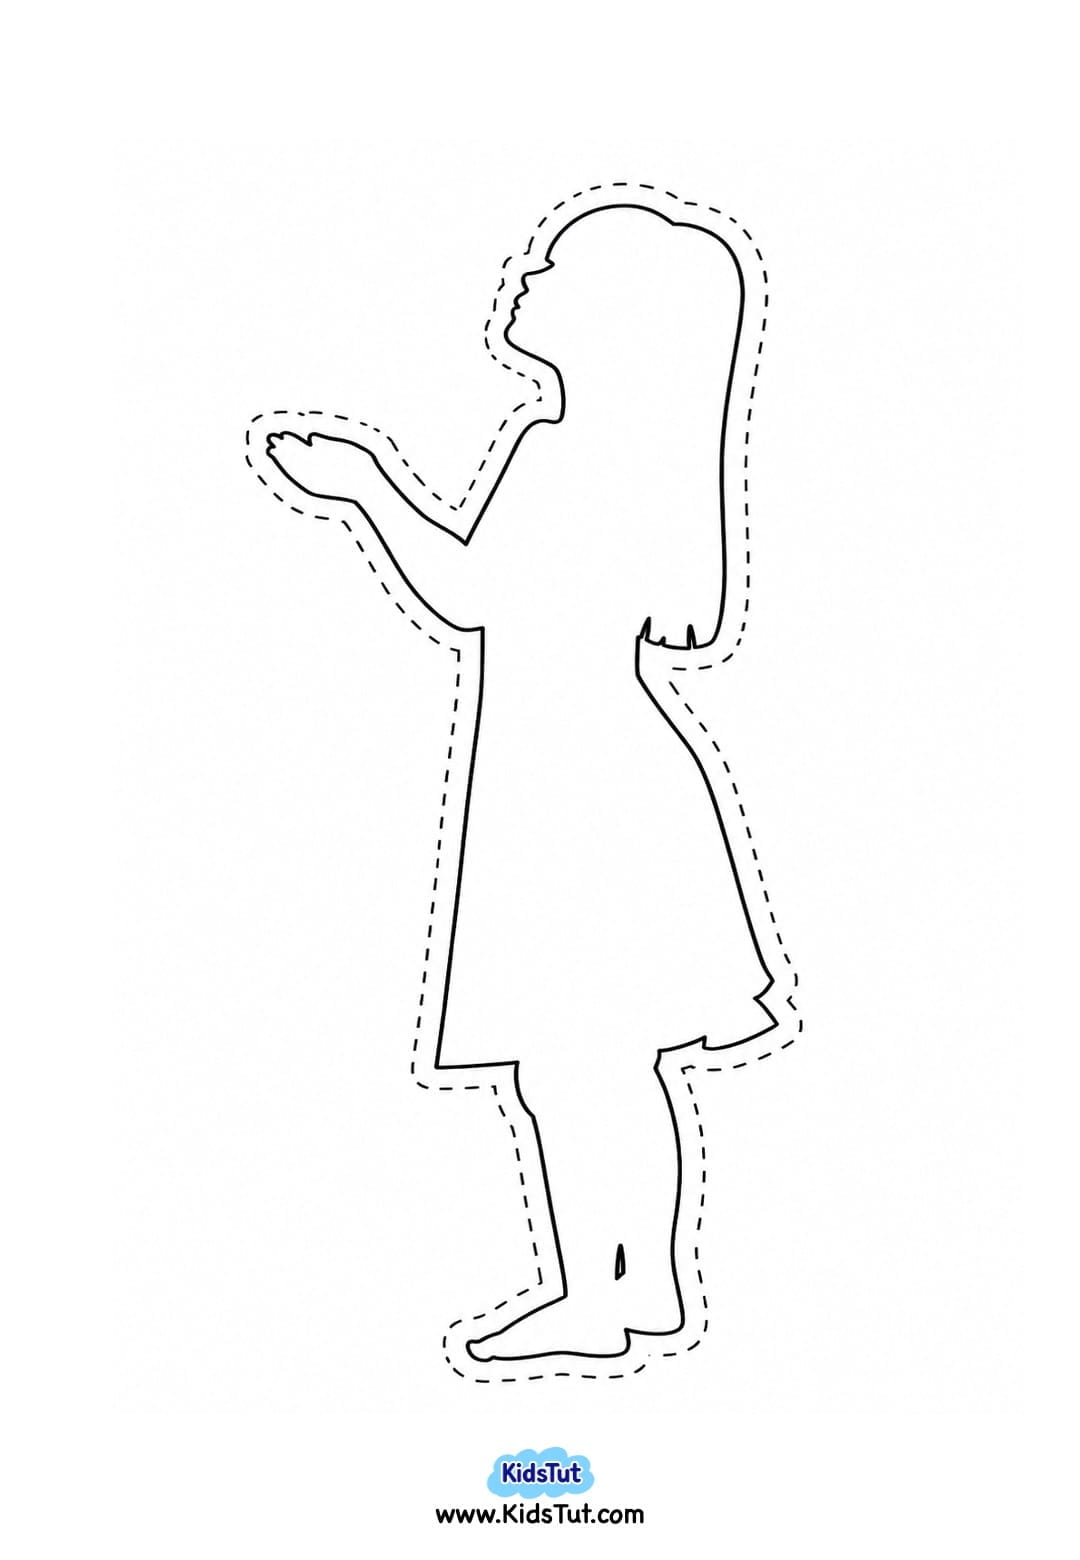
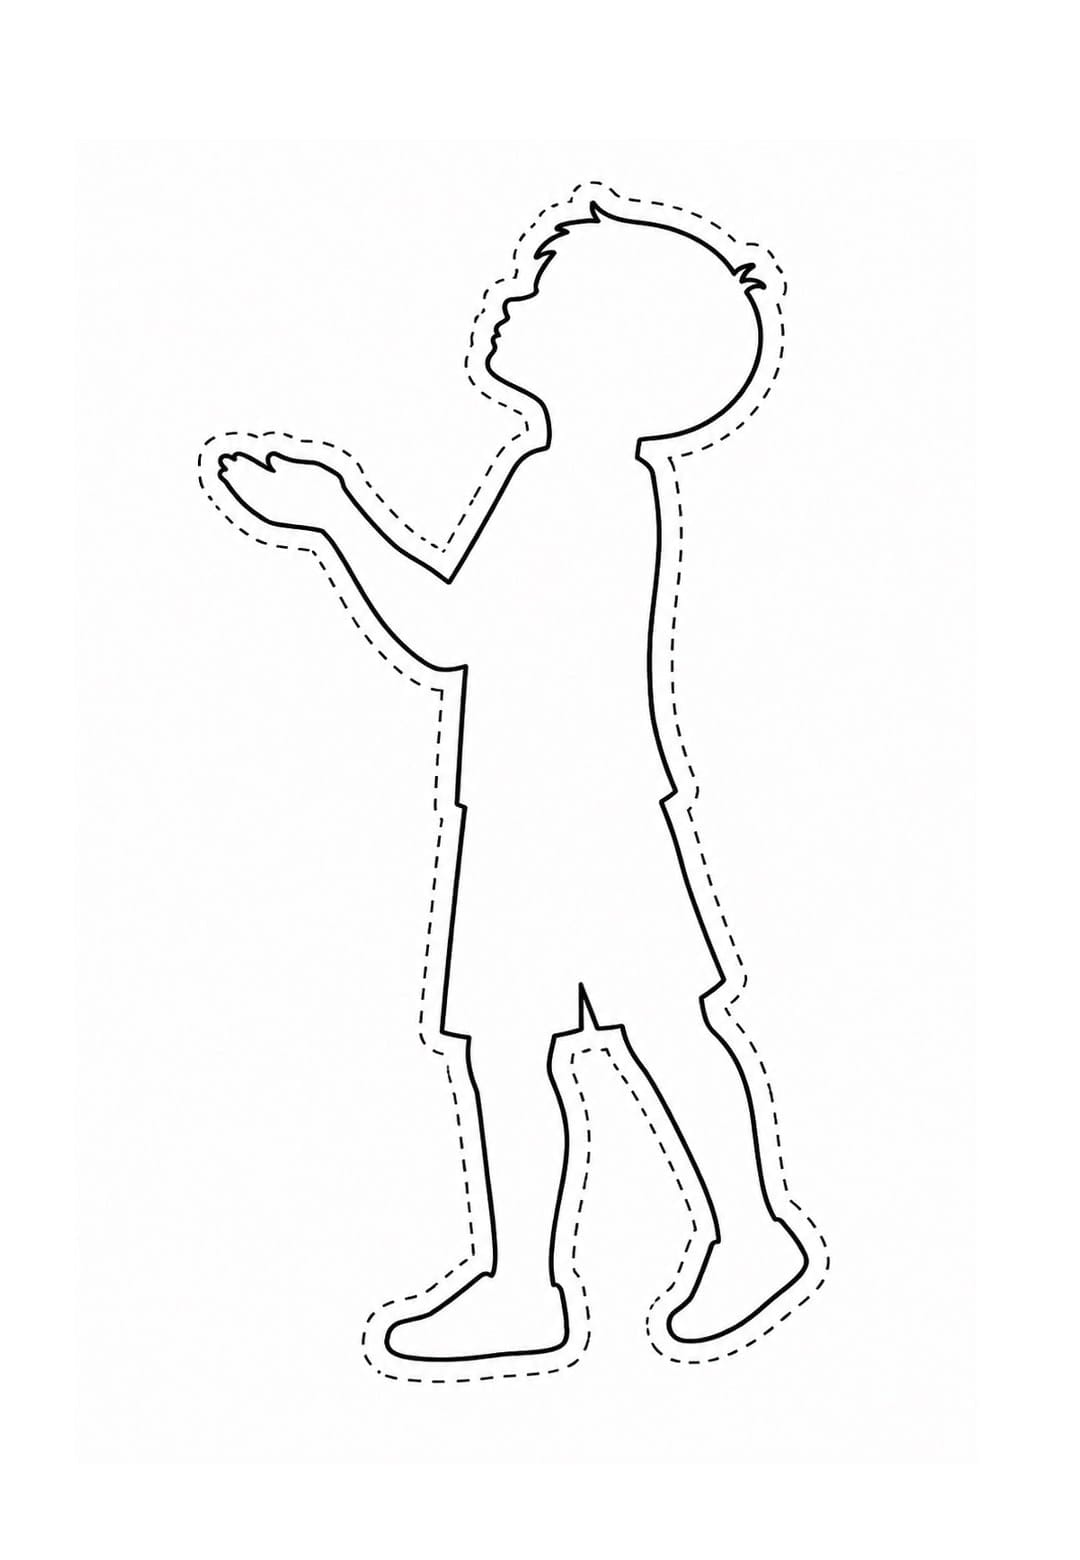

Click here to get the FREE PDF template: Download (Printable)