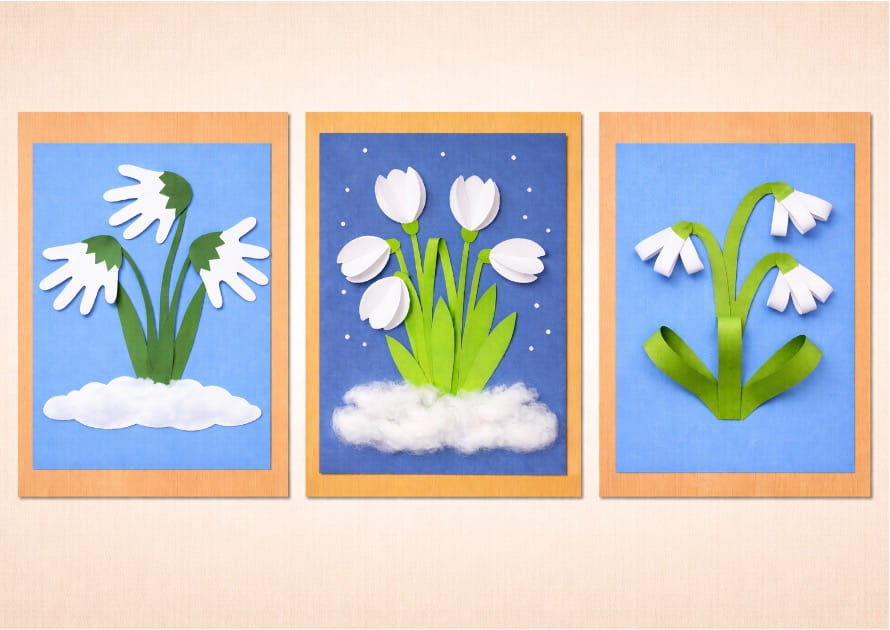
Snowdrop flowers are one of the first signs of spring, and kids will love making their own paper versions! With the easy templates you have, children can color, cut, and paste to create pretty snowdrop crafts that look bright and cheerful. This activity is simple, fun, and perfect for classrooms or at home.
What You Need:
- Printed snowdrop flower templates
- Colored construction paper or tissue paper
- White construction paper or tissue paper
- Crayons, markers, or colored pencils
- Paints (optional for extra decoration)
- Cotton (for fluffy bases or snowy effect)
- Glue stick or liquid glue
- Safety scissors
How to Make:
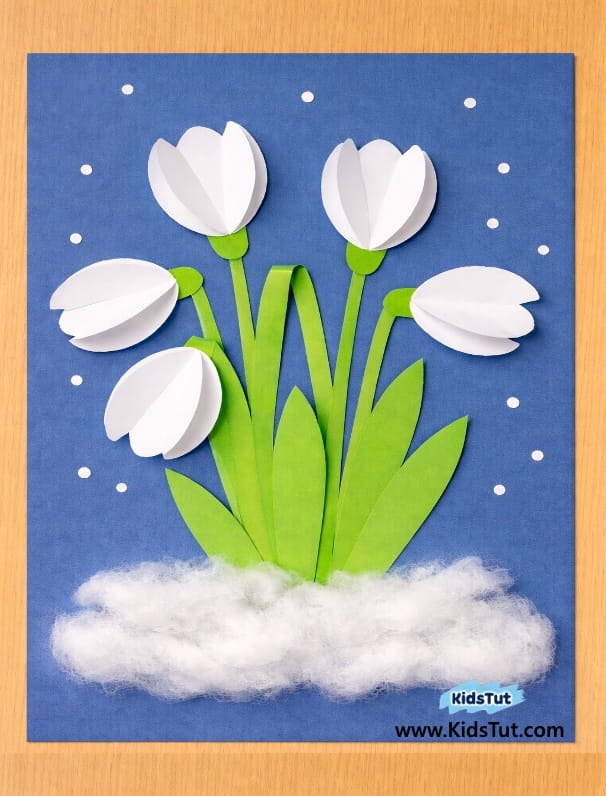
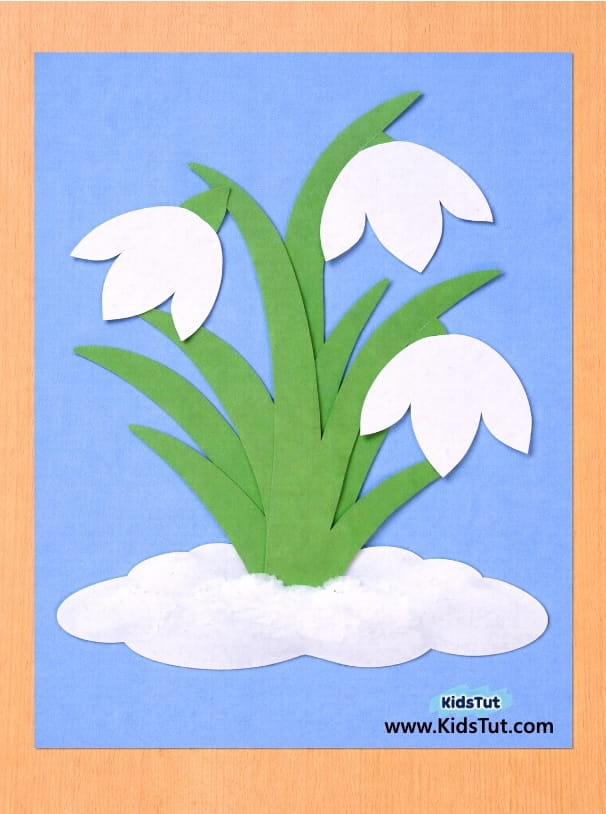
01. Paper Oval Snowdrop Flower Craft for Kids
Step 1: Take a blue sheet for your background.
Step 2: Print the templates.
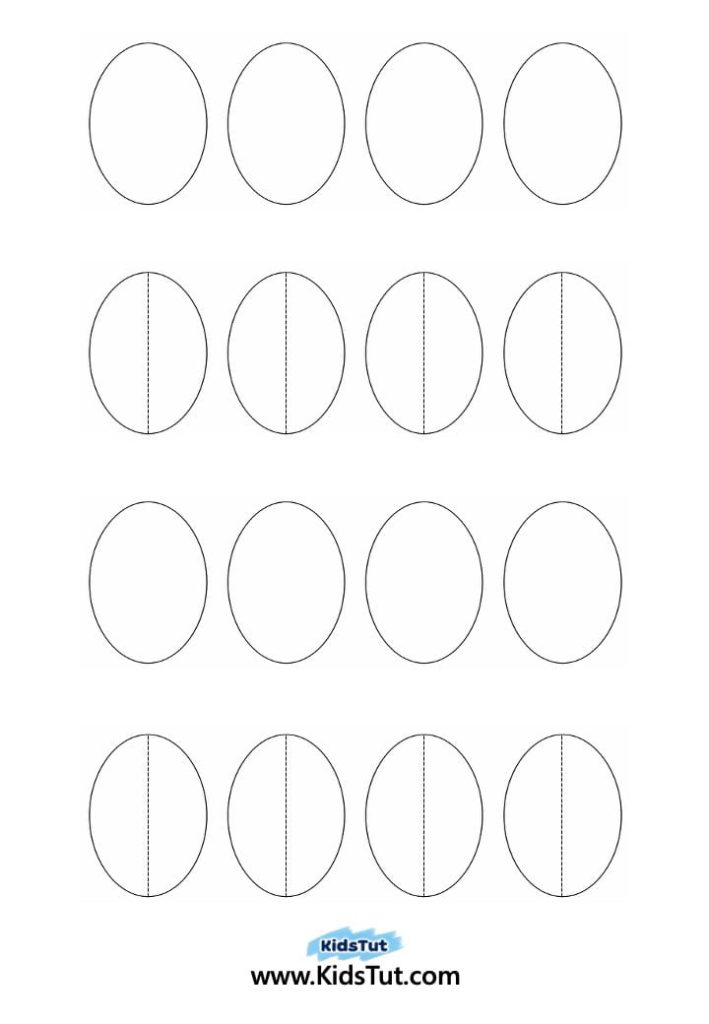
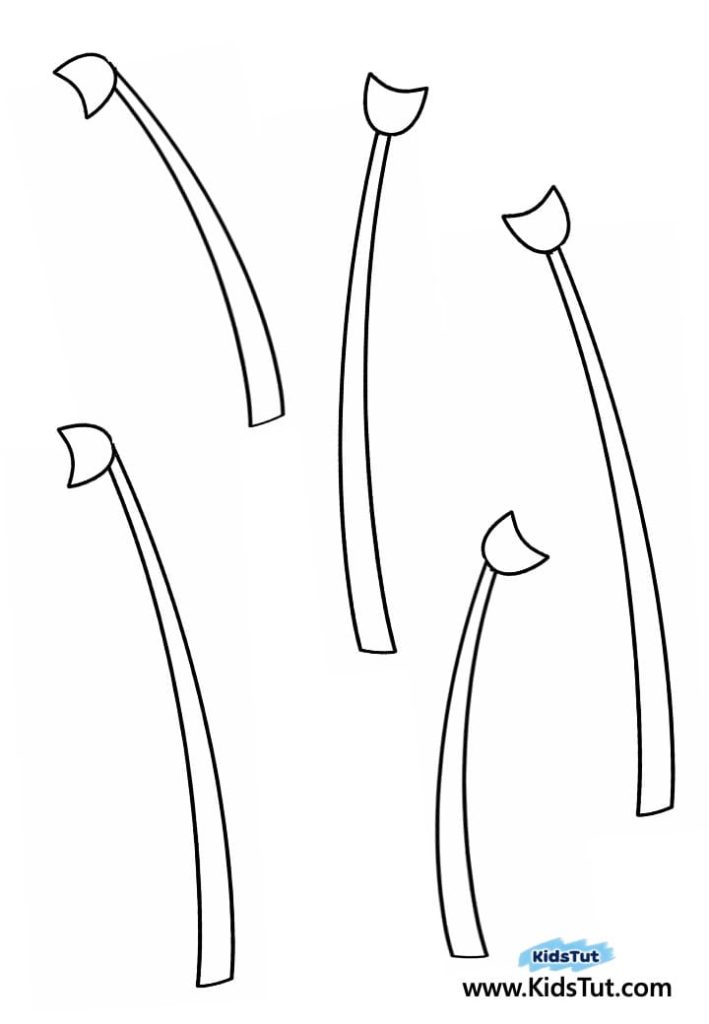
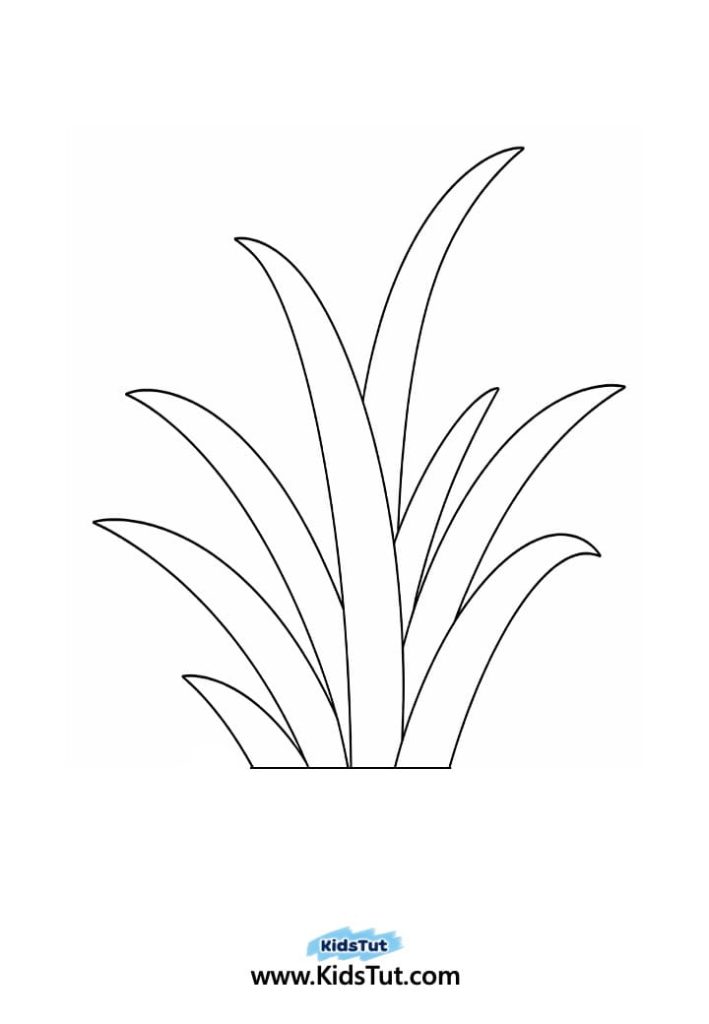
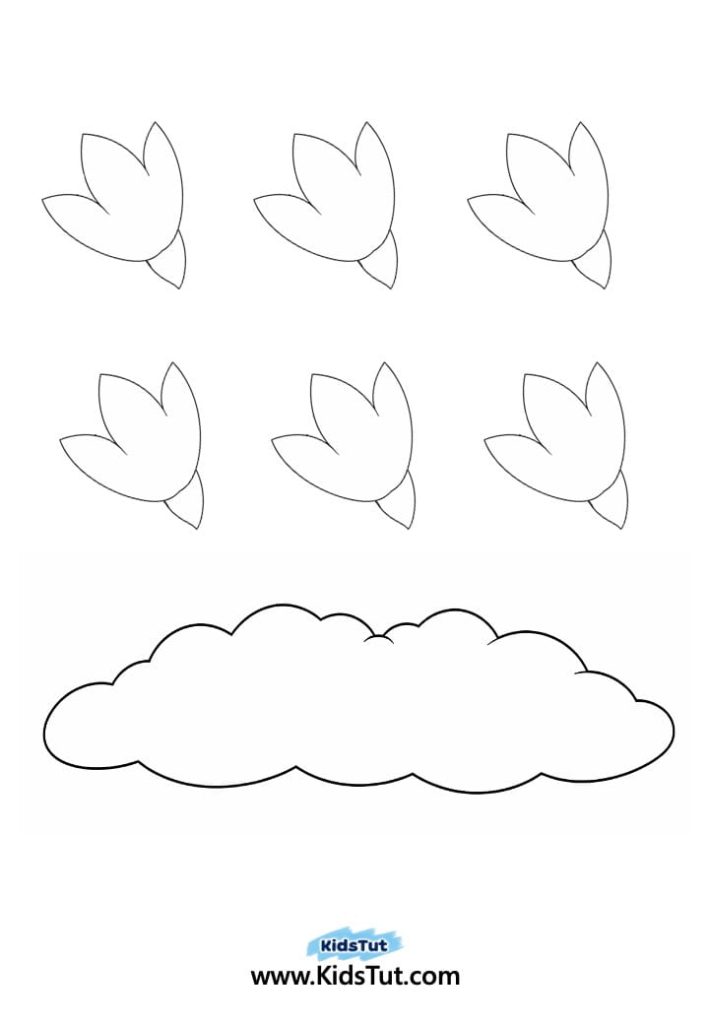
- You will see: snow base, grasses, stems, and oval shapes.
- Print them on colored paper or white paper.
- If you use white paper, color the stems and grasses green. Keep the ovals white.
Step 3: Look at the example image and paste your templates on the blue sheet.
- First, paste the stems.
- Then paste the grasses.
- Paste the snow base at the bottom to cover the stems and grasses.
Step 4: Make the flowers.
- Use three ovals for each flower.
- Take one oval without a dashed line and paste it at the end of a stem.
- Take two ovals with dashed lines, fold them along the lines, and paste them on both sides of the first oval.
- Paste them a little diagonally so they look like petals.
- Don’t fully cover the middle oval. let it show.
- Repeat for all stems.
Step 5: Make the snow base.
- Paste cotton on the bottom snow area.
Step 6: Add details.
- If you like, paint small white dots on the blue background to look like snowflakes.
Step 7: Your snowdrop craft is ready!
Templates:
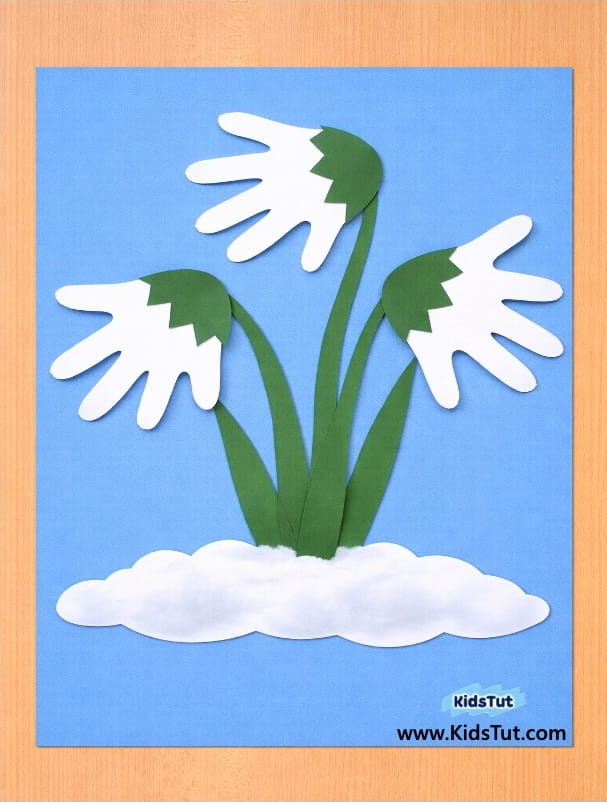
02. Handprint Snowdrop Flower Craft for Kids:
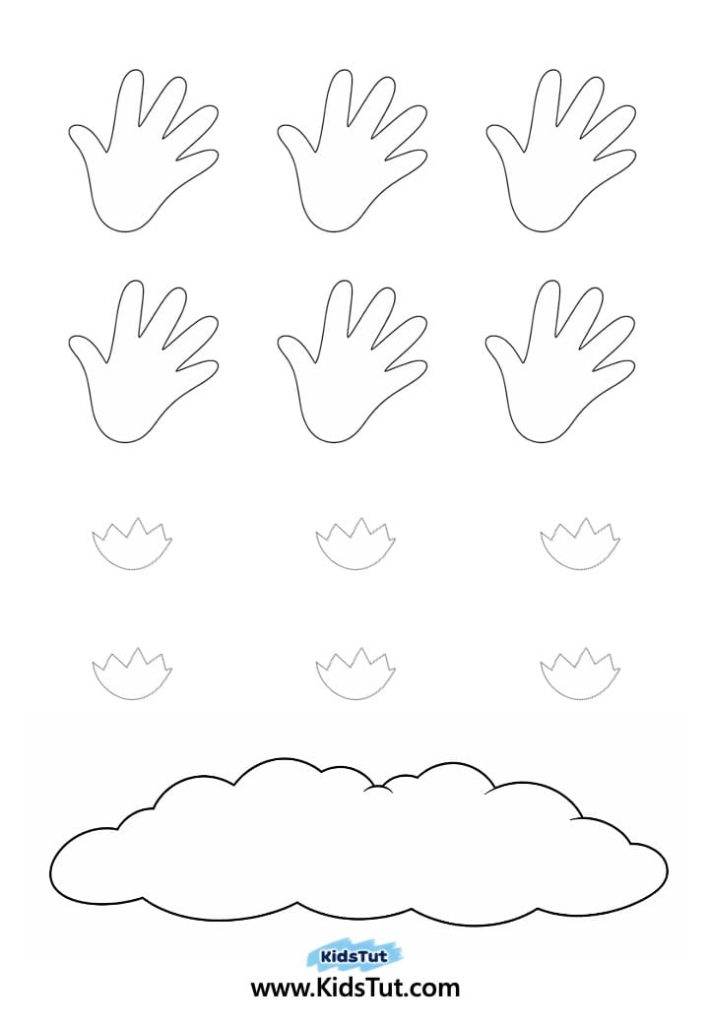
Step 1: Print the templates.
- You will get: handprint flowers, sepal parts, snow base, stems, and grasses.
- You can also trace and cut out kids’ handprints instead of using the template.
Step 2: Take a blue sheet for the background.
Step 3: Paste the pieces.
- First, paste the stems.
- Then paste the grasses.
- Paste the snow base at the bottom to cover the stems and grasses.
Step 4: Make the flowers.
- Take three handprints and paste them at the end of three stems.
- Paste a sepal at the bottom of each flower.
- Kids can trace and cut out their own handprints instead of using the template.
Step 5: Add the snow.
- Use cotton to cover the snow base.
Step 6: Your handprint snowdrop craft is ready!
Templates:

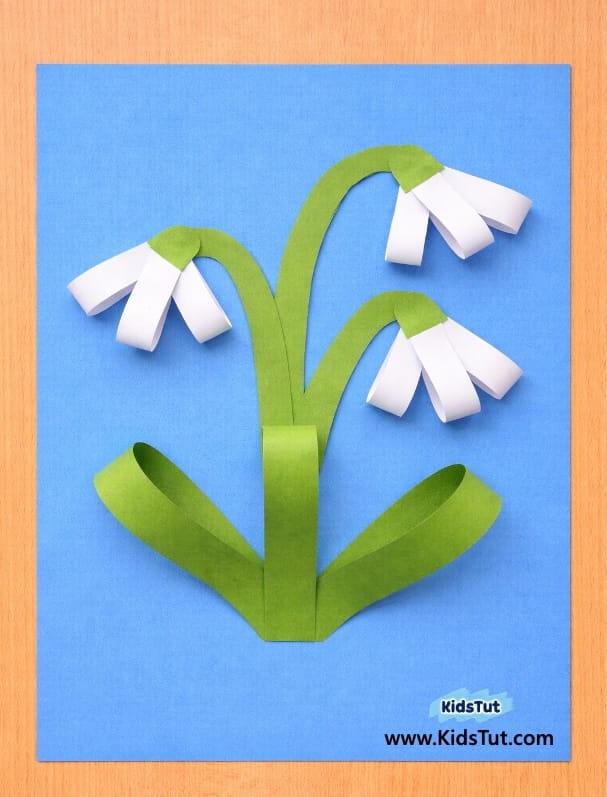
03. Paper Loop Snowdrop Flower Craft for Kids
Step 1: Print the templates.
- Print long strips and stems on green paper.
- Print small strips on white paper.
Step 2: Get a blue sheet for the background.
Step 3: Paste the stems.
- Paste three stems on the background sheet.
- Leave the ends of the stems without glue for now.
Step 4: Make the flowers.
- Use three small white strips for each flower.
- Fold each strip and paste the ends together to make a loop.
- Paste the three loops under the end of one stem.
- Repeat for all stems.
Step 5: Cover the stem ends.
- Paste the stem ending part over the flower strip ends to hide them neatly.
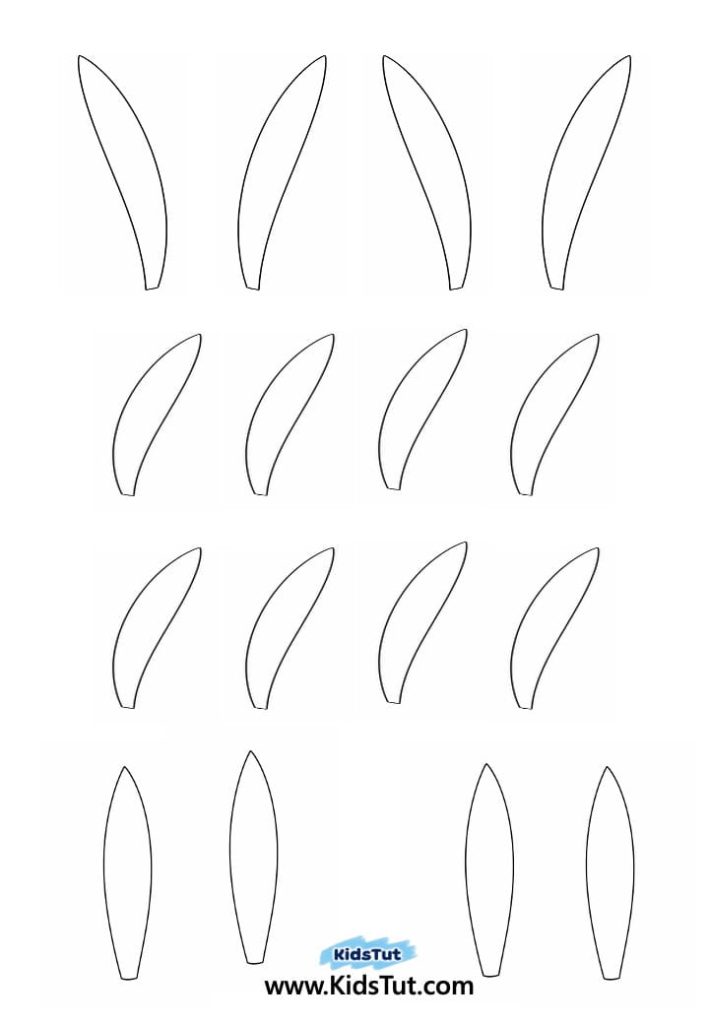
Step 6: Make the leaves.
- Take long green strips, fold them, and paste both sides together.
- Use three or four folded strips for leaves.
- Paste them at the bottom of the stems to cover the stem endings.
Step 7: Your paper loop snowdrop craft is ready!
Templates:
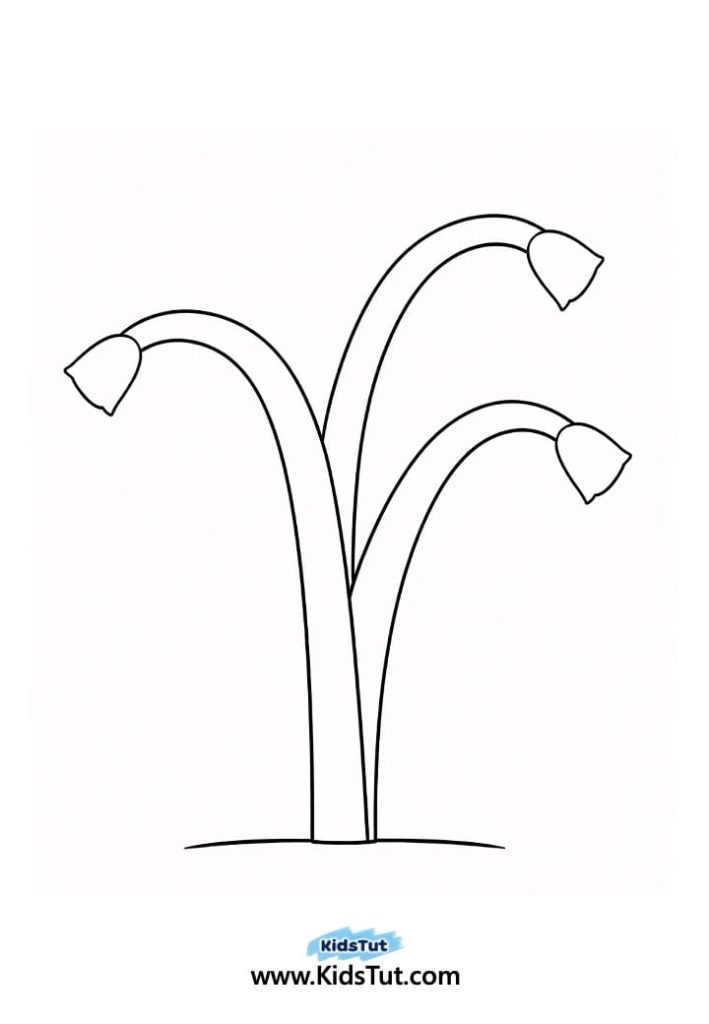

04. Snowdrop Paper Flower Cutout Craft for Kids
Step 1: Print the templates.
- Print grasses with stems on green paper.
- Print flowers with flower ending parts and the snow base on white paper.
- Color the flower’s end parts with green markers.
Step 2: Get a blue sheet for the background.
Step 3: Paste the base pieces.
- Paste the stems with grasses on the blue sheet.
- Paste the cotton snow base at the bottom to cover the ends of the grasses.
Step 4: Make the flowers.
- Use the flower cutouts and paste them at the ends of the stems.
- Paste the flower ending parts neatly at the bottom of each flower.
Step 5: Decorate the snow base.
- Add cotton on top of the snow base to make it fluffy and realistic.
Step 6: Your snowdrop cutout craft is ready!
Templates:
05. Tissue Paper Crumpled Snowdrop Flower Craft
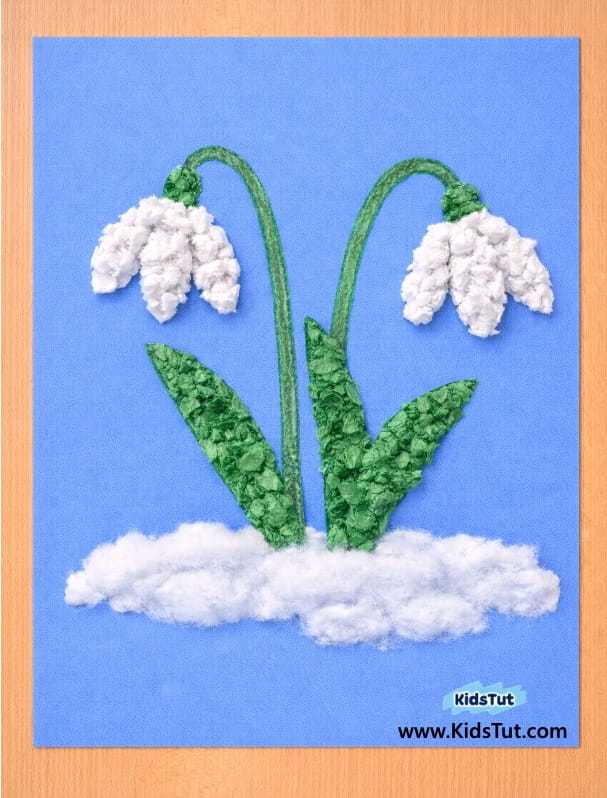
Step 1: Print the snowdrop flower full image on a blue sheet.
Step 2: Color the stems with green markers.
Step 3: Prepare tissue paper.
- Tear green tissue paper into small pieces and crumple them.
- Tear white tissue paper into small pieces and crumple them.
Step 4: Paste the tissue pieces.
- Paste the green tissue pieces on the grass.
- Paste the white tissue pieces on the flowers.
Step 5: Make the snow base.
- Use cotton to cover the snow base and paste it neatly.
Step 6: Let it dry.
- Once dry, display your beautiful snowdrop craft.
Templates:
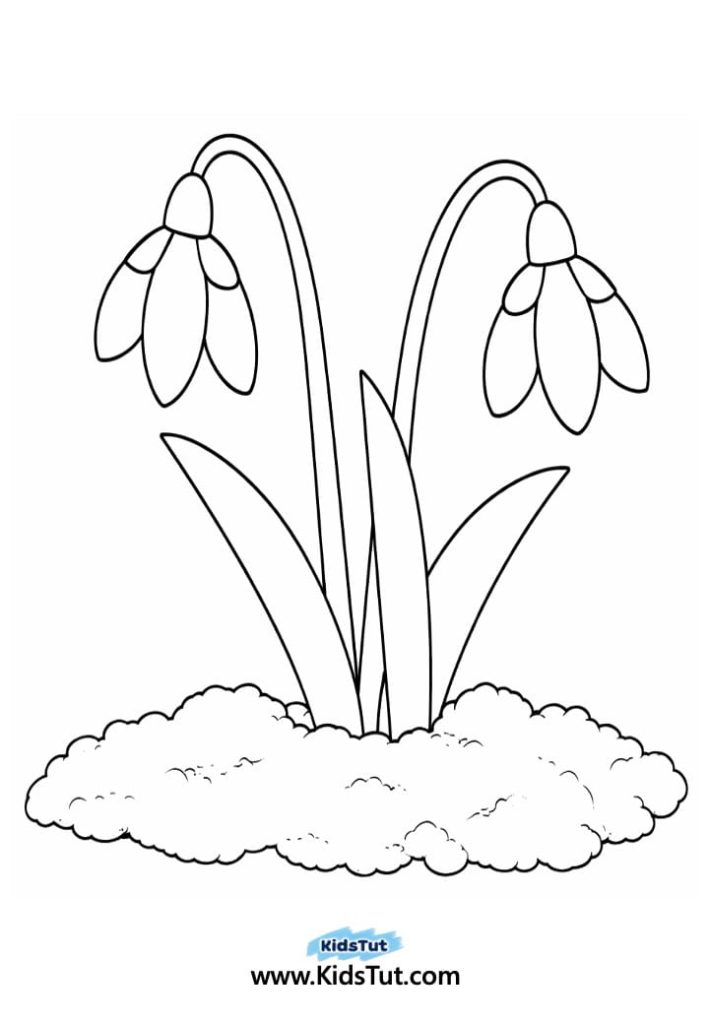

Click here to get the FREE PDF template: Download ( Printable )