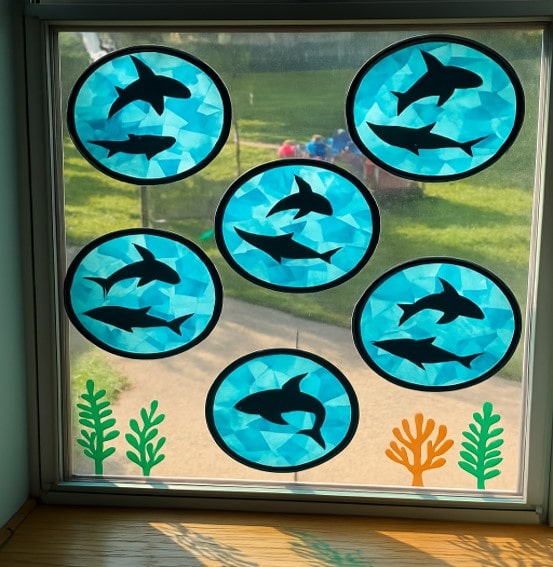
Do you want to experience another ocean Craft? So, we have created a wonderful and unique ocean Craft featuring sharks. In addition, this will be one of the ocean craft projects that children will love the most. This is a great opportunity for kids to have fun with fine activities like cutting, pasting, and tearing. So, get ready to experience our latest shark crafts.
This is a great way to give your classroom an ocean vibe. It also helps to decorate your classroom windows with beautiful shark crafts. Especially, you only need a few very simple things to make this craft. We provide you with the templates and instructions you need to create the craft for free on this website, so it will be very easy for your children to make this shark craft. Then, let’s dive into this fun activity together!
✂️ Materials you need:
To make this easy shark window art craft, you will need:
- Shark silhouette image templates (provided in the free printable)
- Circle outline template
- Light blue or dark blue tissue paper
- Clear contact paper or laminating sheets
- Scissors
- Glue stick
- Black construction paper (optional for extra sharks)
- String or tape (if hanging)
📝 Step-by-step instructions:
🦈 Step 1: Print your templates
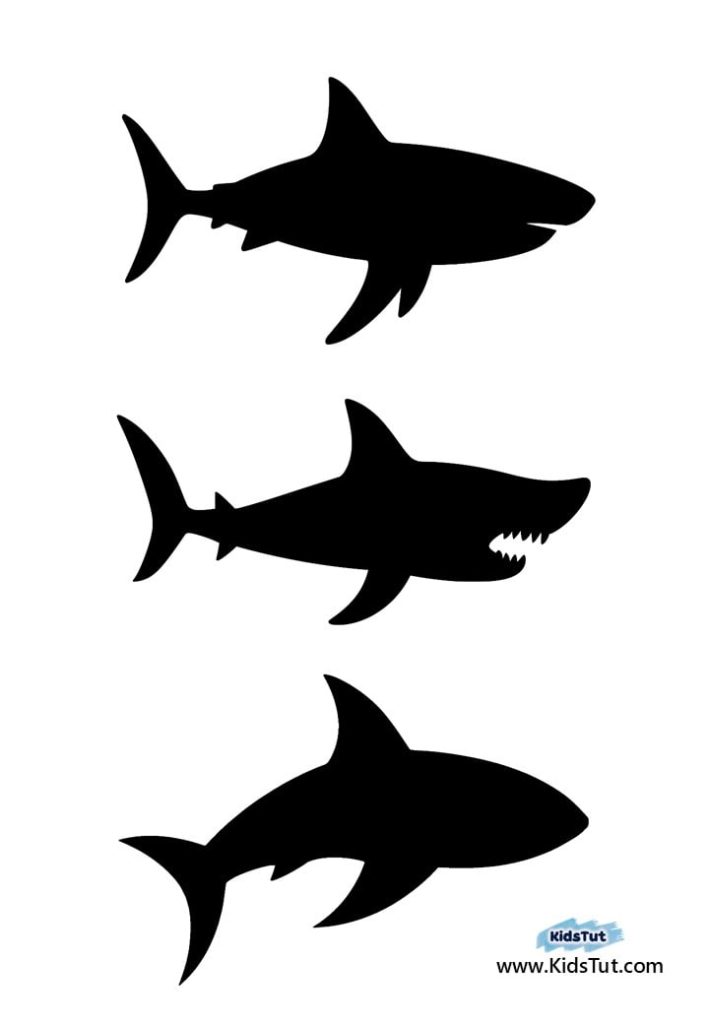
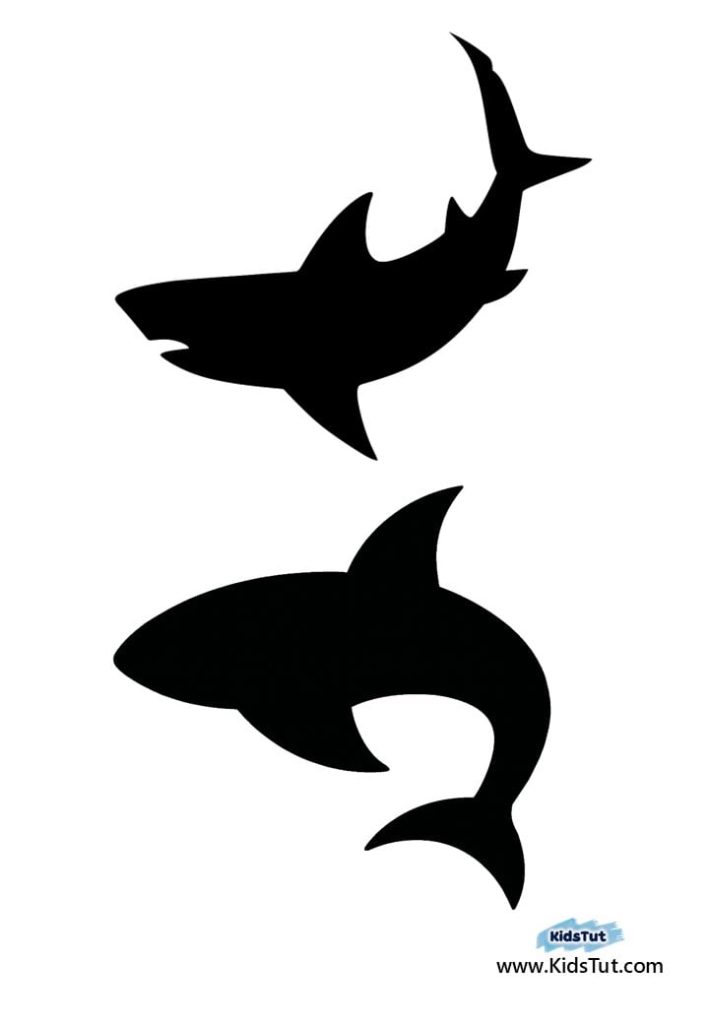
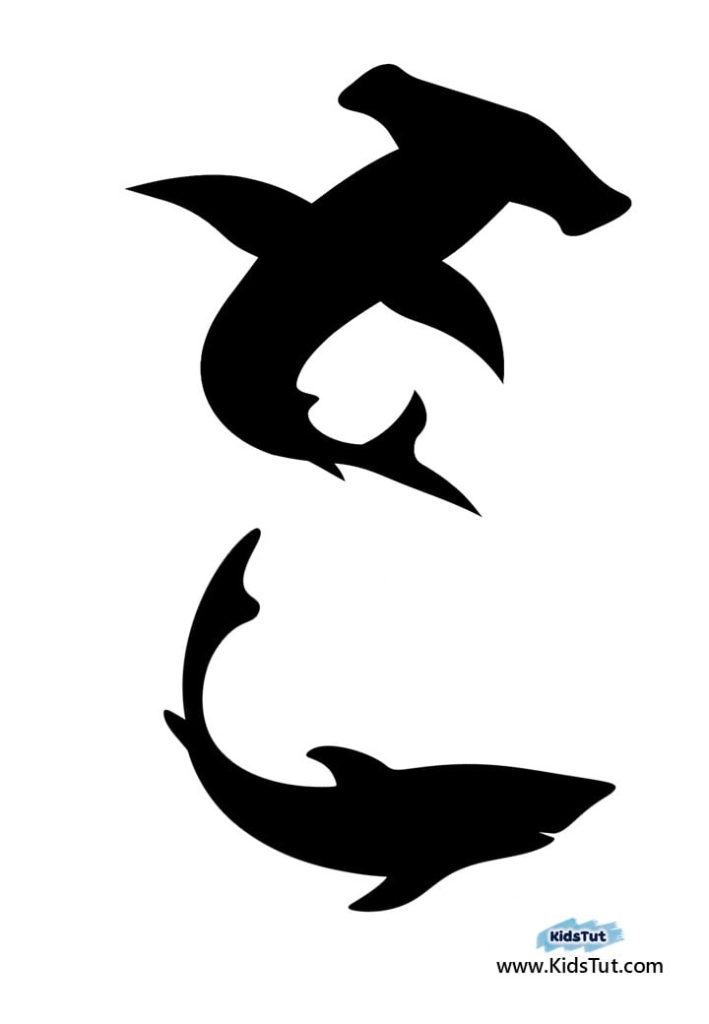
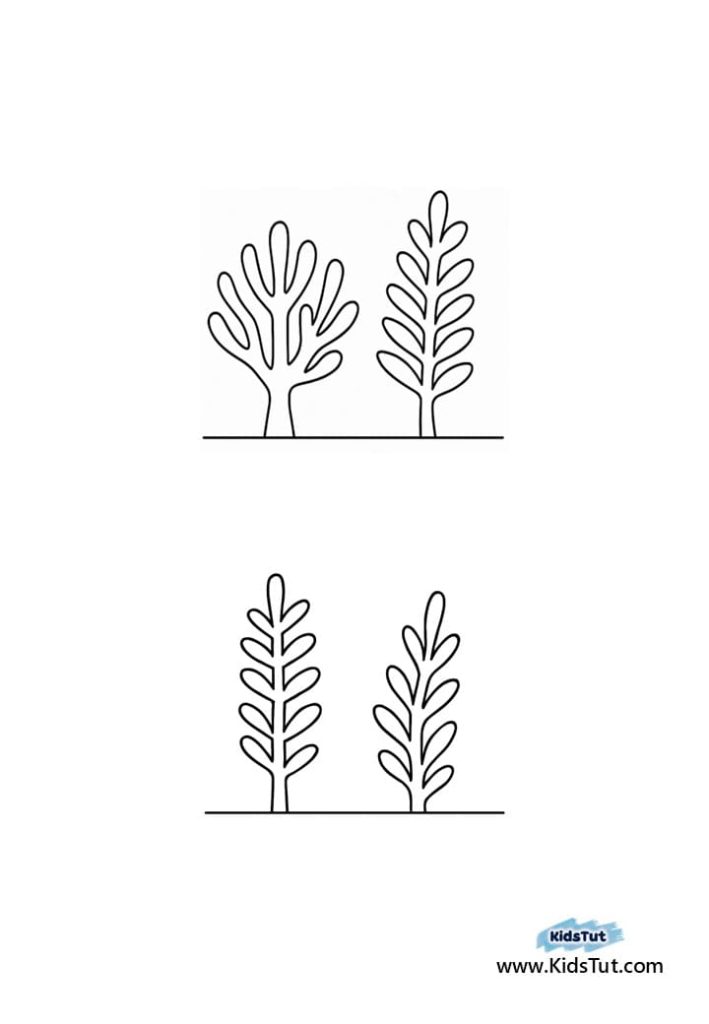
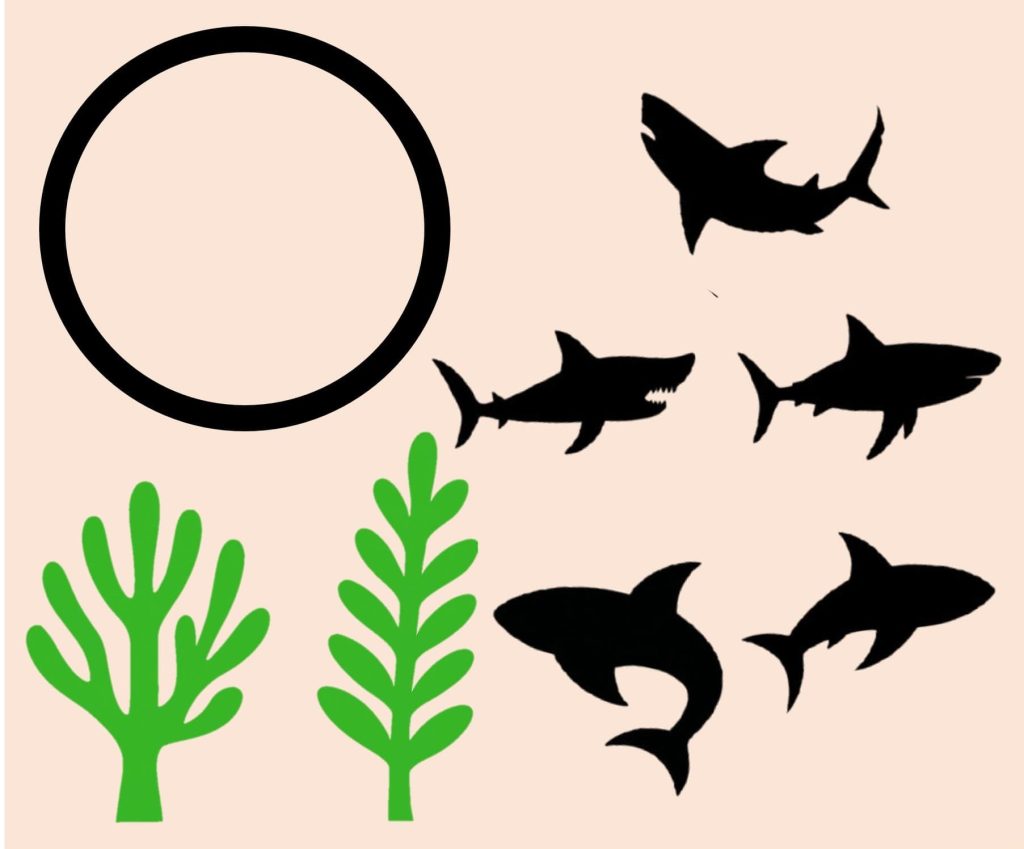
Here we have given you 5 template pages. They are,
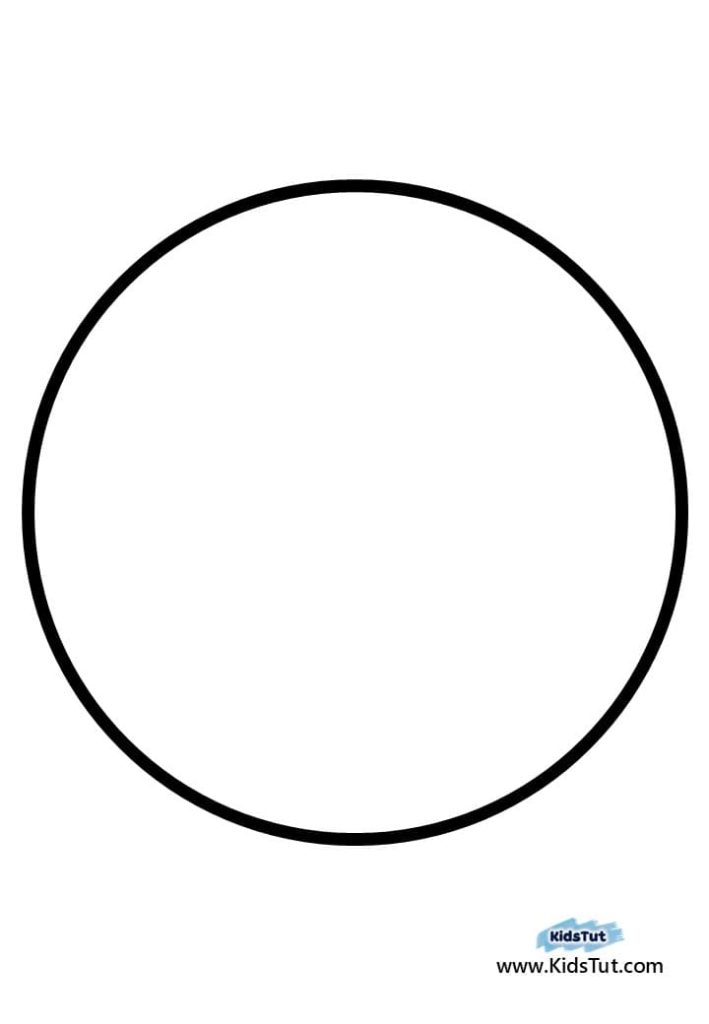
- circle template with a dark outline.
- template of different types of shark shells
- Seaweed outline template
Firstly, you need to print the templates above. Also, use white printer paper for this. However, you can get better quality templates from the PDF file below.
Click here to get the free PDF template: Download
🦈 Step 2: Cut out the templates
Now, let’s start cutting out your printed templates. Children can use child-friendly scissors for that. Also, while cutting, try to cut carefully so that the shape of the image is not changed. The youngest children will definitely need your help cutting out the shapes. Also, be sure to consider the following points when cutting out the templates.
- When cutting the circle template, cut it into a ring, leaving only the solid outline.
- When cutting the shark templates, cut carefully so as not to damage the shape of the figures.
- Before cutting the seaweed, it should be colored. Then you can cut around the shapes and separate them.
- First, let the children try to cut them on their own. However, if they have difficulty, you can assist.
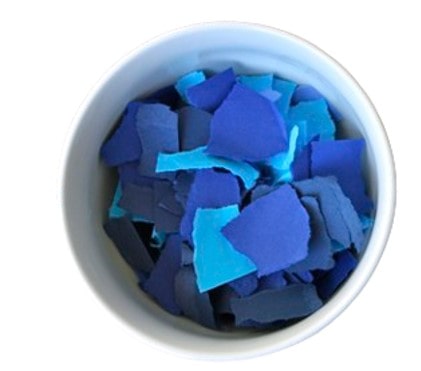
🦈 Step 3: Prepare your tissue paper pieces
Now, let’s prepare the pieces of tissue paper needed to make the ocean.
- First, choose tissue paper in light blue and dark blue colors.
- Then cut the tissue paper into strips and give it to the children.
- After that, let them tear the strips into pieces.
- Also, give them a small container to keep the torn tissue paper from scattering.
- Additionally, each child should have a piece of tissue in both light blue and dark blue.
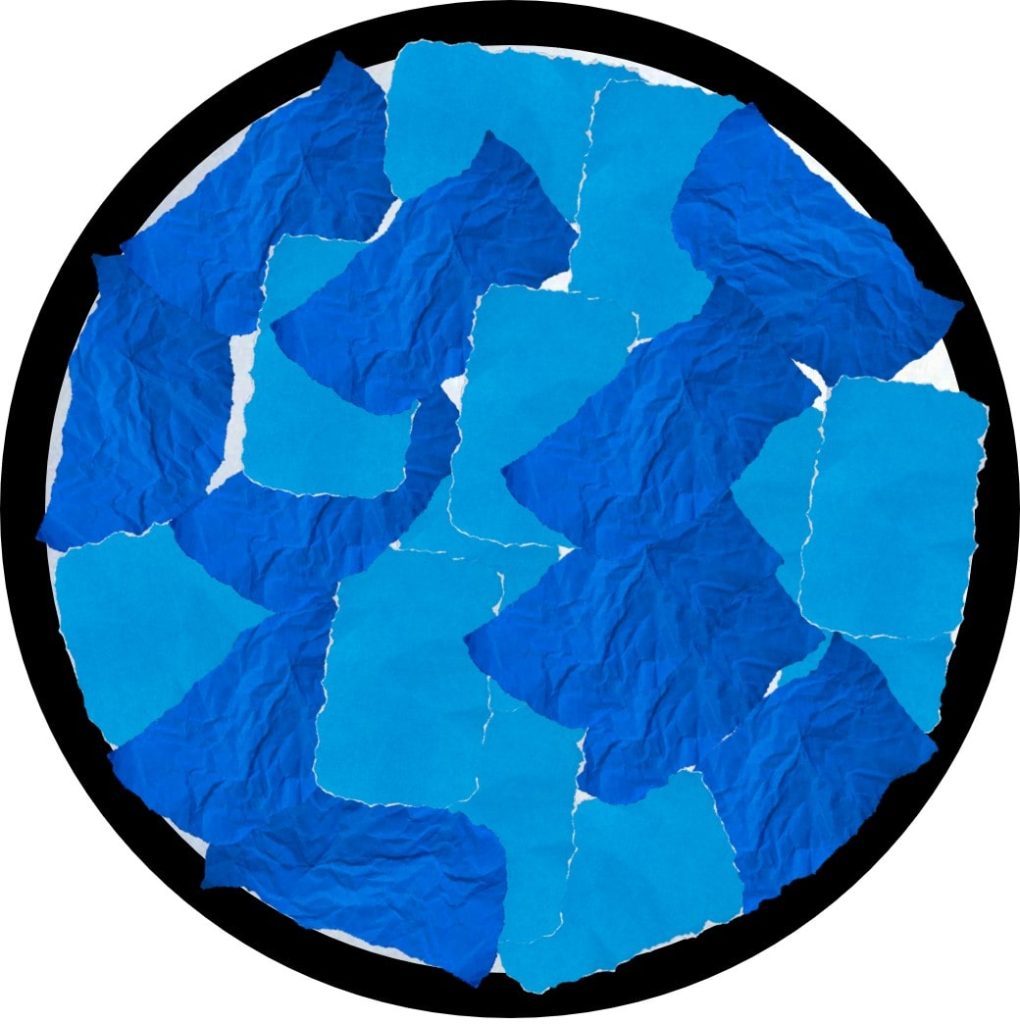
🦈 Step 4: Make the base for gluing the tissue:
We need to glue the torn tissue inside the cut ring. It will be easier for children to use a template to glue the tissue in the middle of the ring. Things that can be used for this:
- Transparent sticker paper sheet
- Laminating paper.
- Cello tape.
- White tissue paper
Choose one of the above materials that you can easily obtain and use. Then cut it to the size of the cut ring shape and stick it under the ring.
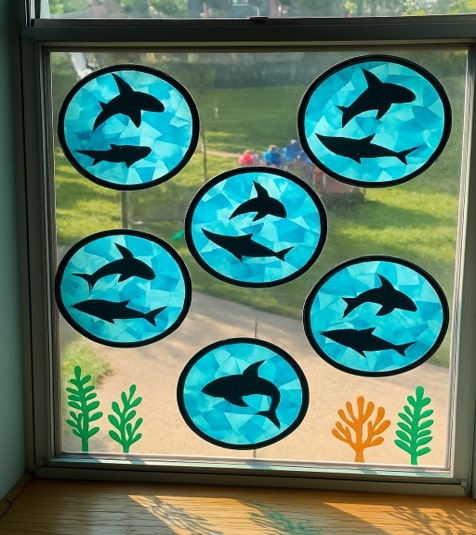
🦈 Step 6: Paste the Tissue Inside the Ring:
Glue the torn tissue paper to the base you made in the previous step. Fill only the center of the ring with tissue paper so that the light blue and dark blue colors blend. However, do not cover the outline of the ring. Make sure there are no big gaps between tissue pieces.
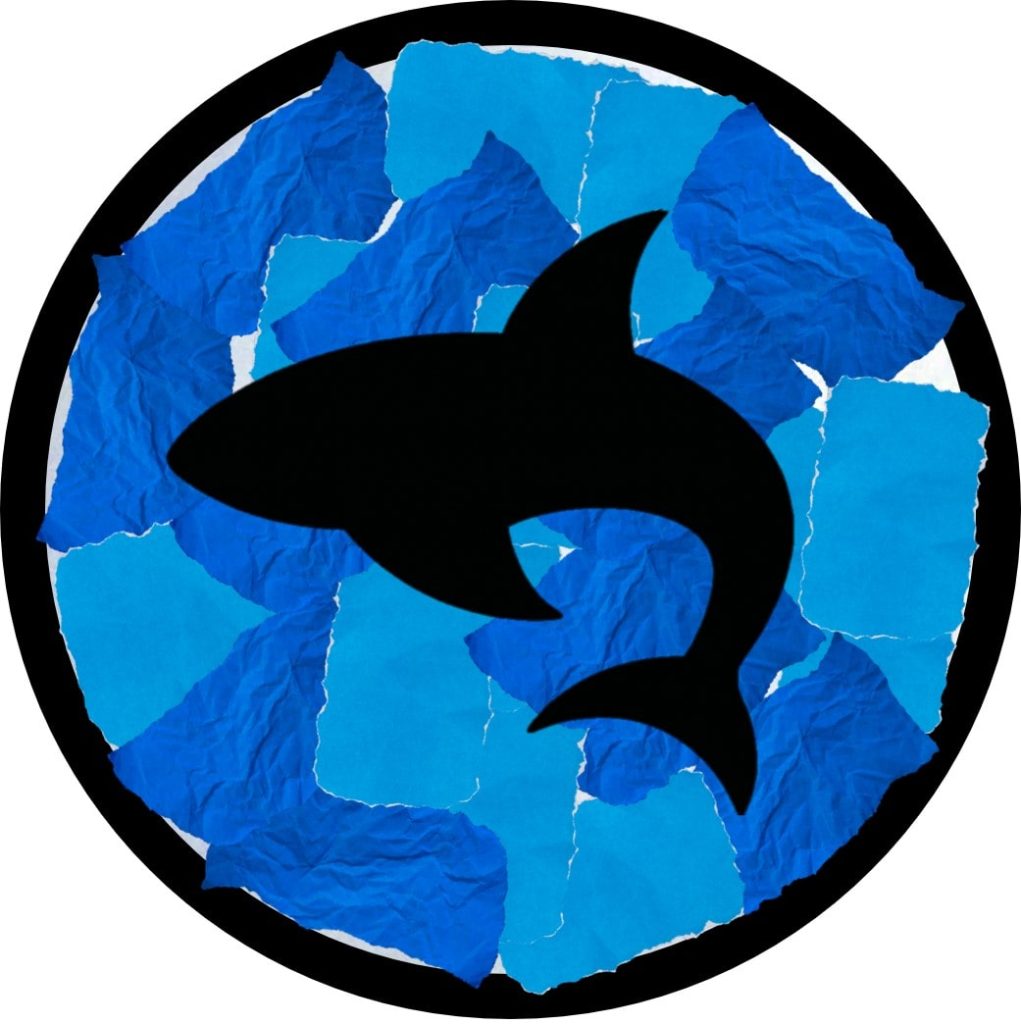
🦈 Step 7: Add the sharks inside the ring:
- Next, you need to glue the shark silhouette cutout images on the parts where you have glued the tissue (inside the ring).
- You can take any shark image that you cut out and glue it on the tissue.
- Then, Kids can add one shark or create a group of sharks swimming together.
🦈 Step 8: Create your ocean window
Once the shark crafts are finished, we can decorate the window.
- To do that, first clean your window.
- Then, stick double-sided tape on the back of your Shak craft.
- Then, use them to stick the Shak craft onto the glass.
- Be careful when hanging your creations so as not to damage your glass.
Later, paste the colored and cut seaweeds in appropriate places on the window. It will help to make your window an ocean vibe.
🌟 Shark Crafts for Kids: Ideas for Displaying your shark window art:
Your beautiful shark window art is ready! You can:
- Tape it on the windows to let the sunlight shine through the tissue paper ocean
- Hang it with a string in your classroom as an ocean-themed decoration
- Use it as part of an ocean bulletin board display
🌟 Shark Crafts for Kids: Why do kids love shark crafts?:
This shark craft is a very exciting activity for children. Let’s see what the reasons are for that?
- Sharks are an animal that children are interested in: Sharks are an animal that children hear about in stories, poems, and songs. Therefore, children love to create with sharks.
- Kids can experience ocean life while crafting: Marine life is a topic that children are curious about, so creating crafts with it is a great opportunity for them to learn about it.
- It’s a great craft for summer, ocean units, or Shark Week: We can choose the most appropriate time to bring this creation closer to children. That way, children will be able to connect well with this creation.
- This craft is perfect for preschool, kindergarten, and early grade kids. So, It is simple to do with your students or at home with your child.
💡 Shark Crafts for Kids: Tips for teachers and parents:
- Do this craft as part of an ocean animals lesson
- Pair with “Shark Week” activities
- Make extra shark window art to decorate your classroom or home
- Let kids choose different shark species silhouettes to learn their shapes
- Play ocean sounds or shark documentaries in the background for an immersive experience
Templates: